If you are brand new to Procreate for beginners territory, here is the good news: you only need six tools to finish your first real digital drawing. Not sixty. Six. In this walkthrough we will use just those six to make one simple, cute landscape, step by step, starting from a completely blank canvas.
Procreate can look scary the first time you open it because the screen is full of buttons. But almost everything in the app is optional decoration for later. Today we ignore the extras, learn the small set of tools that do 90 percent of the work, and finish a drawing you can actually be proud of in one sitting.
TL;DR
- You need only six tools for your first drawing: brush, eraser, layers, the color palette, two-finger undo, and Alpha Lock.
- Draw in stages on separate layers: sketch, clean lines, flat colors, then shading.
- Undo is your best friend: tap with two fingers to undo, three fingers to redo.
- Export your finished piece as a PNG for crisp quality or JPEG for easy sharing.
In this guide
What You Need to Start
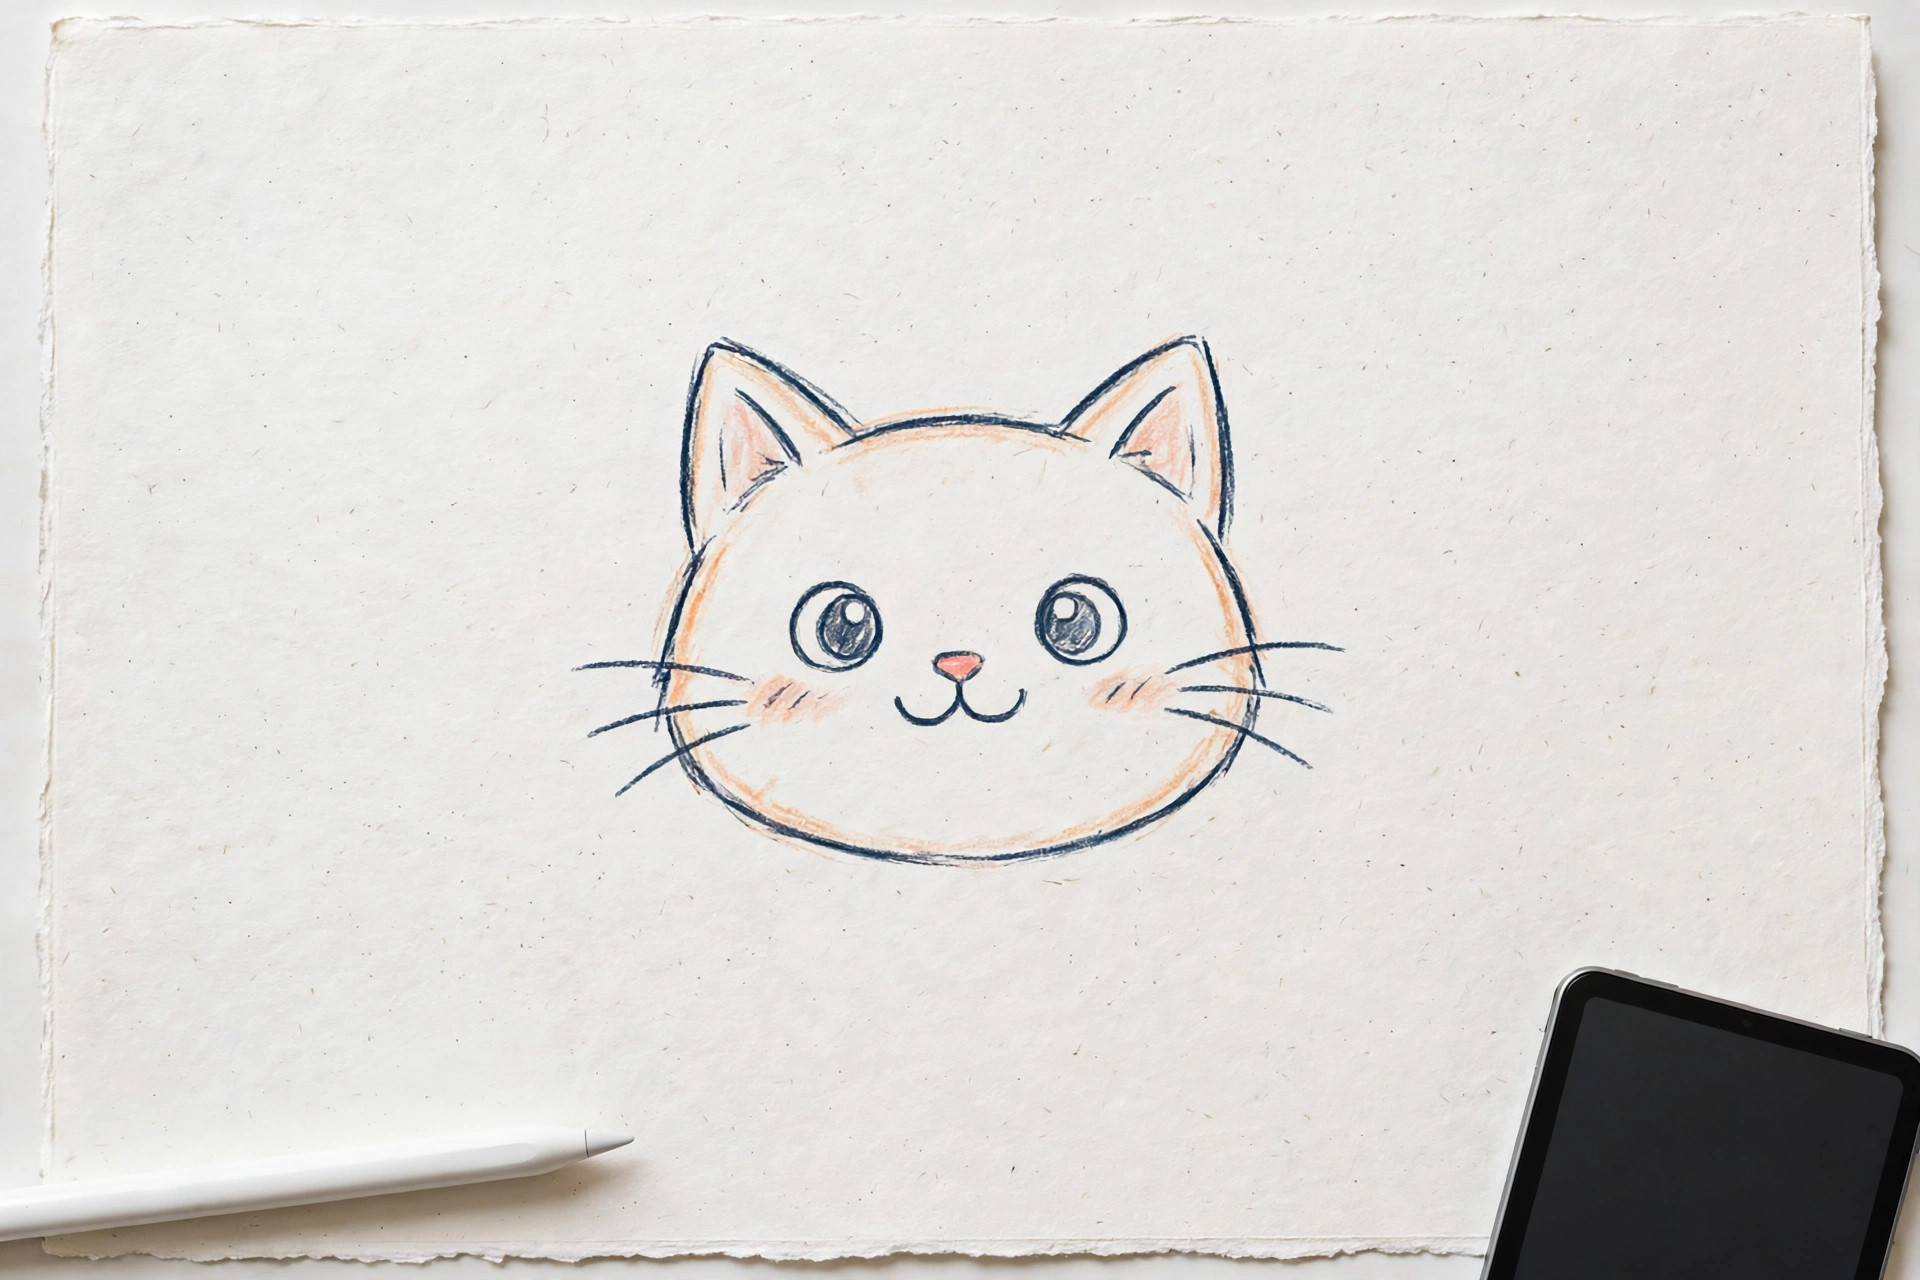
You need three things: an iPad, something to draw with, and the Procreate app itself. That is the whole shopping list, and there is a good chance you already own most of it. Let us keep it simple and honest about each item.
- An iPad. Procreate runs only on iPad, not on phones or Android tablets. Any recent iPad works fine for learning; you do not need the biggest or newest model to follow this guide.
- A stylus. A stylus is the pen you draw with on the screen. The Apple Pencil gives you pressure sensitivity (the line gets thicker or thinner depending on how hard you press), which feels the most natural. But a basic, inexpensive stylus also works for this first drawing, so use what you have.
- The Procreate app. Procreate is a one-time purchase with no subscription, which is one reason beginners love it. Prices can change over time, so check the App Store for the current price before you buy.
That is it. No extra brushes, no paid add-ons, no special paper or screen protectors. Open the app, tap the plus sign in the top right corner to make a new canvas (your blank digital page), and let us meet your six tools.
The Only 6 Procreate Tools You Need First
These six tools are the entire engine of this guide. Learn where each one lives and what it does in plain words, and the step-by-step drawing after this section will feel easy. Everything else in Procreate can wait for next week.
1
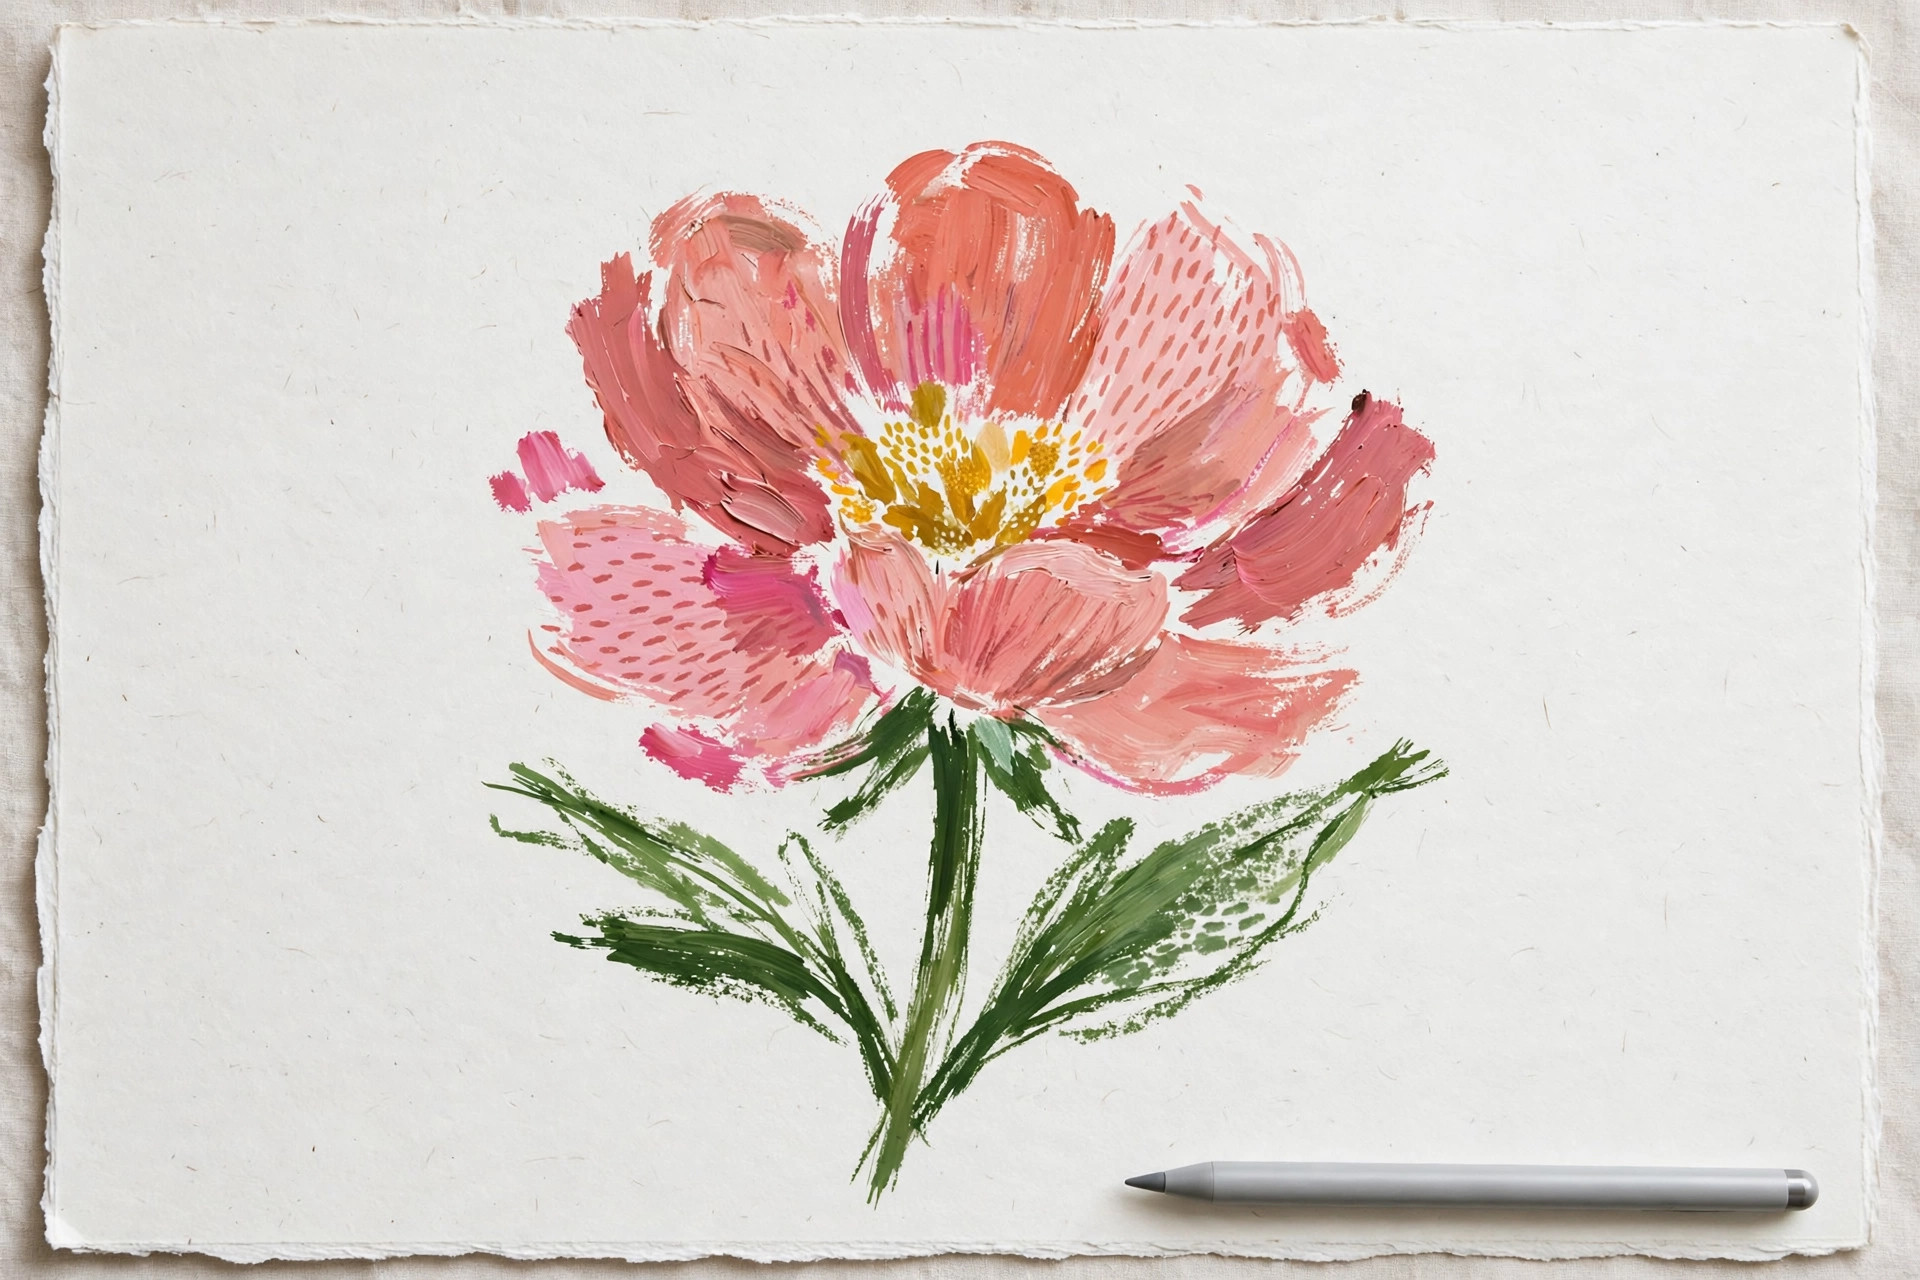
The brush tool. Find it at the top of the screen; it looks like a paintbrush. Tap it, choose the simple Monoline or Studio Pen brush from the list, and draw. This is your pencil, pen, and paintbrush in one.
2
The eraser. Right next to the brush at the top of the screen. Tap it and it uses the same brush shapes, but removes lines instead of adding them. Made a wobbly line? Erase just that bit and redraw it.
3
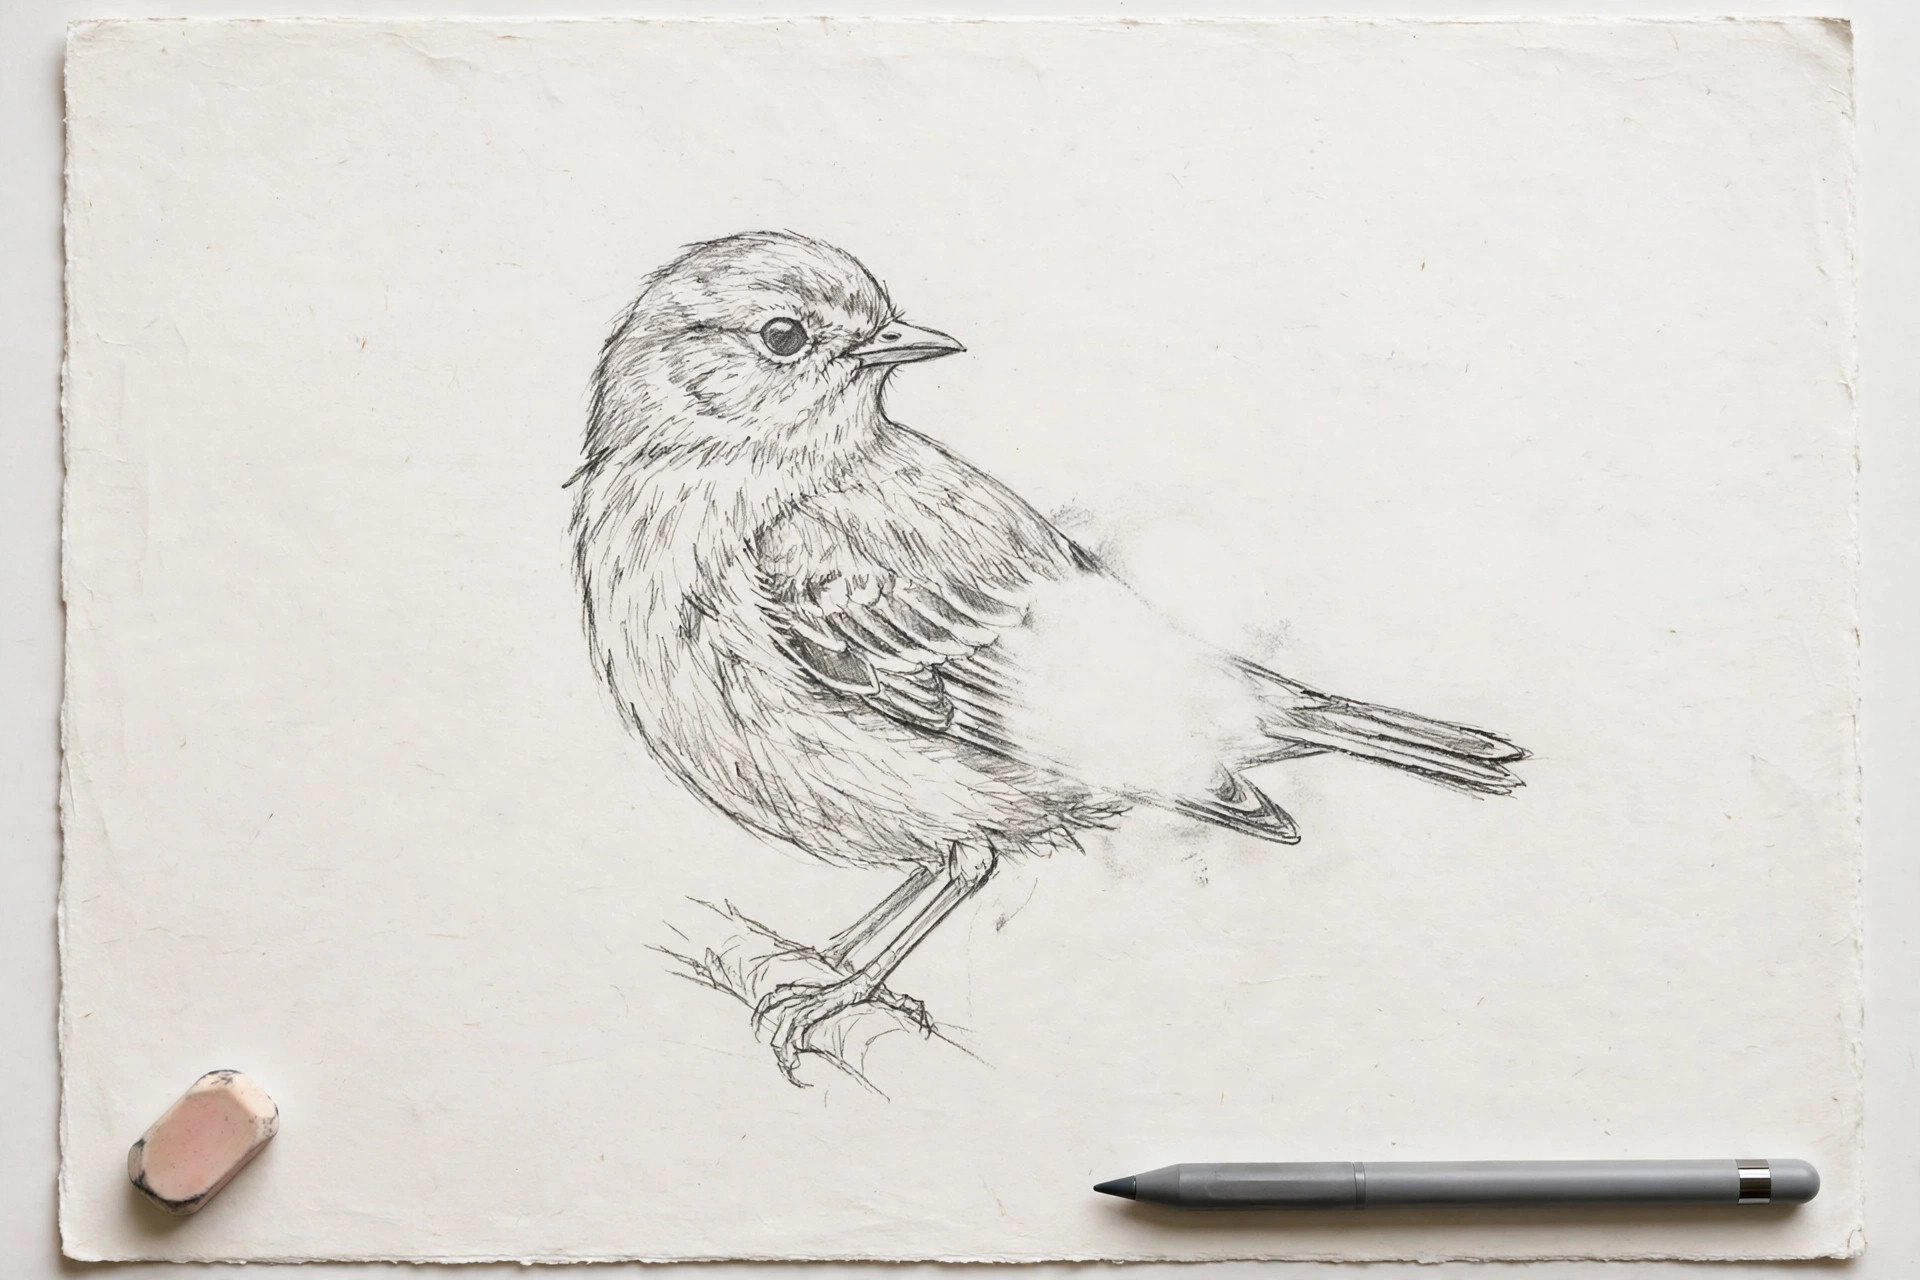
Layers. Tap the icon that looks like two stacked squares, at the top right. Layers are like clear plastic sheets stacked on top of each other: you can draw on one sheet without touching the others. Sketch on one, color on another, and erase mistakes without ruining the rest.
4
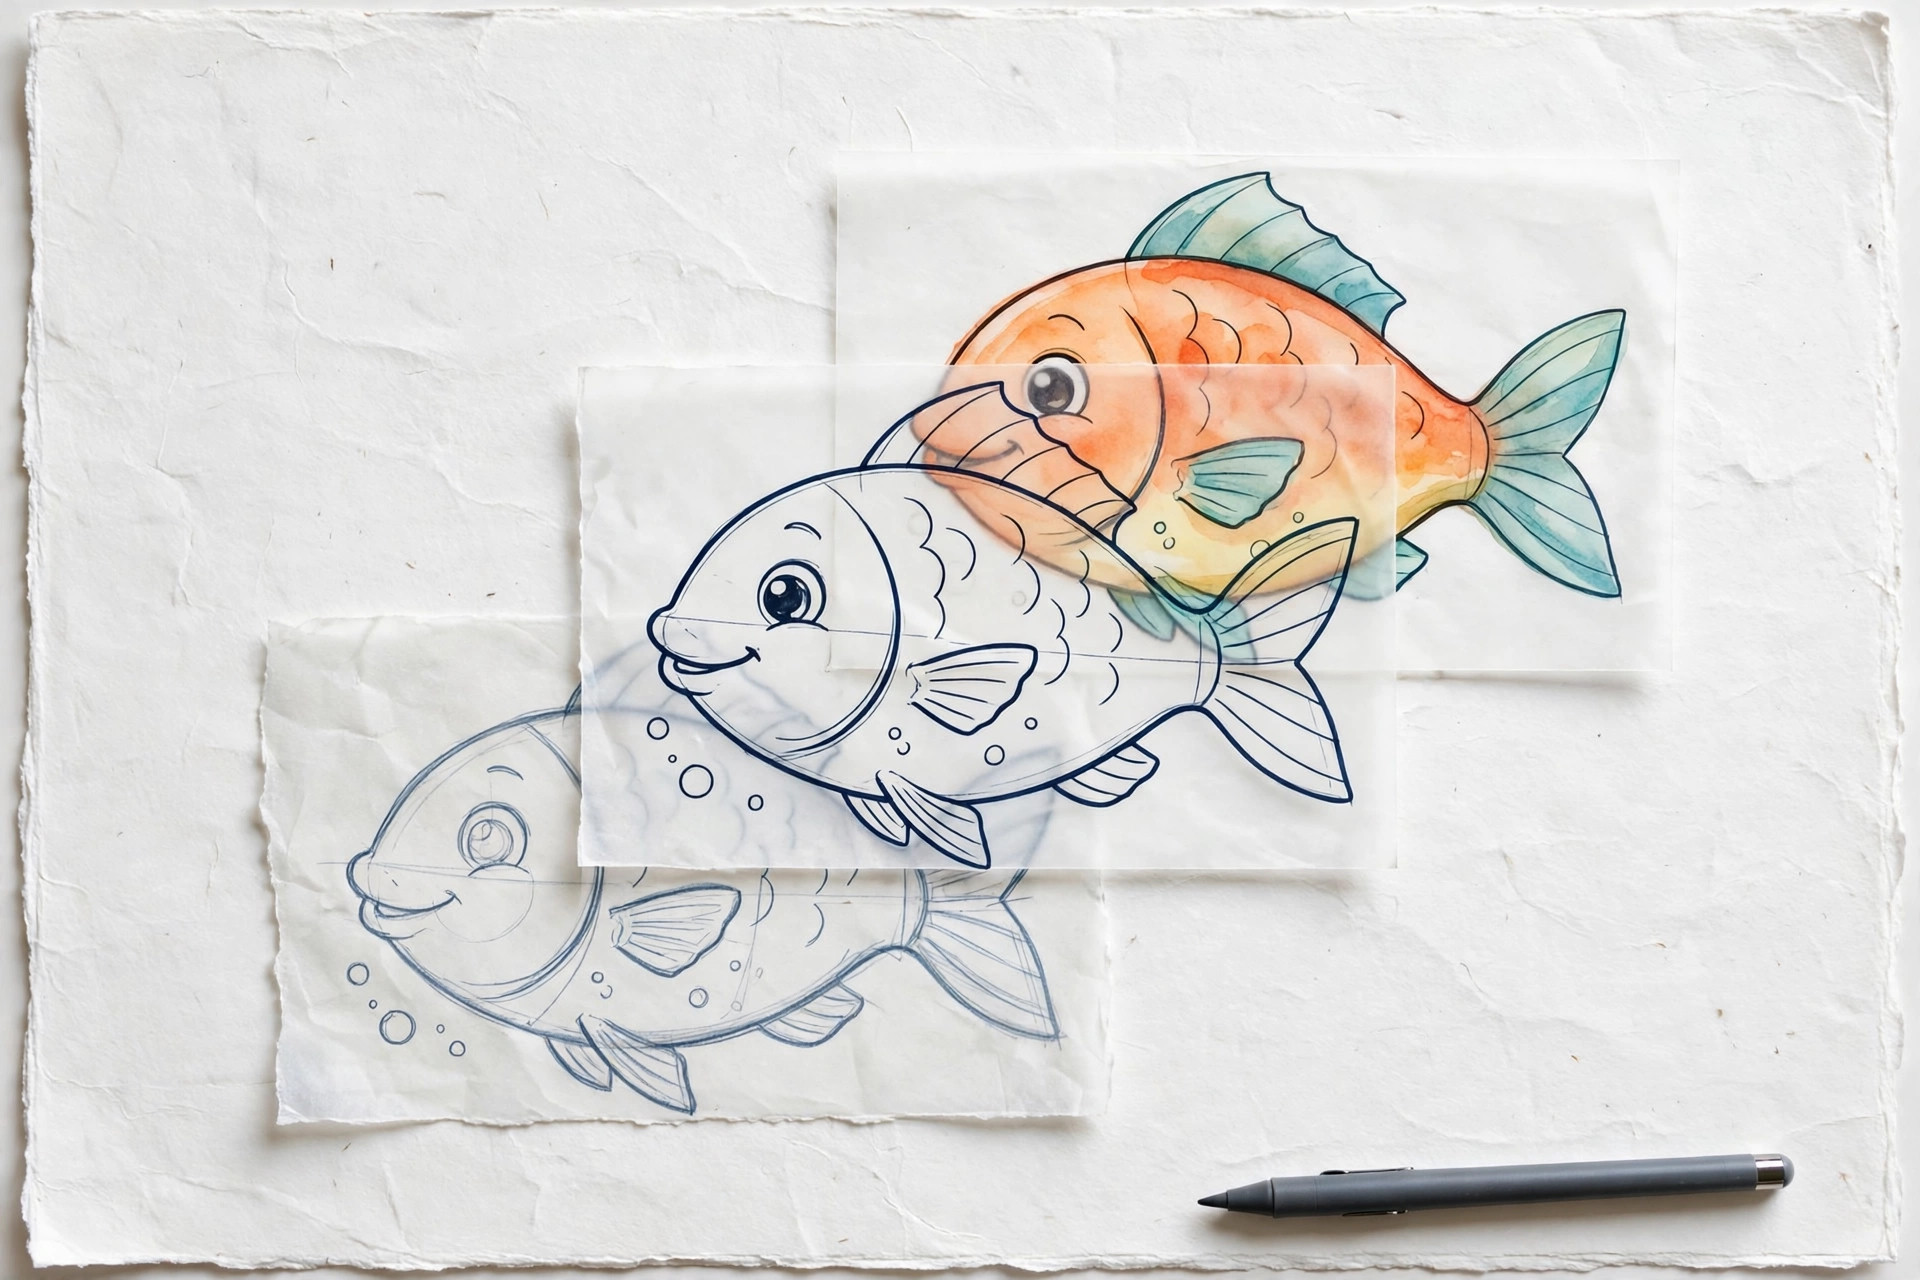
The color palette. Tap the colored circle at the top right to open it. Pick any color, then draw or fill with it. To fill a closed shape fast, drag the color circle right into the shape and let go; this is called ColorDrop.
5
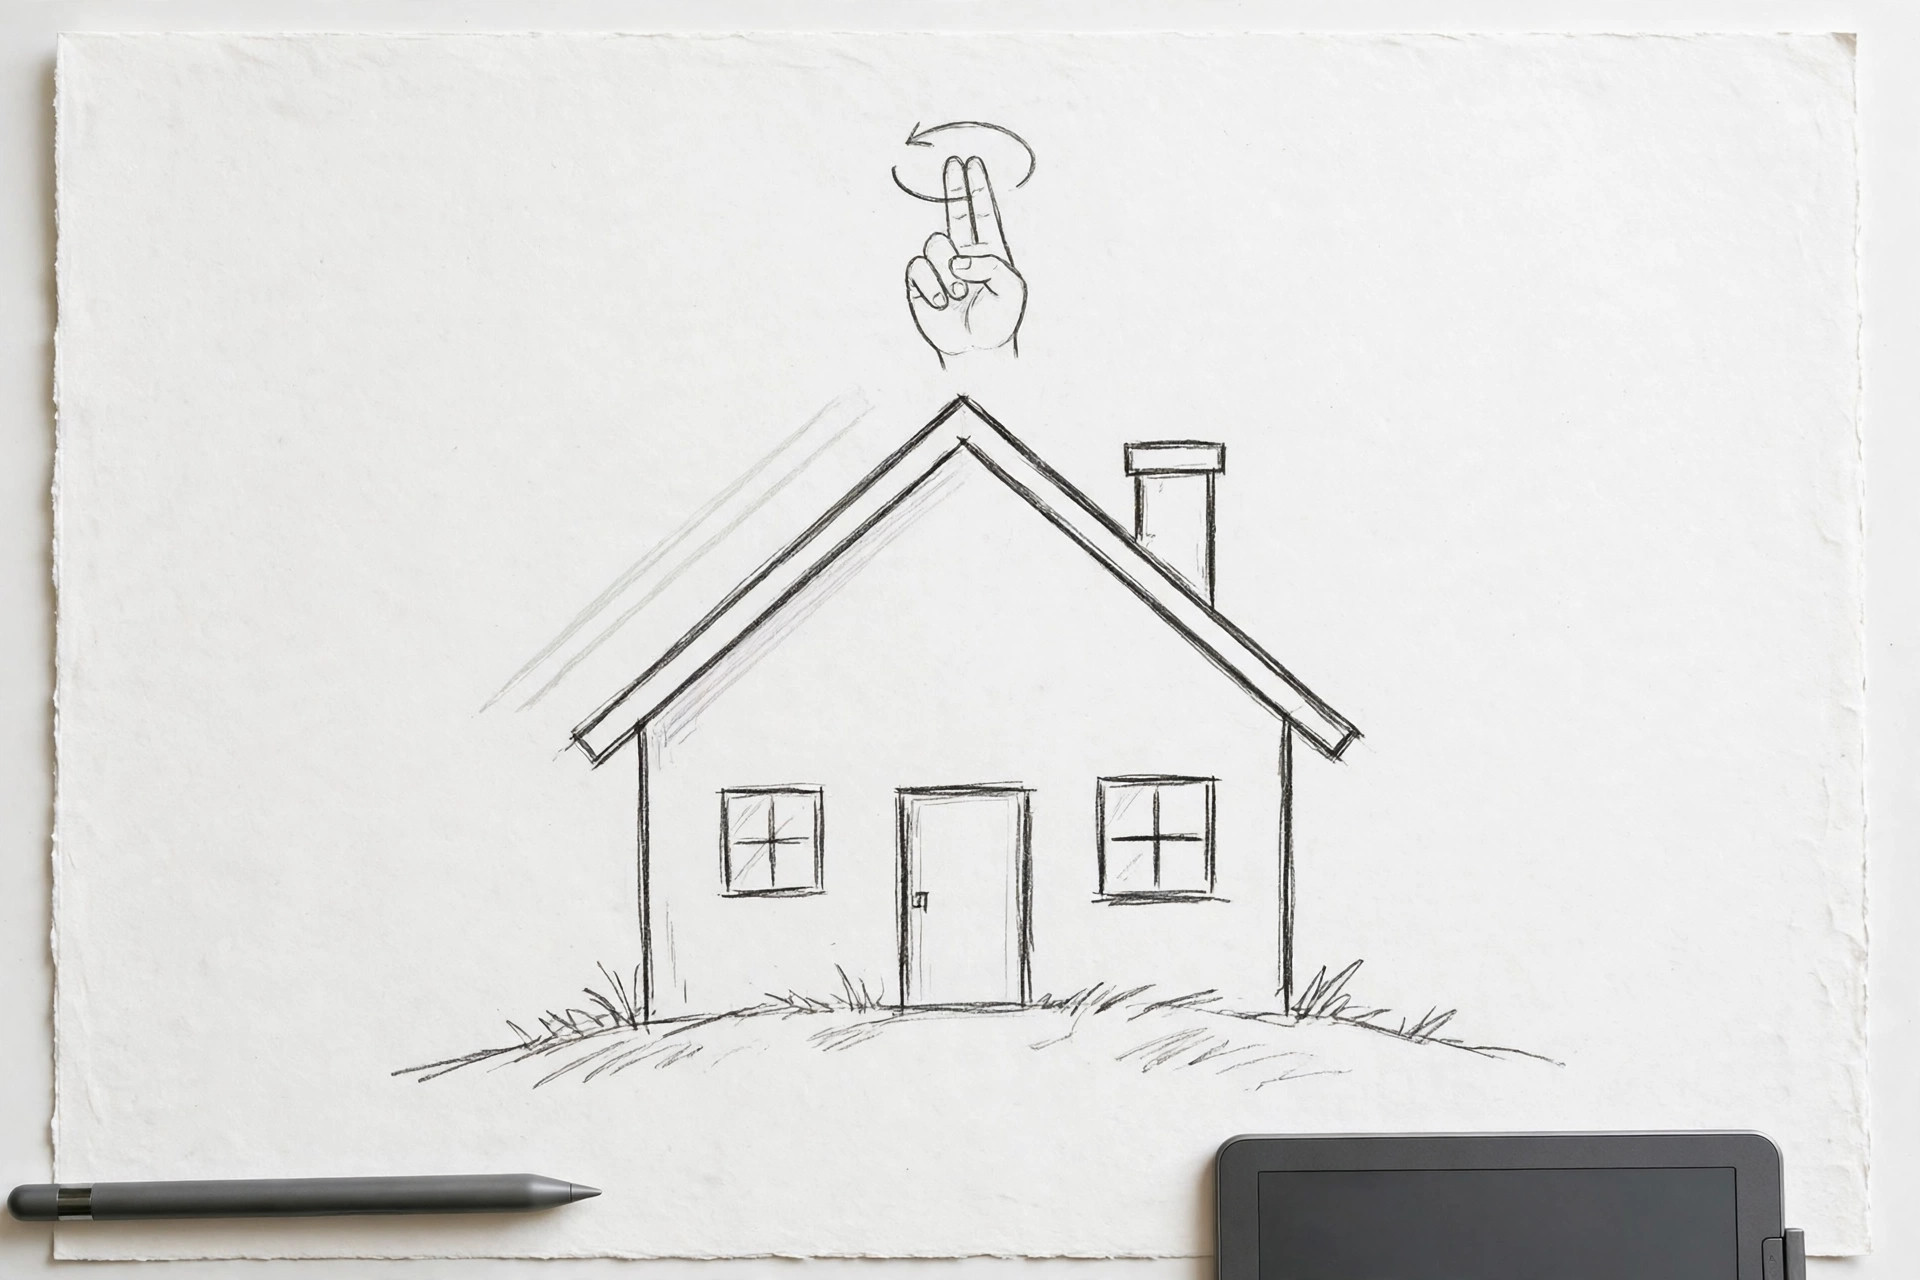
The two-finger undo gesture. Tap the screen once with two fingers to undo your last stroke. Tap with three fingers to redo it. This tiny gesture removes all fear: nothing you draw is permanent, so you can experiment freely.
6
Alpha Lock. In the Layers panel, swipe right with two fingers on a layer to turn on Alpha Lock. It means you can only paint on top of pixels (tiny dots of color) that already exist on that layer. Paint cannot spill outside your shapes, which makes shading incredibly easy, as you will see below.
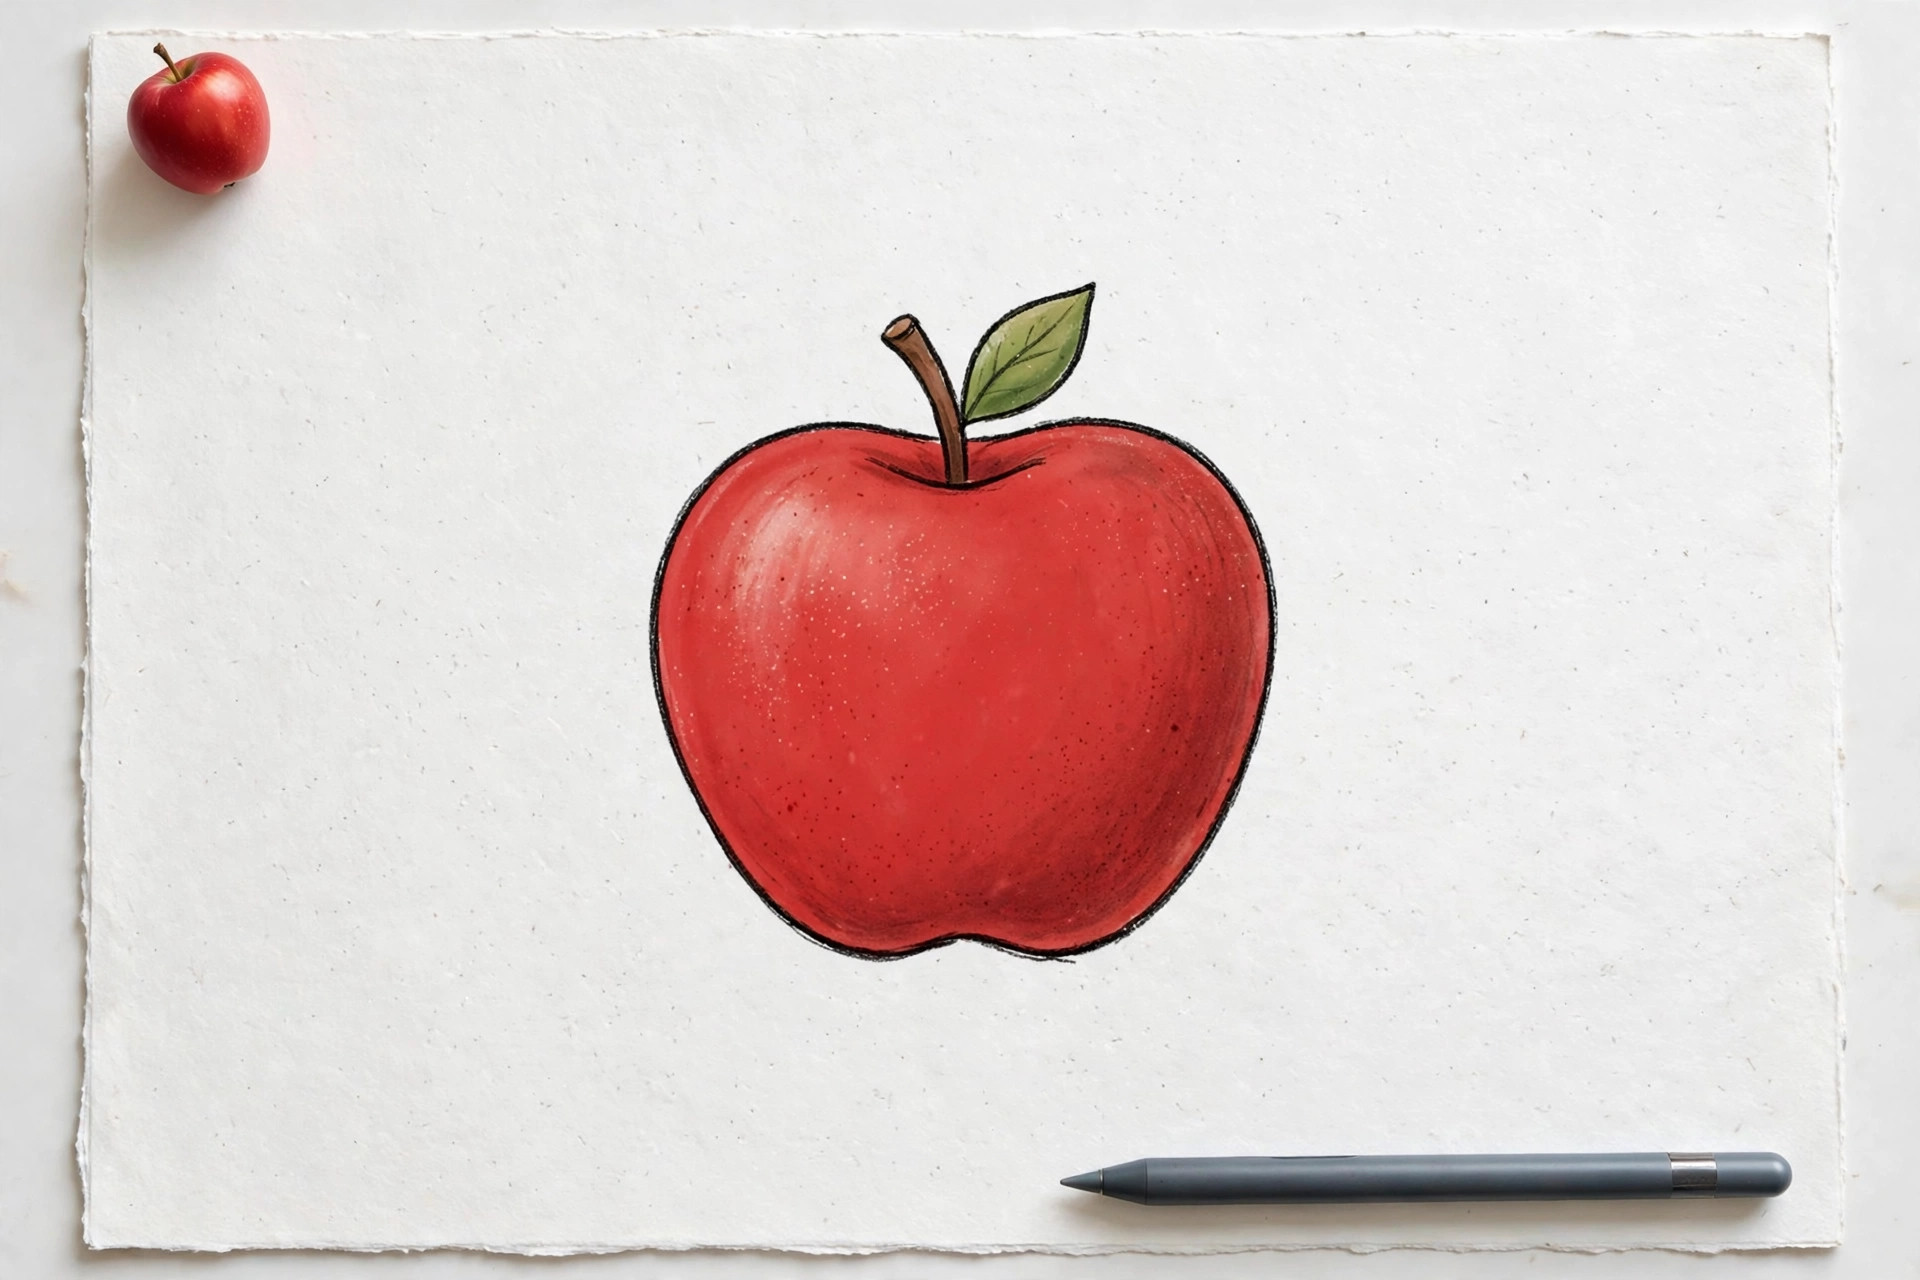
Your First Procreate Drawing, Step by Step
We are going to draw a simple cute landscape: rolling hills, a round sun, a tiny house, and a few clouds. It uses every one of your six tools and nothing else. Follow the eight steps in order and do not rush; each step builds on the one before it.
1
Step 1: Pick your canvas size. Tap the plus sign, then the small icon to create a custom canvas. A safe beginner size is 3000 x 3000 pixels (the tiny dots that make up the image) or simply choose the “Square” preset. Big enough to look crisp, small enough to keep the app fast.
2
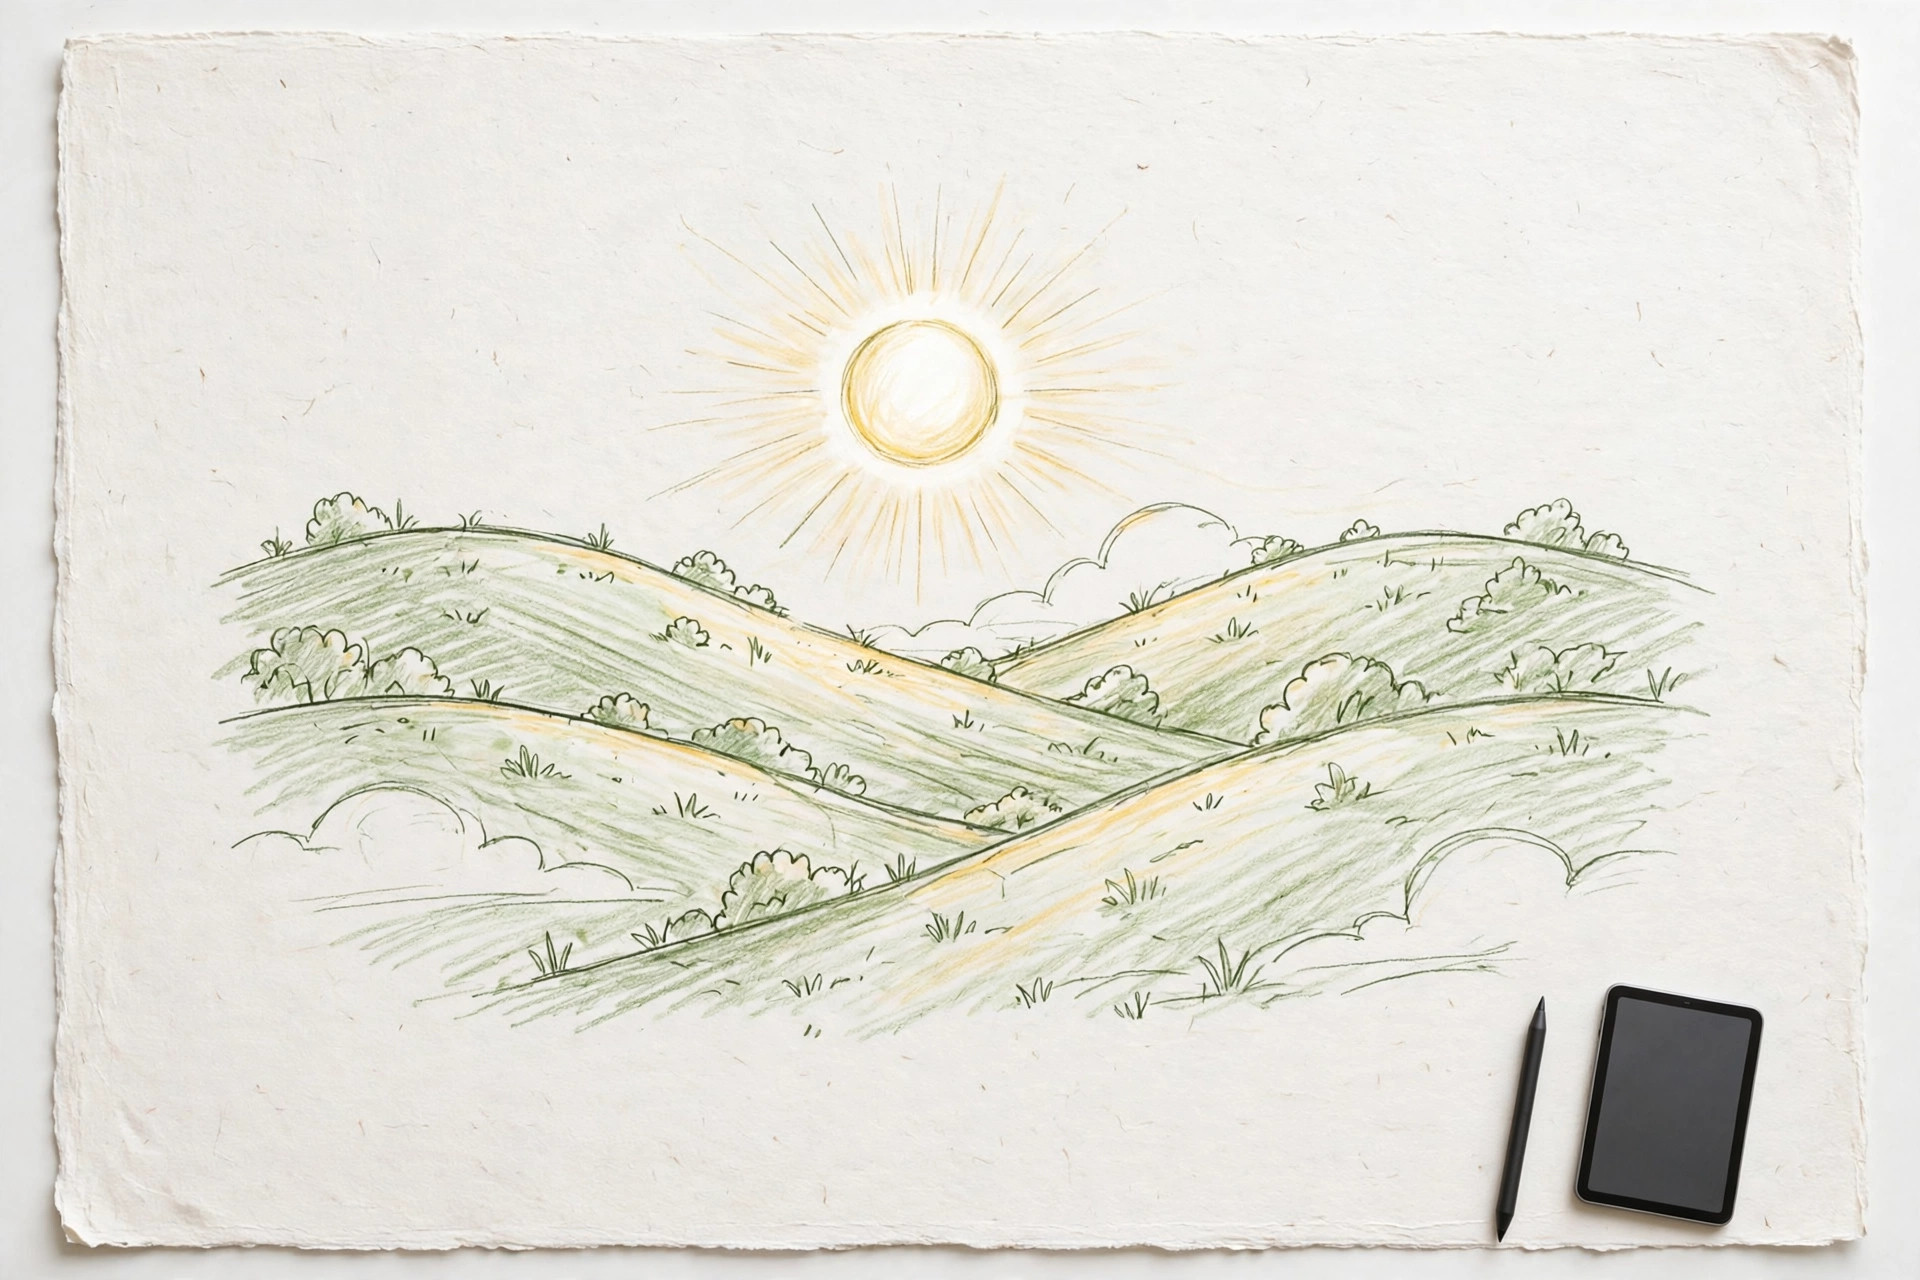
Step 2: Sketch on Layer 1. Pick a light blue-gray color and a thin brush, and sketch the scene loosely: a wavy line for the hills, a circle for the sun, a square with a triangle roof for the house. Ugly is fine here; this layer is just a guide and nobody will see it in the final piece.
3
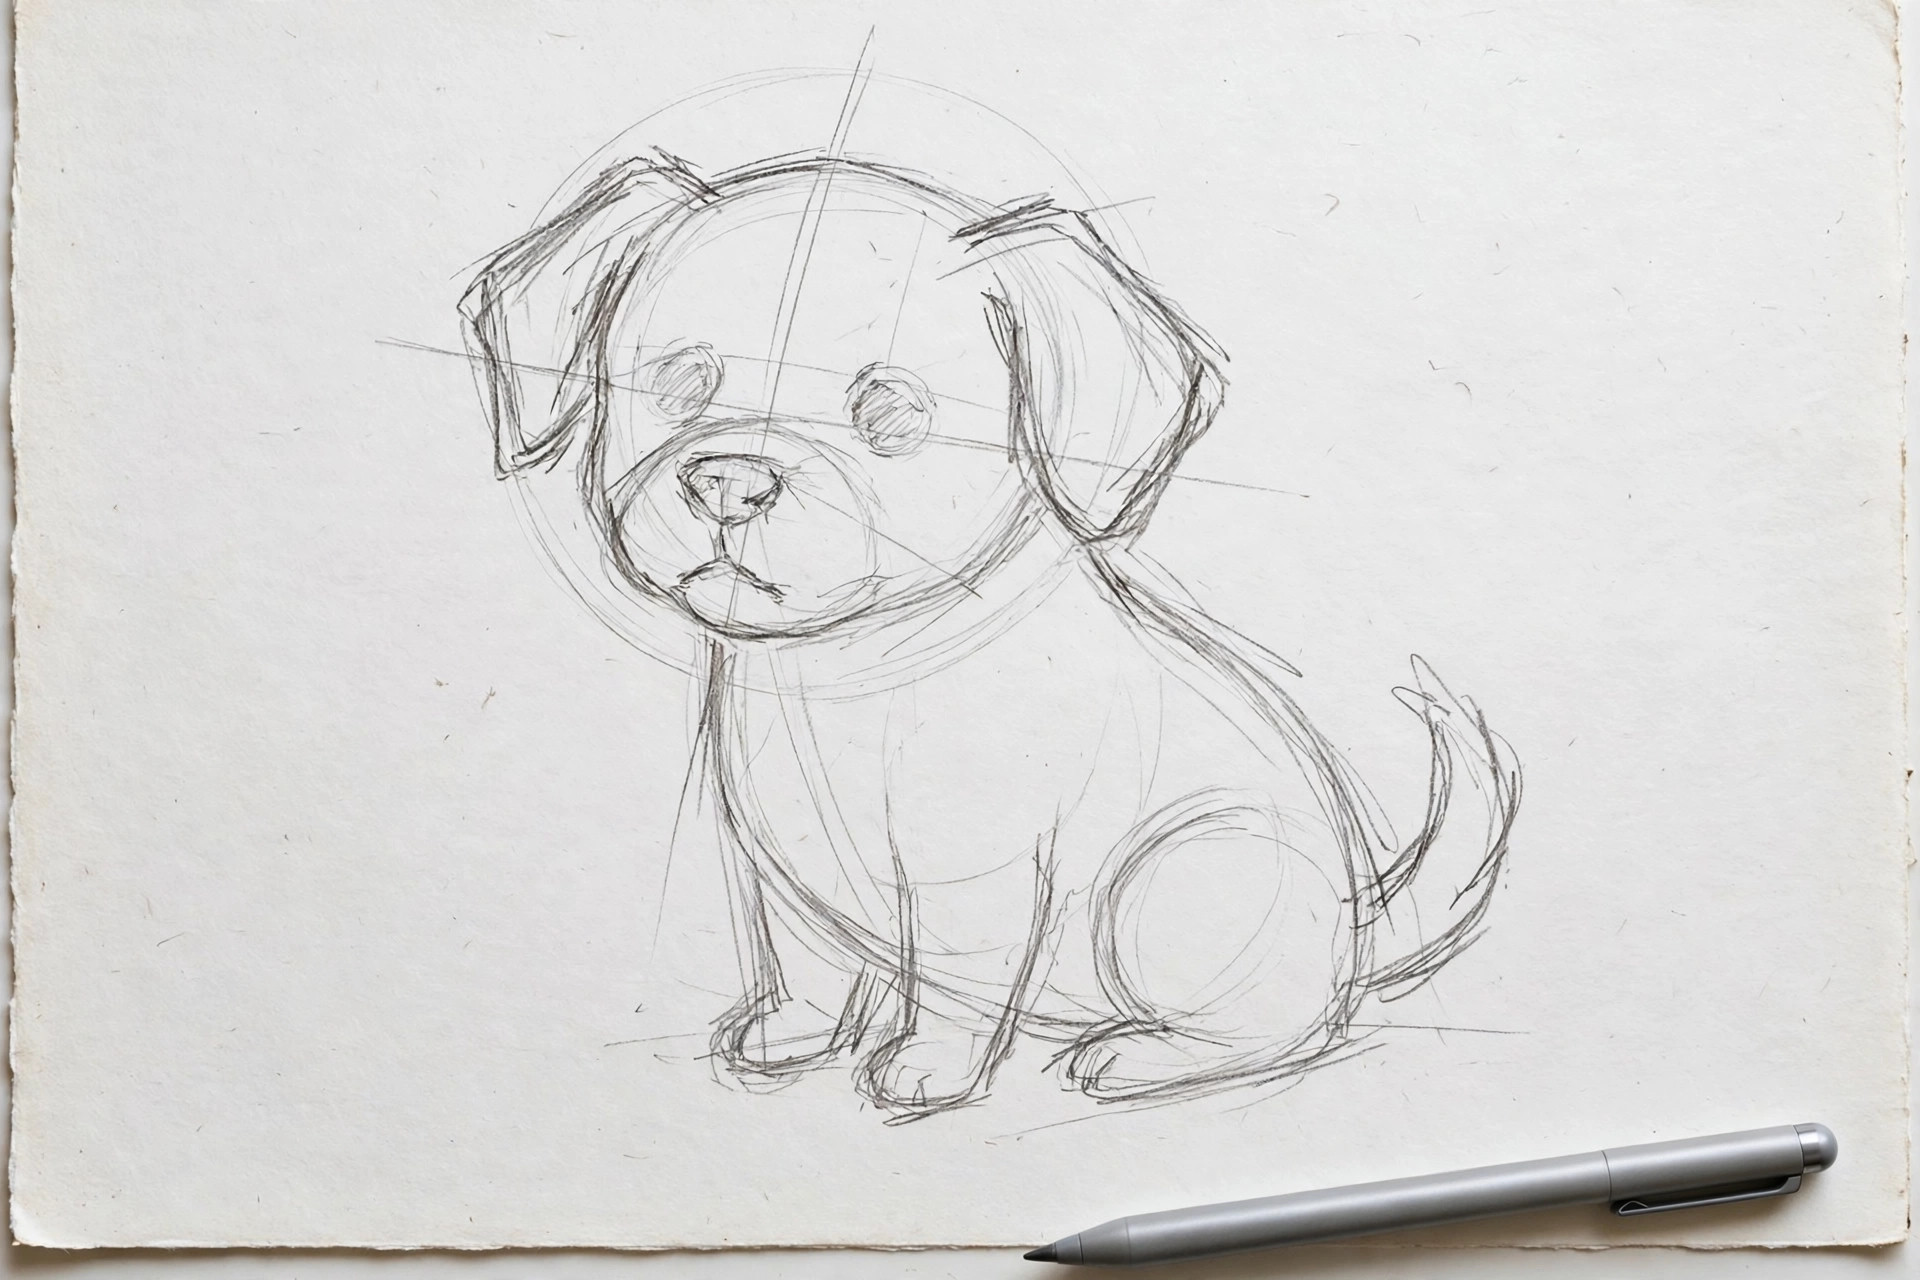
Step 3: Draw clean lines on a new layer. Tap the plus in the Layers panel to add Layer 2 above your sketch. Lower the sketch layer’s opacity (how see-through it is) using the slider in its layer options, then trace over it with smooth, confident lines in a dark color. Two-finger tap to undo any line that wobbles.
4
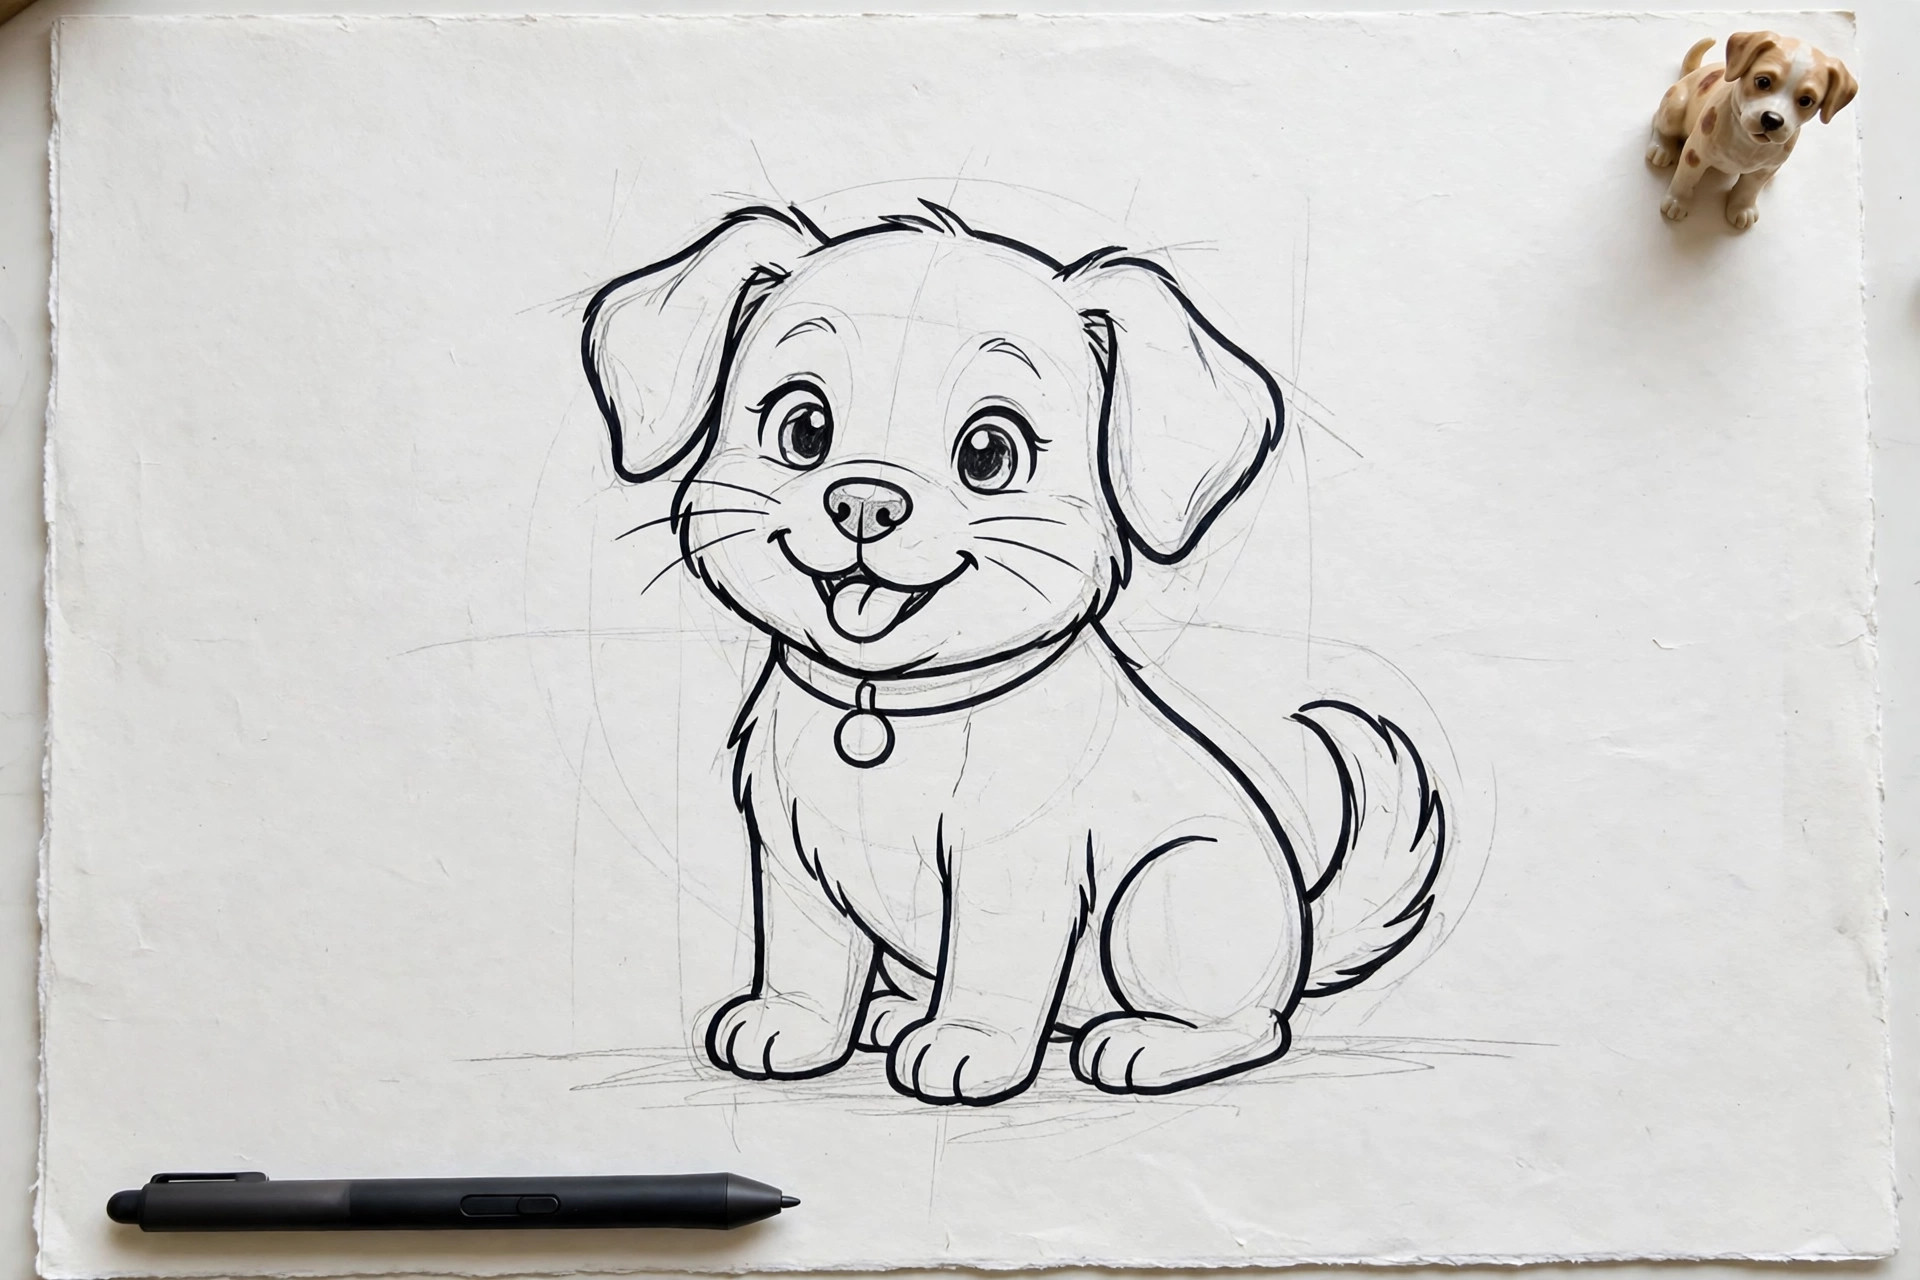
Step 4: Add flat colors. Create a new layer under your line layer. Choose your colors and use ColorDrop to fill each shape: green hills, blue sky, yellow sun, red roof. Flat color means one solid color per shape, with no shading yet. If a fill leaks everywhere, your line has a gap; undo, close the gap, and fill again.
5
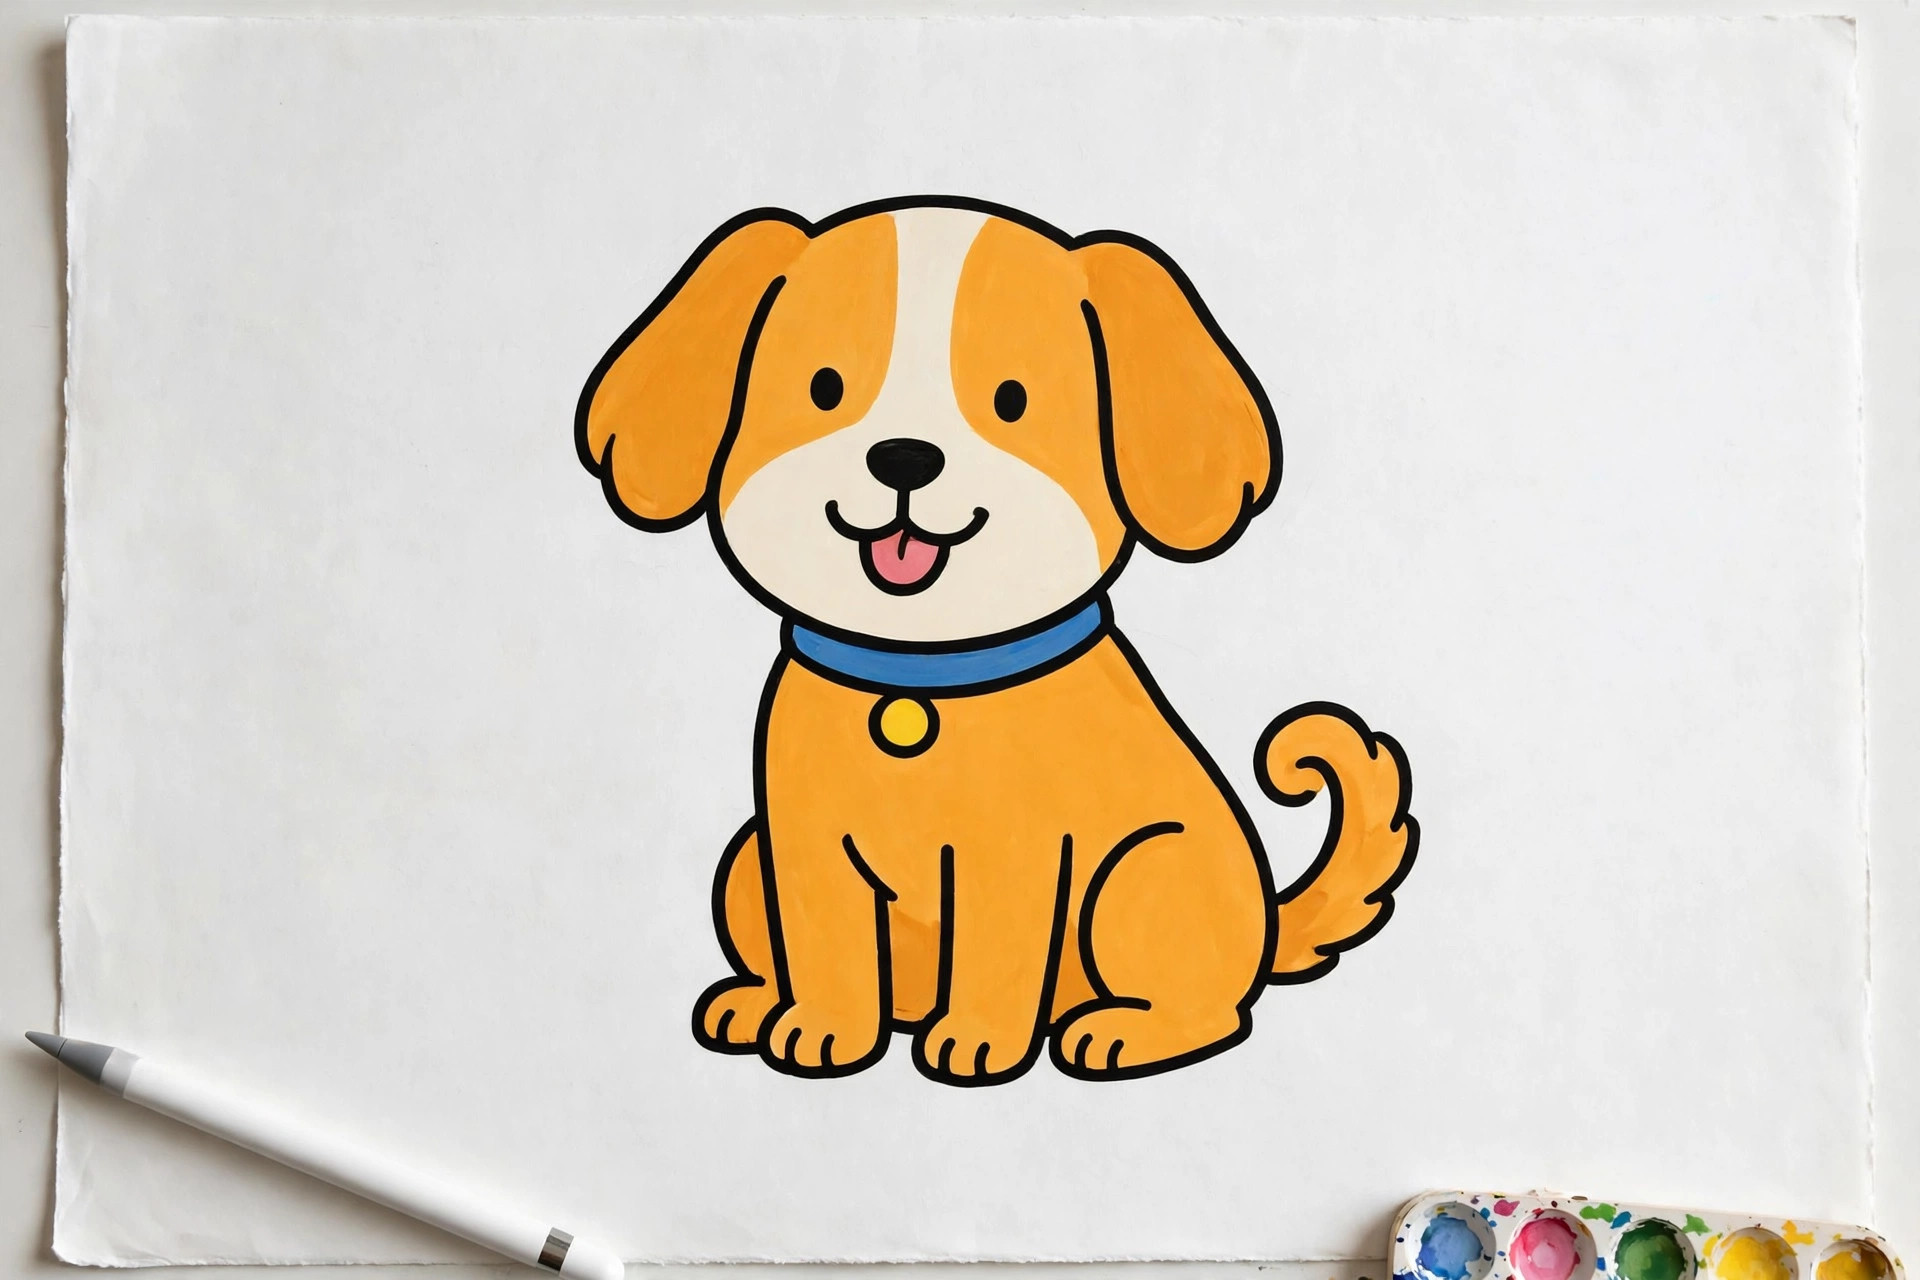
Step 5: Add simple shading with Alpha Lock. Swipe right with two fingers on your color layer to turn on Alpha Lock. Now pick a slightly darker shade and paint soft shadows along the bottom of the hills and one side of the house. Because of Alpha Lock, your paint stays inside the shapes like magic.
6
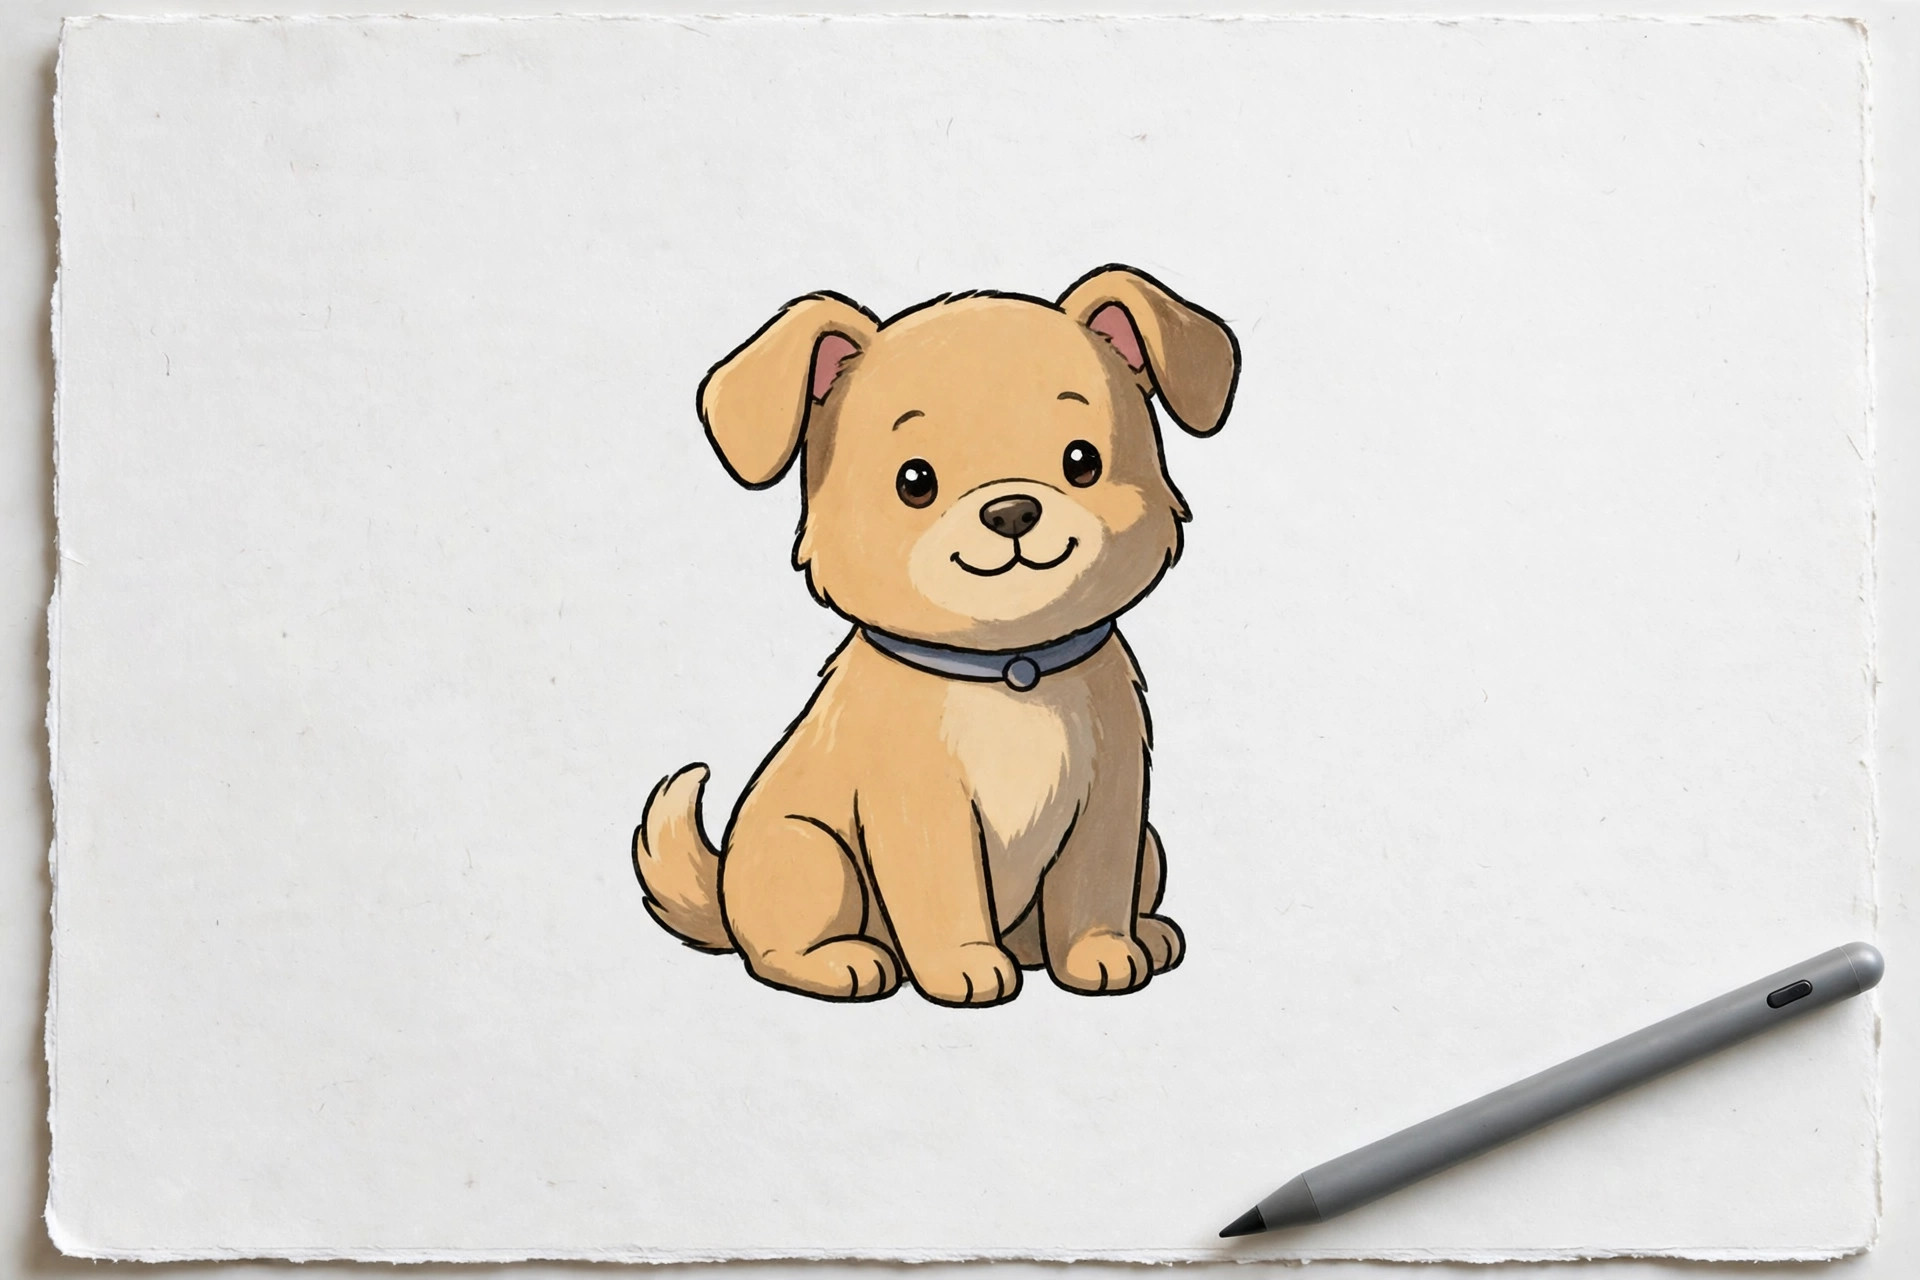
Step 6: Paint a soft background. Add a new layer at the very bottom of the stack for the sky. Fill it with a pale blue, then use a big soft brush (the airbrush in the brush library works well) to add a gentle lighter glow around the sun. Add a few white cloud shapes.
7
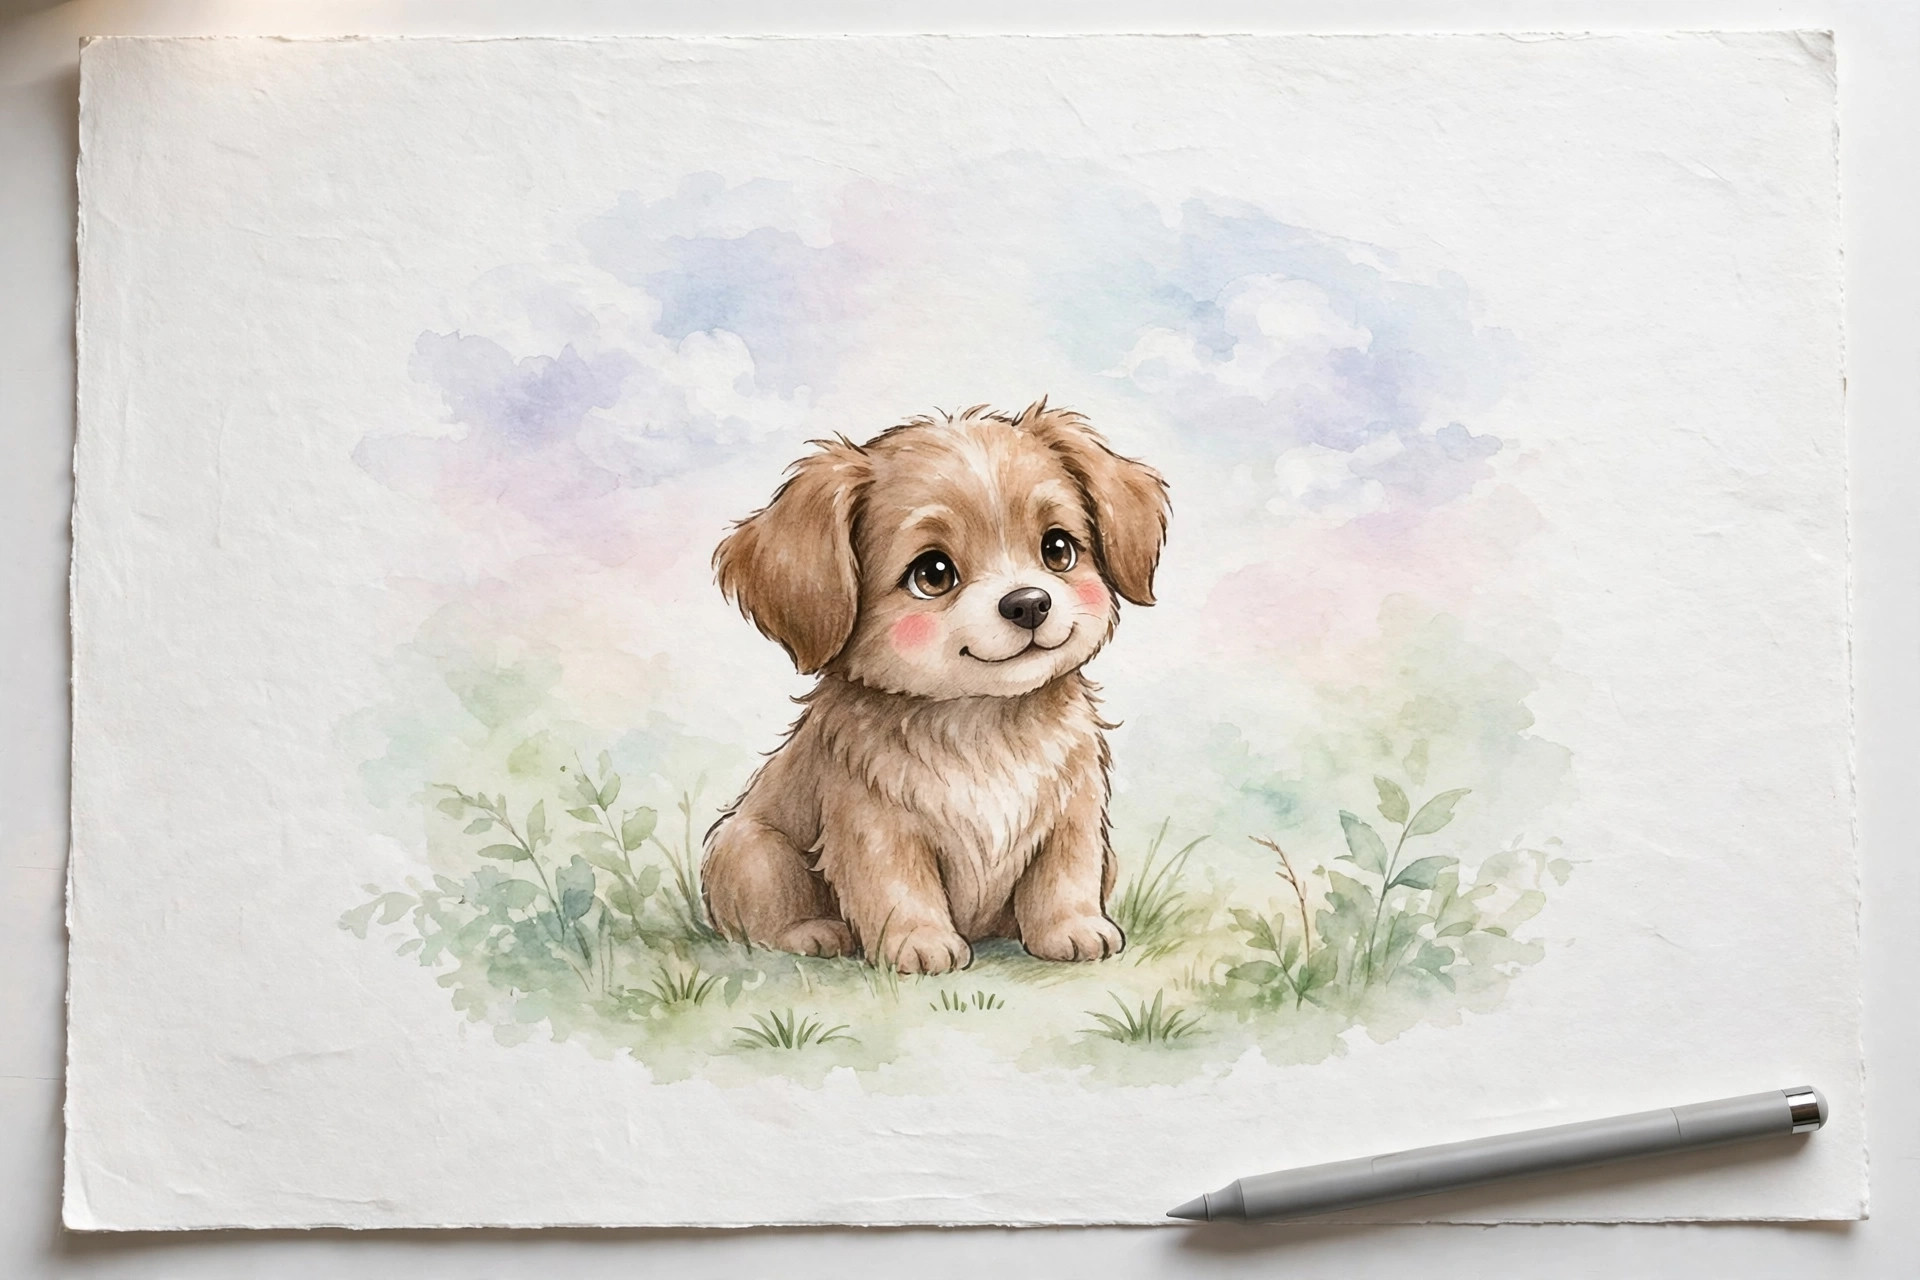
Step 7: Add highlights. Highlights are the small bright spots that make things look shiny and alive. On a new layer on top, add tiny white dots on the sun side of the roof, a bright edge on the hills, and a soft white sparkle in the house window. Small touches, big difference.
8
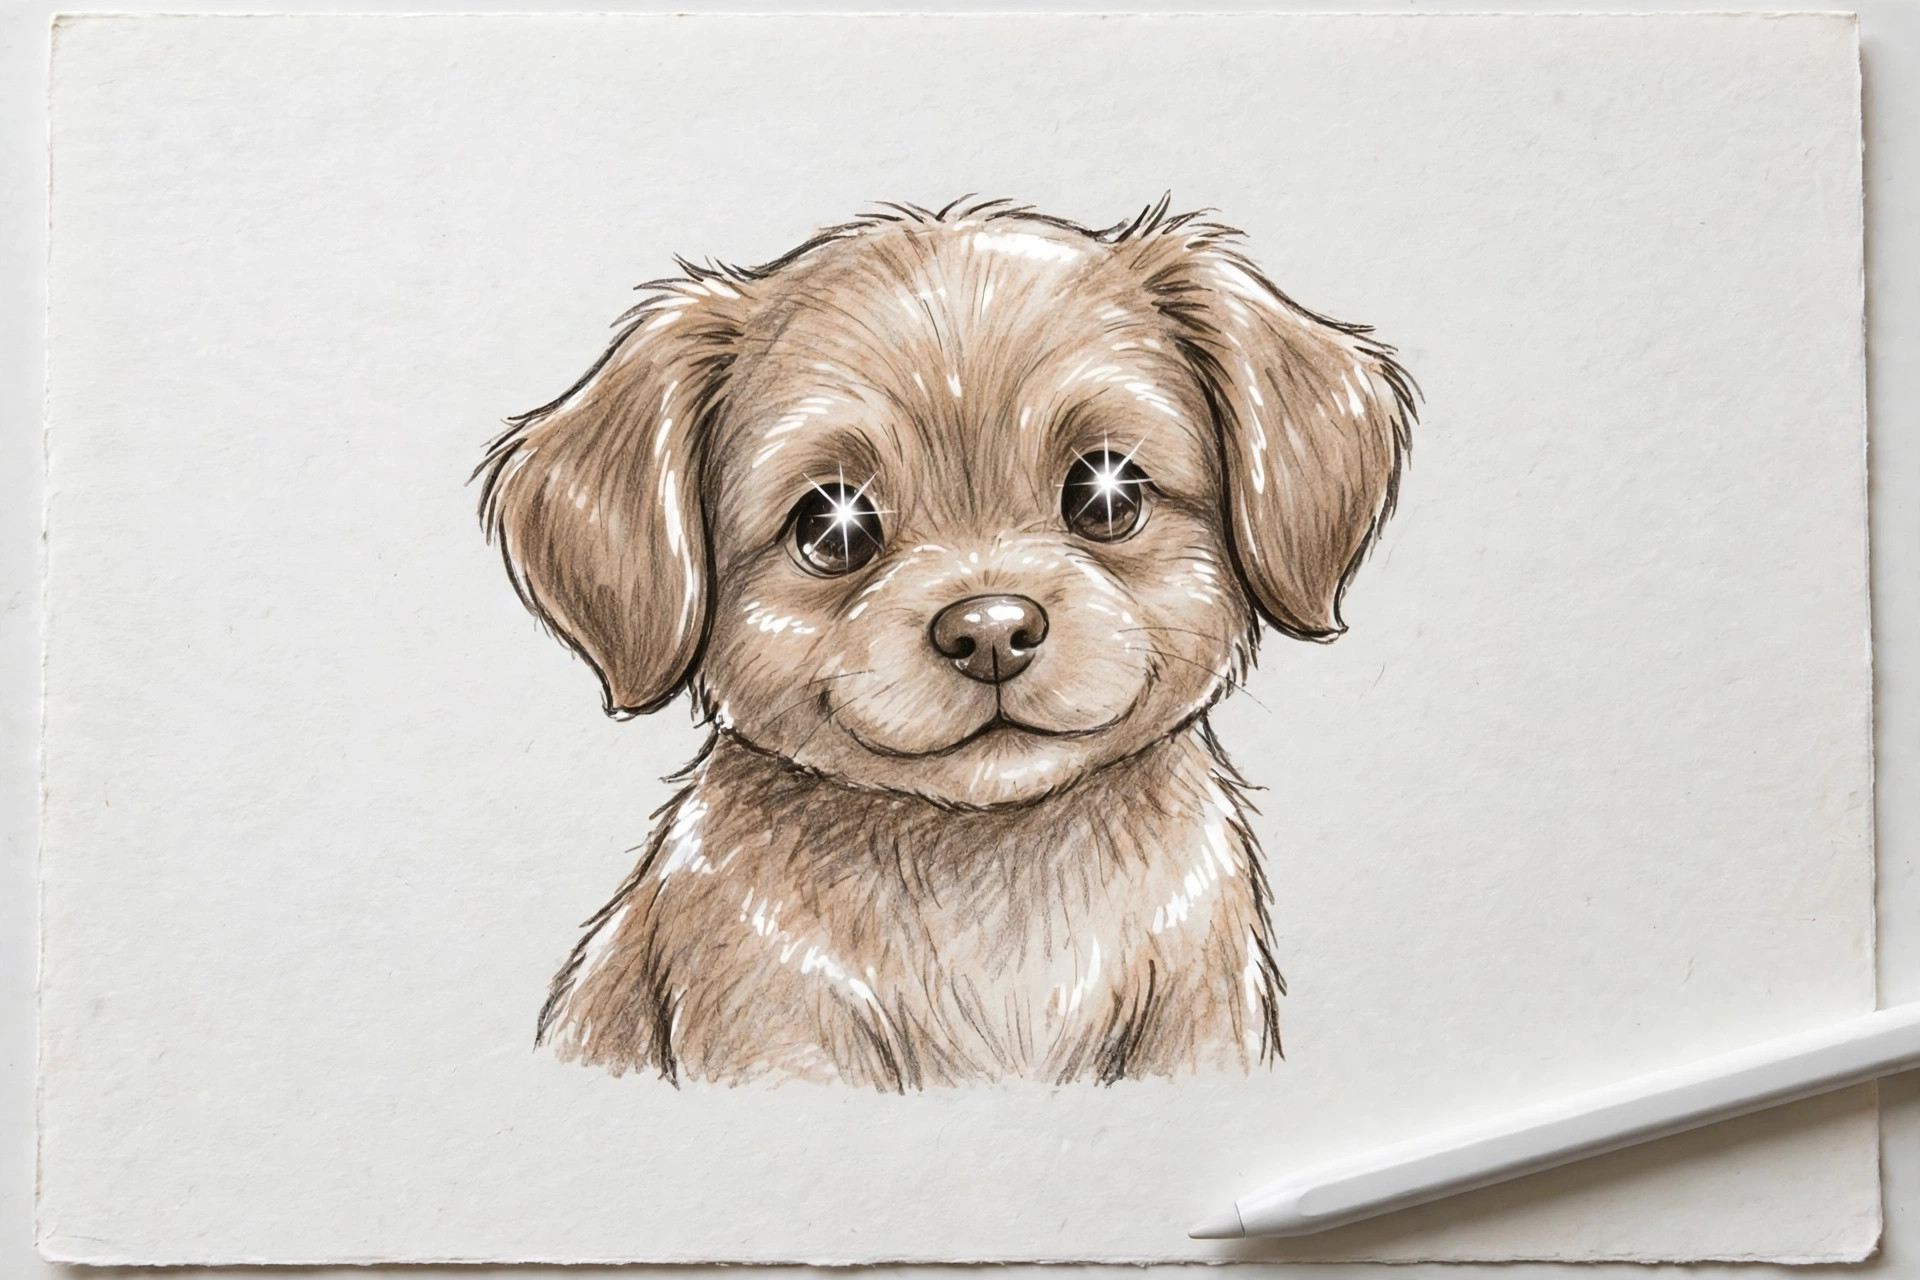
Step 8: Export your drawing. Tap the wrench icon (Actions), choose Share, and pick your format. Choose PNG for the sharpest quality, or JPEG for a smaller file that is easy to post and send. Save it somewhere safe; you just finished your first Procreate drawing.
One small habit that will help you a lot: before you close the app, save a copy of this drawing in your Gallery and do not touch it again. Next week, draw the exact same landscape from scratch in a fresh file, then place the two versions side by side. You will be shocked how much steadier your lines and cleaner your colors look after only a few practice sessions. This little before-and-after ritual is the fastest way to see your progress, and it is far more motivating than any tutorial. Many new artists quit in week two because they feel stuck; a saved first drawing quietly proves that you are not.
5 Mistakes Almost Every Procreate Beginner Makes
Every beginner makes the same five mistakes, so if you recognize yourself here, you are completely normal. The good news is that each one has a simple fix. Read them once and you will skip weeks of frustration.
1
Drawing everything on one layer. When the sketch, lines, and colors all live on one sheet, fixing one small mistake means erasing good work too. Fix: give each stage its own layer, like you did in the steps above.
2
Zooming in too far. Pinching in until one eyelash fills the screen makes lines shaky and proportions (the sizes of things compared to each other) go wrong. Fix: draw most of your picture zoomed out, and zoom in only for tiny final details.
3
Collecting too many brushes. Downloading hundreds of brushes feels productive, but beginners end up scrolling instead of drawing. Fix: stick with one line brush and one soft brush until you finish several drawings.
4
Never saving copies. If you paint over your only version and hate the result, there is no way back. Fix: in the Gallery, long-press your artwork to duplicate it before trying big changes, or use the undo gesture early and often.
5
Comparing yourself with professionals. The polished art you see online often comes from people with ten years of practice and carefully picked best pieces. Fix: compare today’s drawing only with your own drawing from last month. That race is fair, and you will win it.
What Should You Learn After Your First Drawing?
Your next steps are simple: practice this same layer routine on new subjects until it feels automatic, then start exploring styles. Trying a fun, shiny retro style is a great second project; read our guide to the Frutiger Aero aesthetic and copy its glossy bubbles and grassy hills. When you run out of subjects, this list of digital art ideas for beginners will keep your sketchbook full for months.
A gentle weekly rhythm works best: one guided drawing, one free drawing of anything you like, and one page of pure play with colors and brushes. After a month of that, tools like blending modes and masks will suddenly make sense, because you will have real drawings that need them.
Frequently Asked Questions
Is Procreate good for complete beginners?
Yes, Procreate is one of the best drawing apps for complete beginners. The screen is clean, the basic tools are easy to find, and the two-finger undo gesture means you can never truly ruin a drawing. You can learn the main tools in a single afternoon and grow into the advanced features slowly.
Do I need an Apple Pencil to use Procreate?
No, you do not need an Apple Pencil to use Procreate. A basic stylus works for sketching, lines, and flat colors, and even your finger can draw in a pinch. An Apple Pencil adds pressure sensitivity, which makes lines feel more natural, so it is a nice upgrade later, not a requirement to start.
What canvas size should a beginner use?
A canvas of about 3000 x 3000 pixels is a great starting size for beginners. It is large enough to print nicely and look crisp on social media, but not so large that the app slows down or limits your layers. The built-in Square preset is a safe choice if you do not want to think about numbers.
Is Procreate a one-time payment or a subscription?
Procreate is a one-time payment, not a subscription. You pay once in the App Store and the app is yours, including future uses with no monthly fee. Prices can change over time, so check the App Store listing for the current price before buying.
Can I sell art I make in Procreate?
Yes, in general you can sell art you create in Procreate, because your own original drawings belong to you. Procreate does not claim ownership of your artwork. Just make sure the art is truly your own original work and does not copy characters or designs owned by someone else.
Where to Go Next
Now that your first landscape is done, keep the momentum going. Try the glossy bubbles and fresh grass of the Frutiger Aero art style as your second project, browse these digital art ideas for beginners whenever you need a fresh subject, and if drawing on a tablet has truly hooked you, our guide to the best drawing tablets for artists explains what to look for in an upgrade.


