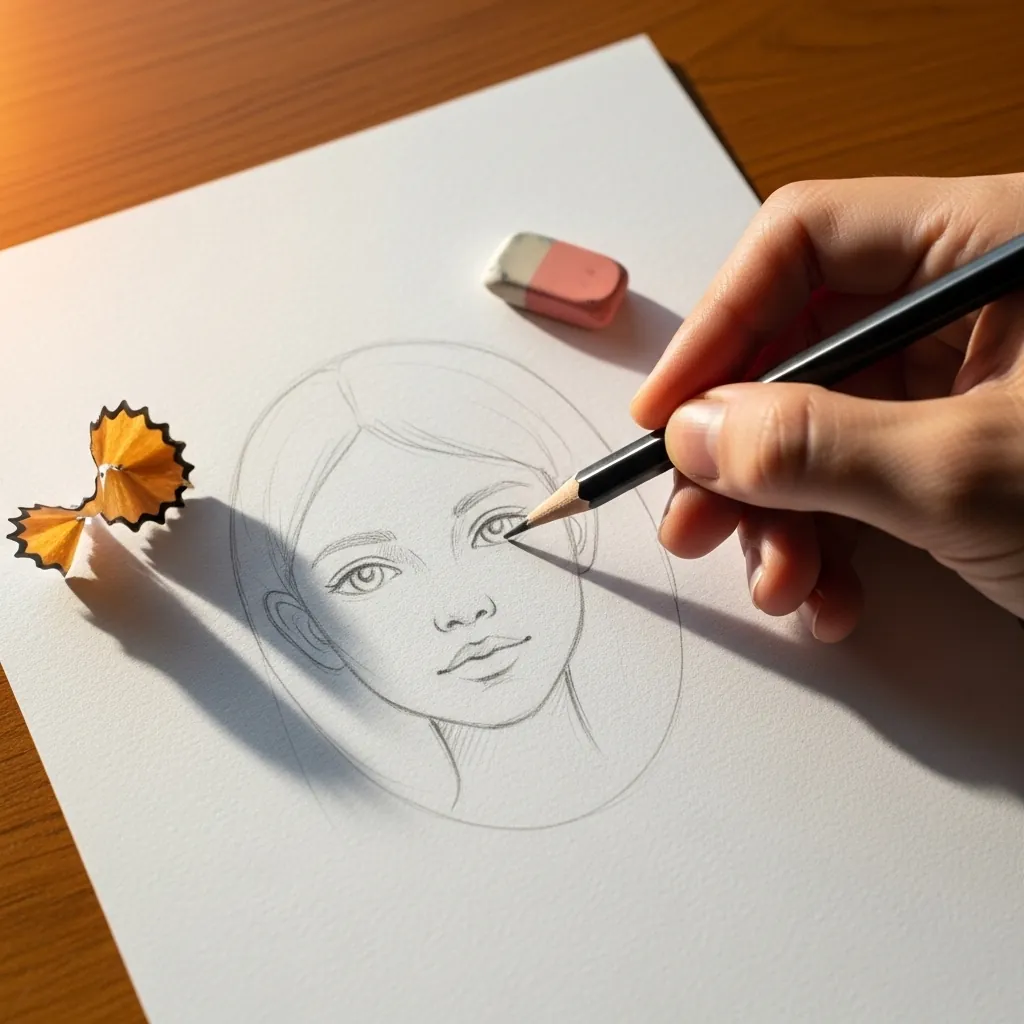
A front-facing head is five eyes wide, with exactly one eye-width of space between the two eyes. Measure that gap before drawing anything else, because crowding the eyes together is the mistake that makes beginner faces look wrong.
Key takeaways
- ["The face is five eye-widths across, with one full eye-width between the eyes", "Ears run from the brow line down to the base of the nose, no further", "The eyes sit on the horizontal halfway line of the whole head", "Draw the head as a ball with the sides sliced flat, then add the jaw", "Work every feature lightly until all of them are placed, then commit"]
One measurement fixes more beginner portraits than any amount of shading. A front-facing face is five eye-widths across, and one of those widths is the gap between the eyes. Almost everybody draws the eyes too close together, and no amount of detail afterwards will make that face look right.
The second measurement is just as quick to check. The ears run from the brow line down to the base of the nose. Hold a ruler horizontally across a photograph and you will find it is true on almost every head, which is why ears drawn too high or too low look immediately odd.
Then there is the one everybody has heard and still gets wrong. The eyes sit halfway down the whole head, not halfway down the face. The cranium above the brow is much taller than it feels, and hair hides it, so beginners consistently place the eyes far too high.
The forty steps below work outward from single features to complete heads, in profile, three quarter and front views. For stylized faces see cute girl drawing for beginners, and for general pencil control, easy pencil drawing for beginners.
Compiled by the GS Art Zone editorial team. Last updated August 2026. Each idea is paired with the specific step that produces the effect, so you can go from the reference straight to paper.
What You Need Before You Start
- An HB for construction and a 2B for the darks around the eyes and lashes
- A kneaded eraser, since faces need highlights lifted rather than rubbed out
- A ruler for checking measurements, not for drawing any of the lines
- Smooth paper, because skin shading shows every bit of paper grain
- A photograph rather than a mirror to start with, as a still subject is easier
1. Full Front Portrait Sketch
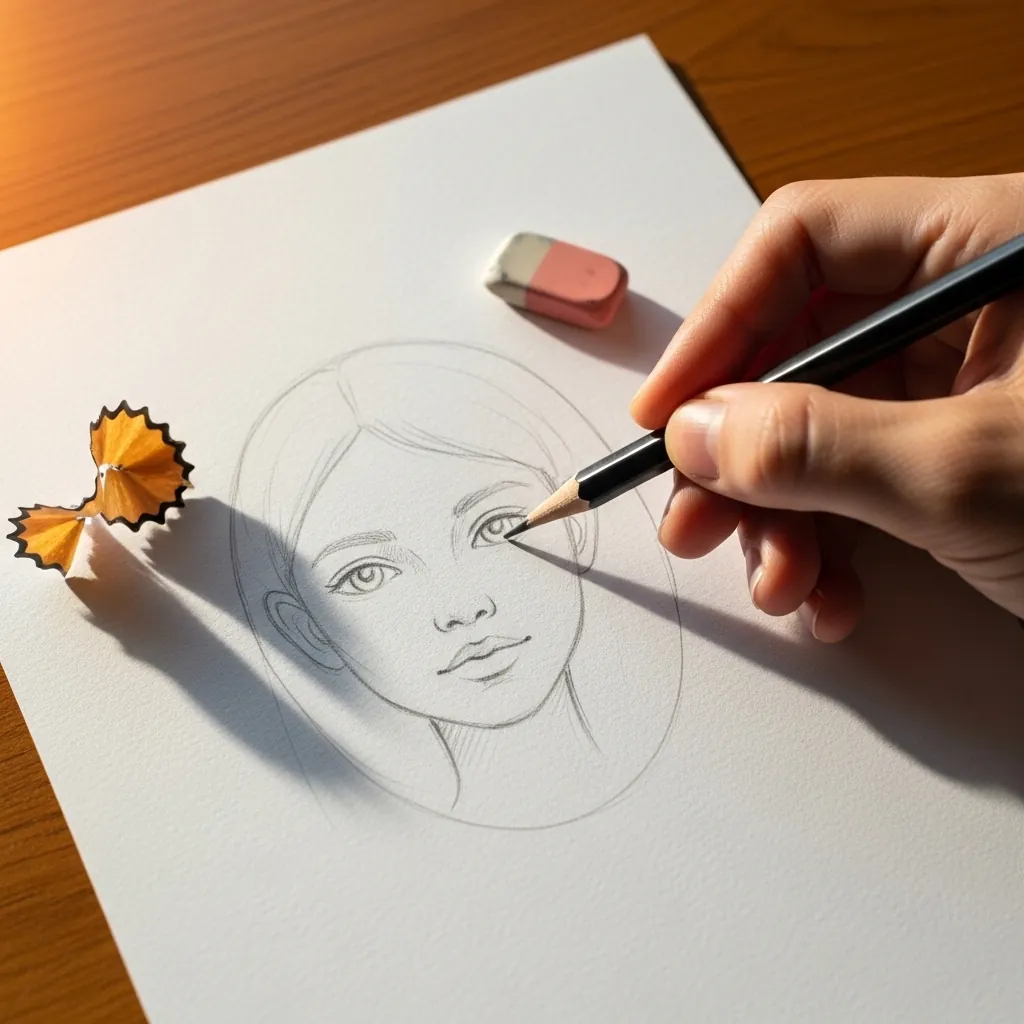
Start with a whole face at a light pressure to see the arrangement. Place the eye line halfway down the head, drop the nose halfway between that line and the chin, and put the mouth a third of the way from nose to chin; everything else is detail.
2. Eyes Practice Row
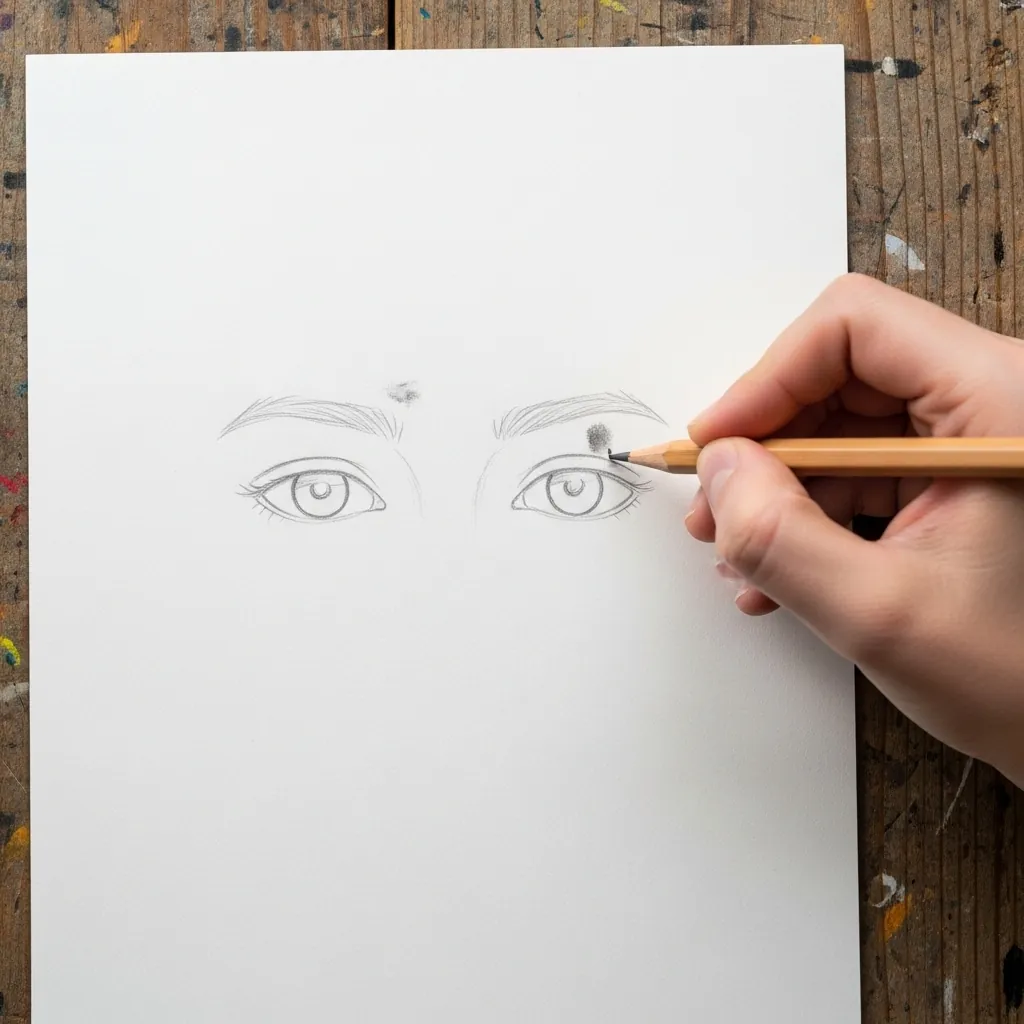
Drawing eyes as a pair rather than one at a time is the point of this exercise. Leave exactly one eye-width between them, keep both on the same horizontal line, and match the tilt of the inner corners. Practice the pair a dozen times before attempting a face.
3. Nose and Lips Together
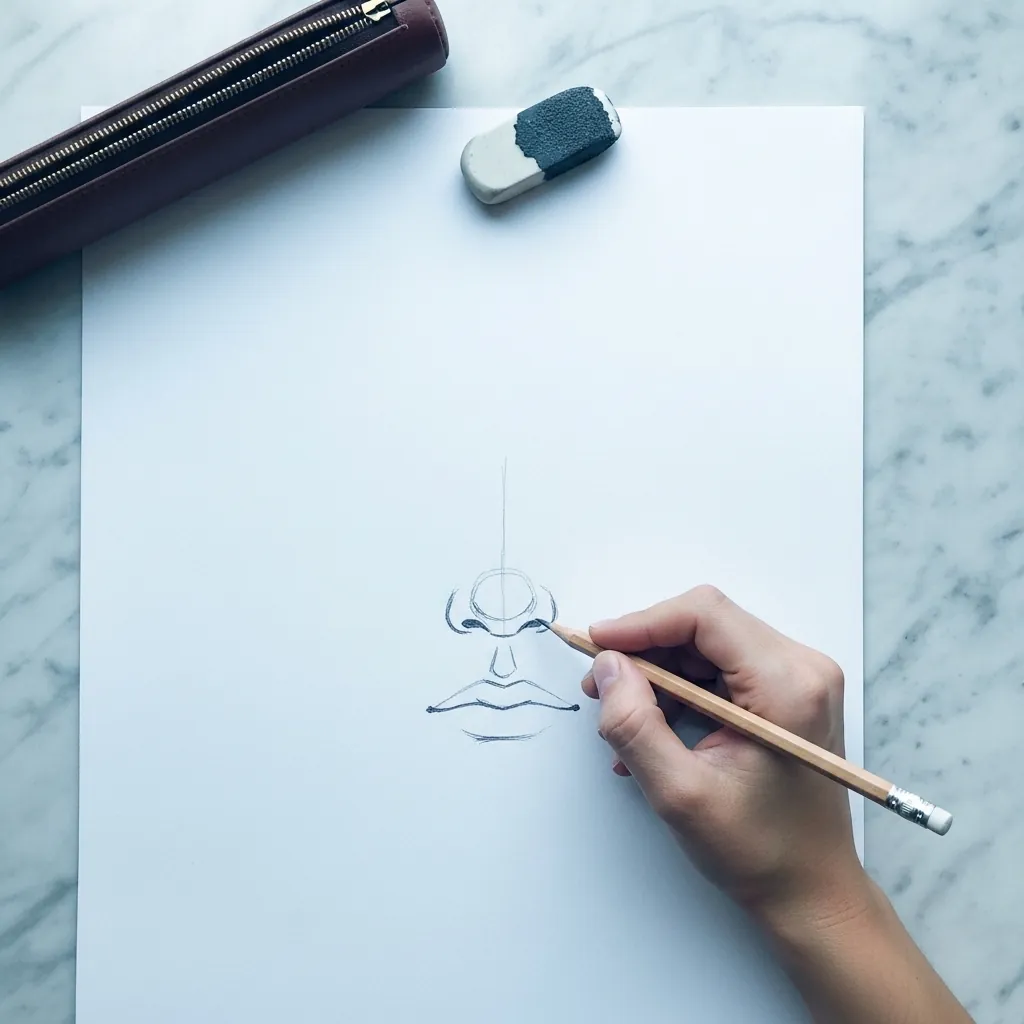
The nose and mouth belong to each other, so never study one alone. Whatever width you give the nostrils becomes the width between the corners of the lips, and whatever height you give the nose sets how far the mouth sits below it. Draw both together every time.
4. Lips Close-Up
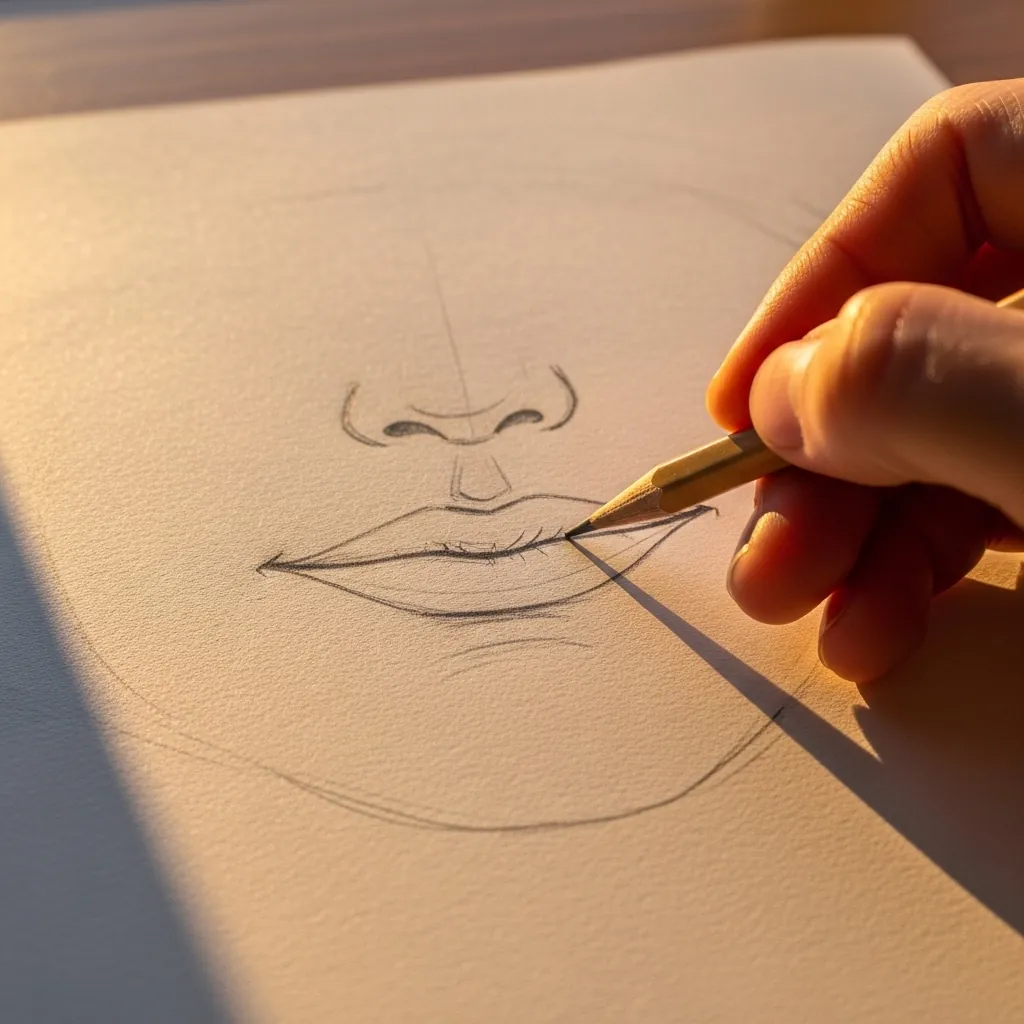
Lips have a rule most people miss: the upper lip is usually darker than the lower one because it angles away from the light. Draw the line between the lips darkest, keep the lower lip pale in the middle, and never outline the outer edges hard.
5. Guide Lines on a Face
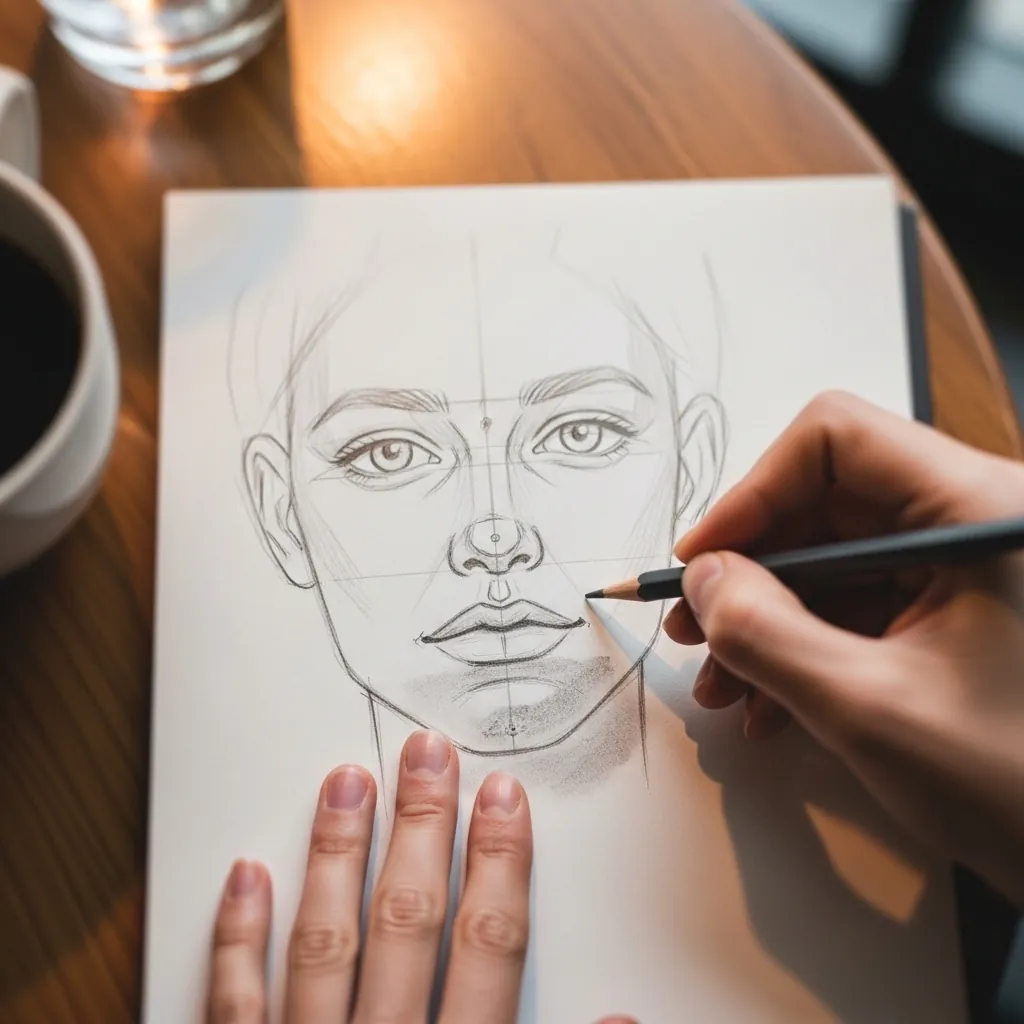
Guide lines are the whole method. Rule a vertical center line and horizontals for the brow, eyes, nose base and mouth, then build every feature against those marks; keep them faint enough to lift out cleanly once the portrait is finished.
6. Simple Male Face
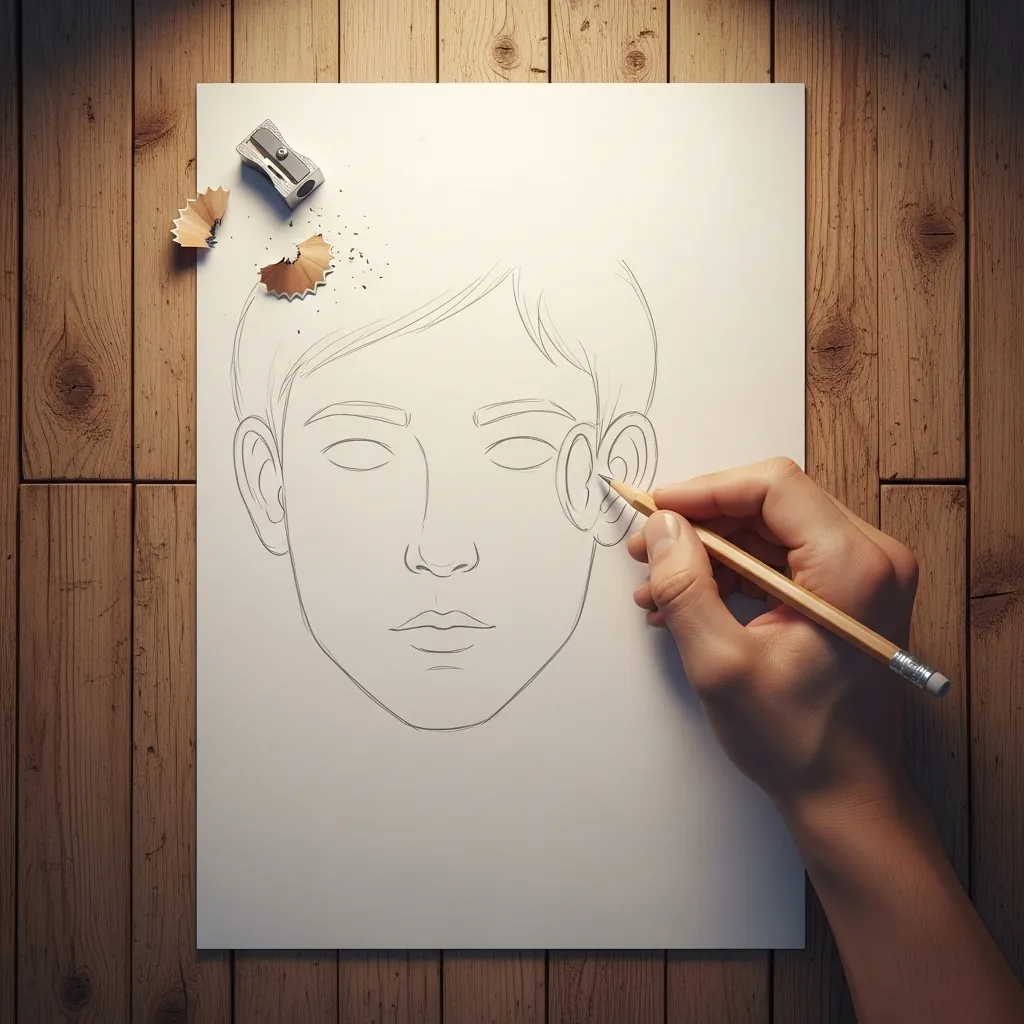
Male and female heads differ mostly in the jaw and brow. Square the jaw off at the corners, make the brow ridge protrude slightly over the eyes, and keep the lips thinner and less curved. The underlying proportions themselves do not change at all.
7. Child Face Proportions
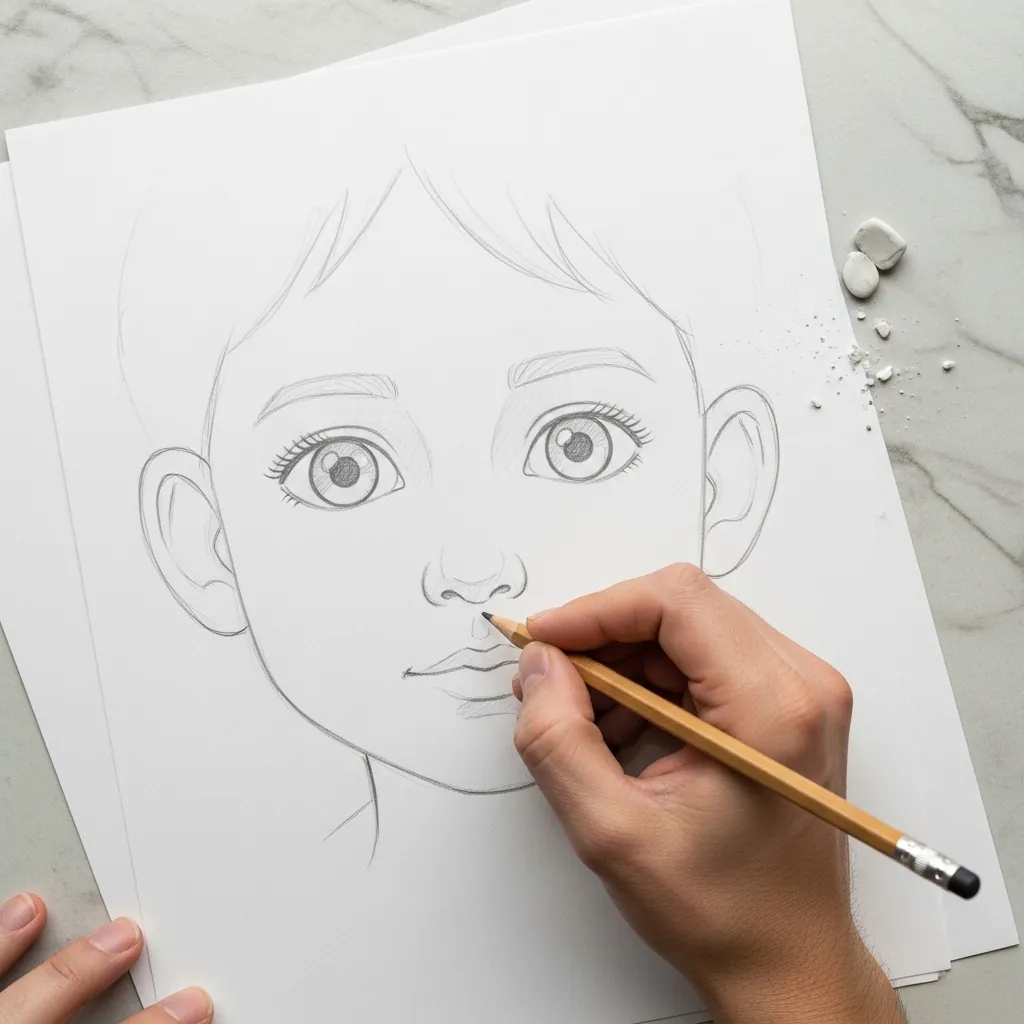
Children are not small adults. Their eyes sit lower than halfway down the head, the cranium is proportionally huge, and the nose and jaw are both much smaller. Drop the eye line and enlarge the forehead and the face immediately reads as young.
8. Short Hair and Shading
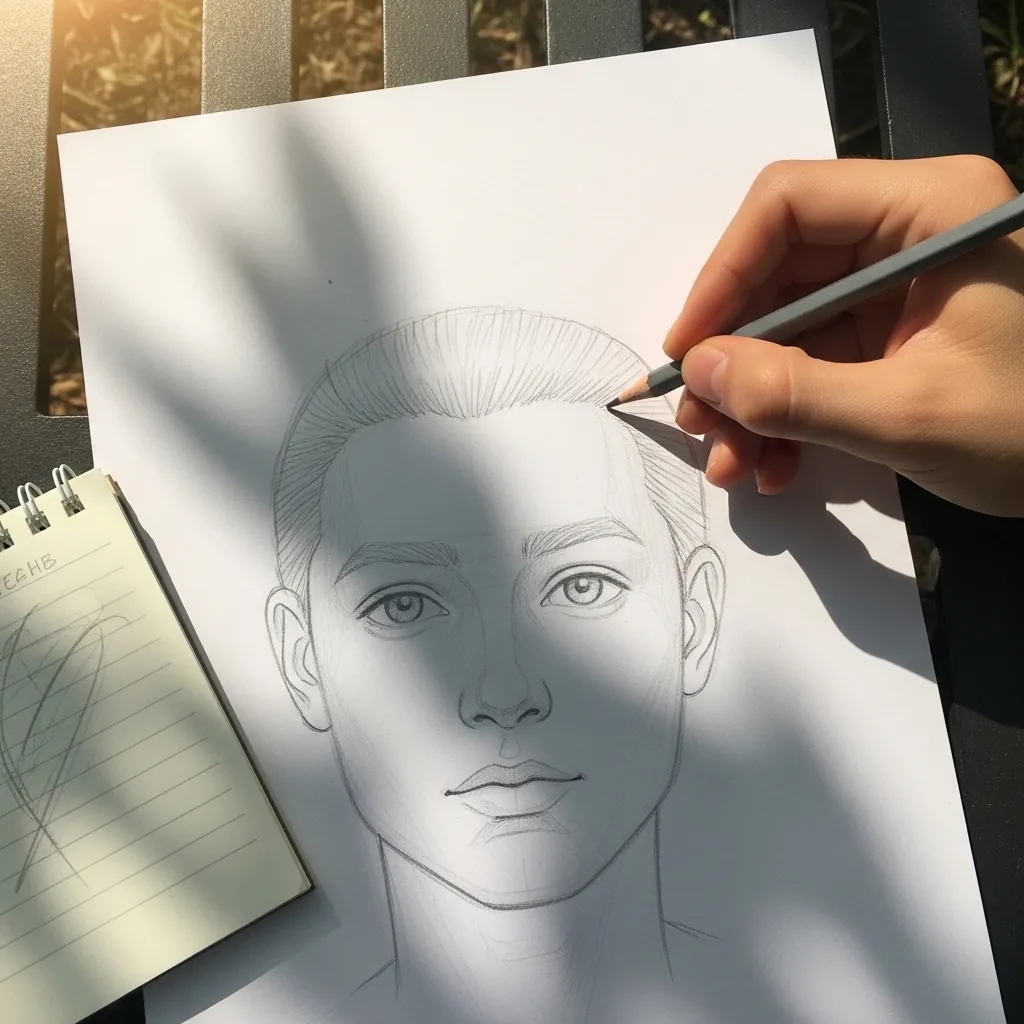
Hair is a mass first and strands second. Block the whole shape in as one tone including the volume it adds above the skull, then pull a few darker strokes through it in the direction it grows; individual hairs come last if at all.
9. One Eye and Brow
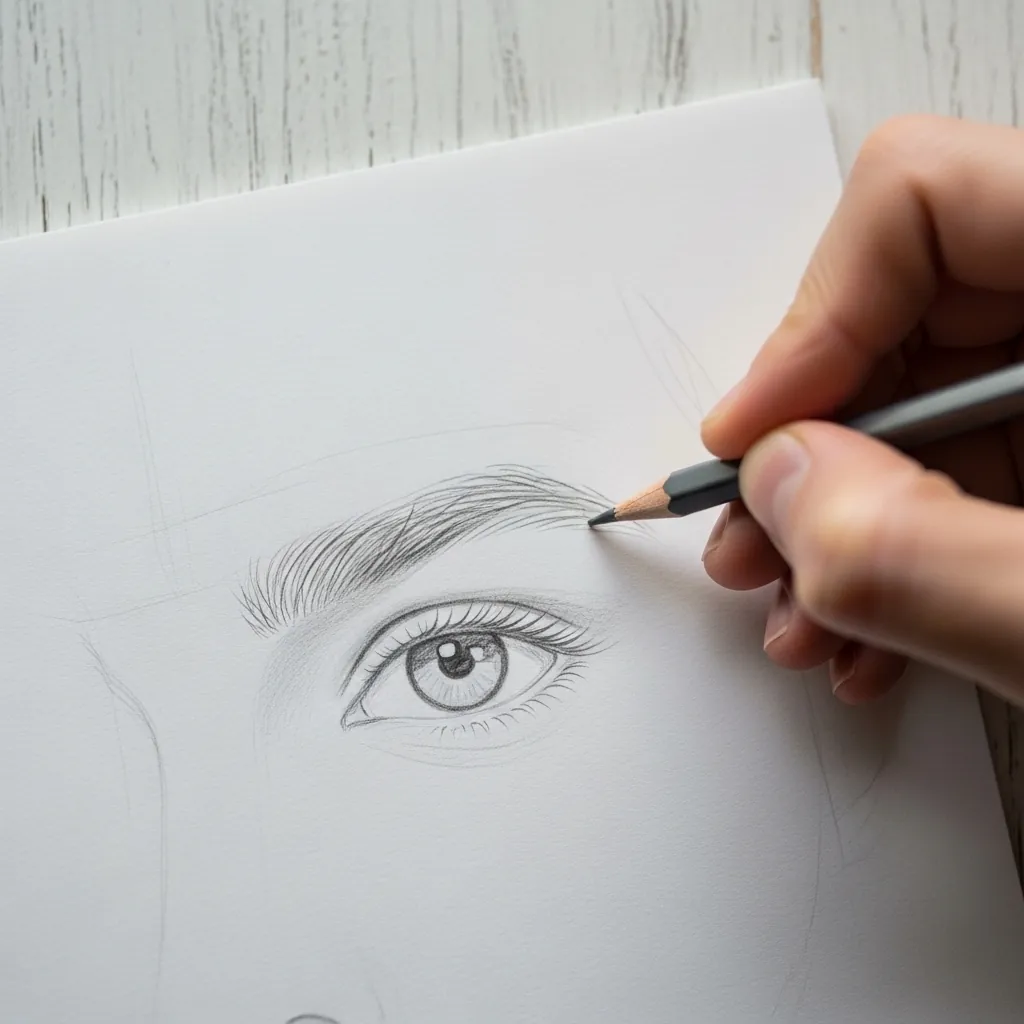
An eye is a sphere with lids wrapped over it. Give the upper lid a visible thickness, let the iris disappear under it rather than sitting fully exposed, and darken the corner nearest the nose. The brow follows the curve of the socket, not the top of the eye.
10. Measuring With a Ruler
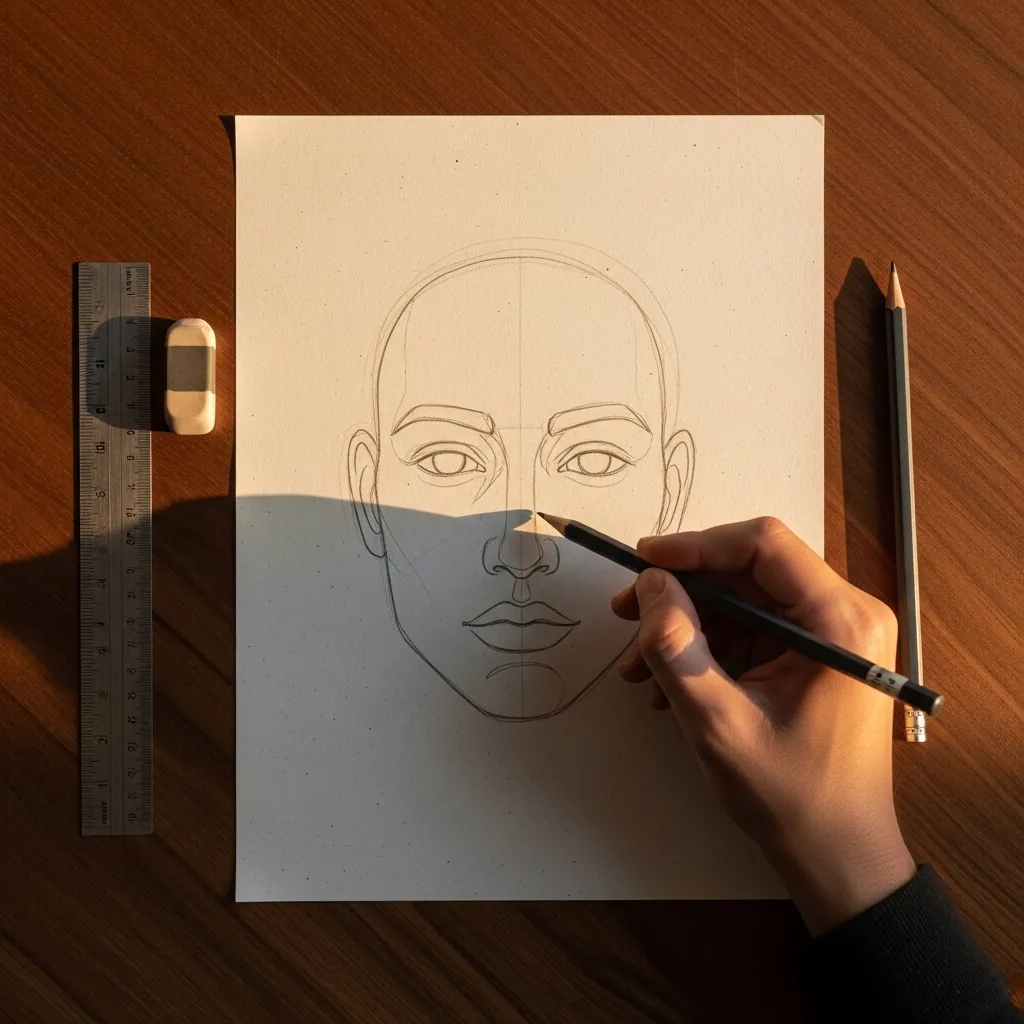
Measuring is not cheating, it is how portrait artists work. Check the five-eye width, the halfway eye line and the ear span with a ruler while everything is still light, and correct any that are out before committing to a single dark line.
11. The Center Line
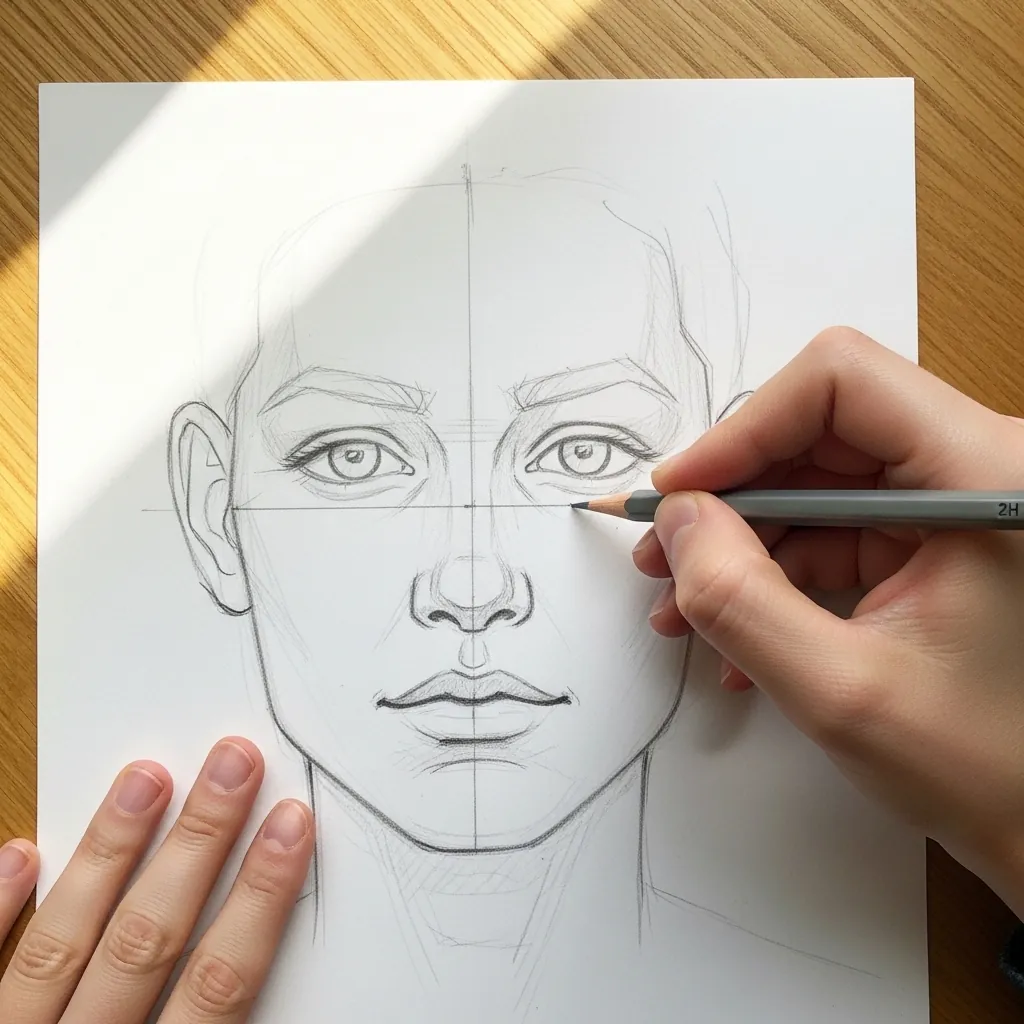
The center line does more than divide the face. It tells you which way the head is turned, so on a front view keep it straight down the middle, and the moment the head tips or turns it should curve with the surface of the face.
12. Nose and Mouth Study
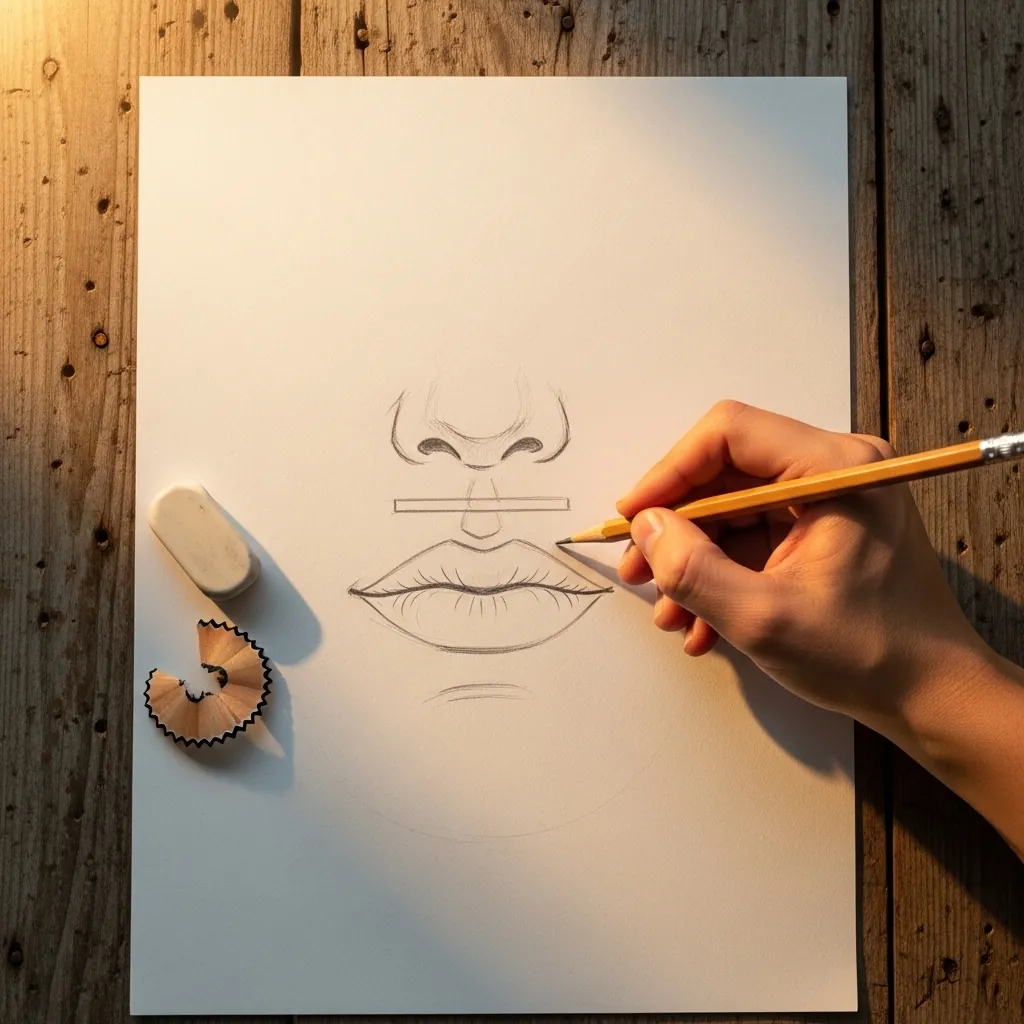
Noses are easier drawn as planes than as outlines. Establish the front plane, the two side planes and the underside, shade the underside darkest, and let the nostrils be shapes rather than dark holes. Almost no nose needs a hard outline.
13. Crosshatch Shading on a Cheek
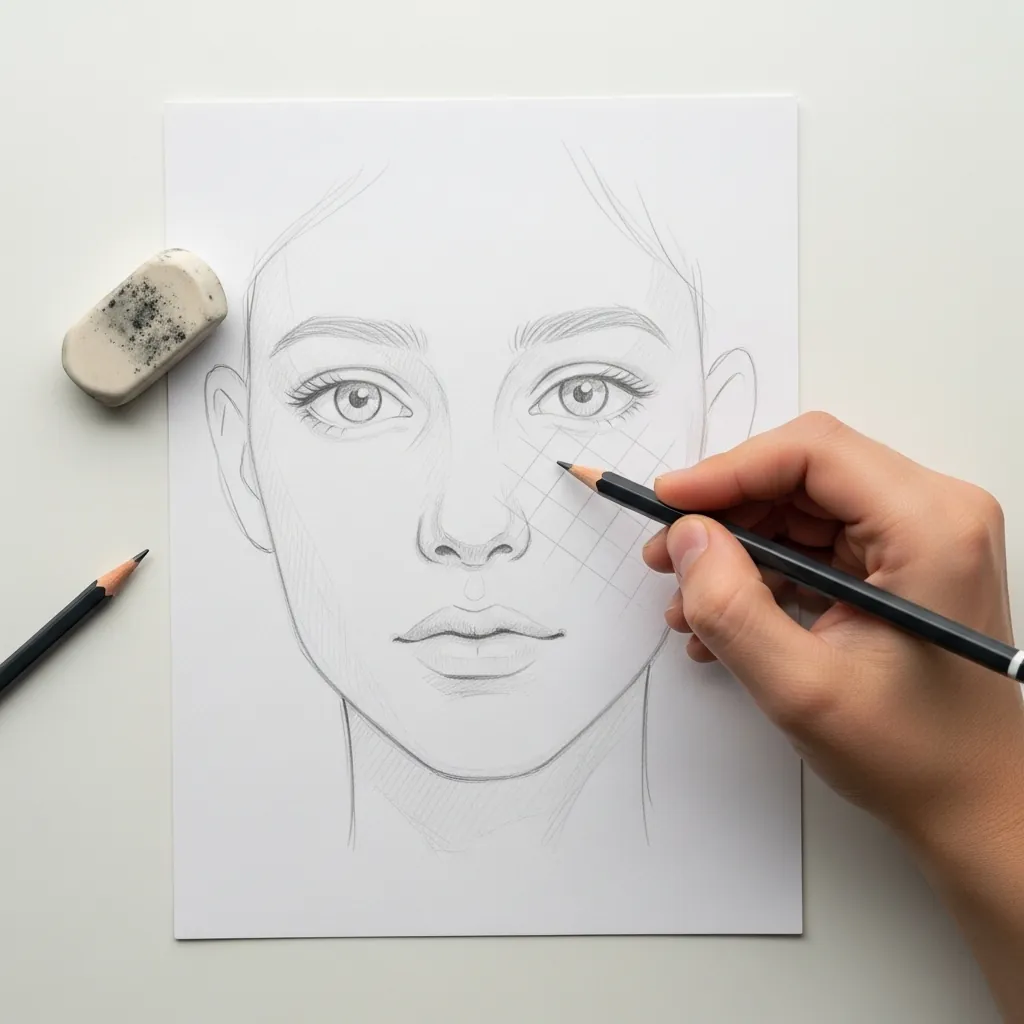
Crosshatching builds tone in layers you can control. Lay one set of parallel lines first, add a second set crossing at a shallow angle, and stop before the surface goes solid; the paper showing through is what keeps skin looking like skin.
14. Placing the Ear
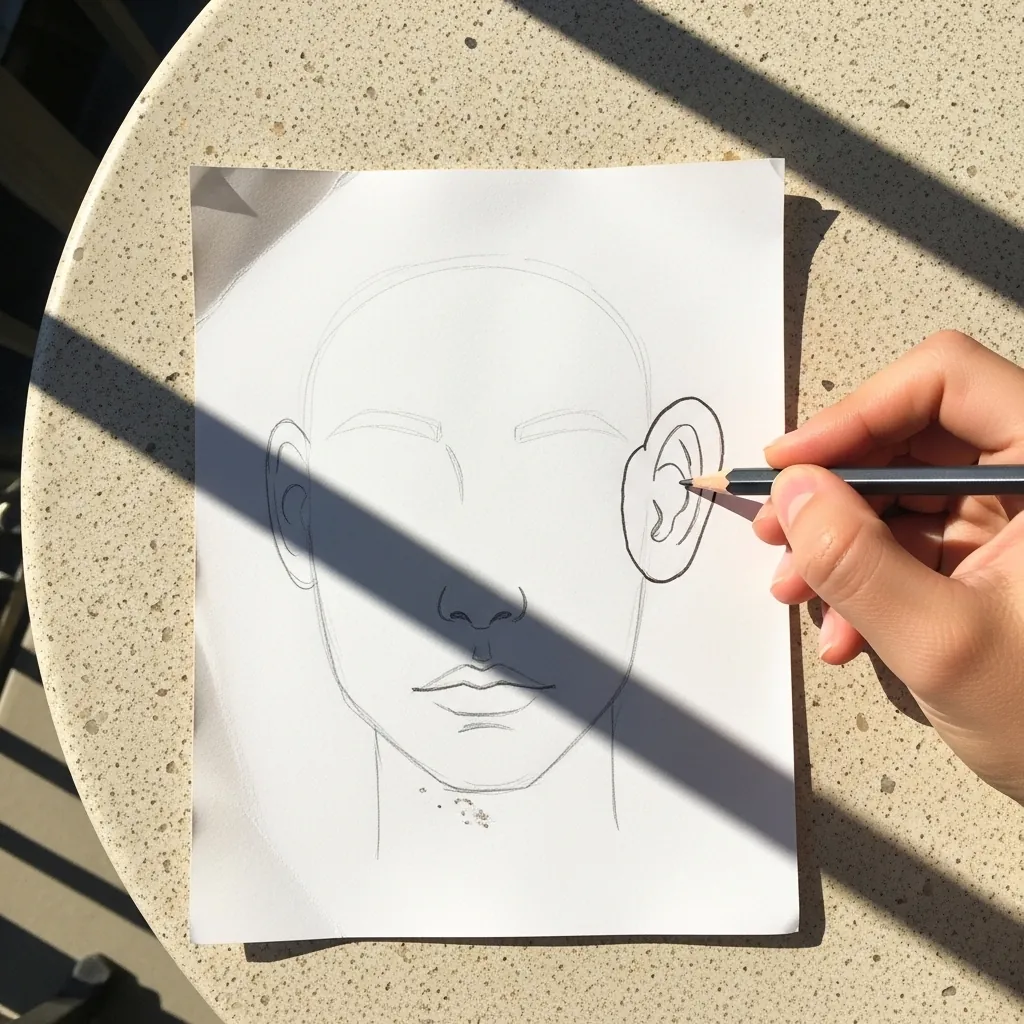
This is the brow-to-nose rule in practice. Mark the brow line and the base of the nose, then fit the whole ear exactly between those two heights, and set it back behind the jaw line rather than on it. The ear tilts slightly backward, never vertical.
15. Profile View
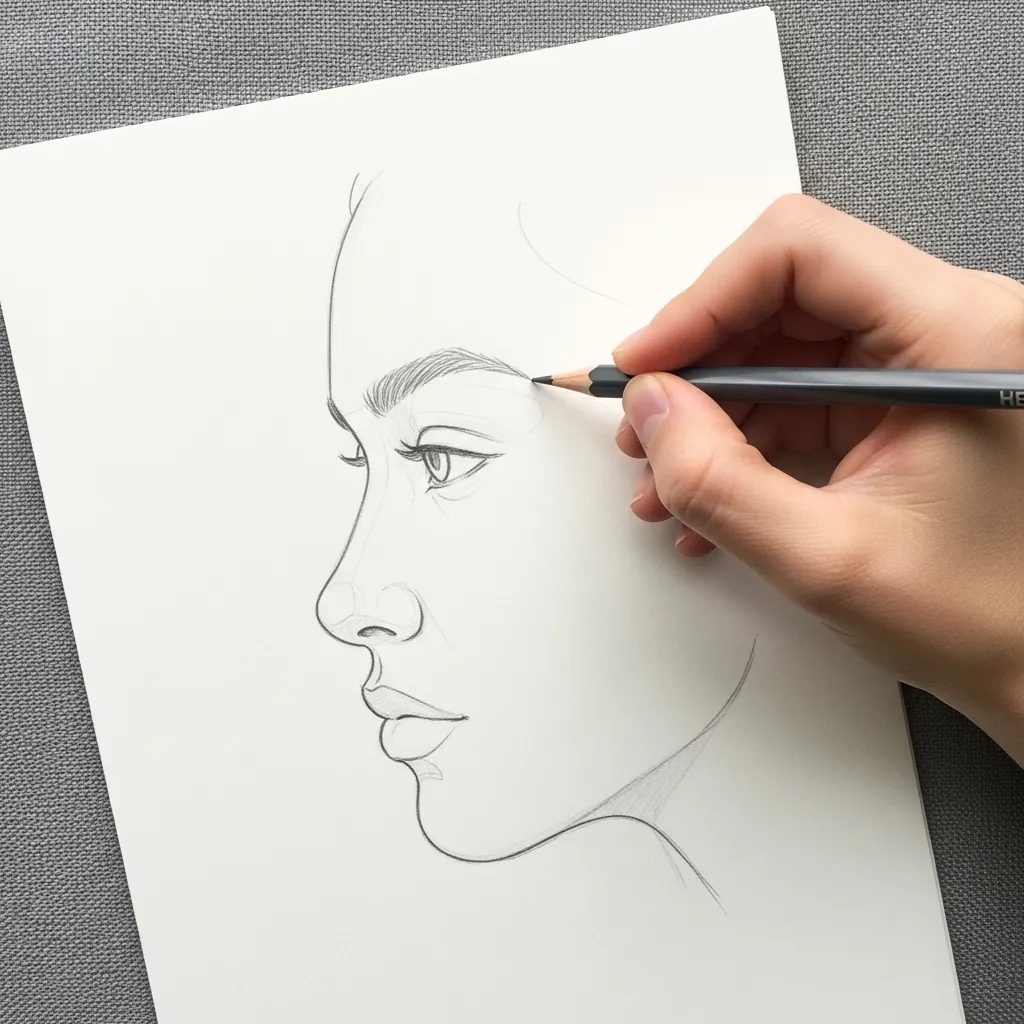
A profile is one continuous contour from forehead to chin. Draw it as a single flowing line with a slight dip at the bridge, a small step under the nose and another under the lower lip; the ear sits roughly halfway between the front and back of the head.
16. Three-Quarter View
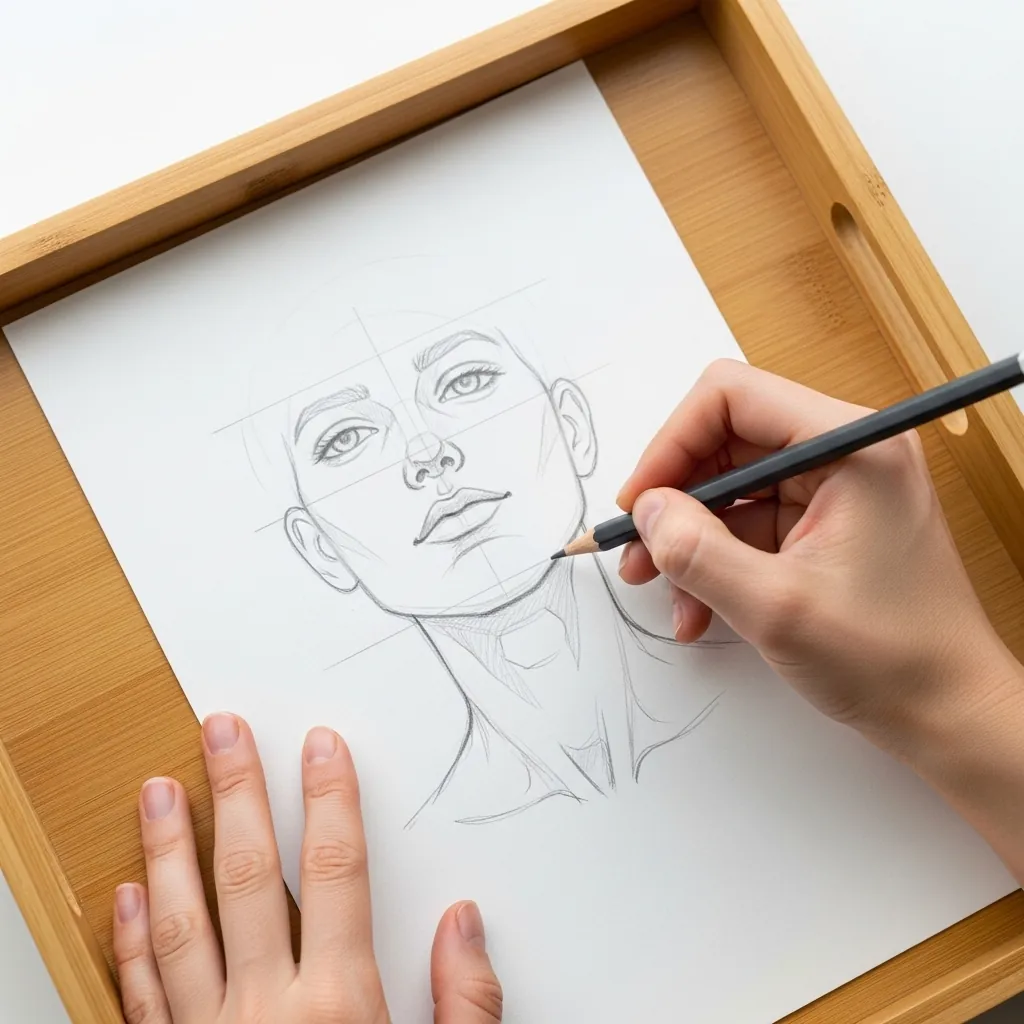
In three quarter view the center line curves. Bend it toward the far side of the face, compress the far eye and the far half of the mouth, and let the far cheek partly hide the far side of the nose. The near eye stays full width.
17. Lifting Highlights in Hair
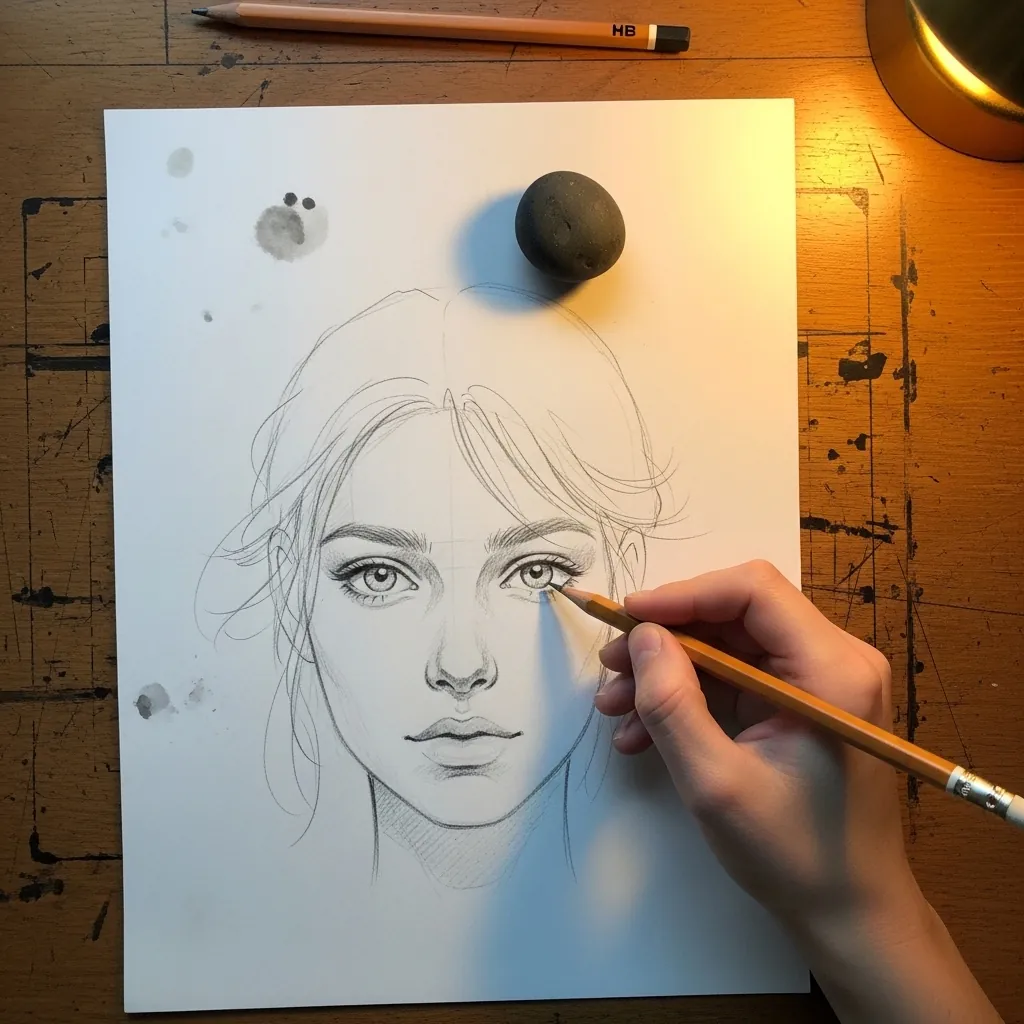
Hair shine is lifted, not drawn. Shade the whole mass to a mid tone, shape the eraser to a thin edge, and pull it through in a band that follows the curve of the head; the band should break rather than run as one unbroken stripe.
18. Simple Smiling Face
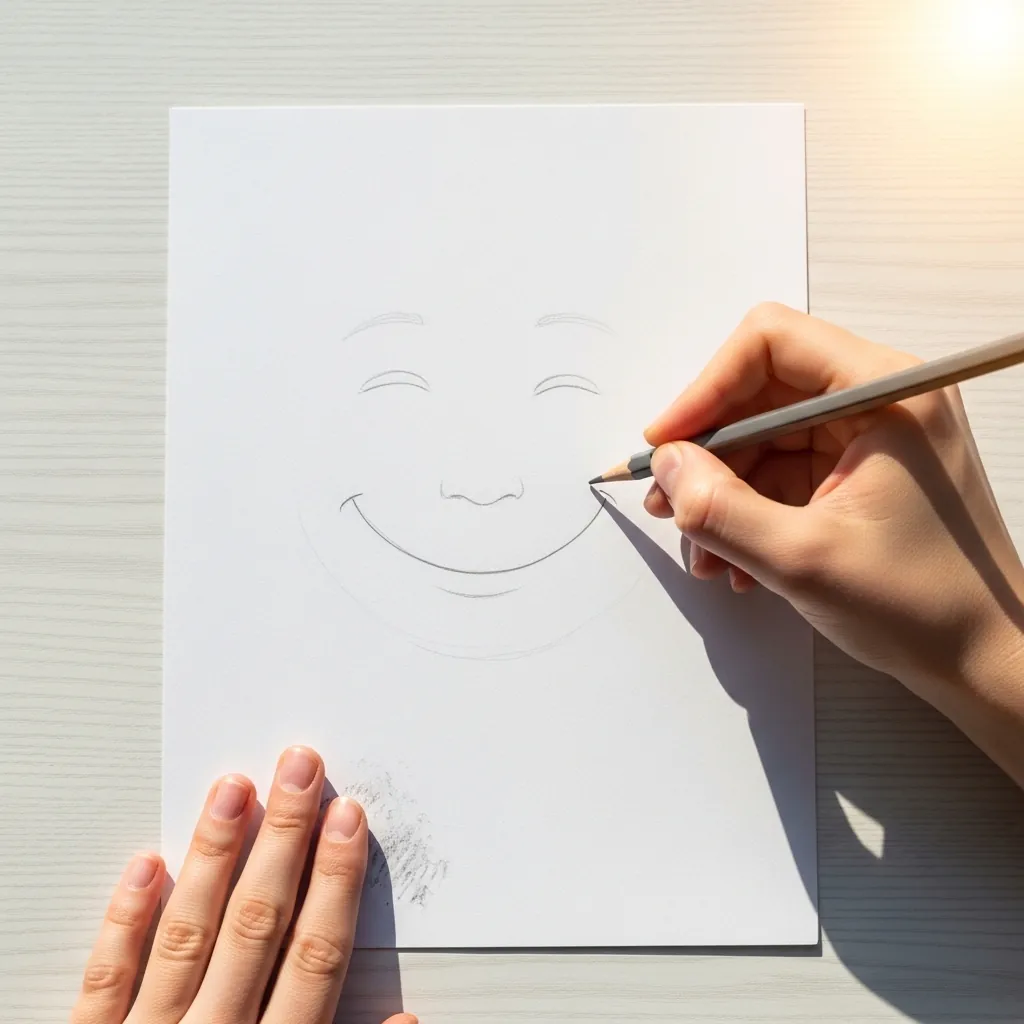
A real smile changes the eyes as much as the mouth. Curve the lower lids upward, push the cheeks up so they narrow the eyes, and widen the mouth rather than just curving it. A smile drawn with the mouth alone always looks false.
19. Eyelashes and Brow Detail
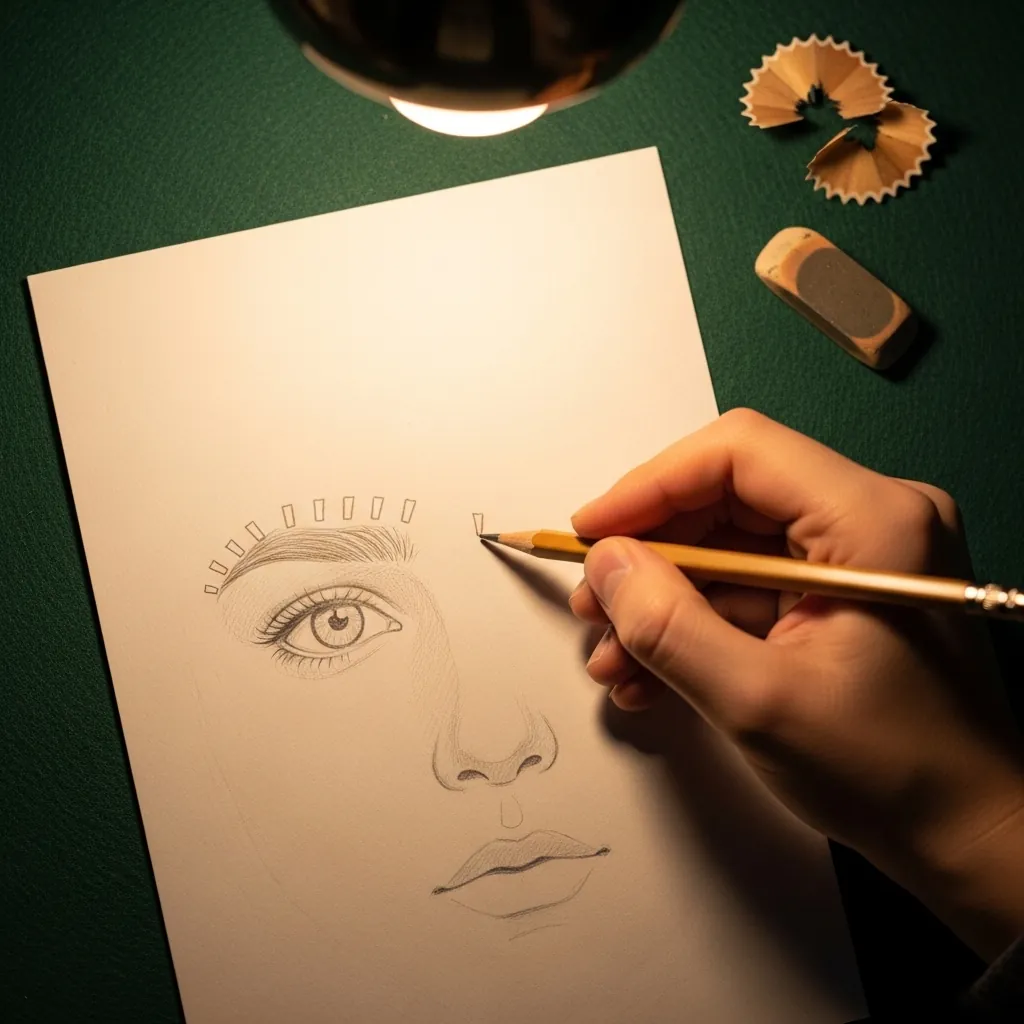
Lashes grow in clumps and curve away from the eye. Draw them in small groups rather than evenly spaced, make them thickest at the outer corner, and taper each one from the lid outward; the same applies to the brow, which is dense at the inner end.
20. Blank Proportion Grid
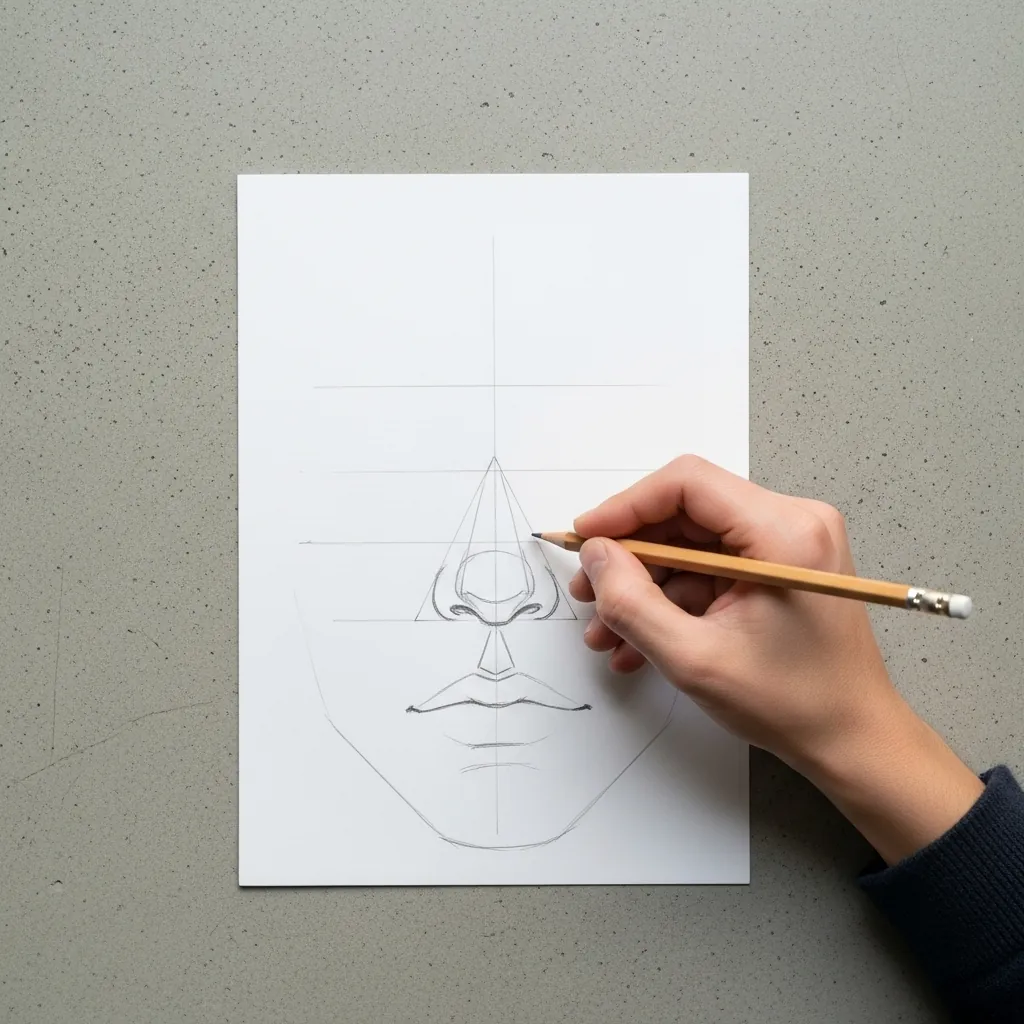
Draw the grid alone as an exercise. Mark the halfway eye line, the brow, the nose base and the mouth line on an empty head shape, and get used to the spacing before any feature goes near the page. Doing this ten times is worth more than ten finished faces.
21. Lower Face Study
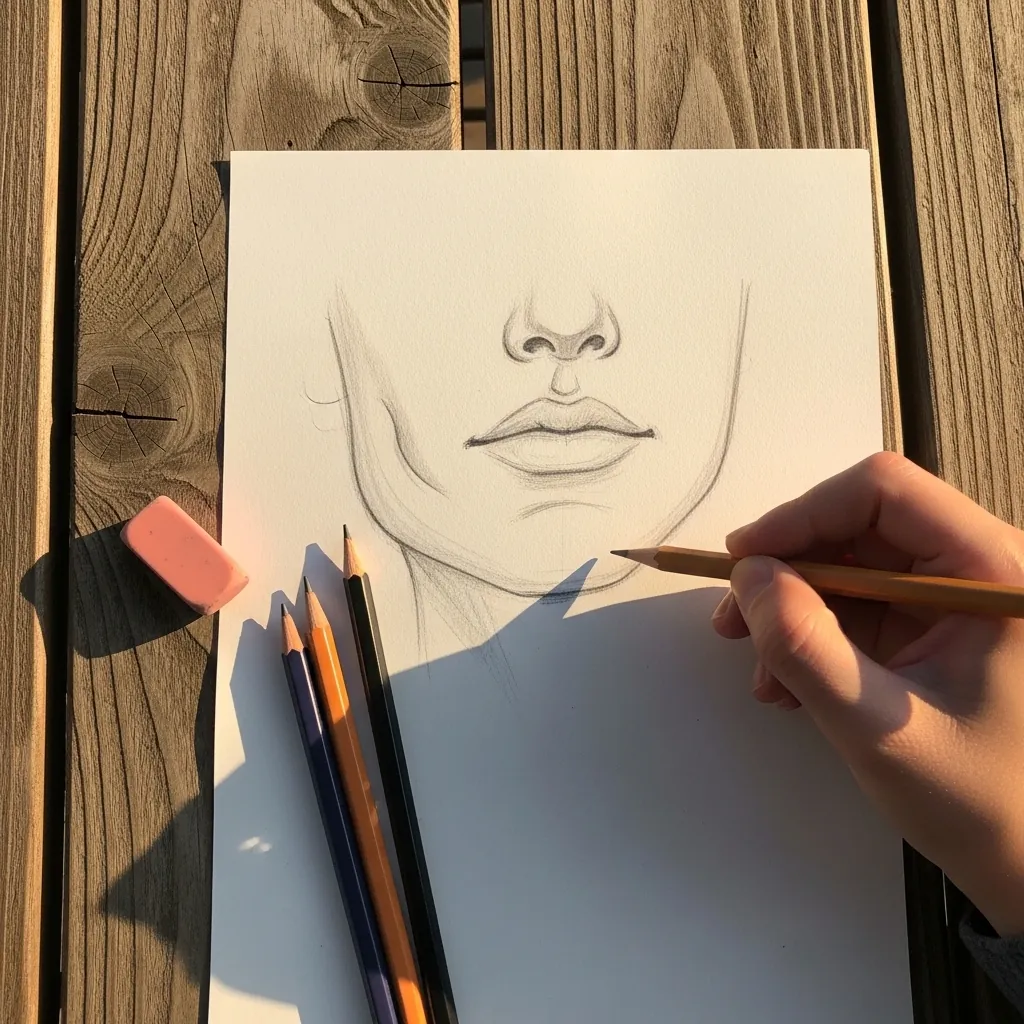
Isolating half a face forces you to see the shapes rather than the person. Draw only from the nose down, keep the chin as a rounded plane rather than a point, and let the jaw line fade before it reaches the ear.
22. The Loomis Ball
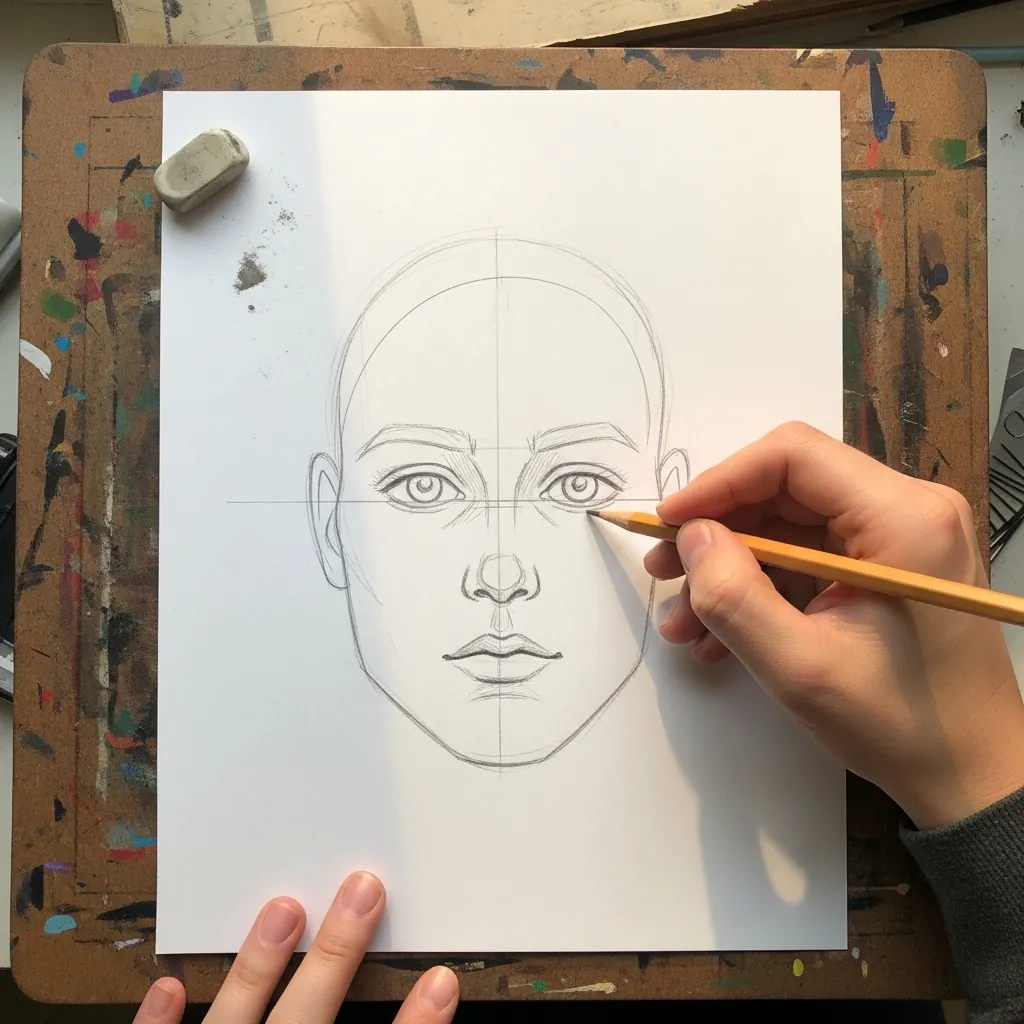
This construction is the reason professional heads hold up when they turn. Draw a circle, slice a flat disc off each side, drop the jaw from the lower edge, and place the features on that solid form rather than on a flat oval.
23. Cartoon Eye Exaggeration
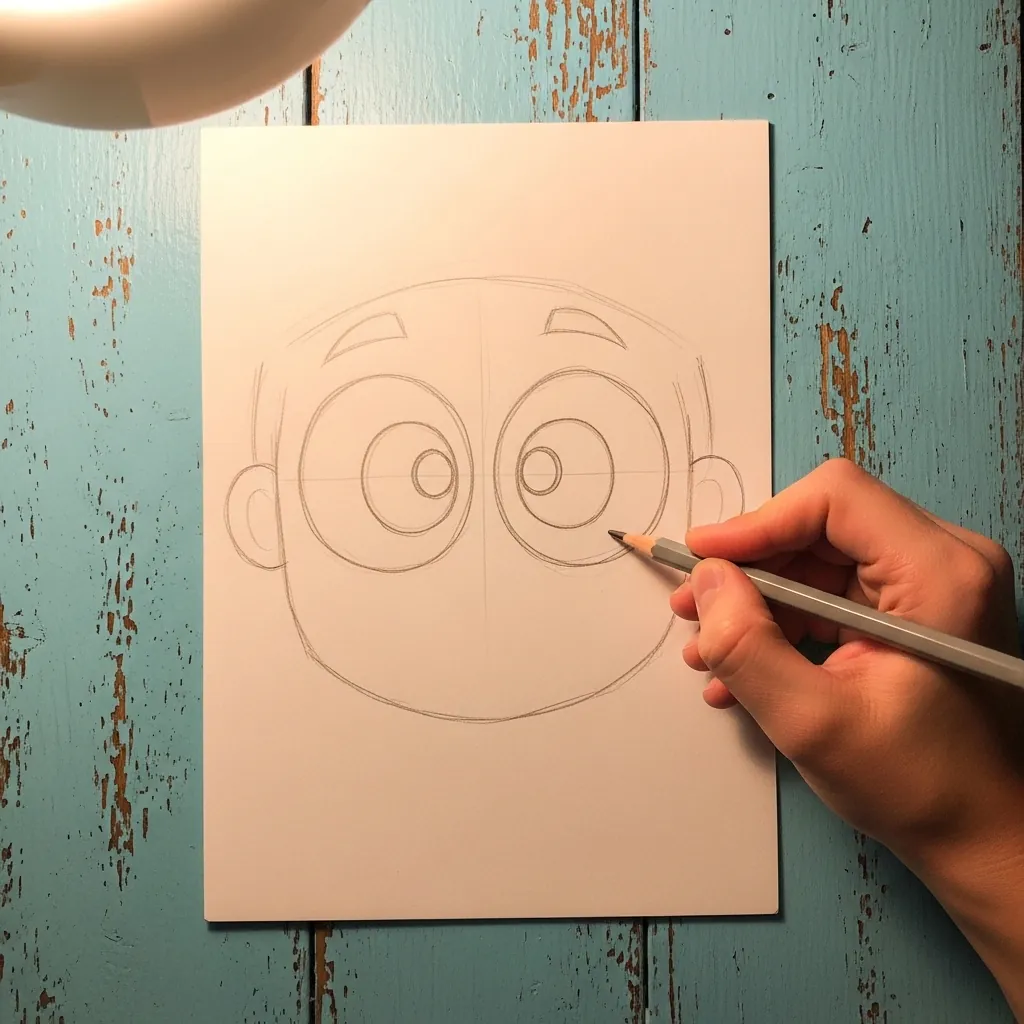
Exaggeration only works if you know what you are exaggerating. Push the eyes far larger than life, but keep the gap between them a full eye-width and keep them on the halfway line; break the proportion deliberately in one place, not everywhere.
24. Detailed Lips and Chin
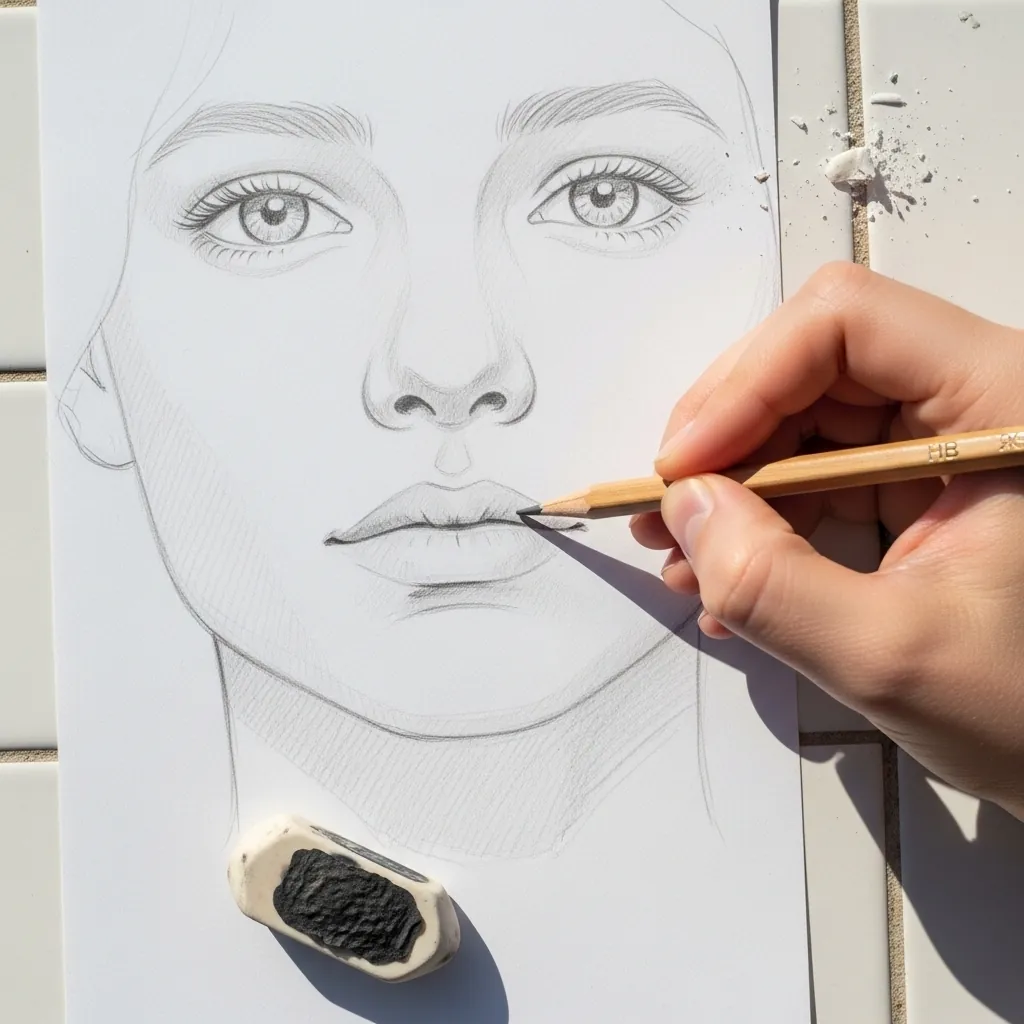
The shadow under the lower lip is what gives a mouth its form. Place a soft dark band directly beneath it, leave the chin below that band lighter, and keep the corner of the mouth as the darkest point of the whole feature.
25. Working in Warm Light
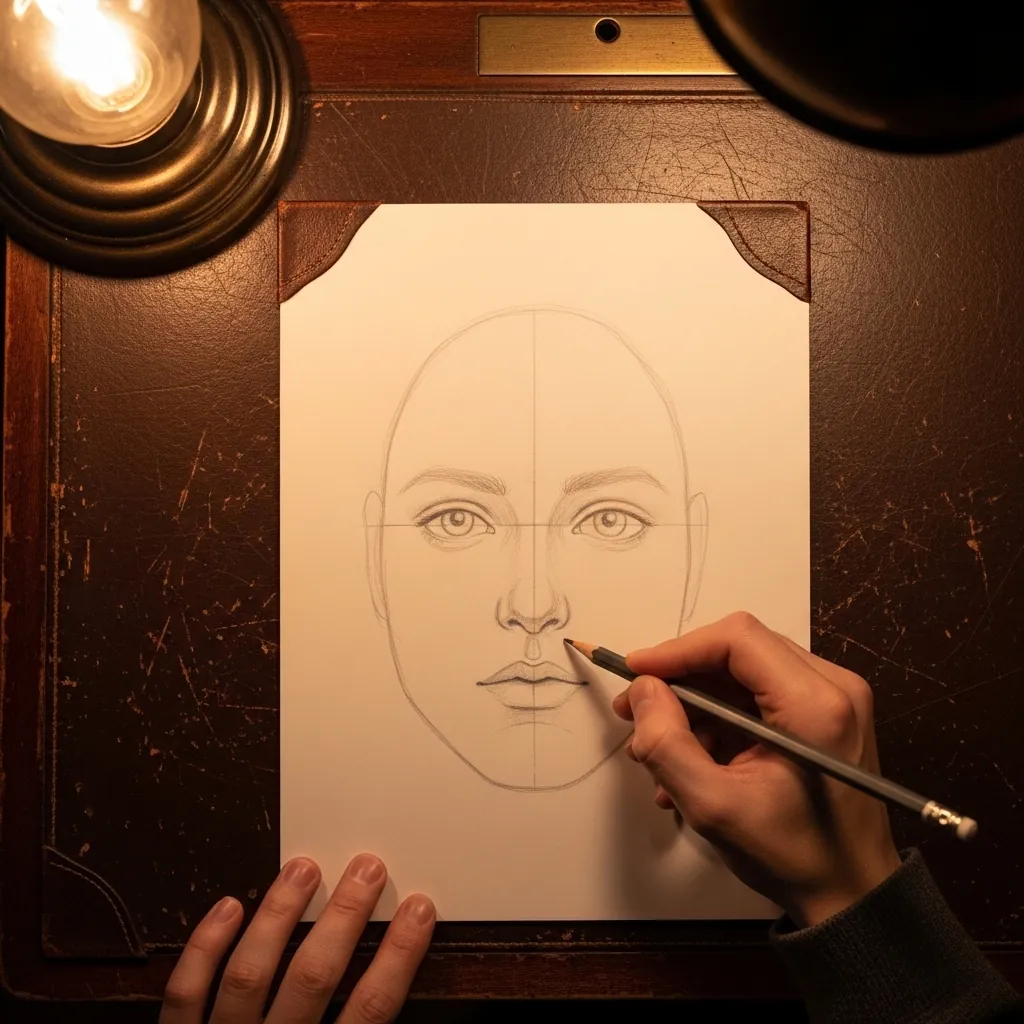
Working under a warm lamp changes how you judge tone. The paper looks darker than it is, so your shading creeps lighter than intended; check the drawing in daylight before deciding it is finished, or it will look weak the next morning.
26. Faint Outline Stage
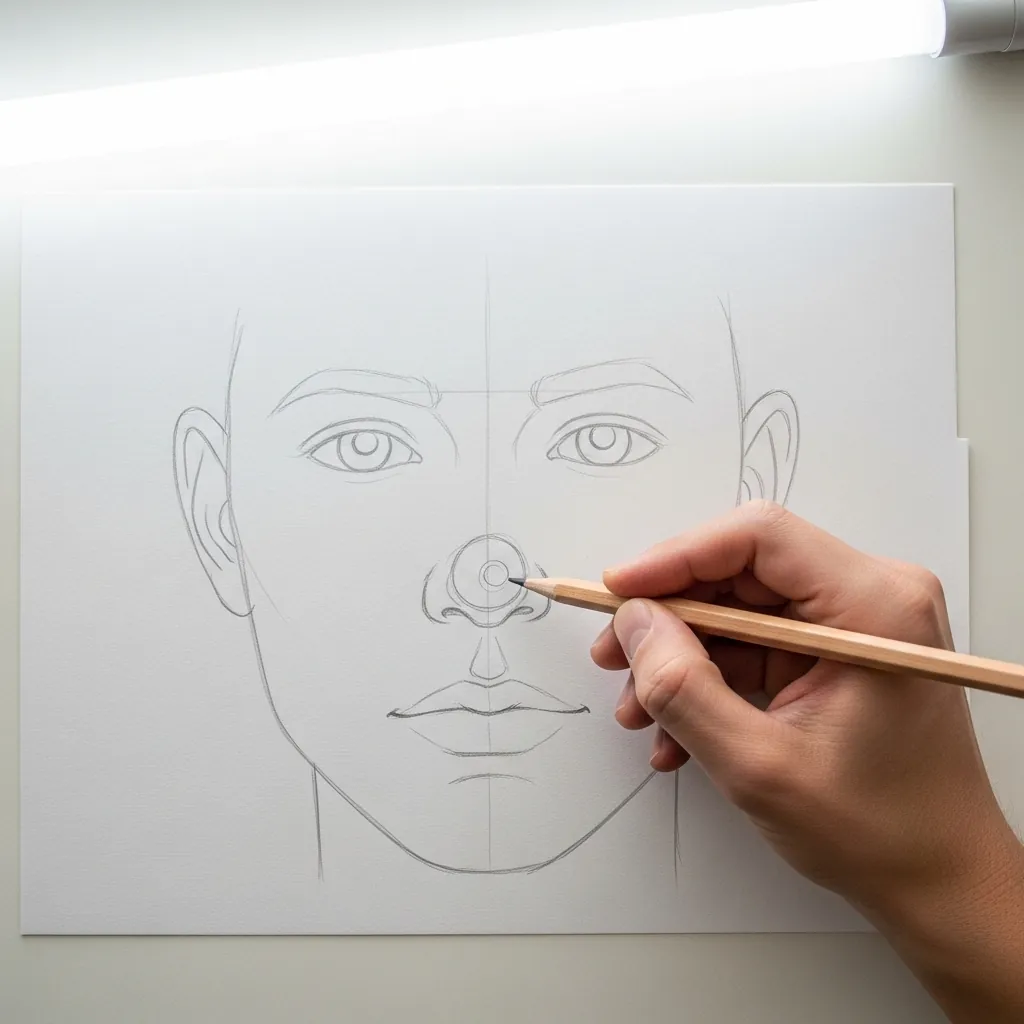
This stage should be almost invisible. Keep the pressure so light that the whole head could be wiped away with one pass of an eraser, place every feature at that weight, and only then decide which lines deserve to become permanent.
27. Sketchbook Eye Study
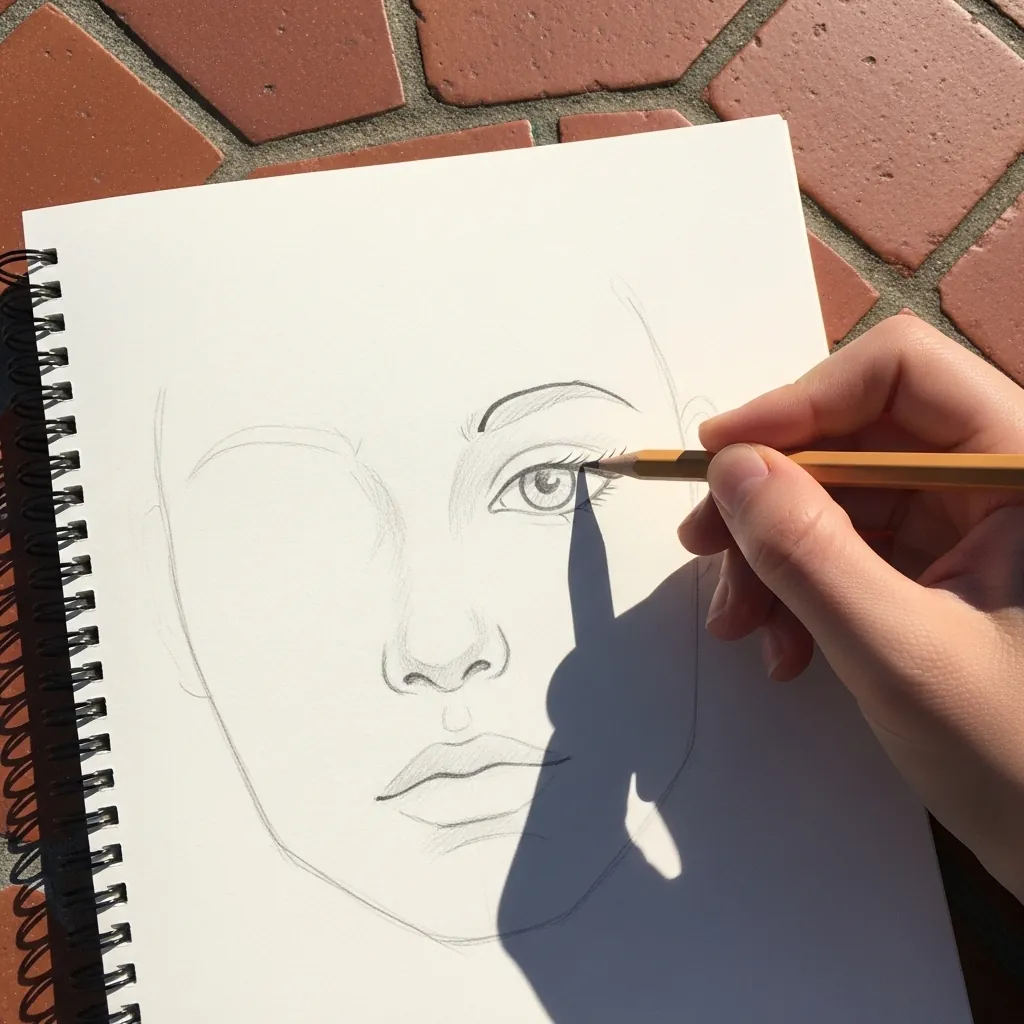
Filling a page with the same feature is how the shape becomes automatic. Draw the same eye eight or ten times across a spread, changing only the angle each time, and stop comparing them to each other. Repetition beats care at this stage.
28. Comic Style Male Face
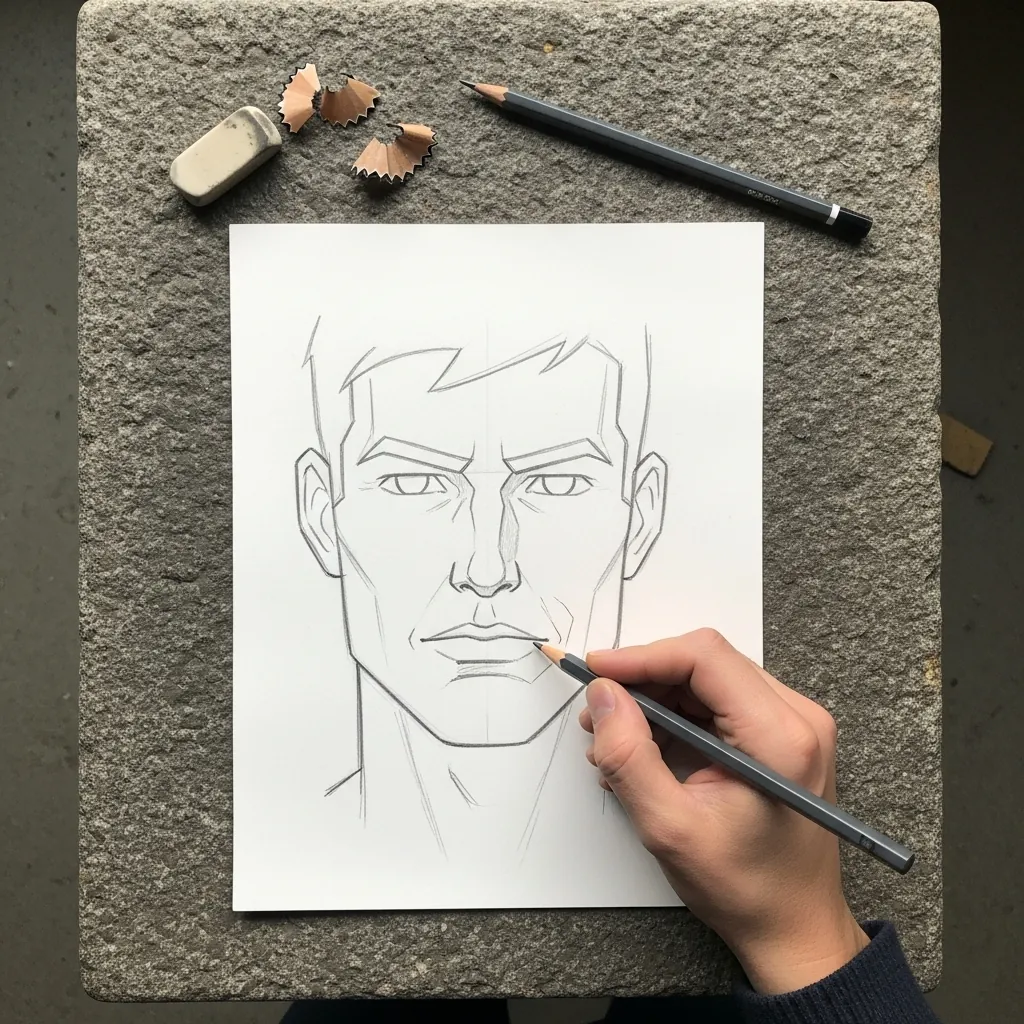
Comic faces trade curves for planes. Square the jaw, cut the cheekbone in as a straight line, and reduce the nose to two or three flat surfaces; keep the eyes narrow and set them beneath a heavy brow that runs almost straight across.
29. Even Line Weight
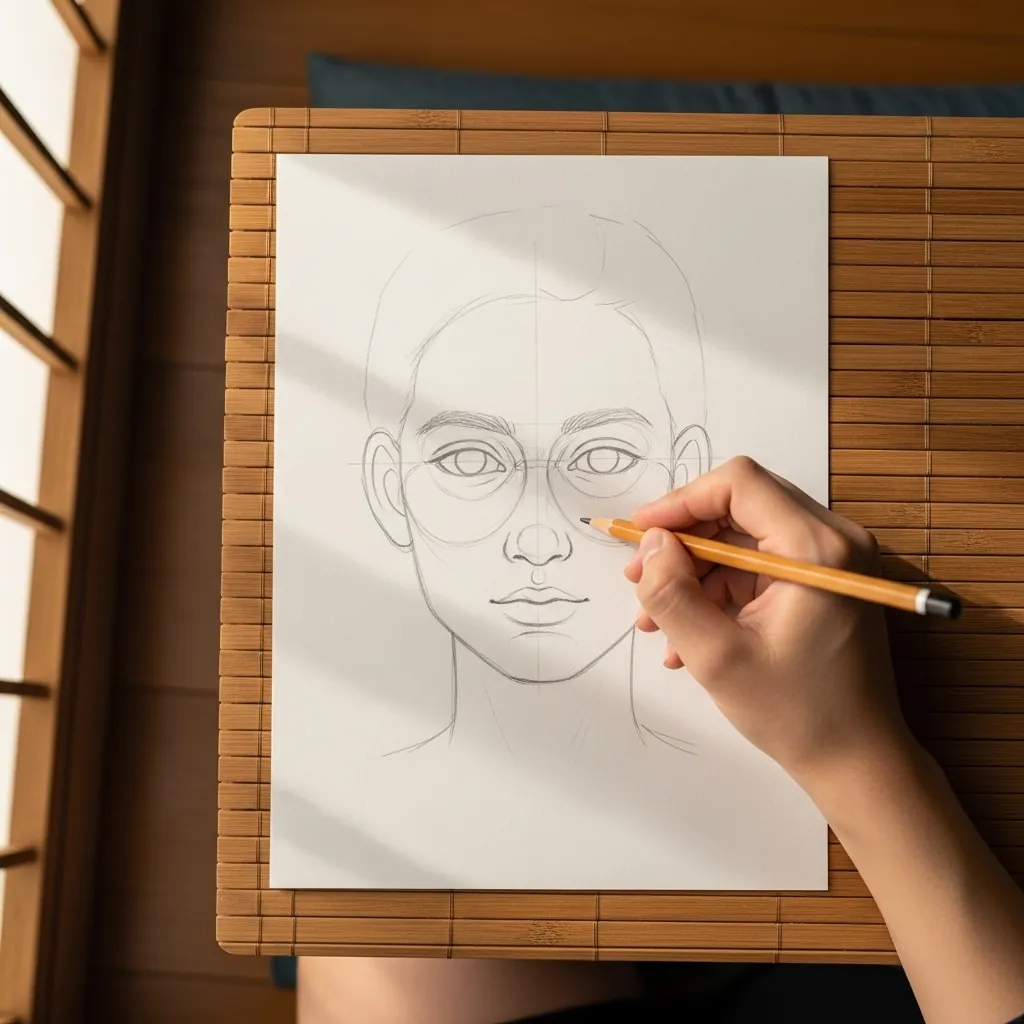
A drawing made entirely of one line weight reads as a diagram. Vary it deliberately: press hardest where two forms meet, such as under the top lid or where the nose meets the cheek, and lift almost off the paper along the outer contour.
30. Hair Framing the Face
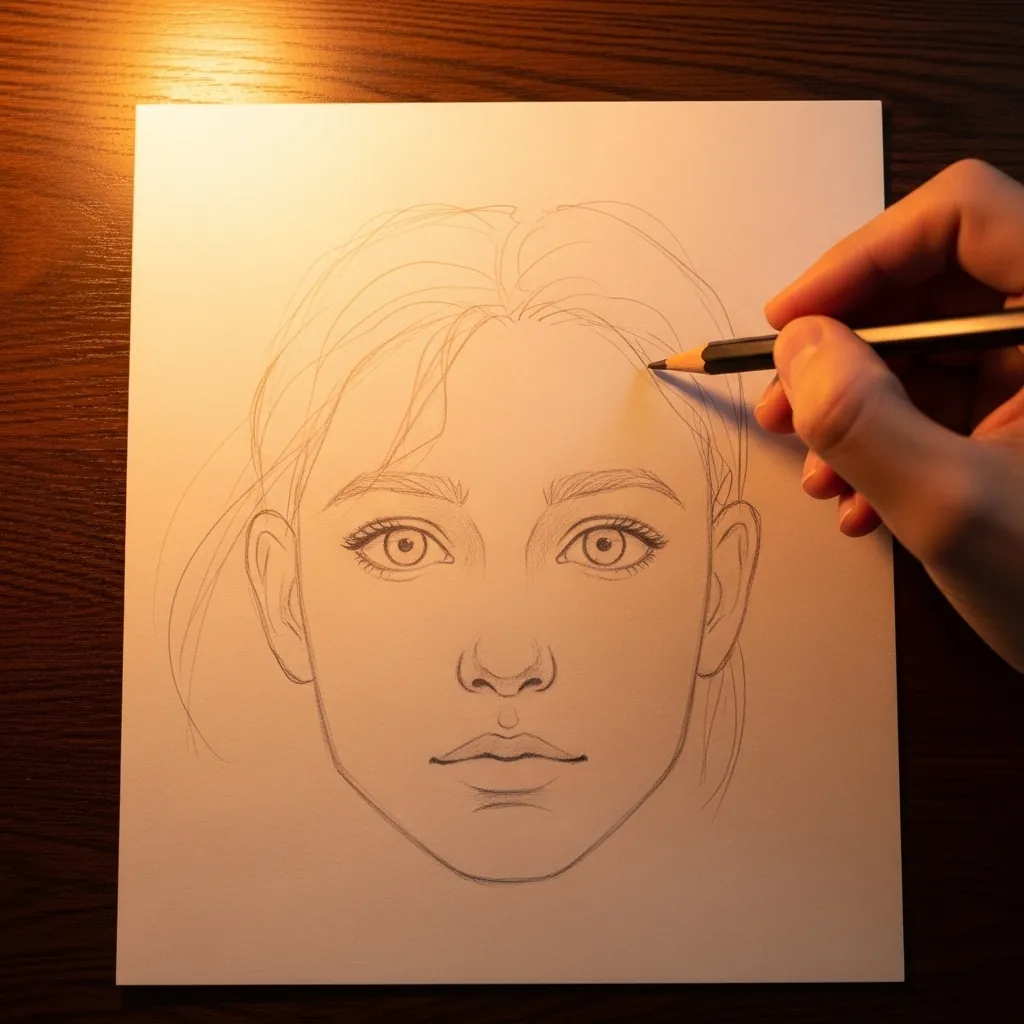
Hair should overlap the face, not stop at its edge. Let a few strands cross the forehead and the cheek, darken the hair immediately behind the ear, and keep the outer silhouette broken. A perfectly smooth hair outline always looks like a helmet.
31. Large Single Eye
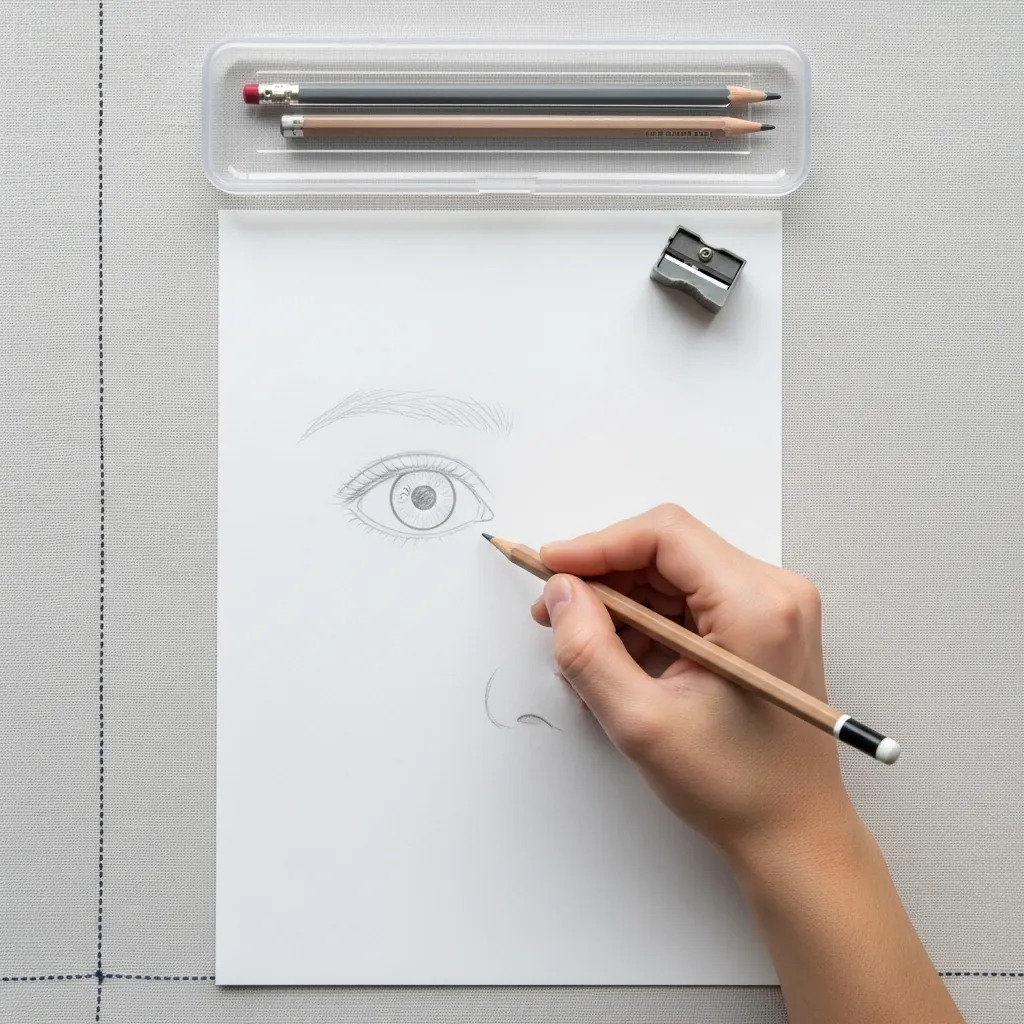
Drawing an eye big enough to see the structure teaches more than a whole face. Include the tear duct, the thickness of the lower lid and the shadow the upper lashes cast on the iris; the pupil sits dead center in the iris, always.
32. Half-Closed Eyes
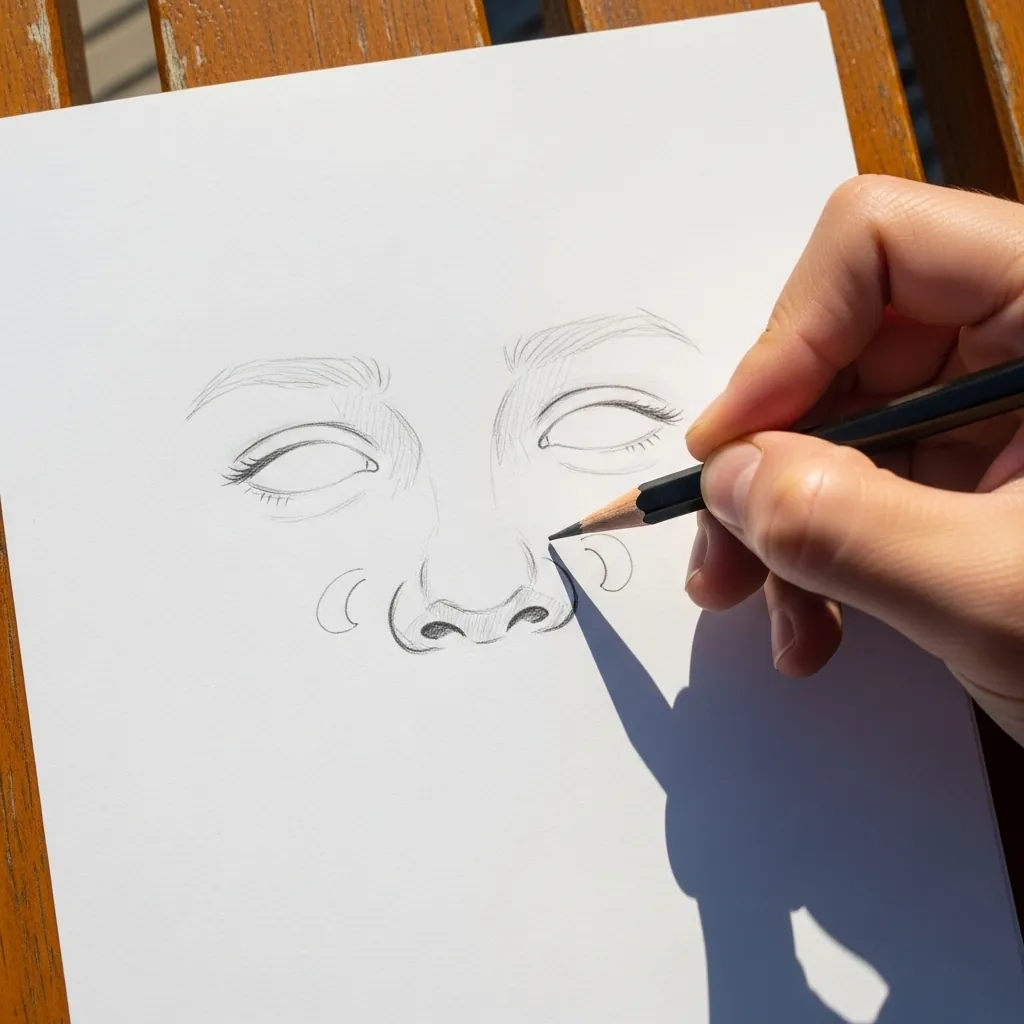
Lowering the lids changes the whole expression. Cover the top third of the iris with the upper lid, flatten the curve of the lid itself, and let the lower lid stay where it is; a tired or calm look comes entirely from that one change.
33. Nose Underside and Lips
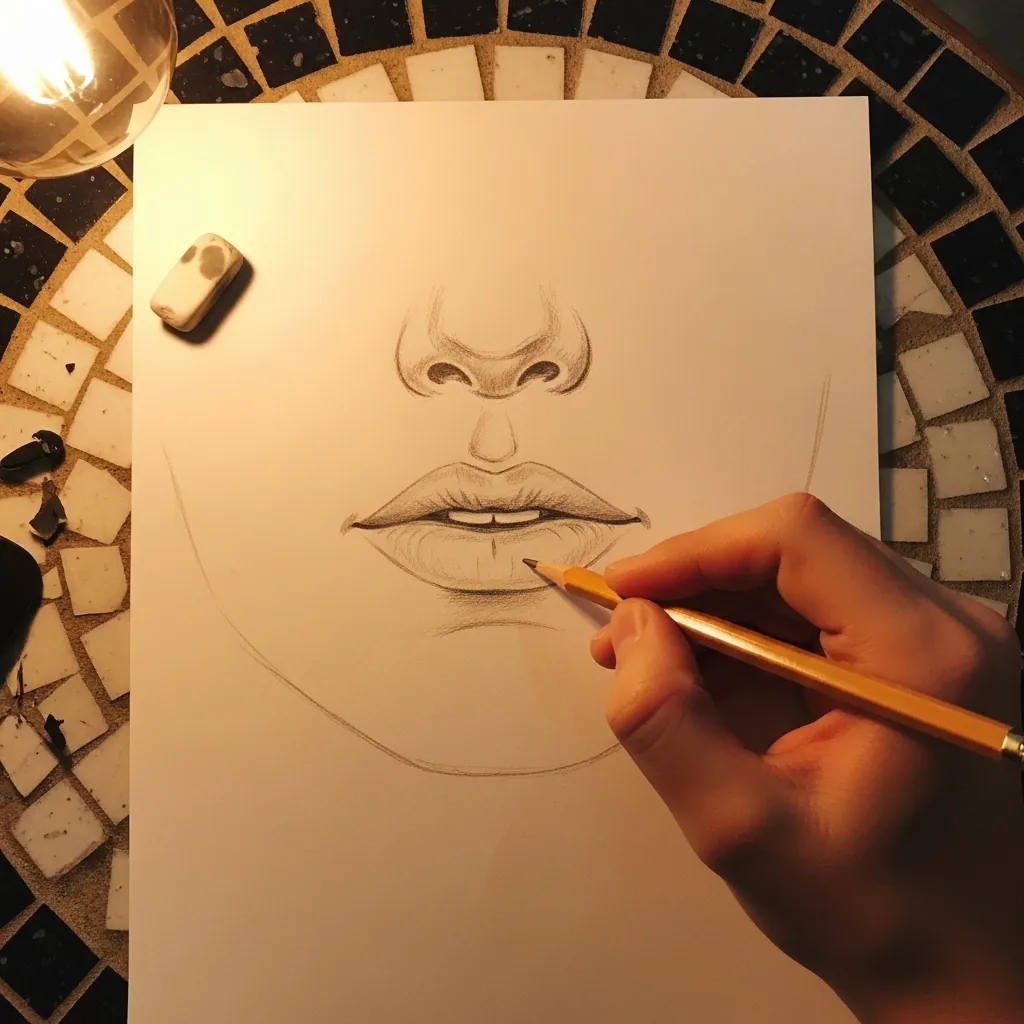
Looking slightly up at a face exposes the underside of the nose. Draw the nostrils as full shapes rather than slits, shorten the front plane of the nose, and let the upper lip shorten too. Foreshortening is what sells a raised viewpoint.
34. Adding the Eyebrows
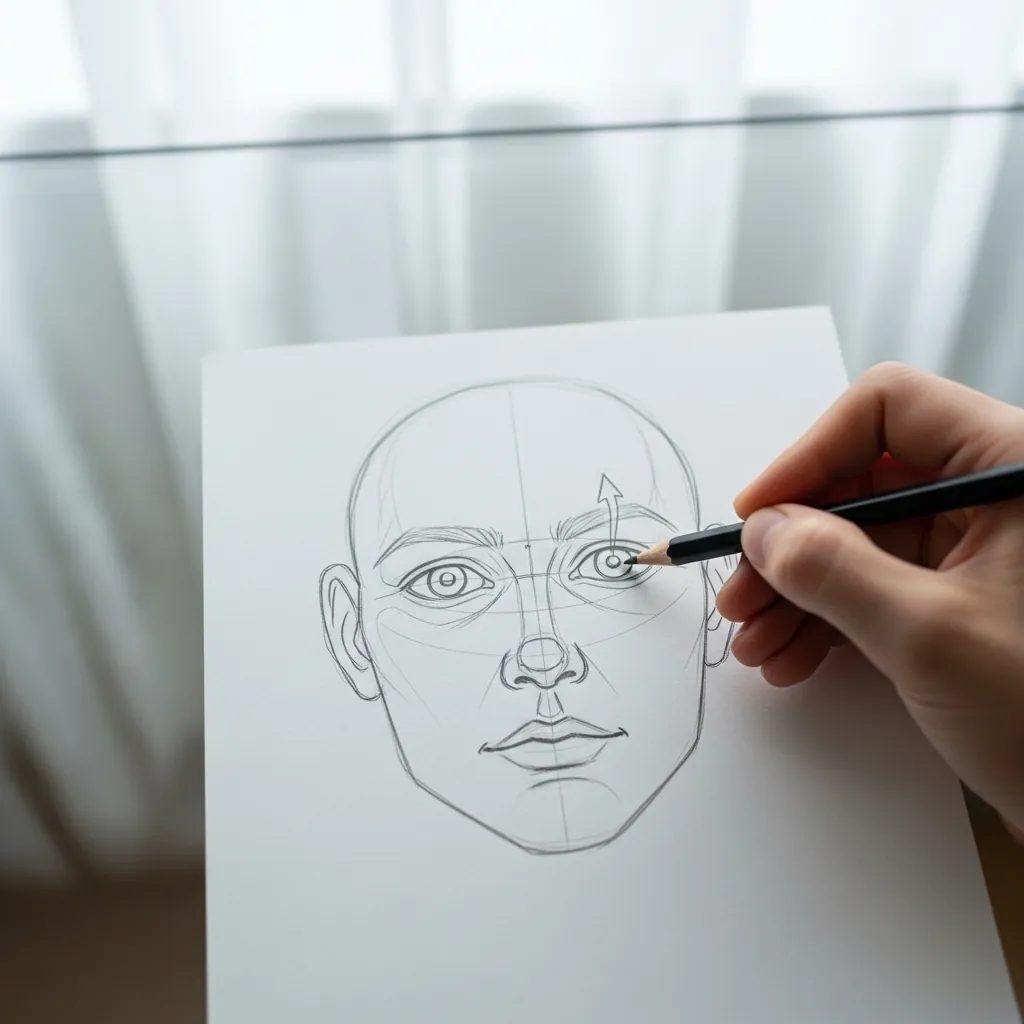
Brows sit on the ridge of bone above the eye, which is why they arch. Start them thick and low at the inner end, raise and thin them past the middle, and taper them out toward the temple; keep both at the same height.
35. Soft Cheek Shading
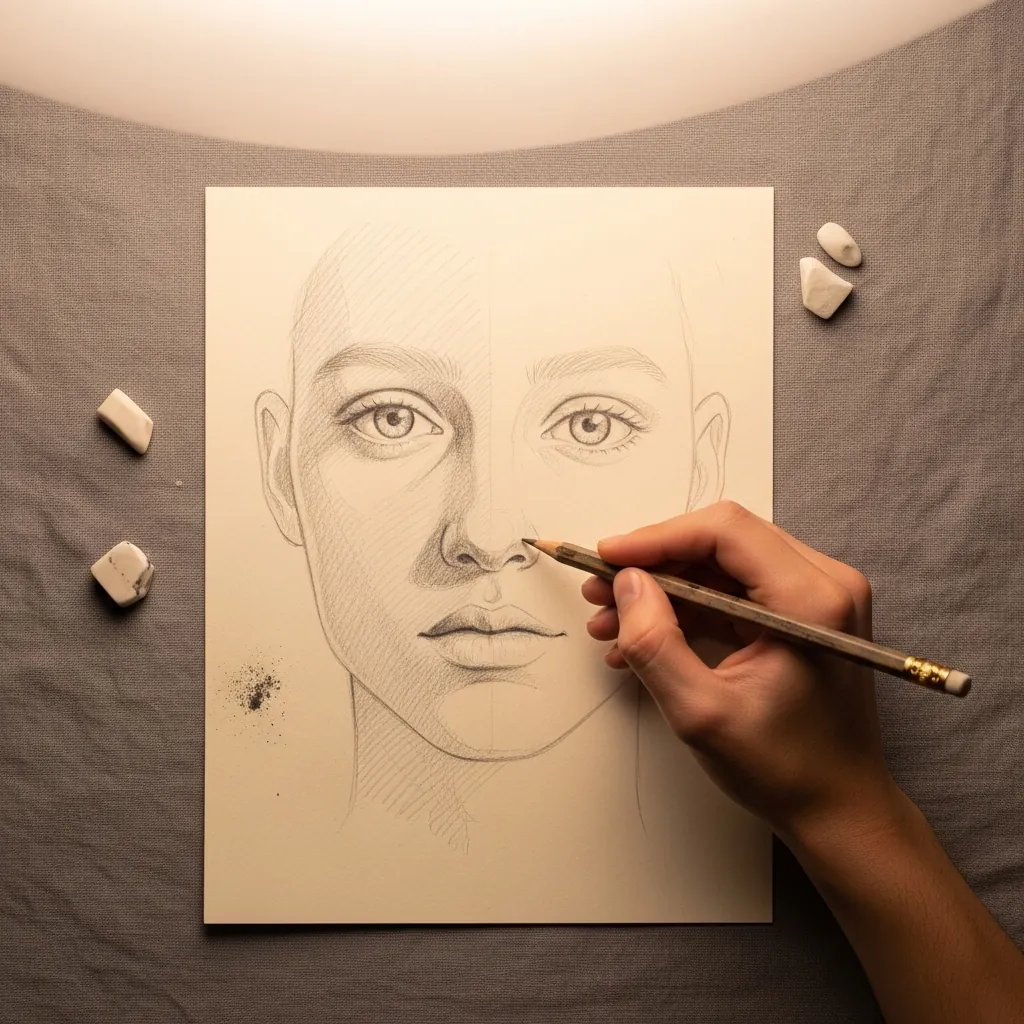
Cheeks are curved, so the shading has to turn. Run the strokes around the form rather than straight down the page, keep the transition from light to shadow gradual, and leave the cheekbone itself as the lightest area. Blending too much kills the structure.
36. Small Child Face
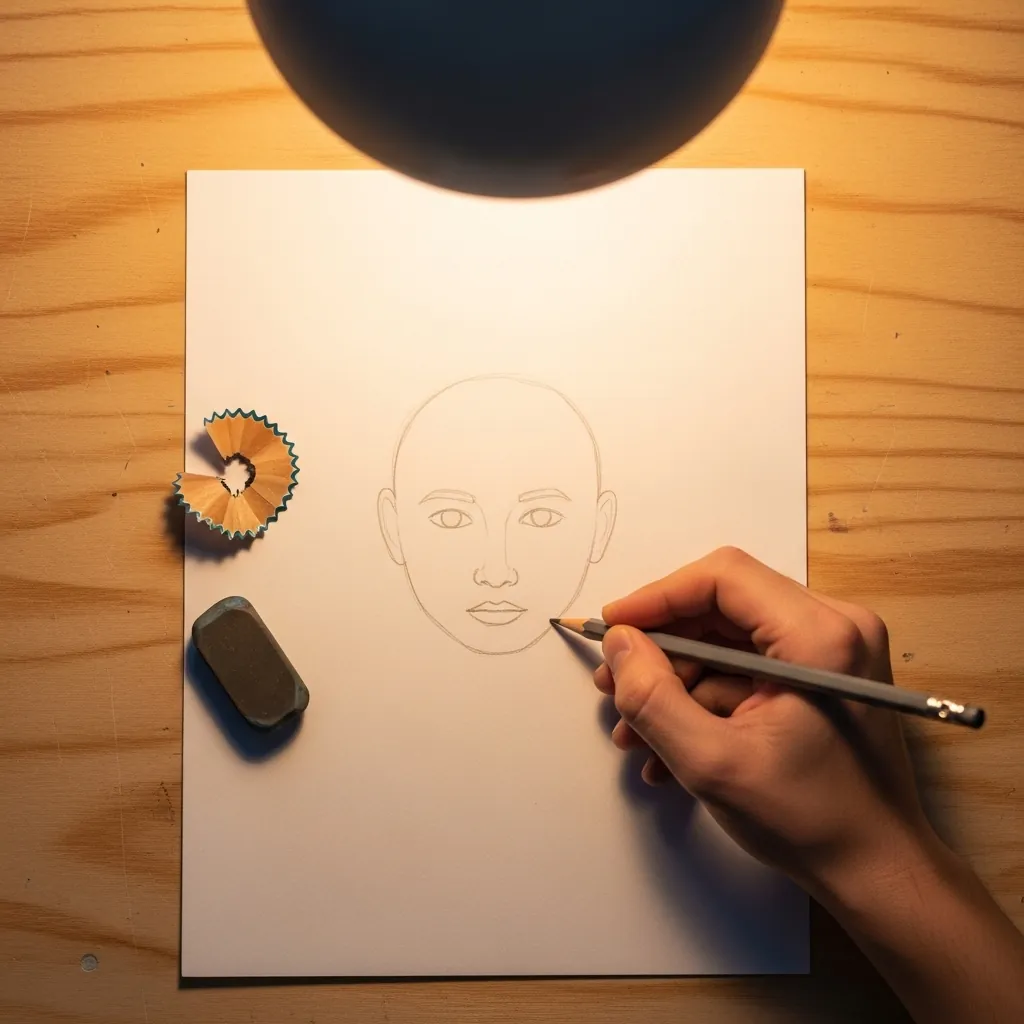
Round everything. Keep the jaw soft and wide, the chin small, and the whole head close to a circle rather than an oval, and place the features low. Even the ears sit lower on a child’s head than on an adult’s.
37. Ear Detail in Profile
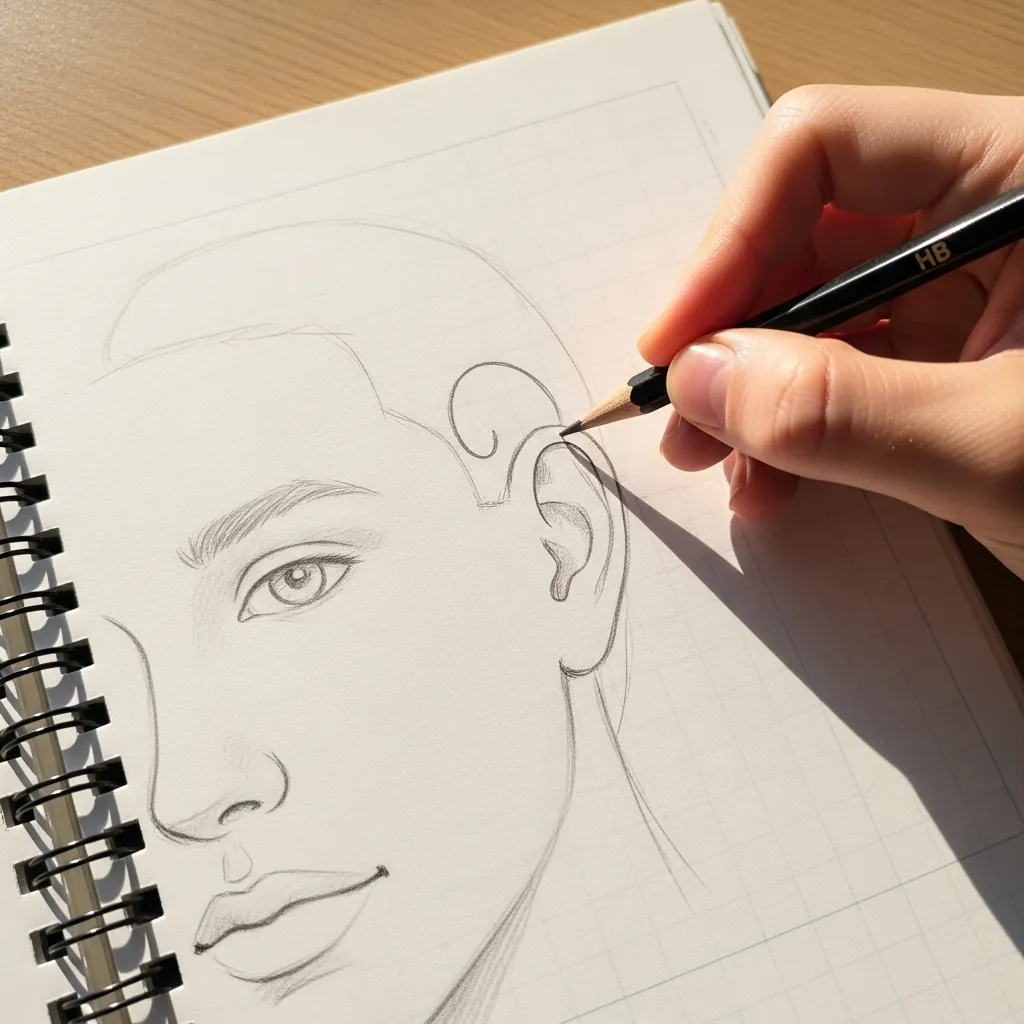
An ear has a rim, an inner ridge and a bowl, and that is all you need. Start with the outer rim, which folds inward near the top, then add the Y-shaped ridge inside it and a soft lobe below. Everything darkest belongs in the bowl.
38. Strong Side Lighting
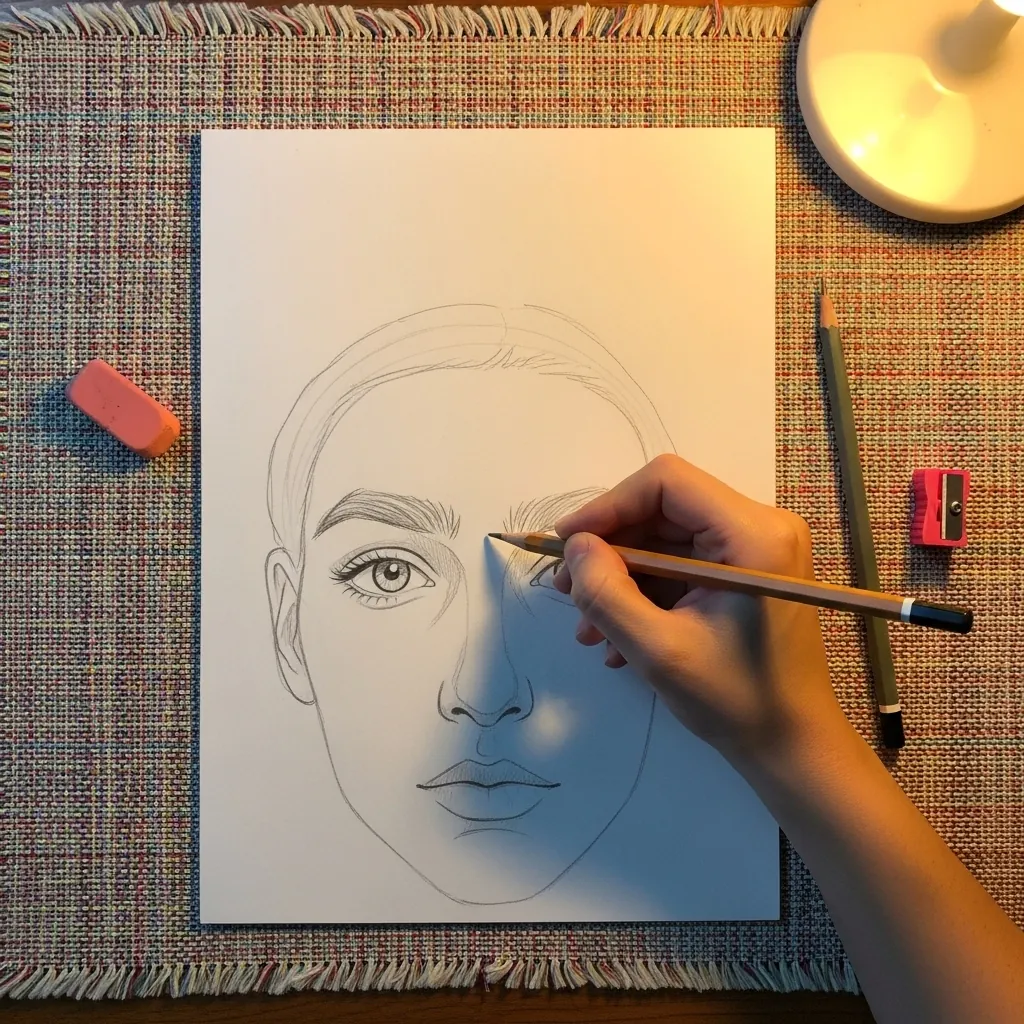
Side light divides the face into two clear halves. Decide exactly where the light stops, leave that whole side pale, and push the other genuinely dark. Softening the transition where it crosses the nose keeps the two halves reading as one head.
39. Bright Light and Lashes
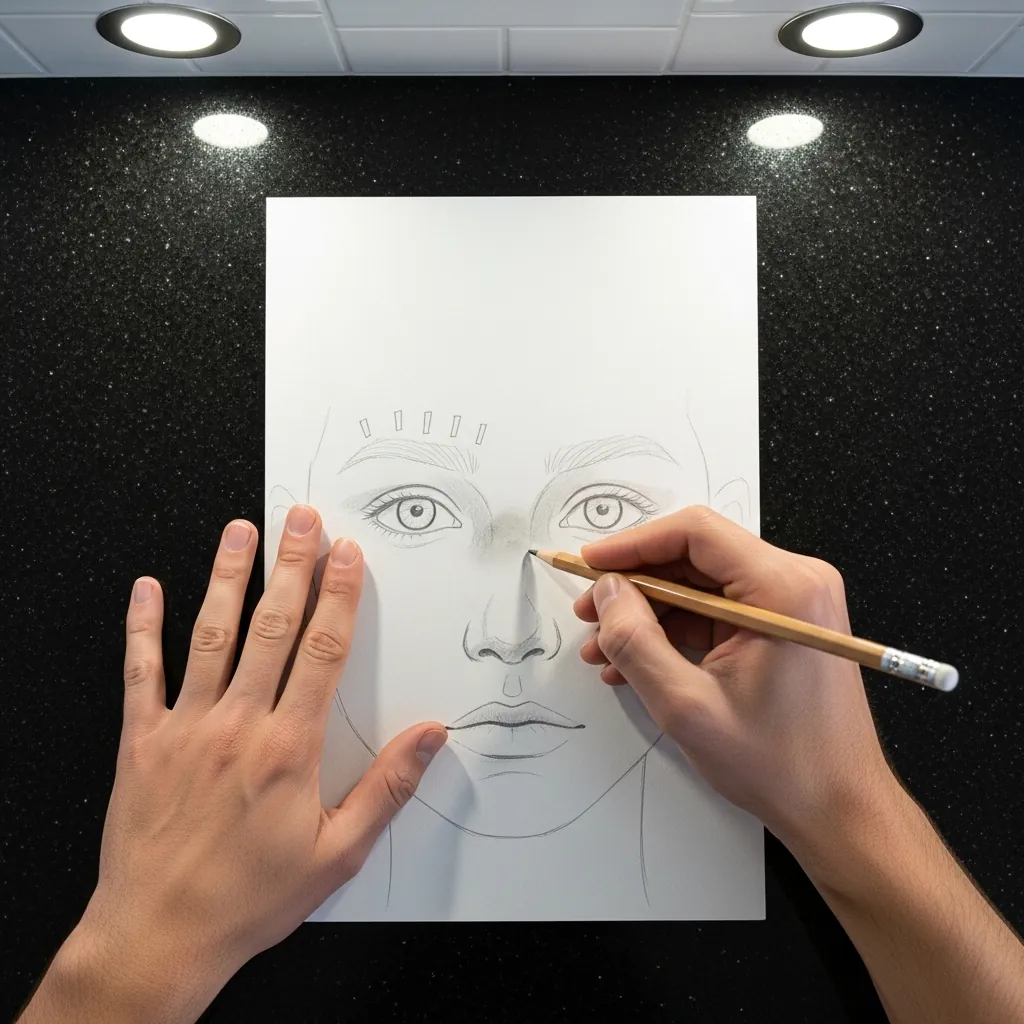
Strong light shortens shadows and sharpens edges. Keep the shading tight to the features, put a hard dark line where the upper lashes meet the eye, and let the rest of the face stay almost white. Overworking under bright light is easy to do.
40. Boy Face With Short Hair
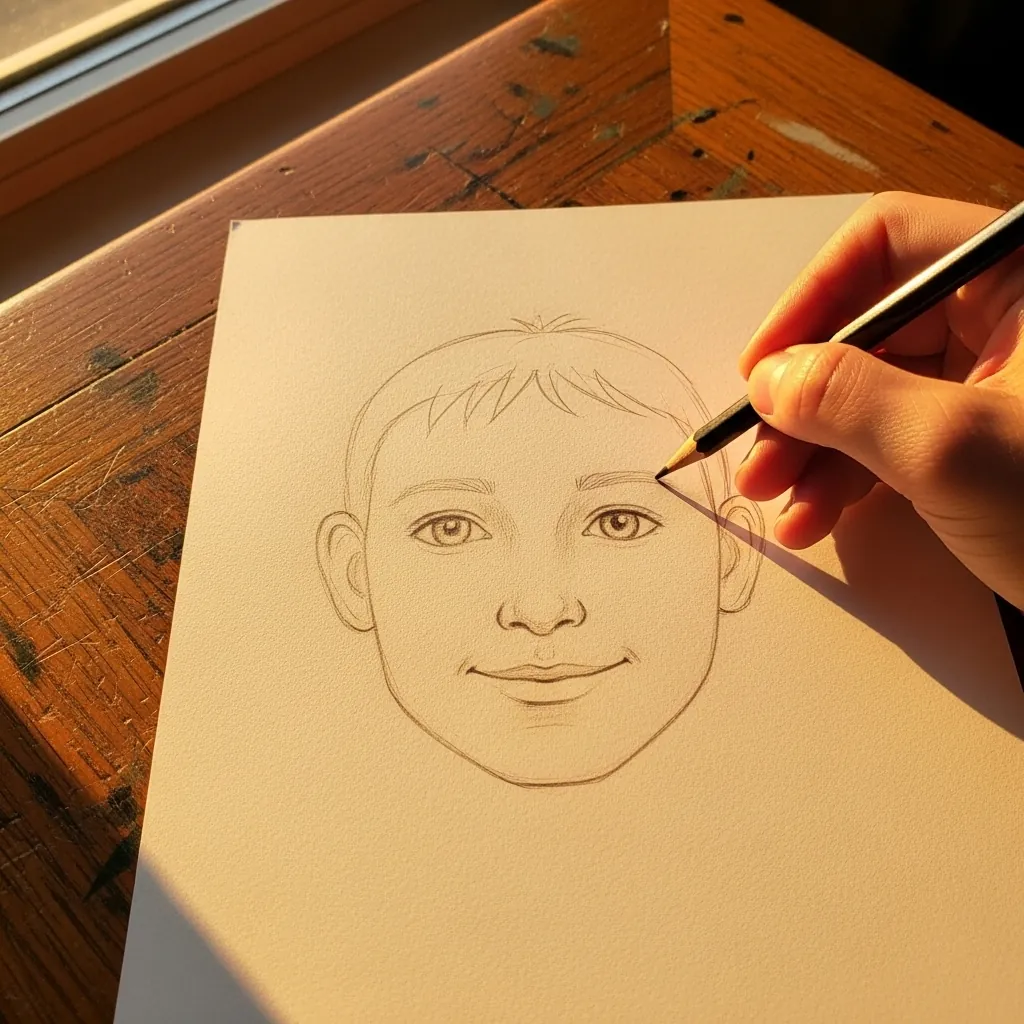
Finish with everything applied at once. Set the eye line halfway down the head, leave one eye-width between the eyes, run the ears from brow to nose base, and keep the hair a mass with a visible thickness above the skull.
Frequently Asked Questions
How wide should a face be?
Five eye-widths across at the level of the eyes. That means one eye, a gap the width of an eye, the second eye, and roughly half an eye-width to each outer edge. Measuring this before you draw anything solves most beginner proportion problems.
Where do the ears go?
The top of the ear lines up with the brow and the bottom lines up with the base of the nose. This holds for almost every adult head seen from the front, and it is the fastest way to check whether a portrait is drifting.
Why do my eyes always end up too high?
Because you are measuring from the hairline instead of the top of the skull. The eyes sit halfway down the entire head, forehead and cranium included, and hair makes that upper half look much shorter than it is.
What is the Loomis method?
A construction technique where the head starts as a sphere with the sides sliced flat, and the jaw is attached to that shape. It gives you a solid, three dimensional base to place features on, rather than a flat oval that collapses as soon as the head turns.
Should I draw the outline or the features first?
Neither, exactly. Place the construction lines first, then block in where every feature will go while everything is still light, and only start drawing the features properly once the whole arrangement looks right.
References and Further Reading