

Here is how to fix watercolor mistakes: stop painting, let the mistake dry completely, and then choose the rescue that matches the problem — lifting color off, softening edges, glazing over, or covering with something opaque. Watercolor is far more fixable than beginners think. Most mistakes have a clean rescue once the paint is dry, and a few can even be corrected while the paint is still wet.
The myth that watercolor is “unforgiving” scares many beginners into abandoning paintings that were ten minutes of patient work away from being fine. The truth is different: watercolor paint sits on the paper more loosely than most paints, so a surprising amount of it can be soaked back off, covered, or painted around. What ruins paintings is rarely the first mistake. It is the panicked scrubbing that follows it. This guide walks through the common disasters one by one, in the order you should handle them.
TL;DR
- First rule of every rescue: stop painting and let the area dry fully — wet fixes usually create blooms and mud.
- Dry mistakes can be softened, lifted off with a damp brush, glazed over, or hidden under opaque gouache or ink.
- Blooms, hard edges, too-dark colors, and paint outside the lines each have a specific fix below.
- Start over only when the paper surface is damaged or the drawing underneath is wrong — and even then, the back of the sheet is still usable.
In this guide
- First Rule: Stop Painting and Let It Dry
- How to Fix Hard Edges and Streaks
- How to Fix a Color That Is Too Dark or Too Bright
- How to Fix Paint That Went Outside the Lines
- How to Fix Blooms and Backruns
- How to Rescue a Whole Weak Painting
- When Should You Honestly Start Over?
- Frequently Asked Questions
- Where to Go Next
First Rule: Stop Painting and Let It Dry
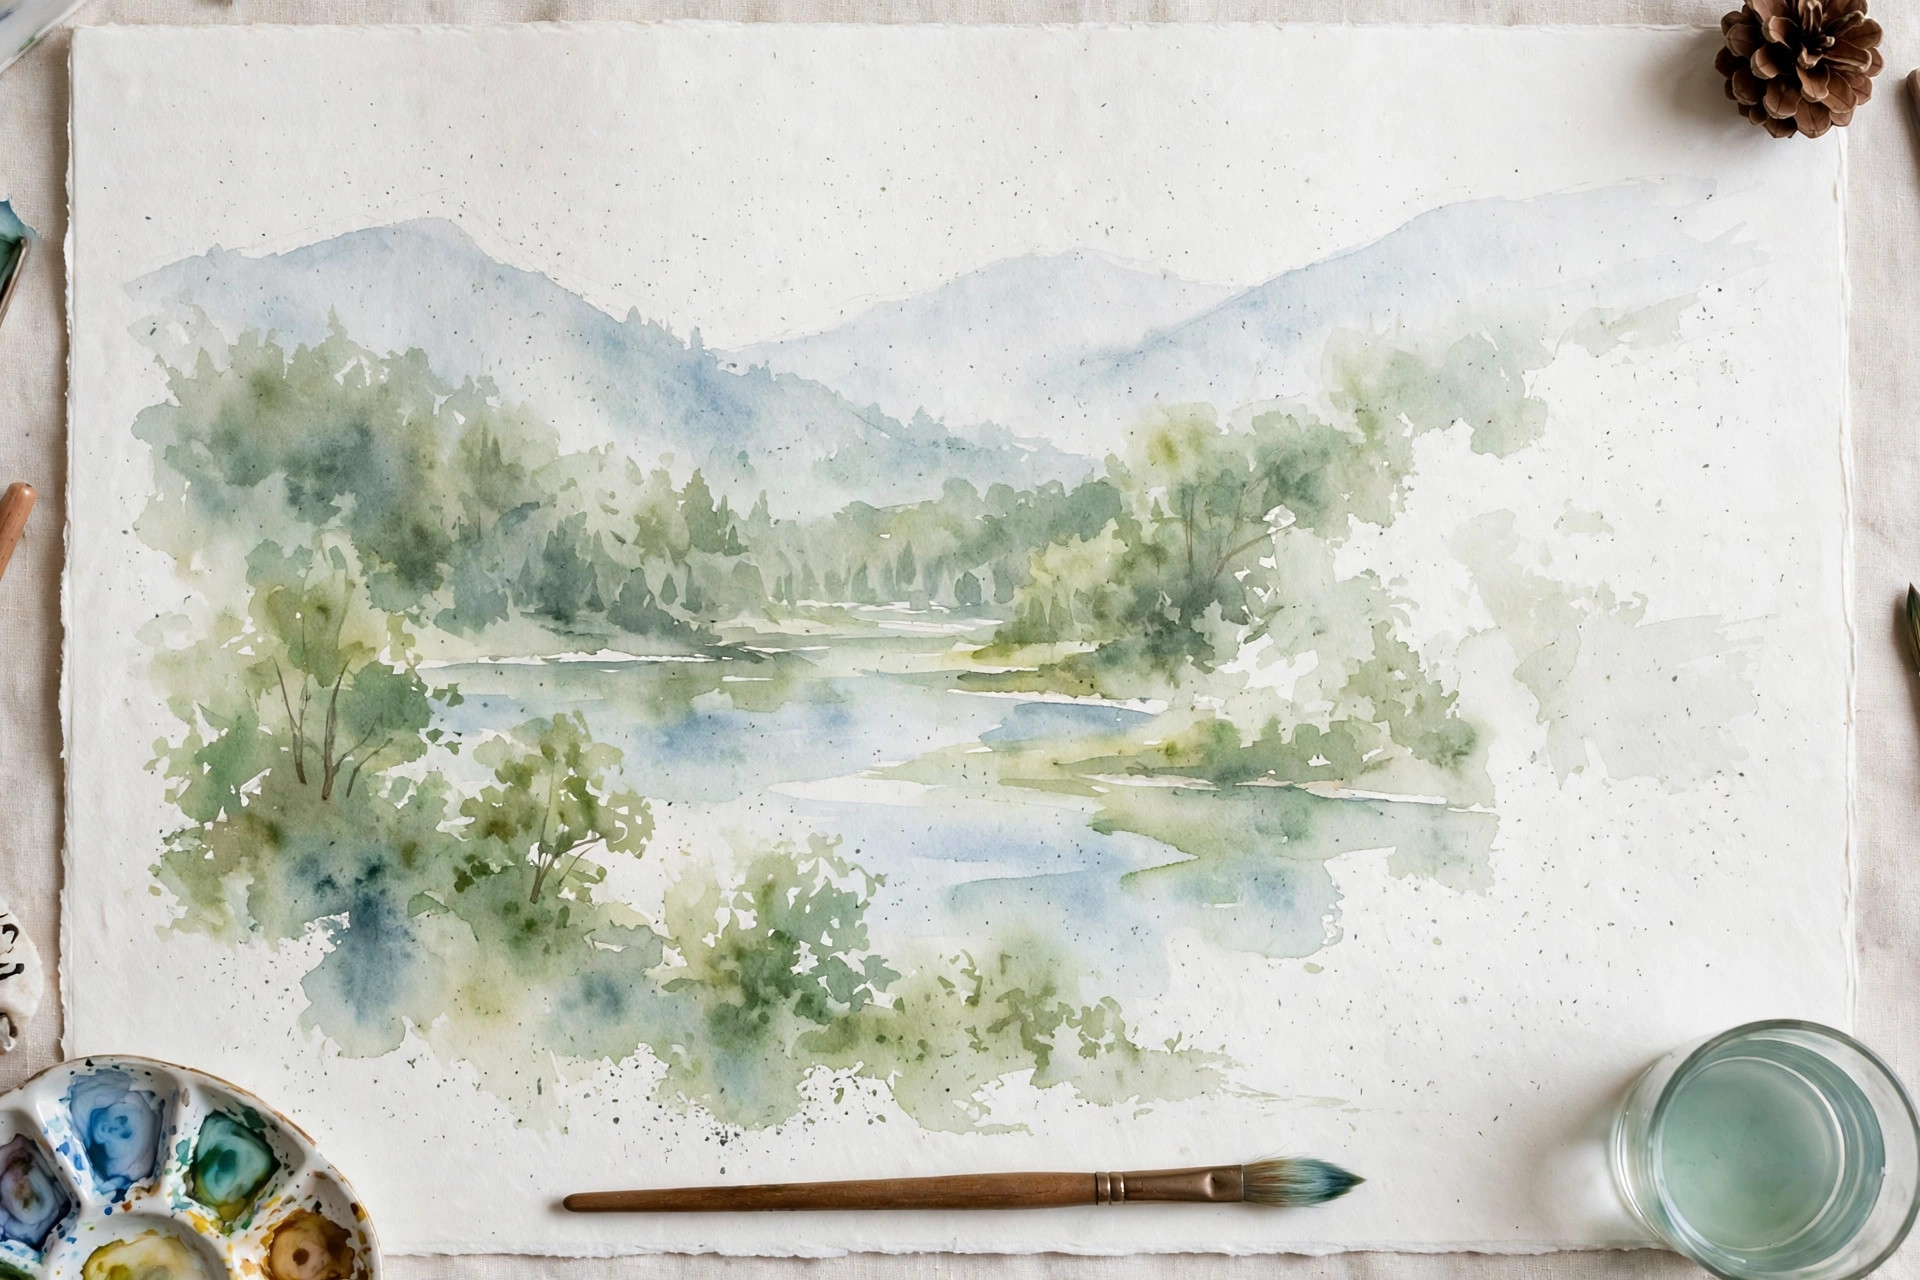
Almost every watercolor rescue starts the same way: put the brush down and walk away until the paint is completely dry. Wet paper is fragile, and scrubbing at a wet mistake almost always makes two new problems — a flower-shaped stain called a bloom, and dull, stirred-up color. Nearly all rescue methods work better, or only work at all, on dry paint.
Dry means truly dry, not just touch-dry on top. Touch the painting with the back of your hand: if the paper feels cool, there is still dampness inside it. On thick paper this can take 20 minutes or more, and rushing is the single most common reason rescues fail. While you wait, you can plan: most dull, dirty results at this stage trace back to colors being stirred together while wet, which is exactly why watercolor looks muddy in the first place — and why patience fixes more than technique does.
Use the drying time to judge the mistake honestly, too. Watercolor dries lighter than it looks wet, so a color that seemed alarmingly dark may be perfectly fine in half an hour. Many “mistakes” shrink on their own while you make a cup of tea.
How to Fix Hard Edges and Streaks
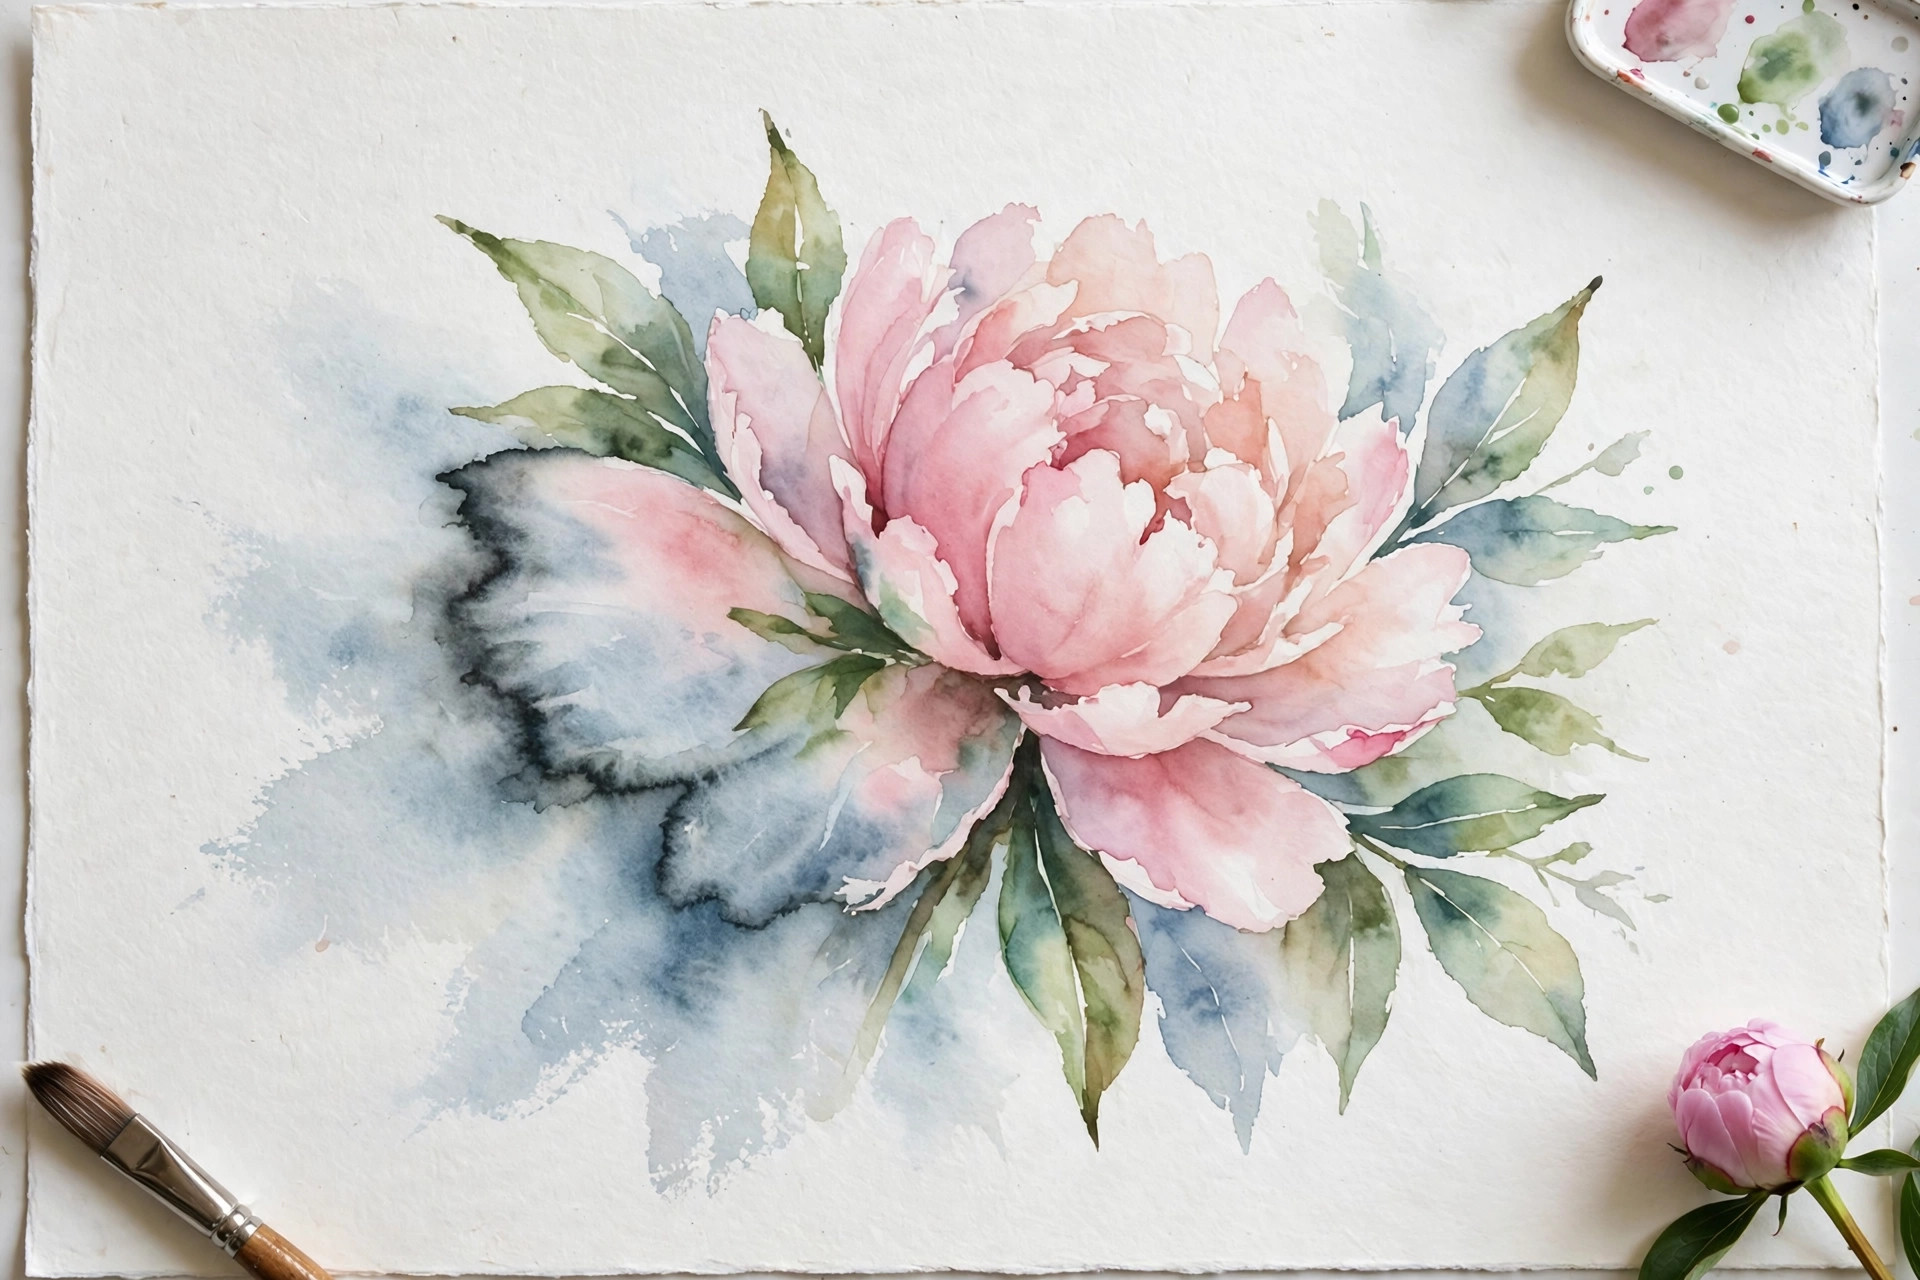
Hard edges and streaks appear where one part of a wash (a flat area of color) dried sooner than the rest, leaving a visible line. The fix is to rewet the area evenly and soften the edge with a clean, damp brush, so the color settles smoothly again.
Work on the fully dry painting. With a clean brush and plain water, gently repaint the whole streaky shape with an even layer of water, just enough to make the surface shine without puddling. While it is wet, take a second brush that is damp but not dripping — artists call this a thirsty brush — and stroke softly along the hard line, feathering it out into the lighter side. The edge melts into a soft gradient (a smooth change from one shade to another) instead of a stripe.
Two warnings make this fix succeed. First, use the lightest possible touch: you are persuading the pigment to move, not scrubbing it. Second, do this once, cleanly, and then leave it alone to dry. Repeated passes over the same damp spot are how streaks turn into blooms and mud.
How to Fix a Color That Is Too Dark or Too Bright
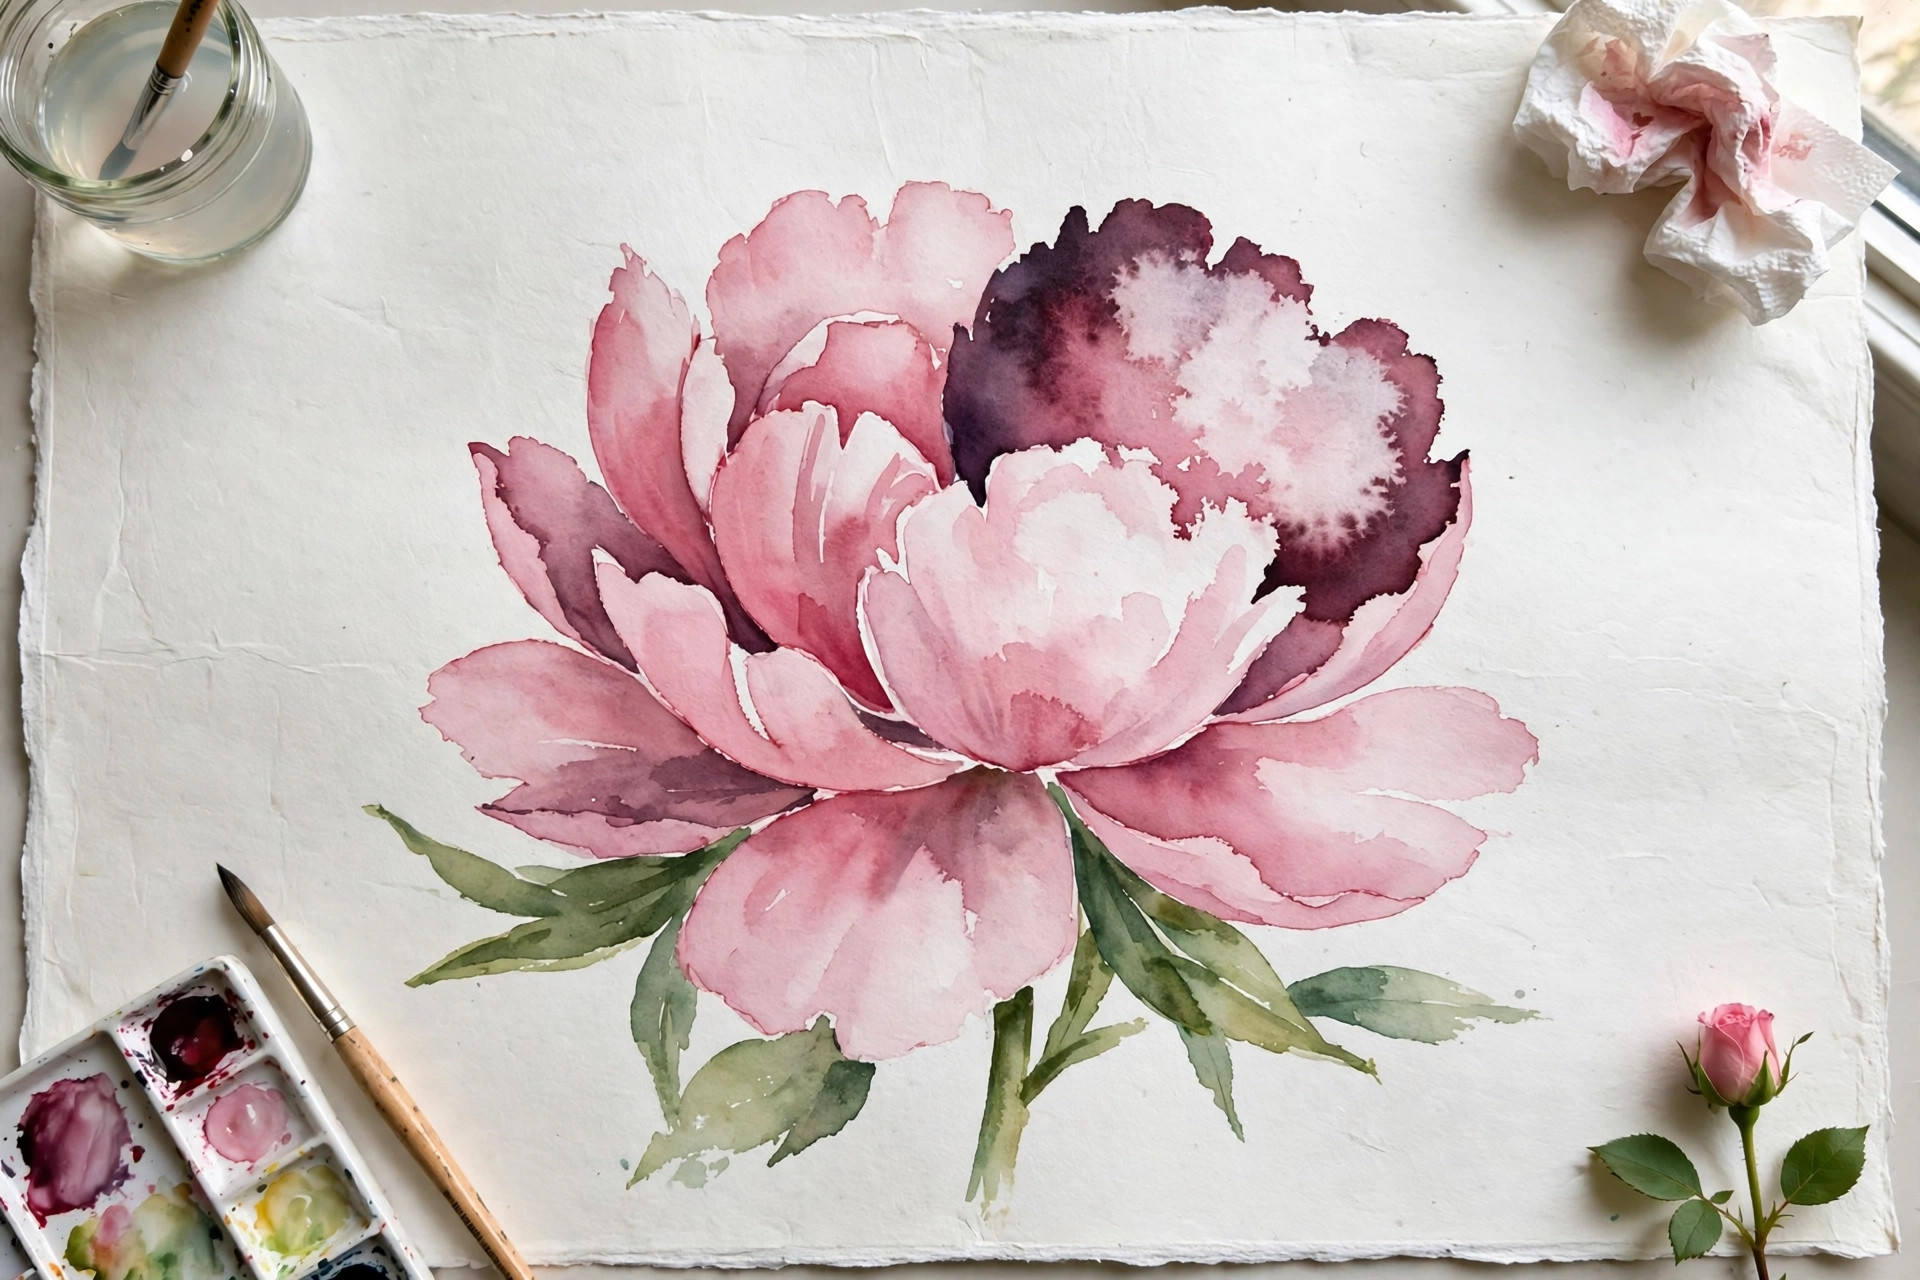
A color that dried too dark or too strong is one of the easiest mistakes to fix, because dry watercolor can be lifted back off the paper. Lifting means soaking dried color back up with a clean, damp brush or a corner of sponge, lightening the area step by step.
For a too-dark color, wet a clean brush, blot it on a cloth until it is damp rather than dripping, and roll it gently over the dark area. Lift the brush, rinse it, and repeat. Each pass removes a little pigment. Work slowly and stop one shade earlier than you think — the area lightens a touch more as it dries. A damp natural sponge does the same job over a big area, like a sky that came out far too intense.
For a color that is too bright or the wrong temperature — too warm where you wanted cool, or the reverse — glaze over it once it is bone dry. A glaze is a thin, see-through layer of new color painted over dry color. A transparent blue glaze cools down an overly orange sunset; a soft yellow glaze warms up a cold, blue-looking skin tone. If several separate areas feel disconnected, one very pale unifying wash (a thin glaze over almost the whole painting) can pull all the colors into one family so they stop arguing with each other.
How to Fix Paint That Went Outside the Lines
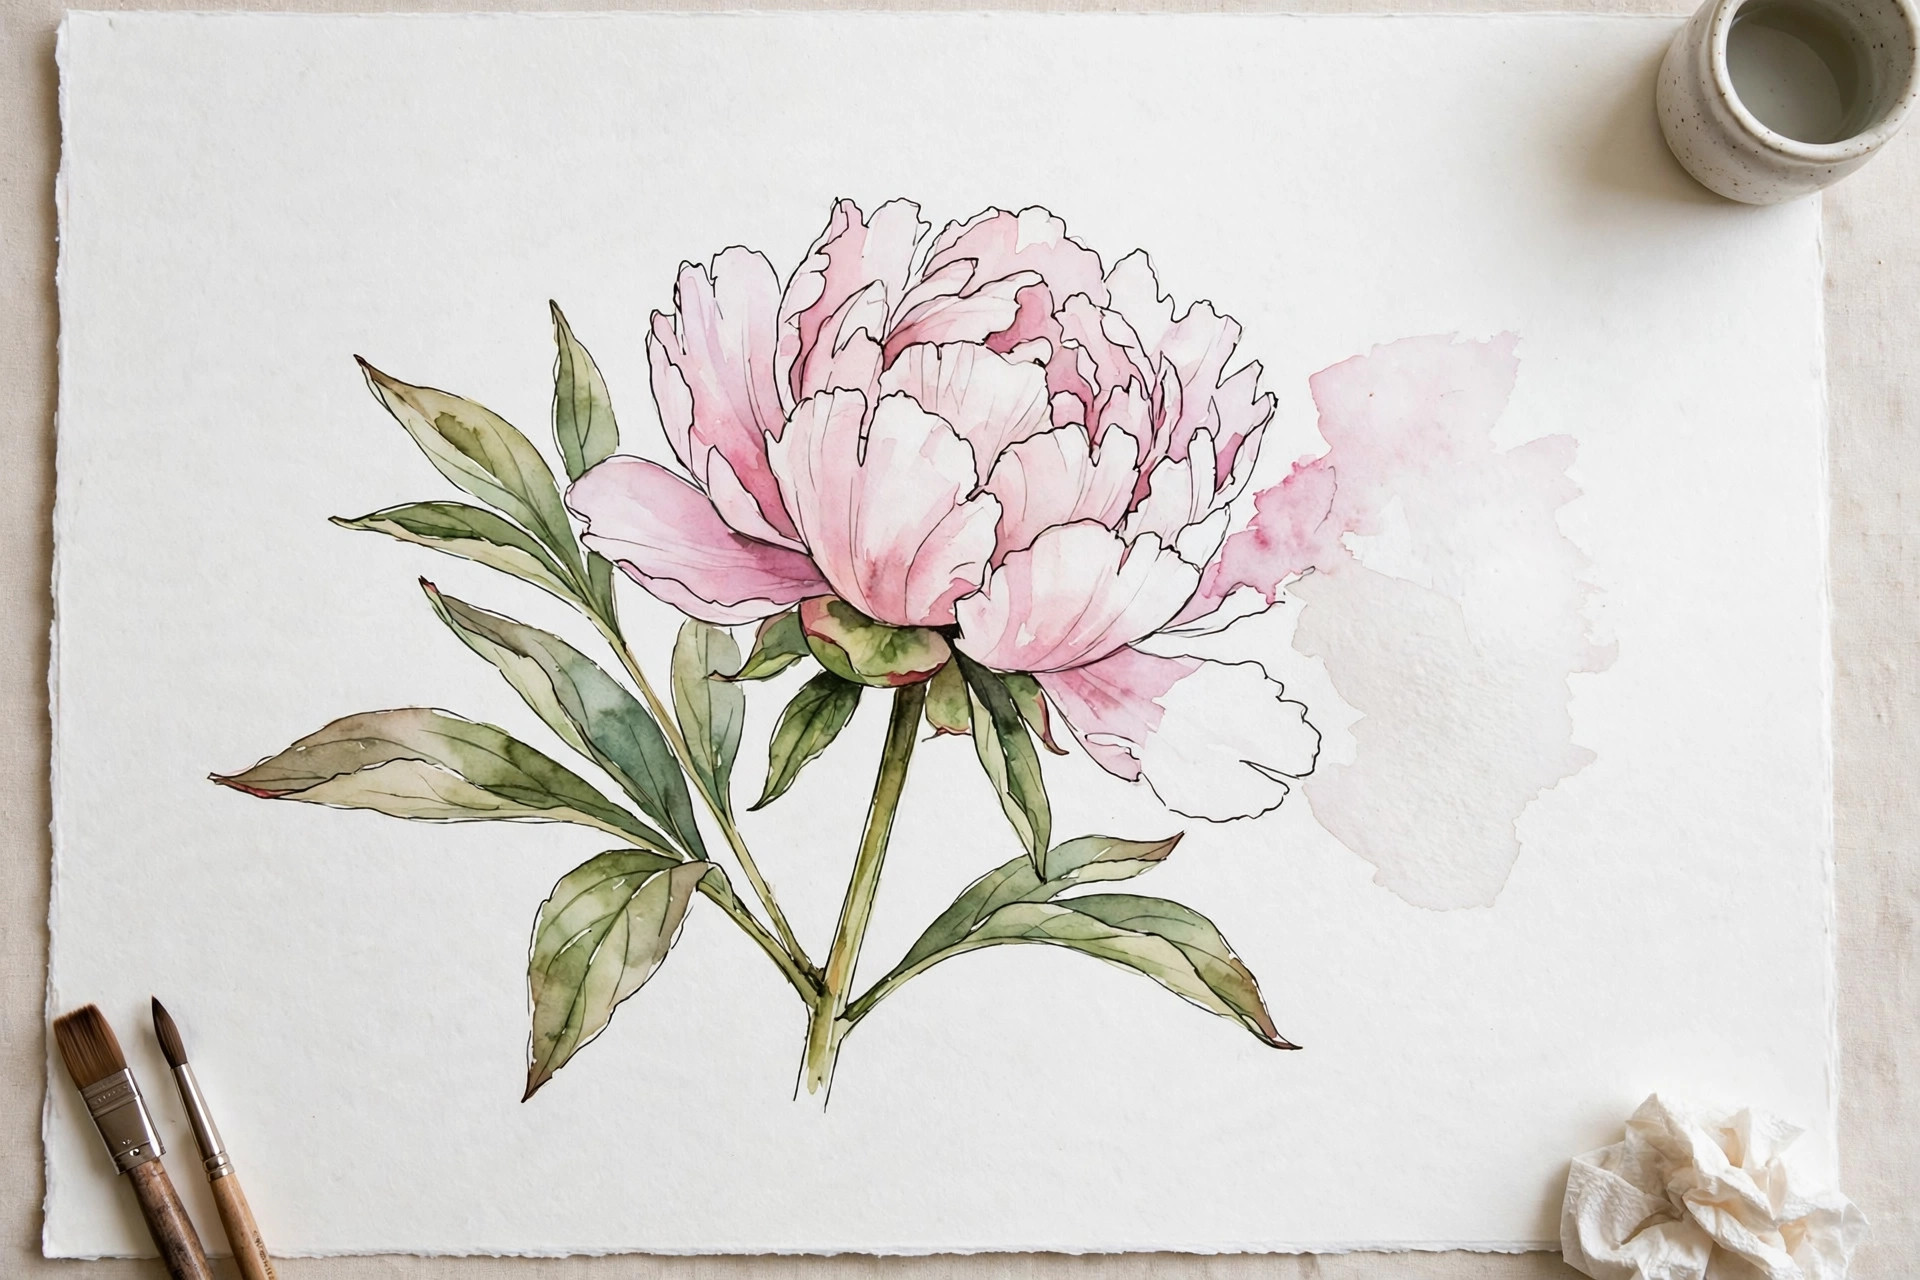
A wobbly edge or a blob of paint sitting where it should not be feels terrible, but you have four solid ways out of it. Choose based on how big the escape is and what sits next to it.
Scrub it back with a stiff brush. Dampen a stiff, short-bristled brush (an old toothbrush-style watercolor brush works), blot off almost all the water, and scrub the stray paint with tiny, firm strokes. The nearly dry brush — this is the dry-brush correction — lifts the unwanted pigment while barely wetting the paper, so the color around it stays put. Blot with a tissue as you go and stop the moment the paper starts to feel fuzzy.
Cover it with opaque white gouache. Gouache is a water-based paint that dries solid and opaque — it covers what is under it instead of letting it show through. A small dab of white gouache, or gouache mixed to match the background color, can hide a stray blob completely. If you are new to the medium, our guide to gouache painting for beginners explains how it behaves and why so many watercolor artists keep one tube in the kit just for rescues like this.
Hide it under an ink outline. If the escaped paint sits along the edge of a shape, trace that edge with a fine waterproof pen. Ink outlines make shapes look deliberate and tidy, and a slightly wider line on the messy side quietly swallows the mistake. This is the standard rescue in sketchbook and travel-journal painting.
Crop it out. If the escape is near the edge of the sheet, simply trim the painting smaller. Move four strips of paper around on the dried painting to preview new borders before you cut. Cropping is not cheating; it is editing, and artists do it constantly.
How to Fix Blooms and Backruns

A bloom, also called a backrun, is a flower-shaped patch with a hard, darker edge. It forms when extra water rushes into a damp area and pushes the pigment (the colored powder in the paint) outward, where it settles in a ring. Blooms love skies and big washes, where different parts dry at different speeds.
The honest first step is to let the bloom dry completely and look at it fresh. Some blooms are faint enough that, once the whole painting is finished, nobody will ever notice them. If yours is obvious, the reliable fix is to repaint the whole shape as one single flat wash: rewet the entire area evenly, then lay down one smooth layer of color of even strength across all of it at once, and — this is the crucial part — walk away and let it dry untouched. A bloom cannot form in a wash that stays evenly wet and then dries evenly.
Or, turn the bloom into texture instead of fighting it. A bloom in a sky can become a cloud: soften its top edge when dry, add a soft shadow under it, and it reads as deliberate. Blooms in greenery become dappled light and leaf clusters with a few darker strokes on top. Some of the most charming effects in landscape painting began life as accidents the painter decided to keep.
How to Rescue a Whole Weak Painting
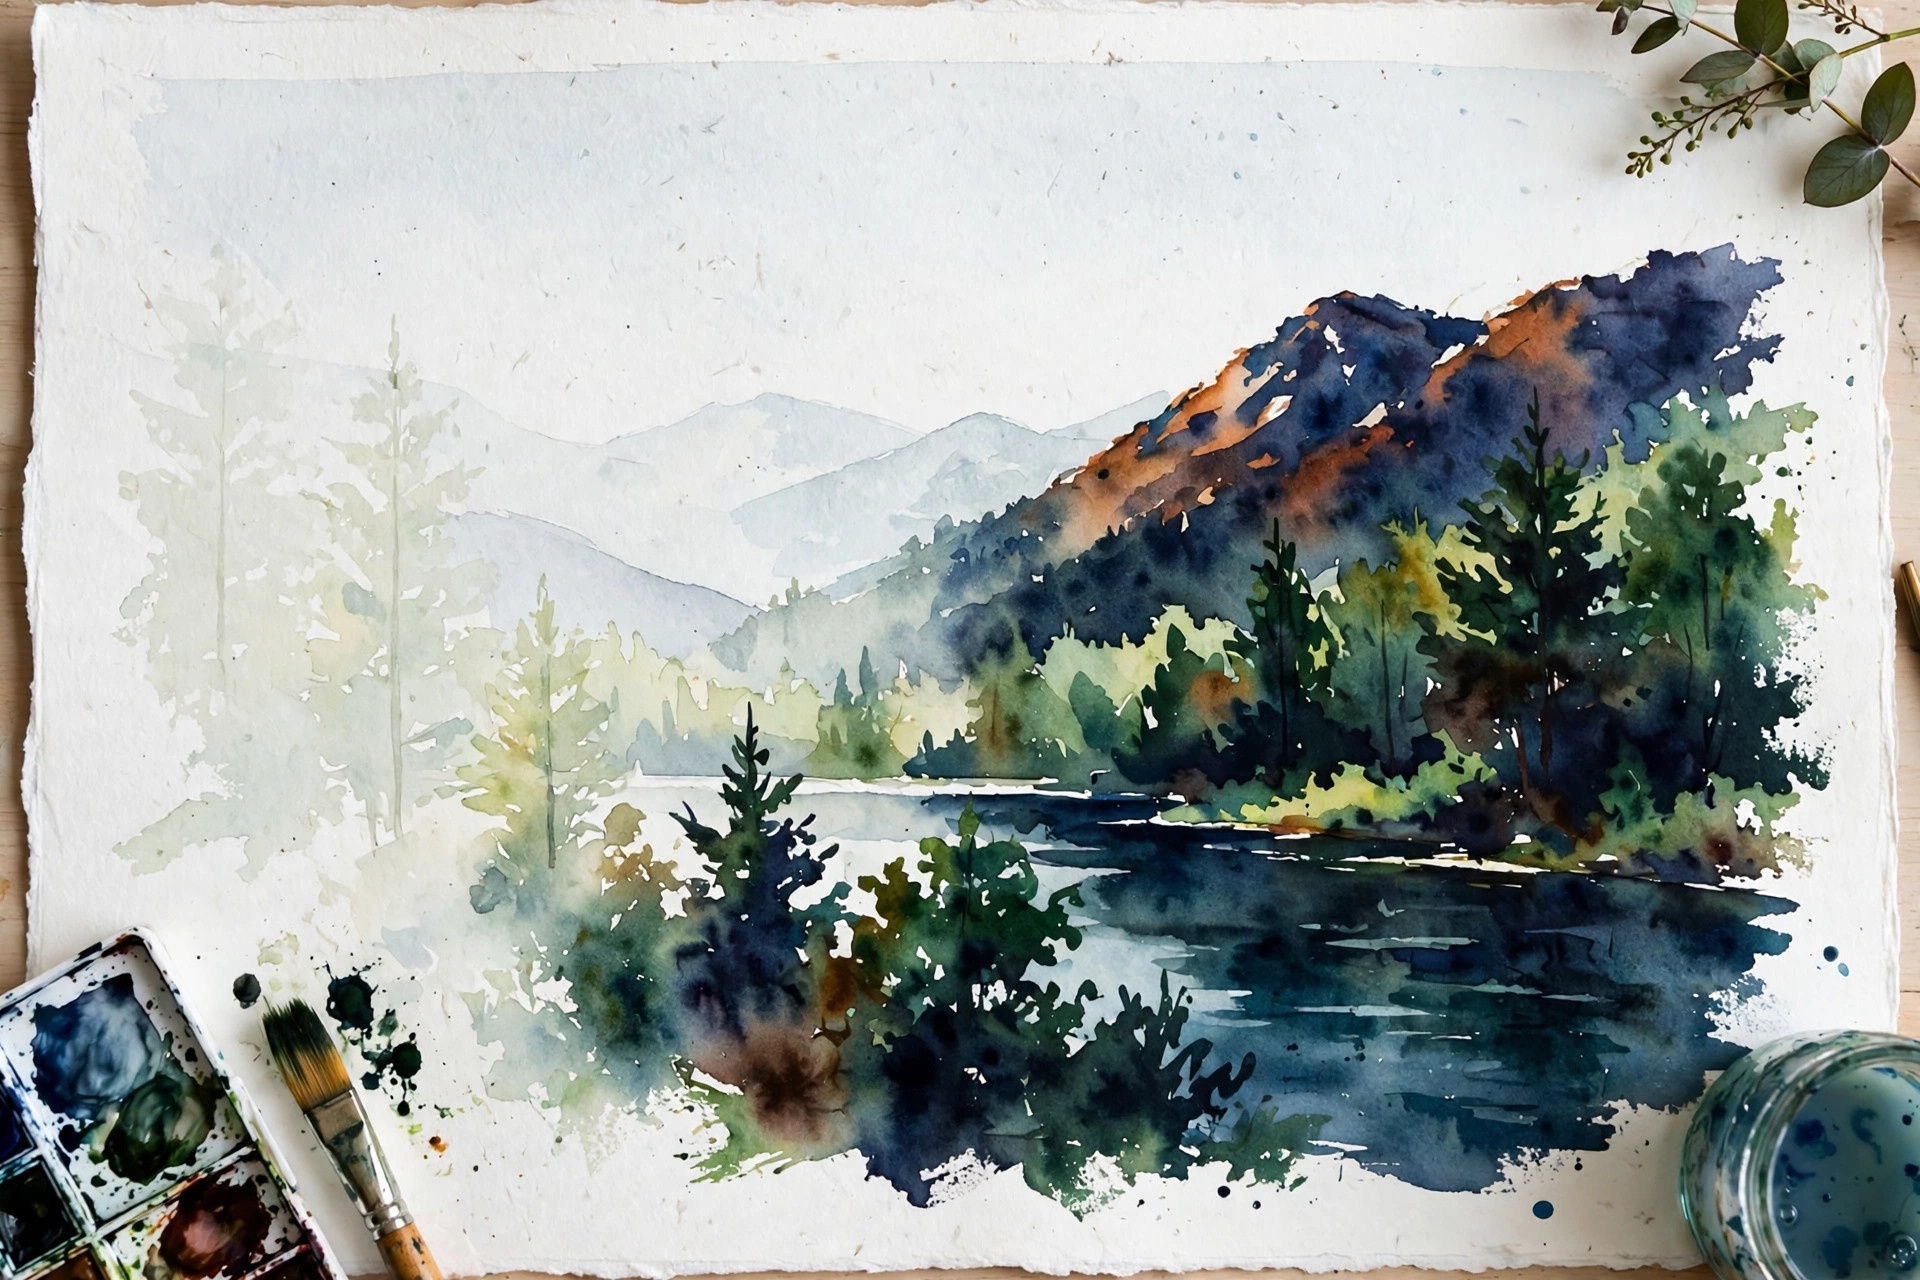
Sometimes nothing is exactly wrong, but the whole painting feels flat, pale, and unfinished. This “weak painting” problem usually has one cause: not enough contrast — not enough difference between the darkest and lightest parts. The rescue is to add that missing range, carefully and in the right order.
Deepen the darkest darks. Choose the two or three deepest shadow areas and repaint them with stronger, darker color once the painting is fully dry. Instantly, the lights look brighter and the whole picture gains depth. Most weak paintings are simply paintings whose darks never showed up.
Strengthen one focal point. A focal point is the one spot you want a viewer’s eye to land on first. Pick yours — a face, a boat, a doorway — and give it the strongest contrast and the sharpest edges in the painting, while leaving everything else softer. One clear star makes the whole cast look better.
Add pen and white gel pen details. A fine pen can sharpen a few key edges, add texture lines to roofs, branches, or hair, and define small shapes the paint left vague. A white gel pen restores tiny highlights: sparkle on water, a glint in an eye, foam on a wave. Use both with restraint — a few marks, not a redraw.
Mat and crop it. Finally, view the painting through a window made of four paper strips, or a real mat (a cardboard border that frames a picture). Weak paintings often hide a strong smaller painting inside them, and a clean white border makes even modest work look finished and intentional.
When Should You Honestly Start Over?
Rescue is a skill, but so is knowing when a sheet of paper has given all it can. Starting over is the right call when you see these three signs.
The paper surface is damaged. If the surface has gone fuzzy or started pilling — tiny balls of paper fiber rolling up under your brush — new paint will sink in patchy and dull no matter what you do. No technique fixes broken paper.
The drawing underneath is wrong. Paint fixes cannot repair a face with the eyes in the wrong place or a building leaning the wrong way. Color problems are rescuable; drawing problems at the foundation level are cheaper to restart.
You have reworked it many times already. Each rescue layer adds paint and takes a little life out of the surface. If a painting has survived four rescue attempts and still is not working, a fresh sheet will honestly get you a better result faster.
And here is the consolation prize: flip the failed sheet over. The back of most watercolor paper paints beautifully, and many artists use failed paintings’ backs for tests, color charts, and warm-up sketches. A failed painting is rarely wasted paper — it is just paper with a practice side and a story.
Frequently Asked Questions
Can you erase watercolor?
Not with a normal eraser, which would only tear the damp paper’s surface. The watercolor version of erasing is lifting: soaking dried paint back off with a clean, damp brush, a sponge, or gentle scrubbing with a stiff brush. Some colors lift almost completely, while strong staining colors leave a faint ghost behind — one more reason to fix mistakes gently and early.
Can gouache fix watercolor mistakes?
Yes. Gouache is opaque, so it covers mistakes instead of tinting them. White gouache can restore lost highlights, hide a blob of paint outside the lines, or fix a small area completely. Mix a little of the surrounding watercolor into the gouache so the patch matches its neighbors and does not glow against them.
Can I paint over dry watercolor?
Yes — painting over fully dry watercolor is a standard technique called glazing. Thin, transparent layers painted one at a time over bone-dry paint deepen color and shift temperature without disturbing what is underneath. The rules are simple: the layer below must be completely dry, use one confident pass, and do not scrub, or you will lift the layer you are painting on.
How do I remove a watercolor stain from paper?
Soften the stain with a clean, damp brush, then blot it with a tissue or roll a thirsty brush over it to pull the color up. Repeat in gentle passes, rinsing the brush between each so you remove color instead of spreading it. For a stubborn stain on strong paper, a slightly stiffer brush helps, but stop as soon as the surface starts to fuzz, because damaged paper is permanent.
Where to Go Next
Most watercolor troubles travel together, so these guides pair well with this one. If dull, grey-brown color is your main headache, read why your watercolor looks muddy and learn the two-color rule that prevents it. If your paper keeps buckling and cockling under the paint, see why watercolor paper wrinkles — and how to keep it flat from the start. And when you are ready to build the whole skill from the ground up, our complete watercolor painting guide takes you from your first wash to finished paintings, step by step.


