Looking for easy halloween drawing ideas that actually turn out cute instead of frustrating? The secret is simple: cute and spooky beats scary and complicated. Every idea in this list is built from basic shapes like circles, ovals, and triangles, and most of them take about 10 minutes from first line to finished drawing.
You do not need fancy supplies: a pencil, a black marker for outlines, and a few colors are enough. Kids can do almost every idea on their own, and these small drawings are a relaxed way to practice shapes and lines.
The list is split into three groups: cute and friendly ideas, classic spooky ones, and full little scenes for when you want a complete picture. Start anywhere you like.
TL;DR
- Short on time? The five easiest ideas are the happy ghost, the smiling pumpkin, the candy corn character, the baby bat, and the moon and stars.
- Every idea starts with basic shapes: circles, ovals, triangles, and rectangles.
- Thick black outlines, an orange-and-purple color palette, and a white gel pen for sparkle make any Halloween drawing look finished.
In this guide
Cute and Friendly Halloween Ideas (1-10)
These ten ideas are all smiles and zero scares, perfect for young kids and anyone who prefers their Halloween sweet. If you are brand new to drawing, start here: every idea uses two or three basic shapes at most.
1. Smiling Pumpkin
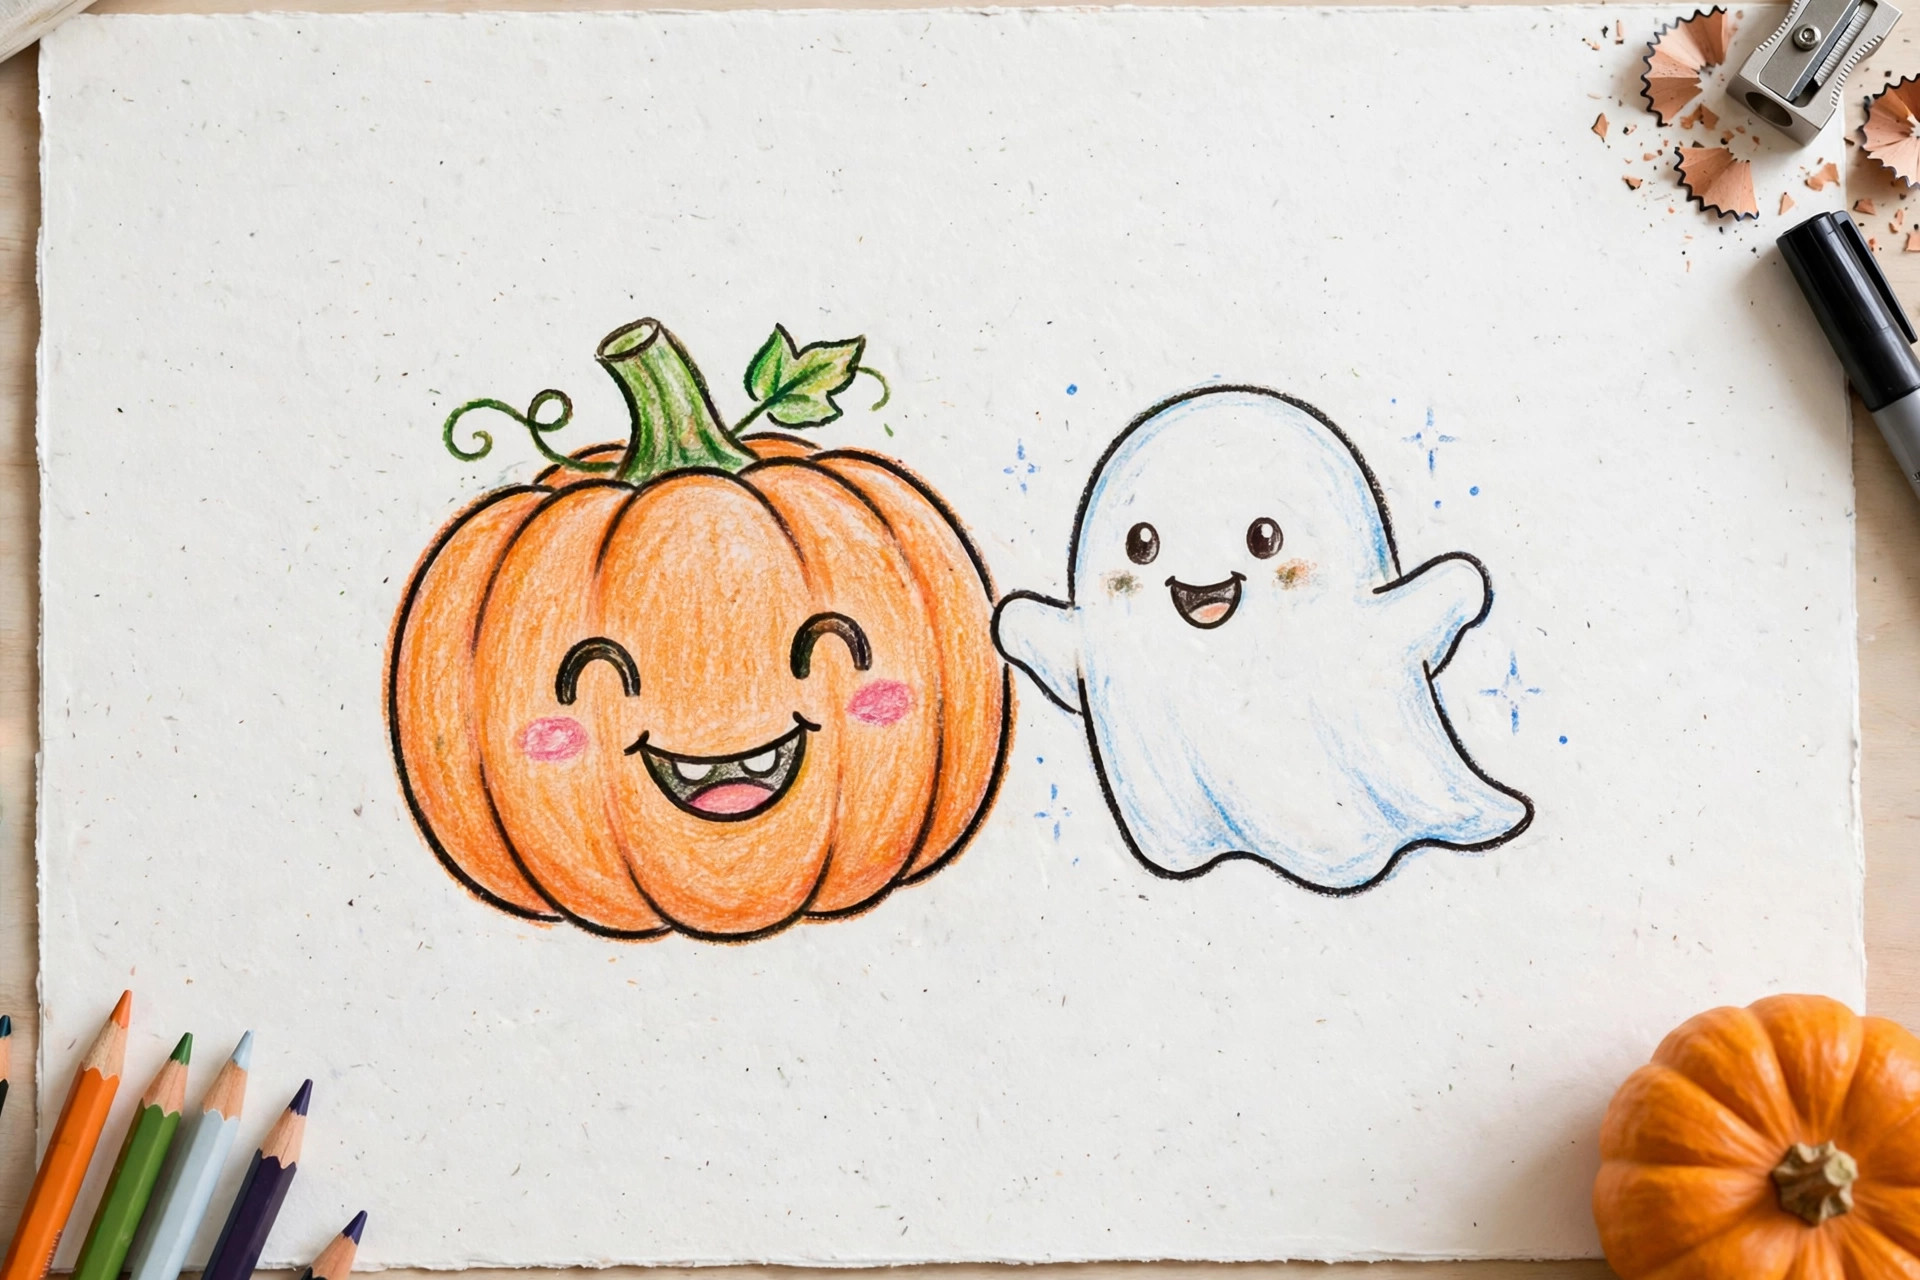
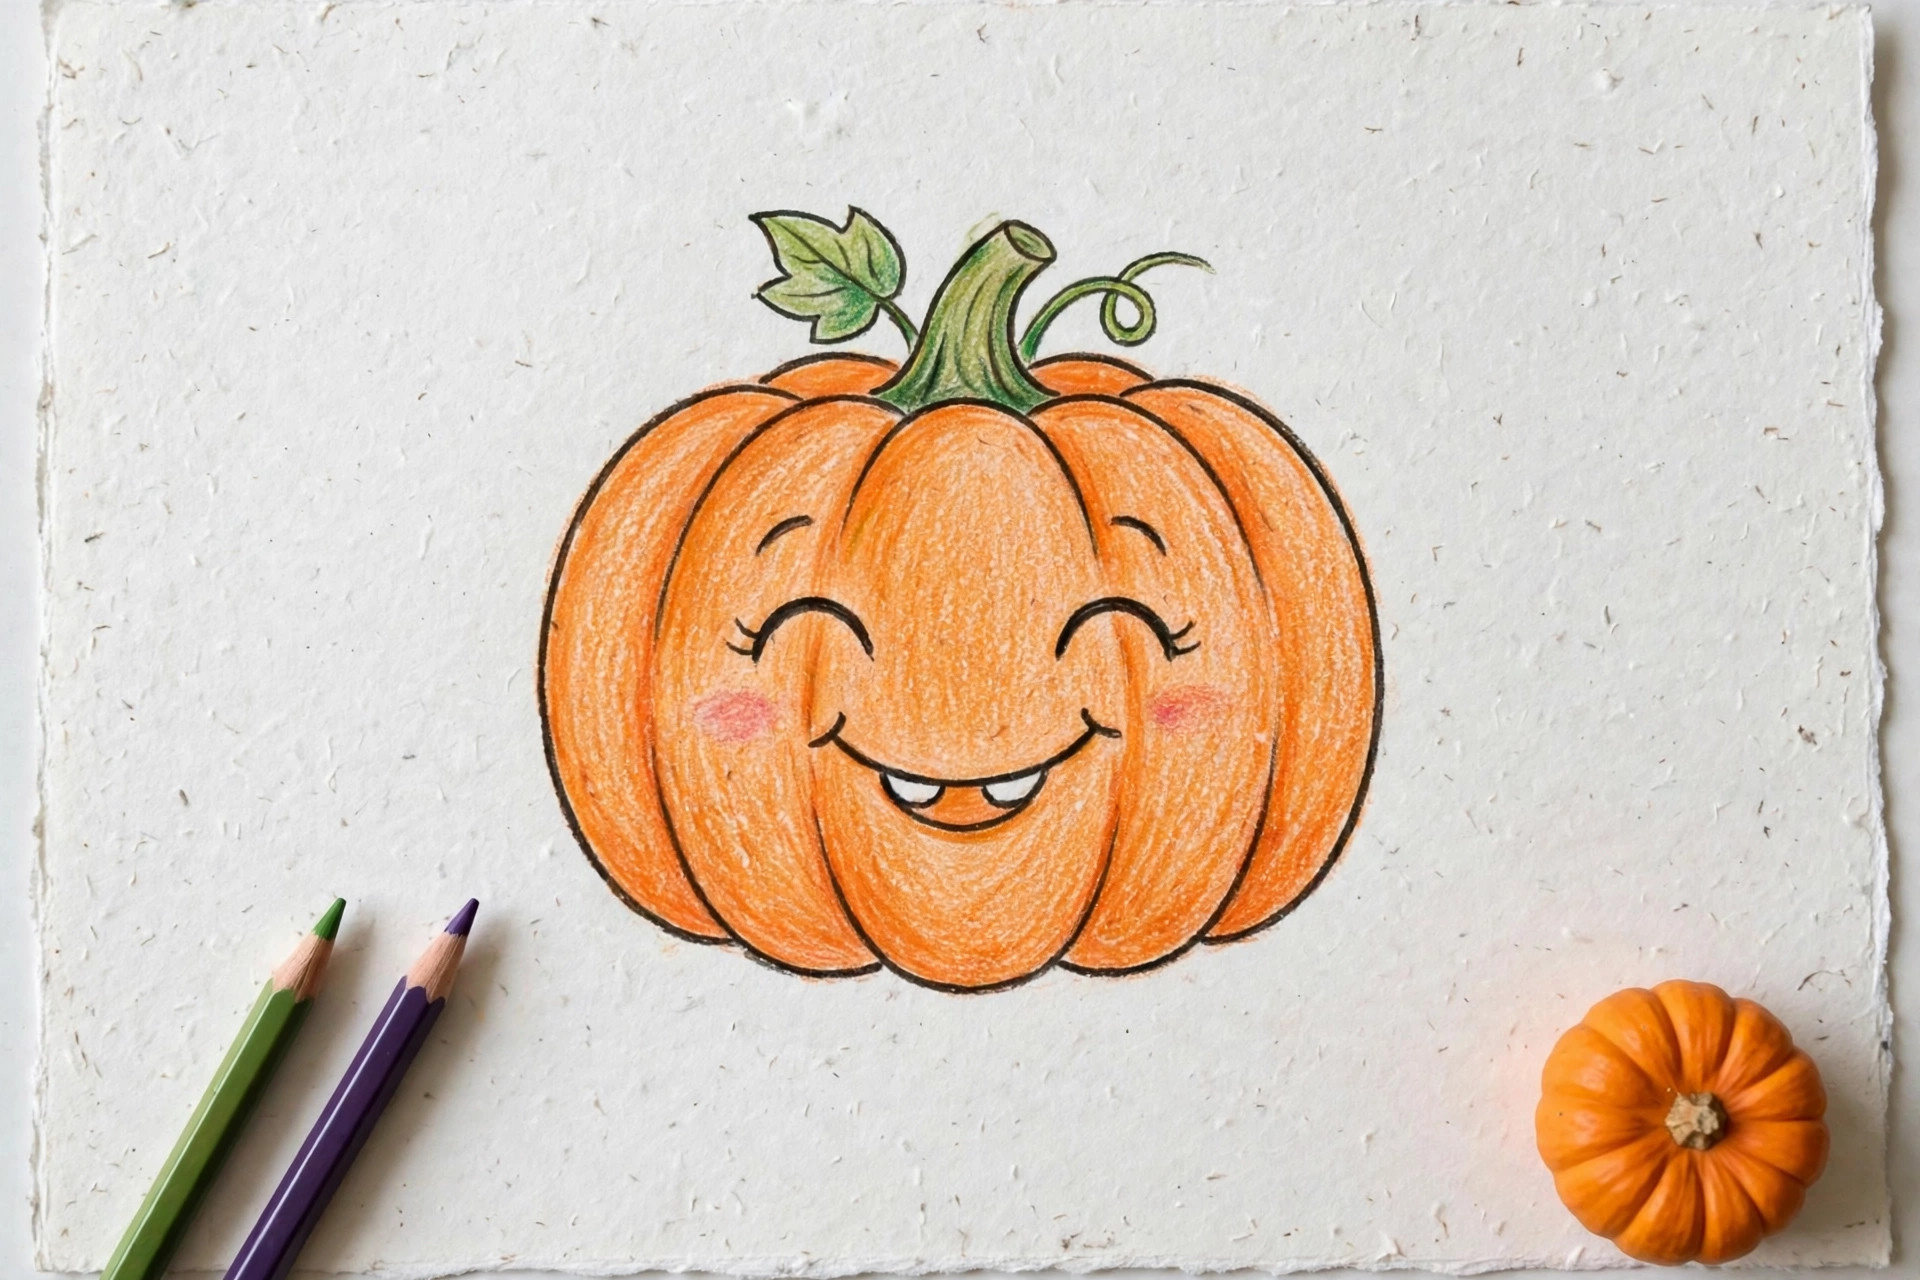
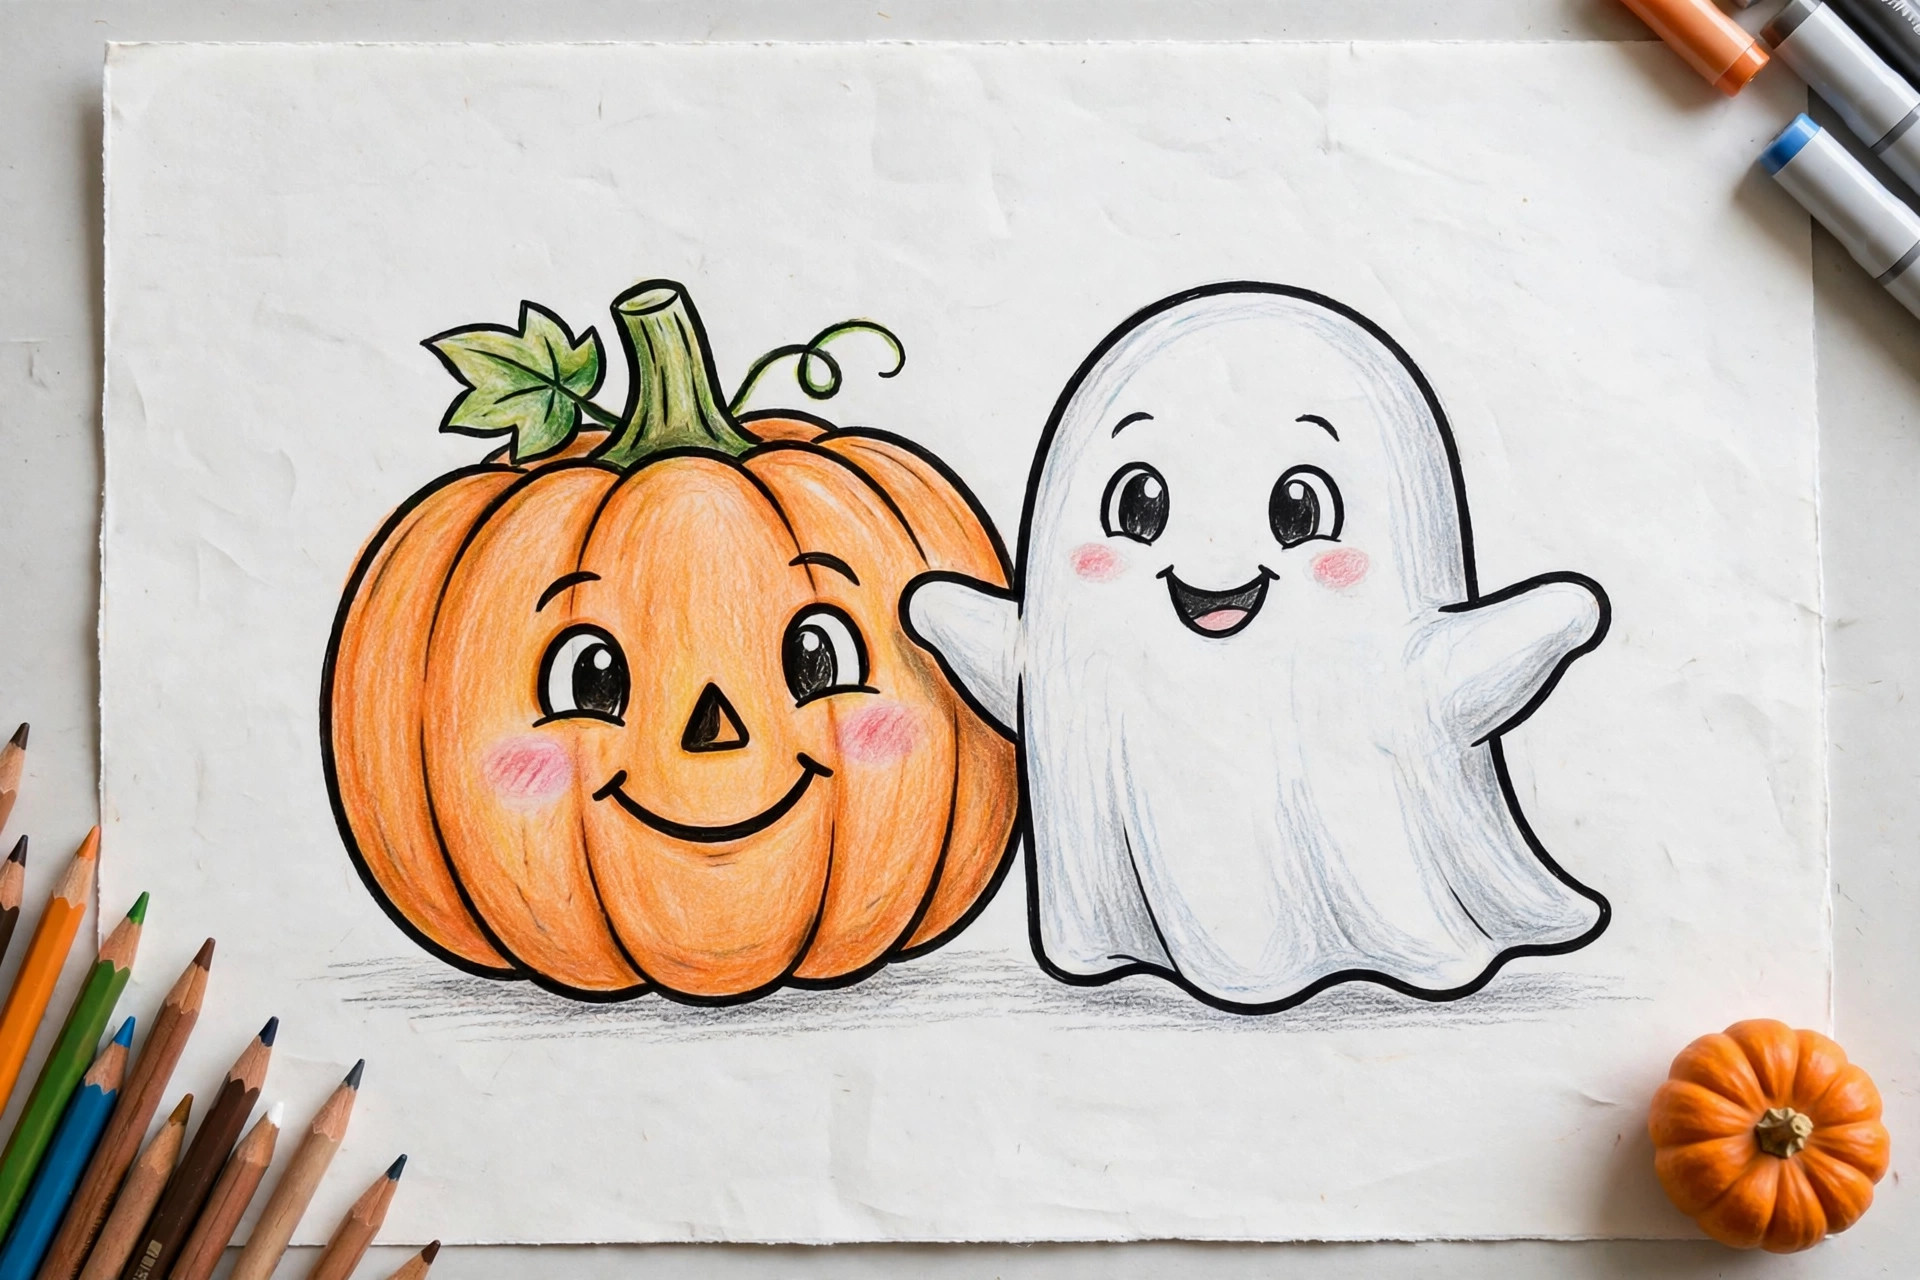
Start with a wide oval, then add two or three curved lines from top to bottom to make the pumpkin’s ribs. Draw a small rectangle on top for the stem and two triangle eyes with a big crescent smile. Finishing tip: Color the ribs in two shades of orange, lighter in the middle, so the pumpkin looks round.
2. Happy Ghost
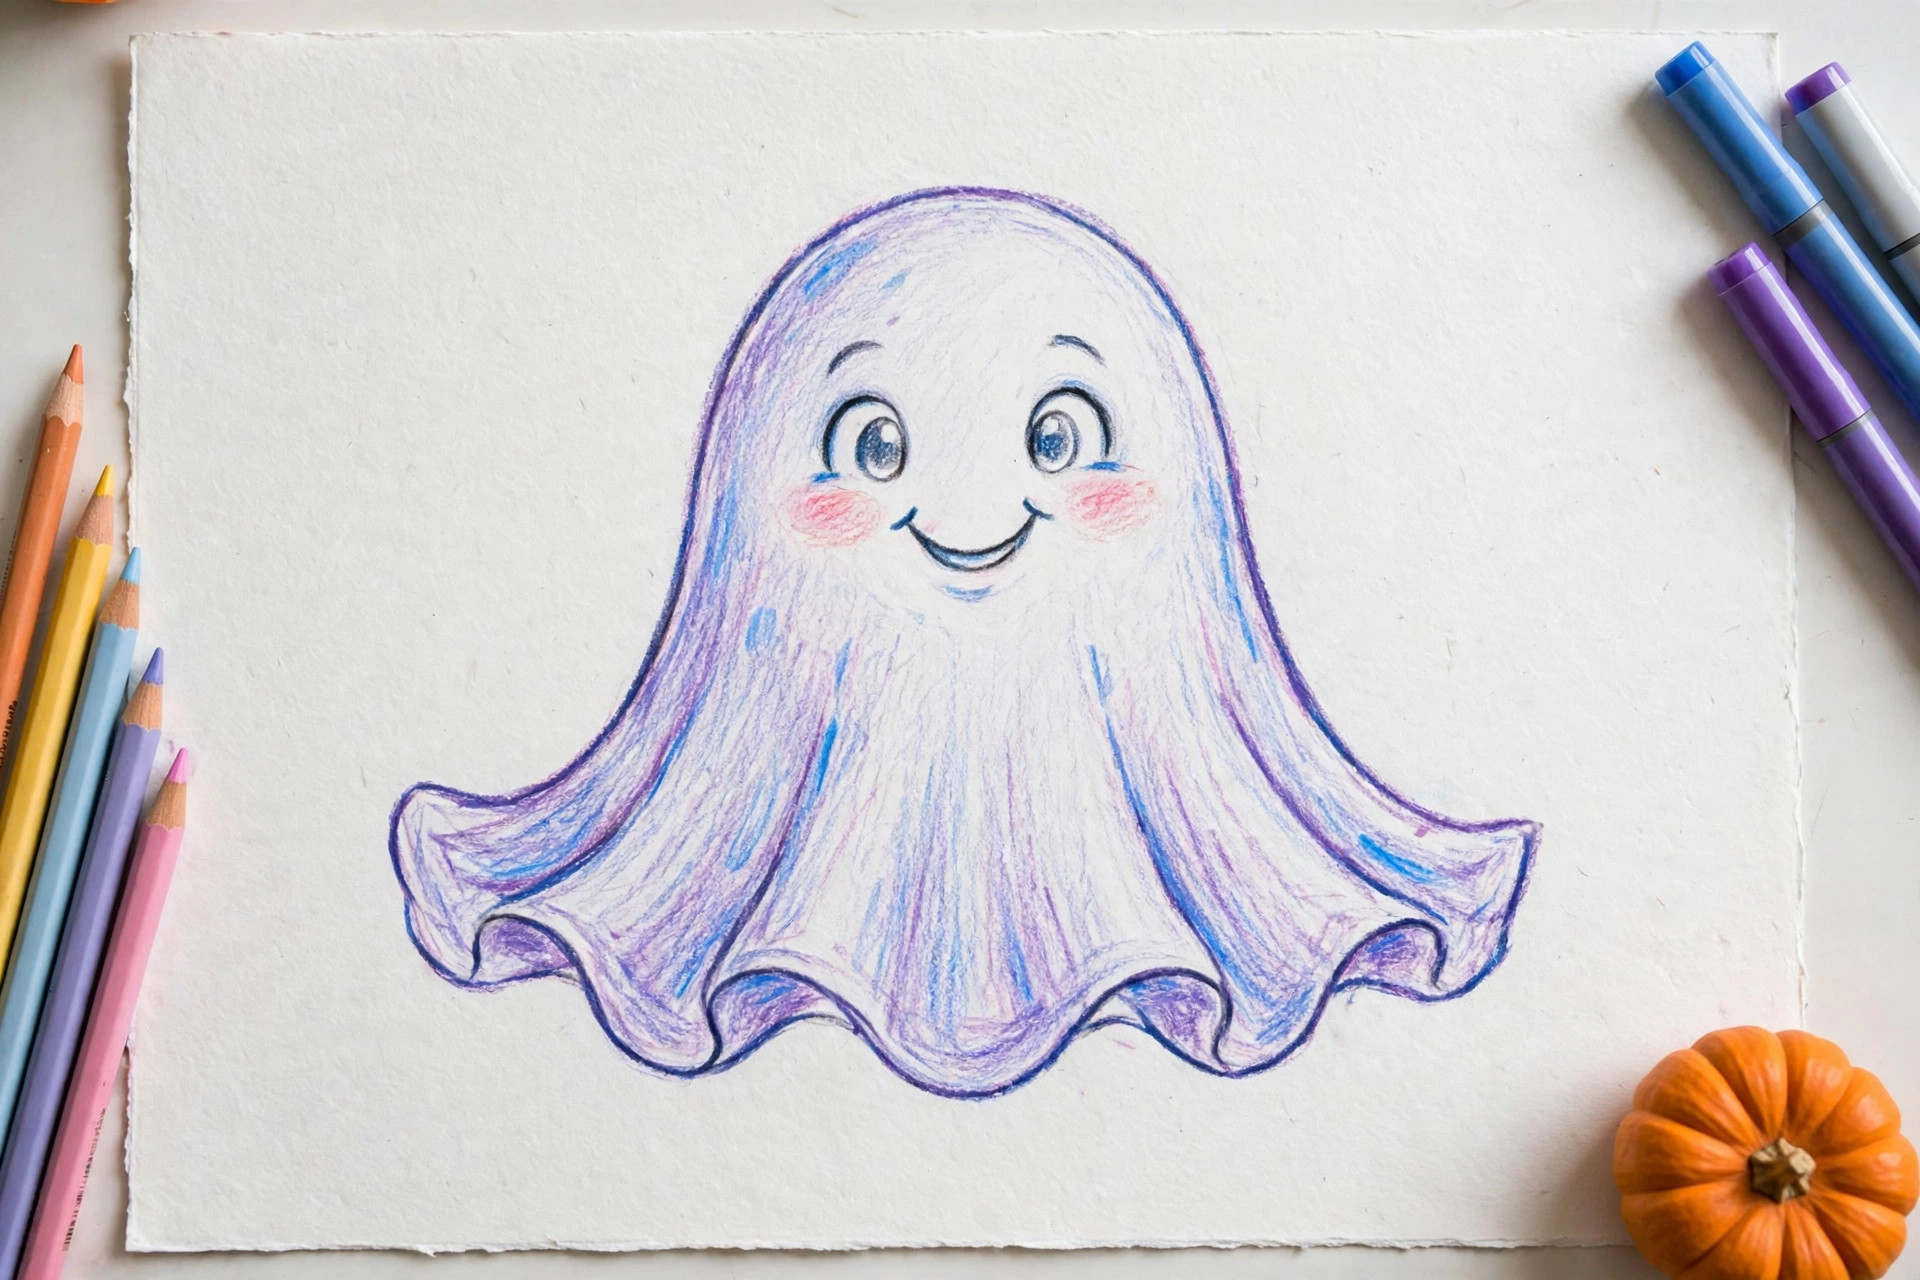
Draw a tall rounded shape like an upside-down letter U, then finish the bottom with a wavy line, like a bedsheet edge. Add two oval eyes and a small open smile. Finishing tip: Give your ghost rosy cheeks and a tiny bow or hat so it reads friendly, not scary.
3. Cat in a Witch Hat
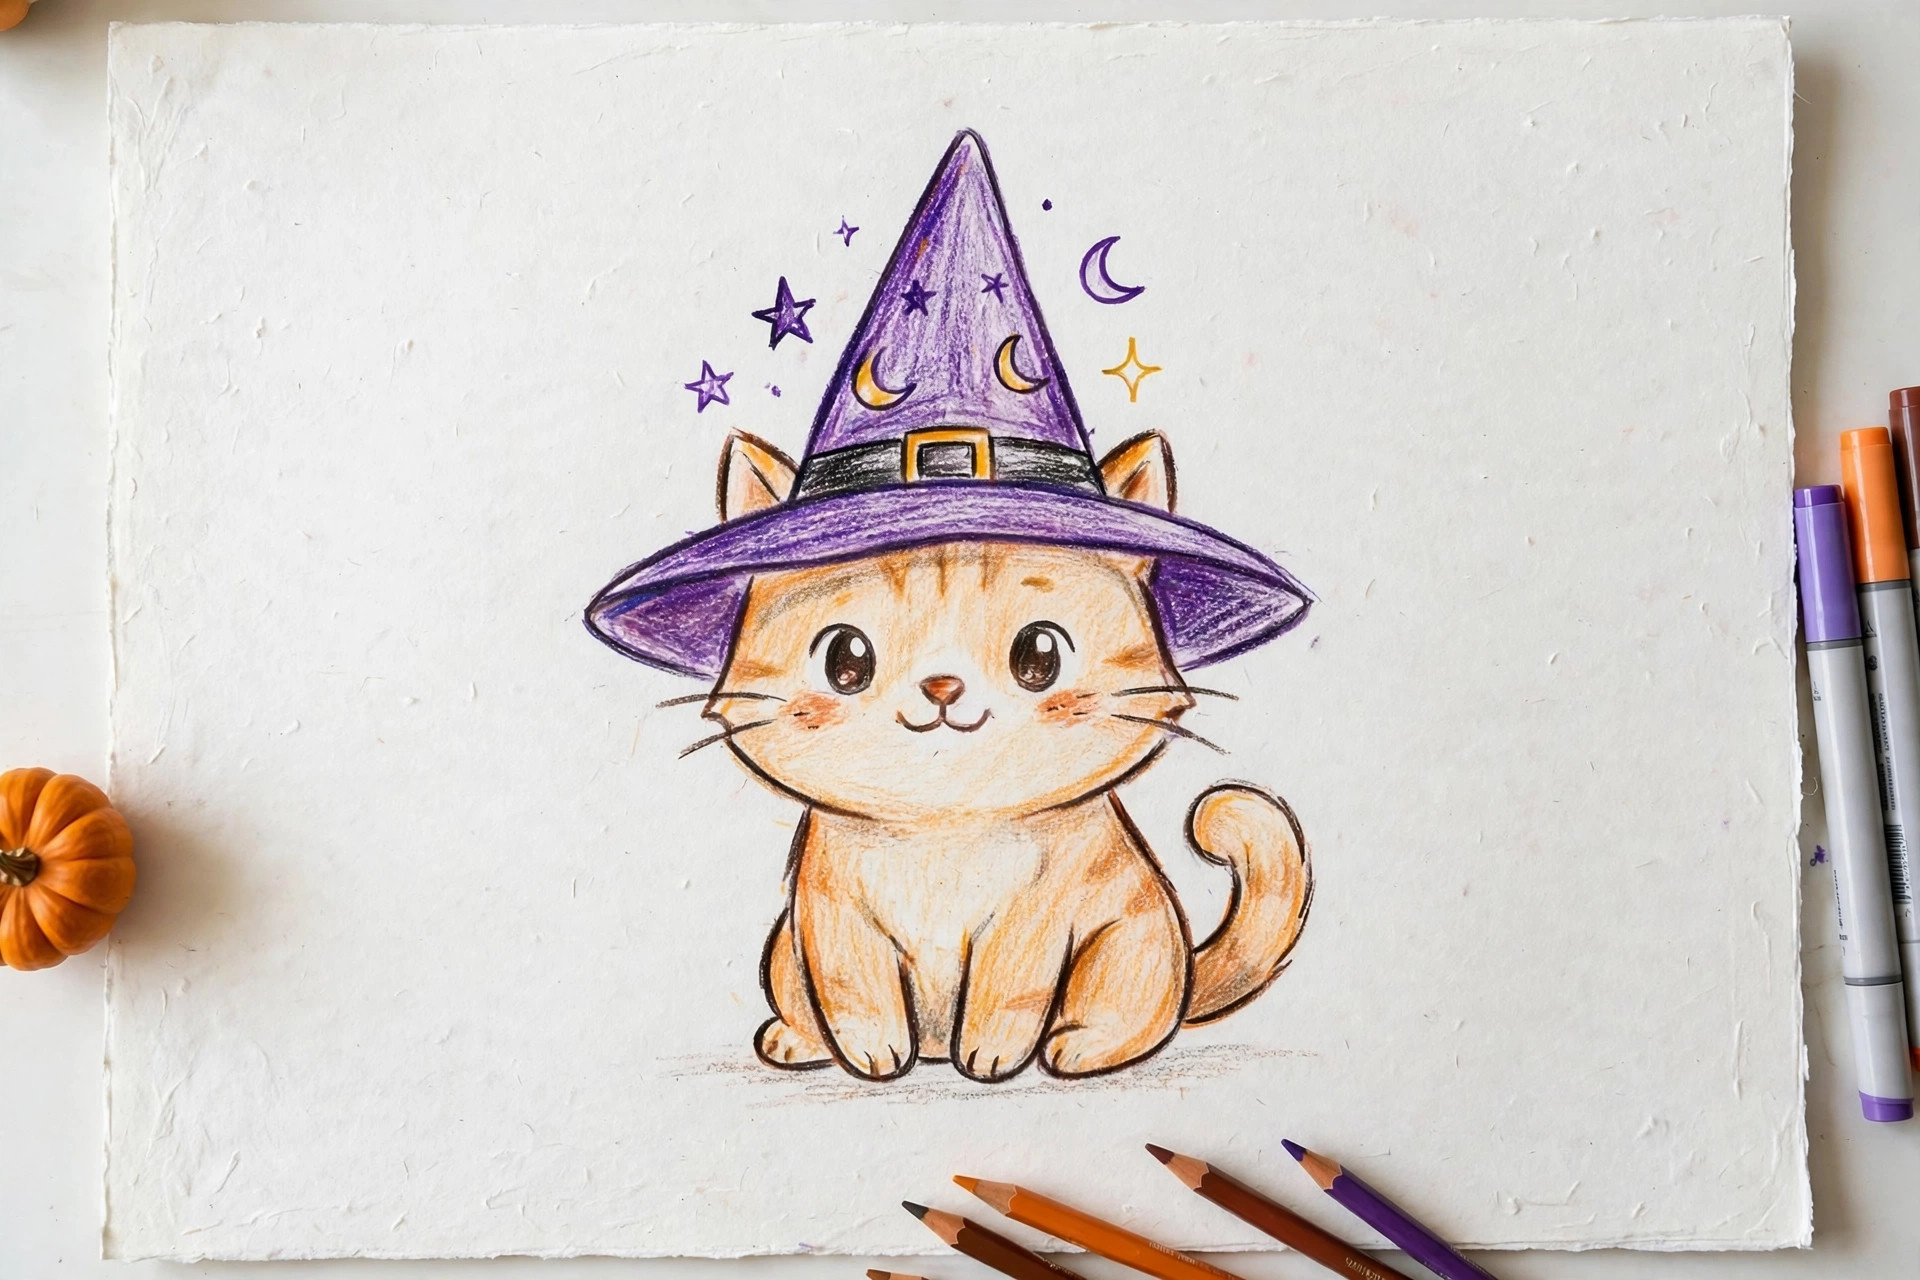
Draw a circle for the head and two triangles on top for ears. The hat is one big triangle bending at the tip, sitting between the ears, with an oval brim underneath it. Add whiskers with three short lines on each cheek. Finishing tip: Color the hat purple with an orange band for instant Halloween style.
4. Candy Bucket
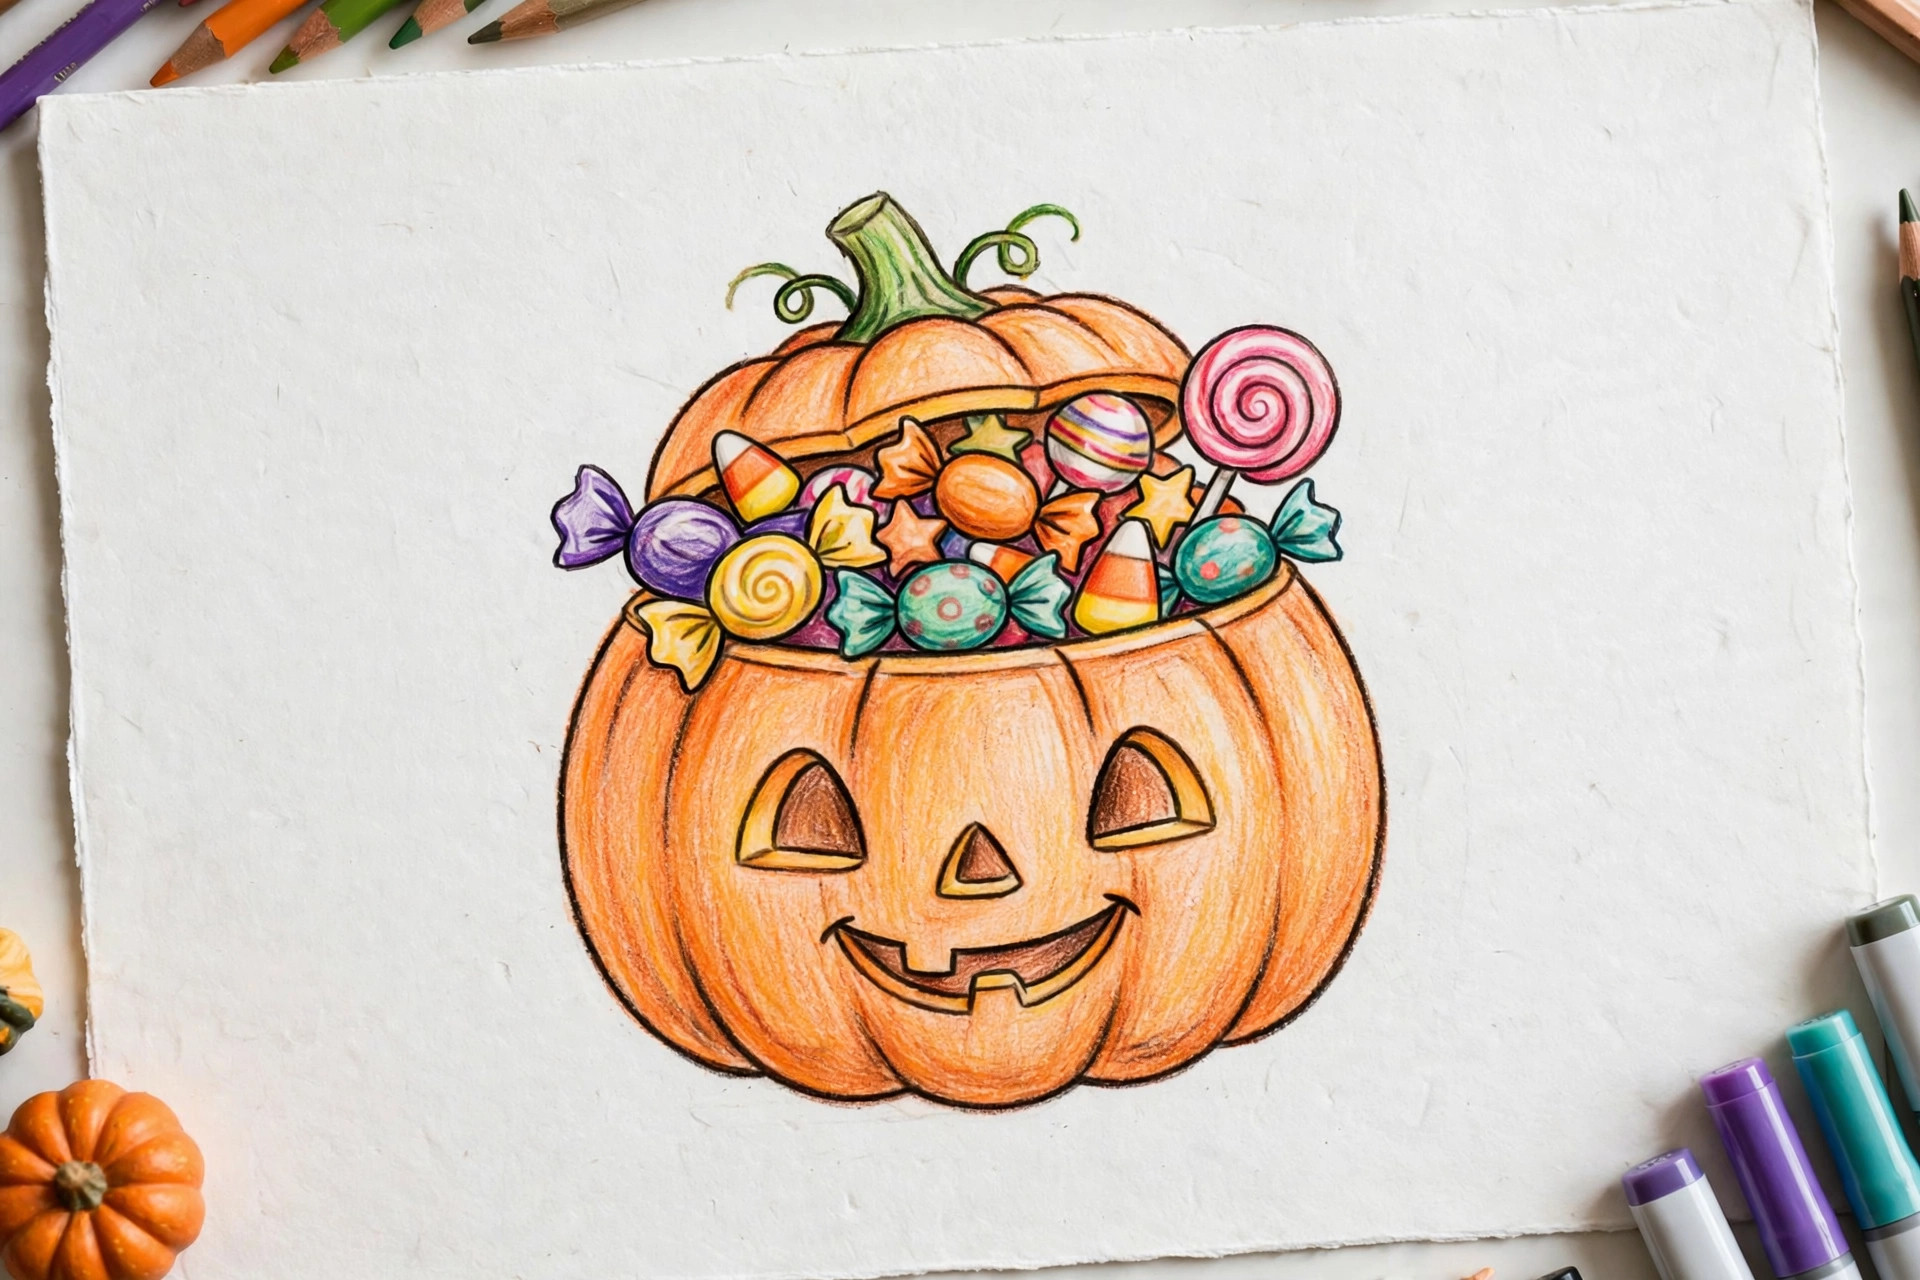
Start with a trapezoid shape, wider at the top, for the bucket. Add a curved handle over the top and a pile of circles and rectangles peeking out as candy. Draw a simple pumpkin face on the front of the bucket. Finishing tip: Color each candy wrapper a different bright color so the pile looks full and fun.
5. Baby Bat
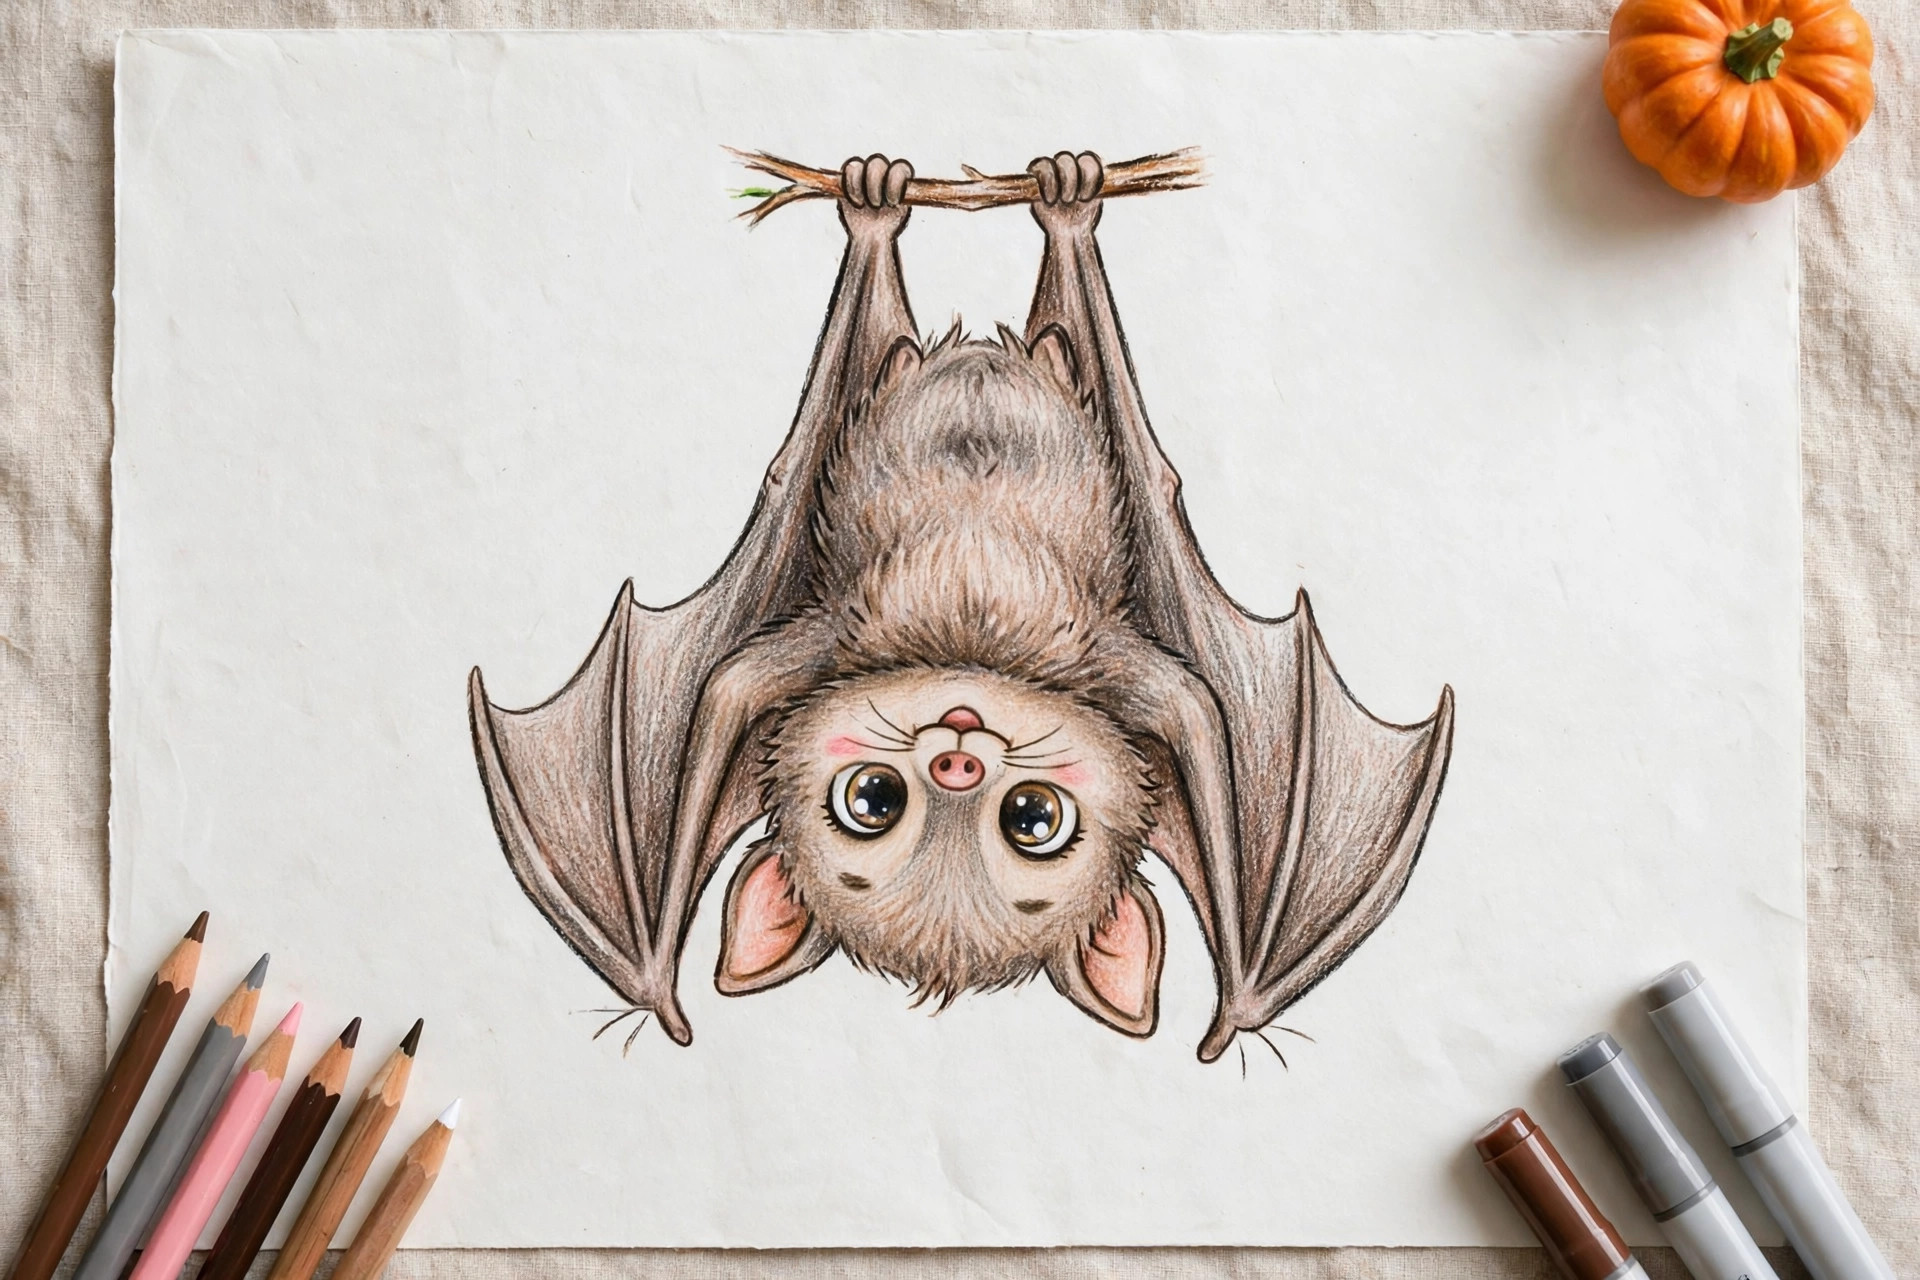
The body is a small oval, with a round head and two triangle ears on top. Wings are two big scalloped shapes, like half-hearts with wavy bottoms, one on each side. Two tiny fangs under a smiling mouth finish the face. Finishing tip: Hang your bat upside down from a thin branch and add a sleepy closed eye.
6. Friendly Skeleton
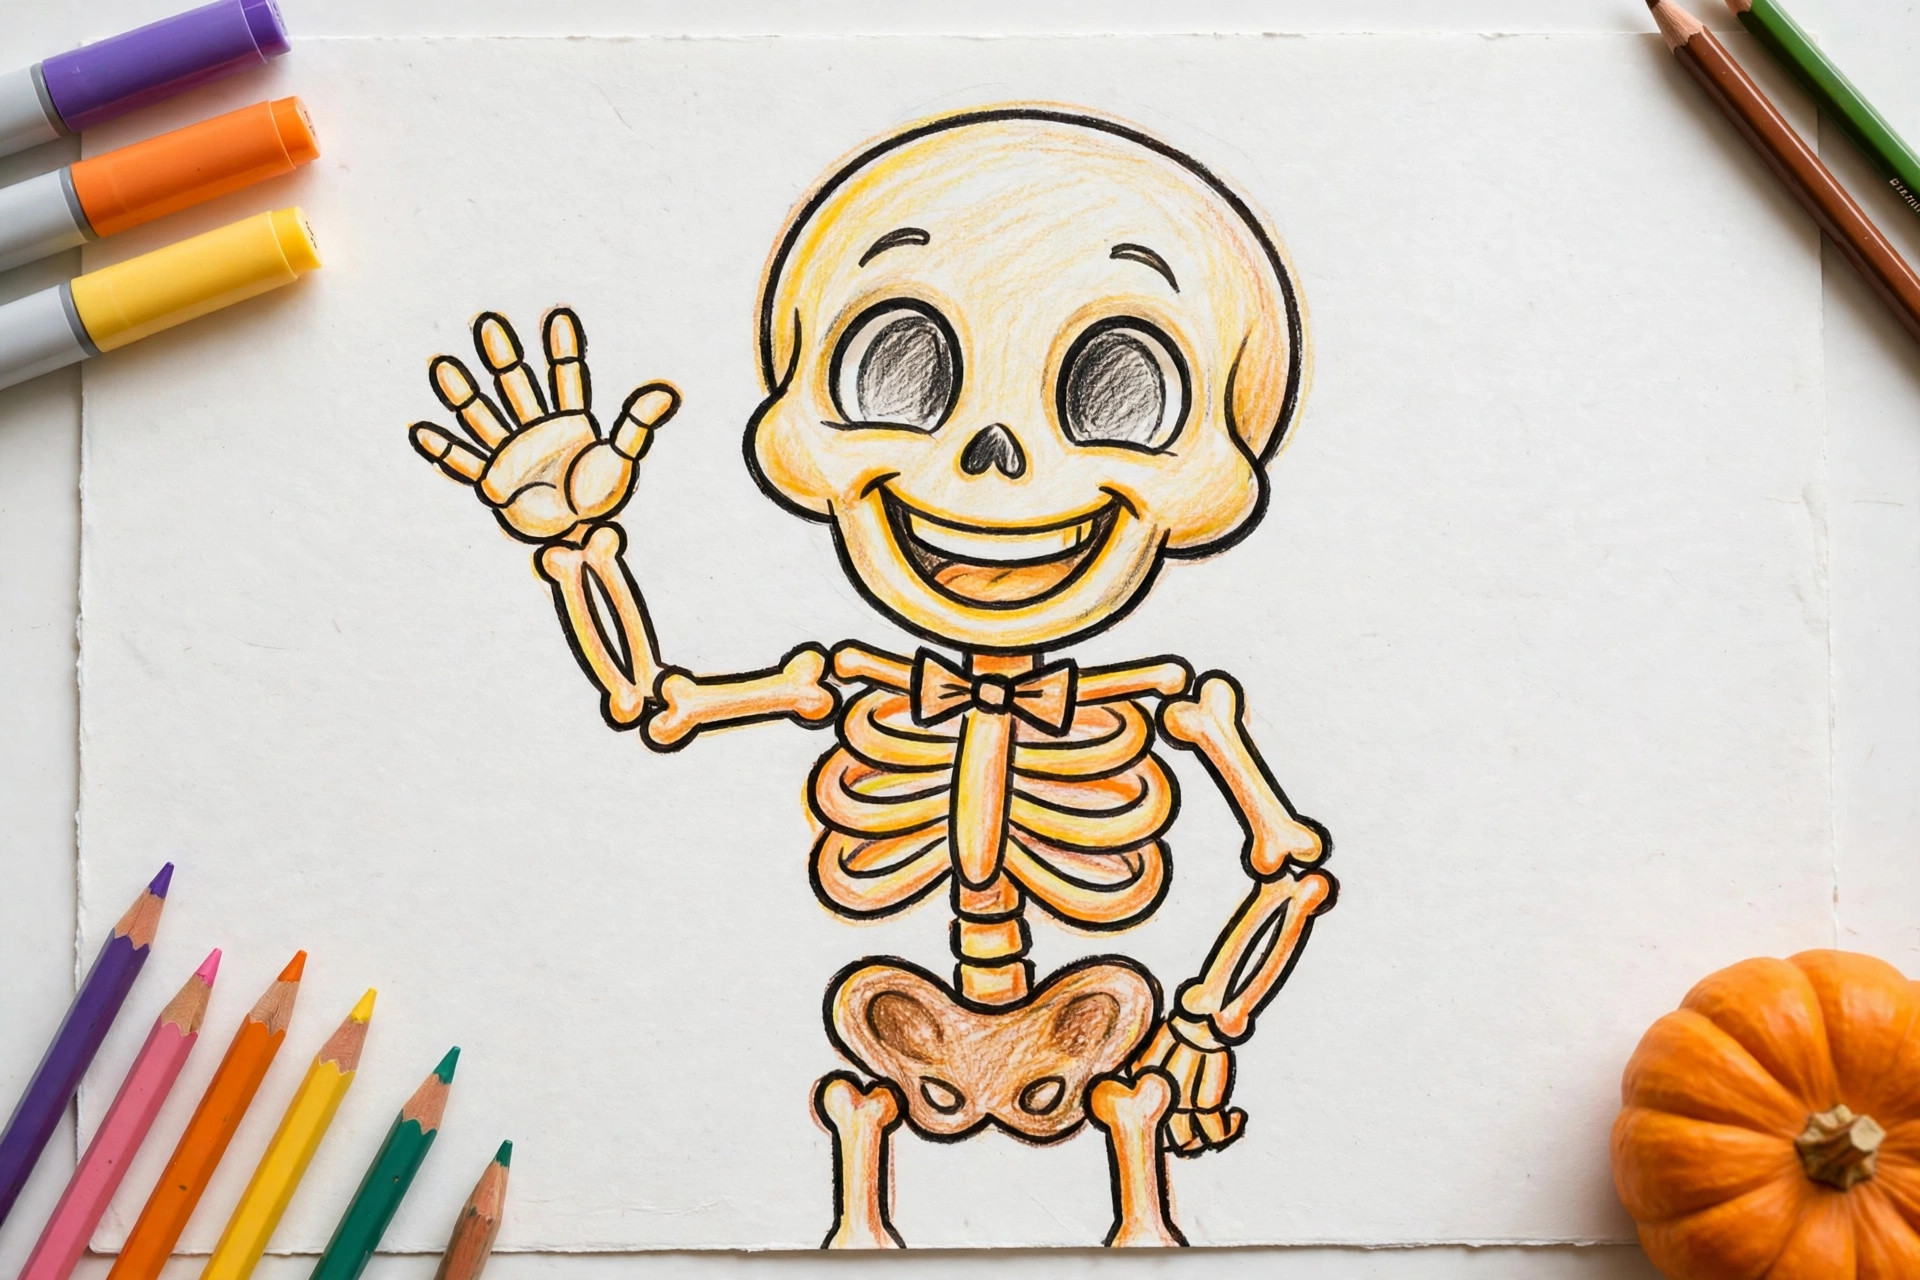
Draw an oval skull with two big round eye sockets, a small triangle nose hole, and a row of short vertical lines for teeth. The body can be super simple: a line for the spine, curved lines for ribs, and stick arms and legs. Finishing tip: Big eye sockets and a smile-shaped jaw keep it cute instead of creepy.
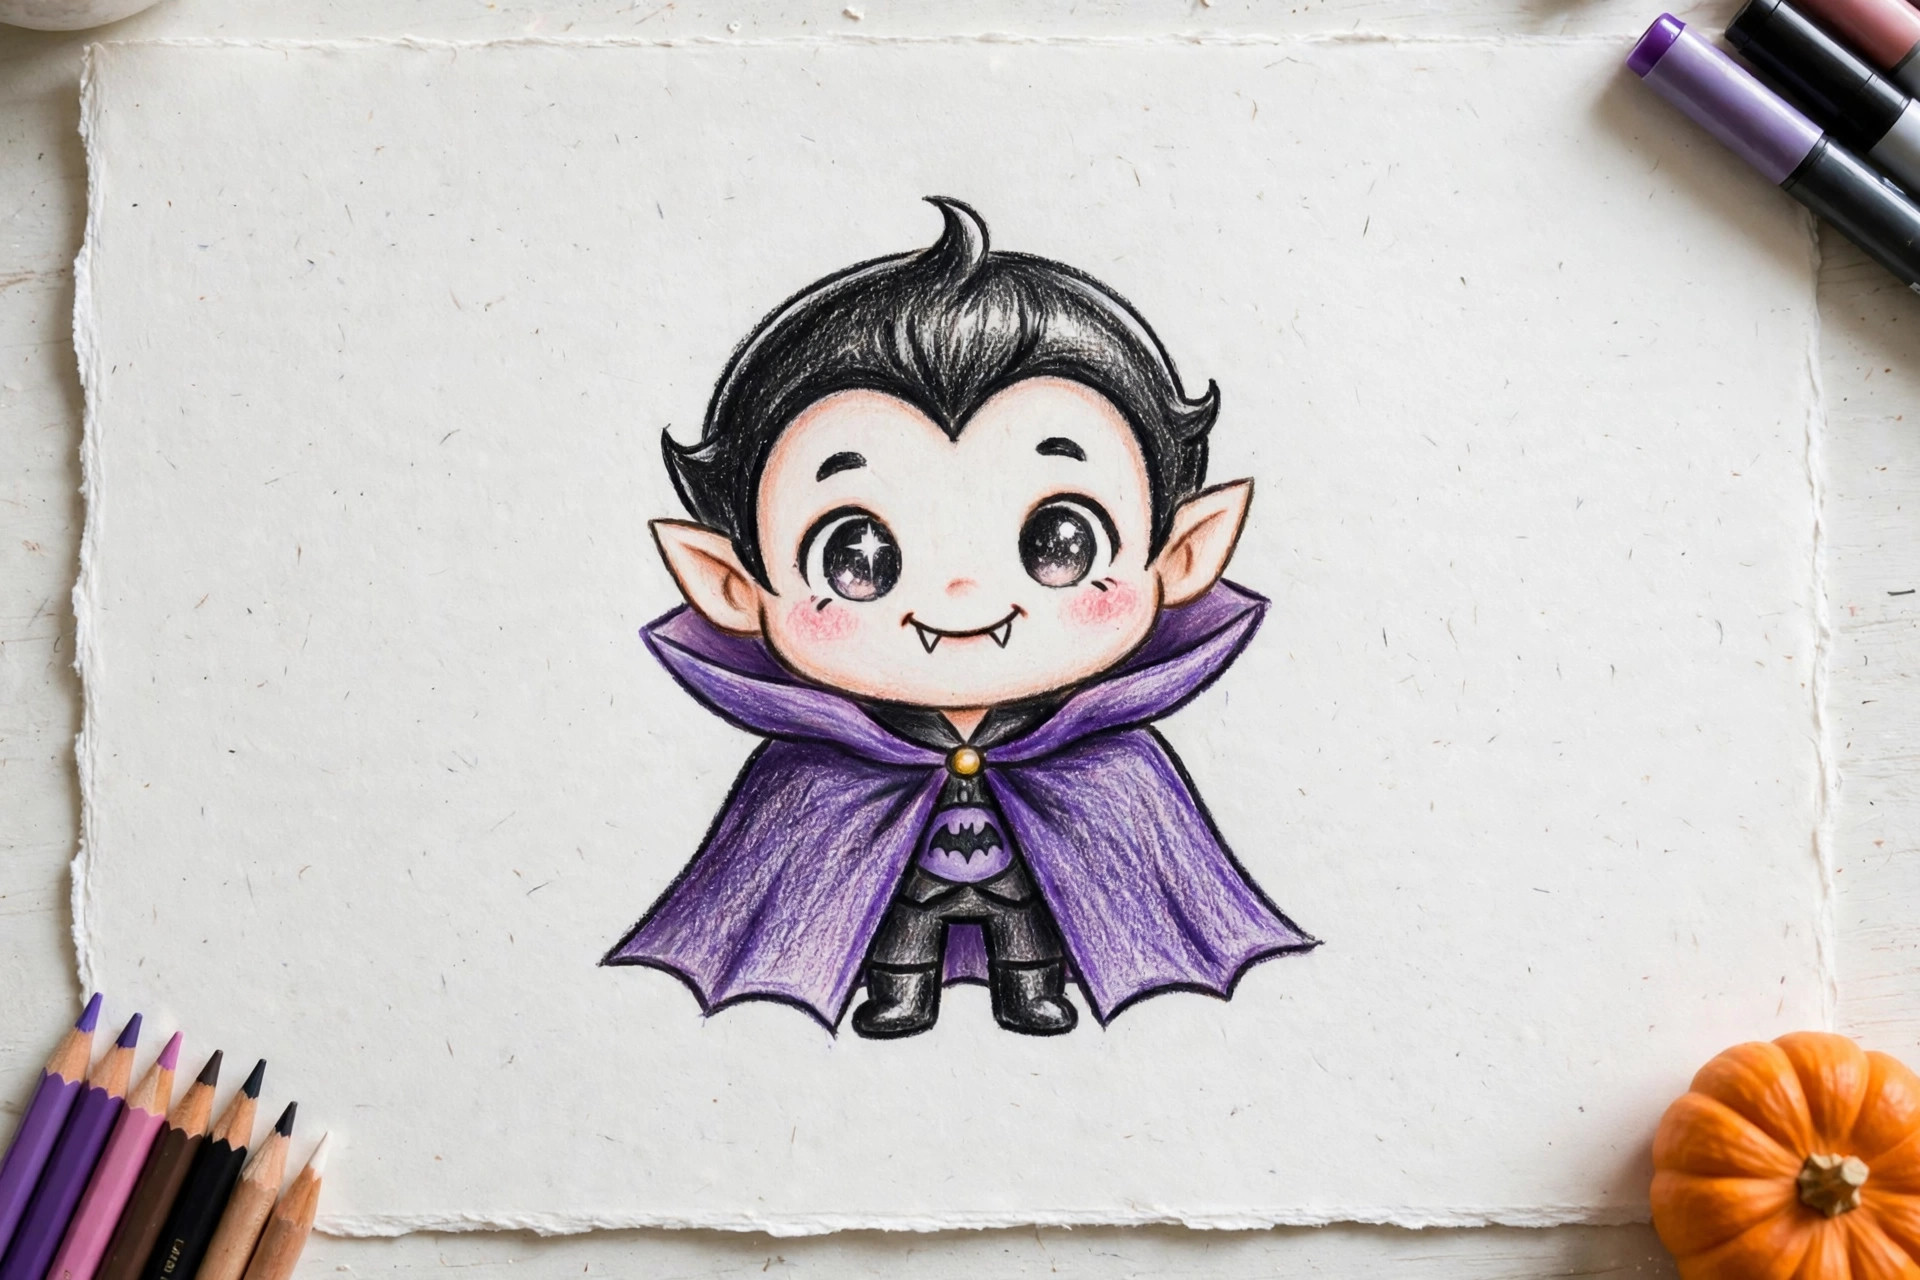
7. Cute Vampire
Start with a round face and a neat hair shape with a point in the middle of the forehead. Add a wide smile with two small triangle fangs, then a cape made from two big triangles behind the shoulders. Finishing tip: A tiny bow tie and blushing cheeks turn this vampire into a party guest.
8. Moon and Stars
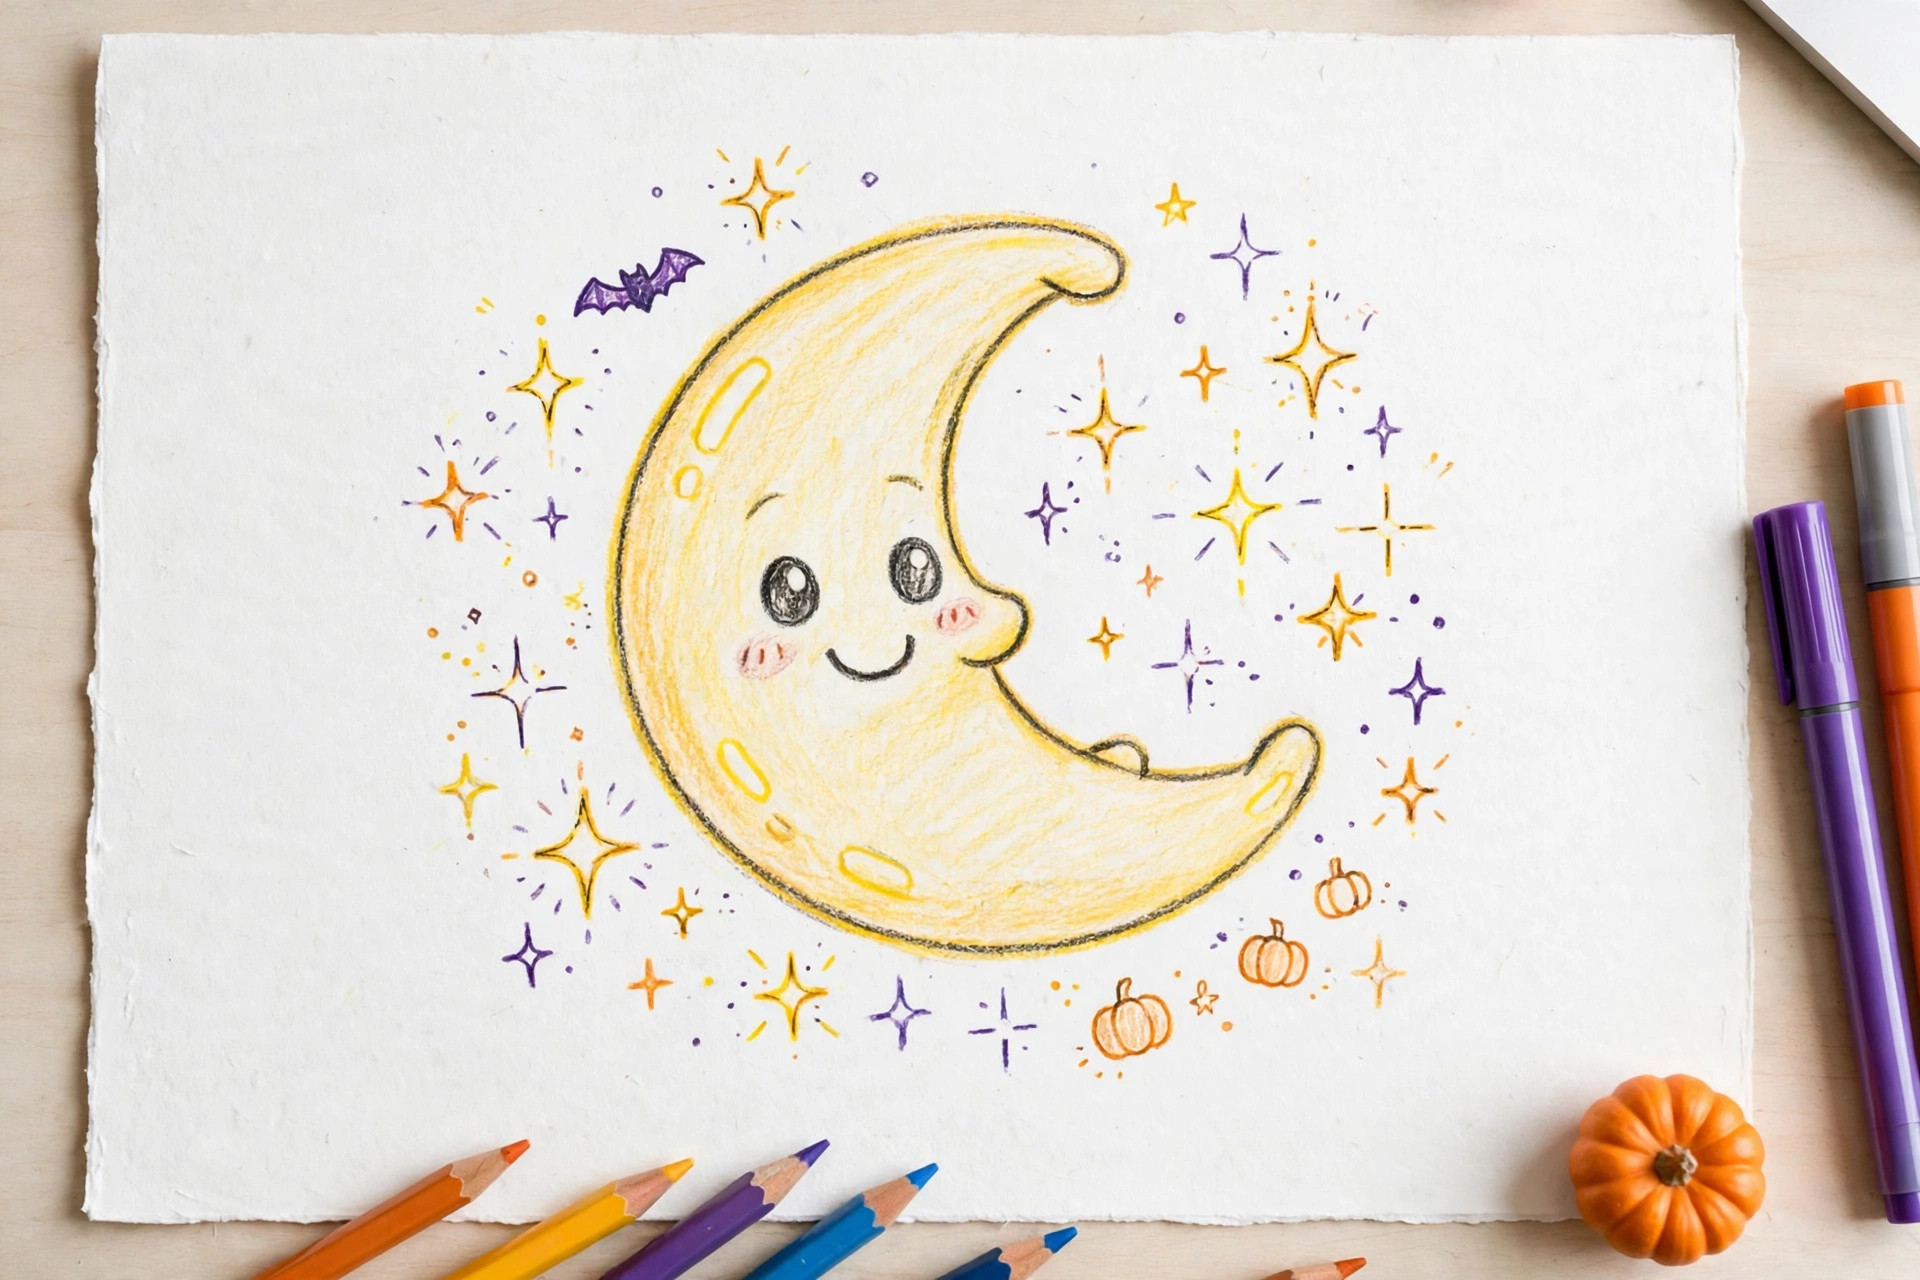
Draw a big crescent moon by making a circle, then covering part of it with a second circle to leave a banana shape. Scatter four-point stars around it, which are just two triangles crossed like a sparkle. Finishing tip: Color the sky deep purple or navy and leave the moon pale yellow so it glows.
9. Candy Corn Character
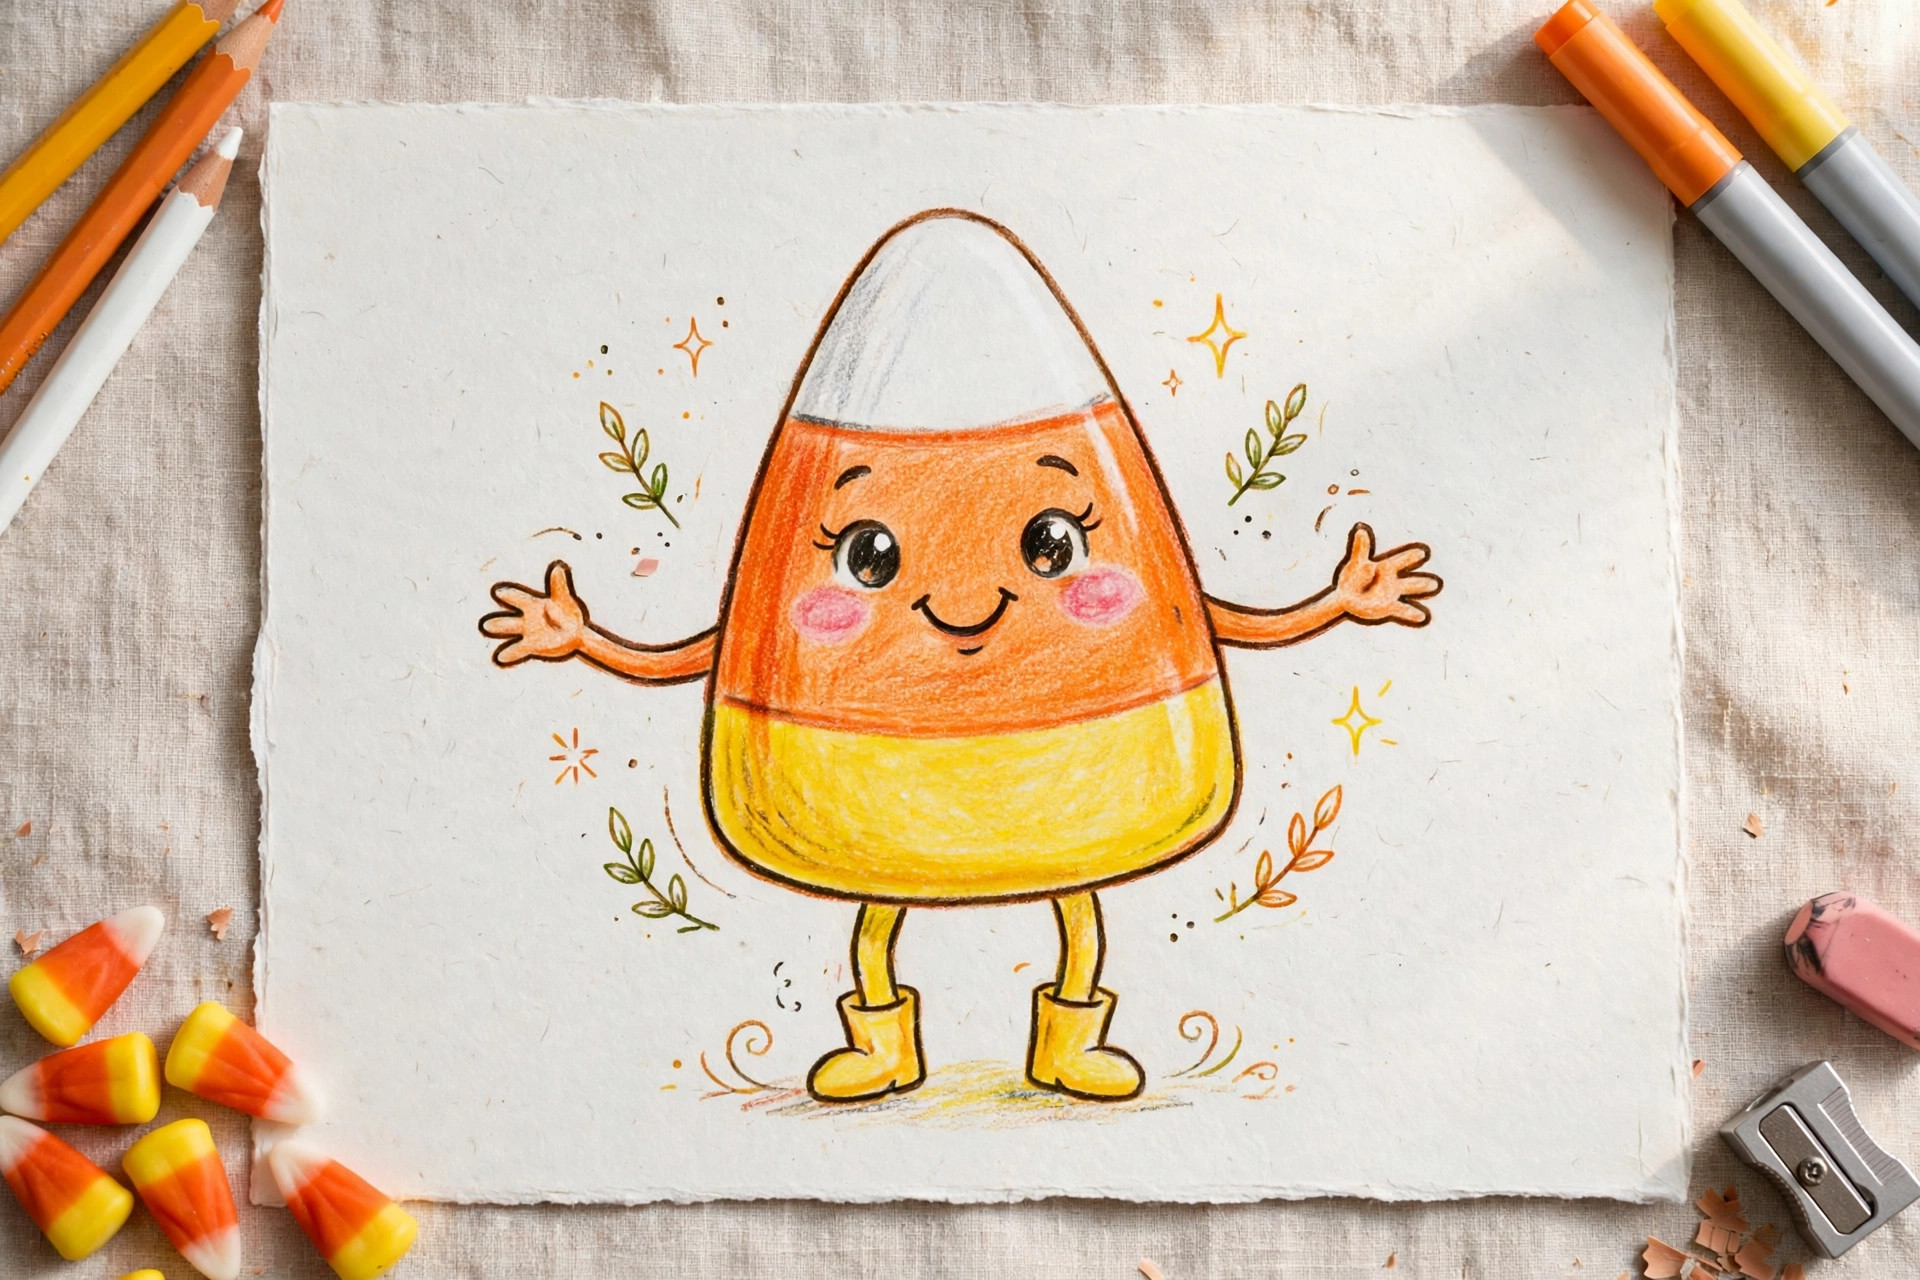
One rounded triangle is the whole body. Split it into three stripes: white at the tip, orange in the middle, and yellow at the wide bottom. Add stick arms, little feet, and a happy face on the orange stripe. Finishing tip: A tiny witch hat or a trick-or-treat bag gives your candy corn a story.
10. Owl on a Branch
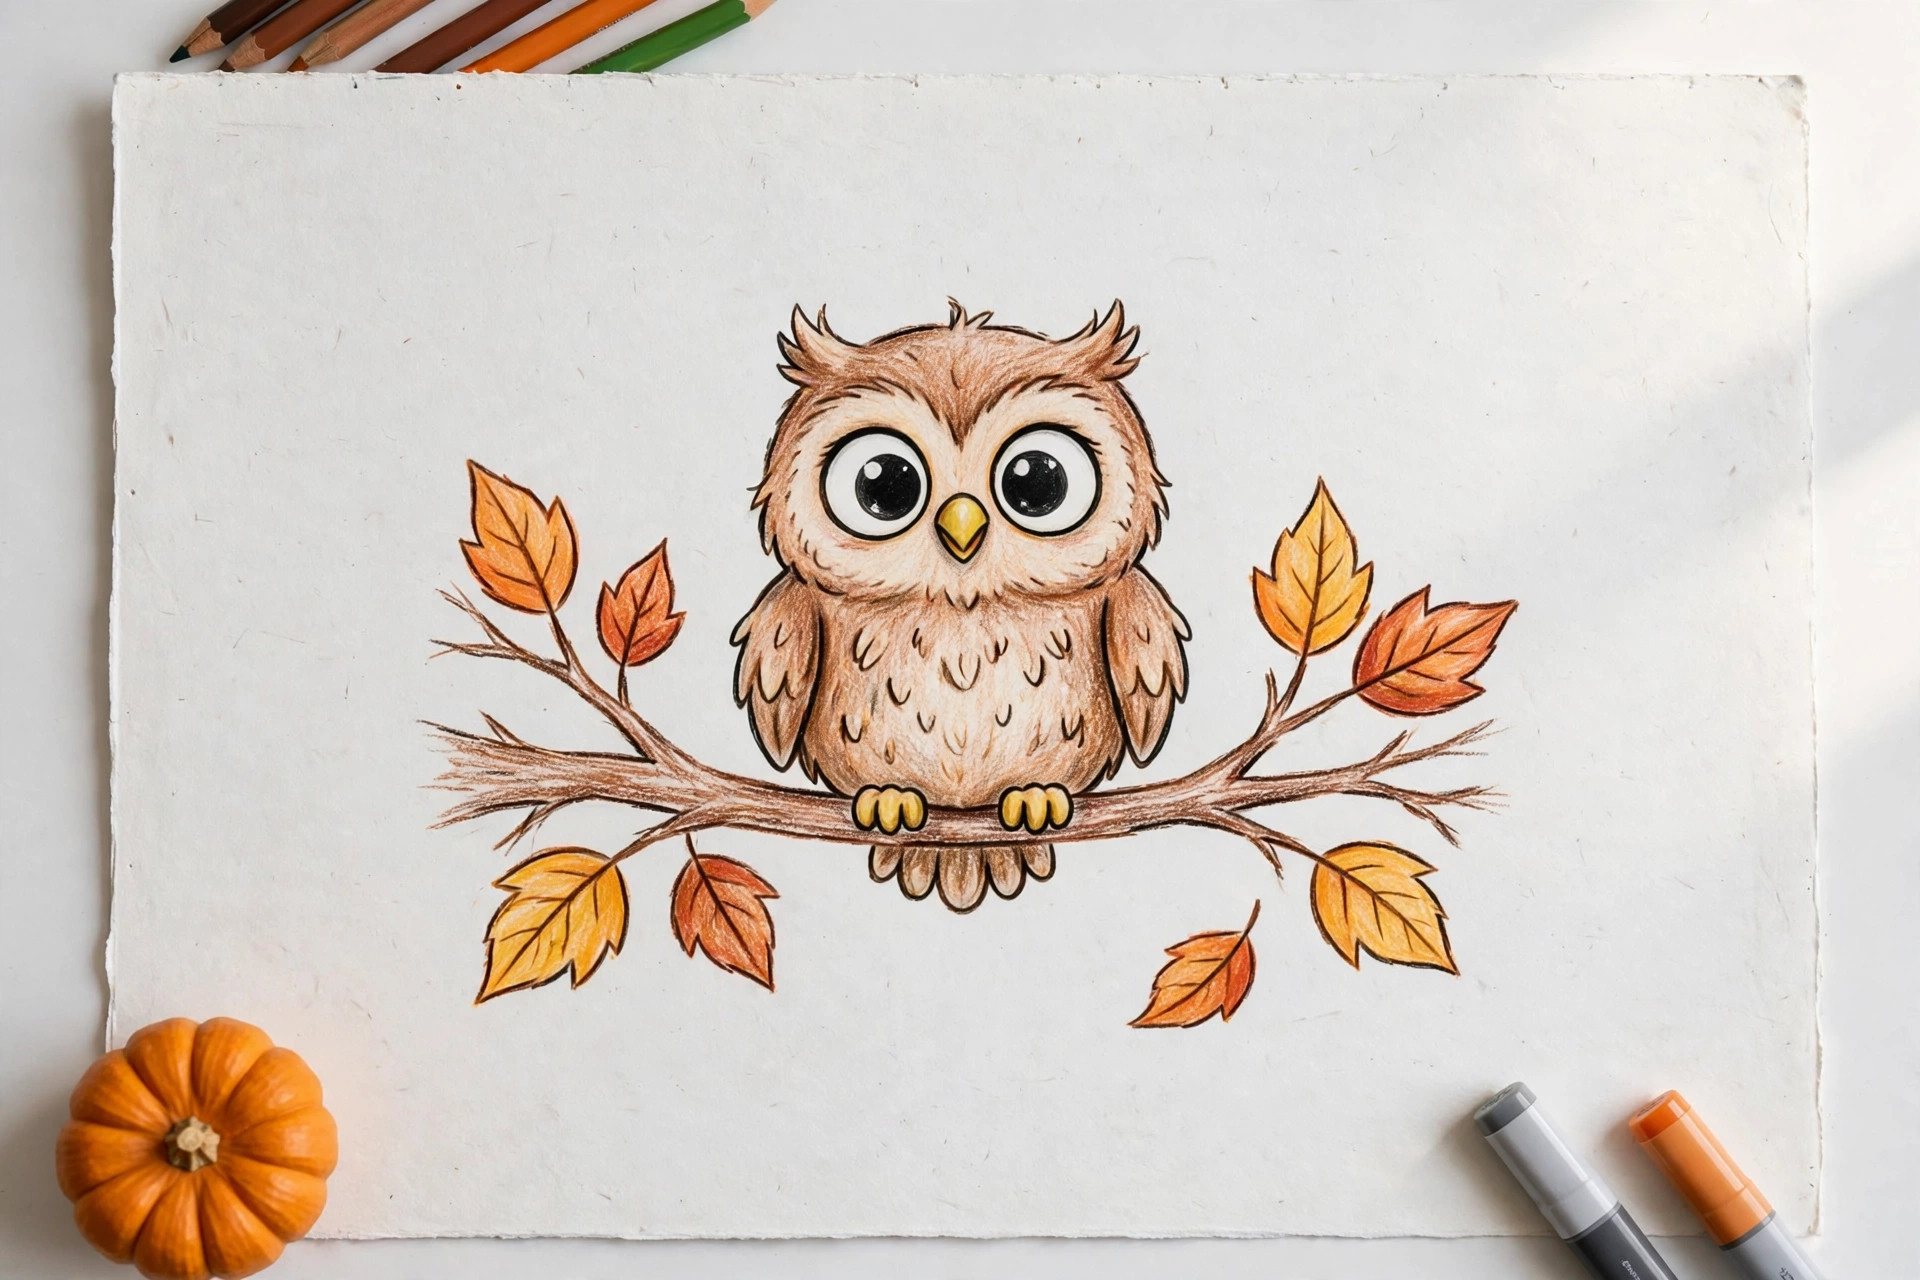
The owl is one big oval with two ear tufts, sitting on a horizontal branch line. Draw two big circles for eyes with smaller circles inside, and a tiny triangle beak between them. Add a belly oval and simple leaf shapes on the branch. Finishing tip: Make the eyes extra large and shiny, since big eyes are what make an owl look adorable.
Classic Spooky Ideas (11-20)
Ready for a little more atmosphere? These ten classics are what everyone pictures on Halloween night. They still use simple shapes, but shadows, silhouettes, and crooked lines do the spooky work for you.
11. Haunted House
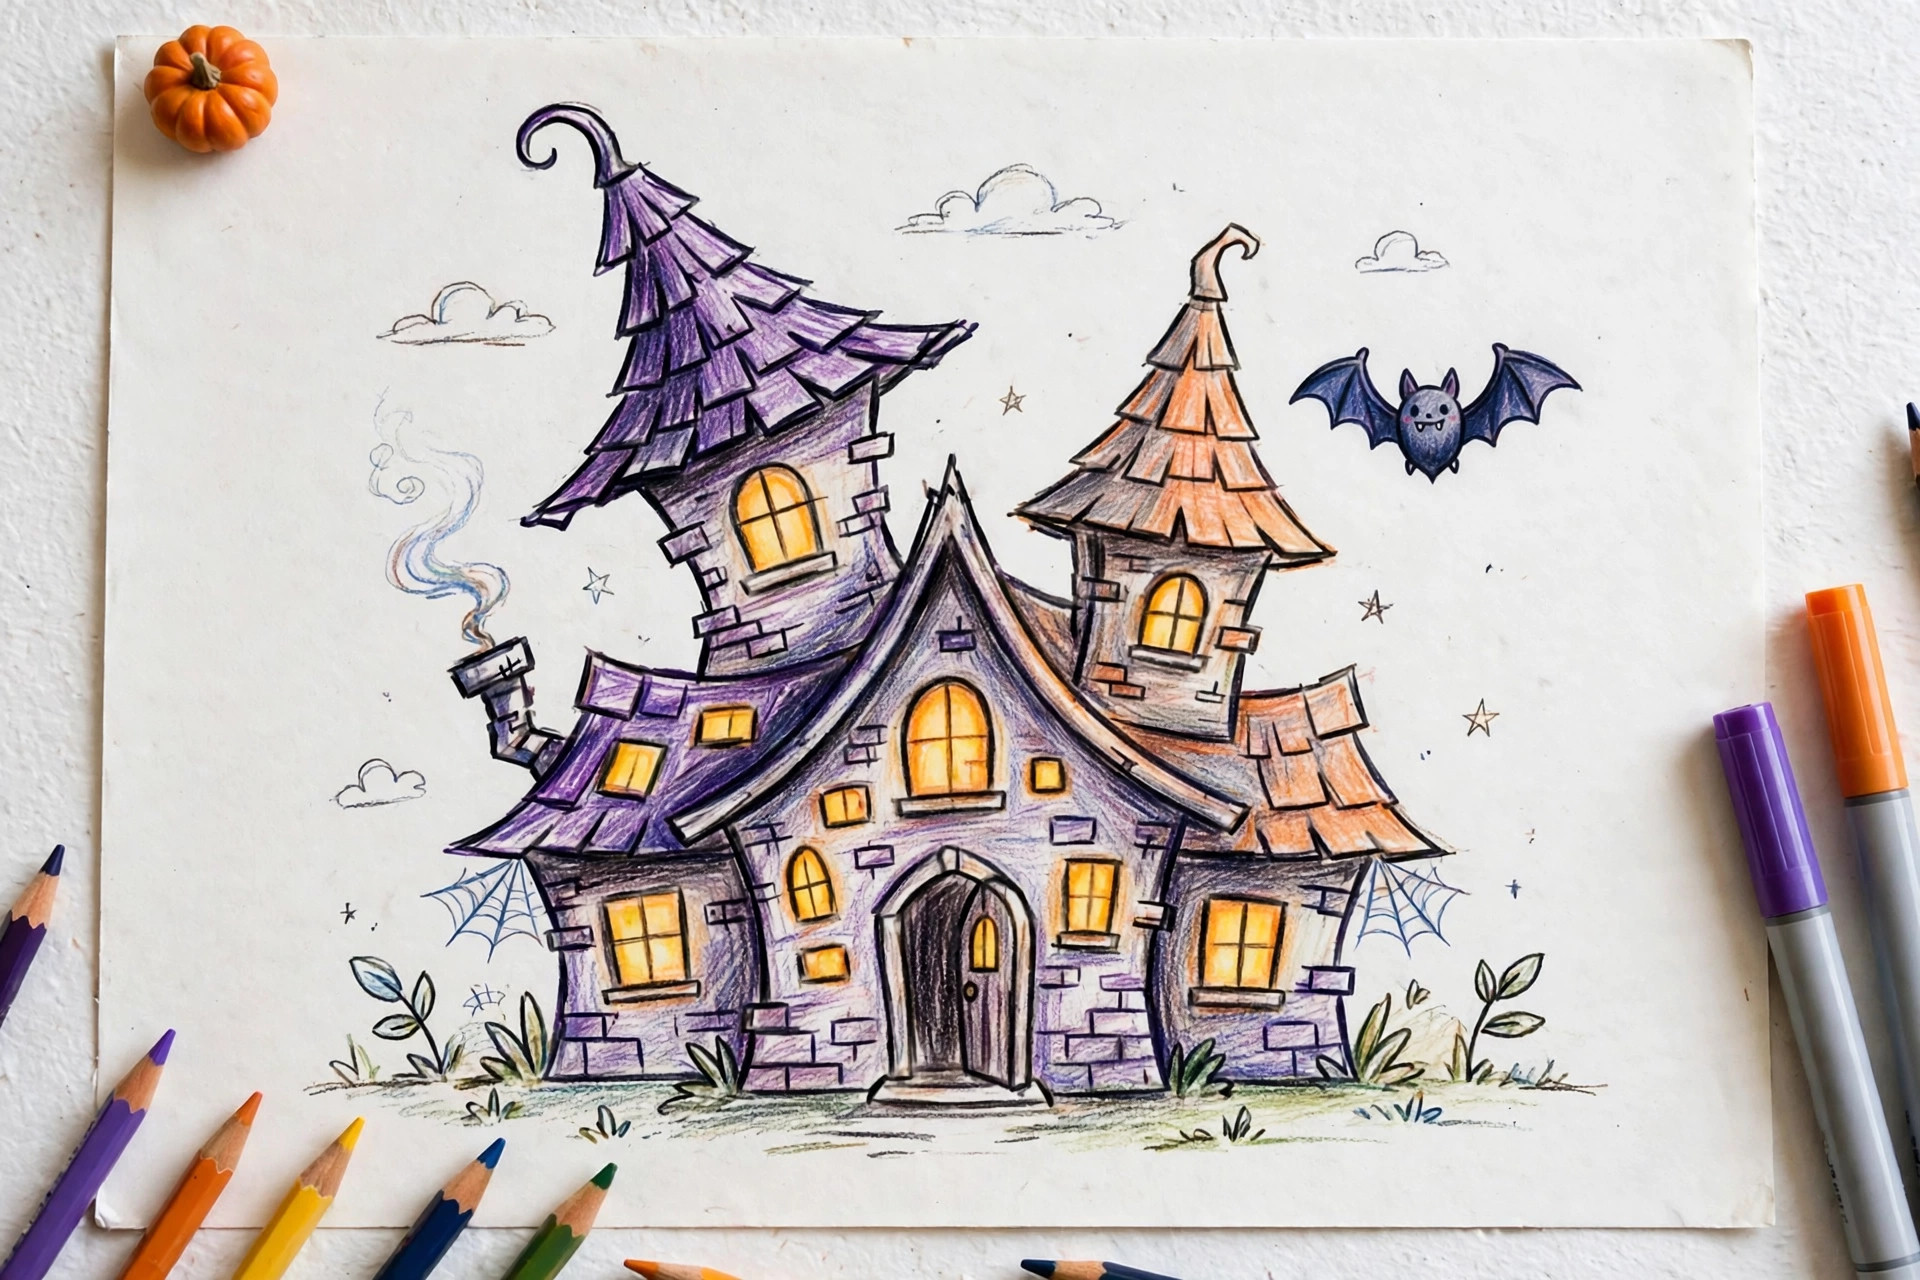
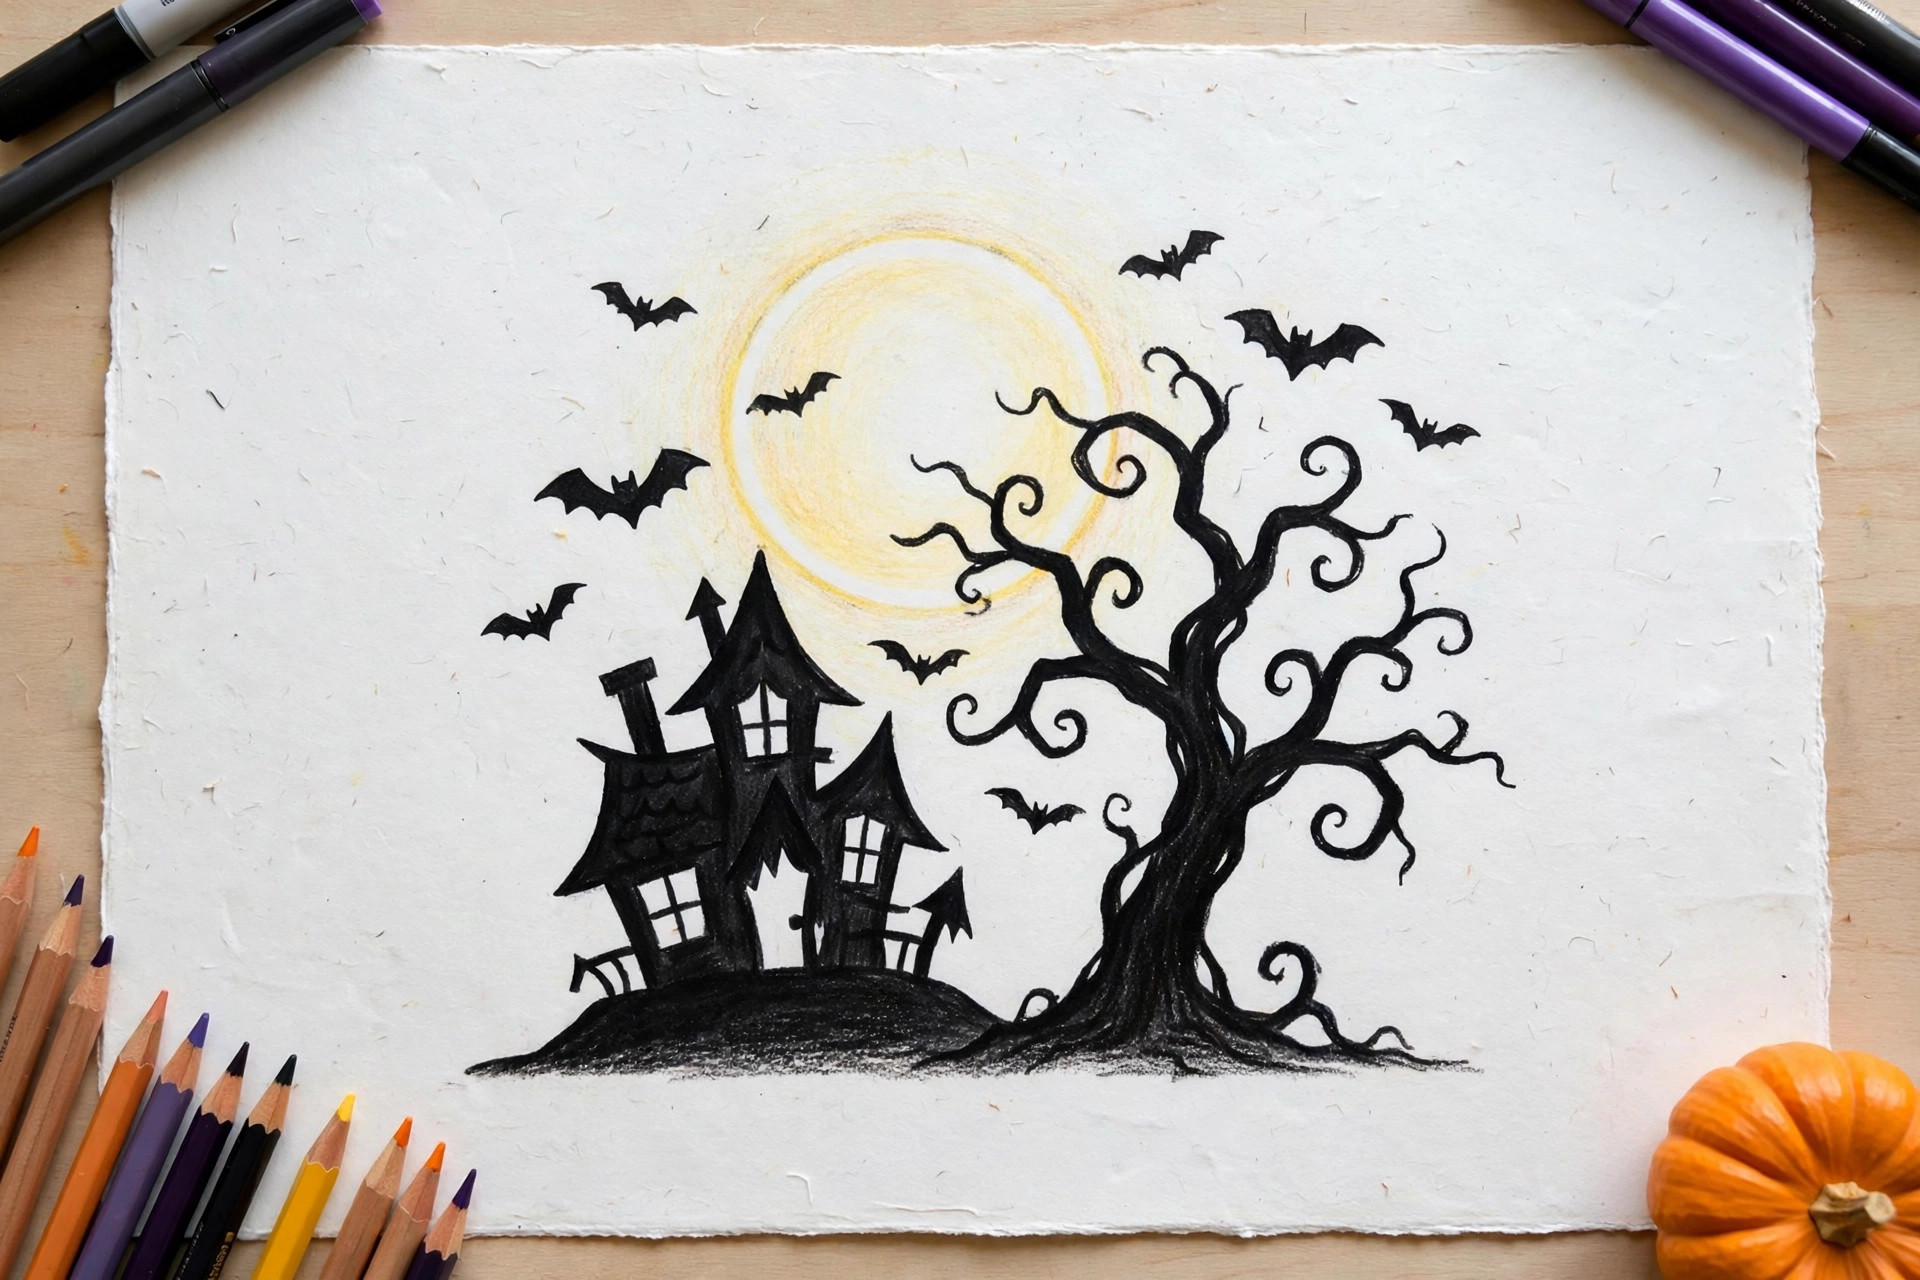
Stack two rectangles for the house, add a steep triangle roof, and lean a tall tower on one side. Draw crooked windows with warm yellow light inside and a wavy path to the door. Finishing tip: Tilt one shutter and add a bare tree beside the house to make it feel abandoned.
12. Graveyard Gate
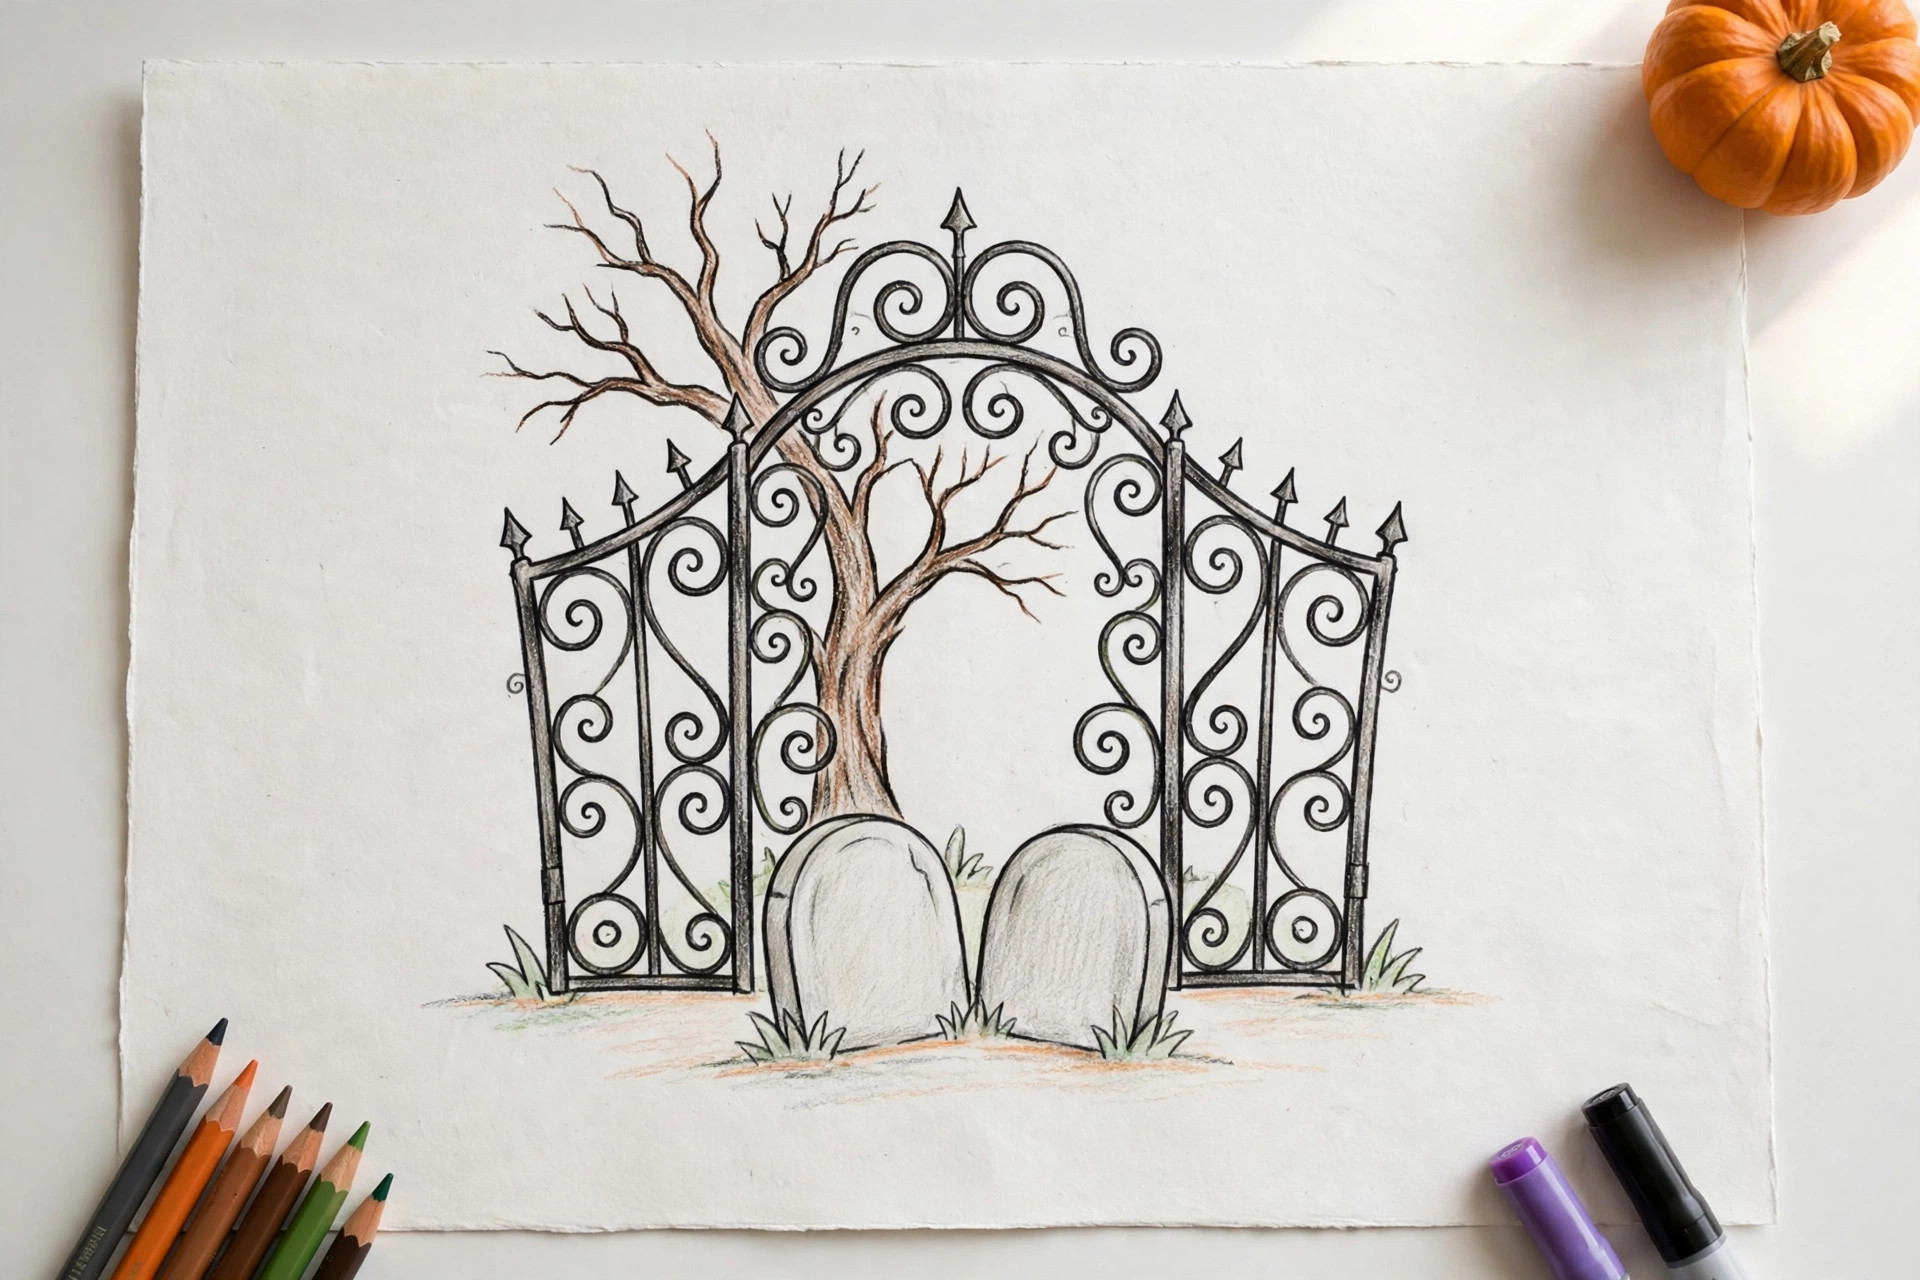
Draw two stone pillars as tall rectangles, then connect them with an arch made of vertical bars and pointed tips. Behind the gate, add a few rounded tombstone shapes on a hill line. Finishing tip: Leave the gate slightly open and draw a light fog band with soft horizontal strokes at the bottom.
13. Spider and Web
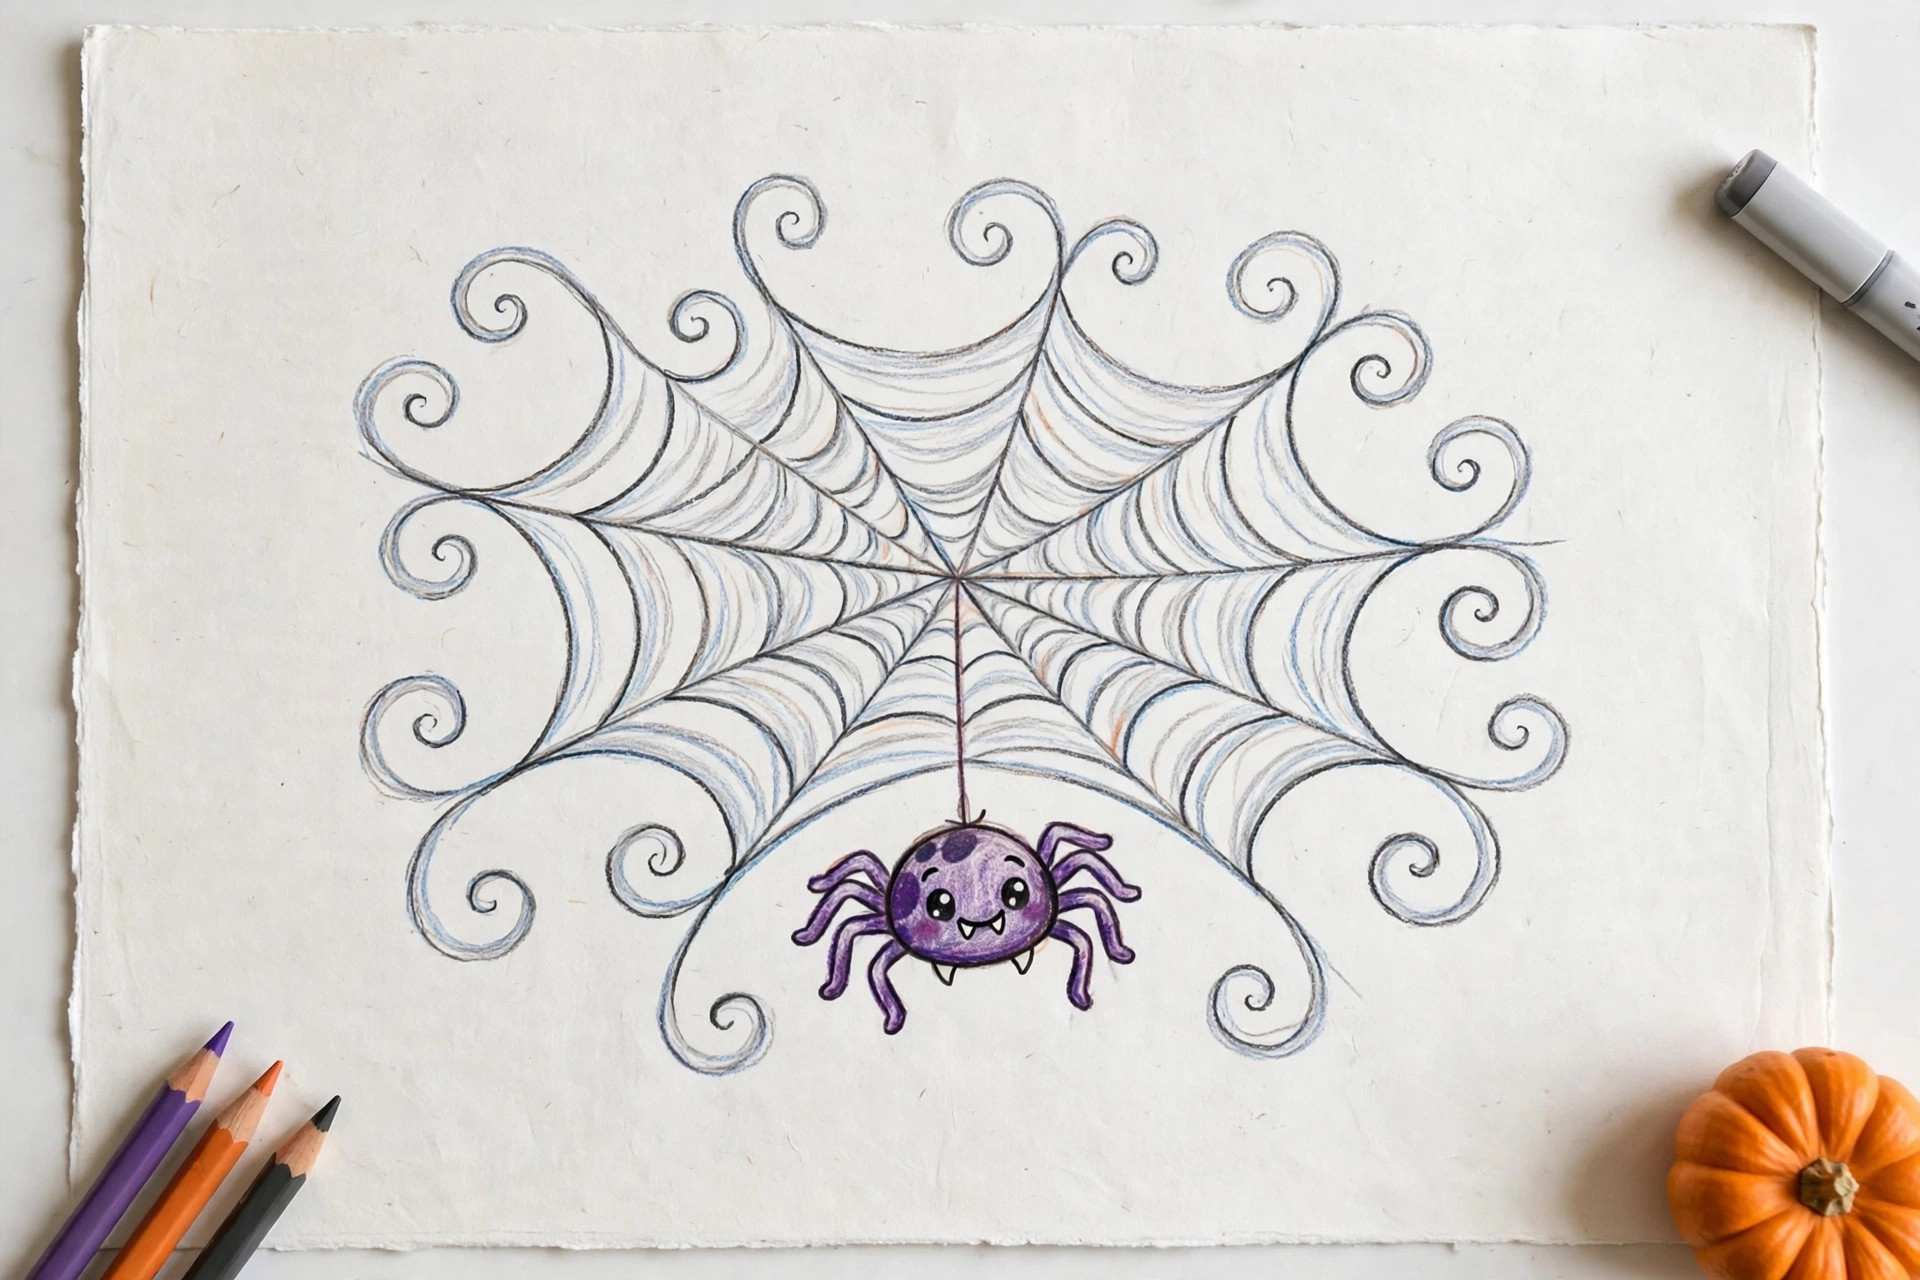
Draw lines spreading from one corner like sun rays for the web, then connect them with sagging curved lines. The spider is two circles, a big body and a small head, with eight bent lines for legs, hanging from a thread. Finishing tip: Give the spider a smile and one tiny water drop on the web for sparkle.
14. Witch on a Broom
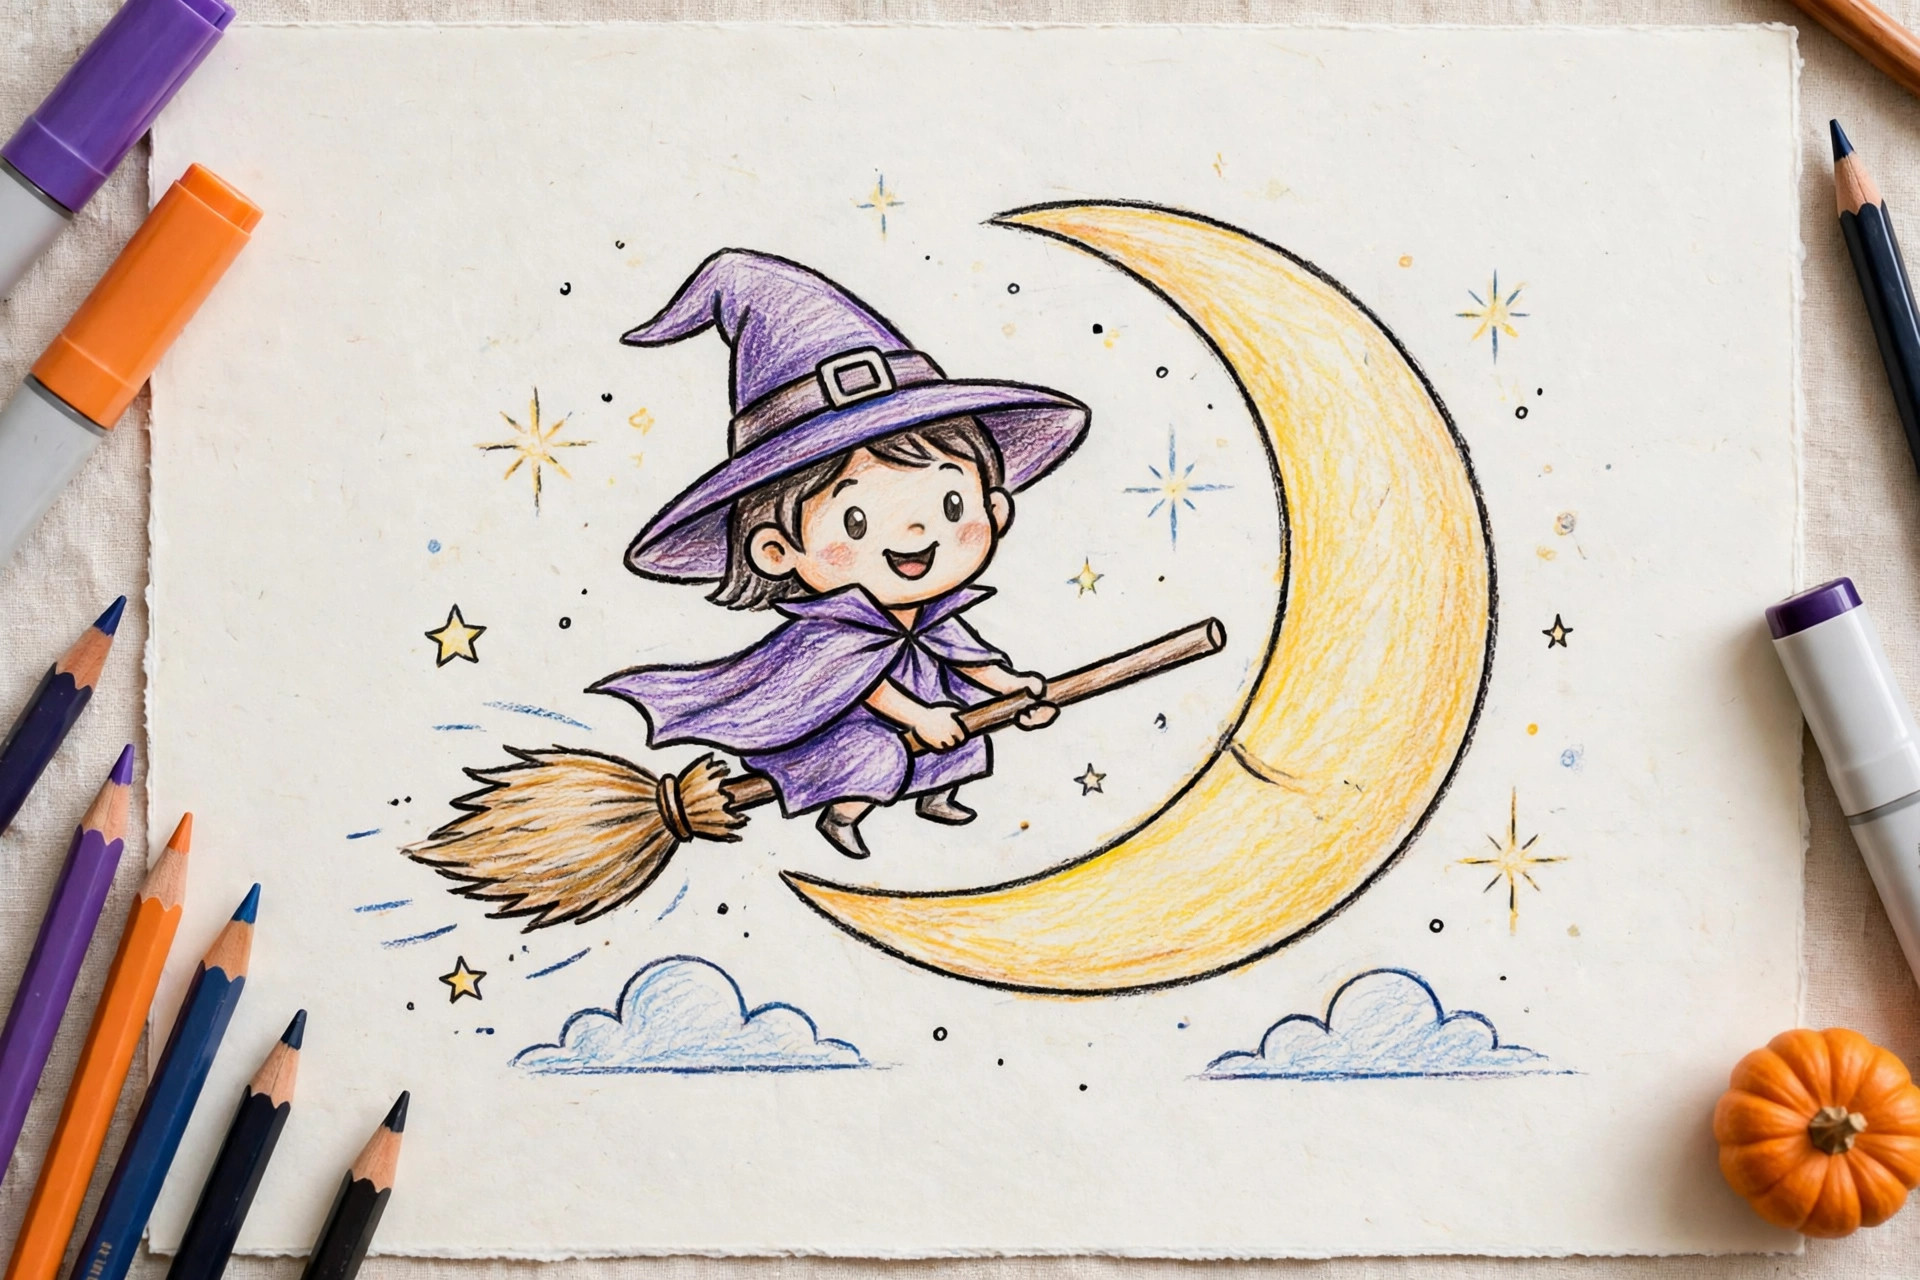
Draw a long diagonal line for the broom handle with a bundle of scribbled lines at the back end for bristles. The witch is a triangle dress, a circle head, and a pointed hat, sitting sideways on the handle. Finishing tip: Add a flowing cape curve behind her and a crescent moon in the corner to sell the flying feeling.
15. Black Cat Silhouette
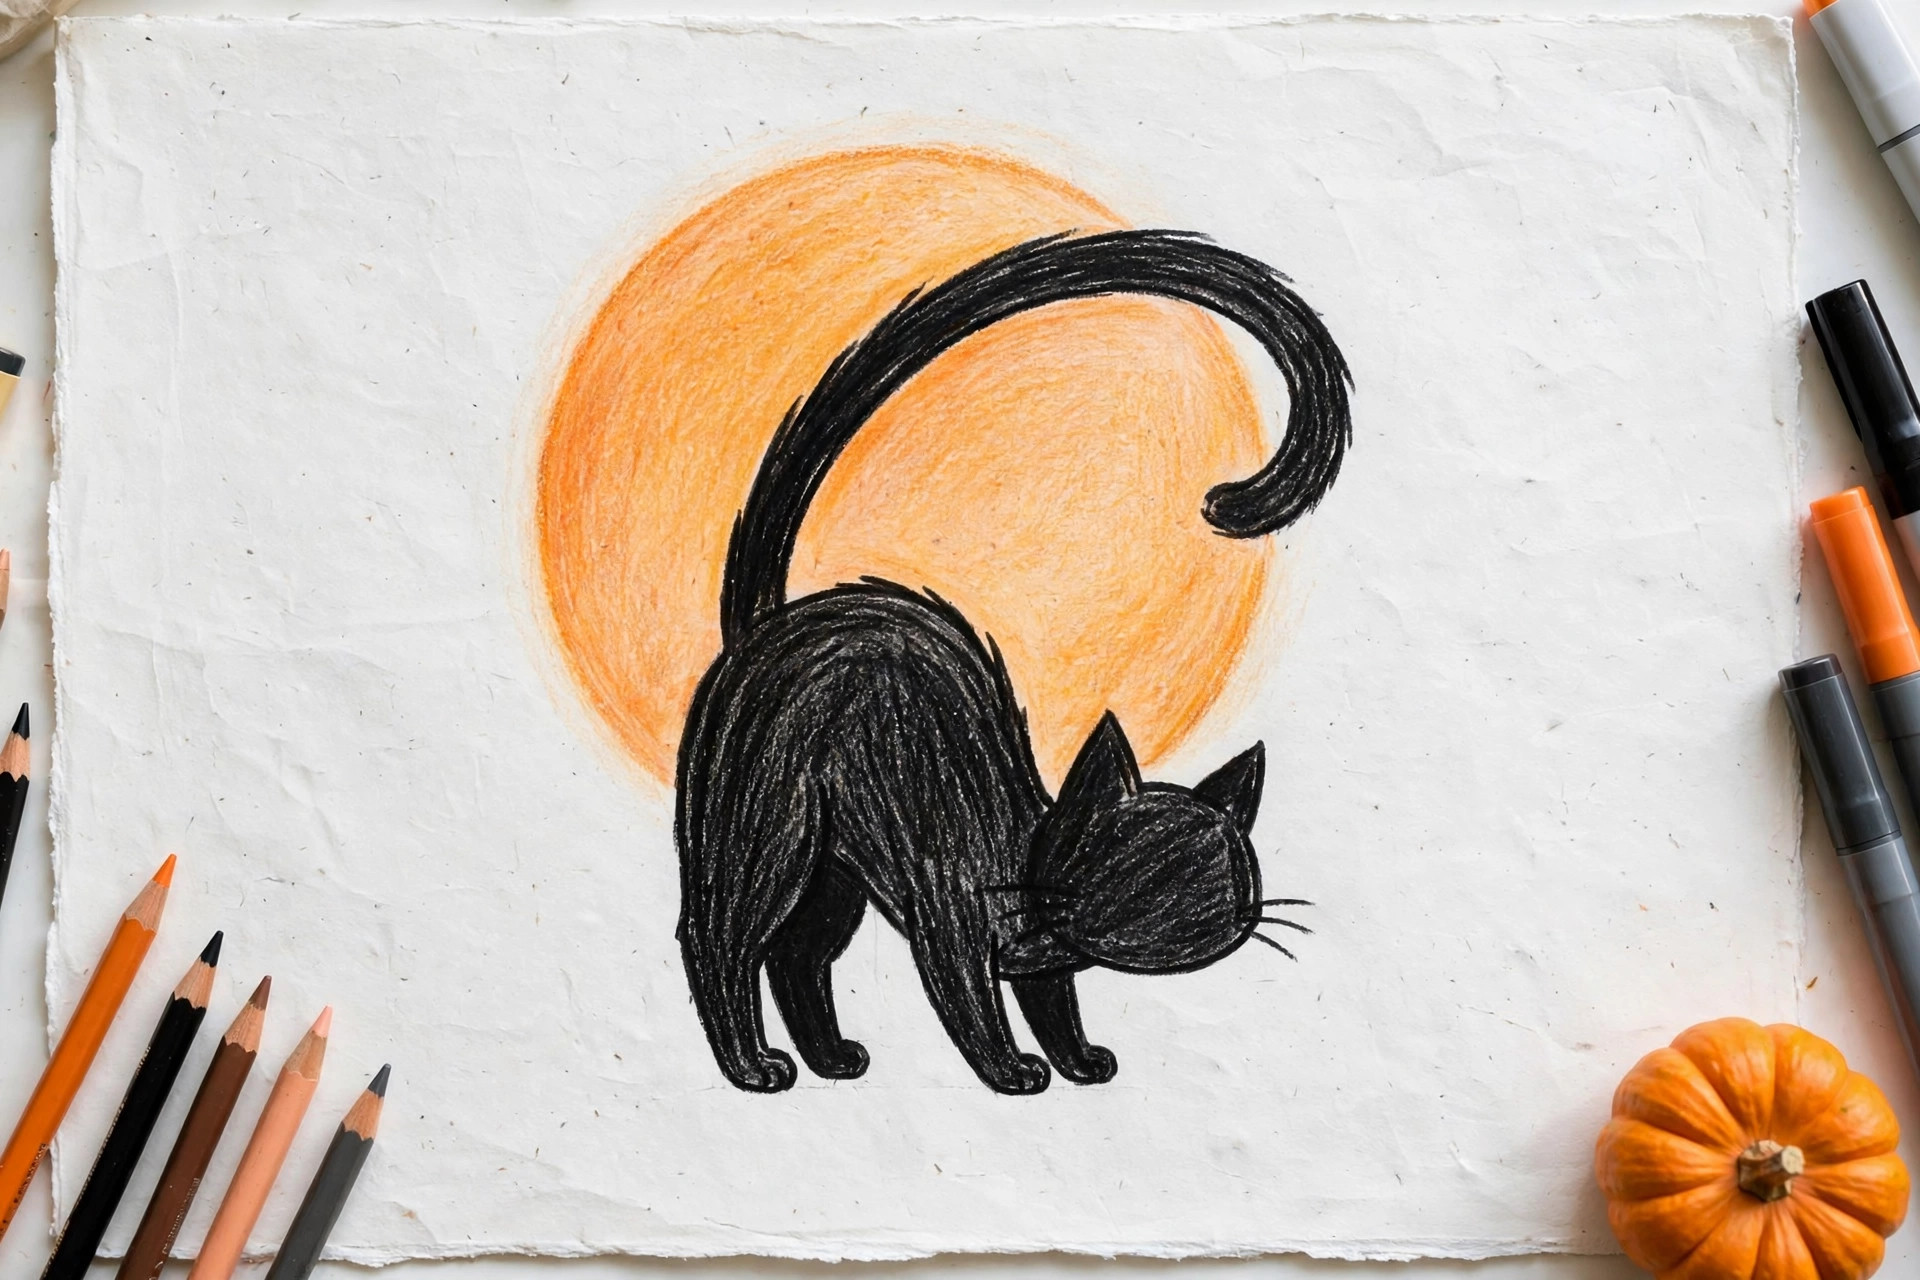
A silhouette is a shape filled in completely black, with no details inside. Draw a sitting cat outline: an oval body, a round head with triangle ears, and a long tail curving up beside it. Fill the whole shape with black. Finishing tip: Only the two eyes stay uncolored, glowing yellow or green against the black.
16. Three Jack-o’-Lantern Face Designs
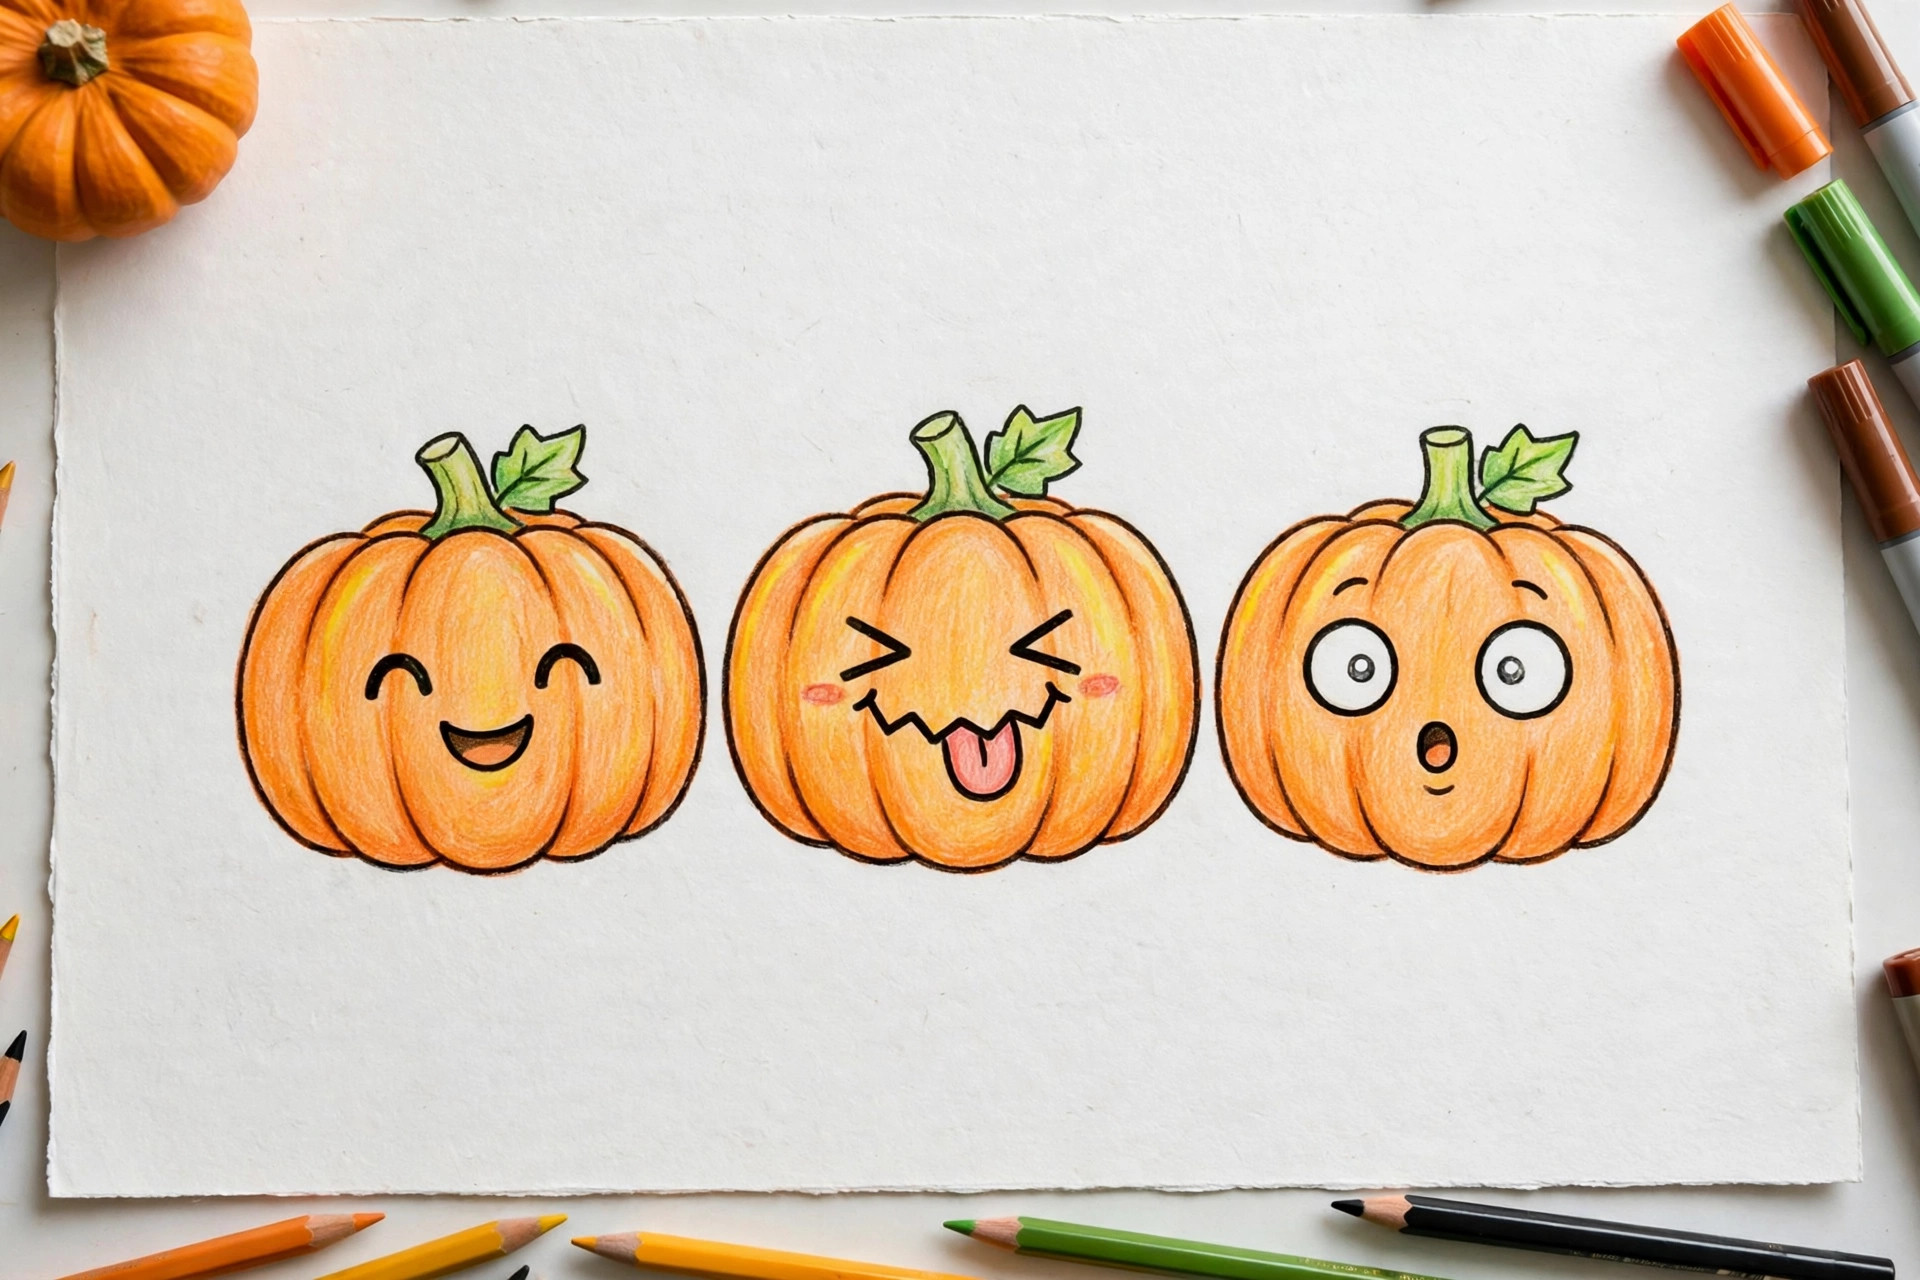
Draw three pumpkin ovals in a row and give each a different personality. Try a classic face with triangle eyes and a zigzag mouth, a silly face with one winking eye and a tongue, and a surprised face with round eyes and a small O-shaped mouth. Finishing tip: Color the face openings yellow, as if a candle glows inside each pumpkin.
17. Haunted Tree
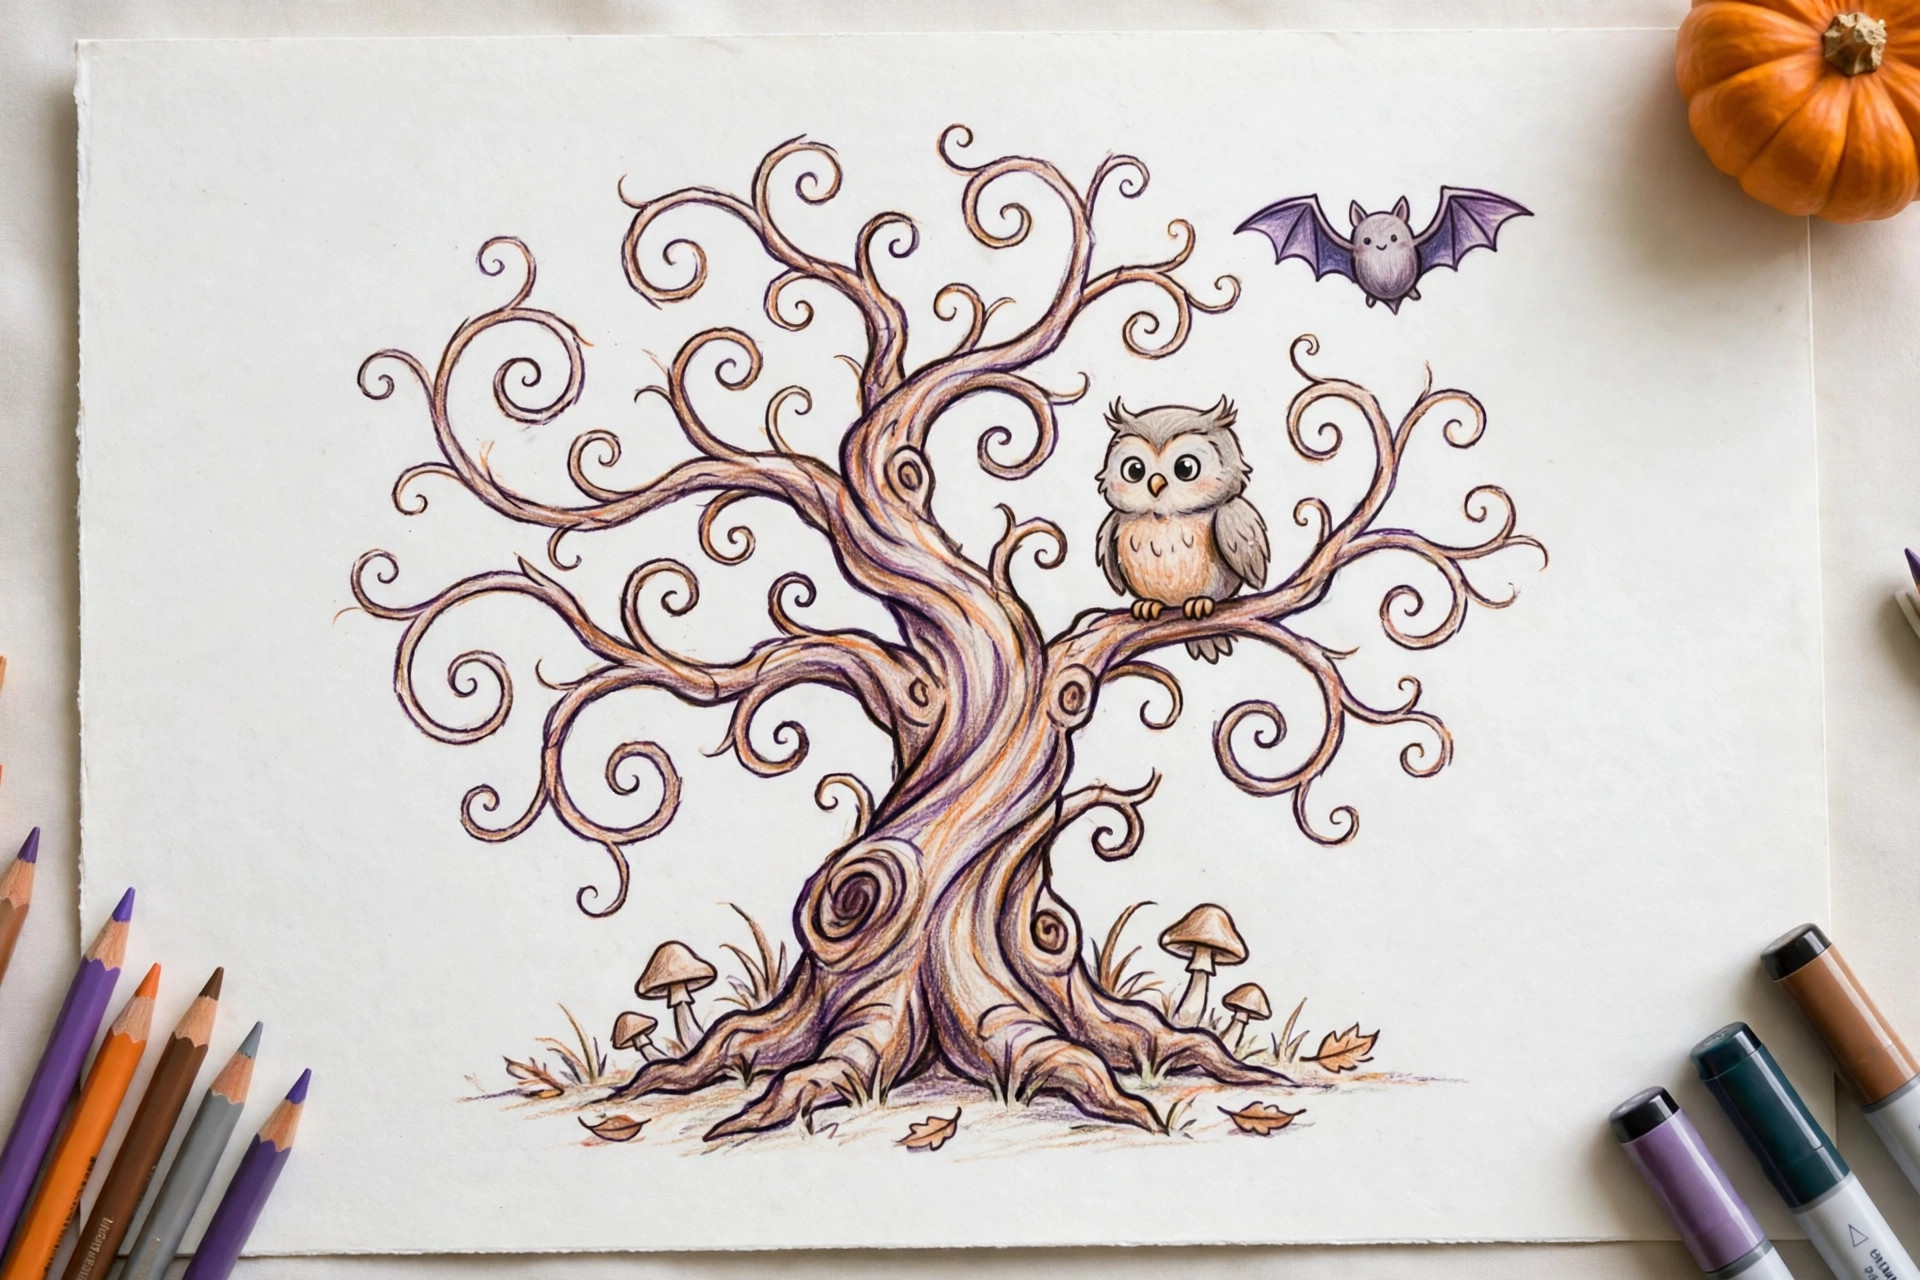
Start with a thick trunk that splits into twisting branches, like arms reaching out. Make the branches thinner and more crooked as they spread, and add a hollow oval knot in the trunk as a spooky face or an owl hole. Finishing tip: Hang one small bat or a tiny lantern from a branch to give the tree a focal point.
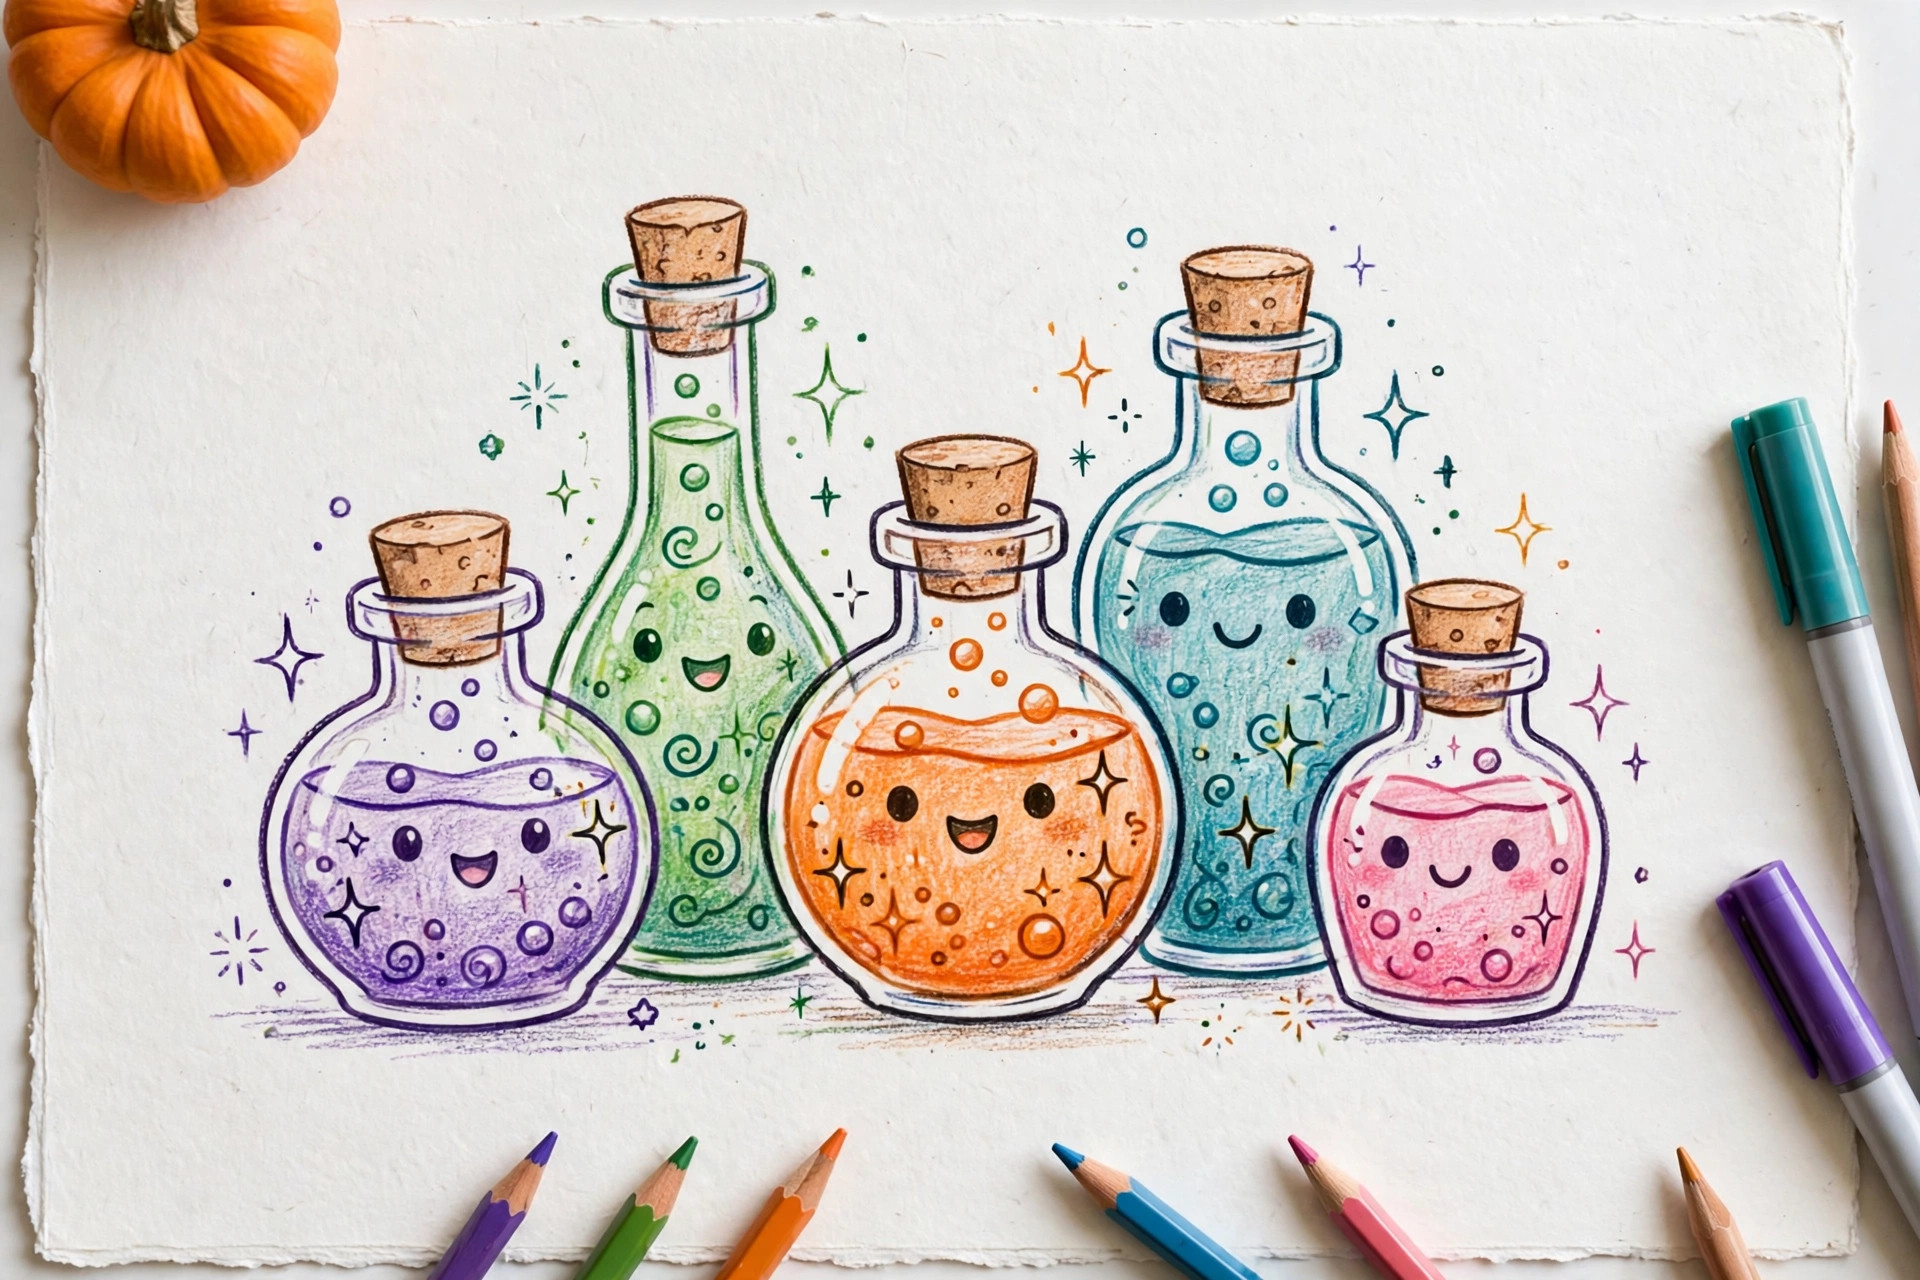
18. Potion Bottles
Draw three bottles in different shapes: a round flask (a circle with a small neck), a tall rectangle bottle, and a triangle flask. Fill each with a wavy liquid line and bubbles, then add labels with a star, a moon, or a skull doodle. Finishing tip: Use purple, green, and orange liquids, and add a cork rectangle on top of each bottle.
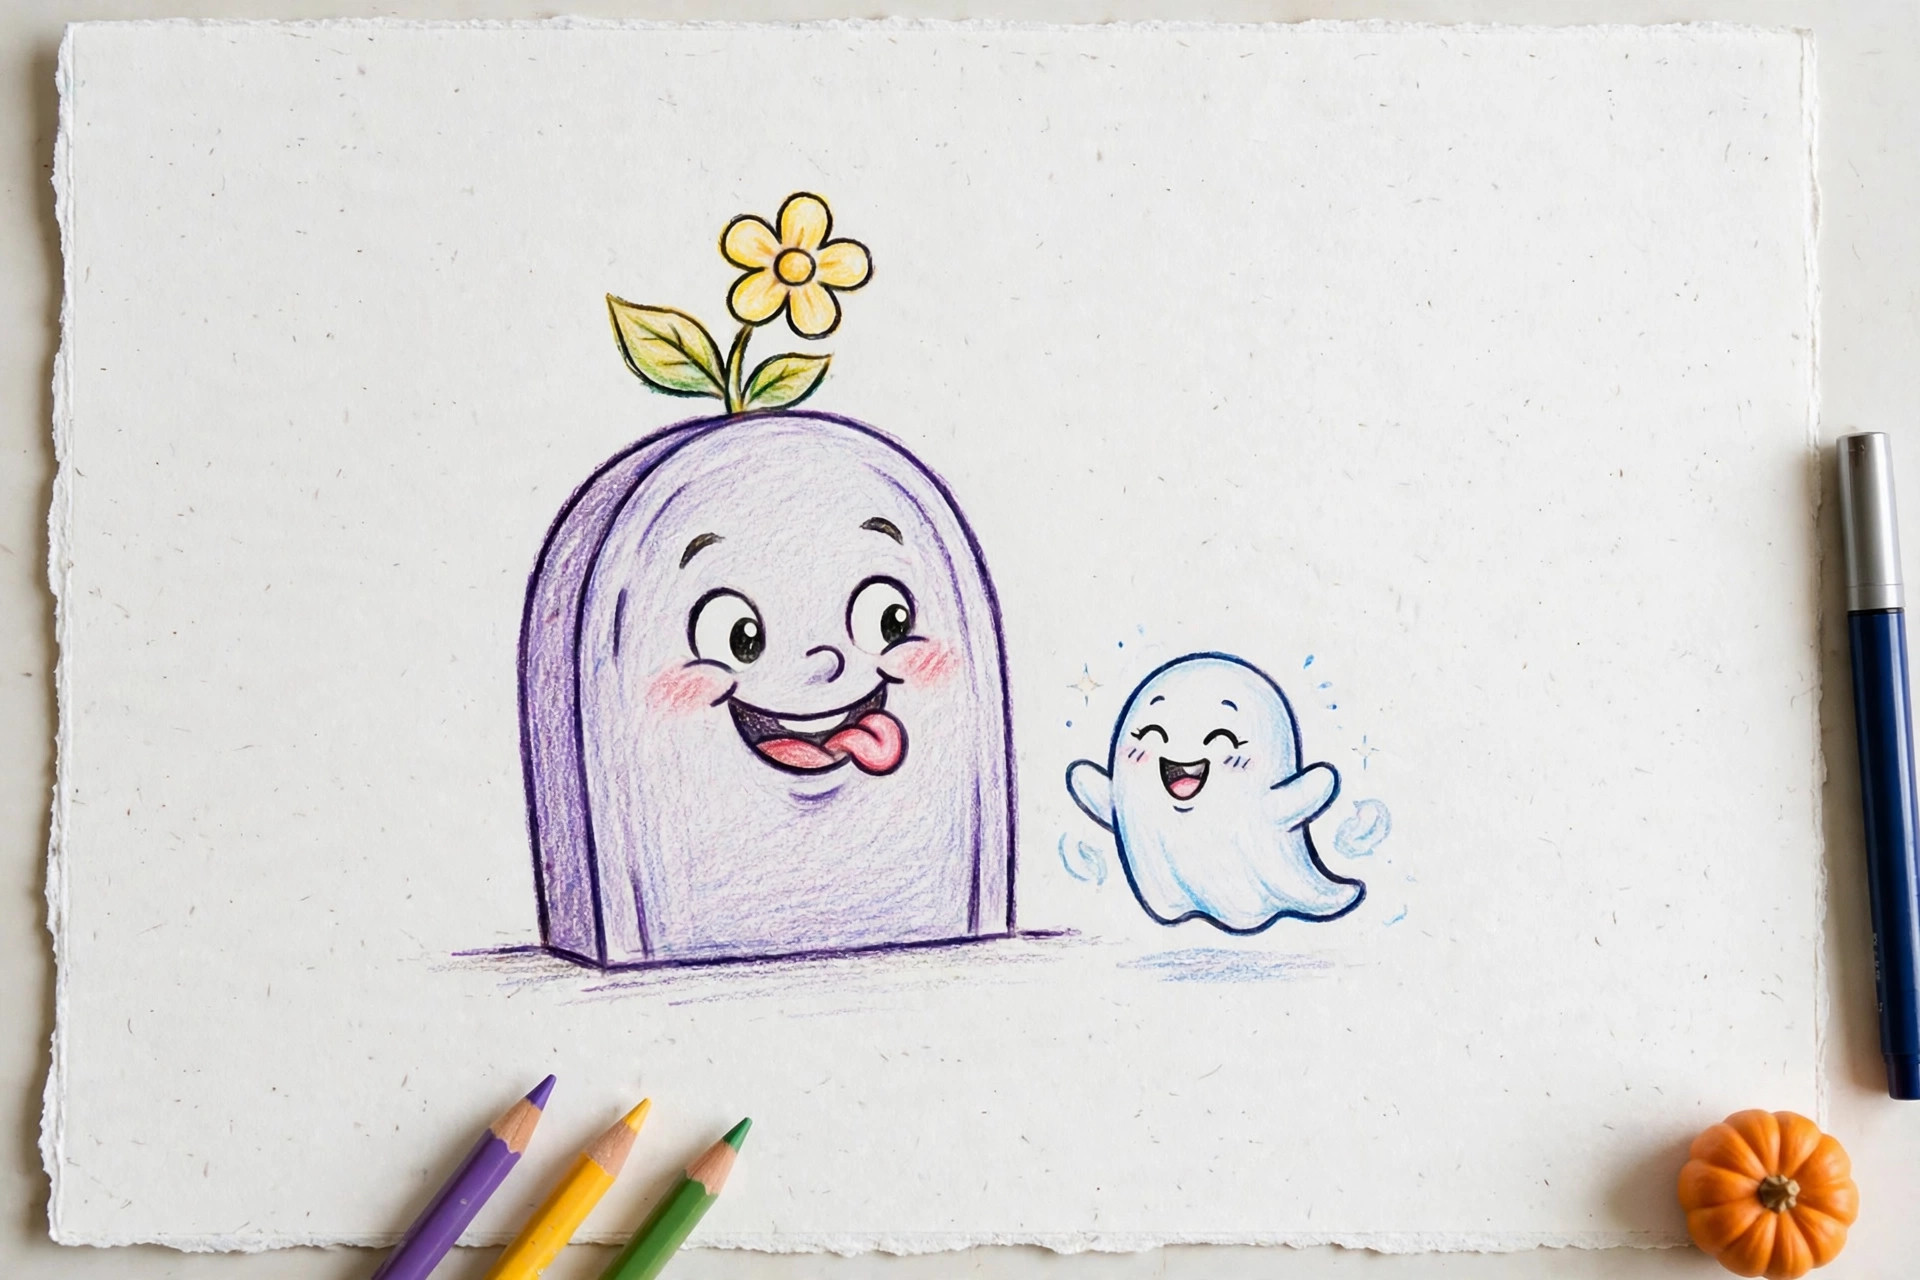
19. Tombstone With a Funny Saying
Draw a rectangle with a rounded top, sitting on a small patch of grass lines. Instead of a scary message, write something silly in wobbly letters, like R.I.P. (Really Into Pumpkins), with a little pumpkin doodle underneath. Finishing tip: Add two cracks and a leaning angle so the stone looks old, and keep the joke kind and kid-safe.
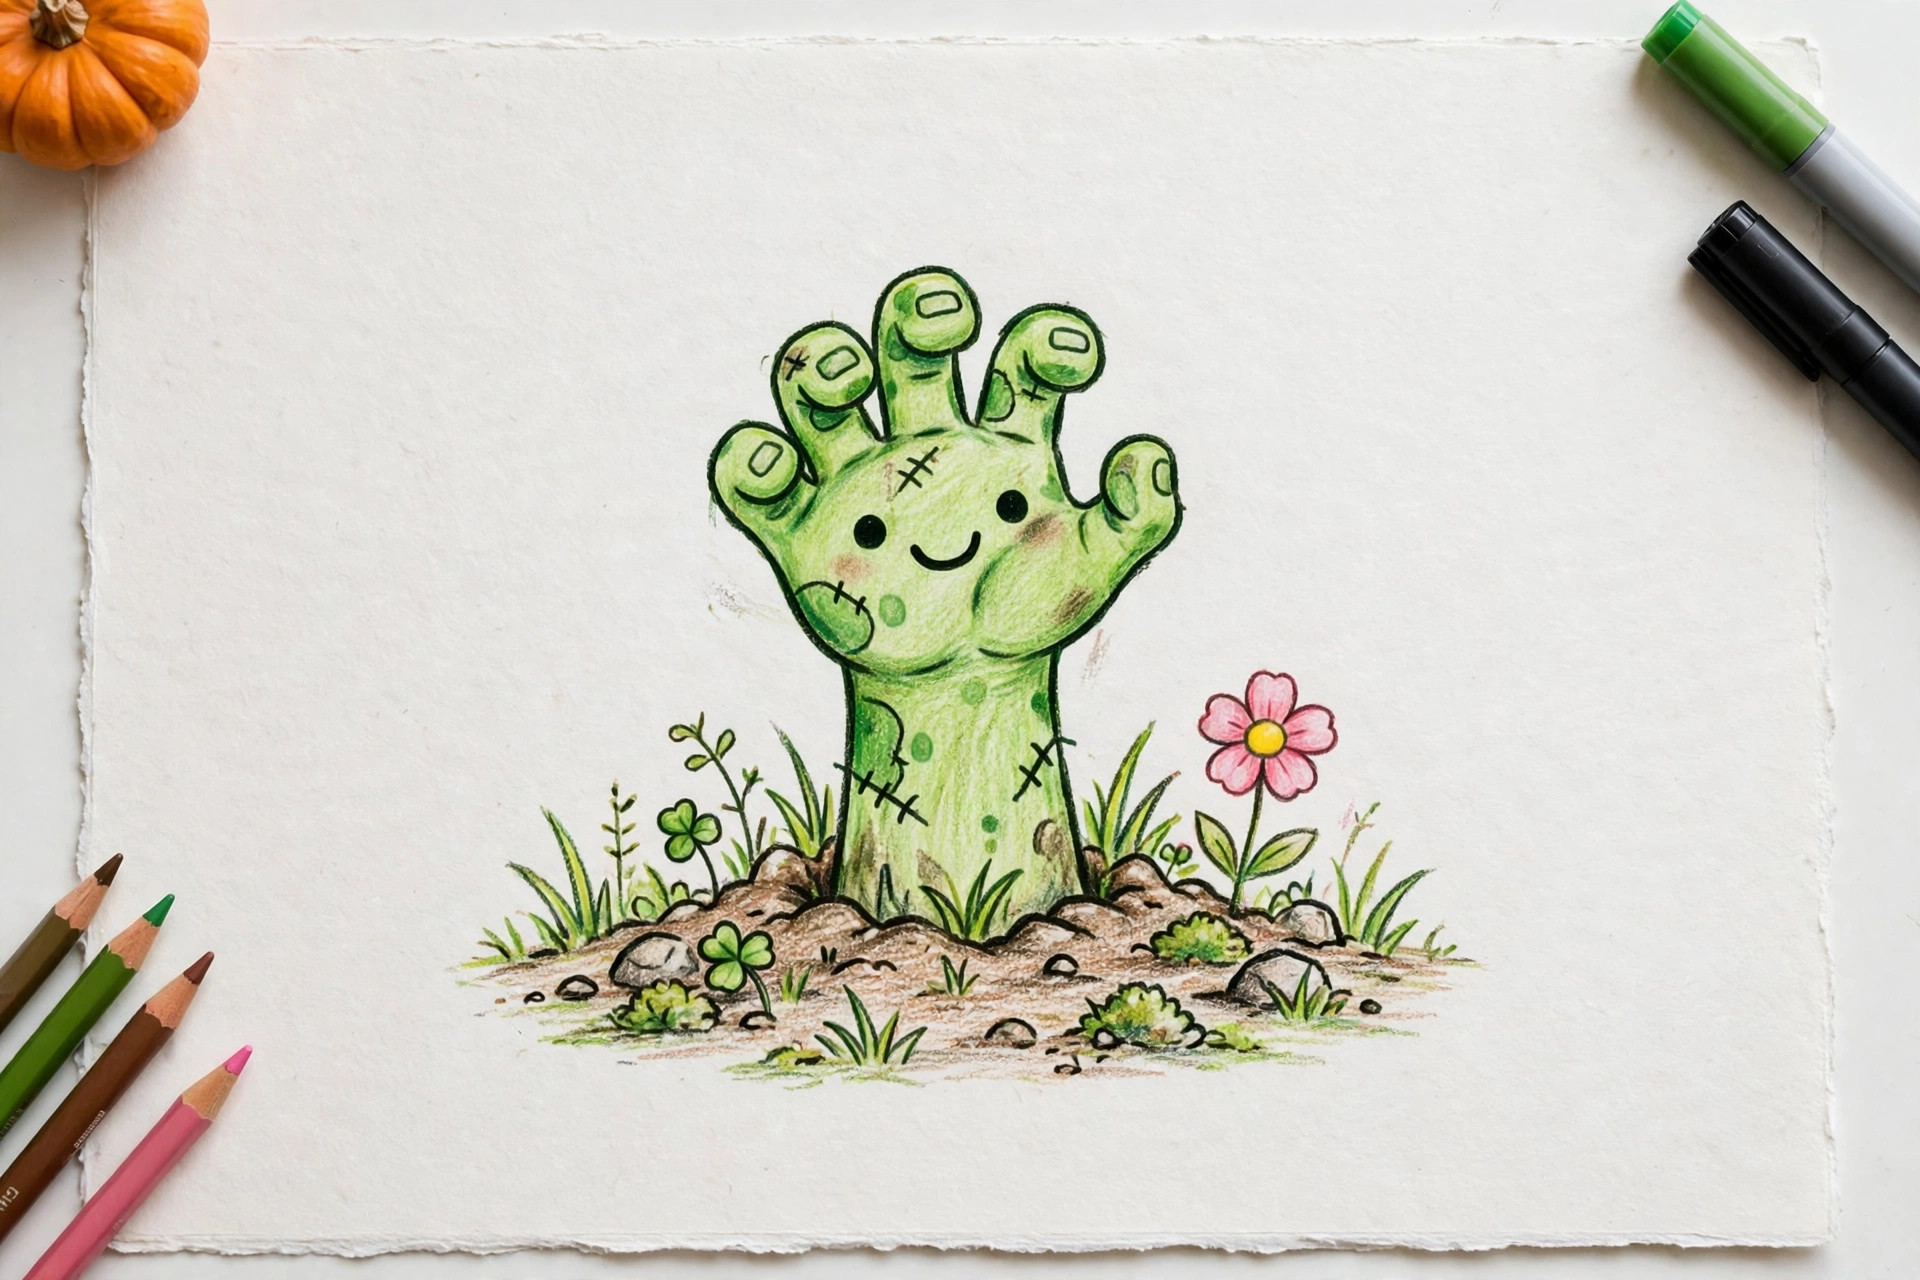
20. Zombie Hand Rising
Draw a simple hand shape coming up from a mound line at the bottom of the page: a rectangle wrist and five rounded finger shapes, some bent. Add a few stitches as short dashed lines and a torn sleeve triangle at the wrist. Finishing tip: Keep it cartoon style with round fingertips and green skin, and it stays funny instead of gross.
Halloween Scene Ideas (21-30)
Once single characters feel easy, combine them into little scenes: two or three simple drawings sharing one page, plus a ground line to hold them together. These ten make great cards, posters, and sketchbook pages.
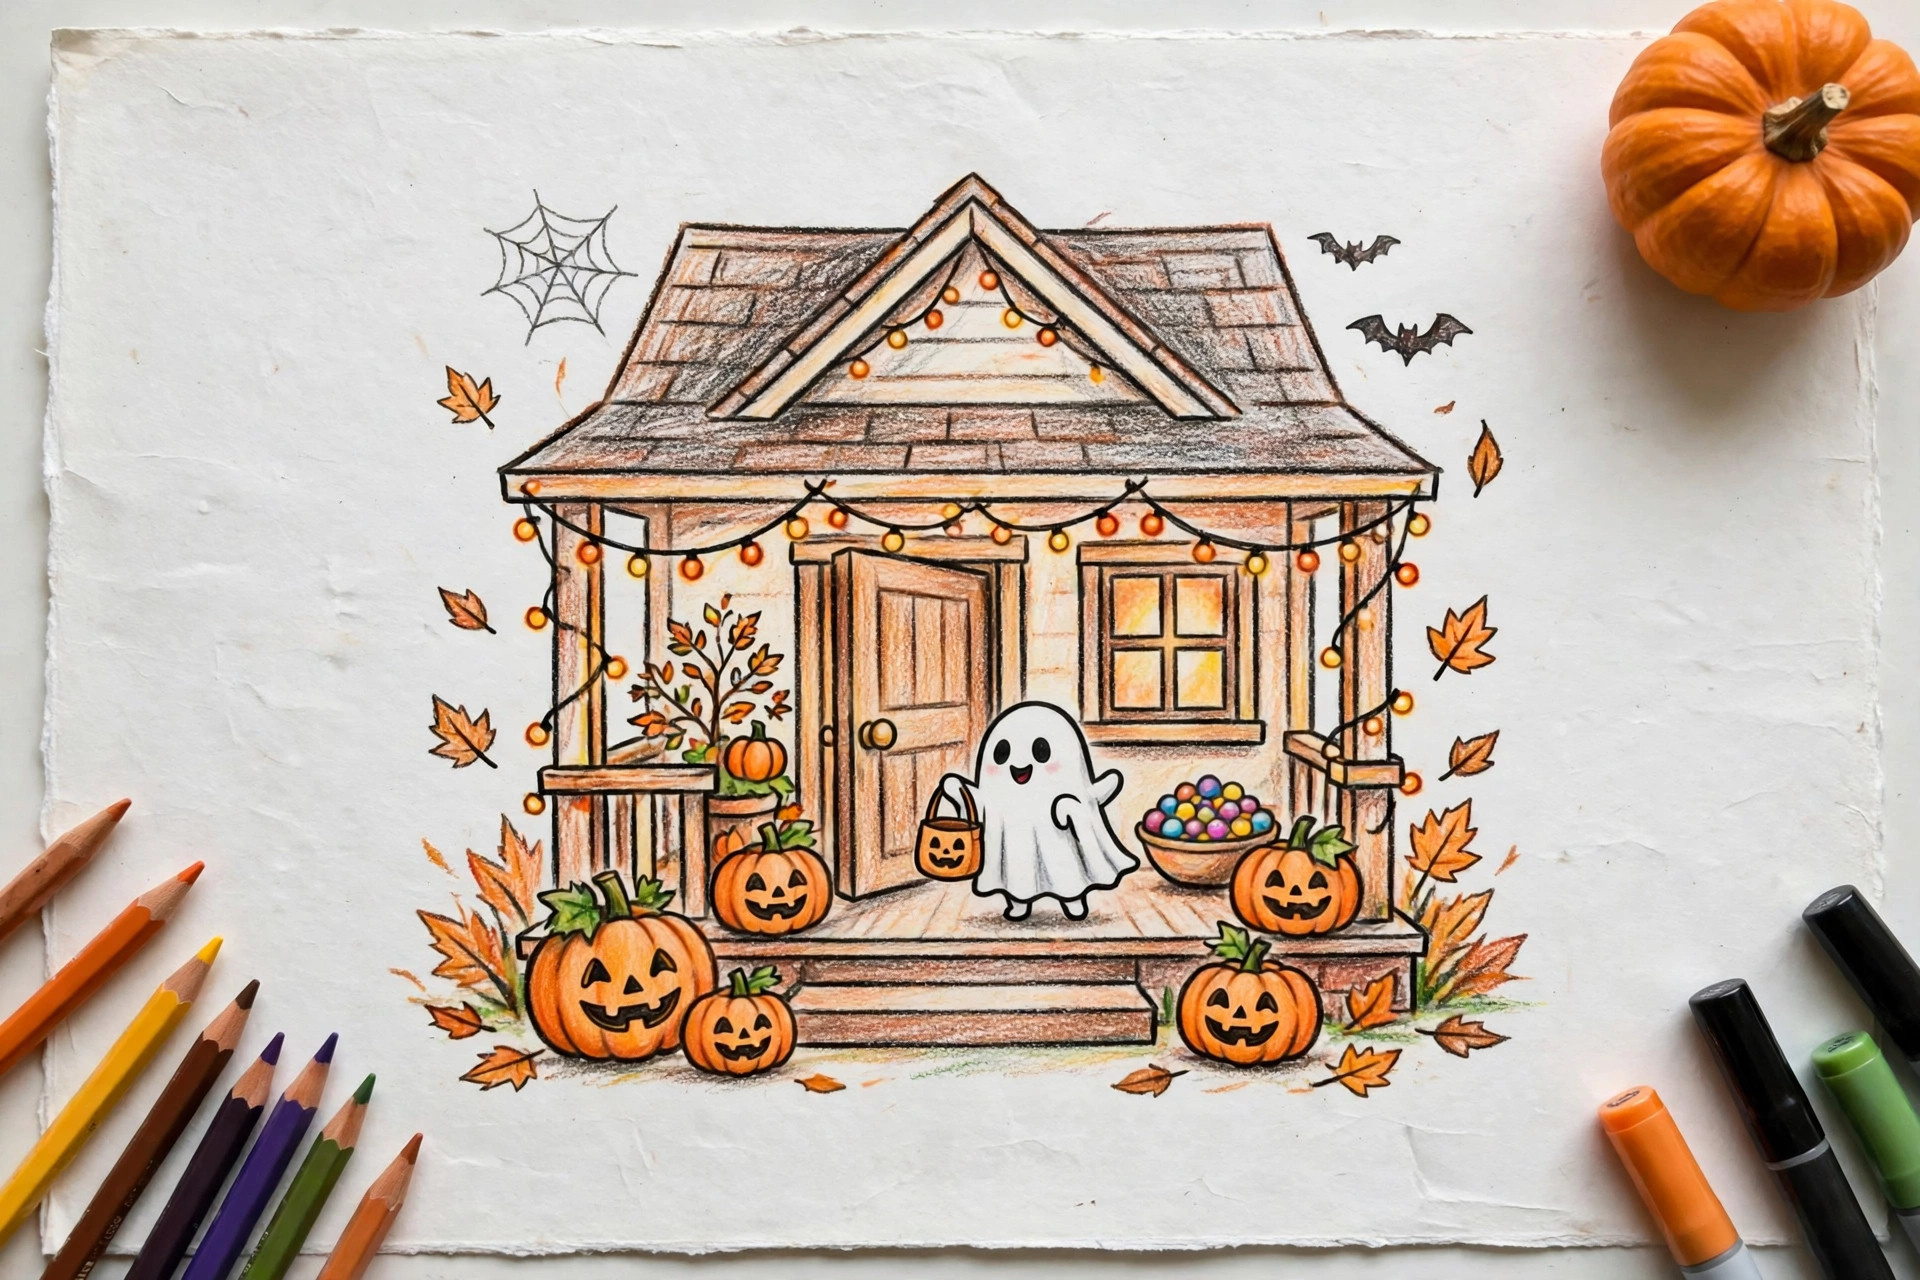
21. Trick-or-Treat Porch
Draw a door rectangle in the middle, steps below it, and pumpkins on both sides. Add a hanging lantern and a welcome mat. Finishing tip: Warm yellow windows on both sides of the door make the porch feel cozy and inviting.
22. Halloween Party Banner
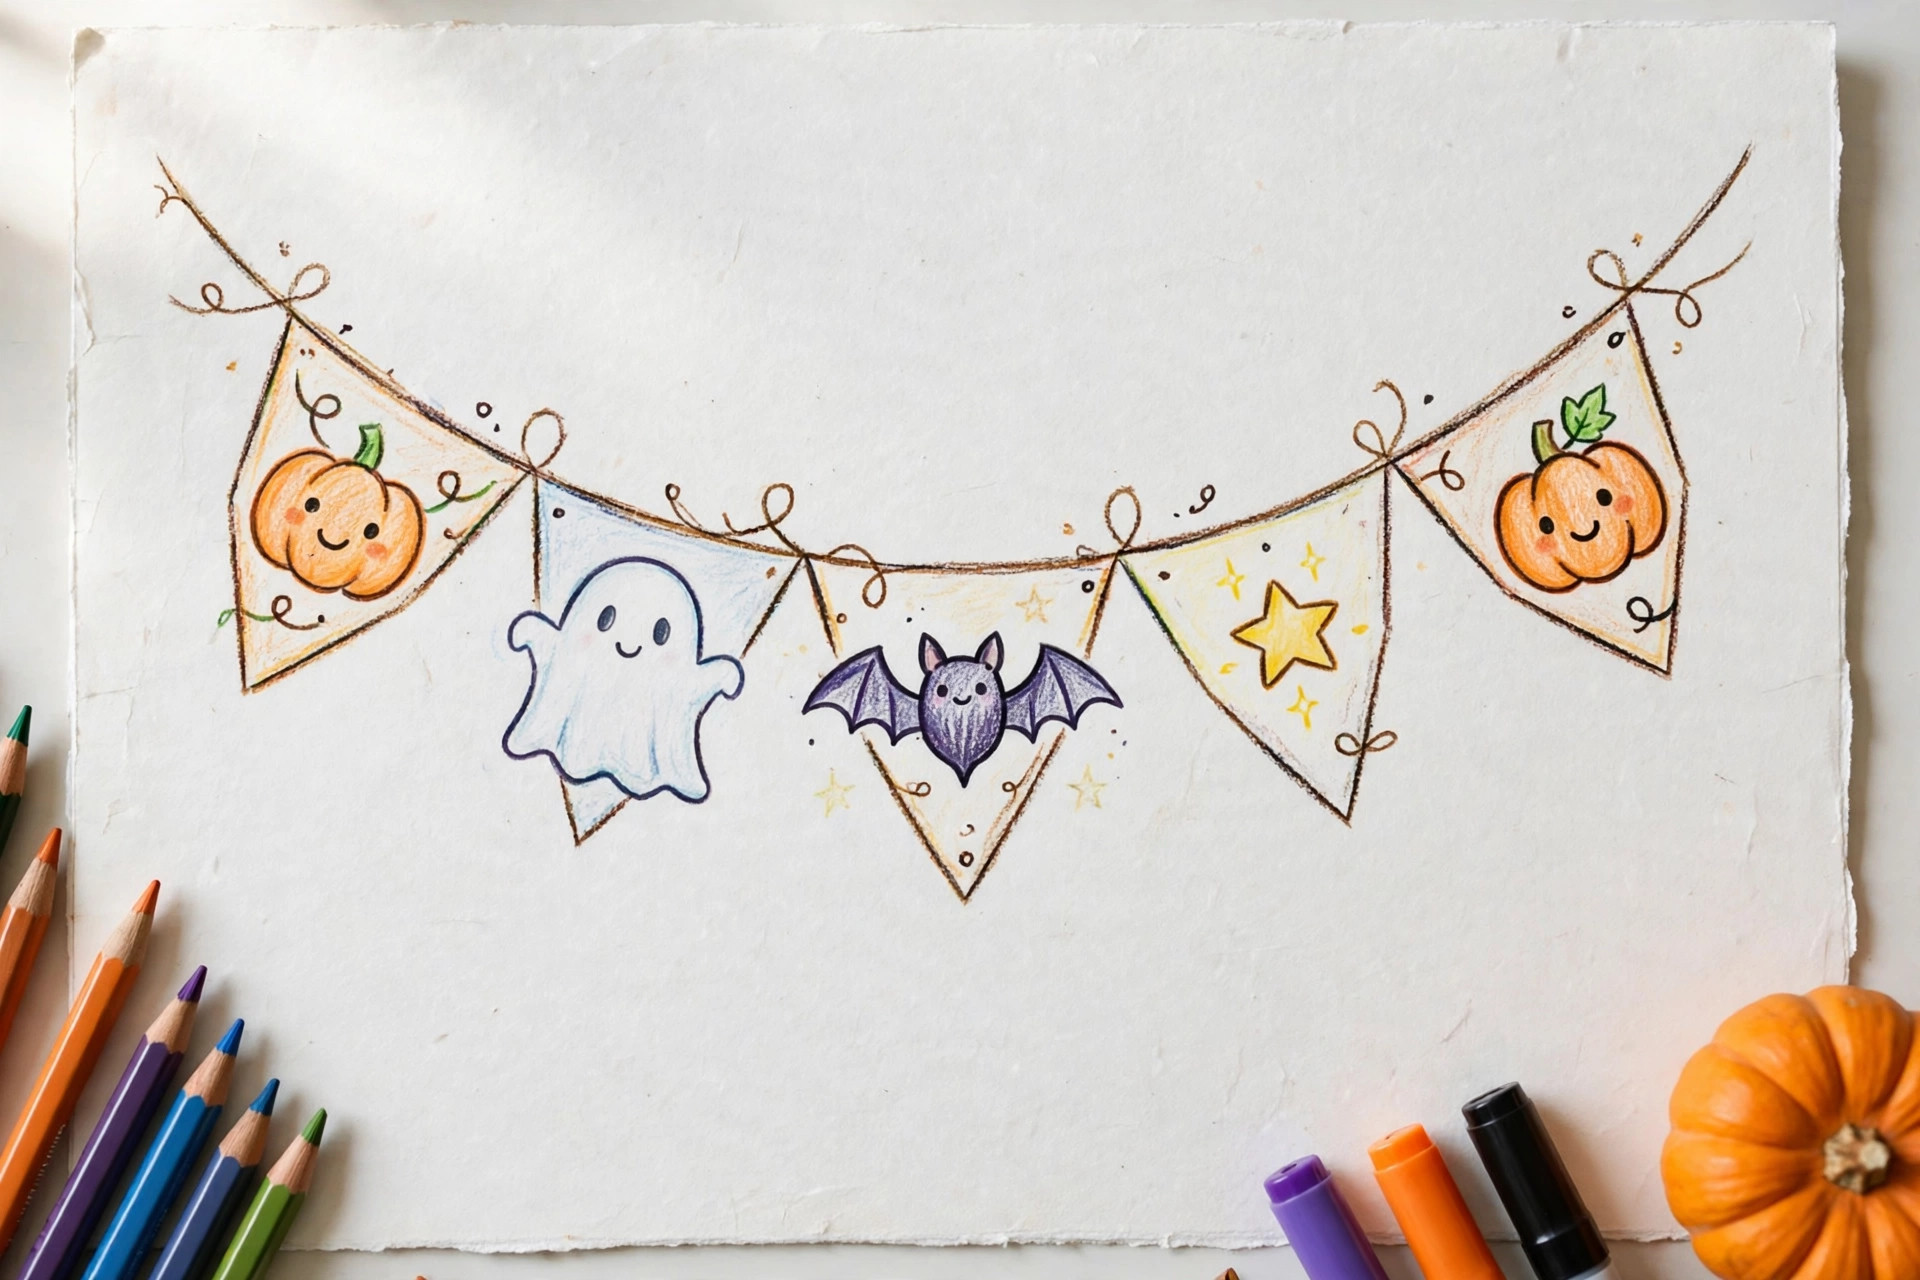
Draw two curved string lines across the top of the page, drooping in the middle like a smile. Hang triangle flags from the strings, and draw a tiny pumpkin, ghost, or bat on every other flag. Finishing tip: Alternate orange, purple, and black flags so the pattern repeats all the way across.
23. Spooky Forest Path
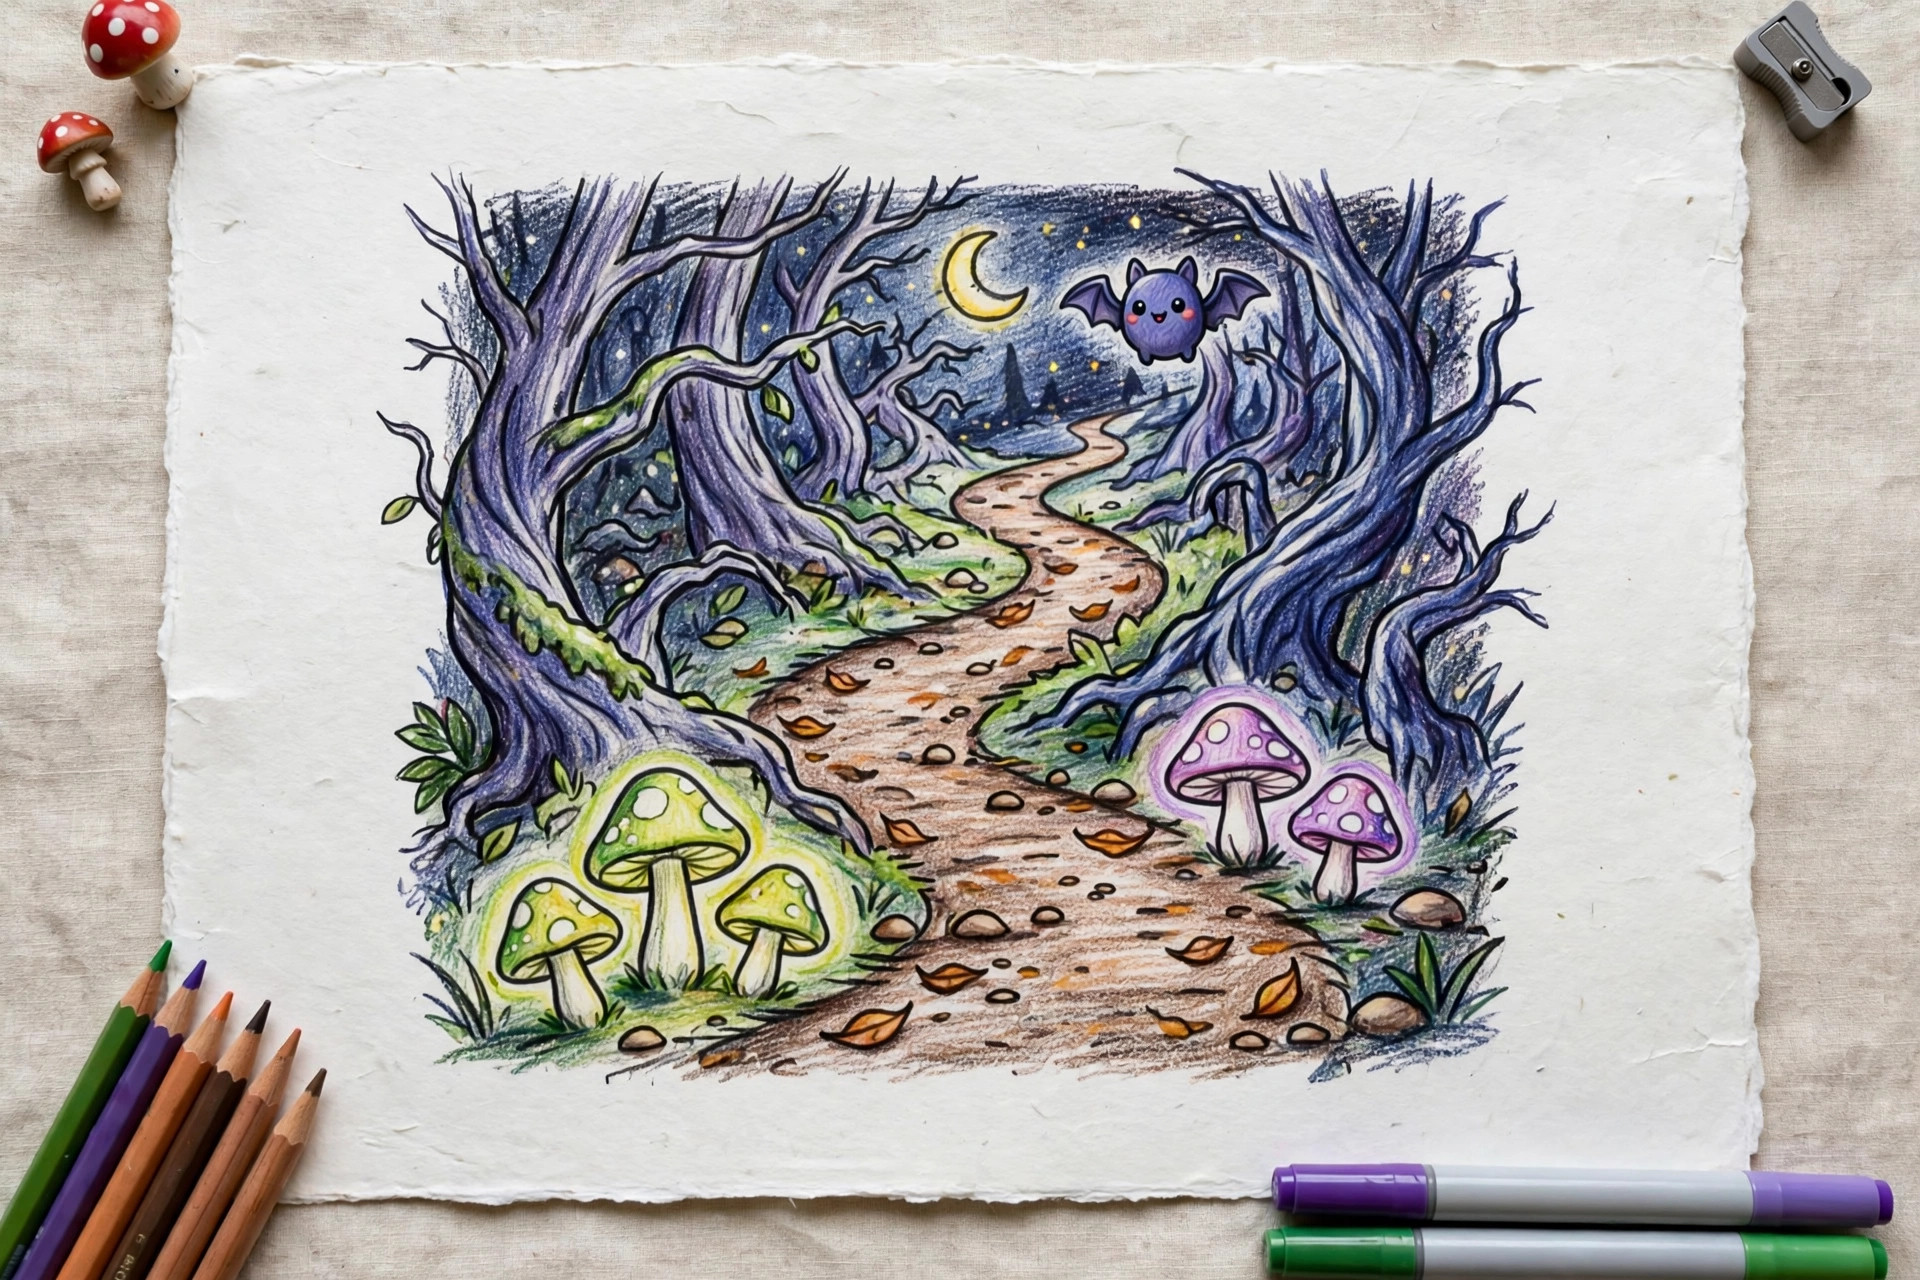
Draw a wavy path starting wide at the bottom of the page and narrowing as it climbs to a hill. Place twisted trees on both sides, bigger near the front and smaller near the hill. Finishing tip: A full moon at the end of the path gives the whole scene a glowing destination.
24. Witch’s Kitchen Shelf
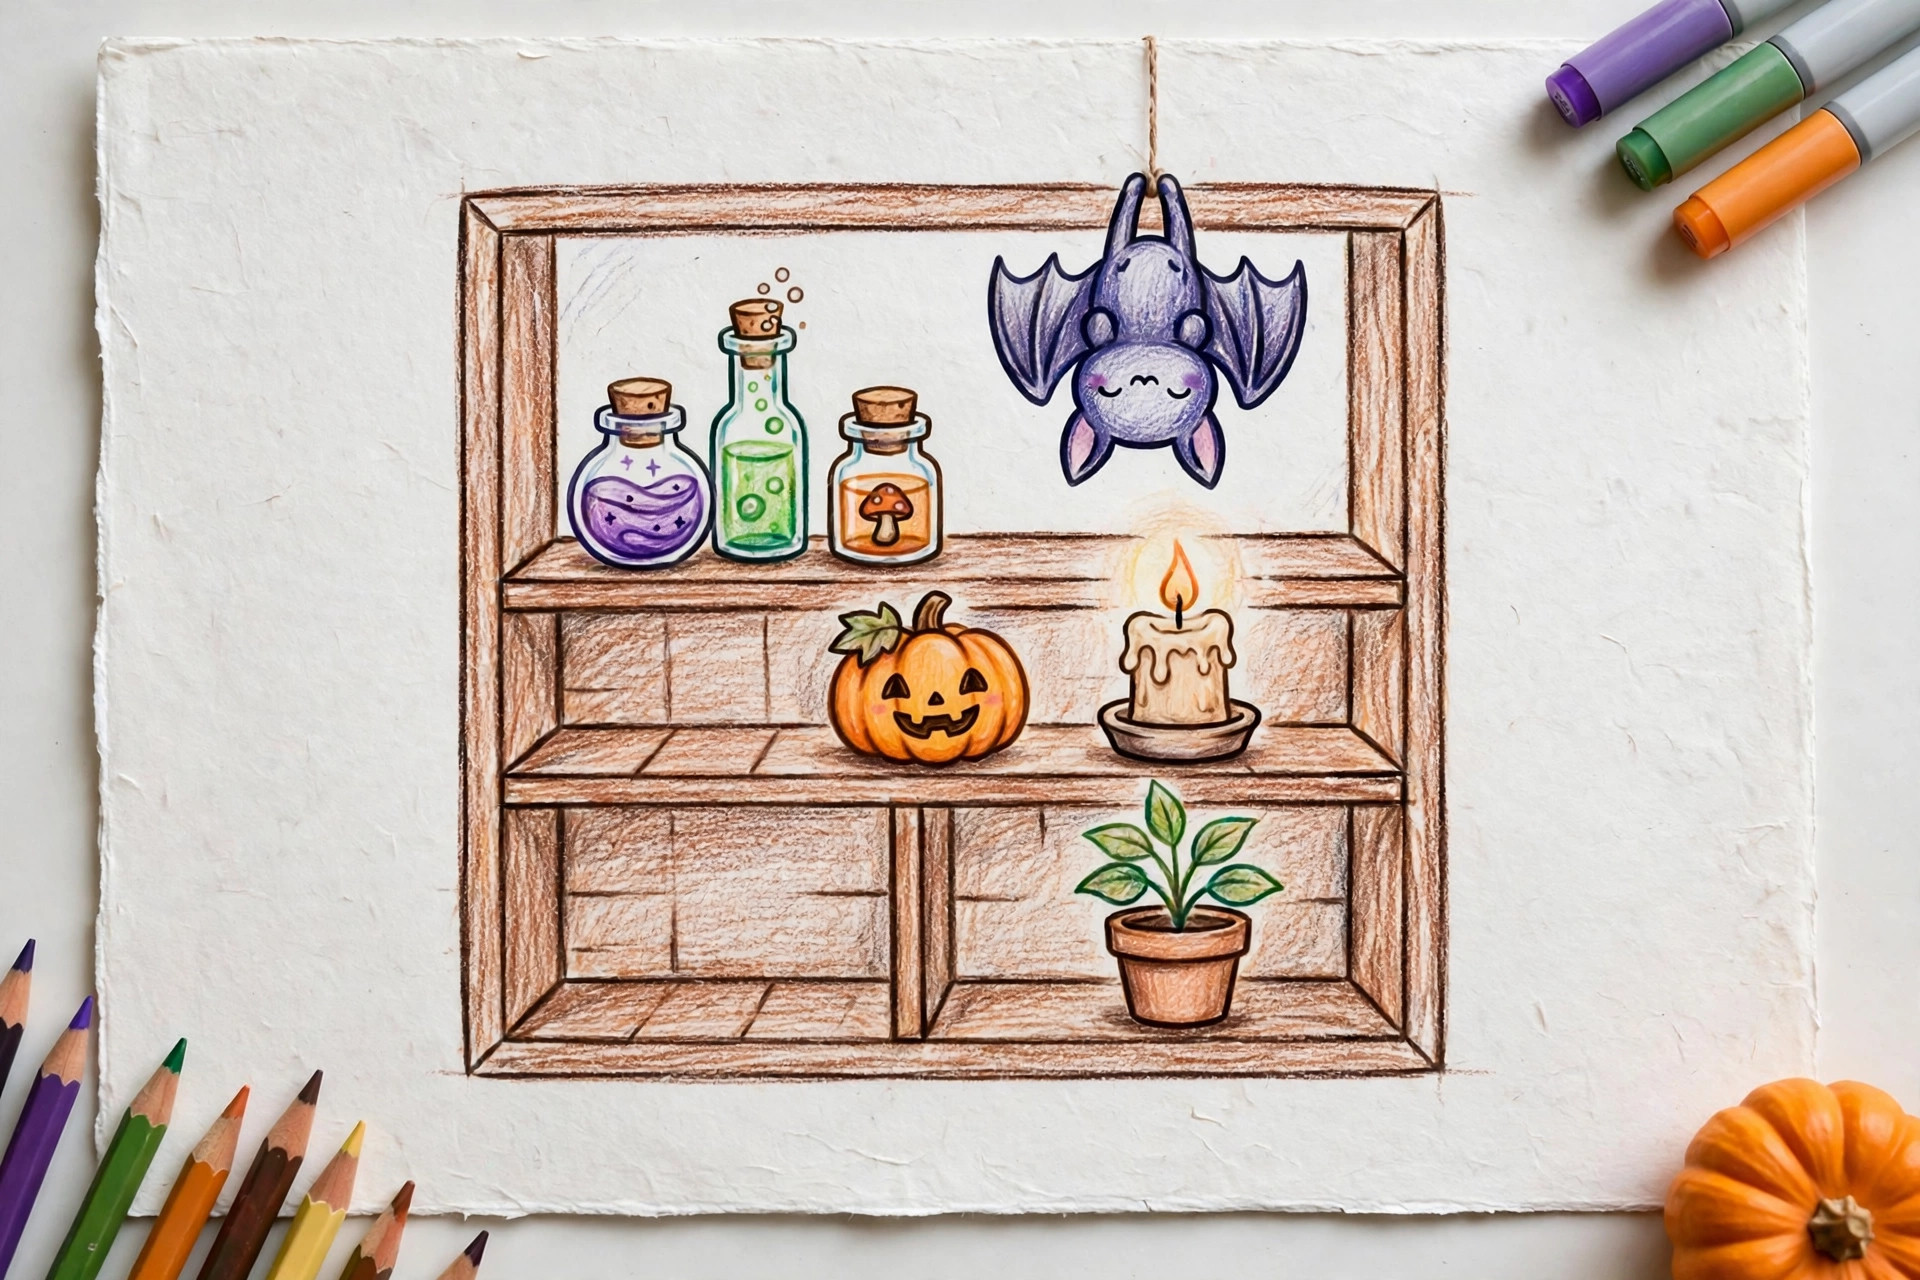
Draw two horizontal shelf lines. On them, arrange potion bottles, a small pumpkin, a stack of books as rectangles, and a jar with circles inside for candy or eyeball gumballs. Finishing tip: Add a tiny cauldron, a half-circle with three feet, bubbling under the shelves.
25. Pumpkin Patch at Dusk
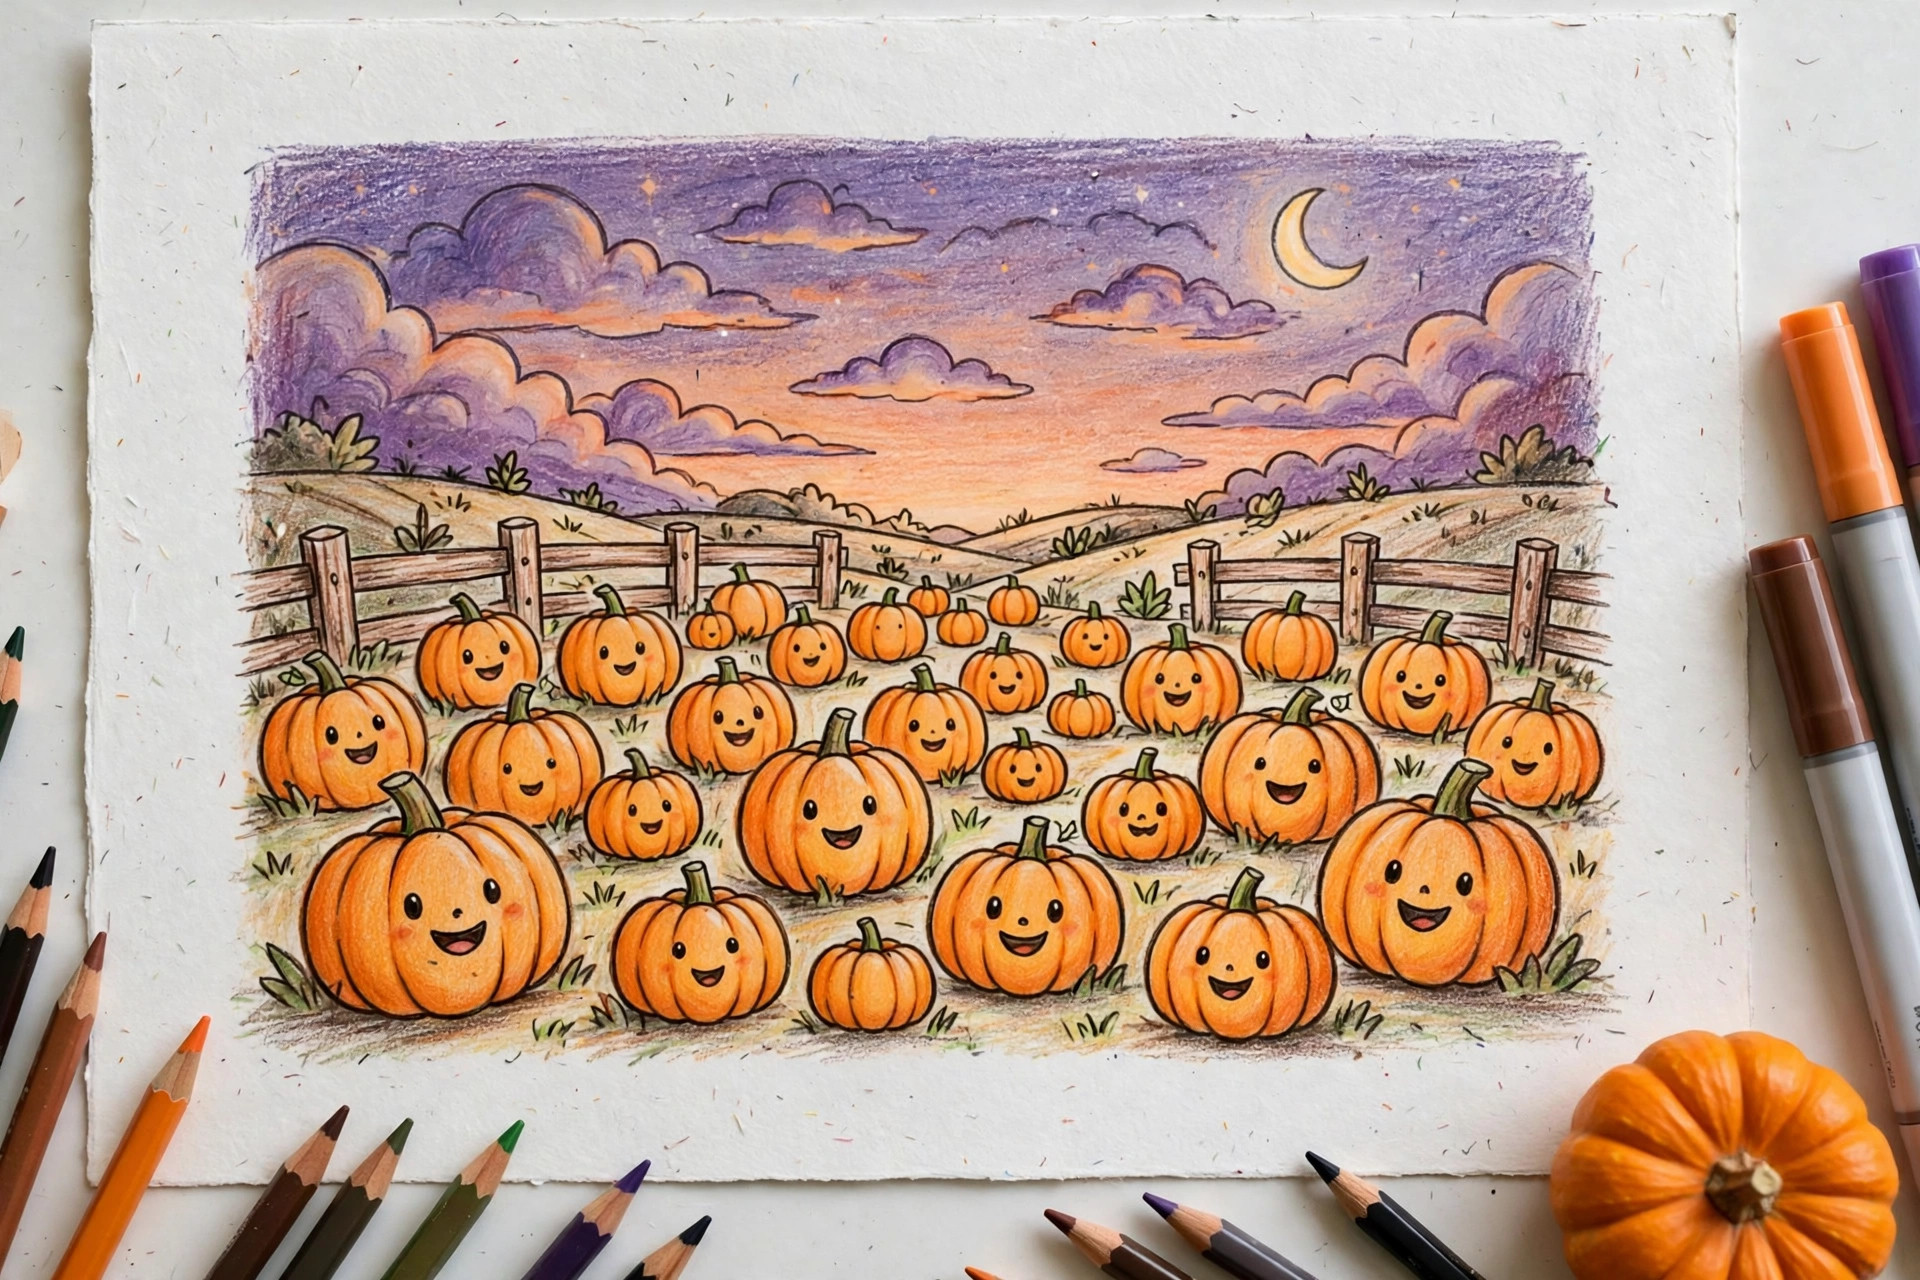
Fill the bottom half of the page with pumpkin ovals of different sizes, some in front overlapping others. Above them, draw a wide sky band with a low sun half-circle on the horizon. Finishing tip: Color the sky in bands of orange, pink, and purple to make a sunset, and keep the front pumpkins darkest.
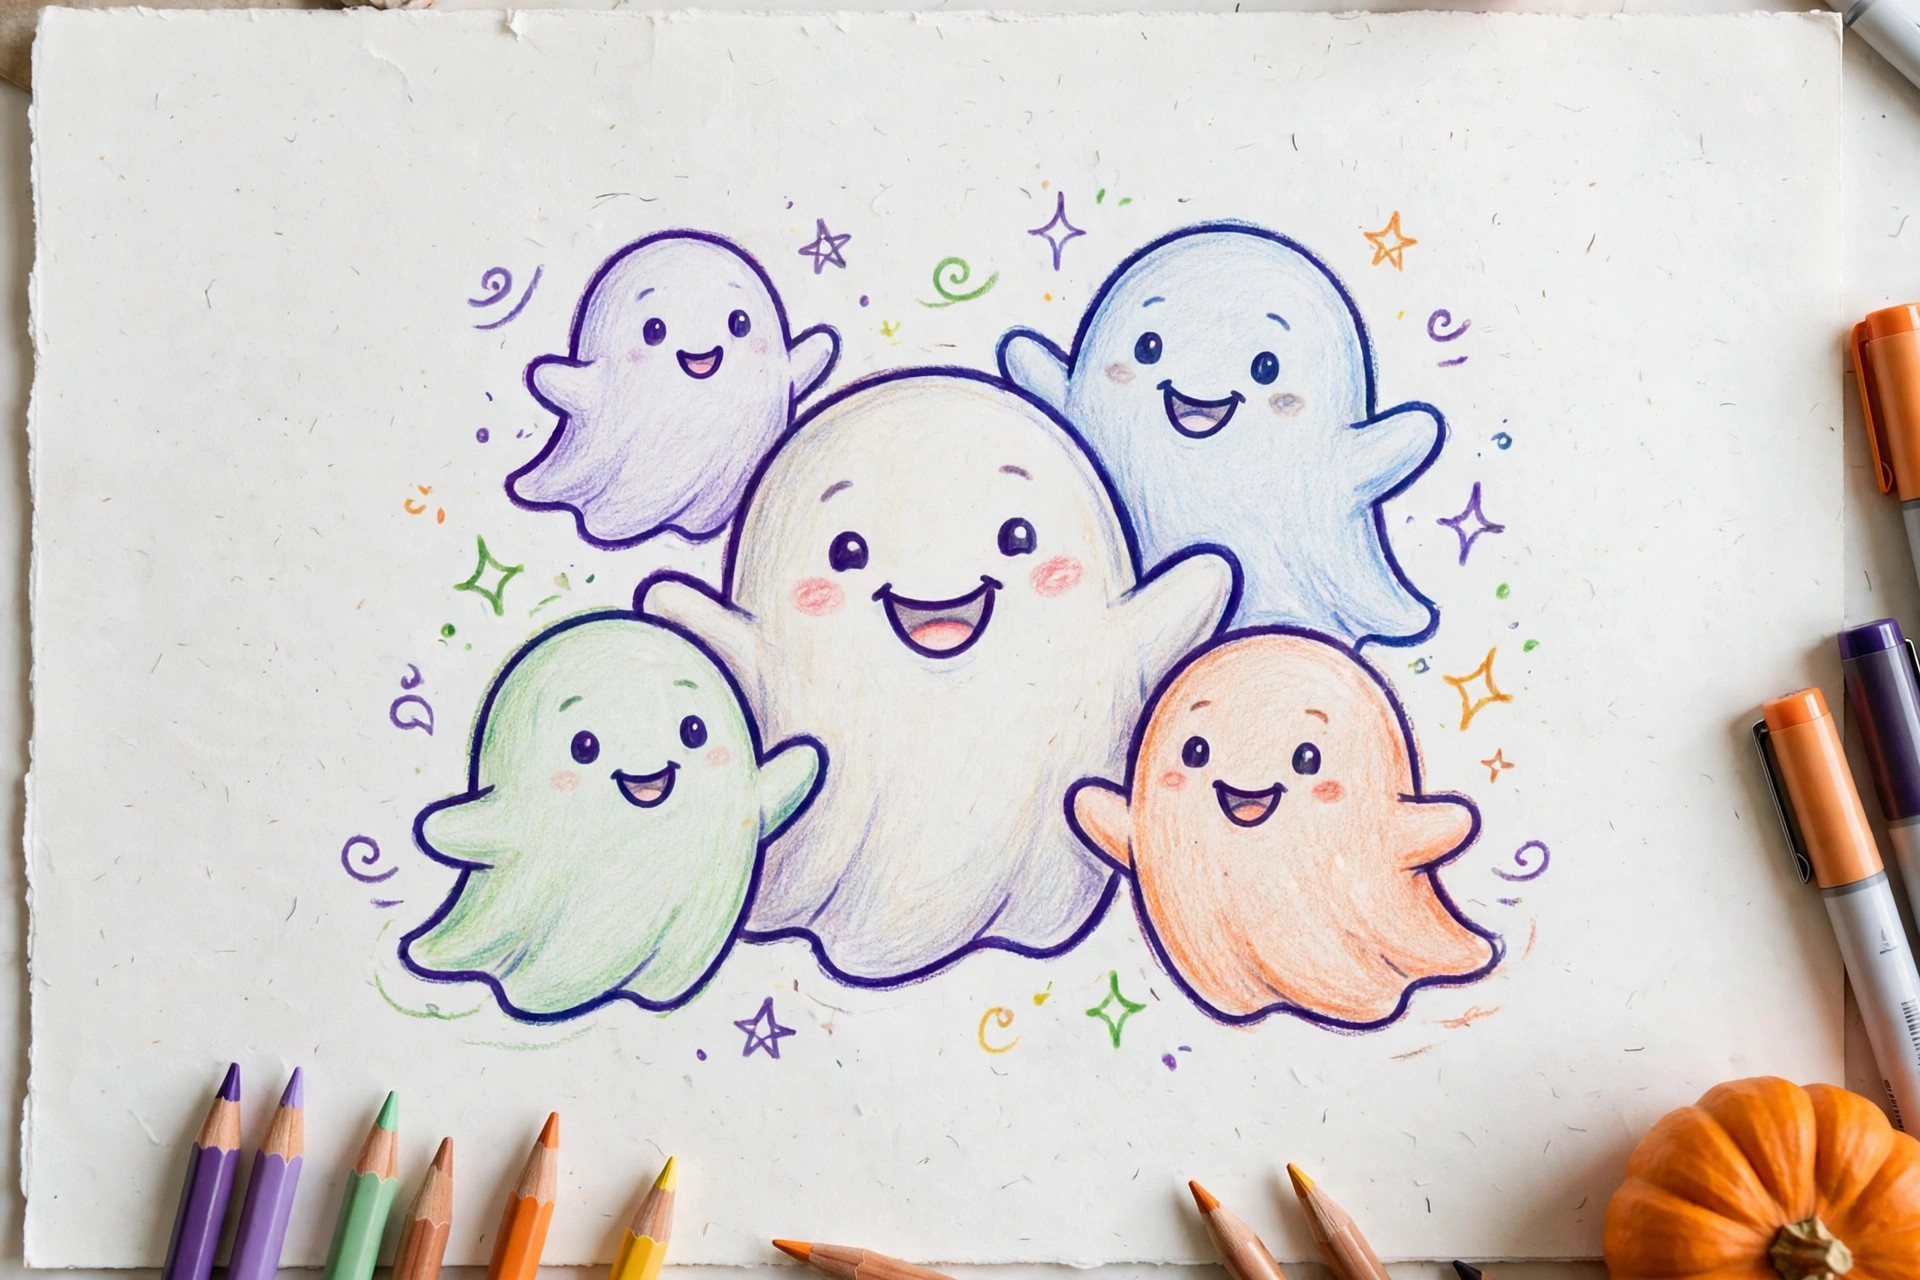
26. A Group of Ghost Friends
Draw three or four ghosts in a row, each with a different expression and accessory: a party hat, a candy bucket, a bow. Use the same wavy-bottom body shape for all of them. Finishing tip: Different heights and one tiny ghost in front make the group feel like a family photo.
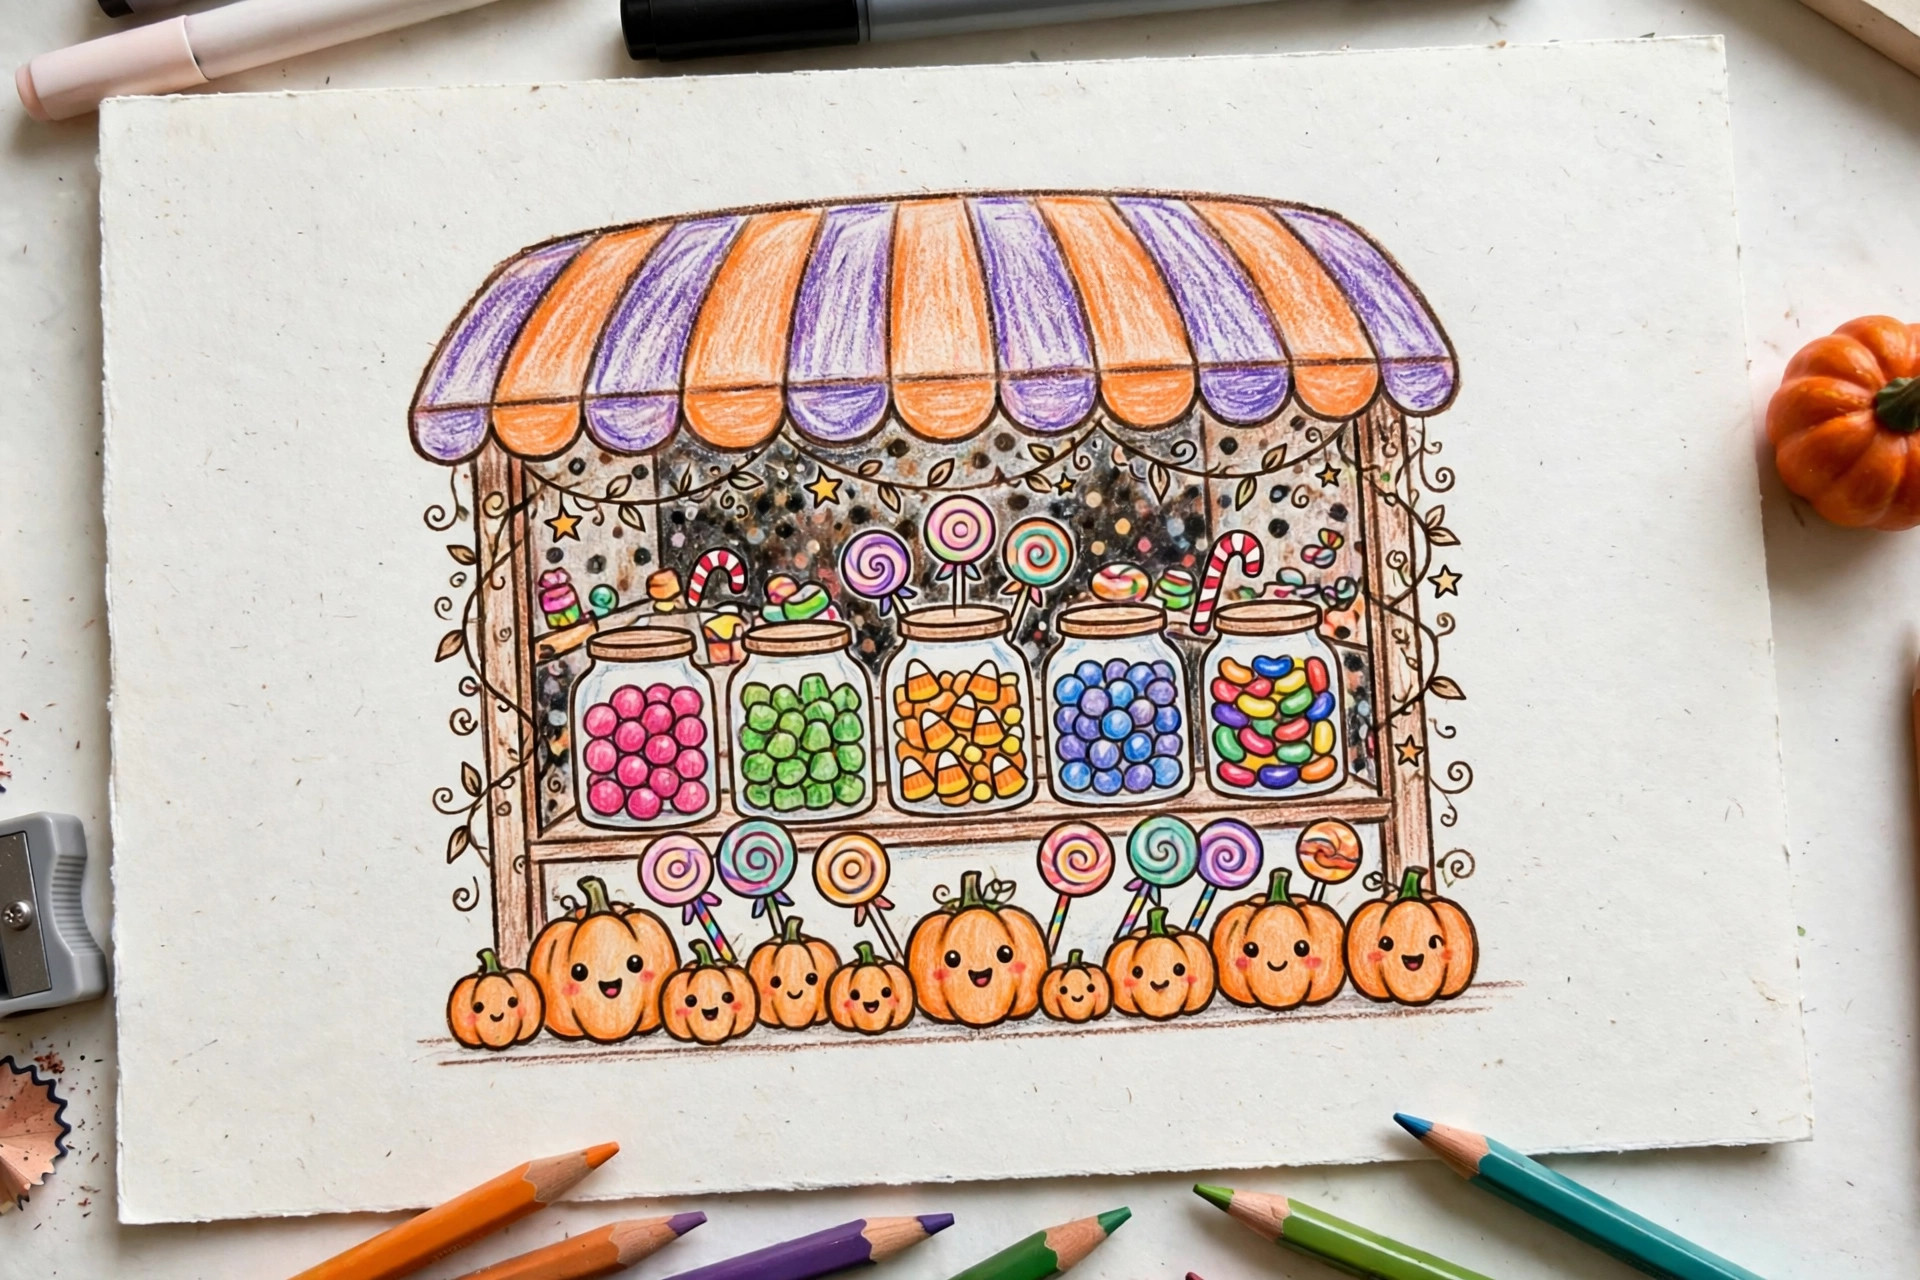
27. Candy Shop Window
Draw a big rectangle window with a striped awning on top, made of diagonal lines and a scalloped edge. Inside, draw jars of circles for candy, lollipop spirals, and a pumpkin centerpiece. Finishing tip: Add white diagonal streaks in one corner of the glass to fake a shiny window reflection.
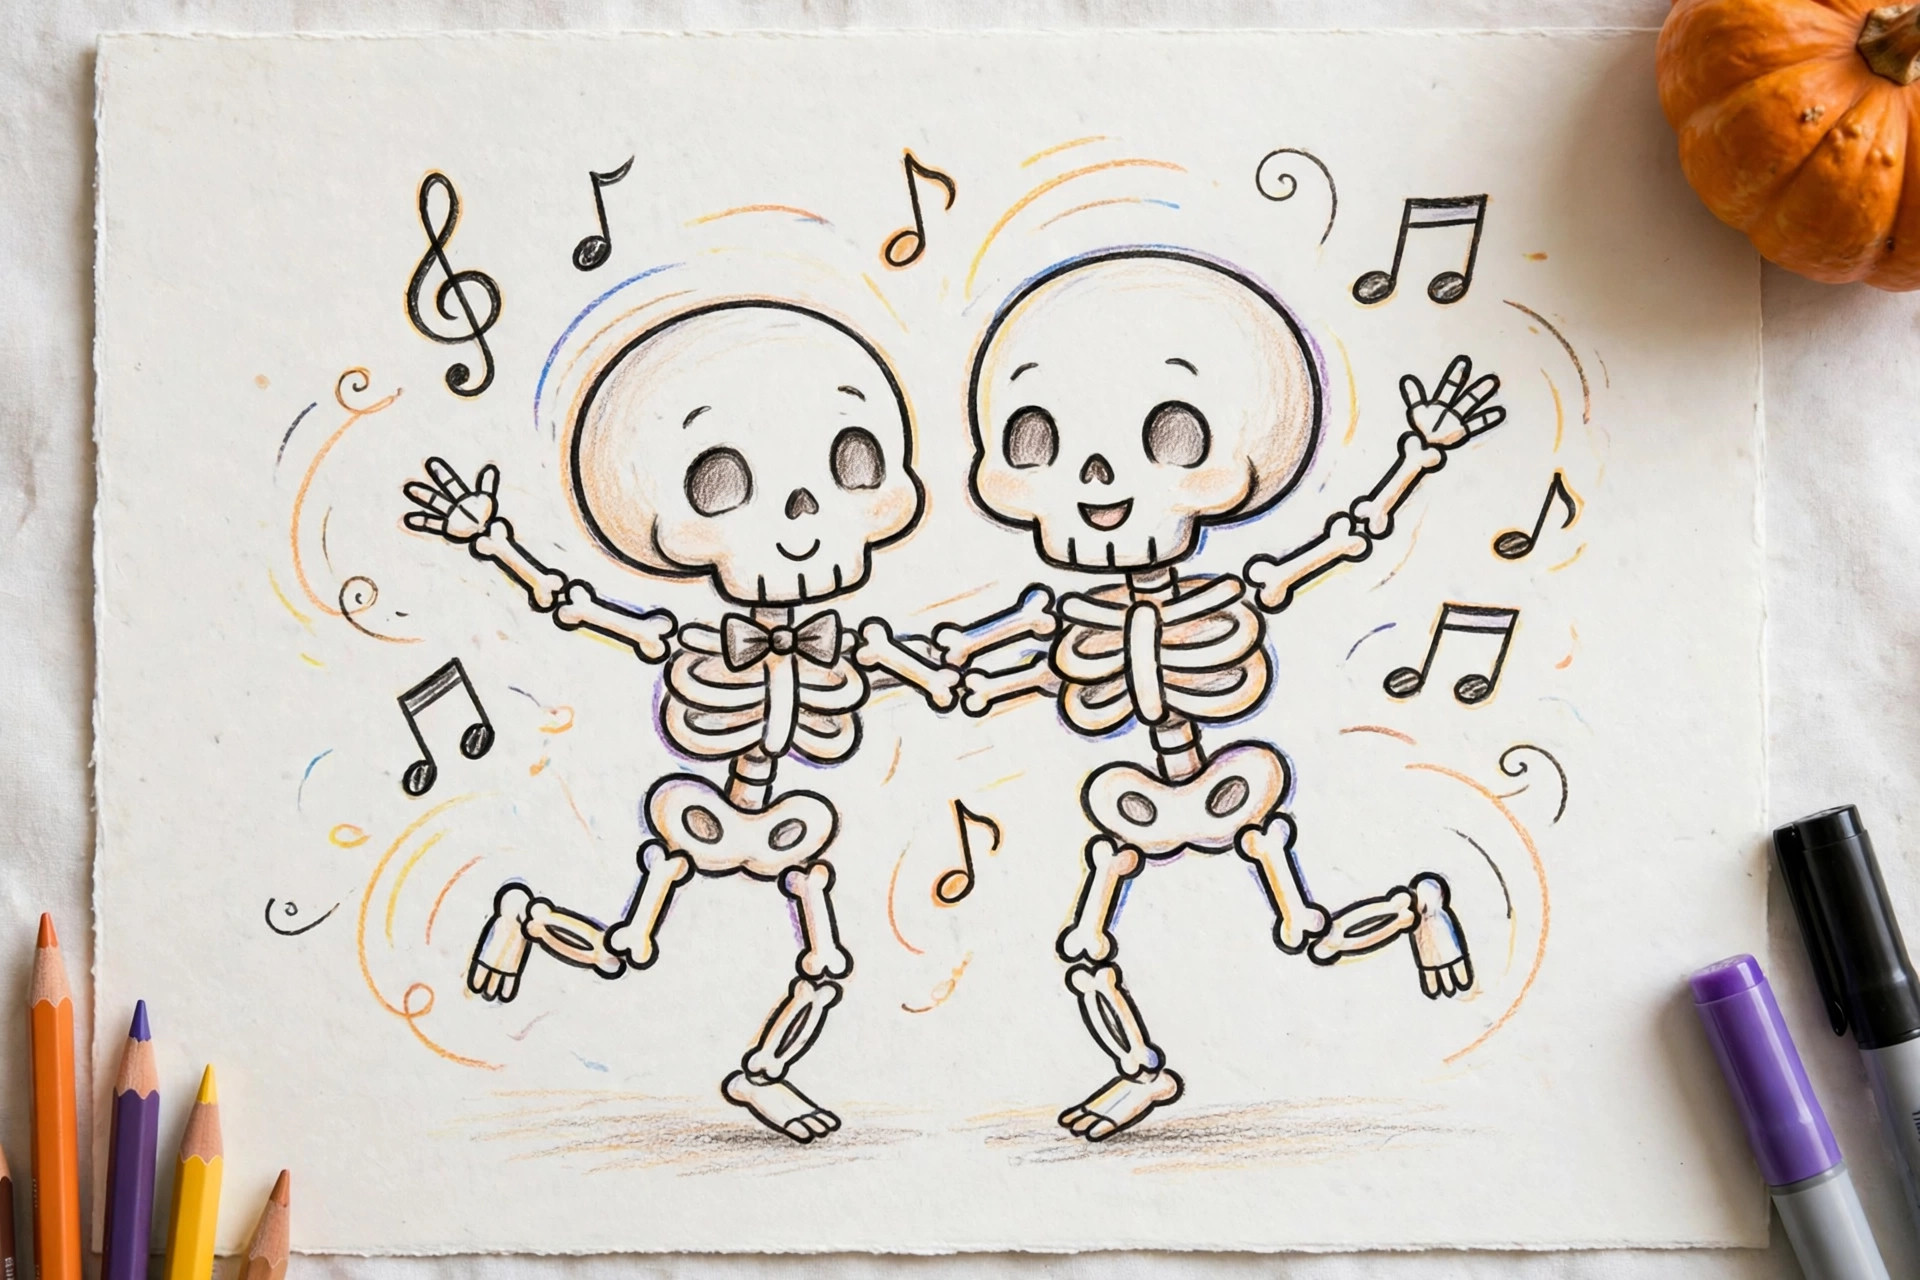
28. Dancing Skeletons
Draw two simple skeletons with their arms and legs in different poses, one arm up and one leg kicked out, like they are mid-dance. Keep the bones as rounded sticks and the ribs as curved lines. Finishing tip: A few music notes floating around them, drawn as ovals with stems, makes the dance party clear.
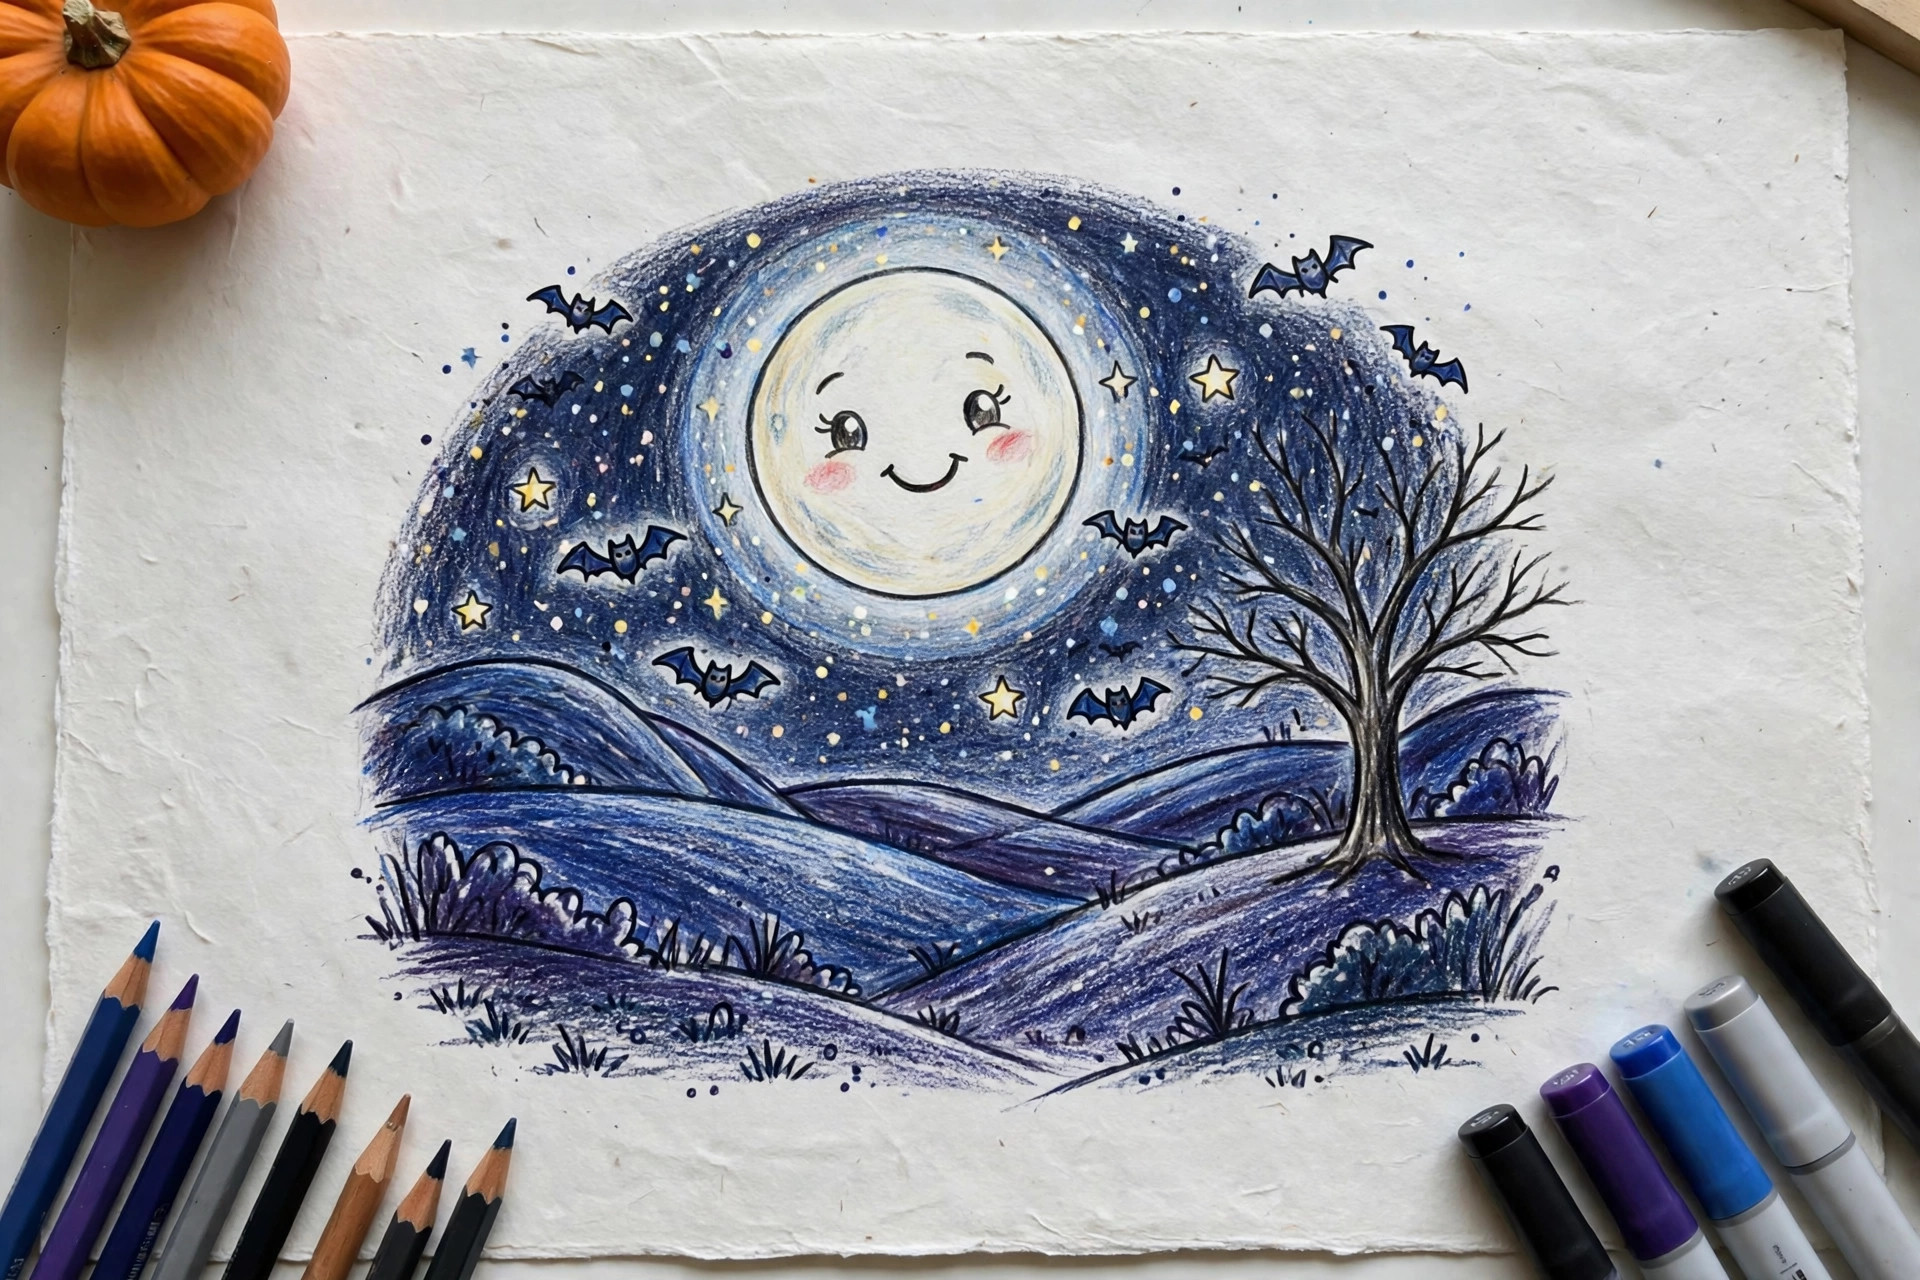
29. Full-Moon Landscape
Draw one giant circle moon and layer hill shapes across the page, lighter at the back and darker at the front. Add a tiny haunted house silhouette and a few bats on the front hill. Finishing tip: Leave the moon pure white and color everything else in shades of purple for a striking night scene.
30. A Whole Halloween Doodle Page
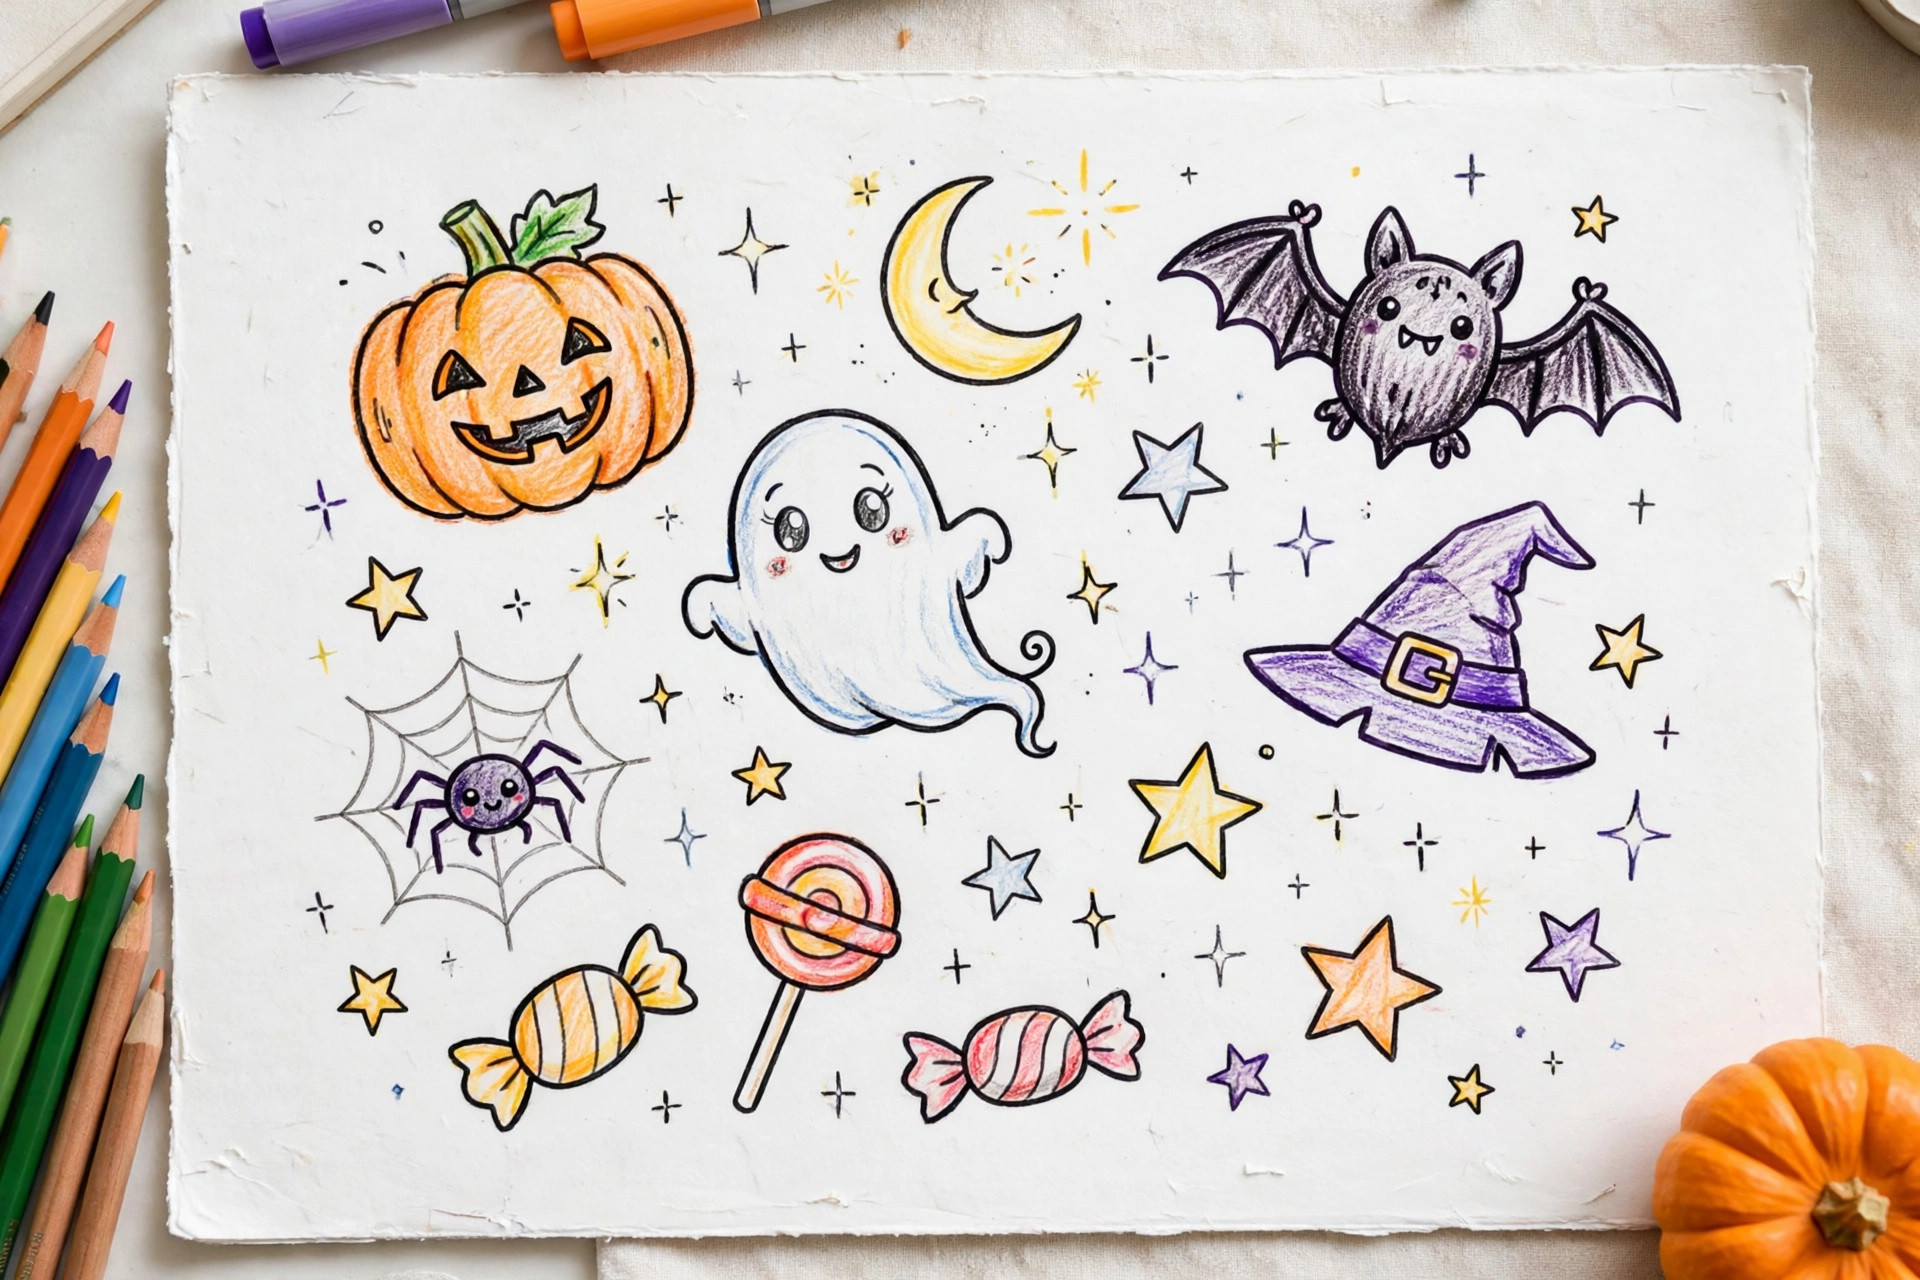
Fill an entire page with mini versions of everything on this list: tiny pumpkins, ghosts, bats, candy, webs, and moons, packed in like a pattern. Leave no big empty gaps. Finishing tip: Outline every doodle with the same thick black marker so the busy page still looks tidy and unified.
3 Quick Tricks That Make Any Halloween Drawing Look Better
These three finishing moves take less than a minute each, and they work on every idea above. Use them at the end, once your shapes and colors are done.
1. Thick outlines. Go over your final lines with a bold black marker. Thick outlines hide wobbly pencil lines, separate shapes from each other, and give drawings that bold storybook look. Keep the outline the same thickness everywhere for the cleanest result.
2. One orange-and-purple palette. Orange and purple are Halloween’s classic pair: they sit opposite each other on the color wheel and make each other look brighter. Add black for outlines and one touch of lime green if you need a third color.
3. White gel pen stars and highlights. A white gel pen on top of dried color adds instant magic: four-point sparkles in the sky, a dot of shine in each eye, a highlight curve on every pumpkin. It is the single easiest way to make a simple drawing look finished and a little bit professional.
Frequently Asked Questions
What is the easiest Halloween thing to draw?
The happy ghost is the easiest Halloween drawing of all. It is one rounded shape with a wavy bottom, two oval eyes, and a smile, and it looks good even when the shape is a little wobbly. The candy corn character is a close second, since the whole body is a single rounded triangle with three stripes.
How do you draw a pumpkin step by step?
Draw a wide oval. Add three or four curved lines running from the top center down to the bottom center to make the ribs. Draw a small curved rectangle on top for the stem. Add two triangle eyes, a small triangle nose, and a wide smile. Color it orange with a brown or green stem, and darken the sides slightly so it looks round.
What colors are best for Halloween drawings?
Orange, purple, and black are the classic Halloween trio, and they work for almost every idea. Add lime green for potions and slime, yellow for candlelight and moons, and white for ghosts and highlights. For a cute look, use softer versions like peachy orange and lavender instead of dark, heavy shades.
Are these ideas okay for young kids?
Yes. The first ten ideas were chosen to be friendly and not scary at all, and the rest of the list stays cartoon-style and gentle too. Every idea uses big basic shapes that small hands can manage, and kids can skip any idea they find too spooky and pick a friendlier one instead.
Where to Go Next
When Halloween is over, keep the drawing habit going with our collection of cozy fall drawing ideas for the whole season. If you draw on a tablet, you will love these cute Halloween digital art ideas. Pumpkins deserve their own page too, so browse our pumpkin drawing ideas for more faces and styles, and master the classic with our step-by-step ghost drawing tutorial.