Every insect leg attaches to the thorax, the middle body section, and never to the abdomen. Six legs, three body parts, and any wings all belong to that middle segment, which is the single fastest way to make an insect drawing look right.
Key takeaways
- All six legs and all wings attach to the thorax, never to the abdomen|An insect has three body sections; a spider has two body sections and eight legs|Antennae grow from the head, and their shape identifies the group at a glance|Butterflies have clubbed antennae; moths have feathery or tapered ones|Beetle forewings are hardened covers that meet in a straight seam down the back
One rule fixes most insect drawings, and it takes ten seconds to apply. Every leg attaches to the thorax, the middle body section, and nothing attaches to the abdomen. Six legs, and any wings the creature has, all come from that one segment.
An insect is built from three parts: head, thorax and abdomen. That is also what separates it from the other things in your garden. A spider has two body sections and eight legs. A centipede and a woodlouse are neither insects nor arachnids. Several of the subjects below are not insects at all, and drawing them correctly means knowing which is which.
The antennae are the second shortcut. They grow from the head, and their shape names the group without any other clue: clubbed tips mean a butterfly, feathery or tapered means a moth, and a sharp elbow partway along means an ant, bee or wasp.
The thirty-one ideas below run from scientific plates and sumi-e through gouache, chalk on black and art nouveau panels. For two of the subjects in more depth, see bee drawing ideas and butterfly drawings.
Compiled by the GS Art Zone editorial team. Last updated August 2026. Each idea is paired with the specific step that produces the effect, so you can go from the reference straight to paper.
What You Need Before You Start
- A 0.05 or 0.1 fine liner, because legs and antennae need a thinner line than the body
- A magnifier or a phone macro lens, since almost no one has looked at a real beetle closely
- One warm and one cool dark, as beetle black is rarely actually black
- Hot press paper if you are working in ink, where every hair and joint has to stay crisp
- An iridescent or interference medium if you want beetle shells to shift color
1. Tiny Ladybug in Watercolor

Painting something very small on a very large sheet is a compositional decision, not an accident. Leave most of the paper empty, place the ladybug well off center, and keep the red fully saturated so it holds the page despite its size. Scale is created by everything you do not paint.
2. Colored Pencil Honeybee
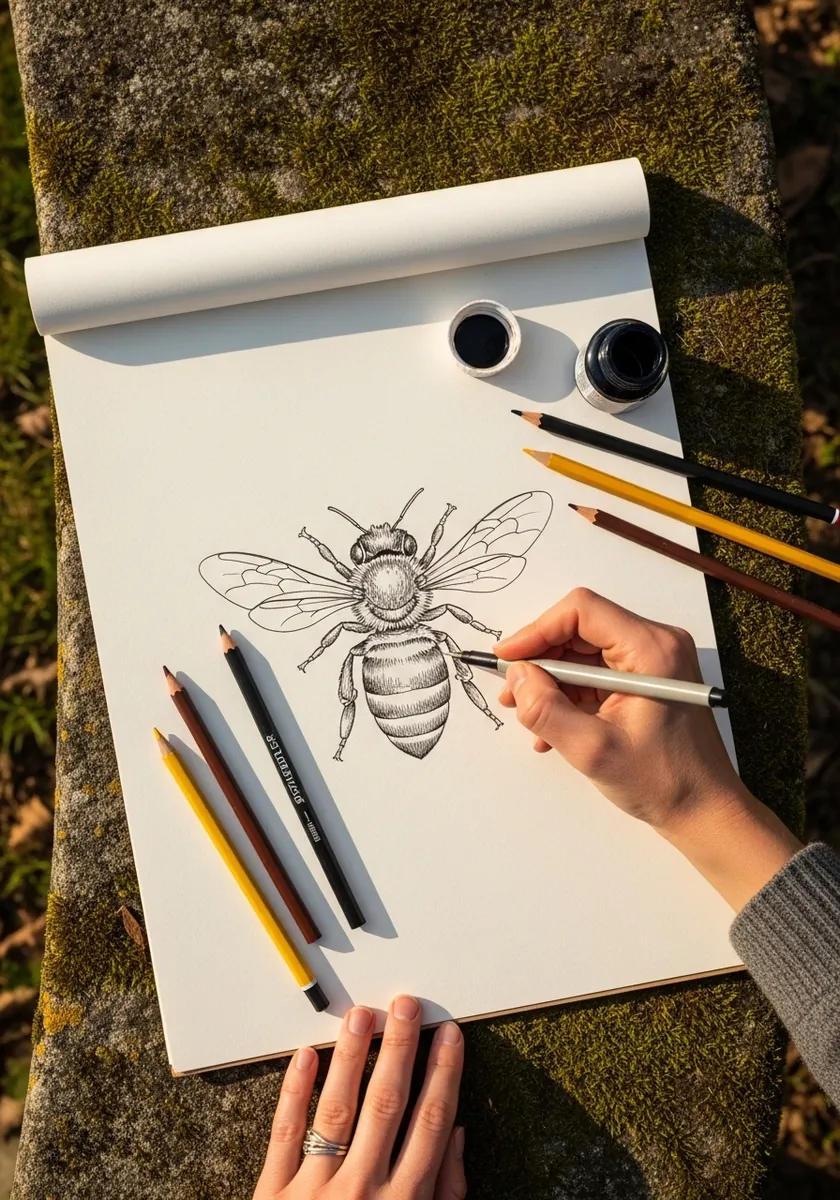
A honeybee has four wings rather than two, and in flight they hook together into a single surface. Draw the smaller hindwing slightly overlapping the forewing on each side instead of merging them, and remember that all four attach to the thorax alongside the legs.
3. Graphite Butterfly Study
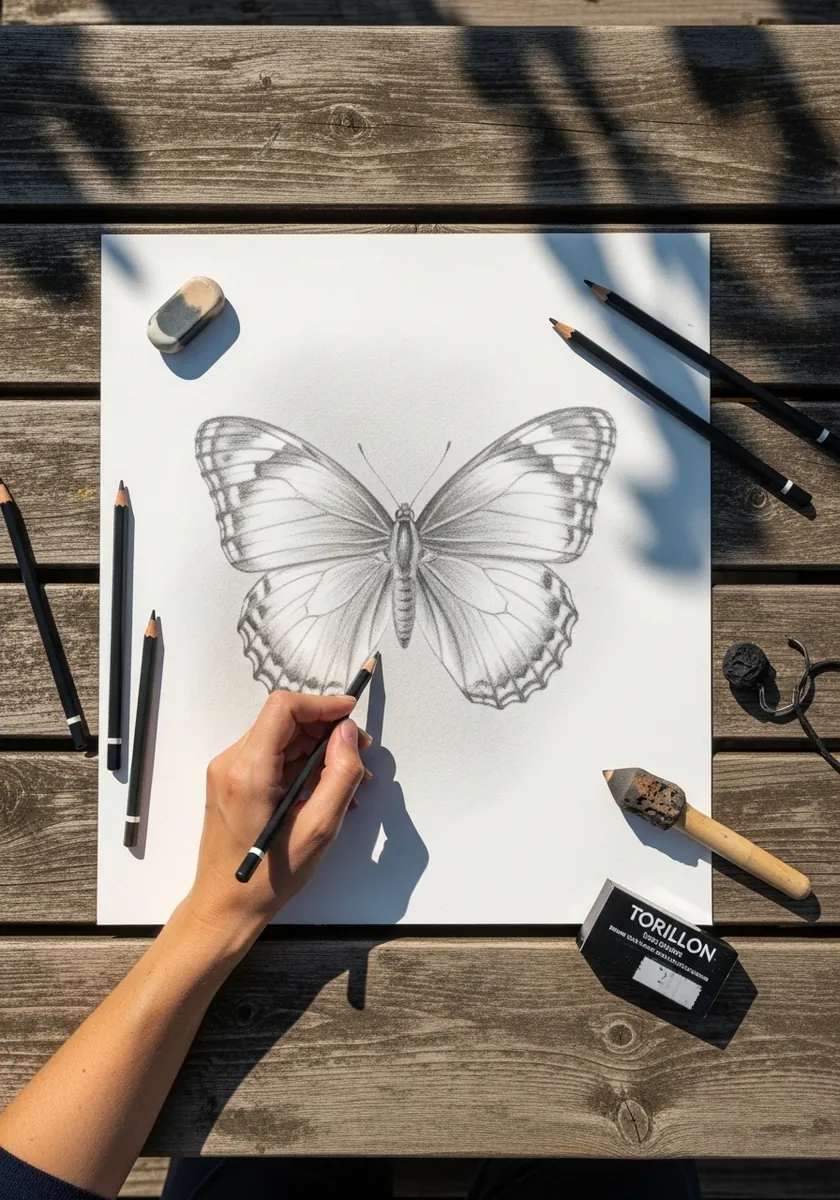
Symmetry is far easier to fake than to force freehand. Draw one wing fully and then fold or trace it across the center line, and only afterwards introduce a few small deliberate differences so the result does not look mechanically stamped out.
4. Watercolor Grasshopper
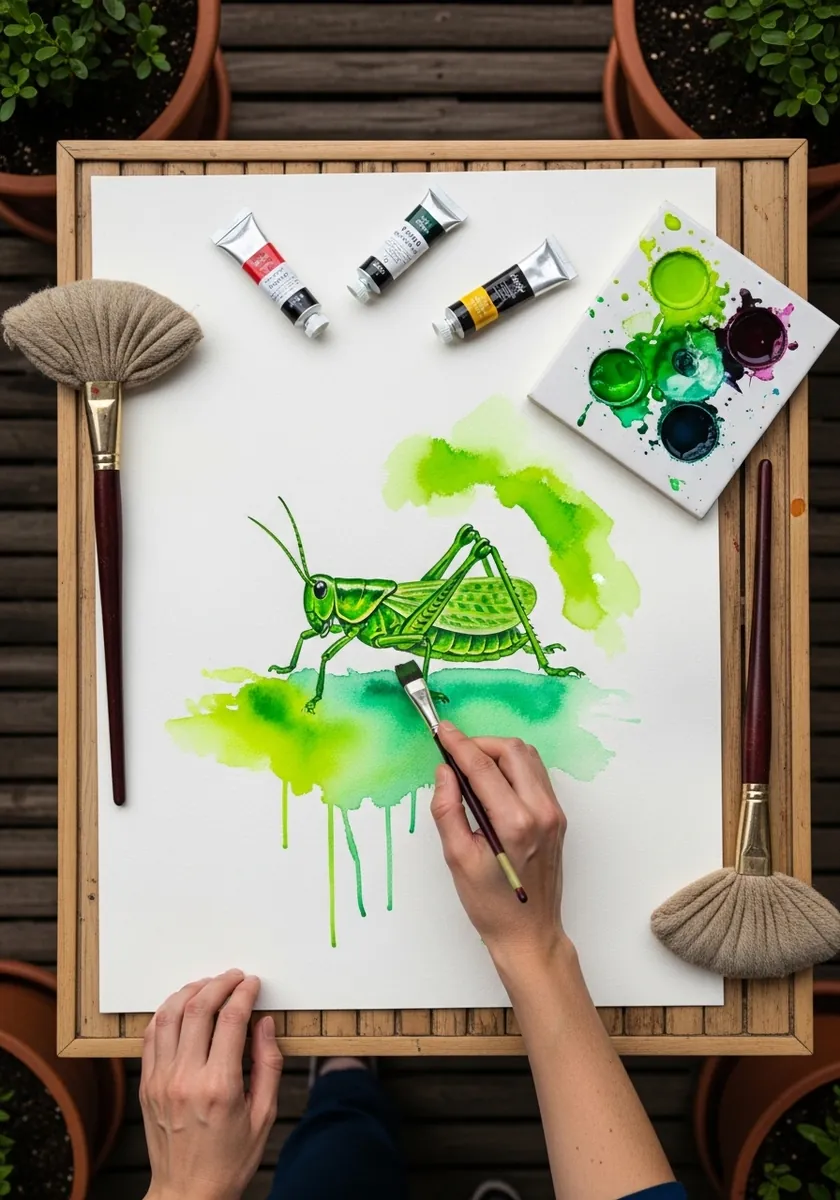
Grasshopper hind legs bend the opposite way to a human knee, and getting that backwards ruins the pose. Draw the femur thick and angled up, the joint at the top, and the thin tibia running back down toward the ground. Grasshoppers also have very short antennae compared with crickets, which is a quick way to tell the two apart.
5. Minimal Fine Liner Insect
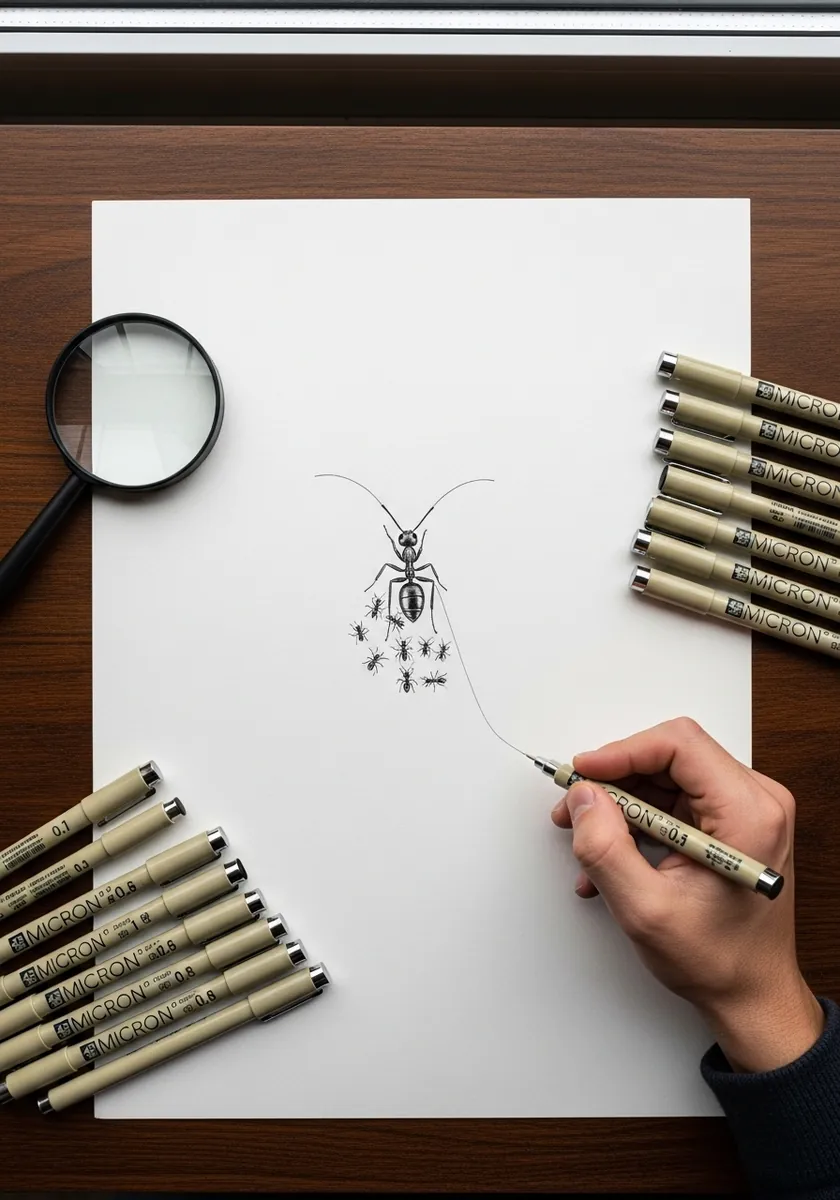
Working this small demands that you decide in advance what to leave out. Draw the body outline, the six leg attachment points and the antennae, then genuinely stop, because at this scale any added detail turns into a gray smudge rather than information the viewer can read.
6. Ink Dragonfly With Veined Wings
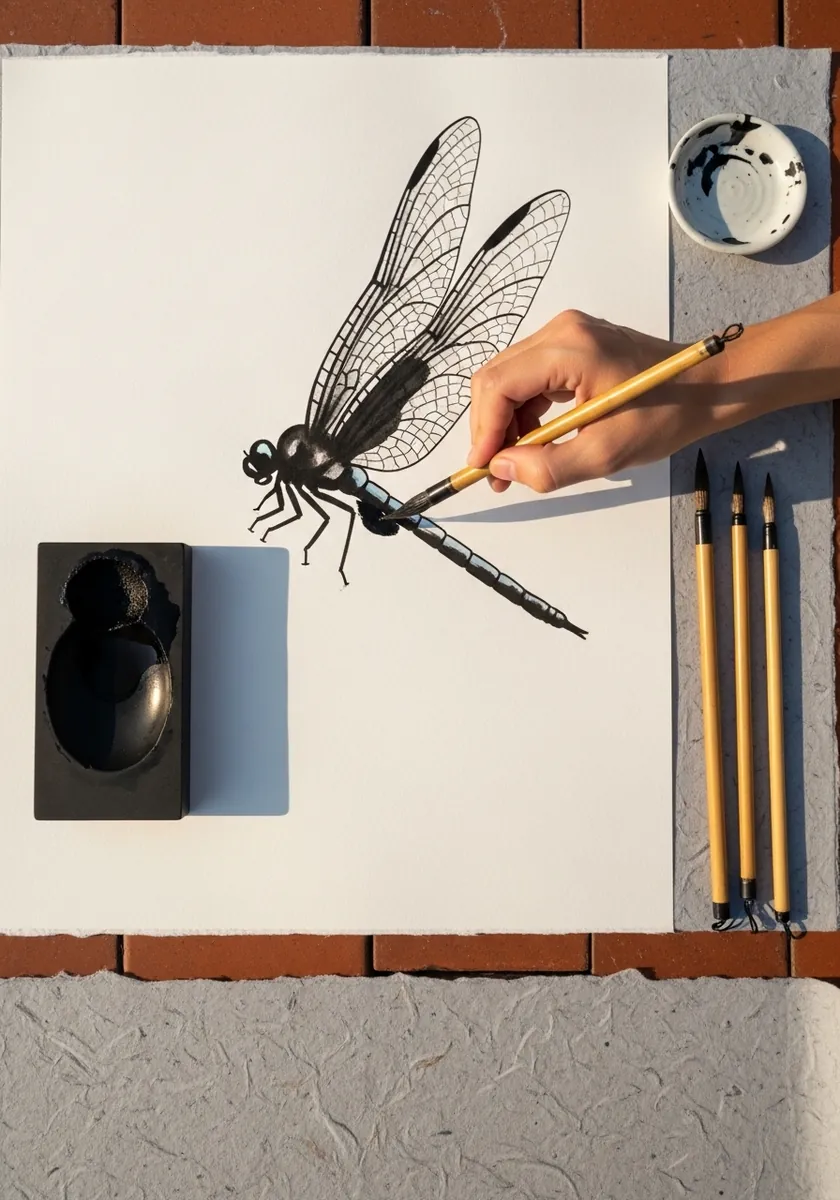
Dragonfly wings are a lattice, and that lattice is effectively the entire drawing. Lay in the main lengthwise veins first and then fill between them with irregular cross-cells that shrink toward the wing edge, because evenly sized cells read as garden netting rather than a wing.
7. Bumblebee With Pressed Flowers
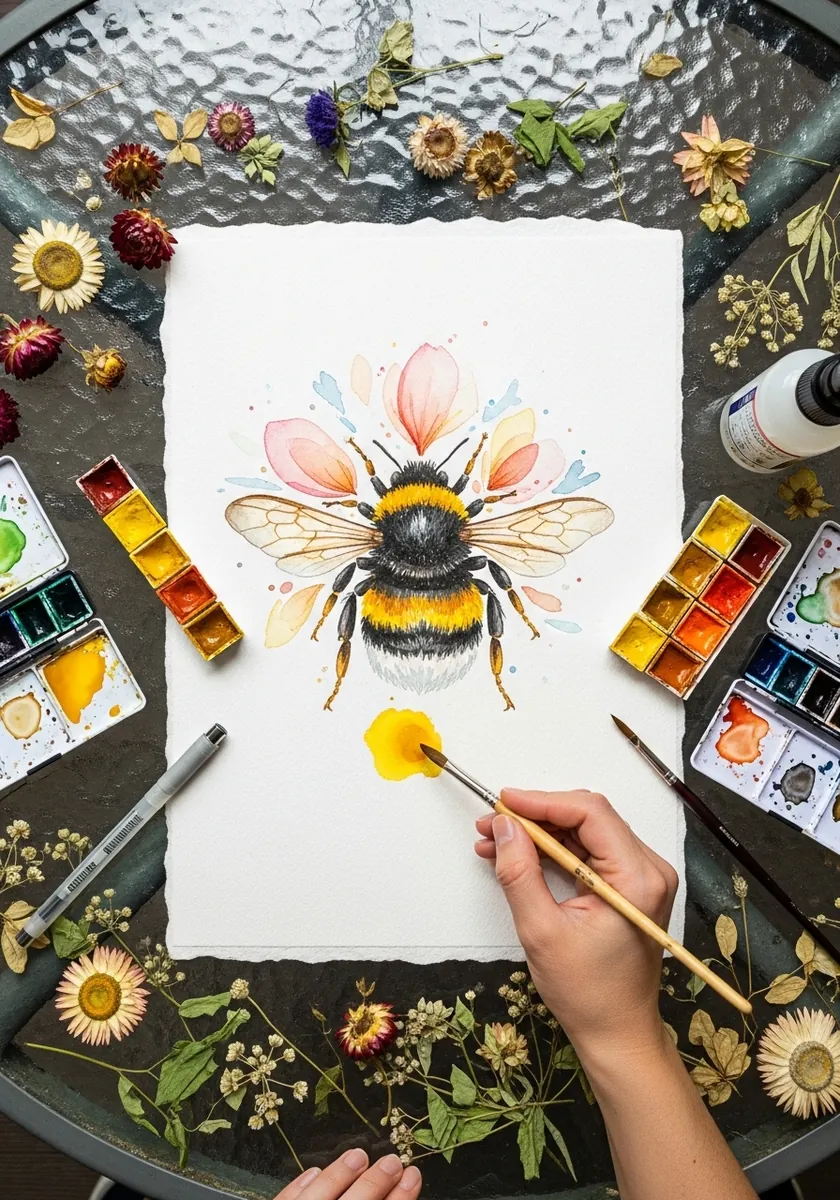
Fuzz is drawn at the silhouette rather than inside it. Break the outer edge of the thorax with short strokes radiating outward, keep the interior soft and unbroken, and leave the wings completely smooth so the contrast between the two surfaces is what sells the texture.
8. Pencil Spider on a Web
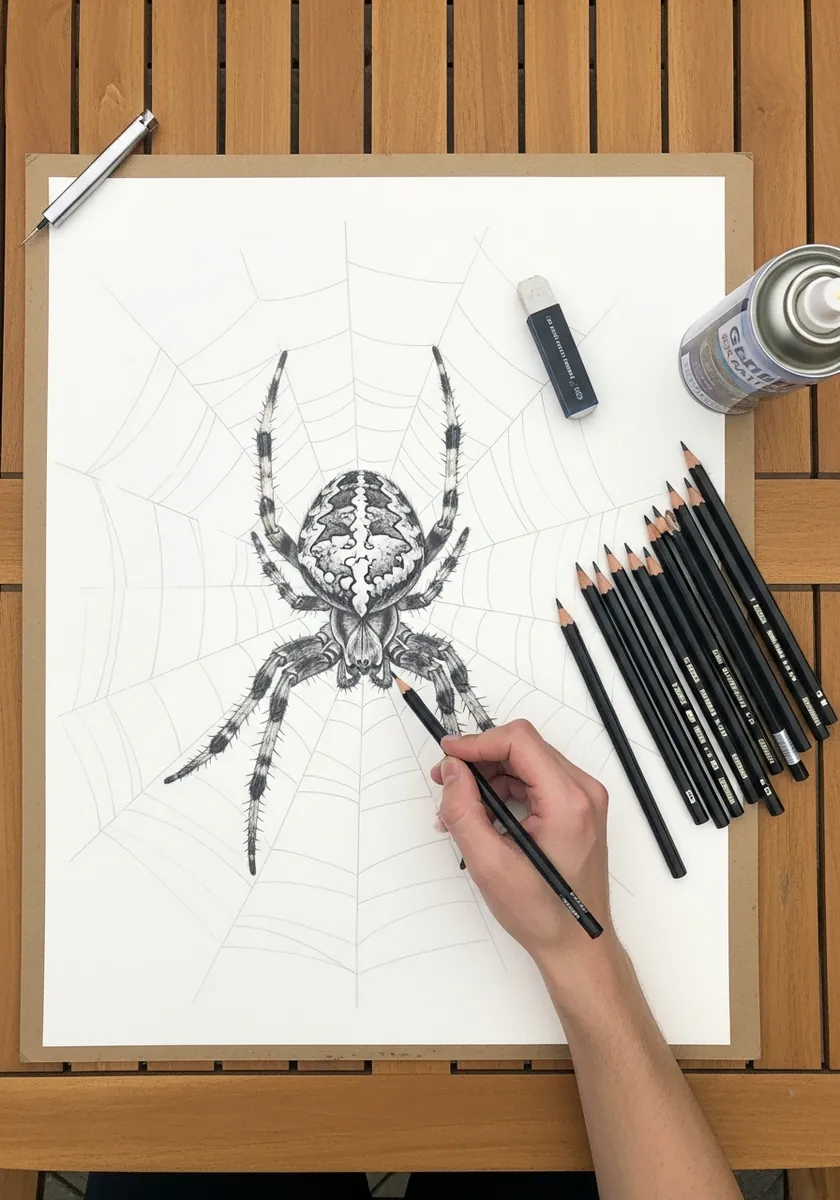
A spider is not an insect, and drawing it as one is obvious. Give it two body sections rather than three, eight legs all attached to the front section, and no antennae at all. The web spiral should sag slightly between each pair of spokes. Give the abdomen a slightly bulbous shape too, since a garden spider’s is much rounder than its front section.
9. Metallic Blue Beetle
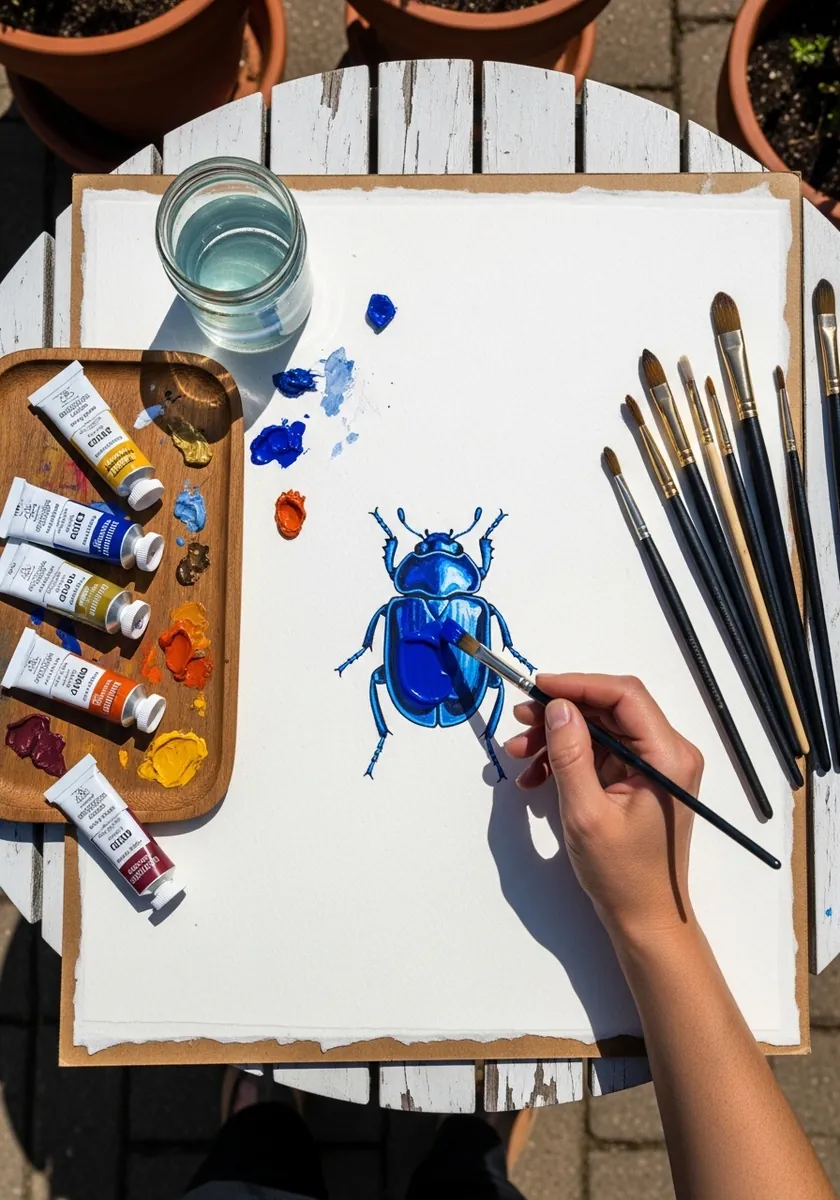
Iridescence is a highlight problem rather than a color problem. Keep a hard white highlight along the top of each wing case, shift the blue toward violet in the shadow, and leave the reflected light at the bottom edge slightly warmer than everything above it. Leave the legs a touch darker than the shell so they do not disappear against it.
10. Chalk Insect on Gray Paper
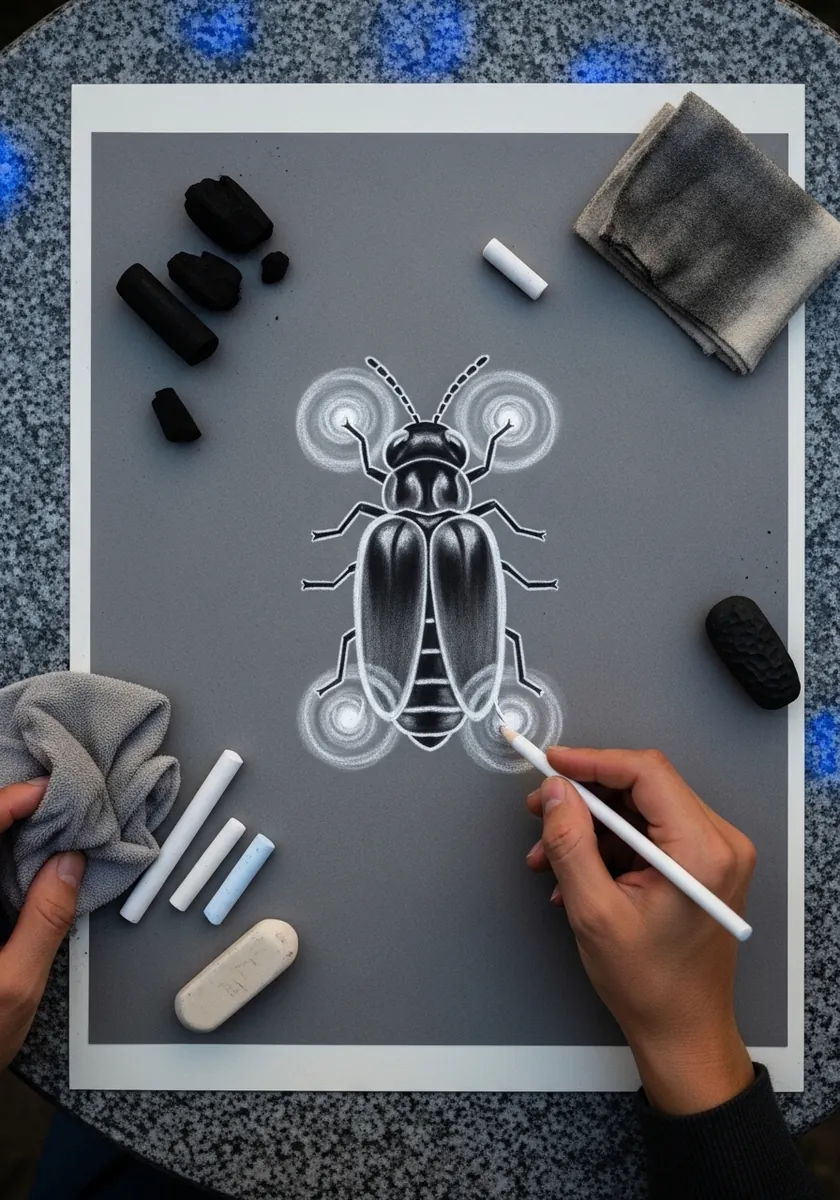
Toned paper hands you the mid value for free. Draw only what catches the light, leave the paper as everything in between, and resist adding dark, because on gray the drawing is built upward into the light rather than downward into shadow. A single warm accent somewhere on the body stops the whole drawing feeling cold.
11. Sepia Moth Pair Study
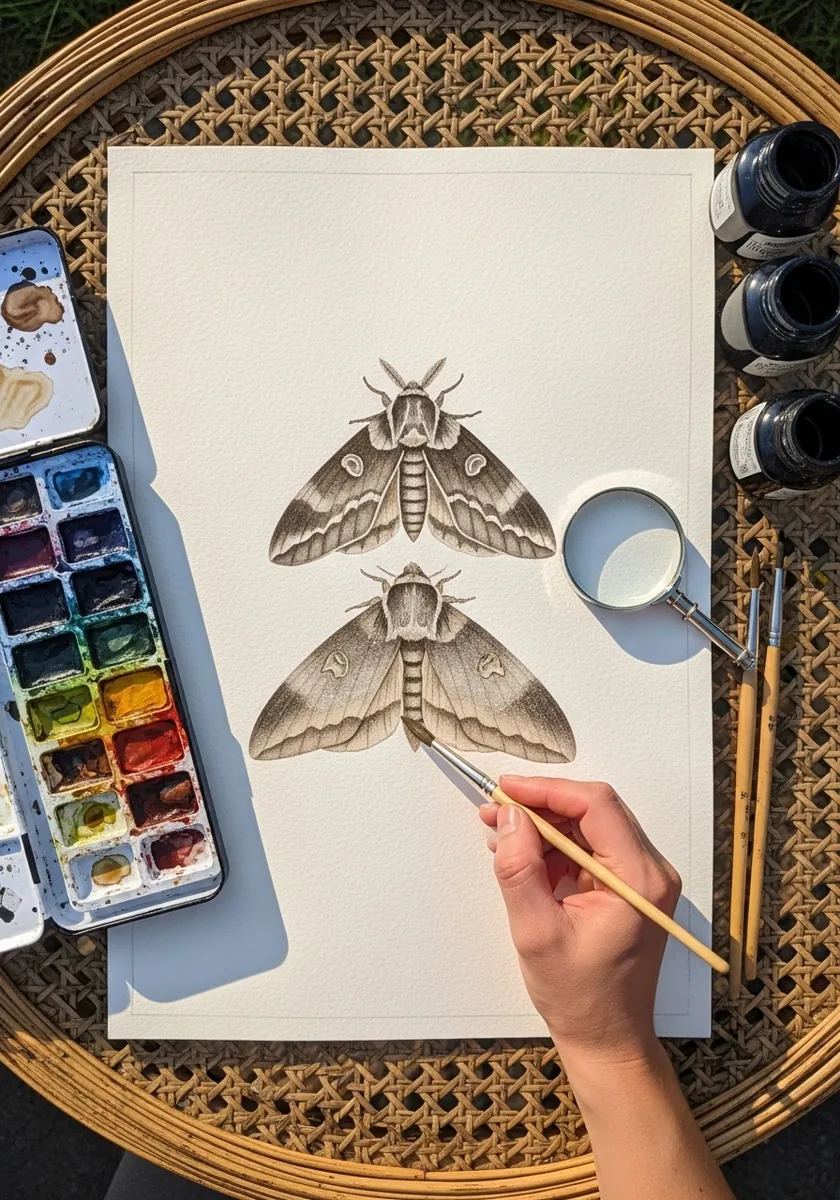
Putting two specimens on one sheet invites direct comparison, so make the difference between them clear. Vary the wing shape and the antennae, keep the relative scale honest, and align both on the same horizontal axis the way a real specimen drawer would present them.
12. Caterpillar on a Leaf
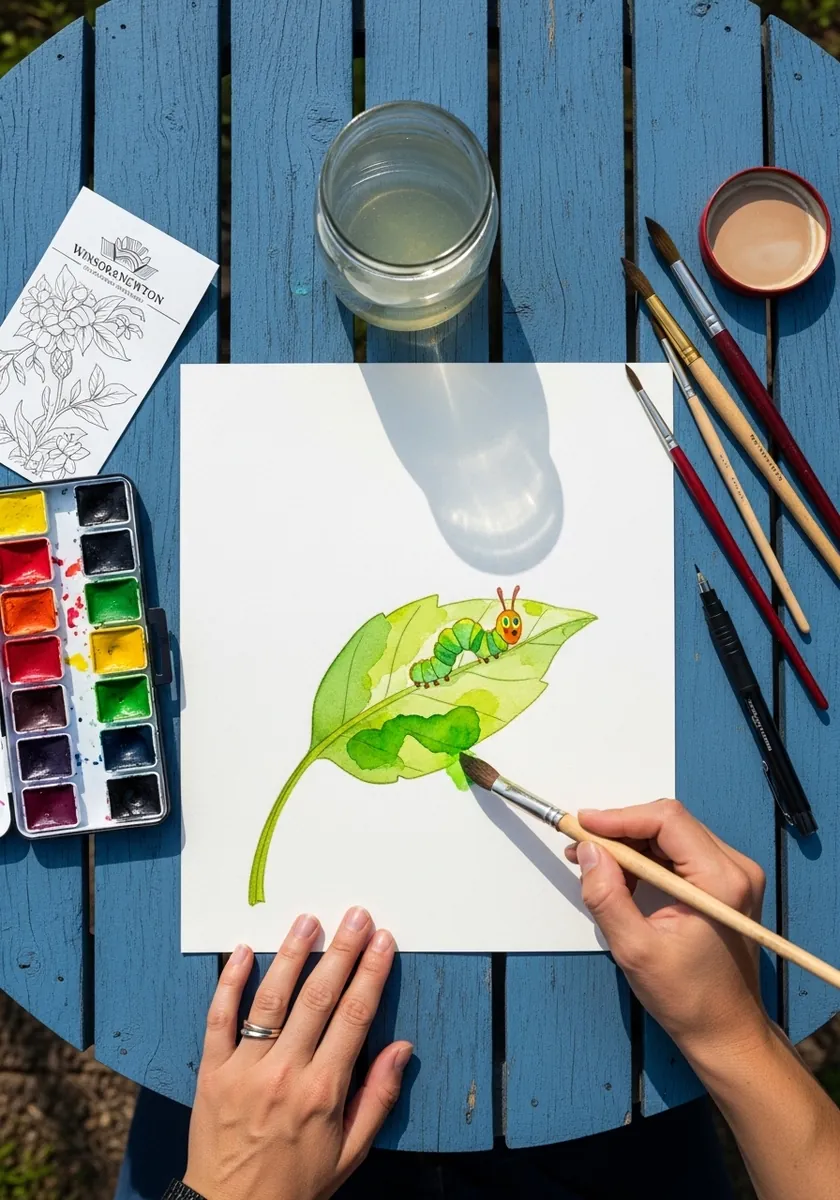
Caterpillar legs come in two kinds and most drawings only show one. There are six true jointed legs at the front, which become the adult’s legs, and several pairs of soft stubby prolegs further back that are lost at metamorphosis. Drawing both makes it correct.
13. Watercolor Praying Mantis
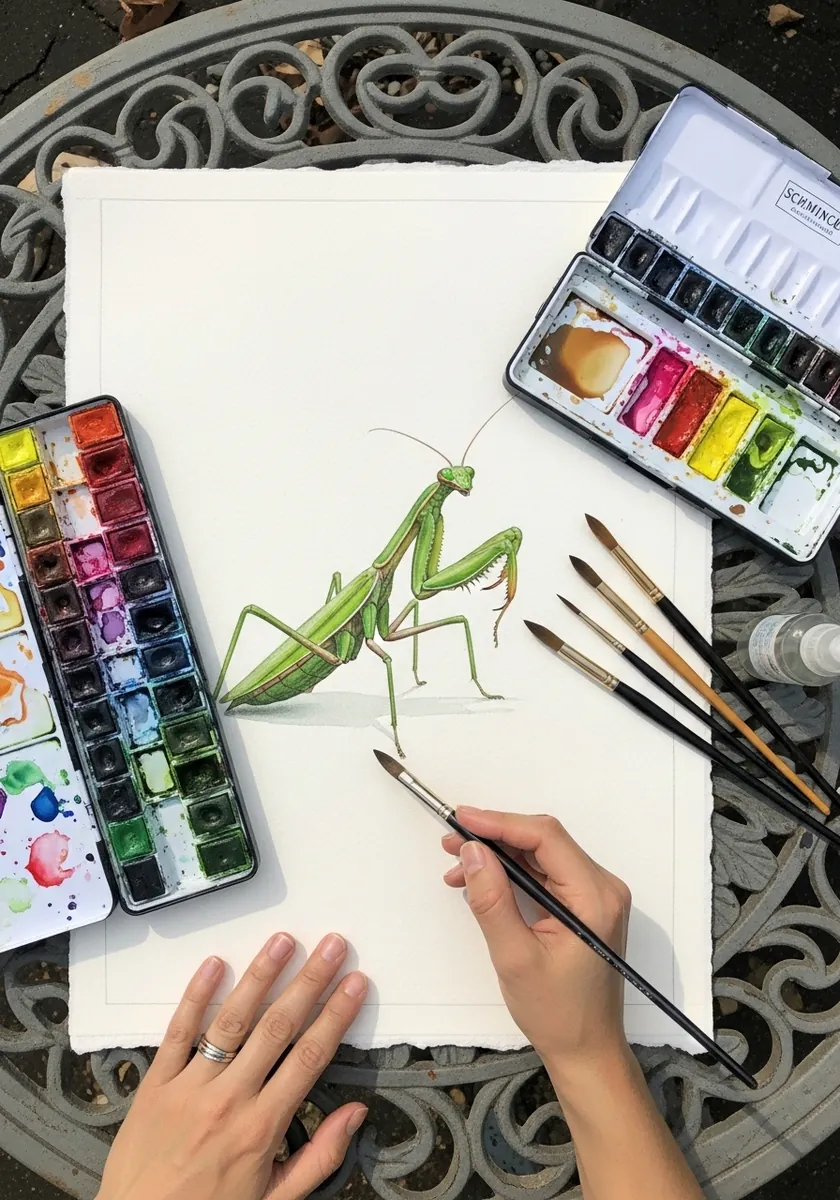
The raised forelegs are spring-loaded traps and the drawing should say so. Draw the femur with a row of small spines along its inner edge, fold the tibia back against it like a closed penknife, and turn the triangular head toward the viewer.
14. Single Line Snail on Kraft
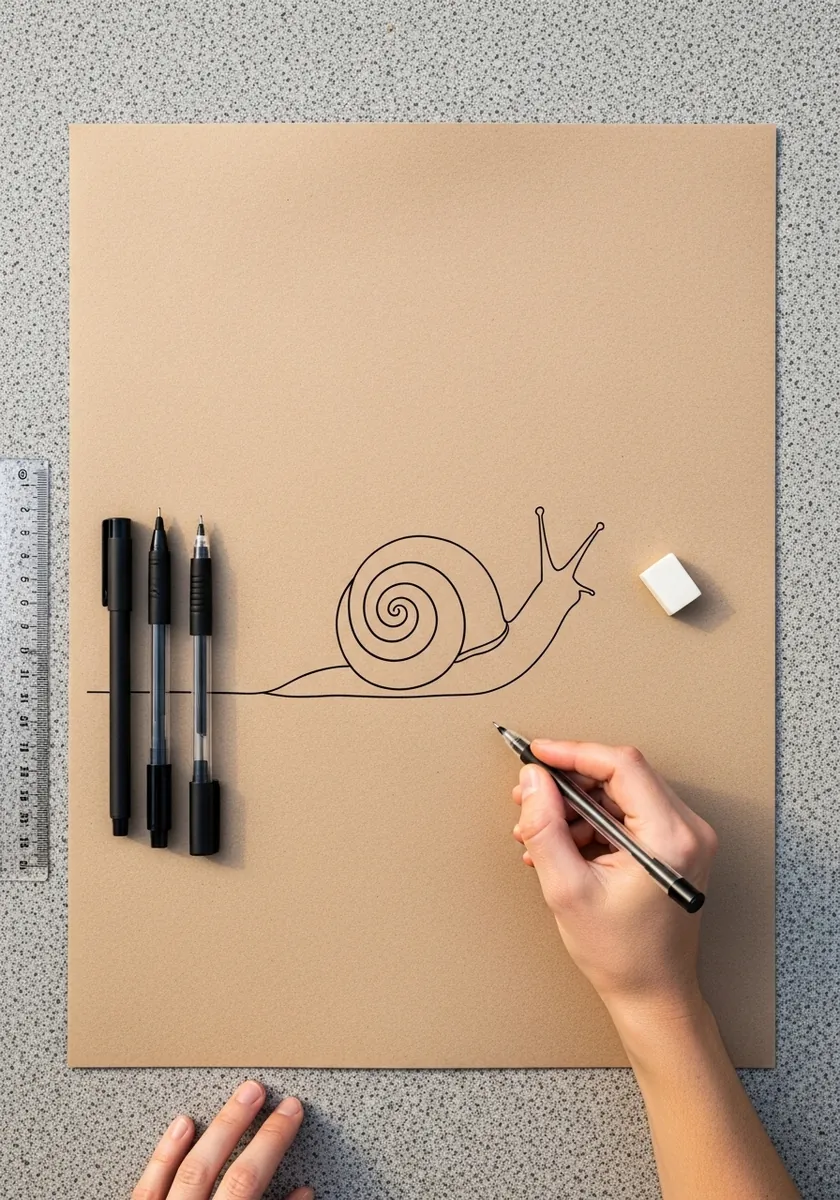
One unbroken line forces you to plan the route before the pen touches the paper. Start at the shell spiral, work outward, and finish at the tail so you never need to lift. The shell spiral should tighten toward the center rather than staying even. Keep the foot below the shell as one long soft shape with no visible joins anywhere.
15. Detailed Ink Silverfish
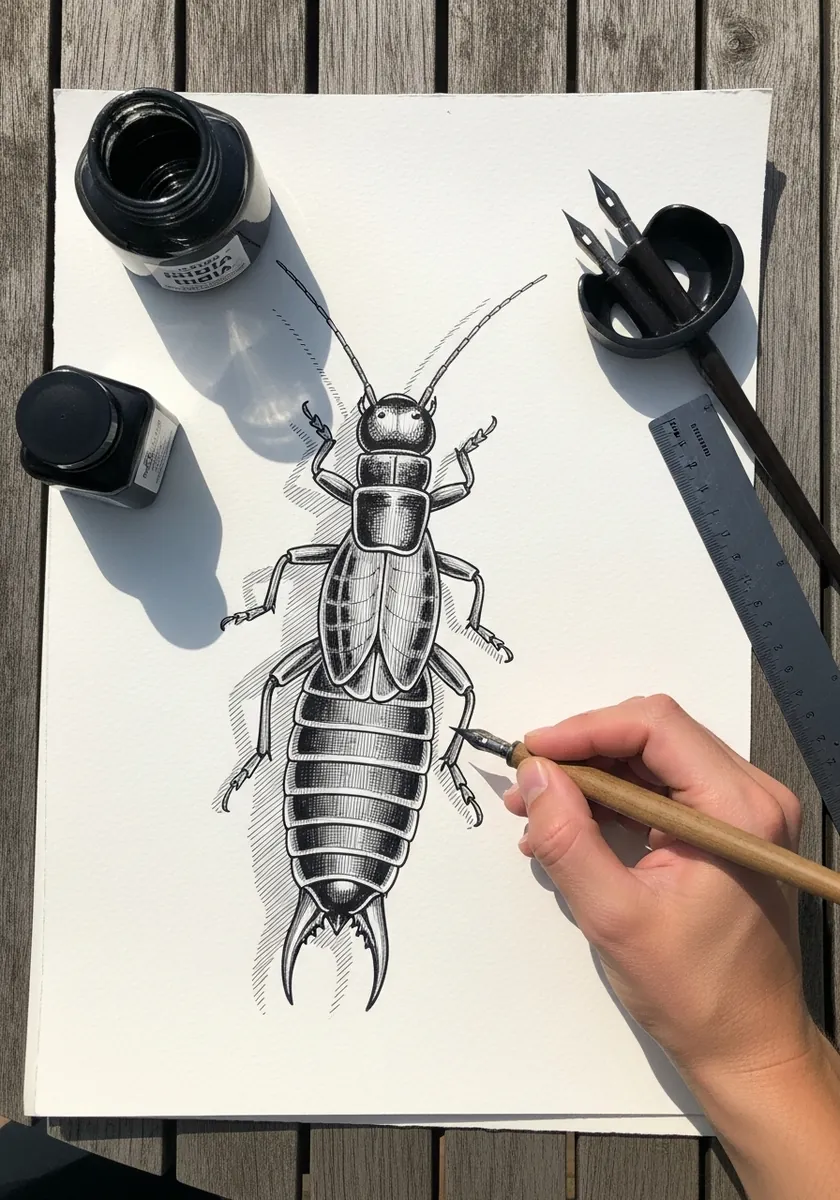
Segmented bodies need each plate to overlap the one behind it. Draw the segments narrowing steadily toward the tail, let each one tuck slightly under its neighbor, and keep the three long tail filaments splayed at different angles rather than running parallel to each other.
16. Art Nouveau Dragonfly Panel
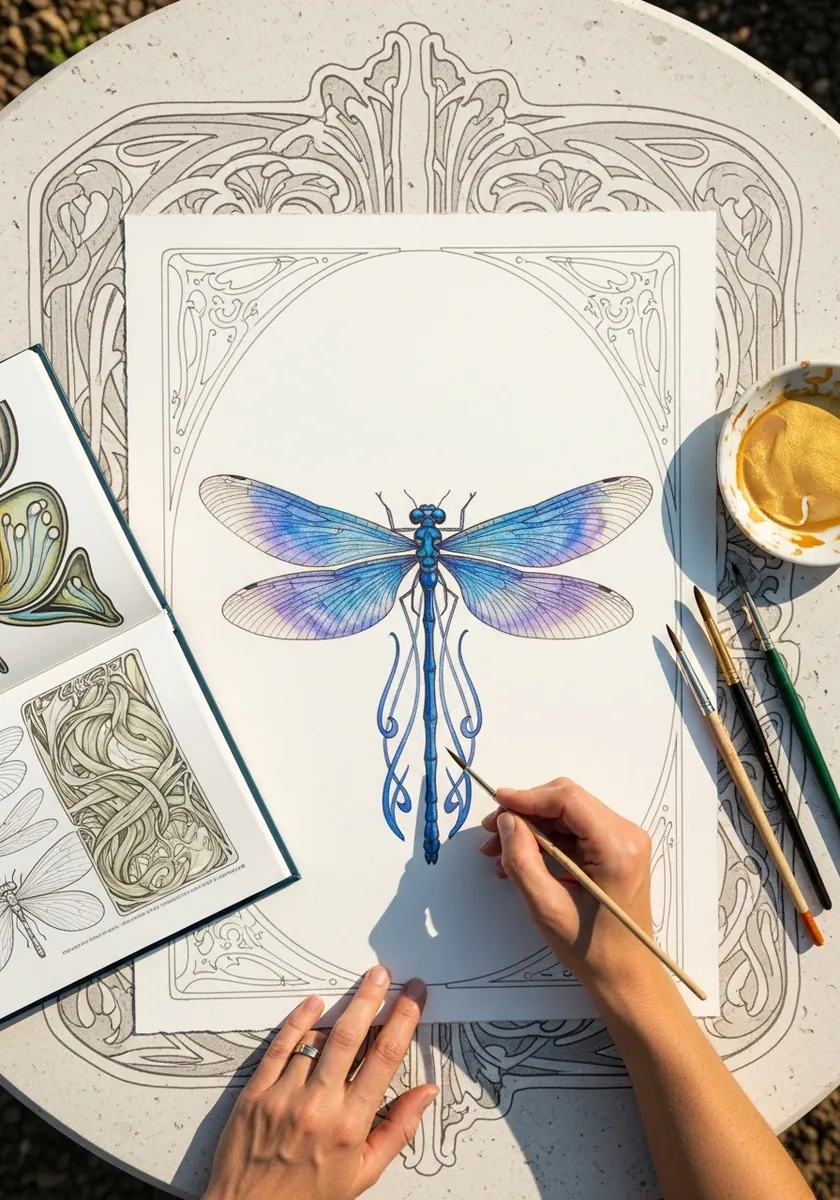
Nouveau borders and insect wings share the same whiplash curve, which is why the pairing works so well. Draw the frame with a brush pen so the line swells through every bend, then keep the dragonfly at a single fine weight so the two layers stay separate.
17. Dense Ink Garden Scene
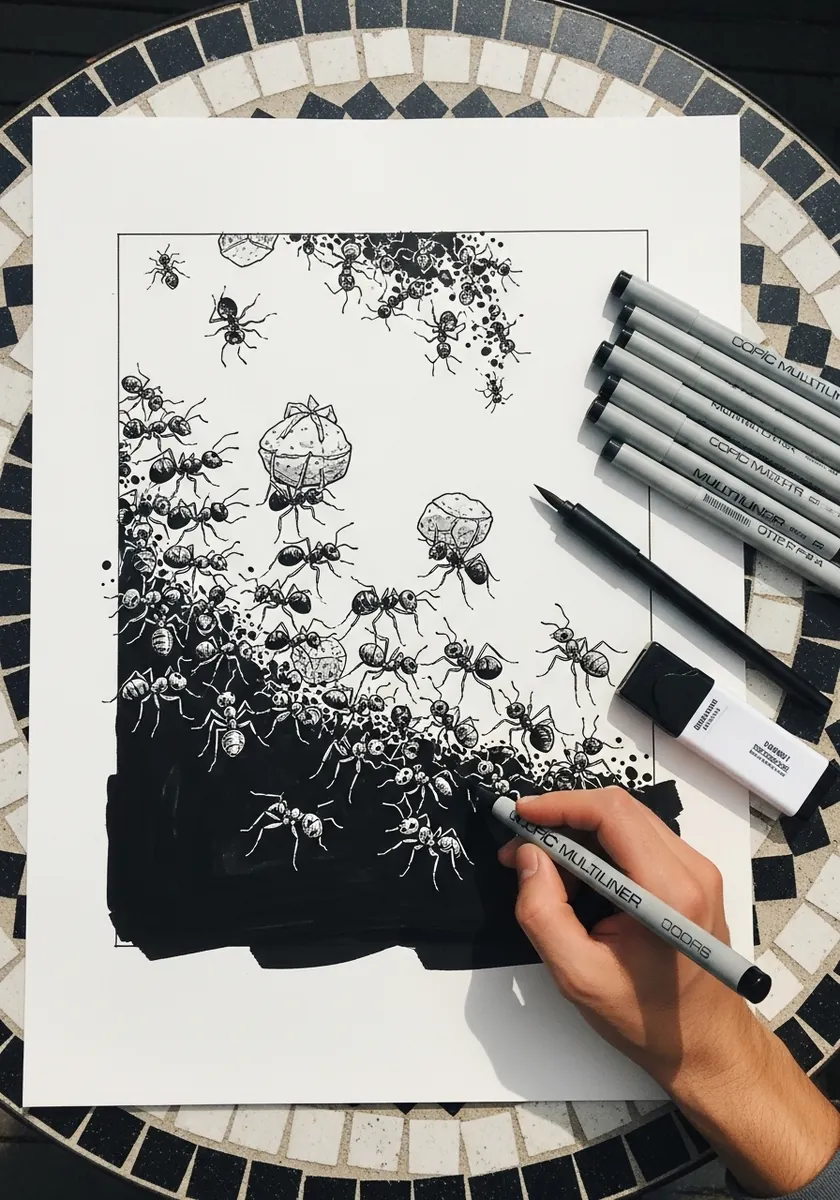
Hiding subjects in a dense scene is about value, not concealment. Keep the insects the same tone as the surrounding foliage so they only appear on a second look, and let one sit slightly darker as the entry point for the eye. Adding one insect that is partly cropped by the frame edge suggests the scene continues beyond the page.
18. Water Strider on Blue
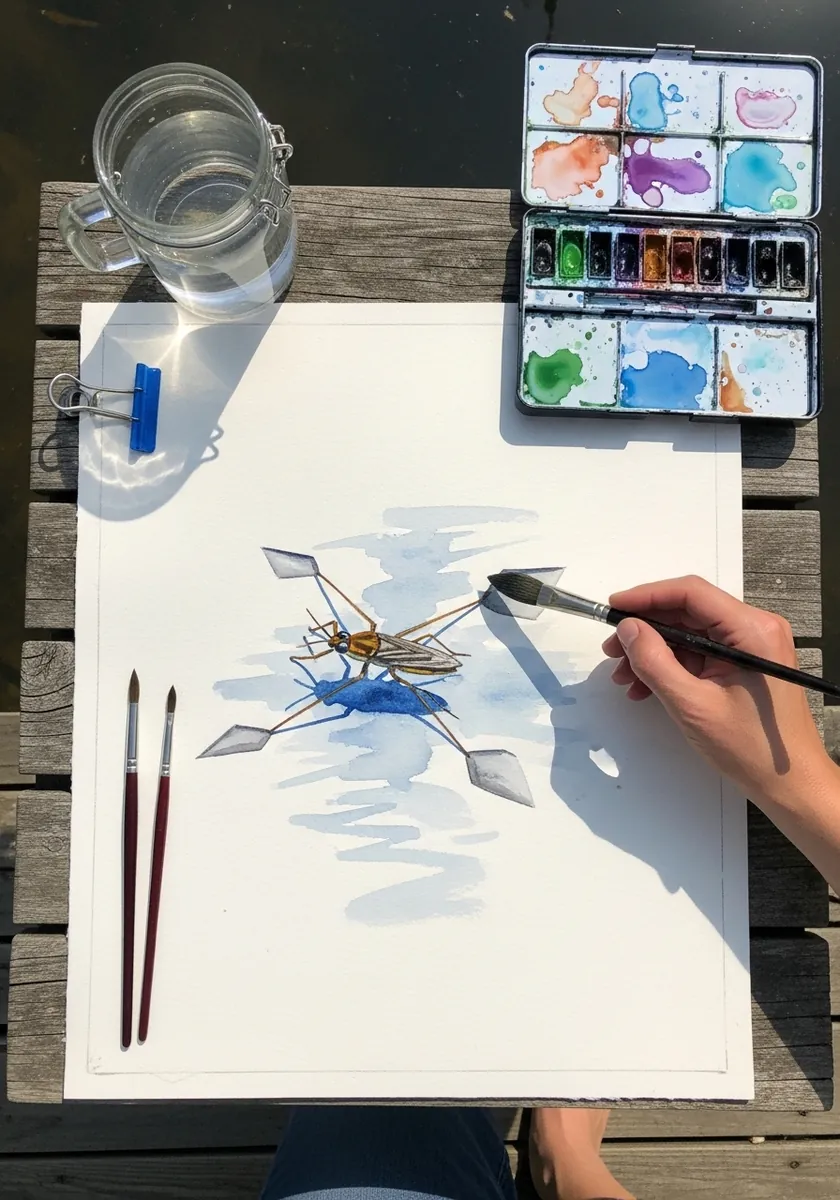
The famous detail here is the dimples. A water strider does not break the surface, so paint a small oval shadow under each foot rather than a contact point, and keep the body itself lifted clear of the water with a thin gap of paper. Keep the legs extremely thin, because their apparent weightlessness is the entire point of the subject.
19. Detailed Pencil Stag Beetle
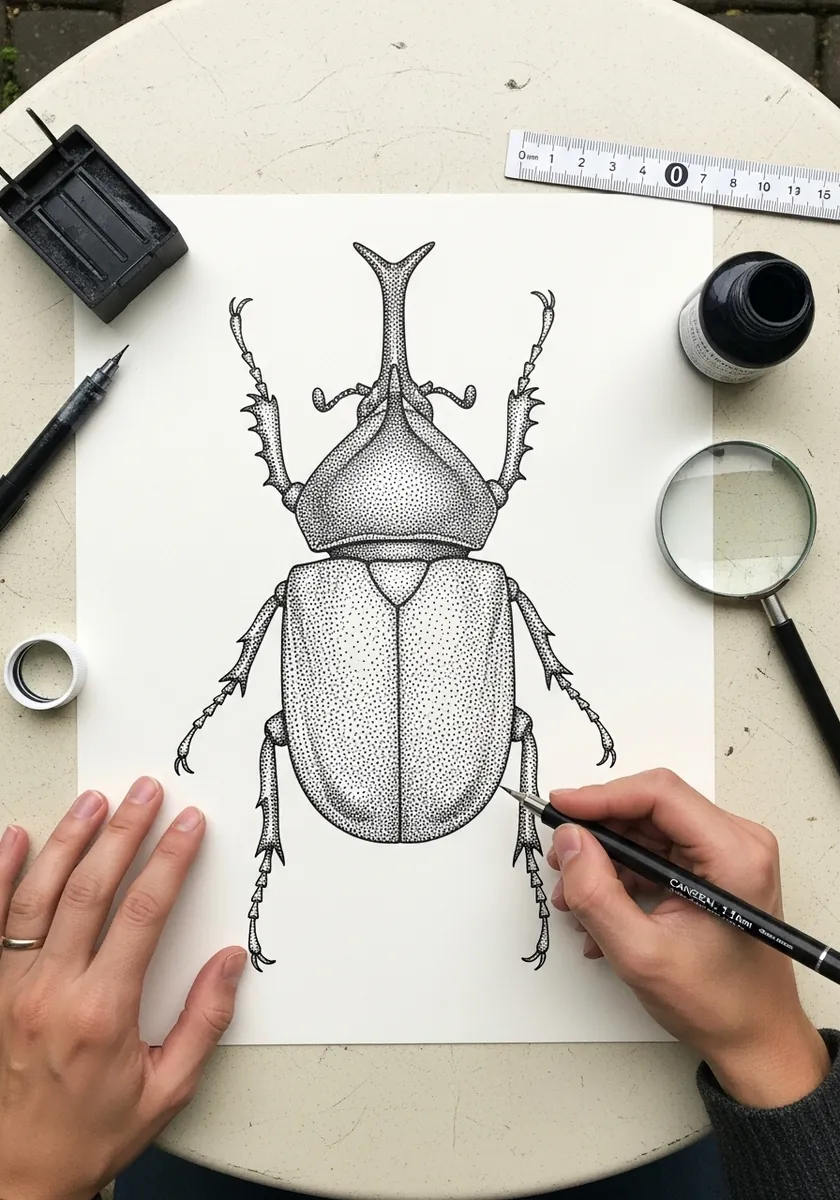
Those enormous jaws are modified mandibles and they are surprisingly hard to place. Set them well forward of the eyes, angle them slightly upward, and make the left and right deliberately not identical, because in real specimens they rarely are. Add a few fine scratches across the shell, since large beetles are almost never in perfect condition.
20. Pastel Moth on Black Paper
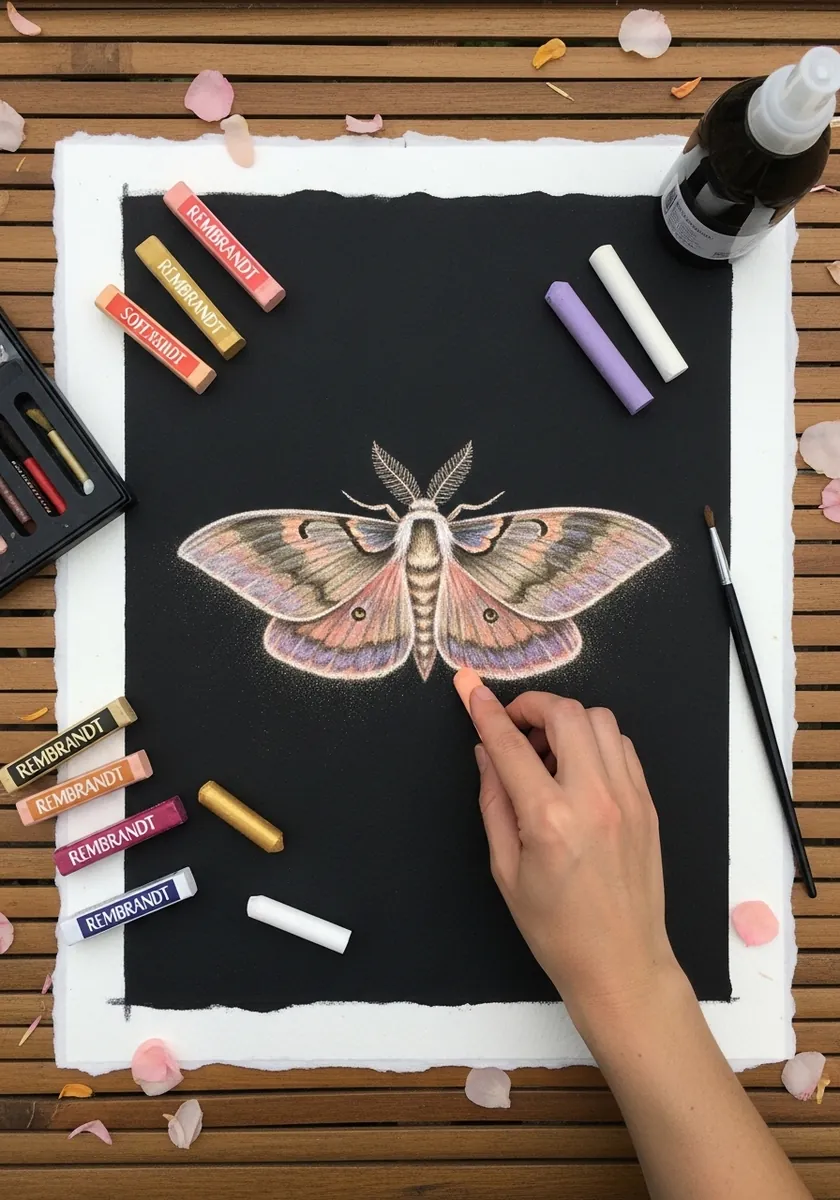
Pastel on a black ground wants very few marks and a lot of restraint. Lay the wing color in one pass, blend the outer edge outward into the black rather than stopping it with a hard line, and add the body last as the darkest warm accent on the page.
21. Sumi-e Grasshopper
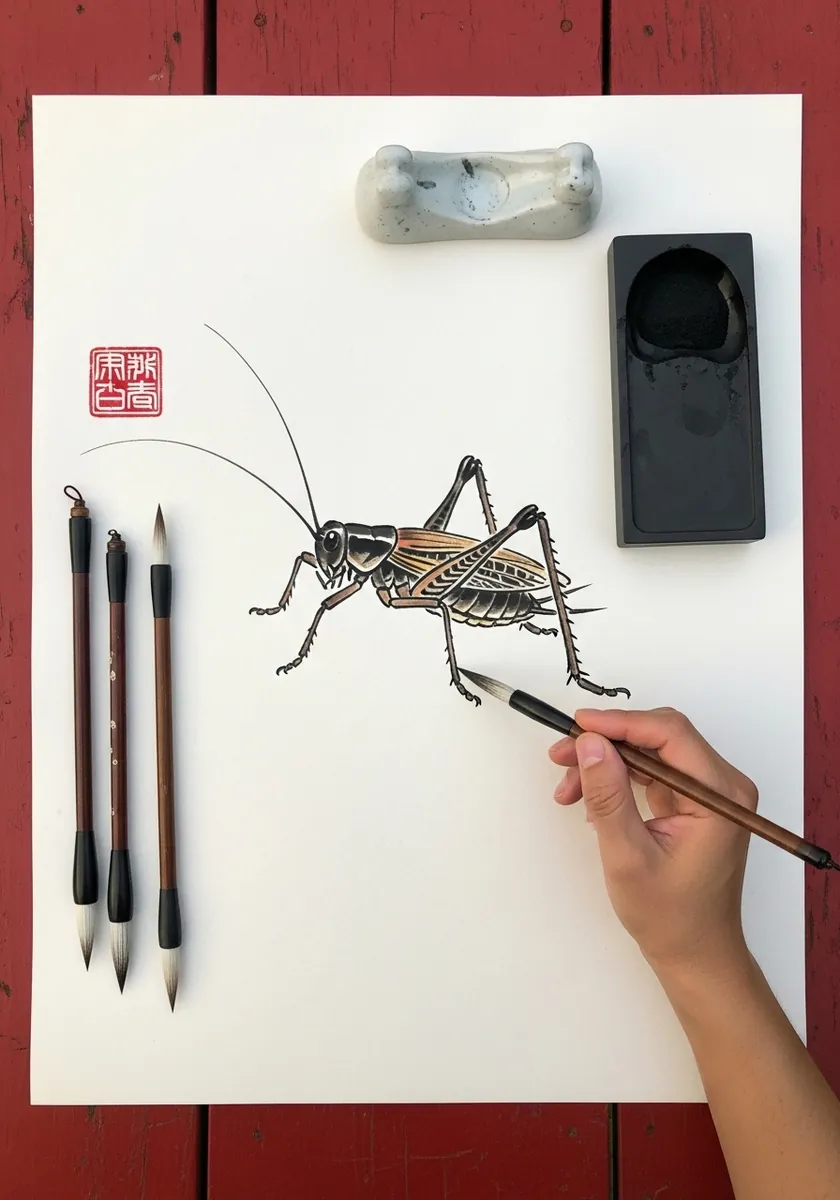
Brush work suits a grasshopper because the body is already a few clean shapes. Load once for the thorax and abdomen, let the brush dry out for the legs and antennae, and place the red seal small in the lower corner.
22. Colored Pencil Centipede
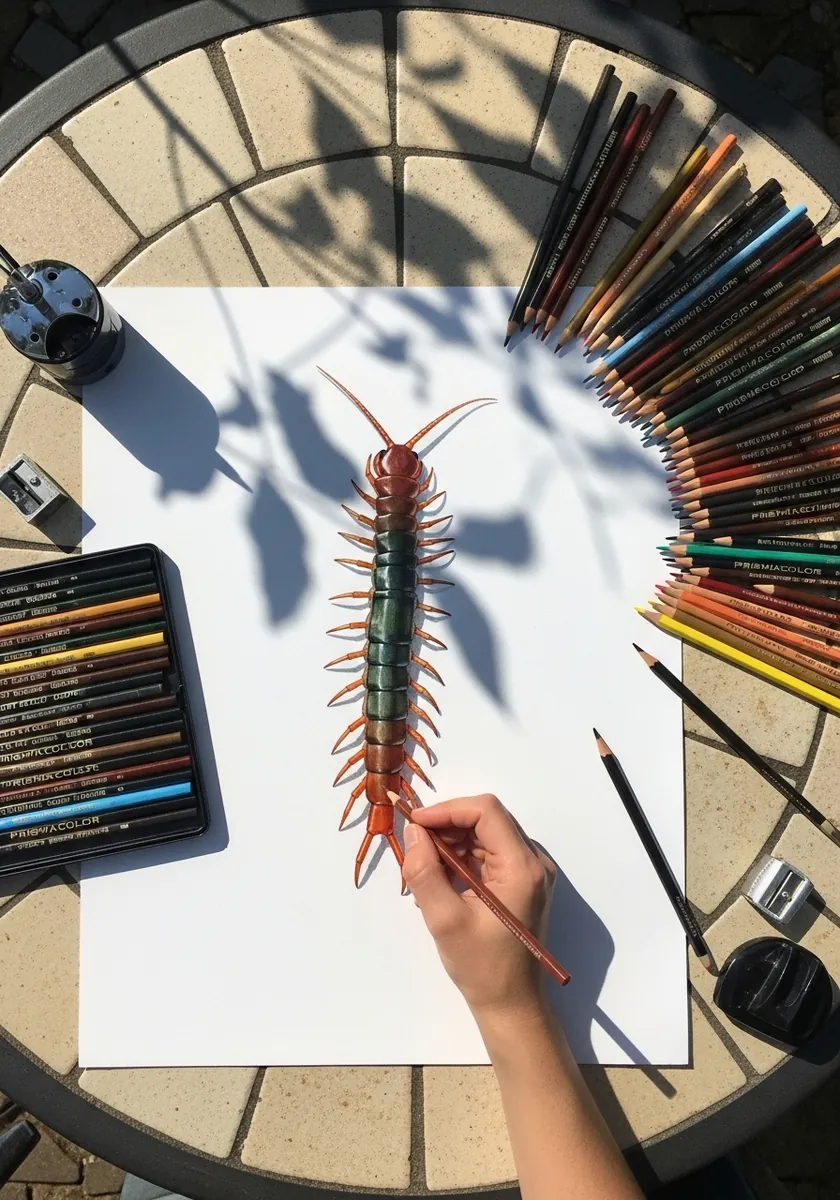
A centipede carries one pair of legs per body segment, and counting genuinely matters here. Draw the segments first as a repeating chain, then attach exactly two legs to each one, angled backward in a consistent rhythm so the whole body appears to flow across the page.
23. Splashy Yellow Hoverfly
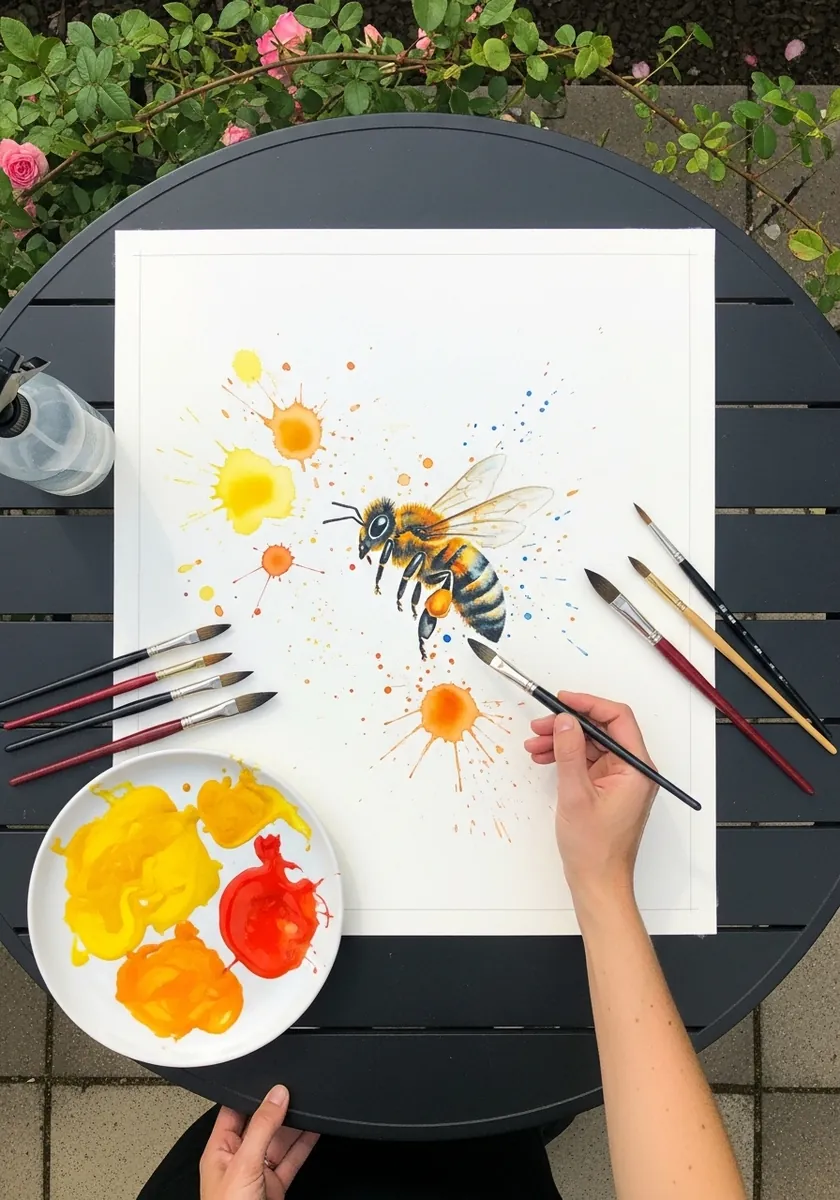
Hoverflies mimic wasps but give themselves away with two wings instead of four. Paint just the single pair, keep the eyes very large and meeting at the top of the head, and let the splashes suggest the hovering rather than drawing motion lines. Two wings rather than four is the reliable tell for anything in the fly family.
24. Teal Weevil in Gouache
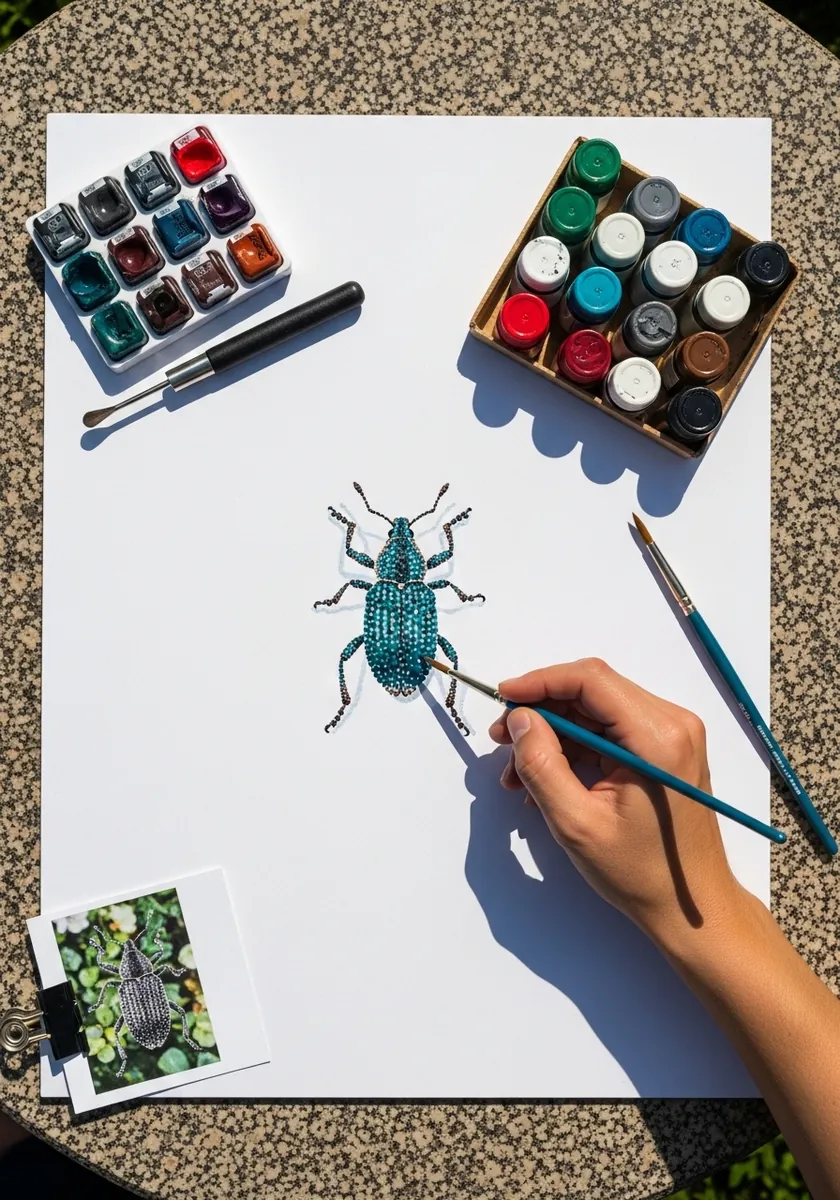
A weevil is defined by its snout, so exaggerate it slightly rather than hiding it. Draw the head extending into a long curved rostrum with the antennae emerging partway along it, not at the base, which is what makes the group instantly recognizable.
25. Detailed Woodlouse Study
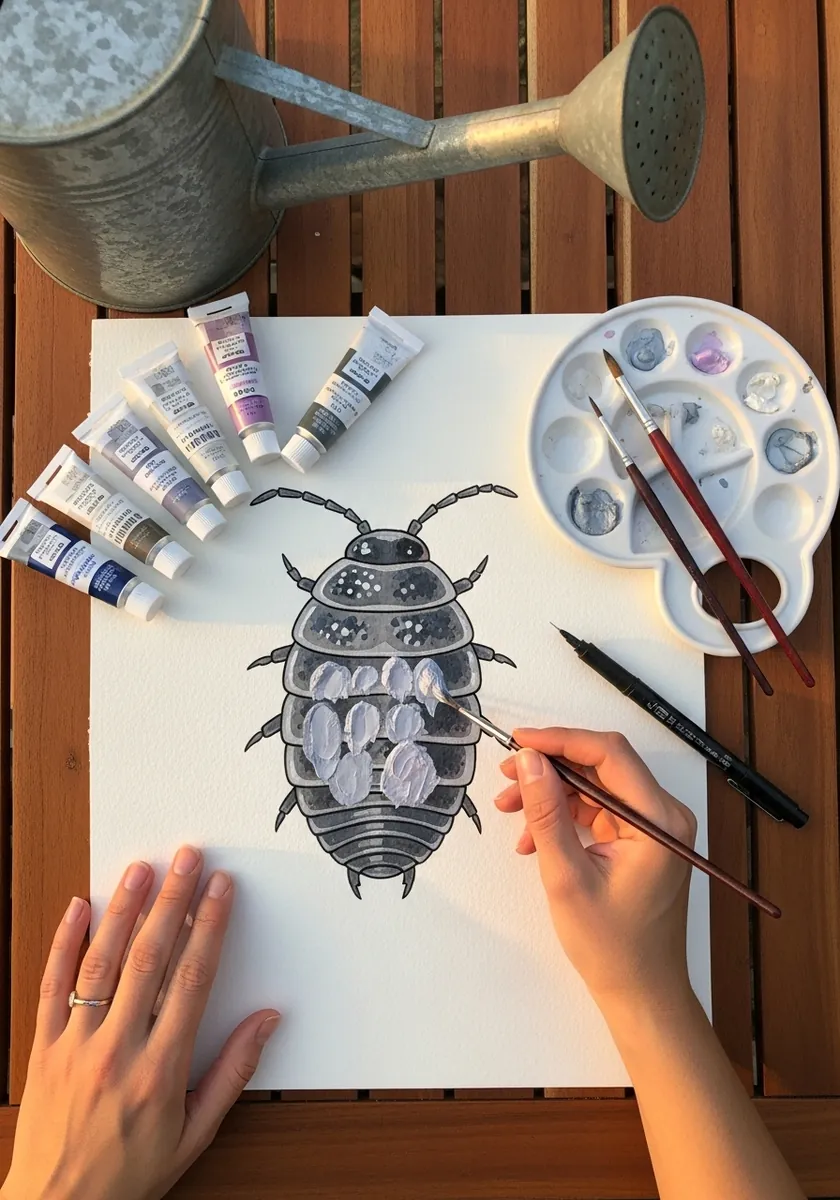
Overlapping armored plates are always drawn from the tail forward. Start with the rearmost segment, tuck each following plate underneath the one ahead of it, and curve every plate line around the body so the creature reads as genuinely domed rather than flat on the paper.
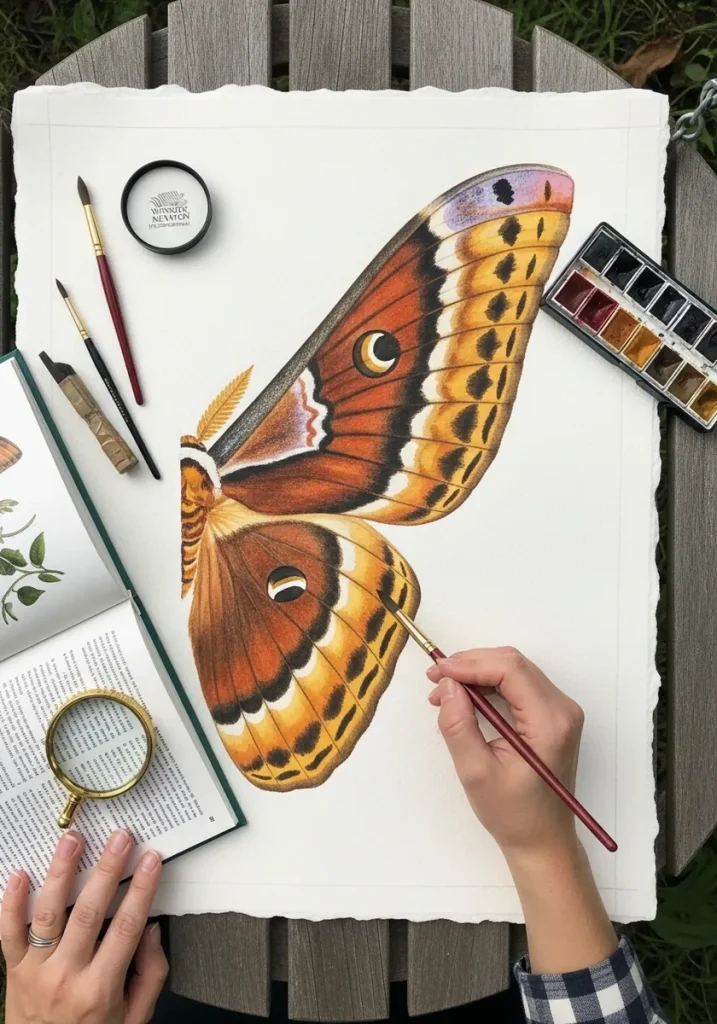
26. Large Watercolor Moth
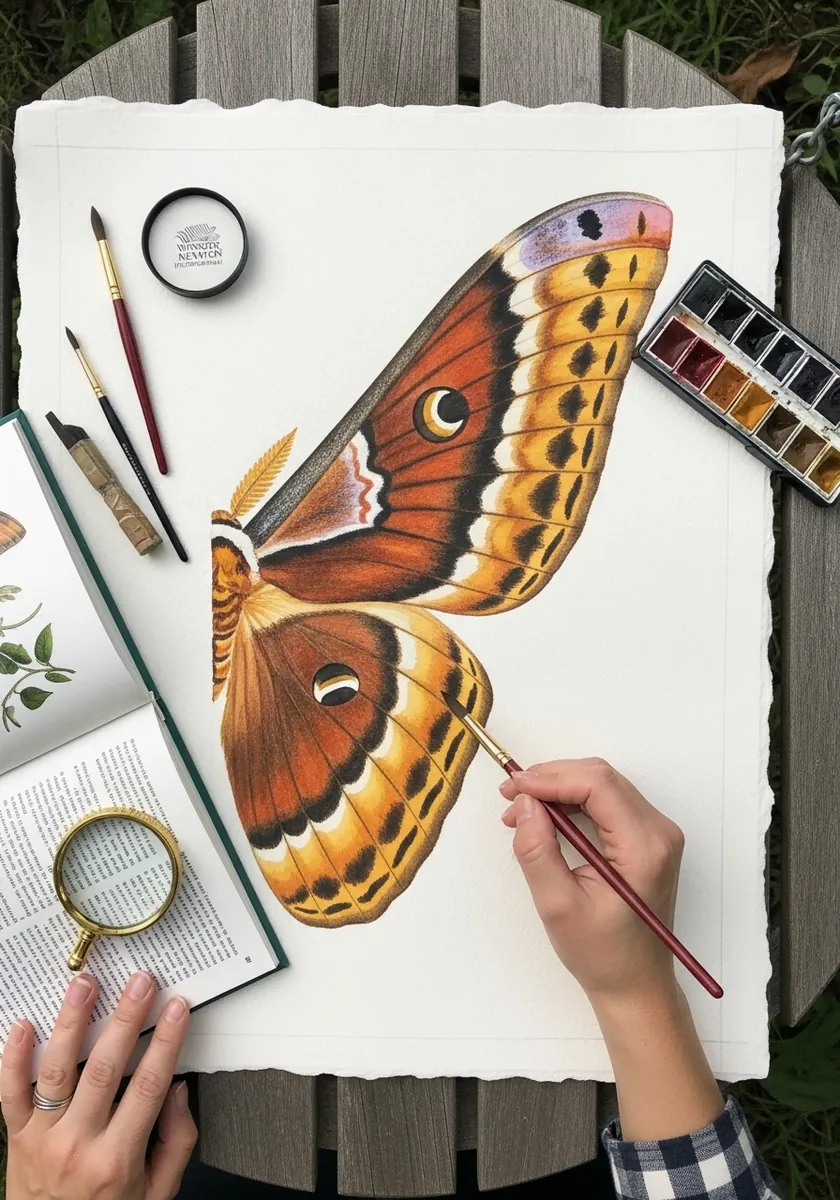
Working large means the wing pattern stops being detail and becomes the actual subject. Lay a wet-into-wet base for the ground color and let it dry completely before placing the eyespots and bands as separate glazes, because pattern painted into wet color loses every edge you need.
27. Zentangle Stick Insect
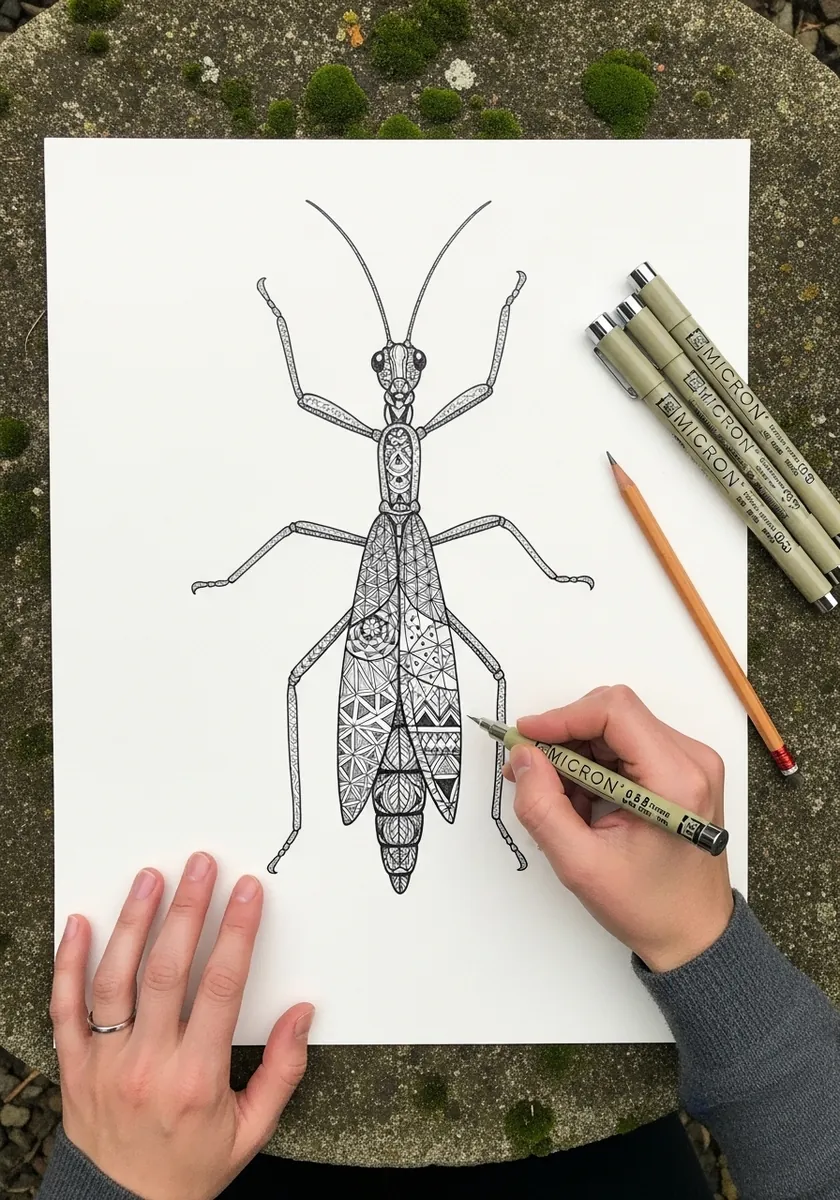
Filling a very long thin subject with pattern needs internal divisions or it turns into a stripe. Break the body into segments along the real anatomy and give each one its own pattern, keeping the legs completely clean by contrast.
28. Beetle Specimen Row
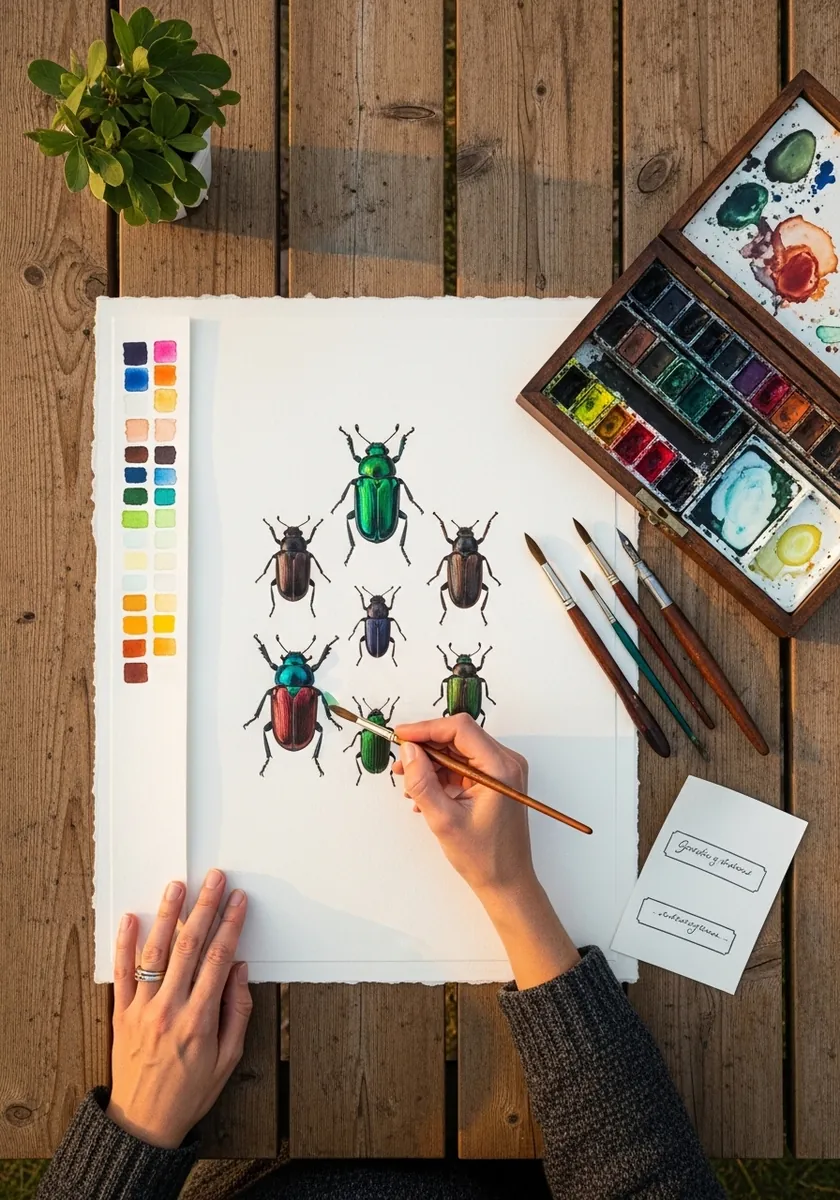
A specimen row lives on alignment and consistent scale rather than on individual detail. Rule a faint baseline, sit every beetle on it facing the same direction, and keep the spacing between them identical, varying only the color and the shell shape from one to the next.
29. Glowing Insect on Dark Ground
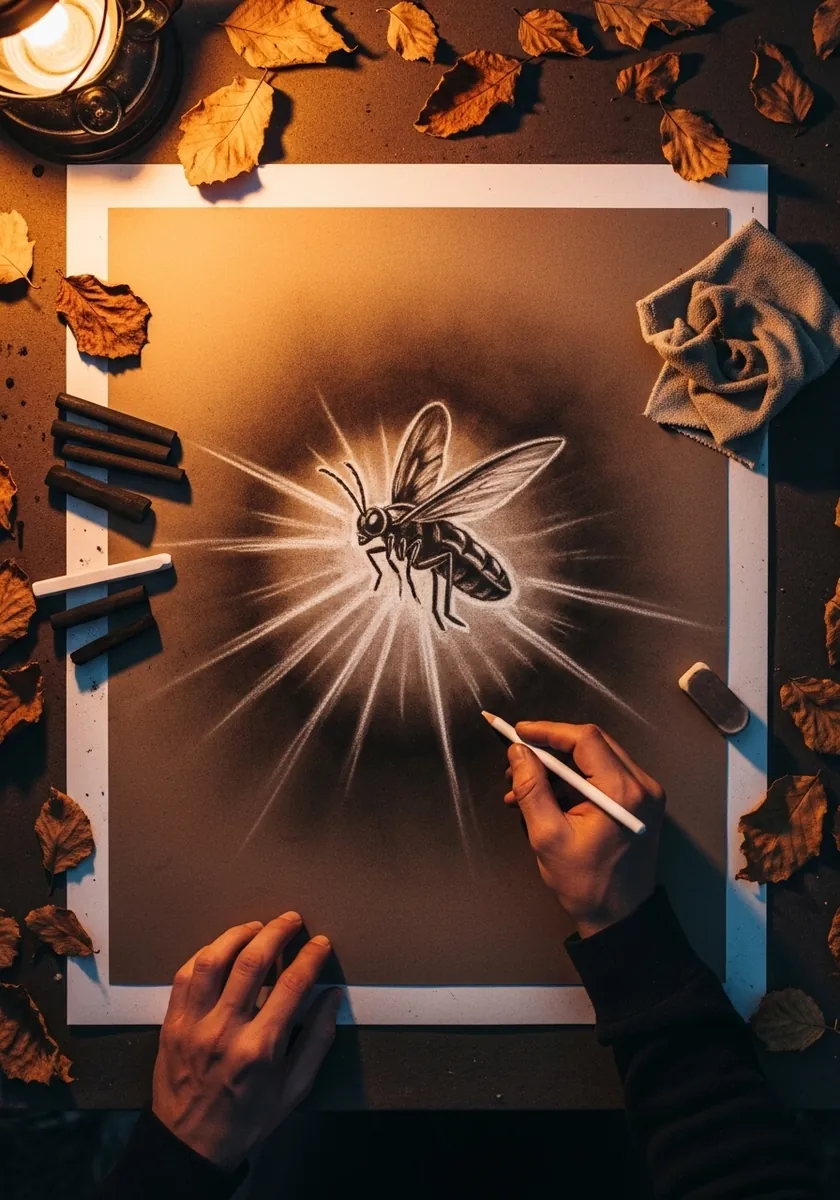
Radiating light lines should begin away from the subject rather than touching it. Leave a small clear halo around the body, start the rays just outside that gap, and vary their length considerably so the burst looks alive instead of mechanically even.
30. Purple Watercolor Snails
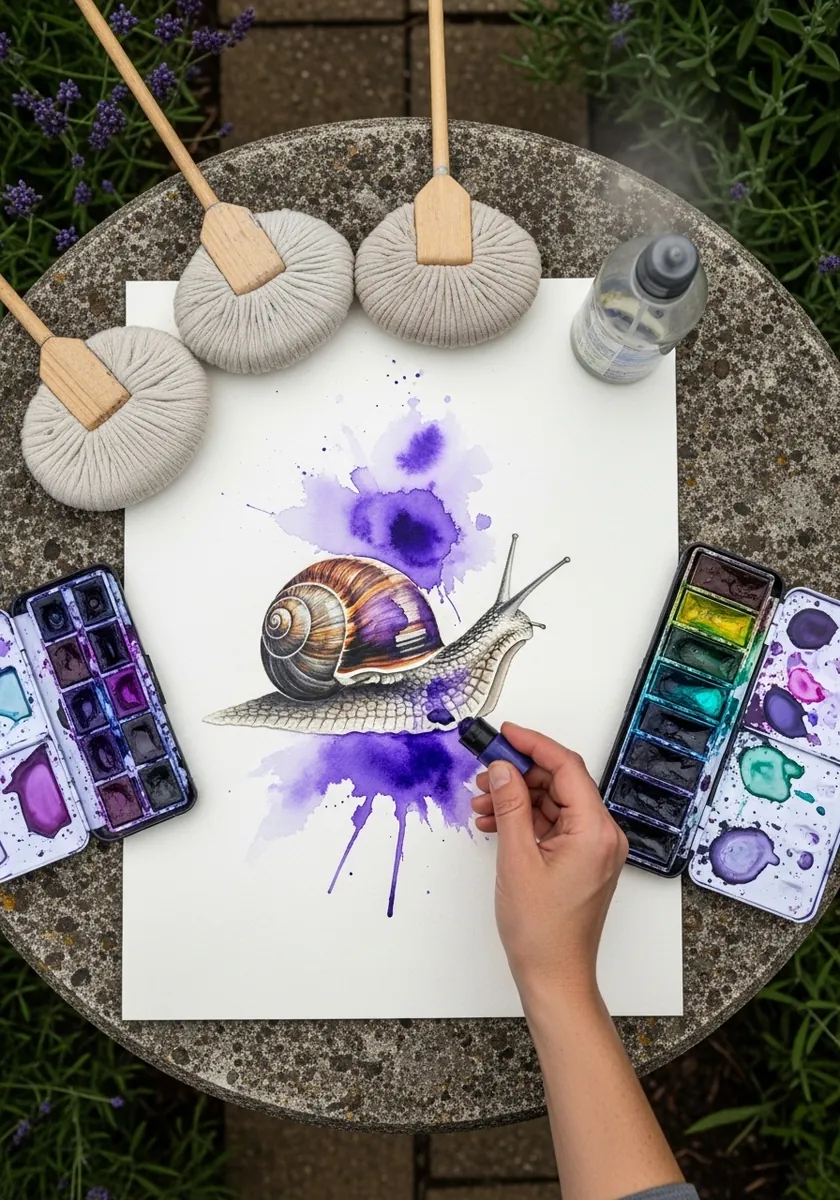
Snail shells coil in a definite direction, and most common garden species turn clockwise when viewed from above. Pick one direction and stay consistent across both animals, and let the violet blooms sit behind the shells rather than washing over them.
31. Metallic Stag Beetle
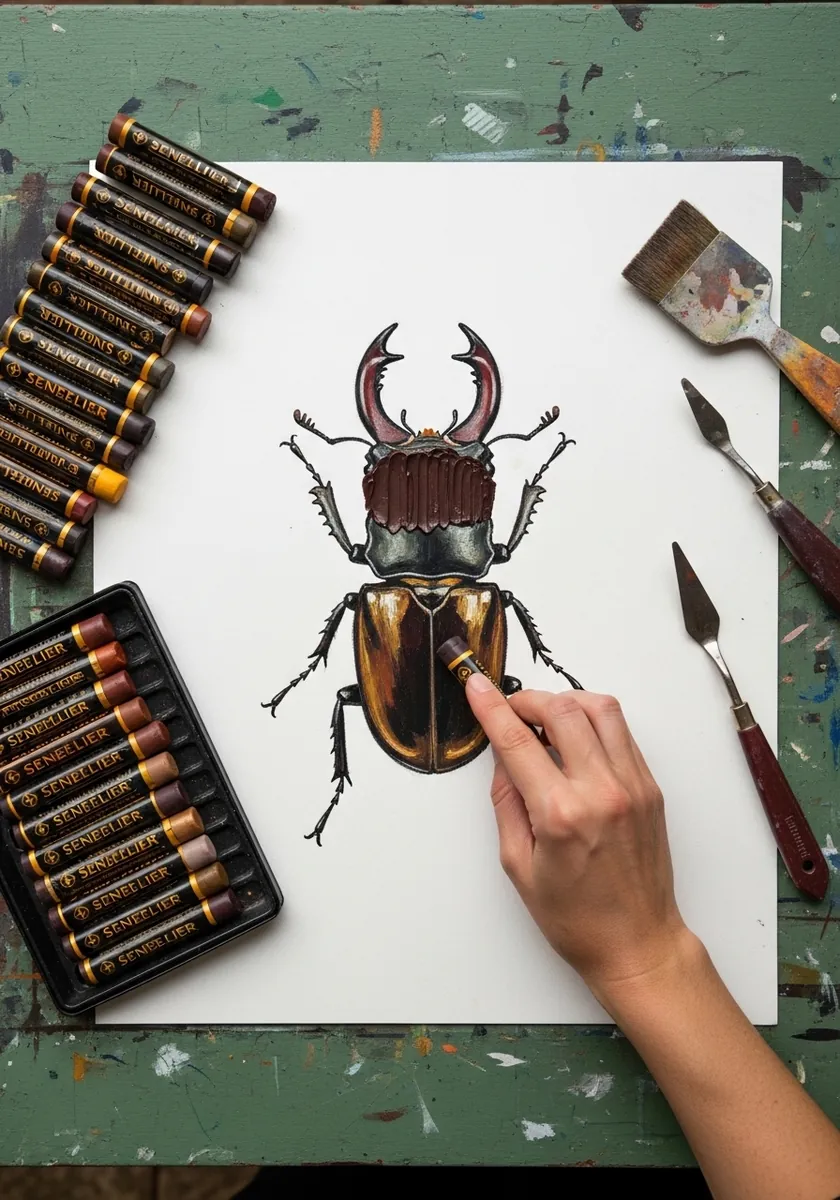
Burnishing is what turns colored pencil into metal. Build the dark base in several light layers, then press hard with a colorless blender or a pale pencil over the highlight areas until the paper tooth disappears completely and the surface goes glassy. Work under a single strong light so you can see exactly where the real highlight falls.
Frequently Asked Questions
Where do insect legs attach?
To the thorax, the middle of the three body sections. All six legs and every wing come from that segment, and nothing at all attaches to the abdomen. Legs drawn coming out of the abdomen is the single most common mistake in insect illustration.
How many body parts does an insect have?
Three: head, thorax and abdomen. That is what separates insects from spiders, which have two body sections and eight legs, and from centipedes and woodlice, which are not insects either. Several of the creatures on this page are technically not insects, and knowing which is which changes how you draw them.
How do I tell a butterfly from a moth in a drawing?
By the antennae first. Butterflies have thin antennae with a small club at the tip, while moths have feathery or simply tapered ones. Butterflies also tend to rest with the wings held closed above the back, and moths with them flat or folded like a roof.
Why do my beetles look wrong?
Usually because the wing cases are drawn as one shape. A beetle’s hardened forewings, called elytra, are two separate covers that meet in a straight seam down the center of the back. Drawing that seam instantly makes the whole insect read as a beetle.
Do spiders count as insects?
No. Spiders are arachnids, with eight legs and two body sections rather than six legs and three. If you draw a spider with a separate head, thorax and abdomen you have drawn something that does not exist, so keep the front two sections fused.
References and Further Reading