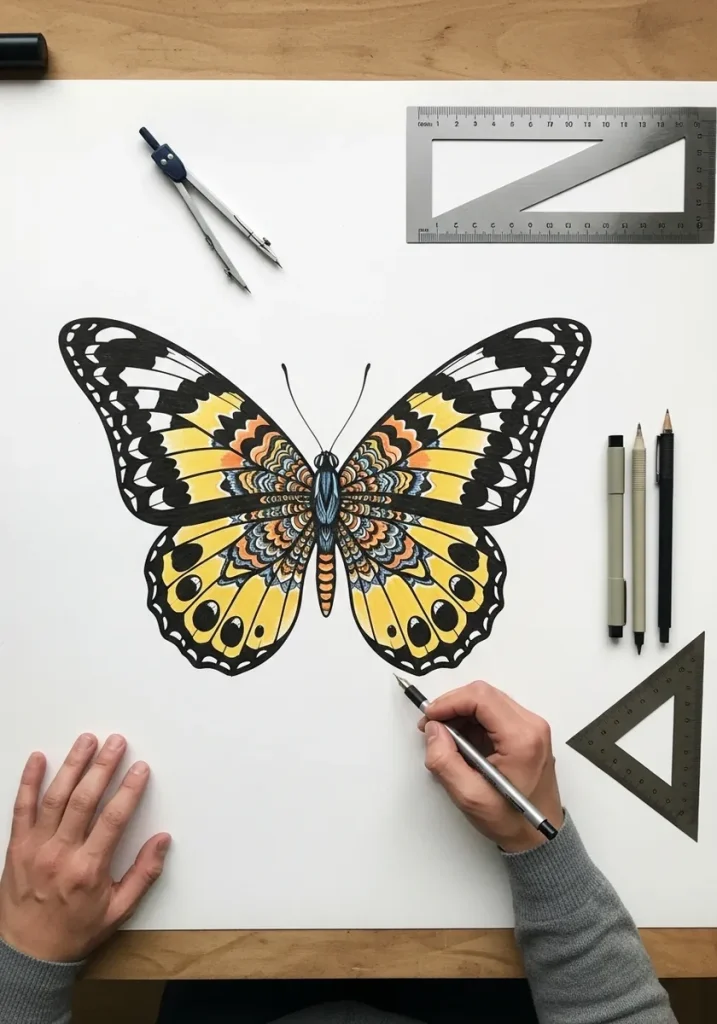
Butterfly wing patterns are built on the wing's vein structure. Veins radiate from the wing base and divide each wing into cells, and almost every band, spot and eyespot sits inside one of those cells. Draw the veins first and the pattern places itself.
Key takeaways
- Butterflies have four wings: two forewings and two hindwings, which overlap where they meet the body.
- Veins radiate from the wing base and divide the wing into cells that contain the pattern.
- Left and right wings are mirror images, so draw one side fully and mirror it rather than guessing.
- Wings are covered in overlapping scales, which is why colors sit flat with no glossy highlights.
- Morpho blue is structural color from scale geometry, not pigment, so it shifts with viewing angle.
A butterfly wing is not a blank canvas with a pattern painted on it. Veins radiate out from the wing base and divide each wing into cells, and almost every band, spot and eyespot in nature sits inside one of those cells rather than crossing between them. Rule the veins first and the pattern positions itself.
Two more facts fix most beginner drawings. A butterfly has four wings, not two, forewings and hindwings overlapping slightly at the body. And the left and right sides are exact mirror images, so it is far better to finish one wing properly and trace the mirror than to draw the second side freehand.
The thirty studies below cover monarch, blue morpho, swallowtail, peacock, luna moth and atlas moth, in media from stippled ink and colored pencil to oil pastel, gold line on black and Madhubani pattern work. If you want more insect practice, butterfly drawing ideas and these bee and honeycomb studies use the same close-observation approach.
Several pieces here pair the insect with flowers or foliage, so flower drawing ideas and botanical leaf tracing are the closest companions, while the symmetrical decorative wings borrow directly from mandala construction.
Compiled by the GS Art Zone editorial team. Last updated August 2026. Each idea is paired with the specific step that produces the effect, so you can go from the reference straight to paper.
What You Need Before You Start
- A ruler or a folded sheet to check symmetry, since mirrored wings are the hardest part to eyeball
- Fine liners in 0.1 and 0.3 for vein lines and the fine scale texture along wing edges
- Watercolor or alcohol markers, both of which give the flat matte color that scales actually have
- White gouache or a white gel pen for the pale spot rows that run along most wing borders
- Black or kraft paper plus gold and white pens for the reversed studies later in the list
1. Monarch Wing with Dripping Orange
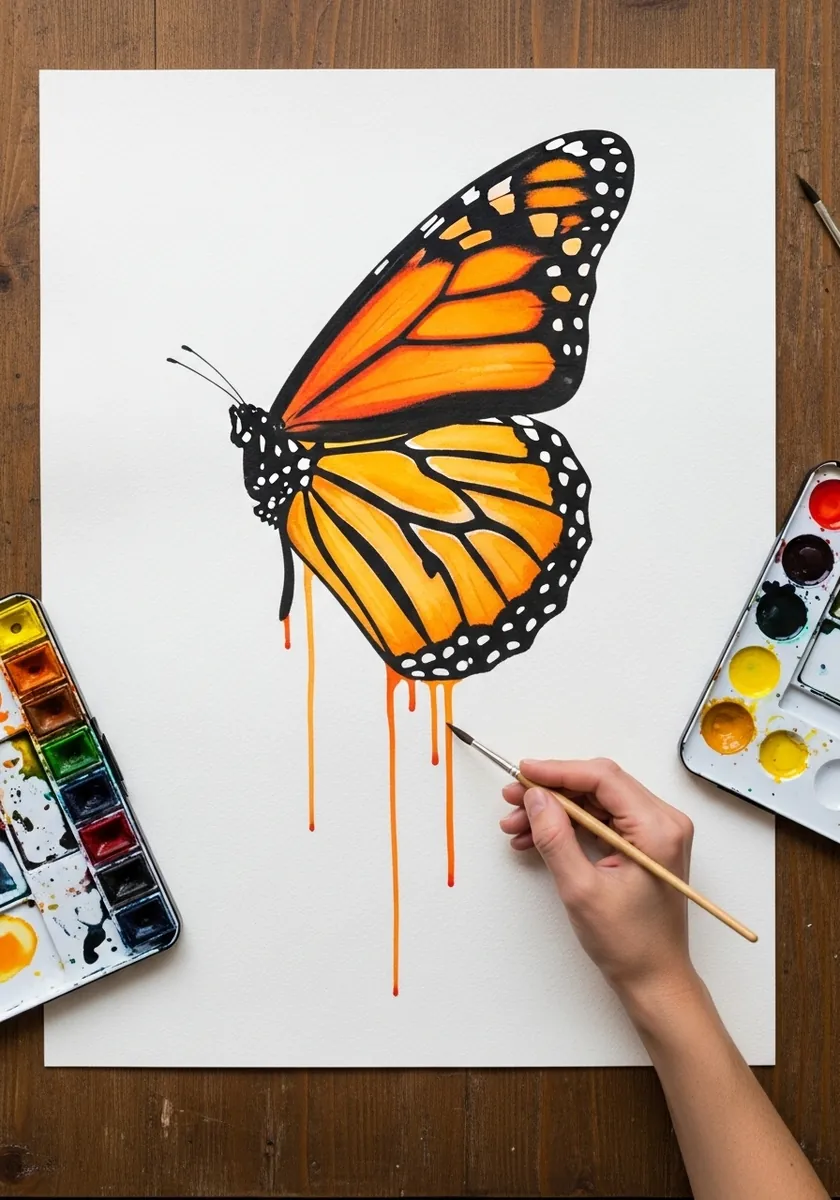
The monarch is the best first subject because its veins are visible as thick black lines, so the structure is handed to you. Paint the orange cells first and let them dry hard, then ink the veins between them. The white spots go along the black border last.
2. Blue Morpho in Fine Stipple
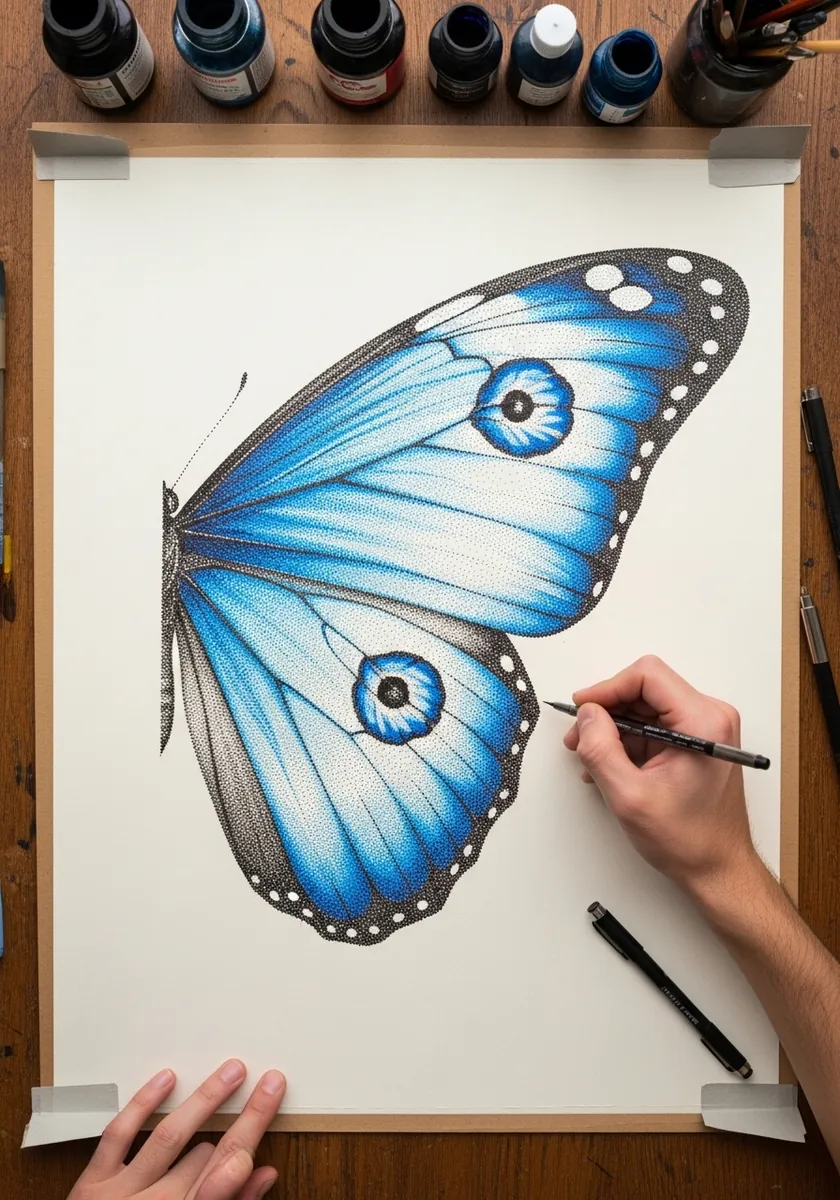
Morpho blue is structural, produced by microscopic ridges scattering light rather than by any pigment. Stippling suits it oddly well, since building tone from separated dots mimics that scattering. Keep the dots densest at the wing base and let them thin toward the outer edge.
3. Violet Wash Butterfly with Soft Edges
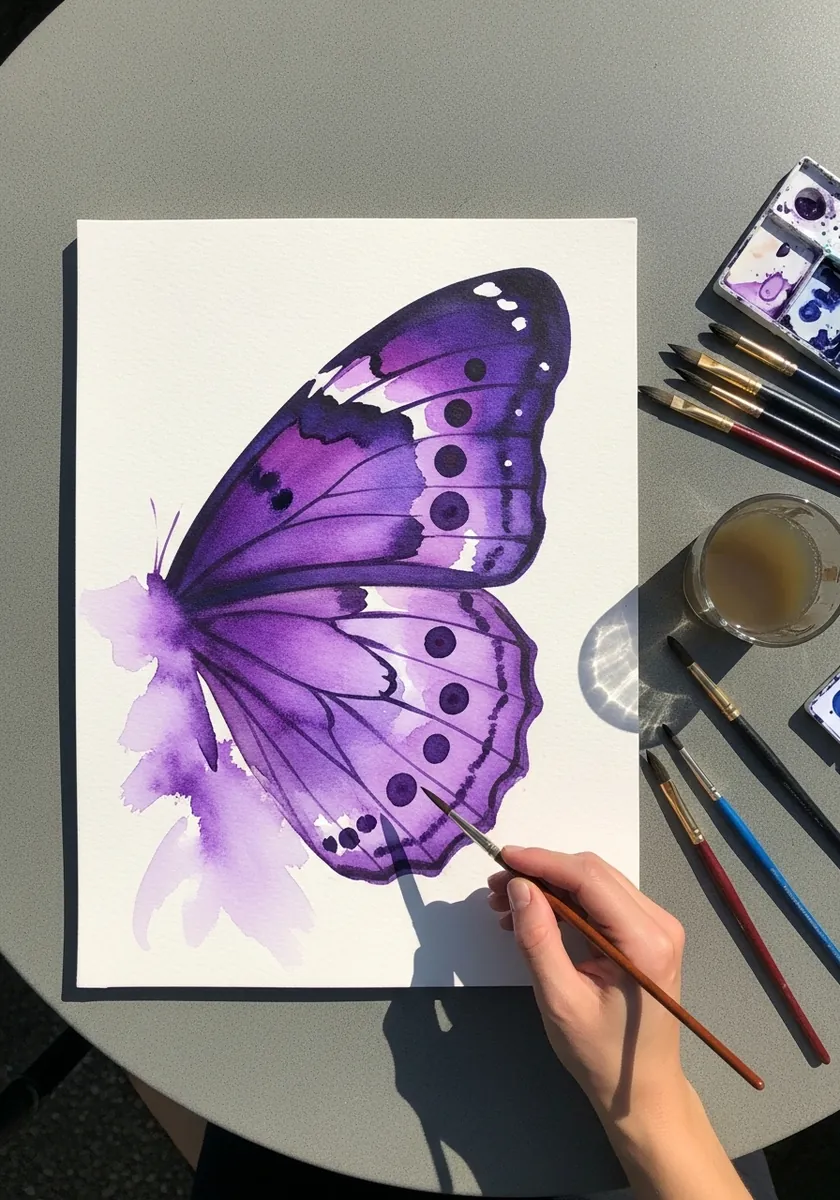
Wet on wet is unpredictable, so give it something to be unpredictable inside. Draw the wing outline lightly in pencil, wet only that shape, then drop violet in and let it find its own edges. The dark spots go on once the surface has lost its shine but is not dry.
4. Rainbow Gradient Wings in Colored Pencil
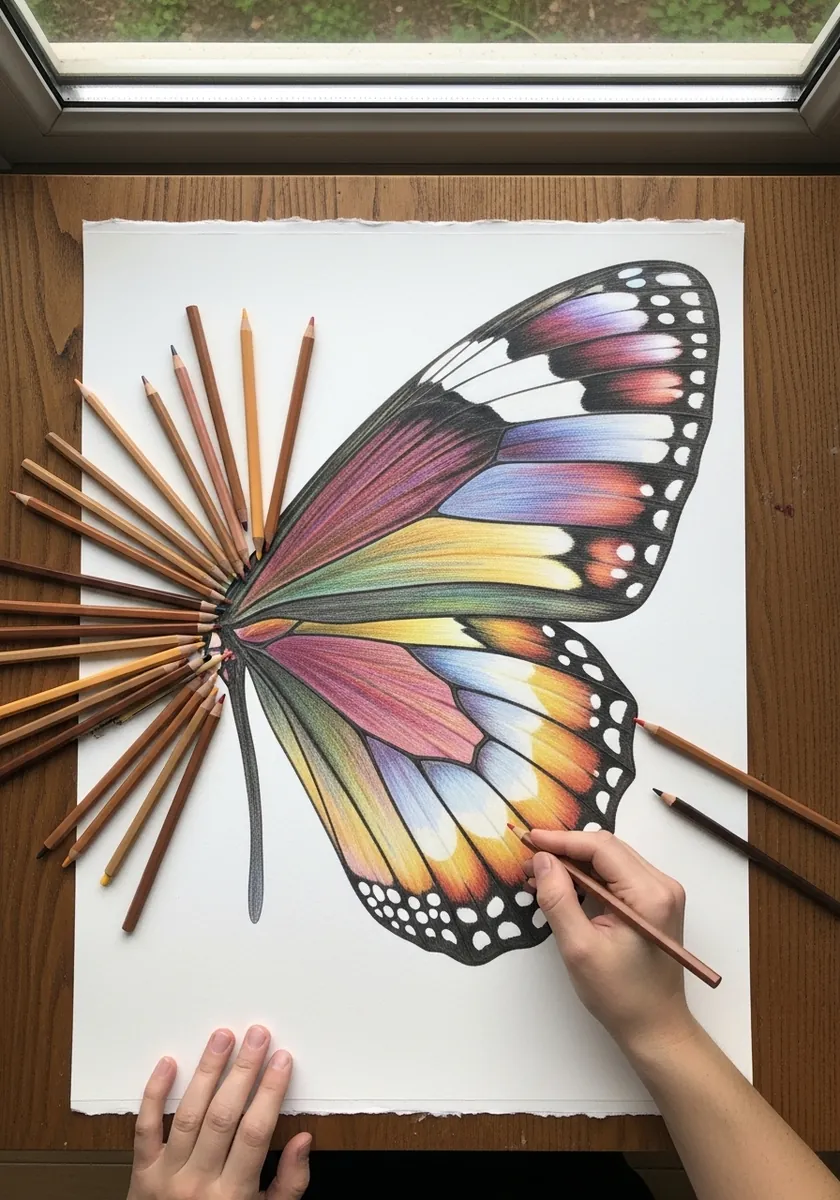
A gradient across a wing works when it follows the cells rather than ignoring them. Shift the hue slightly in each cell as you move outward, so the change reads as stepped rather than smeared. Layer four or five light passes and burnish only at the very end.
5. Swallowtail in Bold Black and Cream
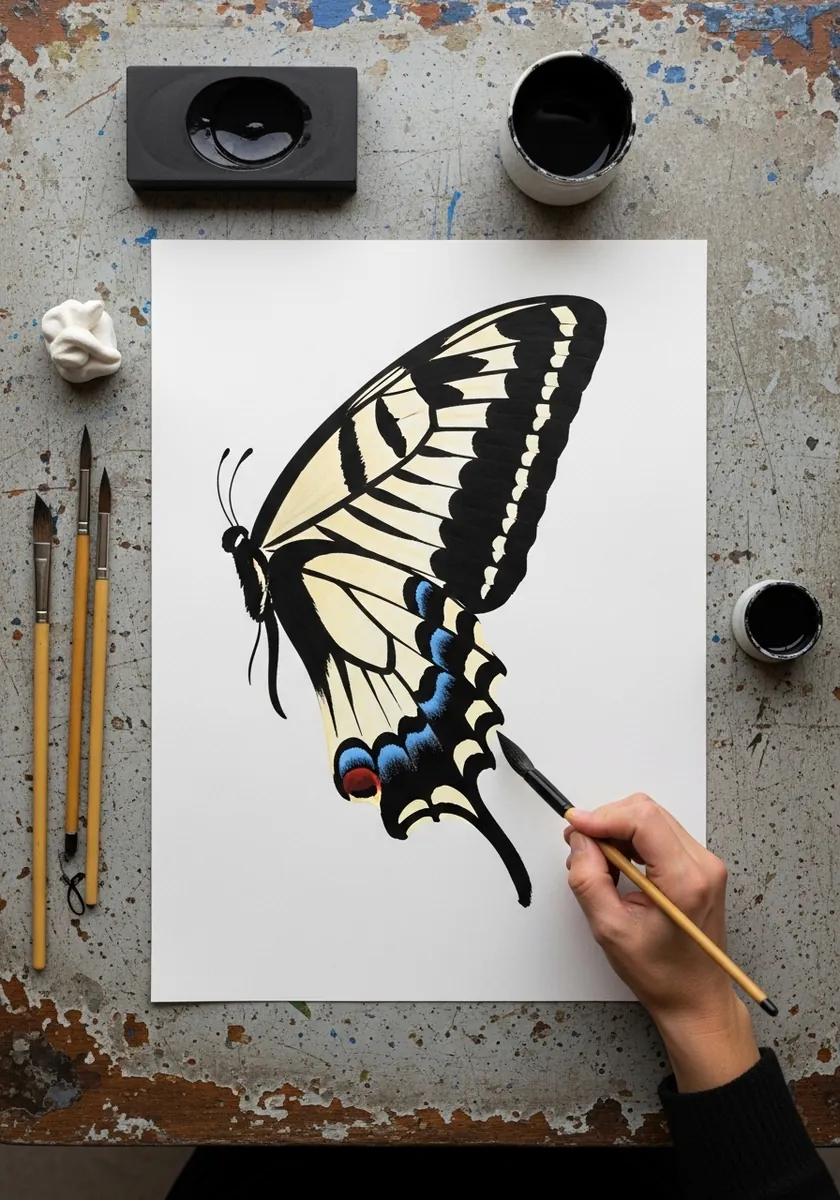
Swallowtails are named for the tails extending from their hindwings, and getting that shape right matters more than any detail. Draw the tail as a continuation of a vein rather than an attachment. The small blue and red spots sit in the cells nearest the body.
6. Zentangle Butterfly in Dense Pattern
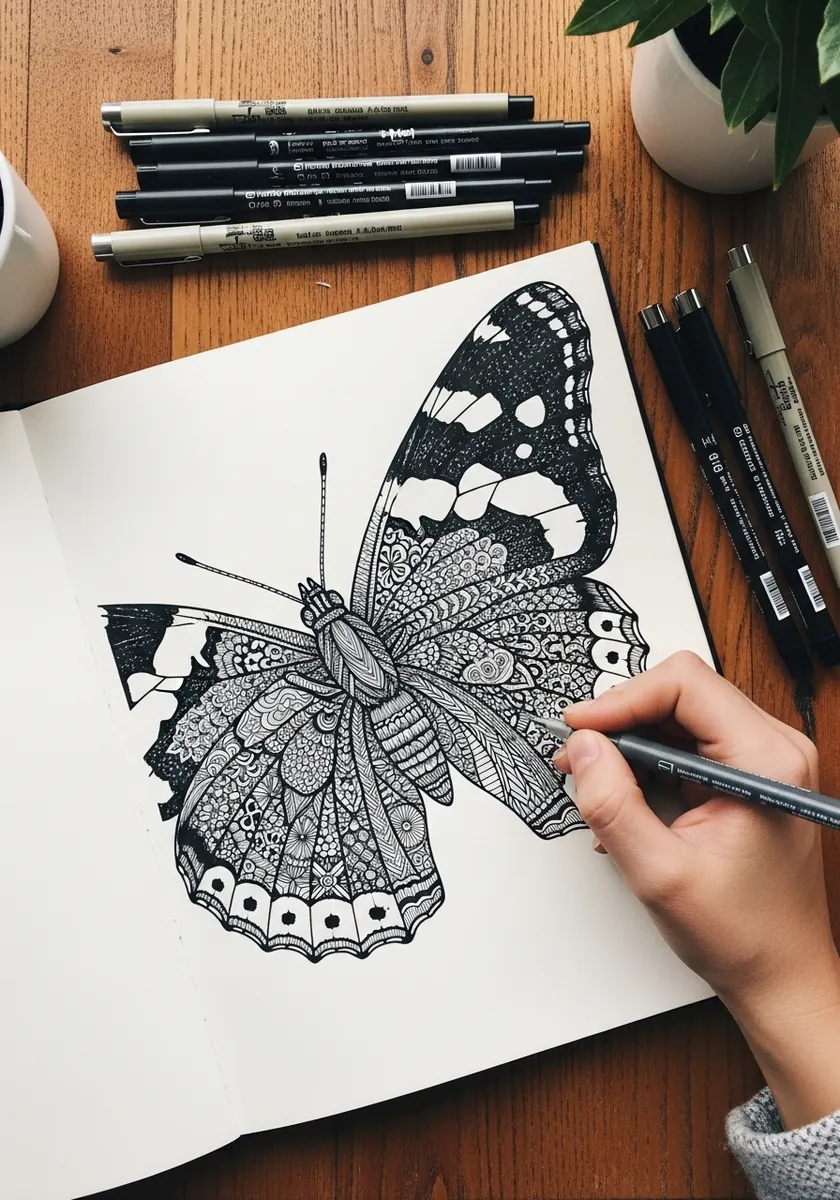
Pattern inside a fixed boundary is the whole exercise here. Ink the wing outline and veins firmly first, treat every cell as a separate container, and fill each with a different repeating motif. Keeping one line weight throughout is what stops it turning into visual noise.
7. Brown Buckeye with Eyespots
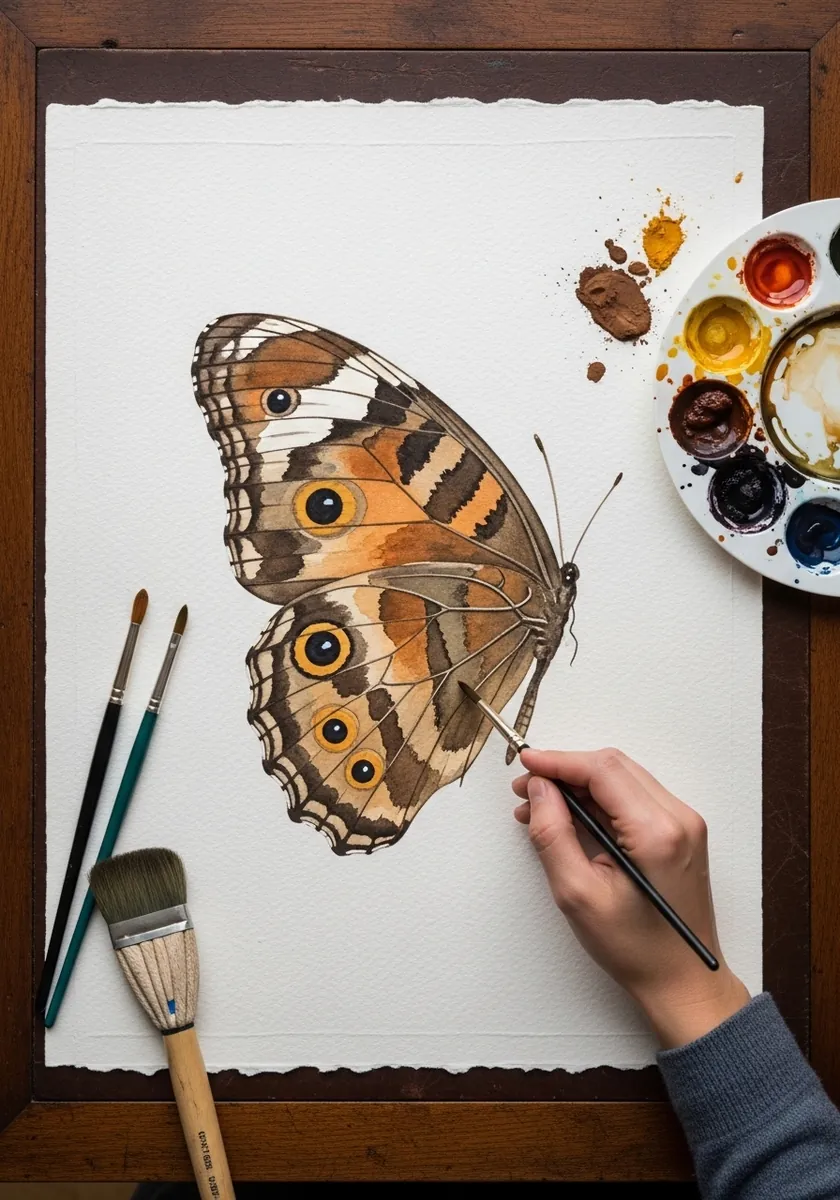
Eyespots are thought to deter predators by drawing attacks toward the wing edge. Build each one from the outside in: a dark ring, a lighter ring inside it, then the dark pupil, and finally one tiny white highlight slightly off center.
8. Painted Lady in Thick Acrylic
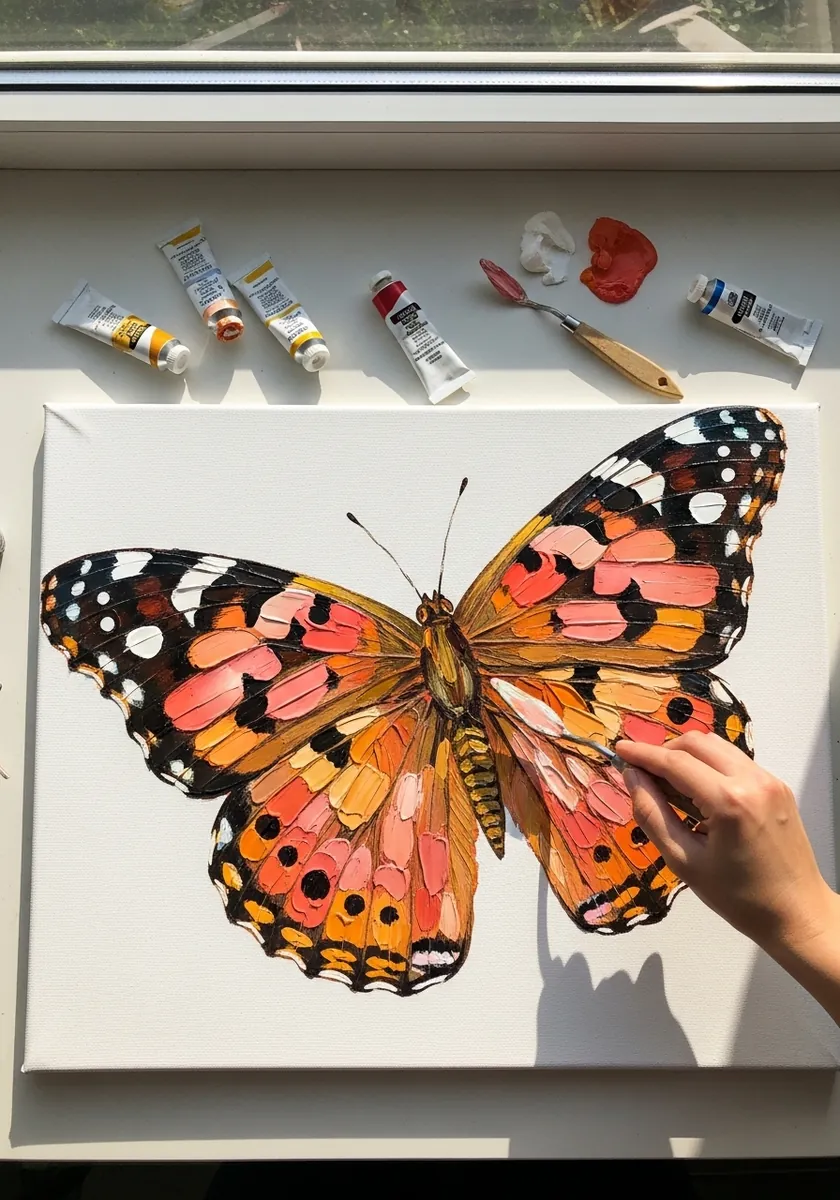
Impasto forces simplification, which is useful. Load the brush and lay each wing cell as one or two strokes, following the direction of the vein it sits beside. Do not go back into it. The ridges of standing paint suggest scale texture better than fine detail would.
9. Gold Line Butterfly on Black
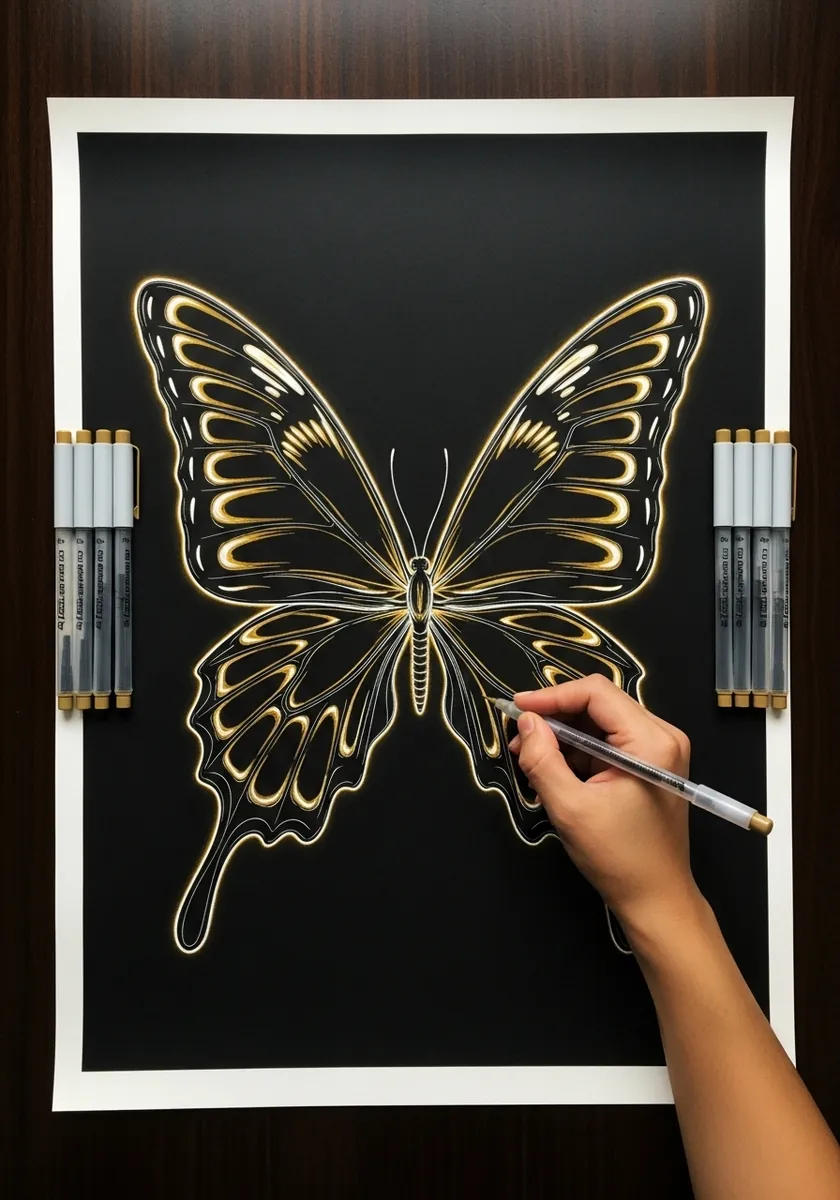
Working in gold on black strips everything back to line. Draw only the veins and the outer contour, nothing else, and let the darkness fill the cells. Because there is nowhere to hide, this is the best symmetry test in the entire list.
10. Oil Pastel Morpho in Blue and Green
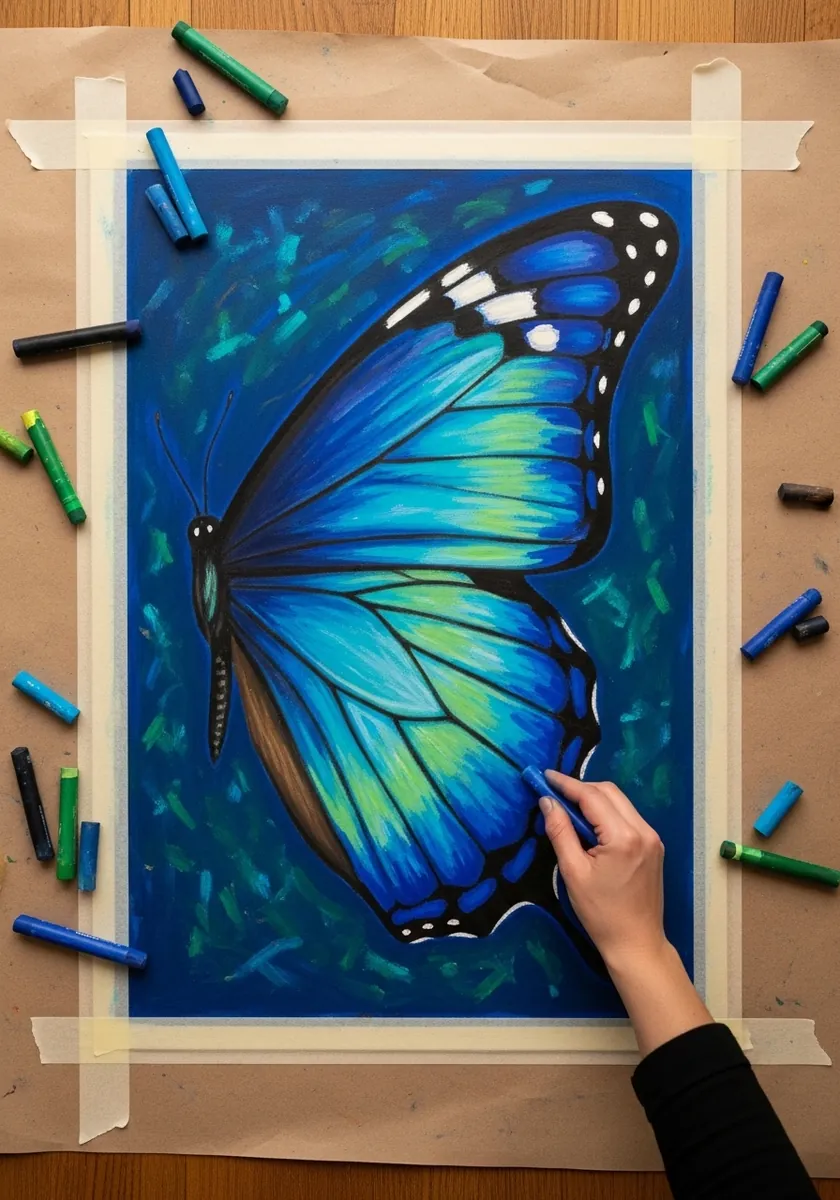
Oil pastel cannot make a fine line, so use that. Block each wing cell in solid color, let the strokes run along the vein direction, and scratch back through the top layer with a blade to reveal the lighter color beneath along the vein lines.
11. Peacock Butterfly in Colored Stipple
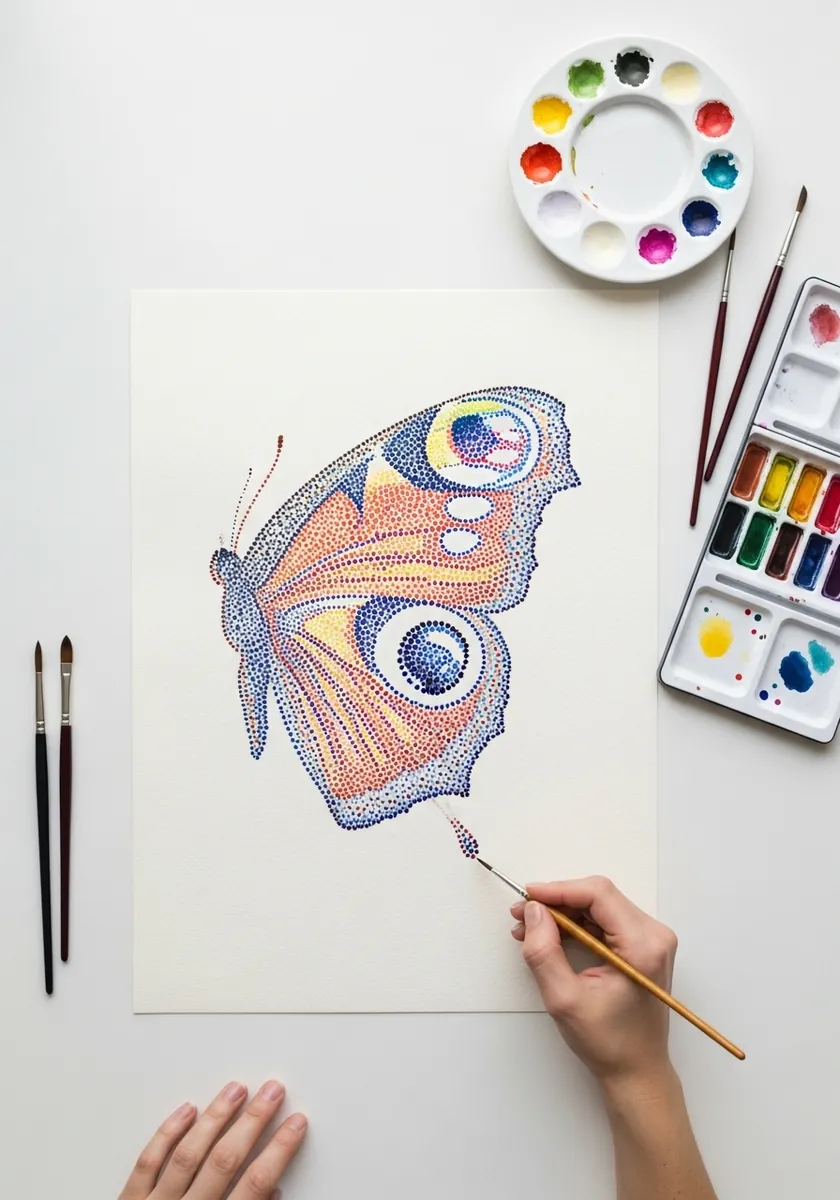
Stippling in color is slow but the result is worth it. Work one hue at a time across the whole wing rather than finishing area by area, which keeps the color balanced. Leave the paper completely bare in the palest parts of each eyespot.
12. Graphite Butterfly with Soft Shading
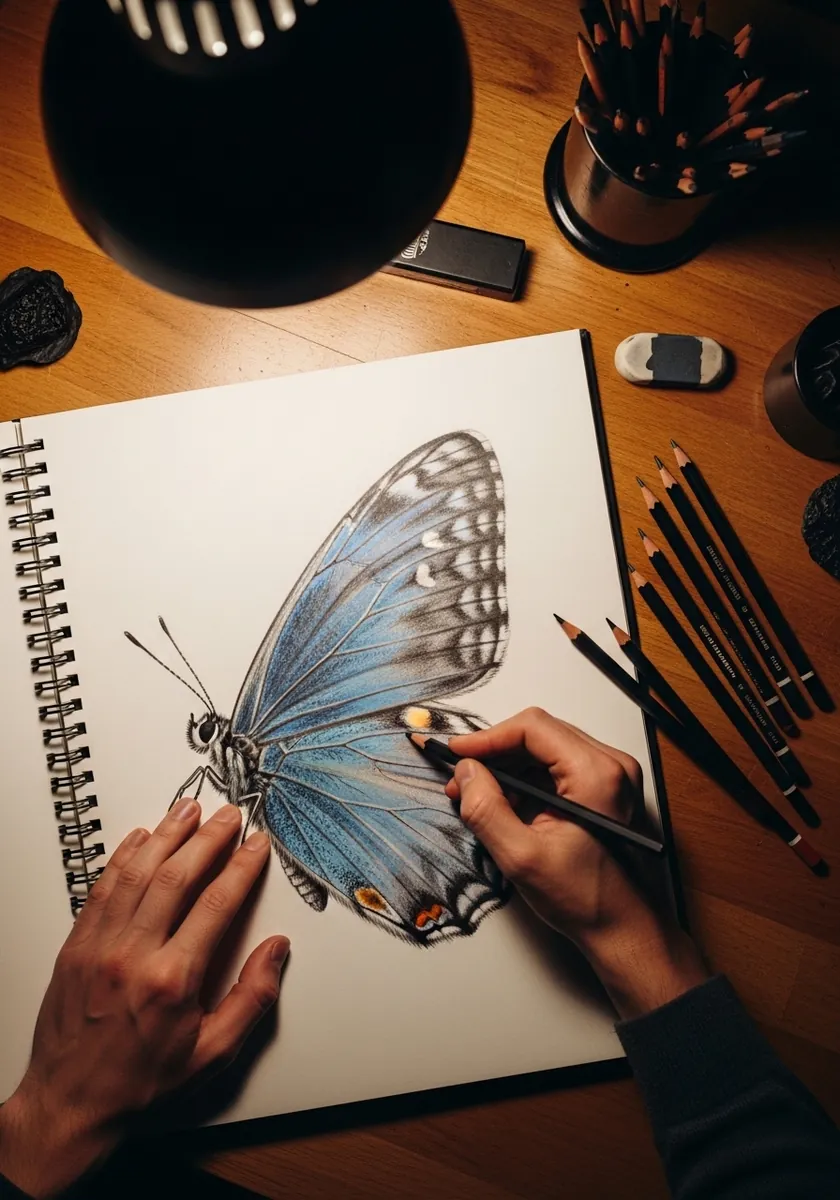
Grayscale first is a genuinely useful discipline. Render the whole insect in graphite so the values are resolved, then add the faintest wash of color over the top. If the drawing works in gray it will work in color, and if it does not, no color will rescue it.
13. Atlas Moth in Deep Red and Orange
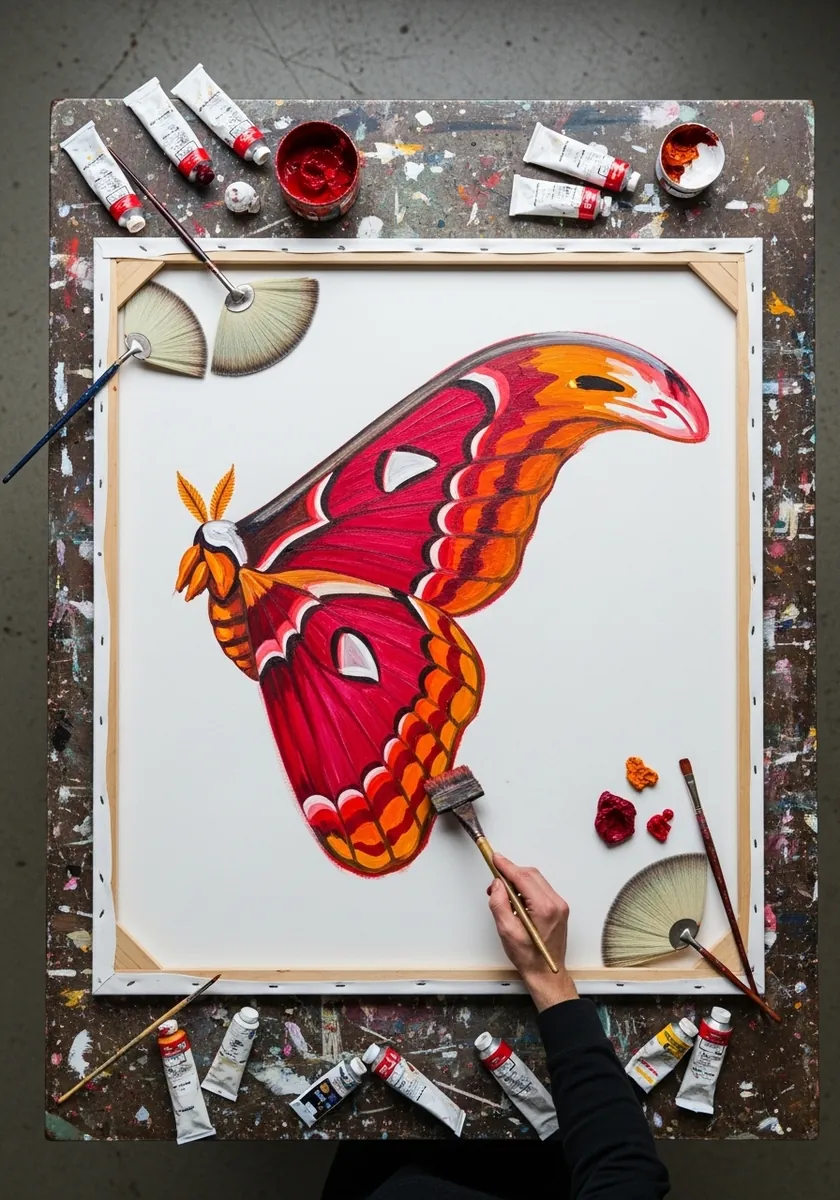
Atlas moths are among the largest moths in the world, and their hooked forewing tips are the identifying feature. Draw those hooks as a sharp angular break in the wing outline. Keep the color flat and let the shape do all the work.
14. Pale Cabbage White Botanical Study
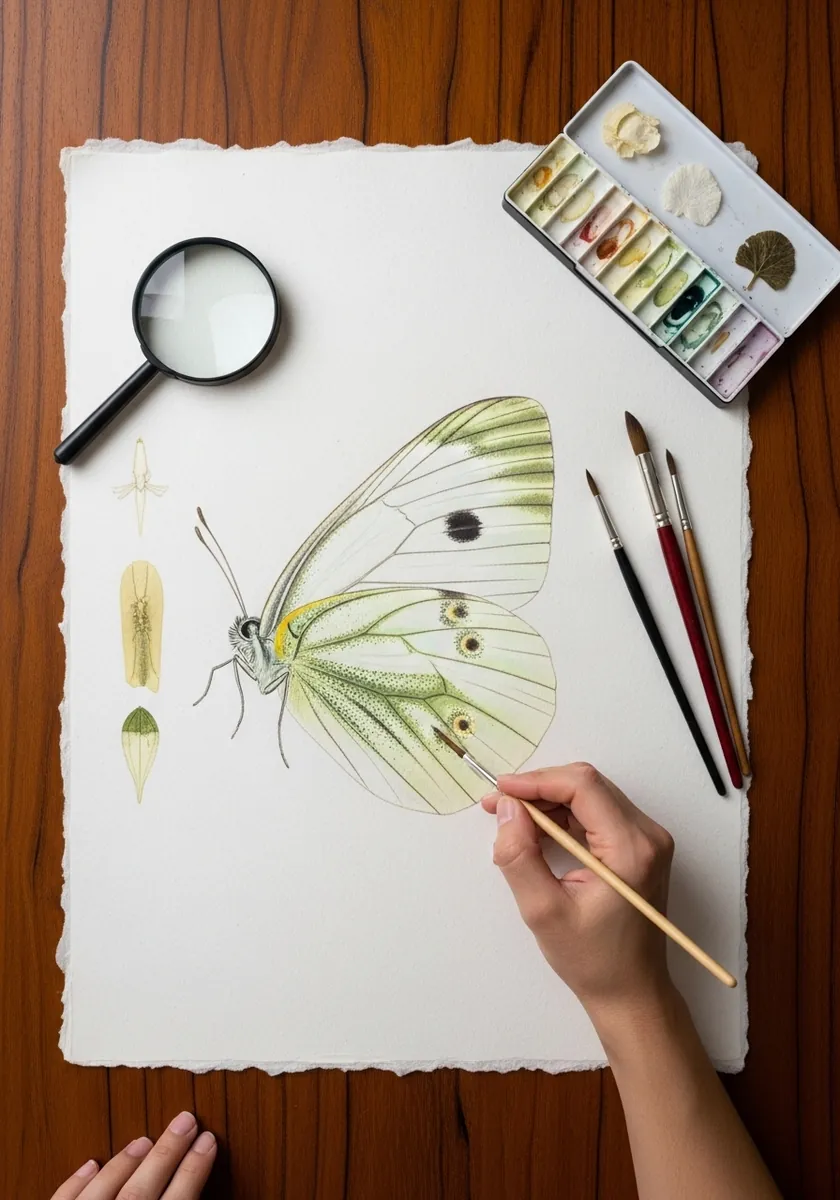
A near-white subject is an exercise in restraint. Almost the whole insect stays as bare paper, with only the faintest green-gray in the shadowed cells and two small dark spots on each forewing. The temptation to add contrast is exactly what you resist.
15. Splatter Blue Butterfly in Acrylic
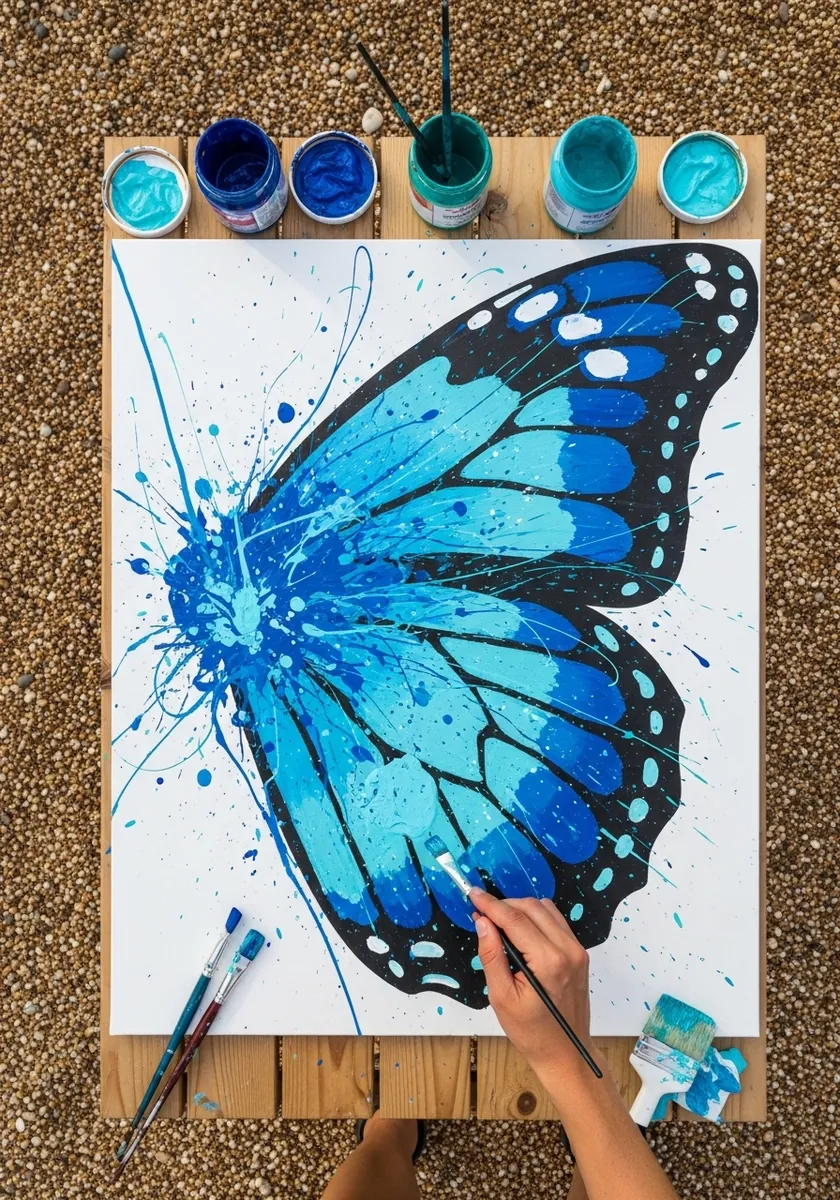
Chaos needs a solid anchor. Paint the butterfly with reasonable control first and let it dry completely, then attack the page with splatter. Because the insect underneath is sound, the mess reads as energy rather than as a failed painting.
16. Bold Black Ink Silhouette
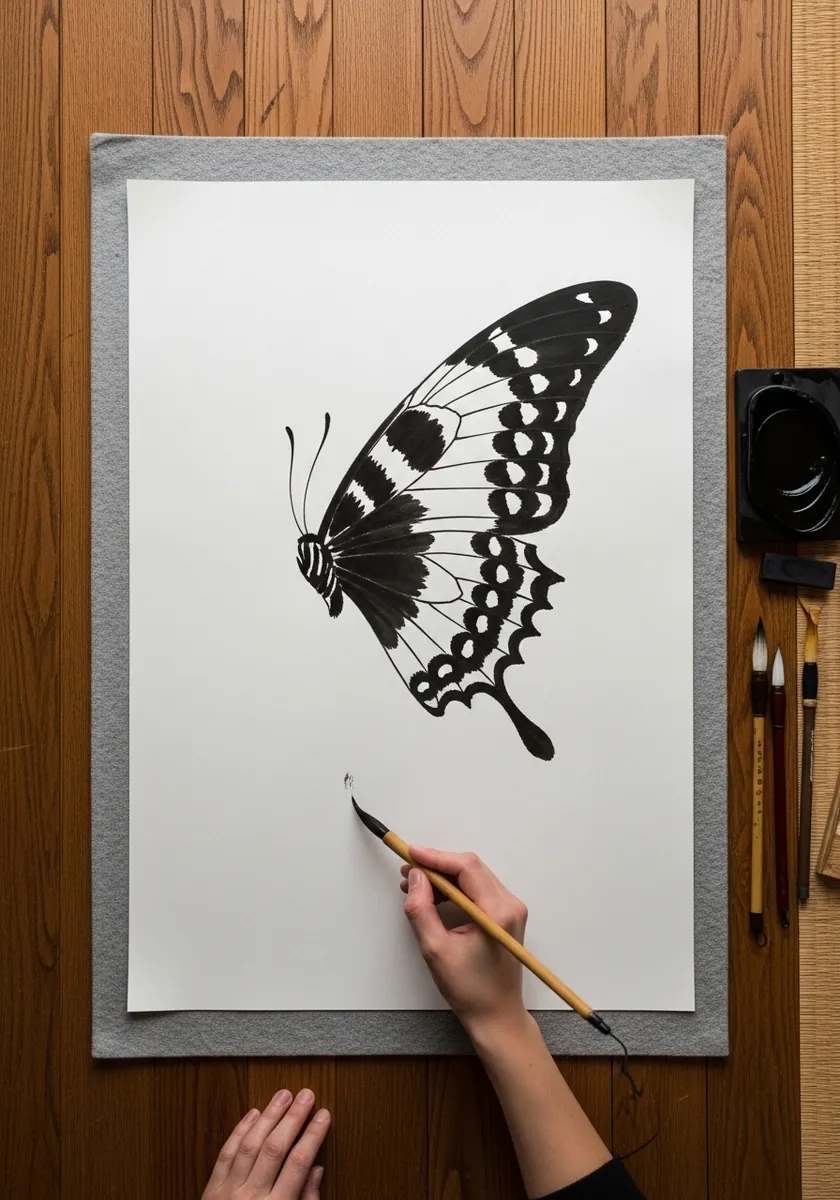
A silhouette tests whether your outline actually works. Fill the entire insect solid black, then cut the white spot rows back into it along the wing border. If the shape is not readable at this point, no amount of interior detail would have saved it.
17. Pink and Yellow Symmetrical Wings
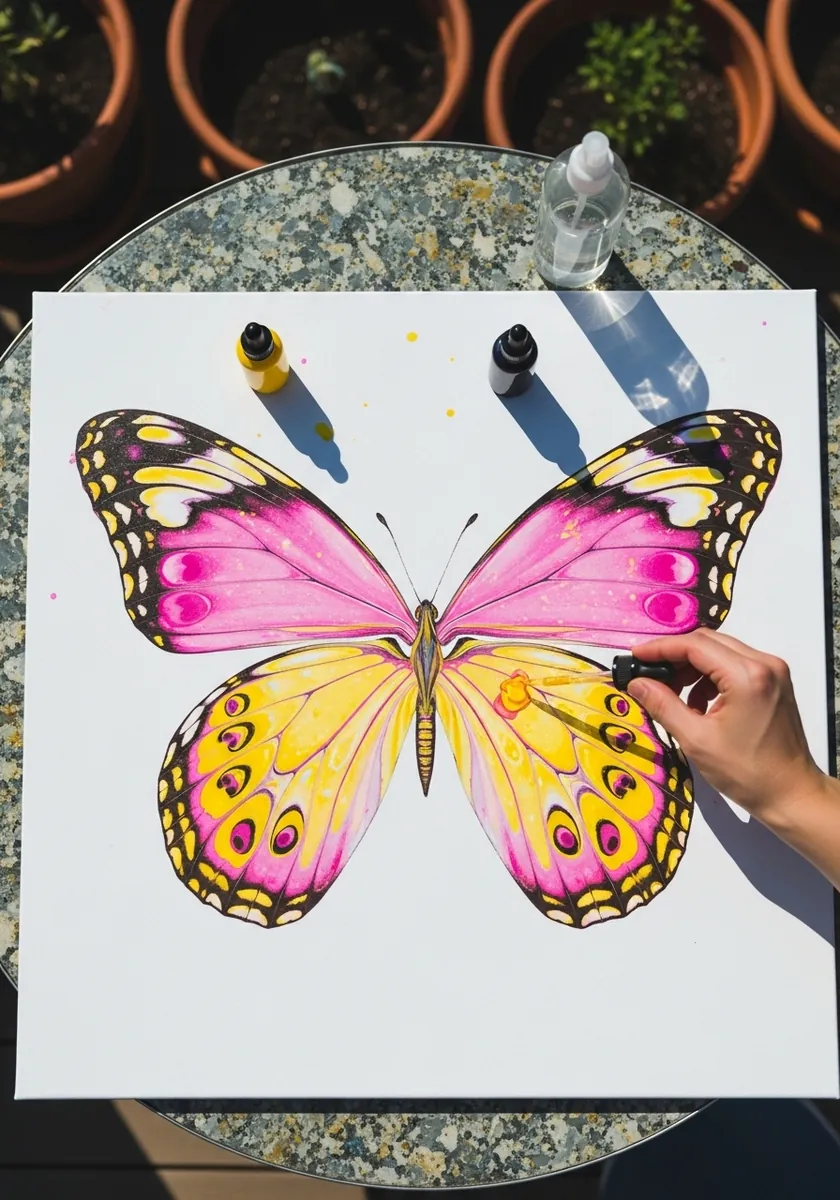
Perfect symmetry is easier to fake than to draw. Complete the left side fully, fold the paper along the body line while the paint is still damp, and press. The transferred impression gives you a true mirror to work back into on the right.
18. Monarch in Bold Oil Pastel
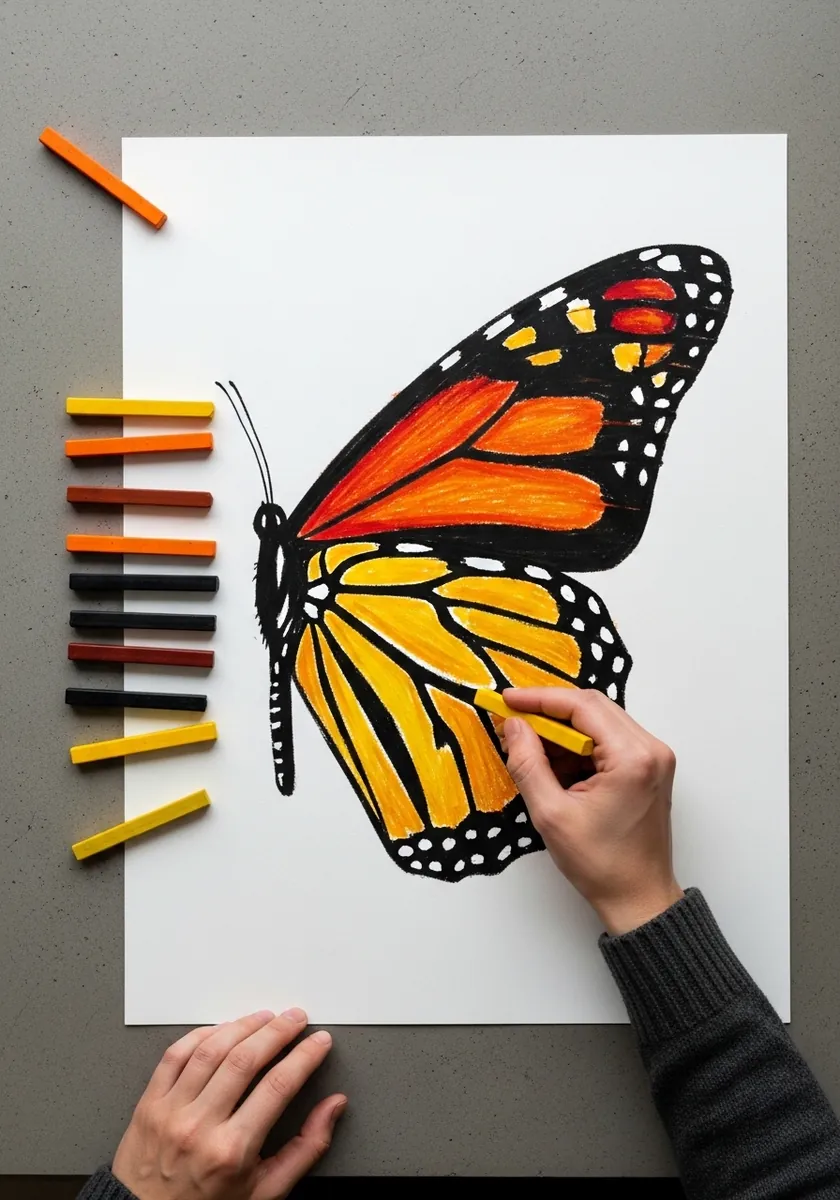
This is the monarch reduced to its essentials: orange cells, heavy black veins and white spots along the border. Working in a medium far too thick for fine detail forces you to identify what actually identifies the species, which turns out to be a surprisingly clarifying exercise.
19. Electric Blue Wing in Watercolor
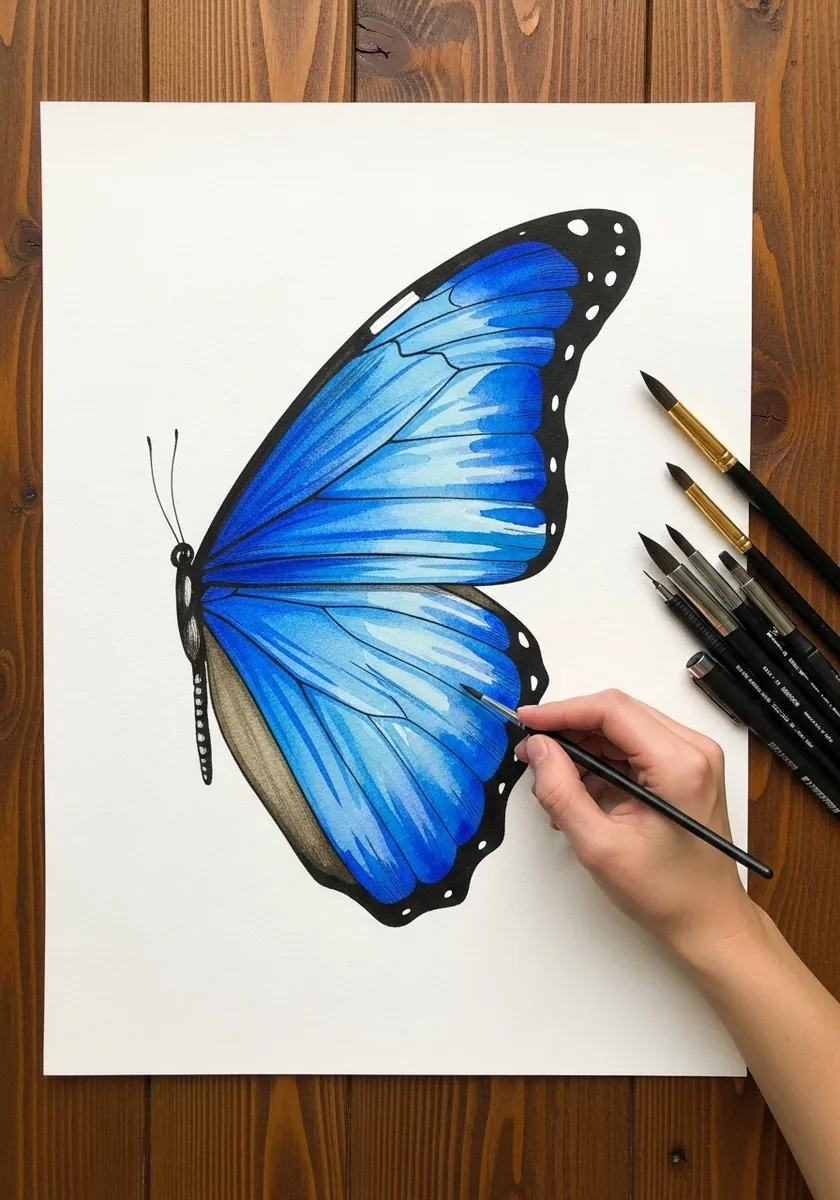
Getting a blue this saturated needs pigment strength, not more water. Mix a strong wash, lay it in one confident pass and do not go back into it, because rewetting watercolor lifts pigment and dulls exactly the intensity you are trying to keep.
20. Luna Moth in Soft Green Pastel
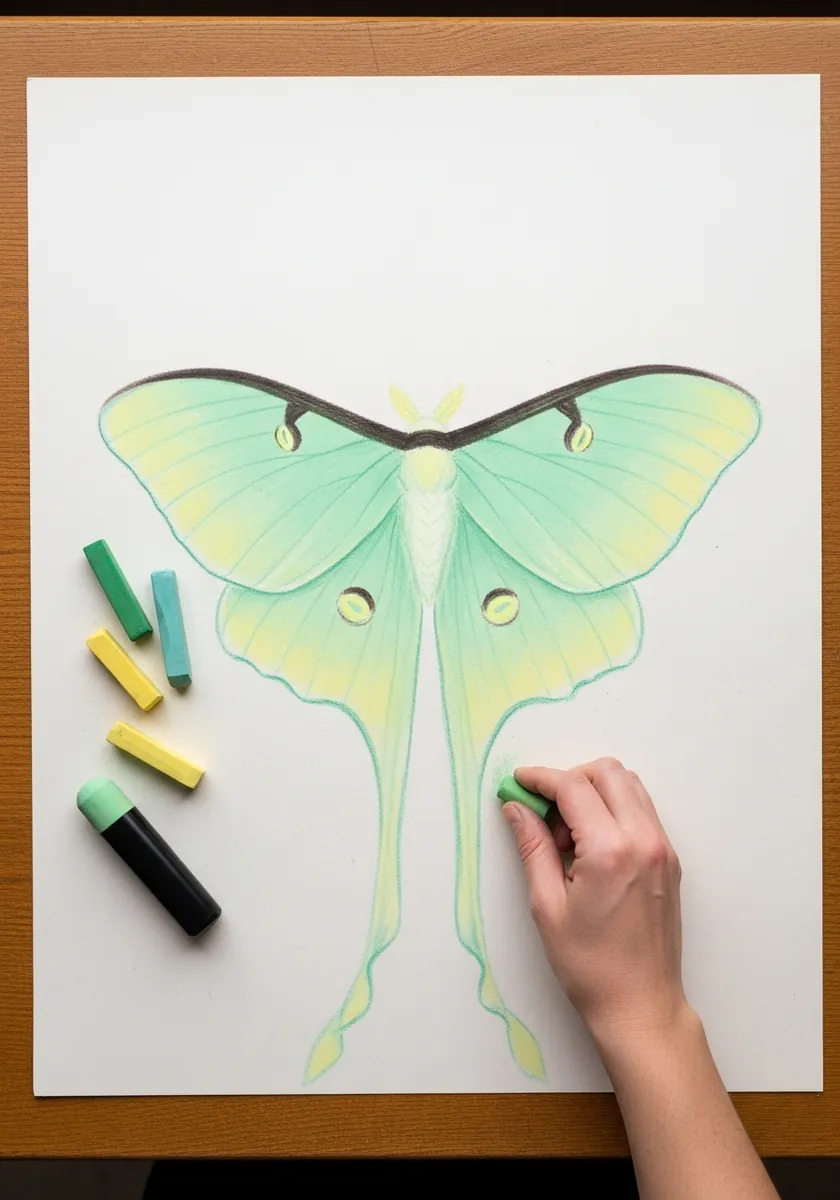
Luna moths have long trailing hindwing tails and a distinctive pale green so soft it barely registers as color. Draw the tails as long tapering curves that continue the wing line, and keep the entire value range within about three steps.
21. Swallowtail Against a Mountain View
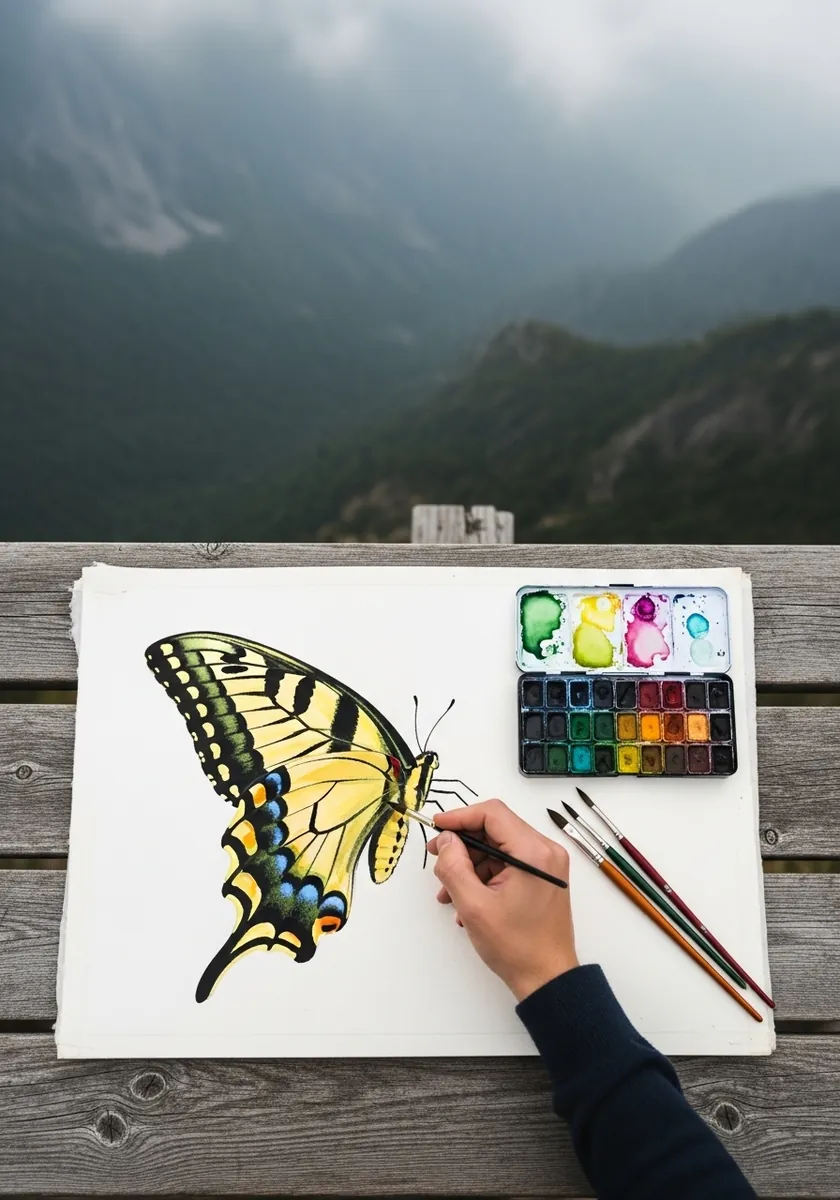
Setting an insect inside a landscape is really a scale problem. Keep the background low in contrast and slightly blurred, then render the butterfly sharply and at full strength. That difference alone places it firmly in the foreground without you drawing anything in between.
22. Yellow Tiger Swallowtail in Marker
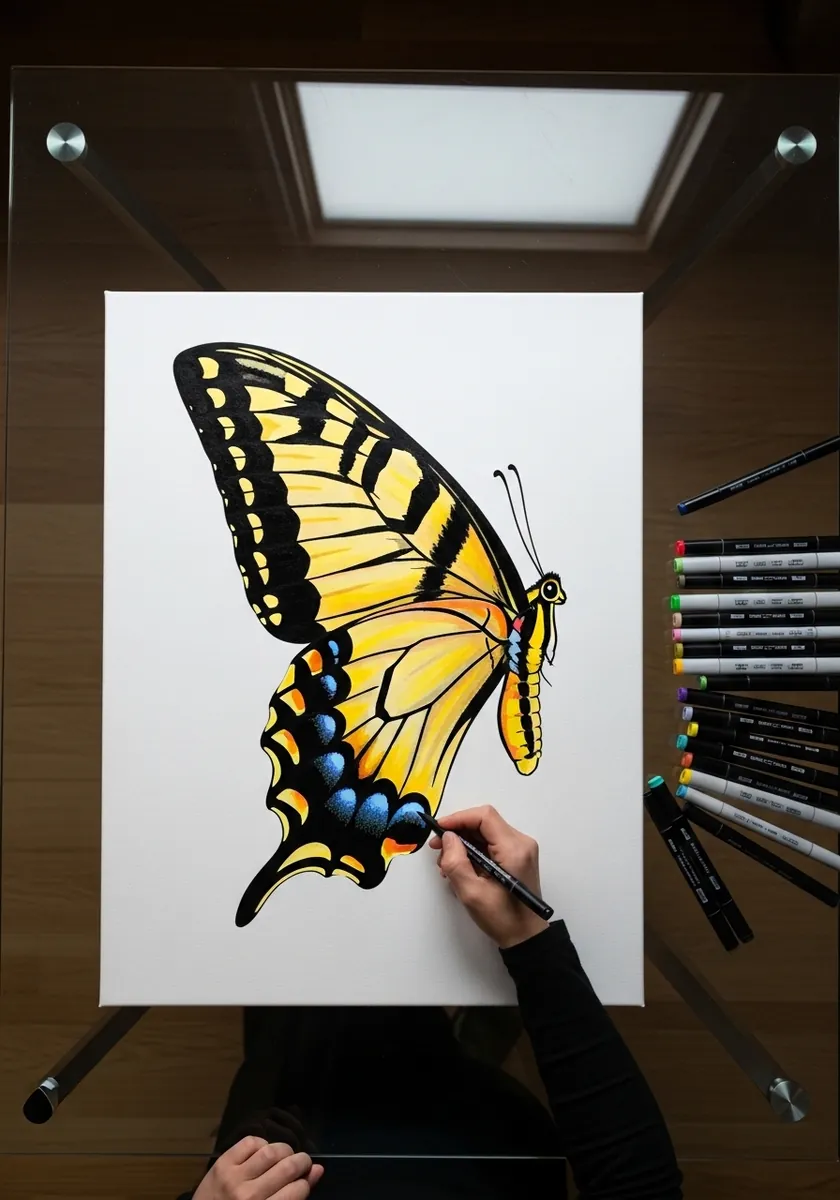
The tiger swallowtail’s black stripes run along the veins, not across them, which is why they look like a tiger. Ink those stripes following the vein direction exactly. Markers demand one continuous pass per area or you will get visible streak lines.
23. Madhubani Butterfly in Red and Yellow
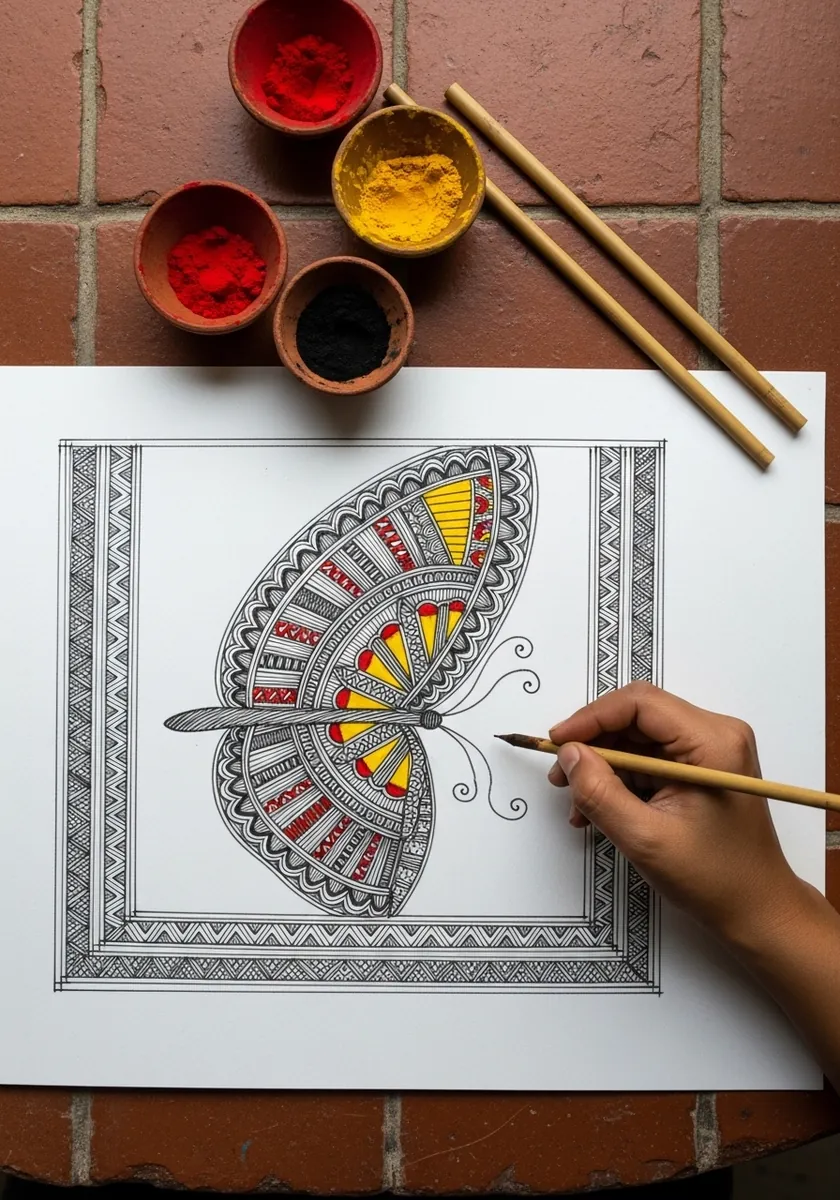
Traditional Indian folk painting leaves no empty space. Rule the border first, divide each wing along its veins, then fill every division with a different fine motif in a consistent line weight. The density is the point rather than a problem.
24. Sepia Butterfly Plate in Fine Line
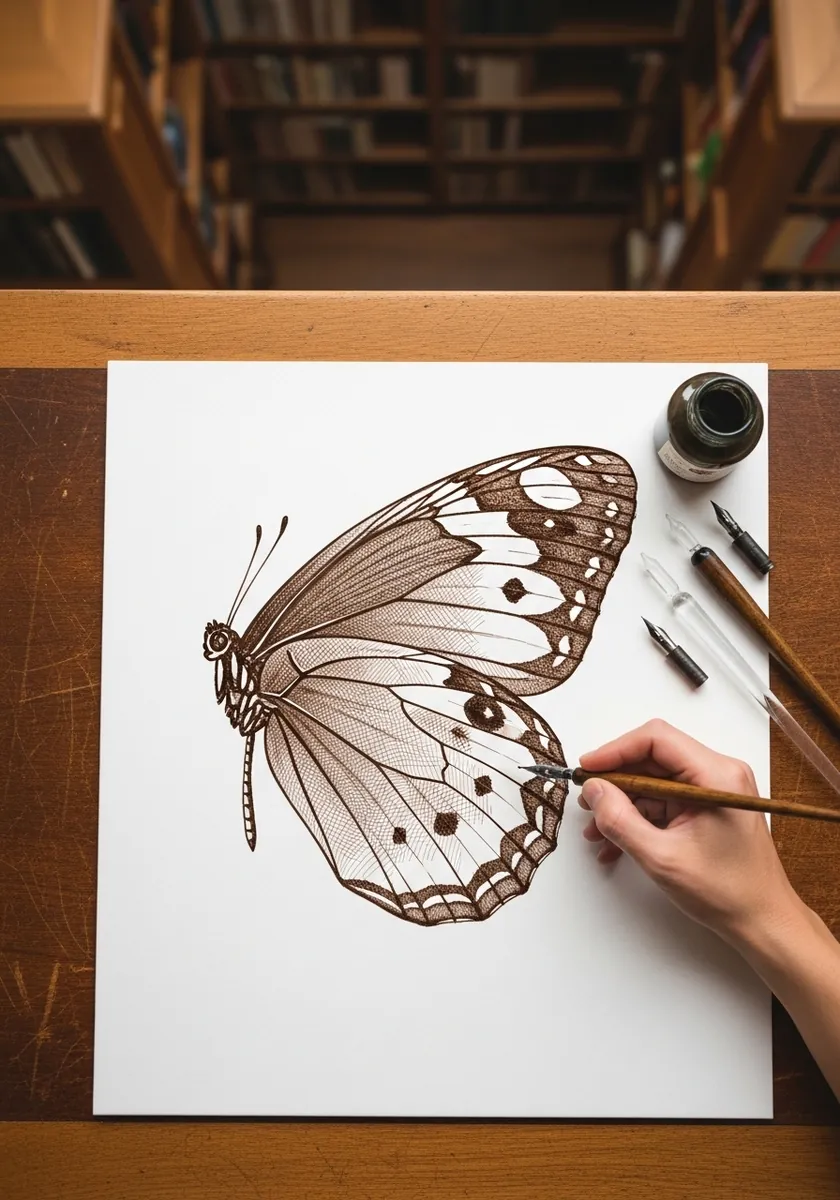
Old entomological plates use one ink color, one line weight and hatching in a single direction. Draw the venation accurately, hatch only the shadowed cells, and leave a generous margin of untouched paper. Restraint is what makes it read as scientific.
25. Cherry Blossom Filled Butterfly
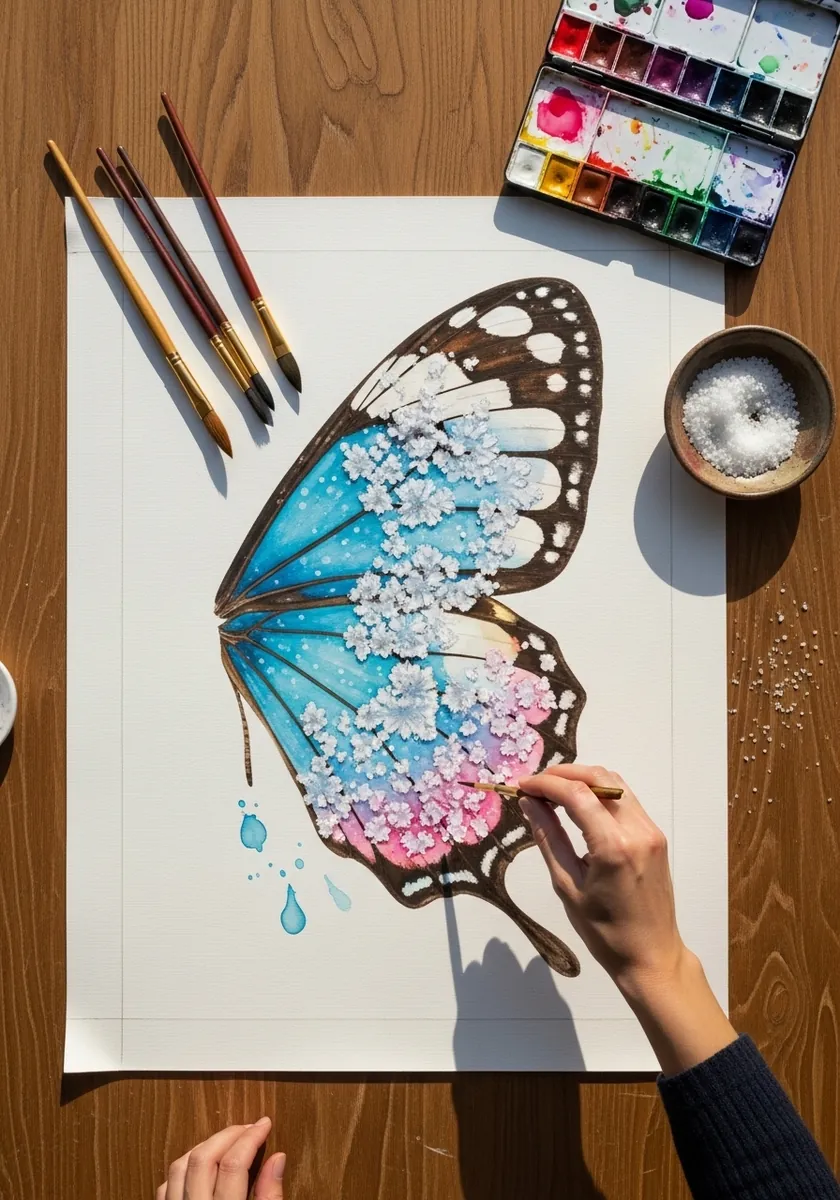
Filling a silhouette with unrelated imagery works if the boundary stays crisp. Ink the wing outline and veins in a firm line, then pack the cells with small blossoms while stopping each one cleanly at the vein. The contained texture is the whole idea.
26. Geometric Symmetrical Butterfly
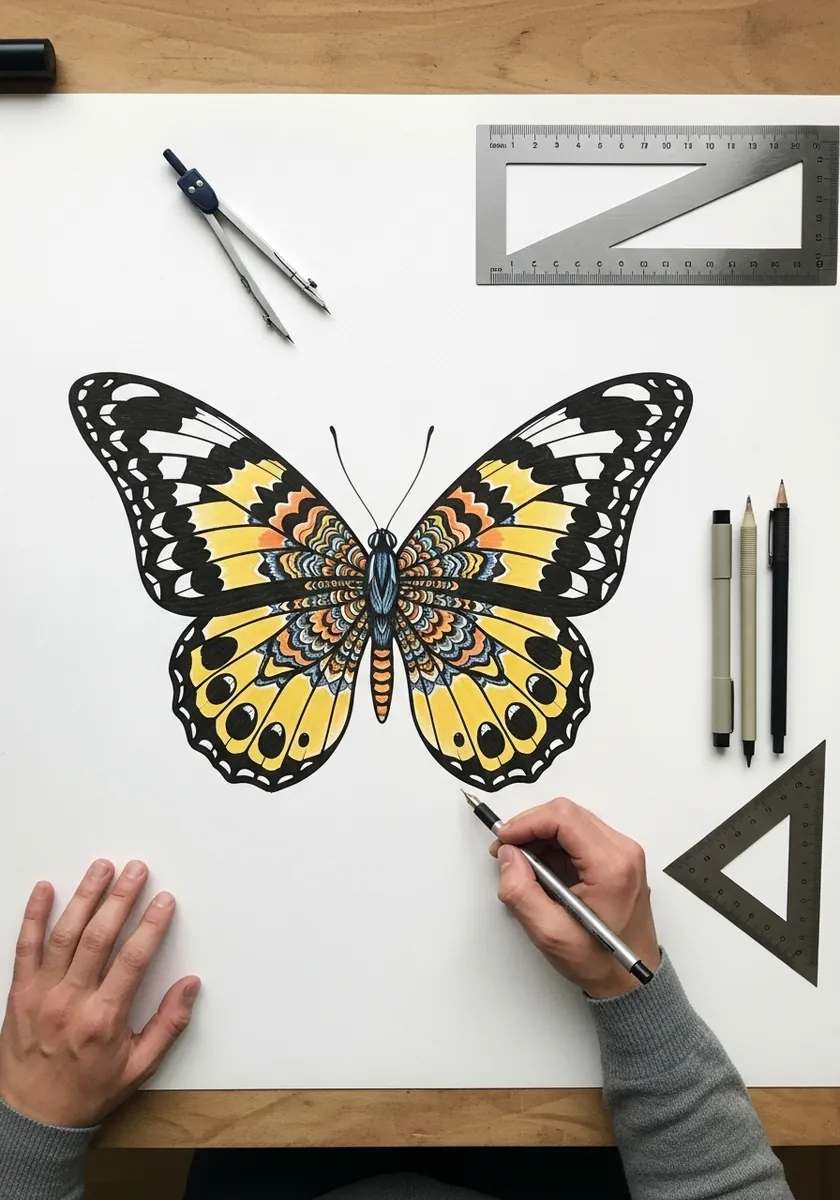
This one is drafting rather than drawing. Rule a center line, construct one wing with compass and ruler, then mirror every measurement across. Any inaccuracy shows instantly in a geometric design, which is exactly why it is such good practice.
27. Brush Ink Butterfly in Bold Strokes
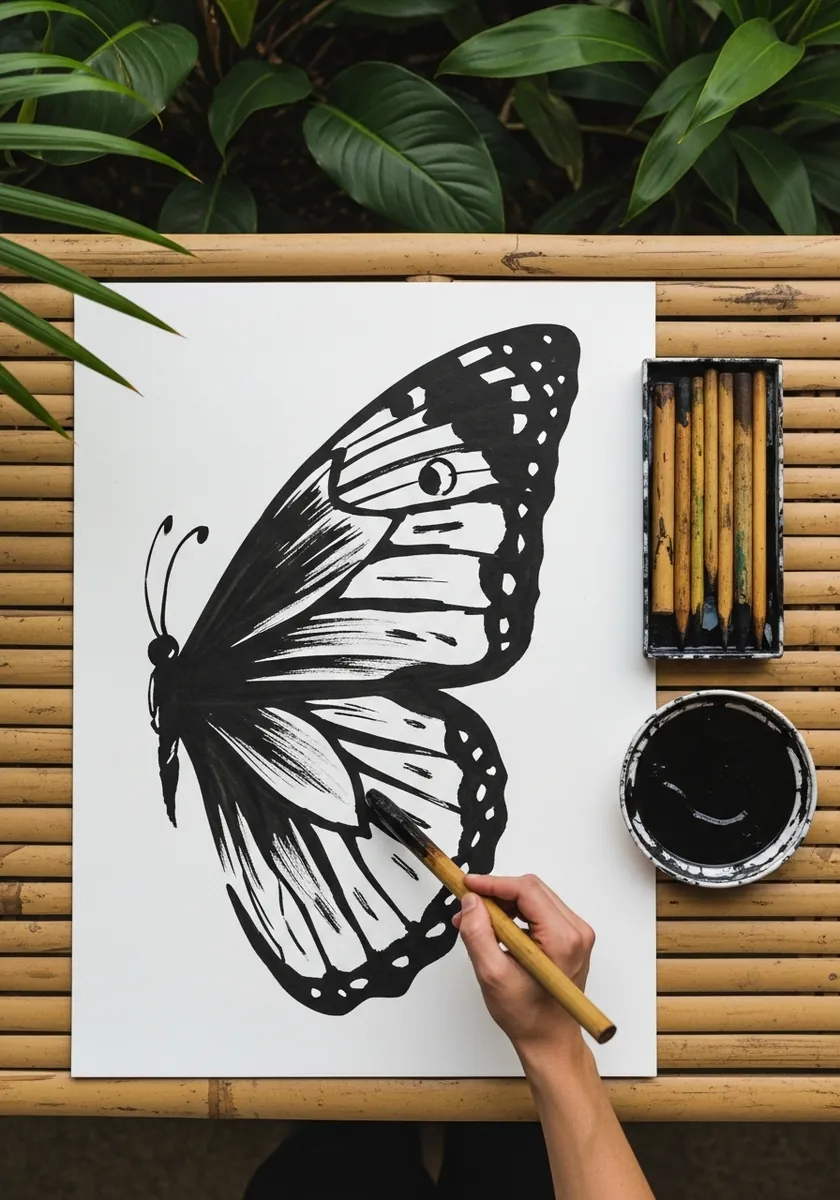
A loaded brush gives a stroke that swells and tapers on its own. Paint each wing in two or three strokes, working from the body outward so the taper falls at the wing edge. Let the brush go dry toward the tips for a natural scale texture.
28. Iridescent Blue Butterfly on Textured Board
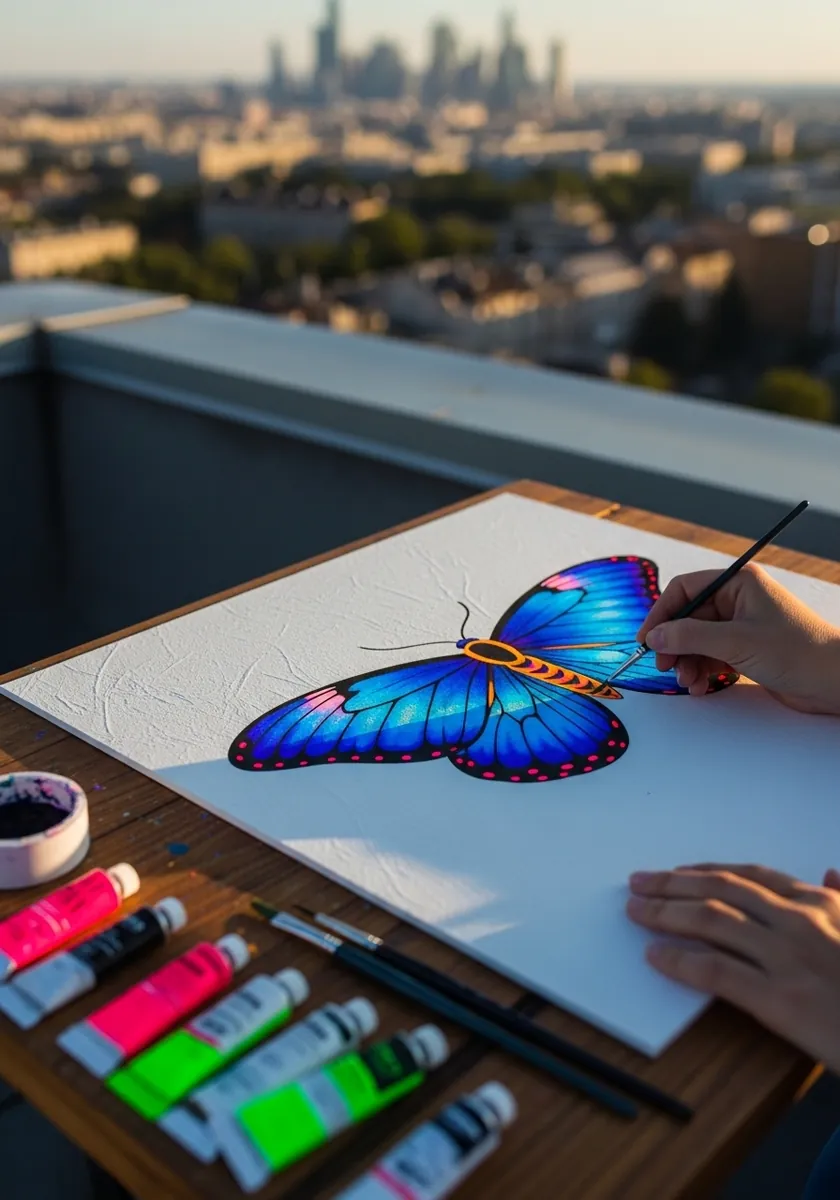
Iridescence shifts with viewing angle, so a single flat blue can never capture it. Lay a base of deep blue, then drag a lighter turquoise and a touch of violet over the raised texture so the color changes across the wing as the light does.
29. Rice Paper Butterfly in Black and Cream
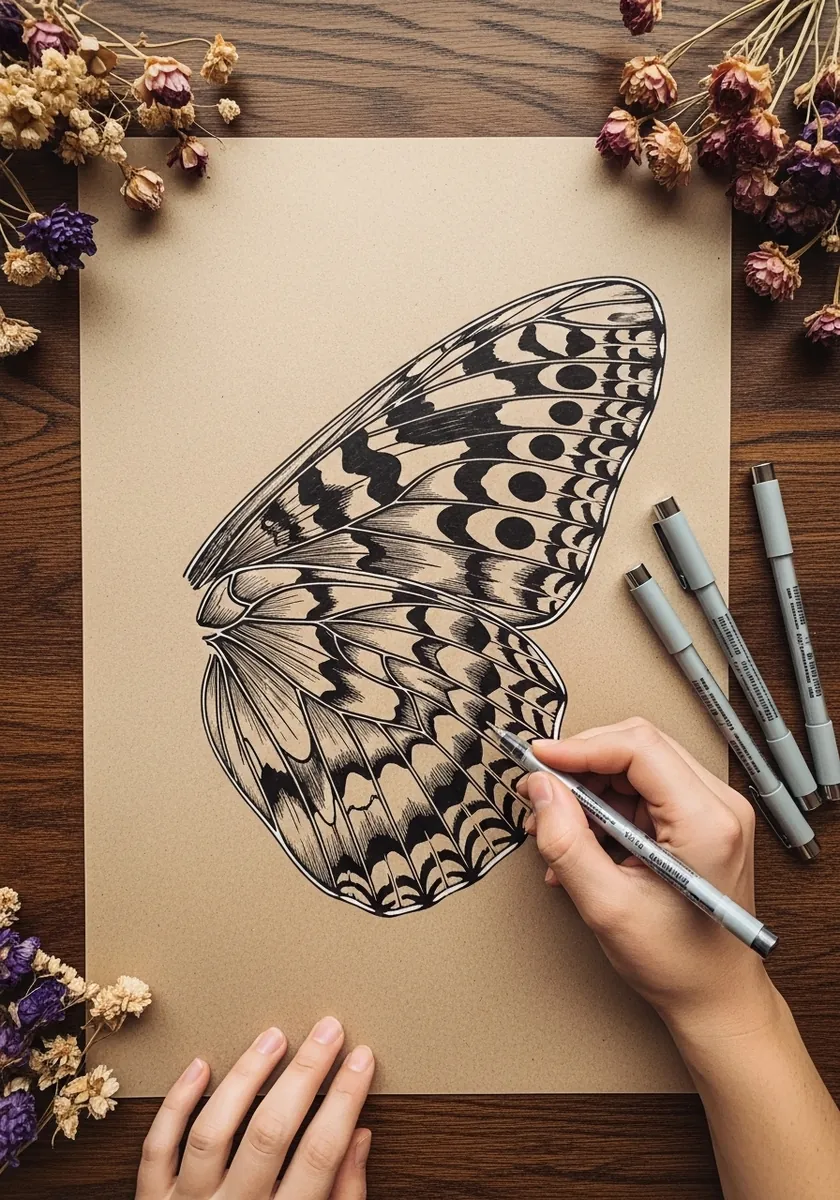
Translucent wings need the background to show through them. Work on kraft so the paper tone reads as the wing membrane, then add only the dark pattern and the vein lines on top. Leaving the paper as the mid value does most of the work.
30. Bright Pop Monarch with Patterned Border
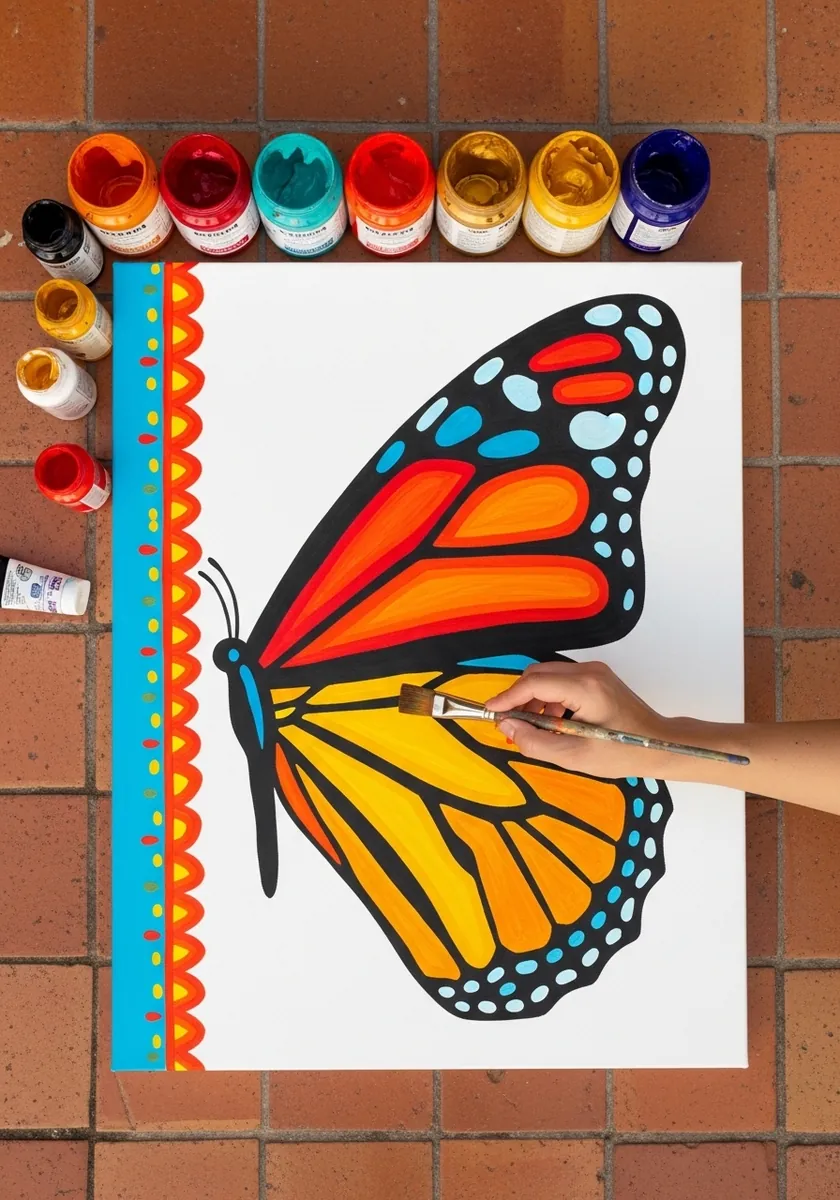
Flat graphic treatment strips the subject to shape and color. Use three flat colors with no shading at all, keep the black outline heavy and even, and let the patterned strip down one side supply all the visual energy the simplified insect gives up.
Frequently Asked Questions
How do you draw butterfly wing patterns?
Draw the body and the wing outlines first, then rule the veins radiating out from each wing base. Those veins divide the wing into cells. Place every band, spot and eyespot inside a cell rather than across it, and the pattern will look anatomically correct.
How many wings does a butterfly have?
Four. Two forewings and two hindwings, one pair on each side of the body. They overlap slightly where they join the thorax. Drawing only two wings is the commonest error in butterfly art, and it is immediately noticeable once you know to look for it.
Why are butterfly wings symmetrical?
The left and right wings develop as mirror images of each other, so the pattern on one side repeats exactly on the other. When drawing, complete one side fully, then fold the paper or use a light source to trace the mirror rather than drawing it freehand.
What makes blue morpho wings blue?
Structural color rather than pigment. Microscopic ridges on the wing scales scatter light so that blue wavelengths reinforce each other. That is why the blue shifts as the angle changes, and why painting it flat never quite captures the real insect.
What are the eyespots on butterfly wings for?
Eyespots are thought to deter predators, either by startling them or by drawing attacks away from the body toward the wing edge. For an artist they are useful anchors, since they always sit within a wing cell and give the pattern a clear focal point.
References and Further Reading