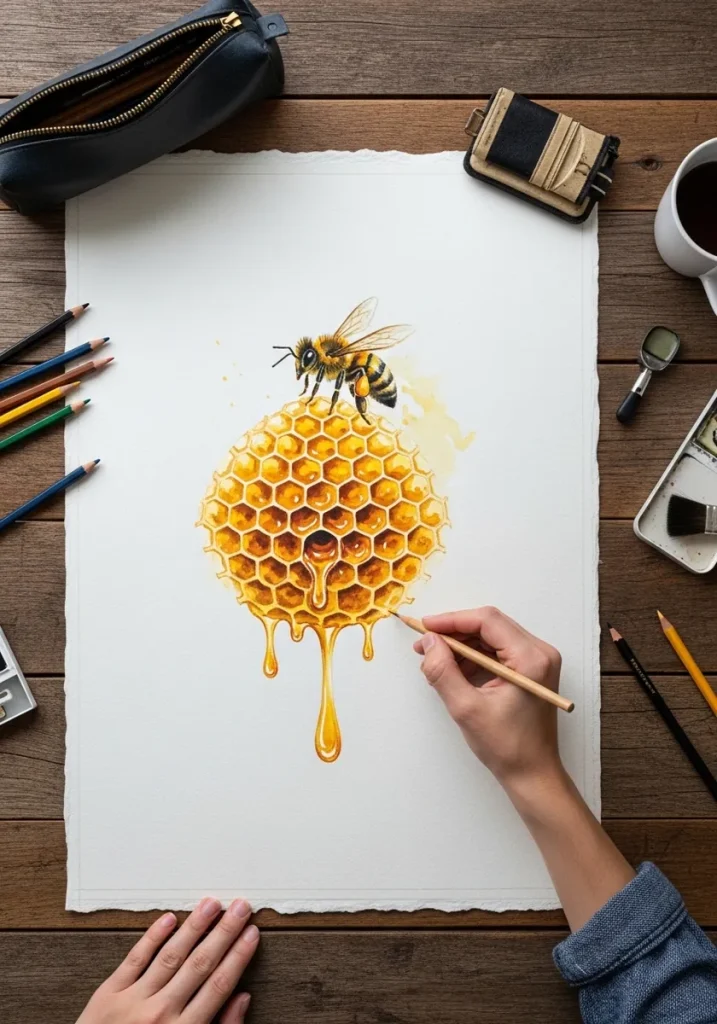
Bee and honeycomb art is built on one geometric rule: honeycomb cells are regular hexagons that share every wall, meeting three at a time at 120 degrees. Rule that grid first, then place the bee across it so a few cells stay hidden.
Key takeaways
- Honeycomb is a tessellation of regular hexagons sharing walls, so never draw cells with gaps between them.
- Build the grid before the bee, then let the insect overlap it and hide several cells from view.
- A honeybee has four wings, two per side, and they are translucent rather than white or gray.
- Keep the fuzzy thorax soft edged and the abdomen bands hard edged to separate the two textures.
- Warm yellow needs a cool accent somewhere on the page or the whole piece turns muddy.
Honeycomb is a tessellation. Every cell is a regular hexagon and every wall is shared with a neighbour, three meeting at each corner at 120 degrees. That single geometric fact decides whether your drawing looks like real comb or like a pile of loose shapes, so rule the grid before you draw the bee.
The bee itself is simpler than people expect. Two ovals for thorax and abdomen, a small round head, and four wings rather than two, which is the error that spoils most beginner attempts. The fuzzy thorax stays soft edged and the striped abdomen stays hard edged, and that contrast does most of the work.
These thirty-one pieces run from a fine botanical plate through stippled ink, charcoal, oil pastel impasto, stained glass and a gold leaf heraldic panel. If you want more insect practice alongside these, the site’s bee drawing ideas go deeper on the insect alone, and butterfly drawing ideas cover wing structure in detail.
For the floral halves of these compositions, lavender studies and flower drawing ideas are the closest companions, and the geometric pieces later on share their method with mandala work.
Compiled by the GS Art Zone editorial team. Last updated August 2026. Each idea is paired with the specific step that produces the effect, so you can go from the reference straight to paper.
What You Need Before You Start
- A ruler or a hexagon stencil, since freehand honeycomb almost never stays regular across a page
- Waterproof fine liners in 0.1 and 0.3 for cell walls, wing veins and stippled shading
- Warm yellow, raw sienna and burnt umber, plus one cool blue or violet to stop the yellows going flat
- A small round brush with a good point for the abdomen bands and a mop brush for loose washes
- Black or kraft paper with a white and a metallic gel pen if you want to try the reversed pieces
1. Single Bee on a Watercolor Comb Wash
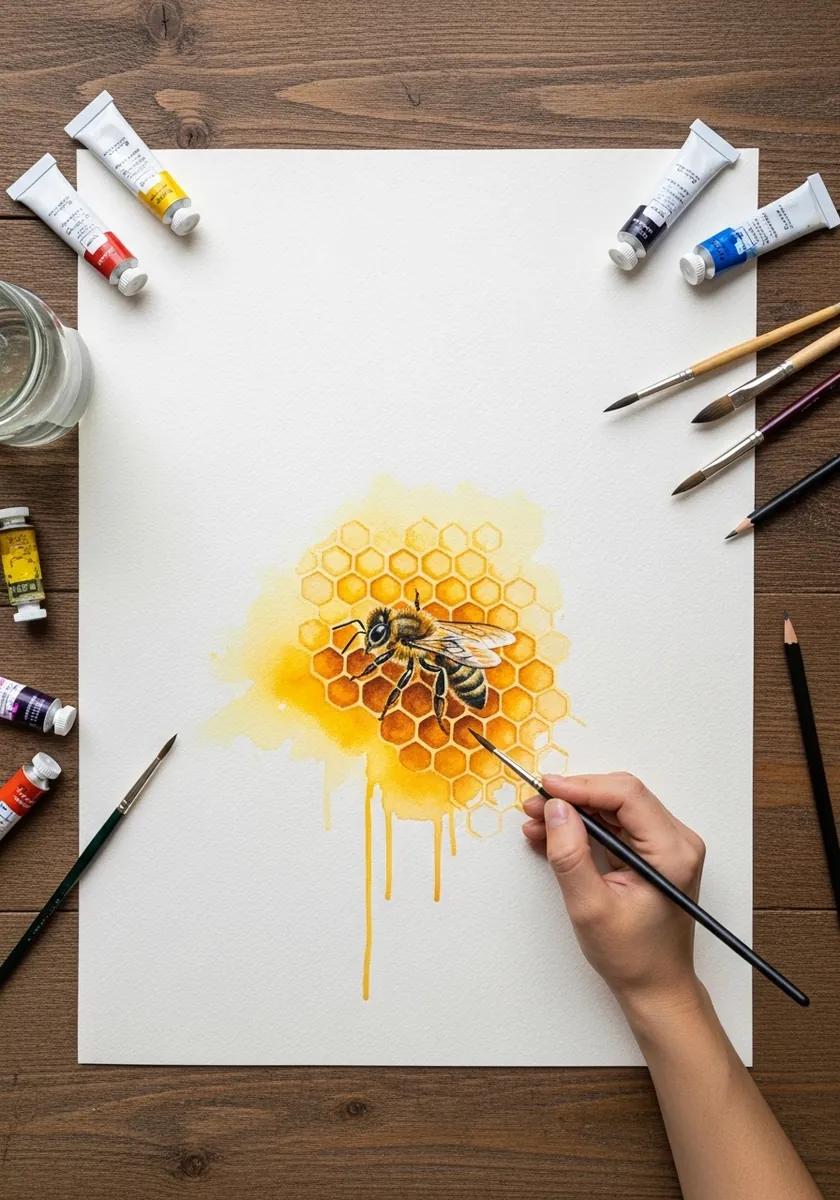
Begin here if you have never drawn comb before. Rule perhaps a dozen accurate hexagons in the center, then let a loose yellow wash blur everything at the edges so the irregular outer cells stop mattering. The drips below give the panel weight and stop it floating on the page.
2. Geometric Bee Inside a Line Mandala
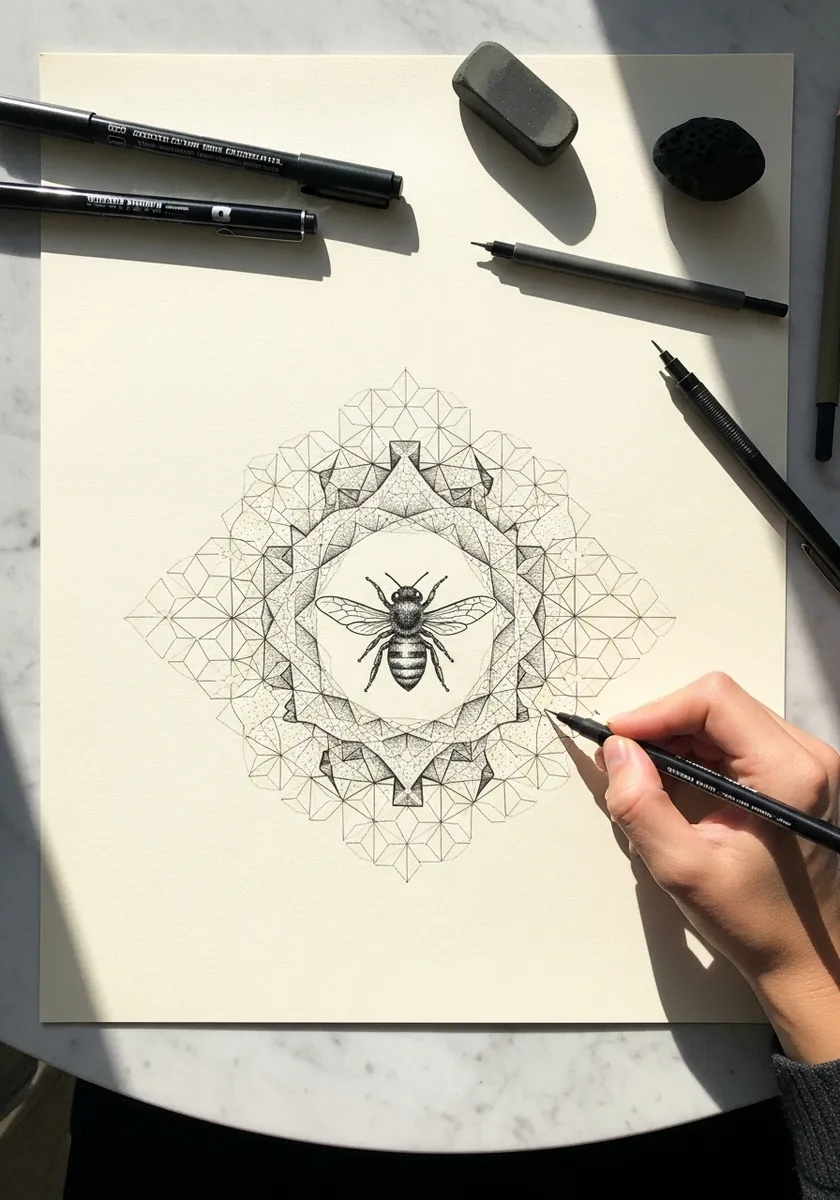
Symmetry is unforgiving. Mark your center point, rule the division lines outward, and build each ring before starting the next, exactly as you would for any mandala design. The bee sits in the middle as the only organic shape, which is what stops the piece feeling purely mechanical.
3. Dripping Honeycomb Chunk with a Bee
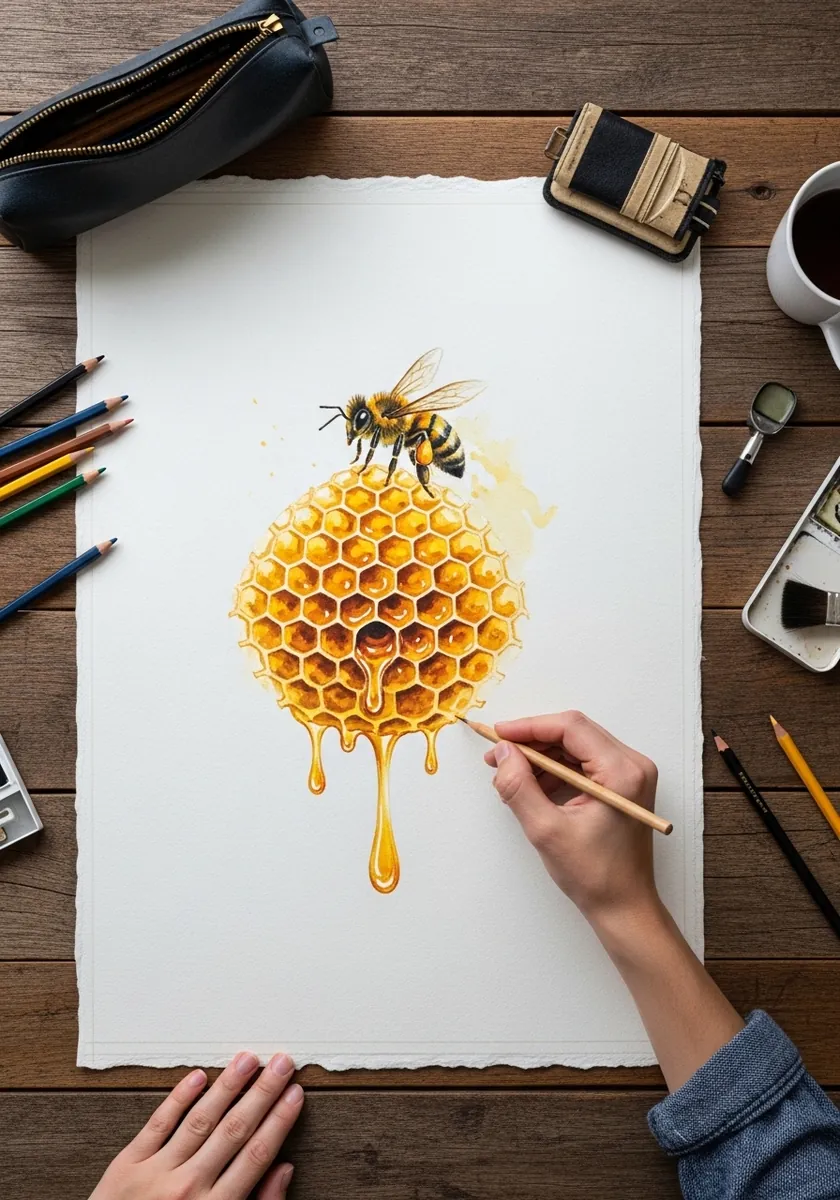
Honey behaves like thick syrup, not water. Draw each drip with a heavy rounded end and a narrow neck above it, and vary the lengths so no two hang the same distance. Keep the deepest amber inside the cells and the palest yellow along the top rim where light catches.
4. Detailed Graphite Bee Head Study
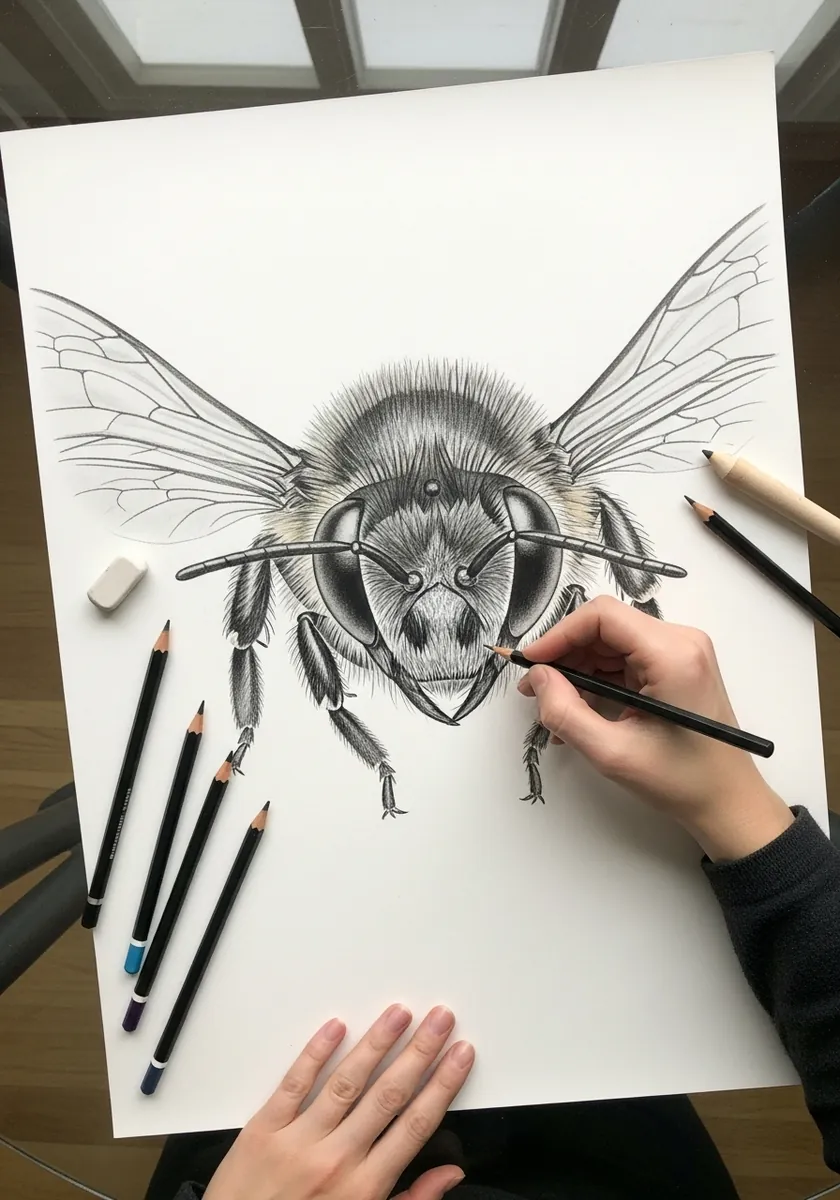
Scale up and the anatomy has to be right. Compound eyes cover most of the head and sit on the sides, not the front, and the antennae elbow sharply about a third along their length. Build the facial fuzz with short strokes radiating outward and leave the eyes smooth by contrast.
5. Brush Ink Bee with Flowing Comb
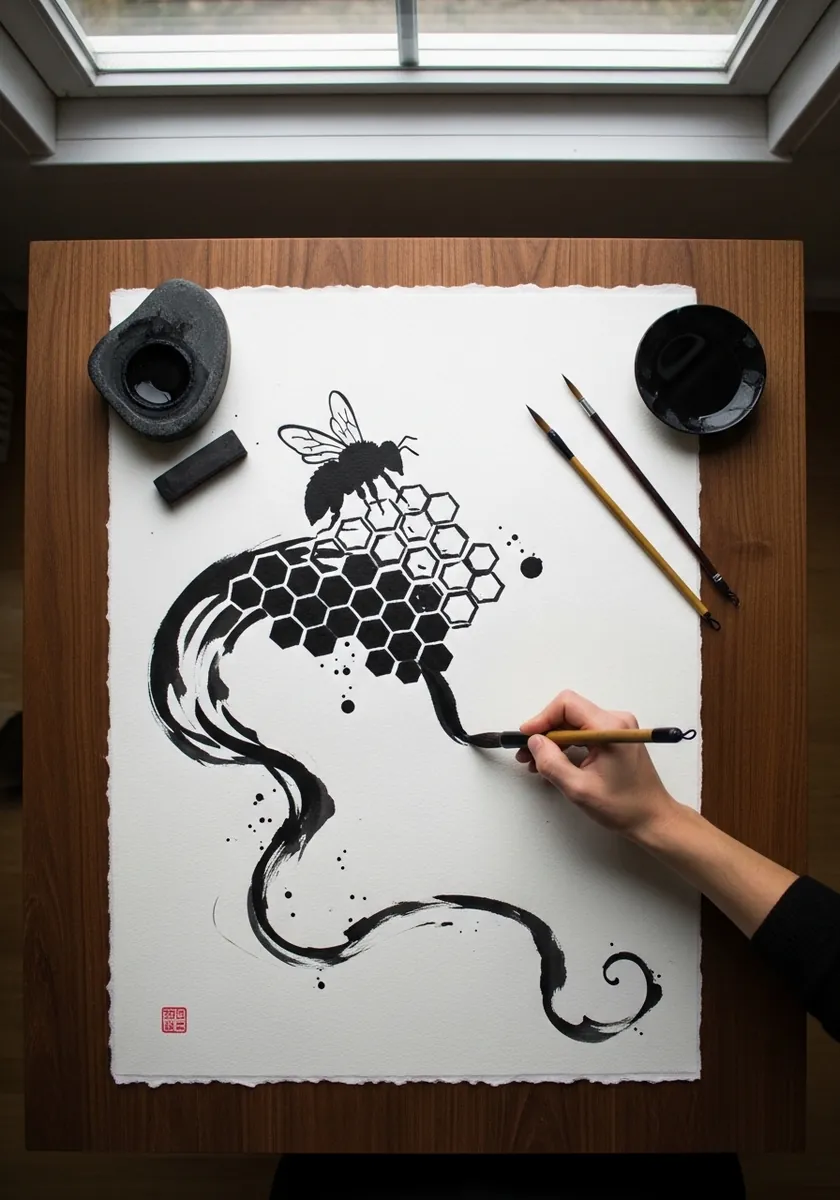
One loaded brush stroke carries this whole composition. Paint the trailing ribbon first in a single continuous motion and accept whatever taper it gives you. Only then add the hexagons and the bee, both in crisp detail, so the controlled marks sit against the uncontrolled one.
6. Hexagon Panel with Wildflowers
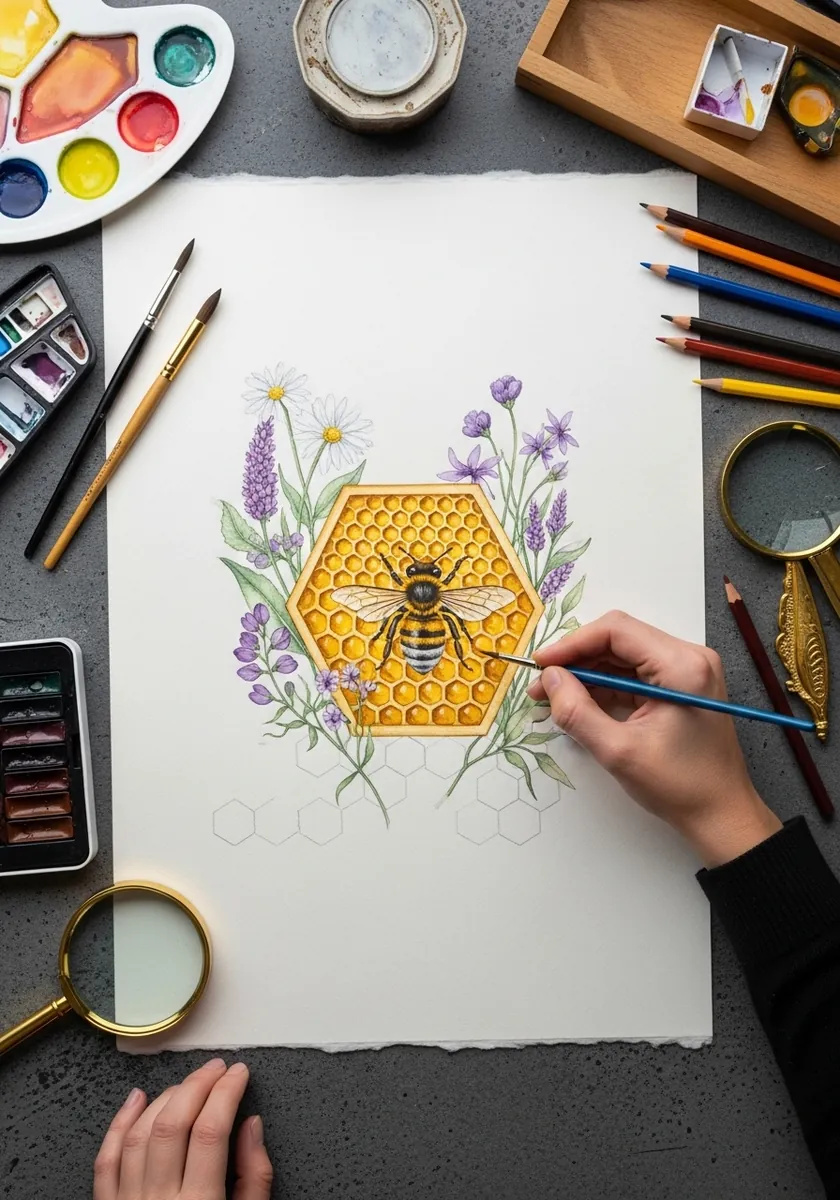
Using a single hexagon as the frame is a neat structural idea. Rule that outer shape first and treat it as a window, fill it with smaller cells and one bee, then grow the flowers outward from its six corners. The lavender and daisy studies here are worth practicing separately first.
7. Crowned Queen Bee on Gray Paper
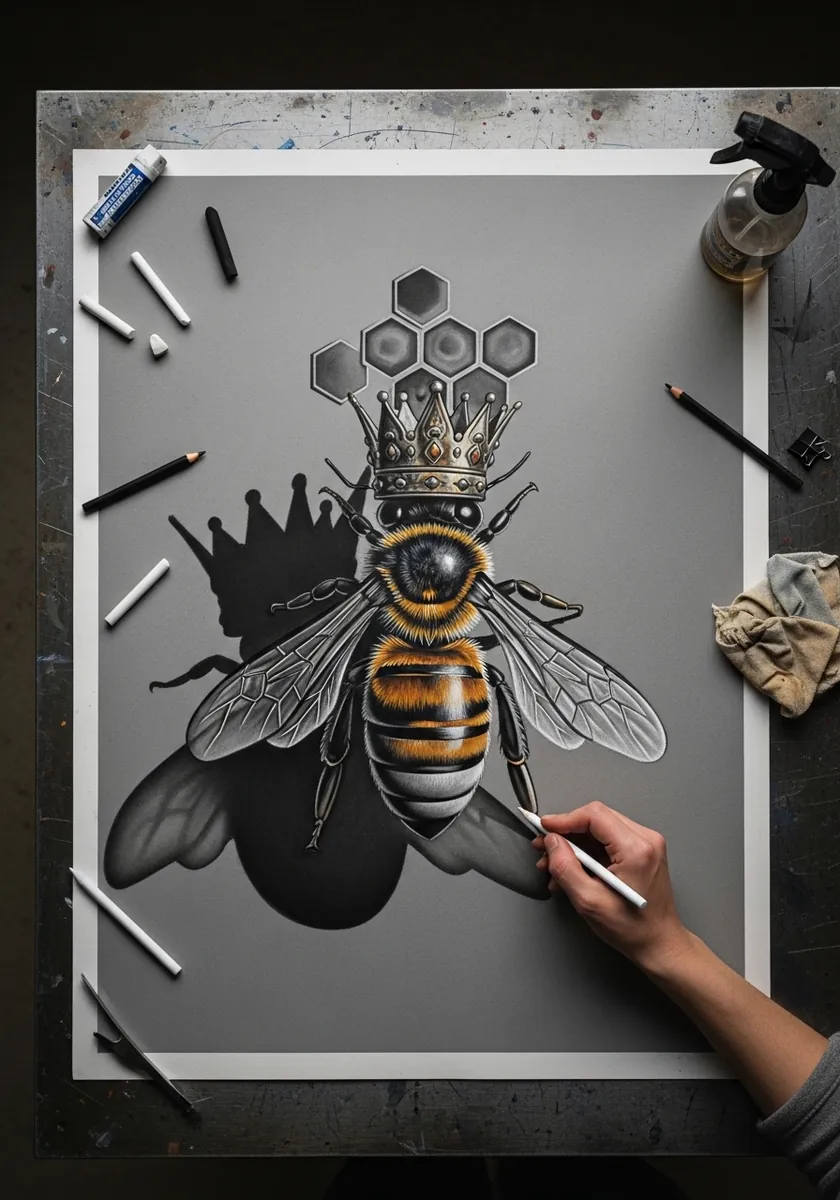
Toned paper hands you the mid value for free, so you work outward in two directions at once. Add white only where light genuinely strikes the thorax fuzz and the wing edges, and reserve the gold for the crown alone. The flat silhouette behind gives the whole thing weight.
8. Explosive Watercolor Hive Splash
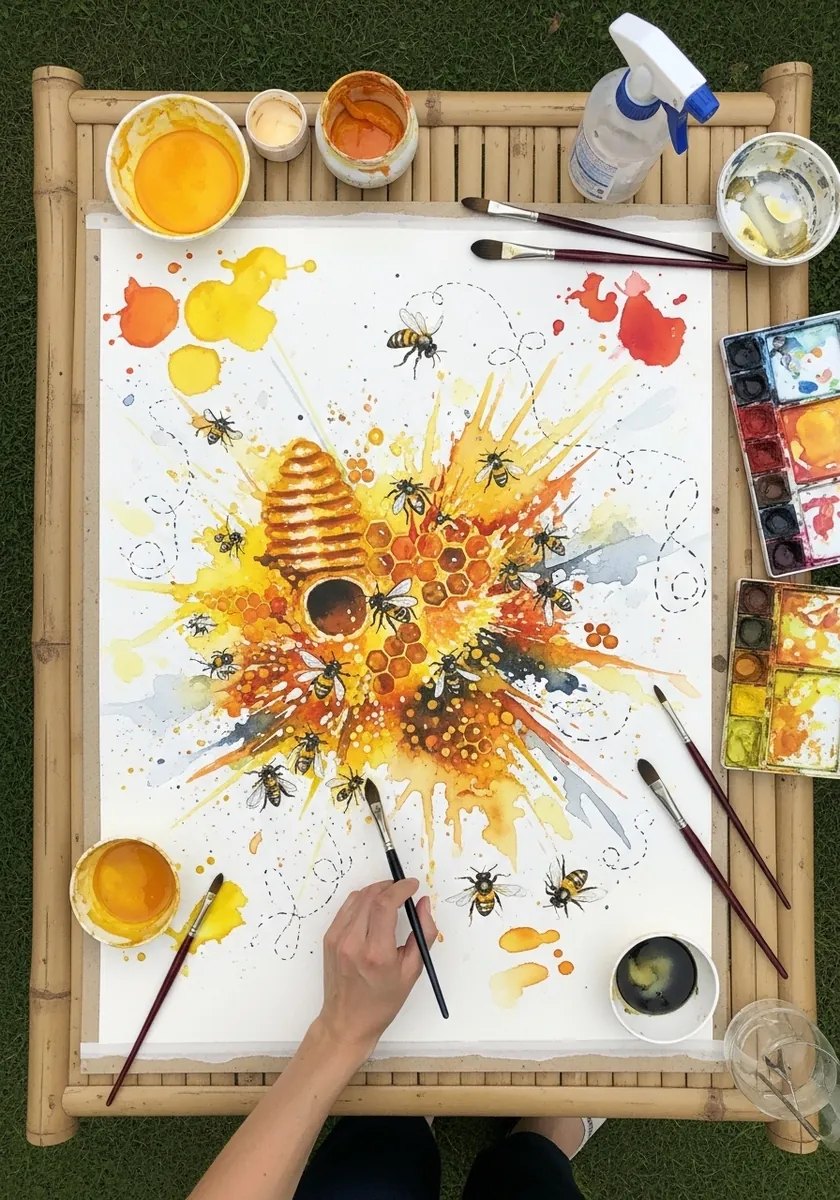
Controlled chaos needs one anchor. Paint the hive shape solidly in the center so the eye has somewhere to rest, then let everything around it dissolve into splatter and flying bees. Flick the paint from a loaded brush rather than dropping it, which gives directional streaks instead of blobs.
9. Antique Engraved Comb Specimen Plate
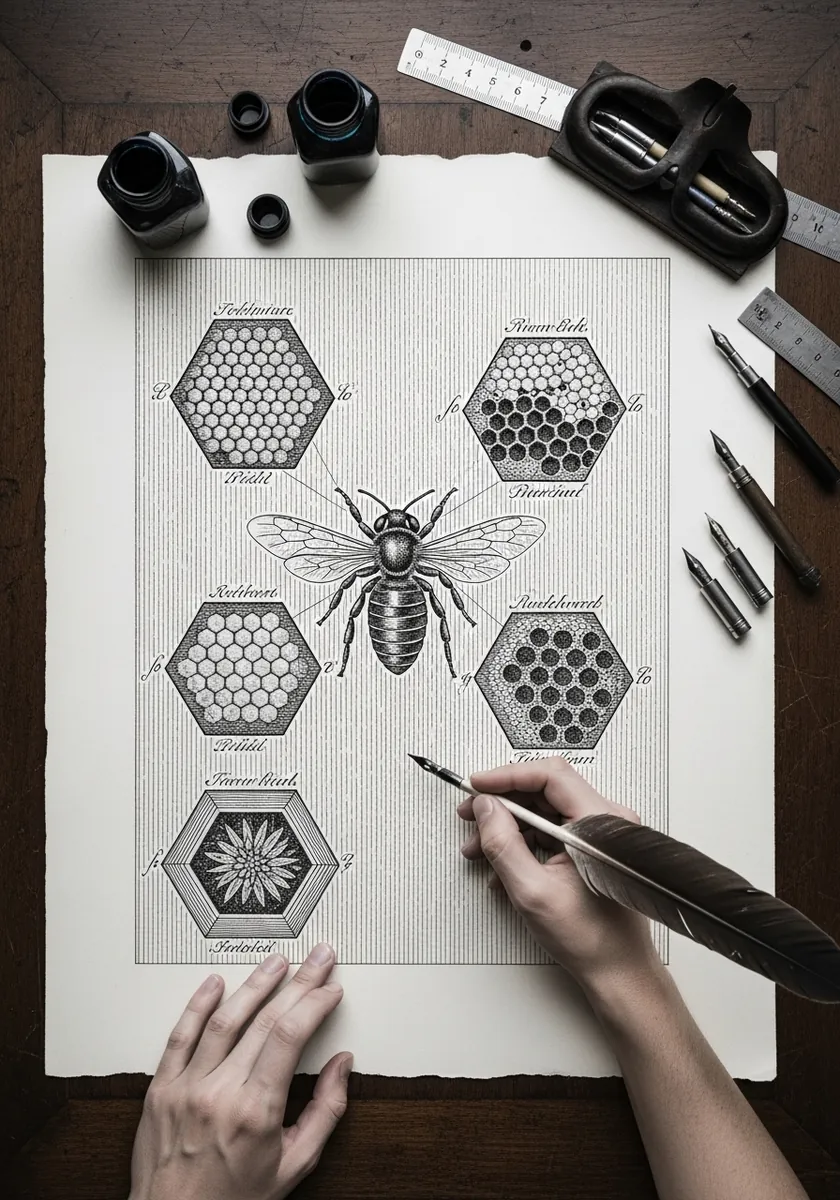
Old natural history plates are worth copying for the discipline alone. Rule a grid of identical hexagon frames, keep every label in the same small script, and build all your tone from fine parallel hatching with no blending anywhere. Consistency across the cells is what makes it read as a scientific plate.
10. Thick Impasto Honeycomb in Palette Knife
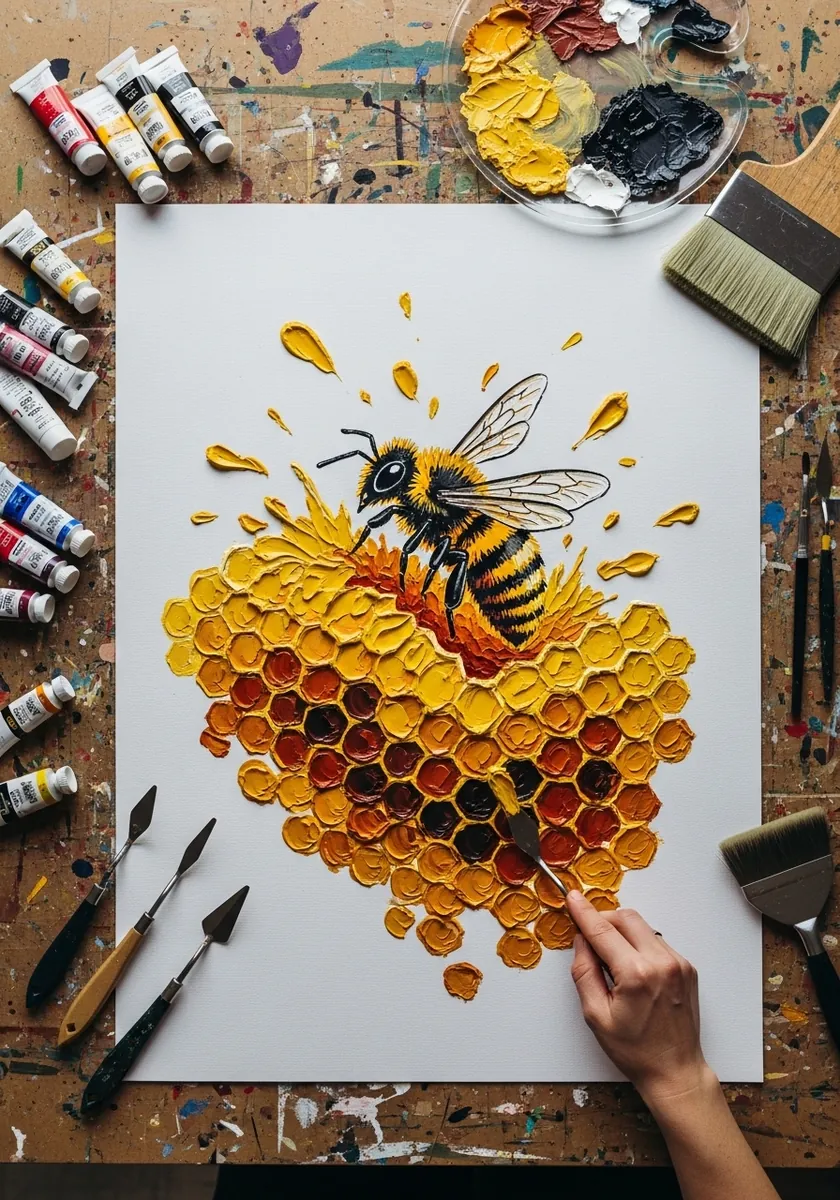
Let the paint do the dimensional work here. Load the knife heavily and lay each cell as one press, leaving ridges standing where the walls should be. Do not smooth anything afterward, because the physical height of the paint is what makes the comb read as deep.
11. Art Nouveau Bee Panel with Border
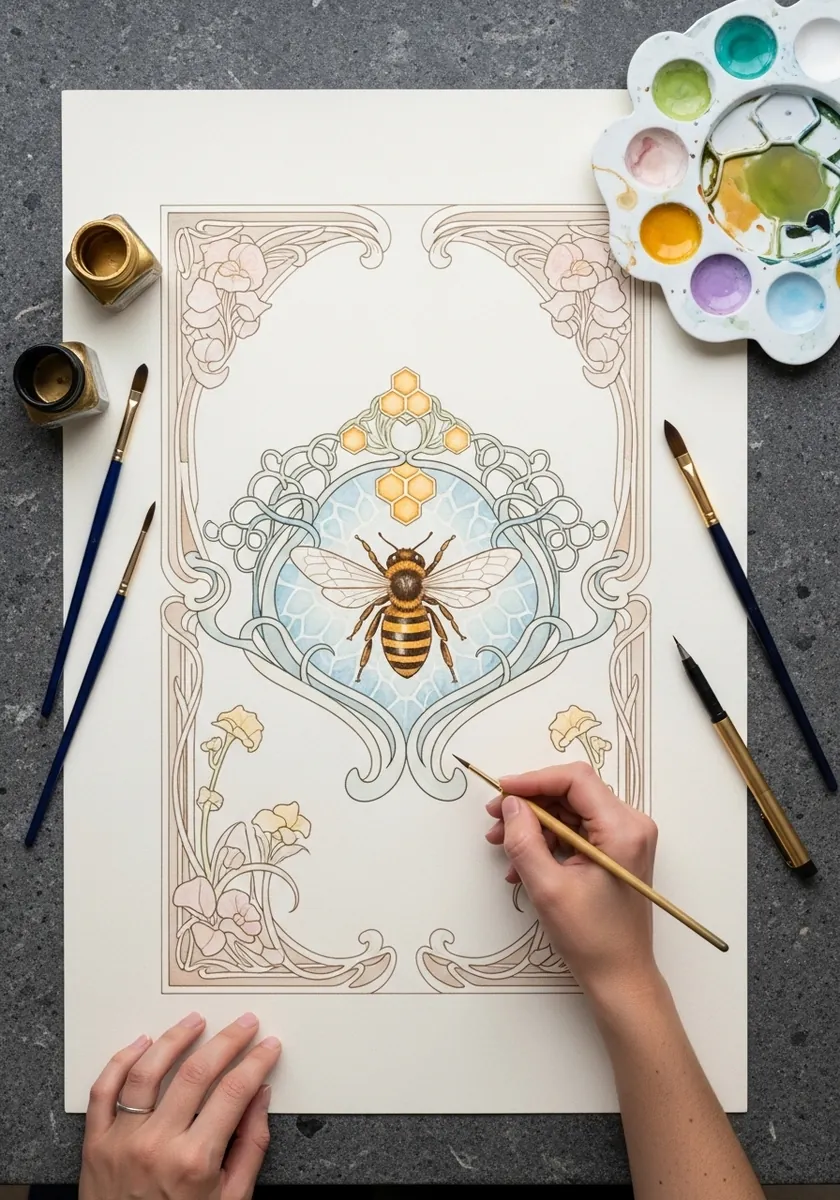
Nouveau borders are all about continuous curves that never quite close. Draw the frame first in one flowing weight, keep the interior pale and open, and let a few tendrils cross inward past the border line so the frame and the center lock together as one design.
12. Charcoal Wild Hive with Swarming Bees
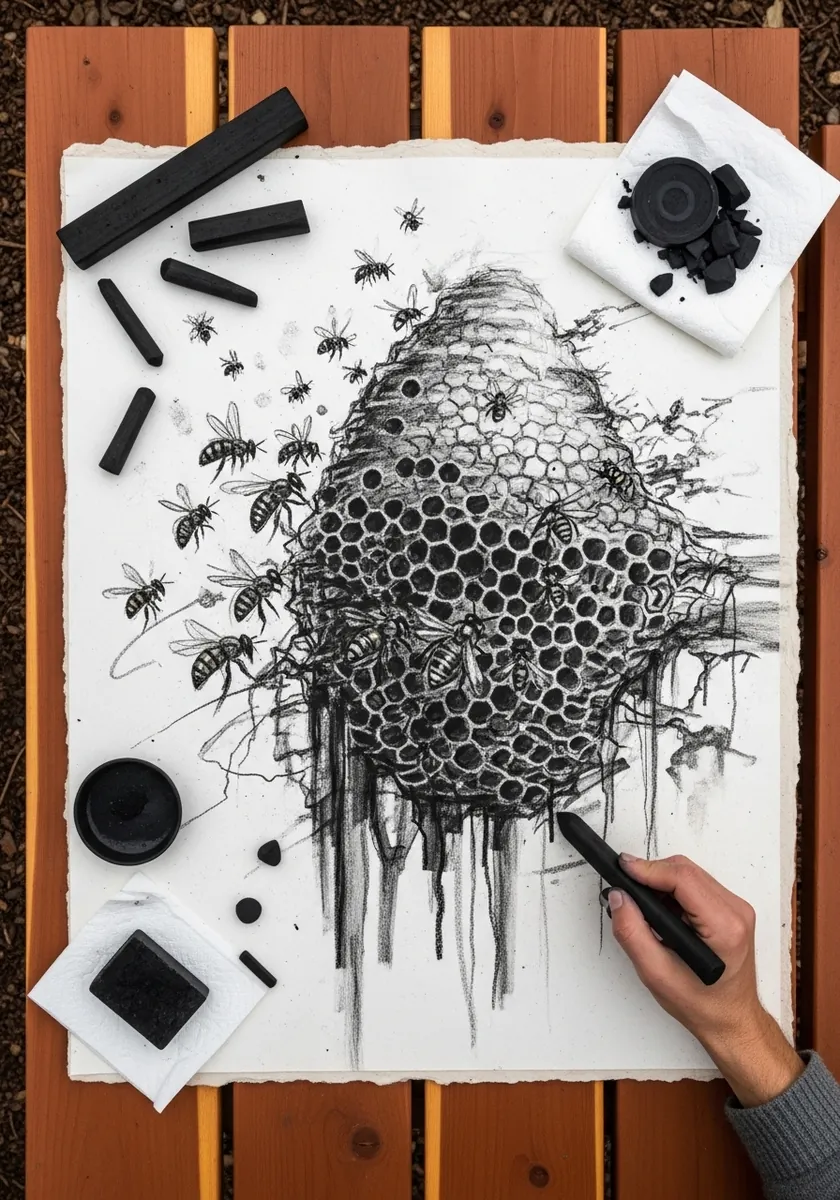
Charcoal suits a swarm because it smudges. Draw the hive solidly with the tip, then use the side of the stick for the blur of movement around it, and finally add a dozen sharp bees at the outer edges. The contrast between smudge and sharp reads instantly as motion.
13. Kawaii Cartoon Bee with a Honey Dipper
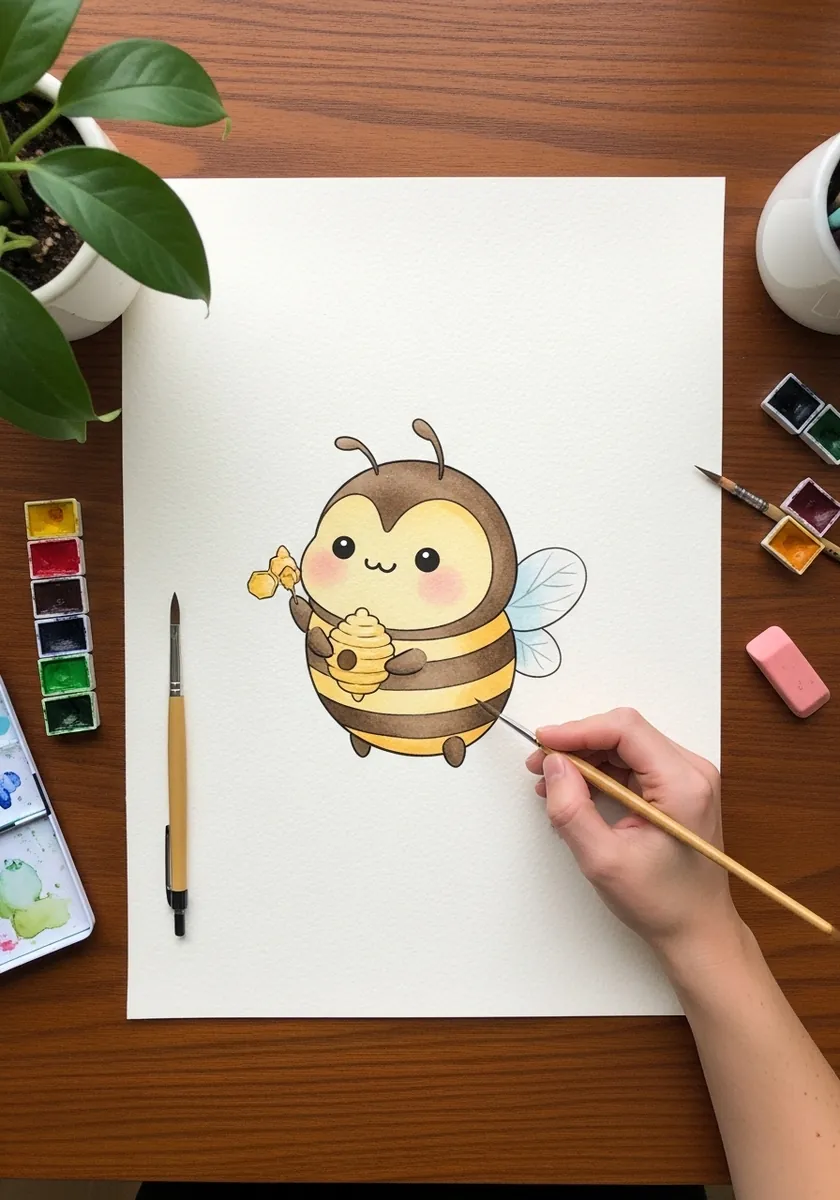
Cute design is a proportion exercise. Push the head large, the body round, the limbs tiny, and set the eyes low and wide apart. Two stripes are enough, since adding more instantly makes the character read as an adult insect rather than a small friendly one.
14. Study Sheet of Bees Over Color Blocks
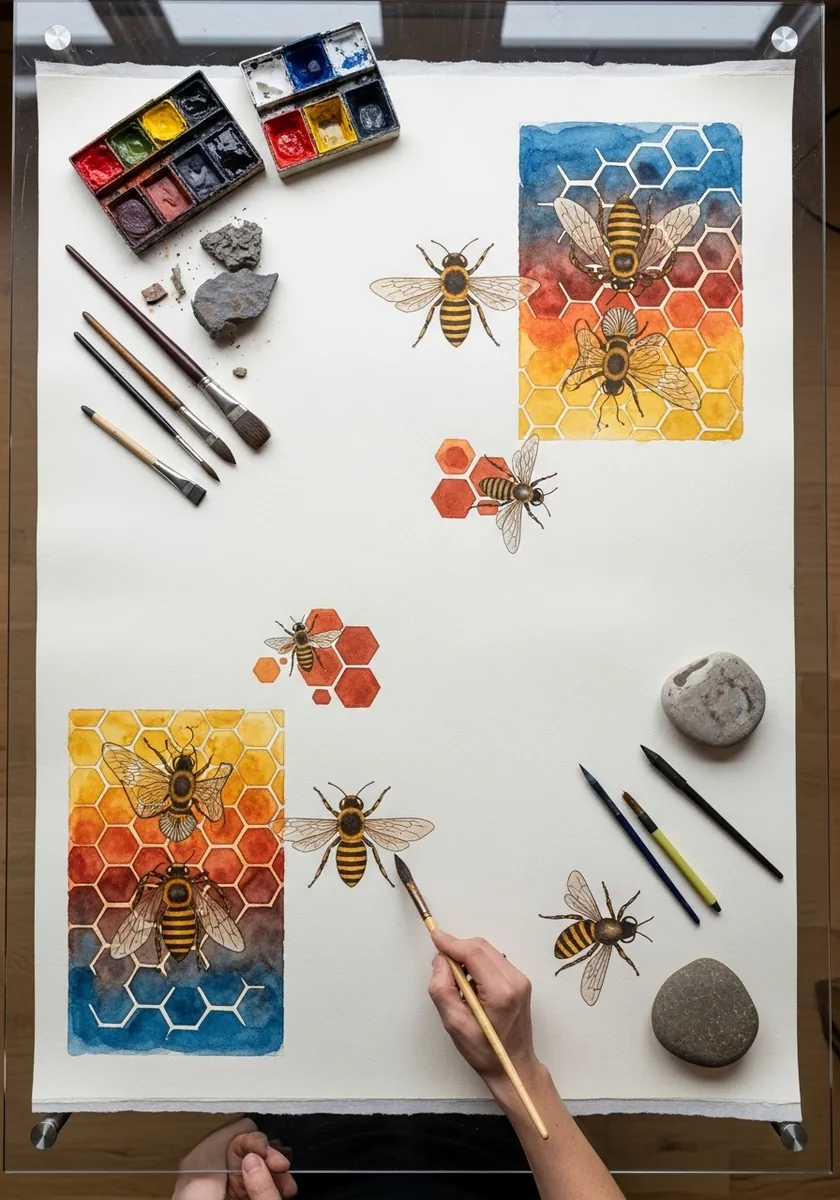
Repeating one subject across a page is how you actually learn it. Paint two or three color blocks first as backgrounds, then draw the same bee at different angles across them. By the fourth attempt you will be drawing from memory rather than copying.
15. Isometric Cube Comb with a Single Bee
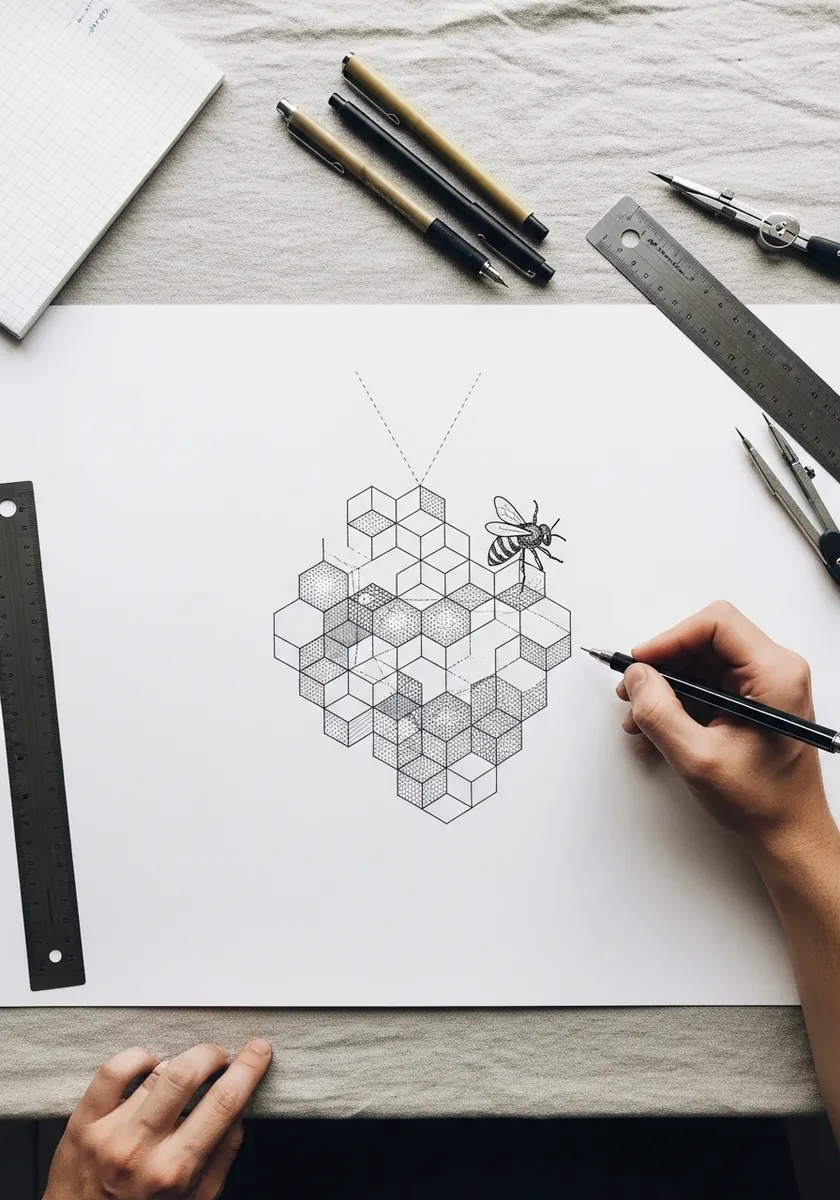
Hexagons and isometric cubes are the same shape read two ways, which is a genuinely useful thing to notice. Rule an isometric grid, shade three faces of each cube in three different values, and the flat comb will suddenly read as a stack of solid blocks. The same trick drives these 3D pencil drawing studies.
16. Folk Art Hive Panel with Patterned Border
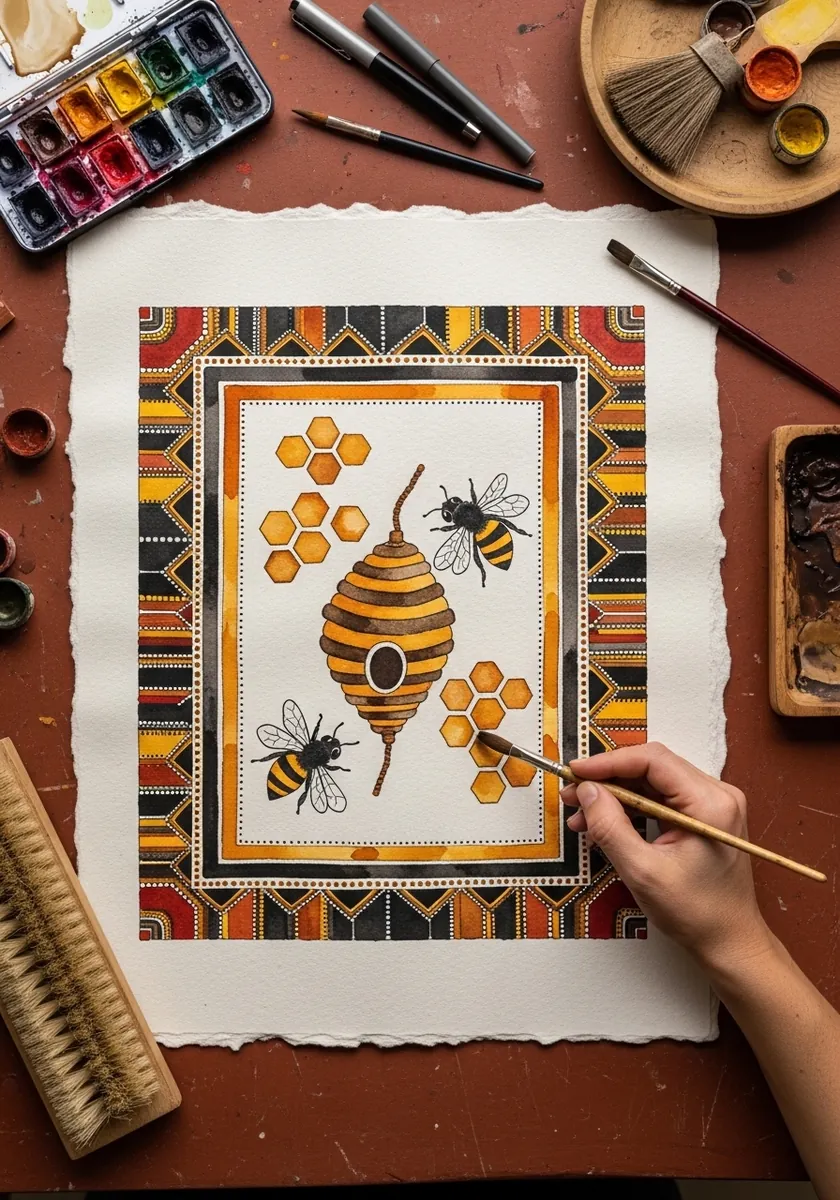
Folk design works by repeating a small vocabulary. Choose four motifs at most for the border and reuse only those all the way around. Keep the hive stylized into simple stacked bands rather than rendering it, so the whole panel stays flat and decorative.
17. Hive Tree with Bees and Flowers
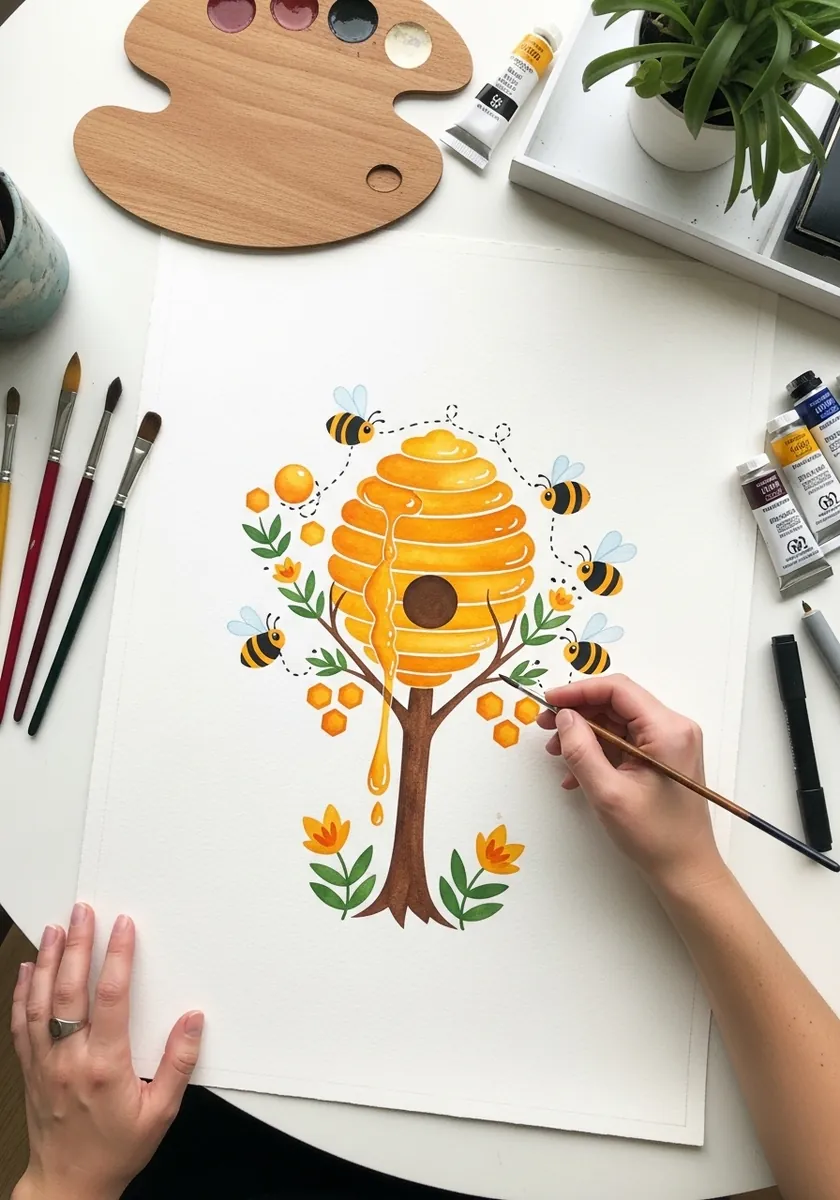
Storybook illustration needs a clear silhouette above all else. Design the tree and hive as one readable shape first in solid black, check that it still reads at thumbnail size, and only then add the color, flowers and flight paths on top of that skeleton.
18. Manga Style Bee Warrior with Hive
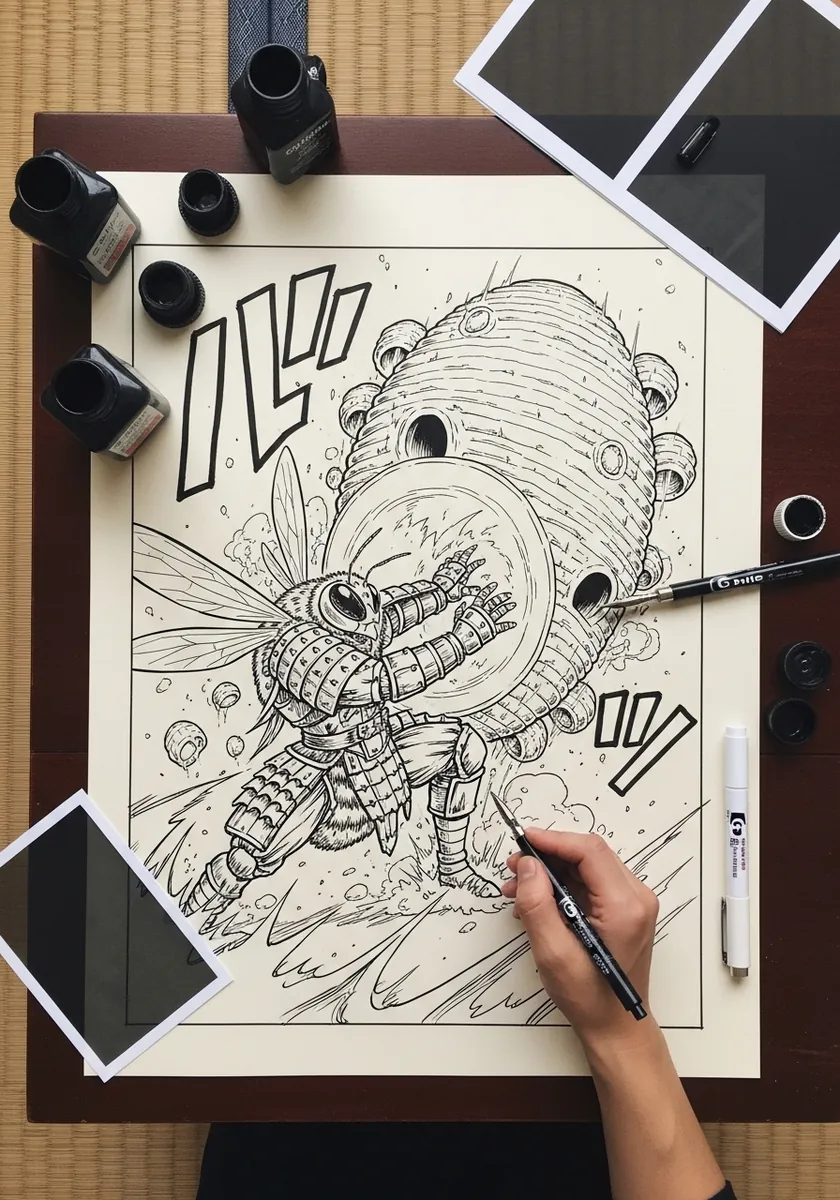
Character design borrows from real anatomy and then exaggerates it. Keep the four wings and the segmented abdomen so it still reads as a bee, then push the proportions and add armor. Rule the speed lines from one point behind the figure so the movement has a direction.
19. Numbered Anatomical Bee Diagram
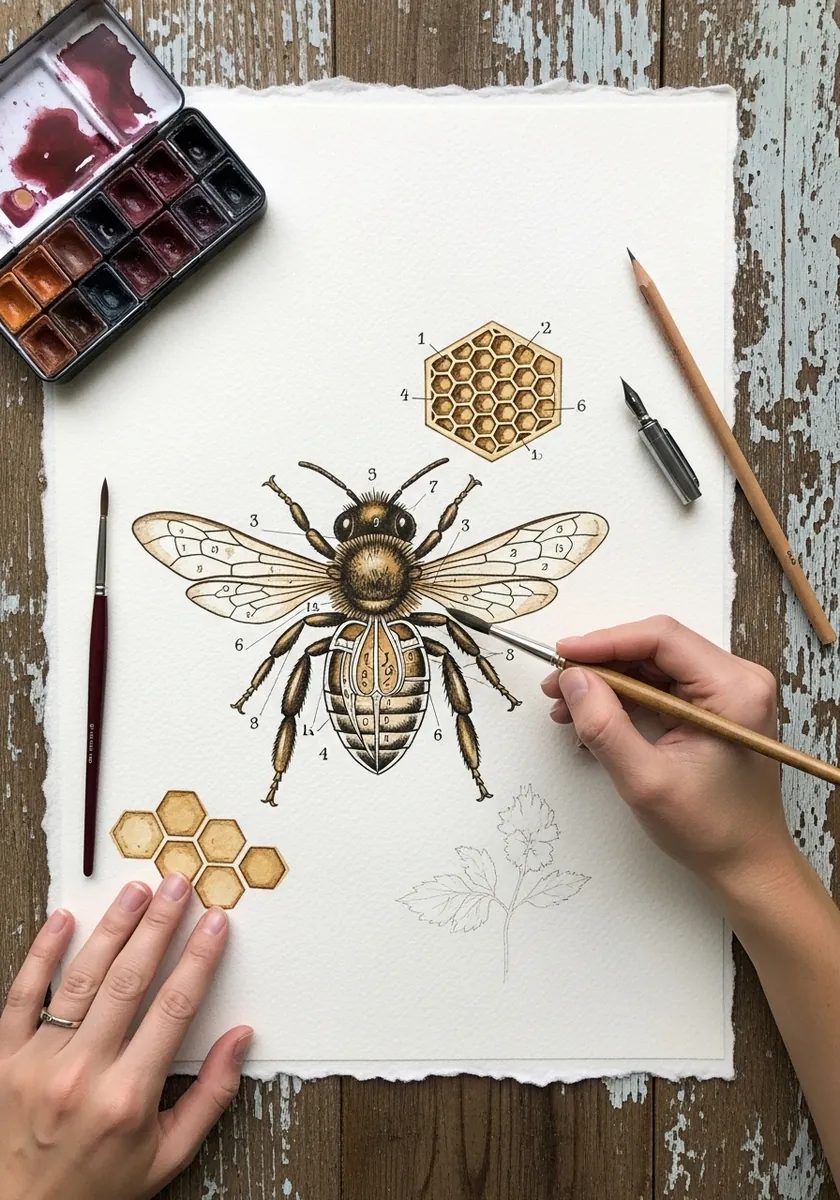
A labelled diagram forces you to understand what you are drawing. Number the head, thorax, abdomen, the two pairs of wings and the pollen basket on the hind leg. Getting the four wings correct here will fix that error in every bee you draw afterward.
20. Stained Glass Bee in Bright Panels
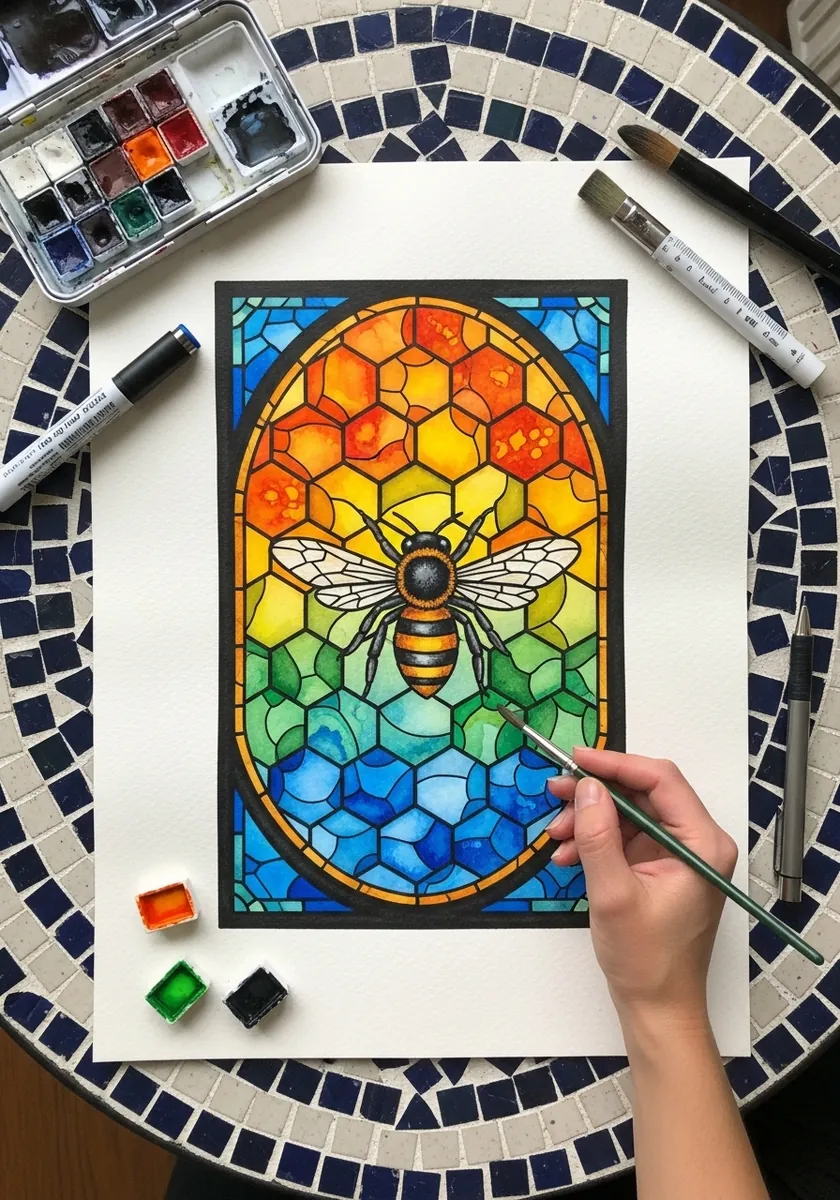
Stained glass is a black line exercise disguised as a color one. Draw every lead line first at a consistent heavy weight, then fill each cell with a single flat color and never blend between two panels. The black grid holds all those bright colors apart.
21. Golden Hour Comb with Deep Shadow
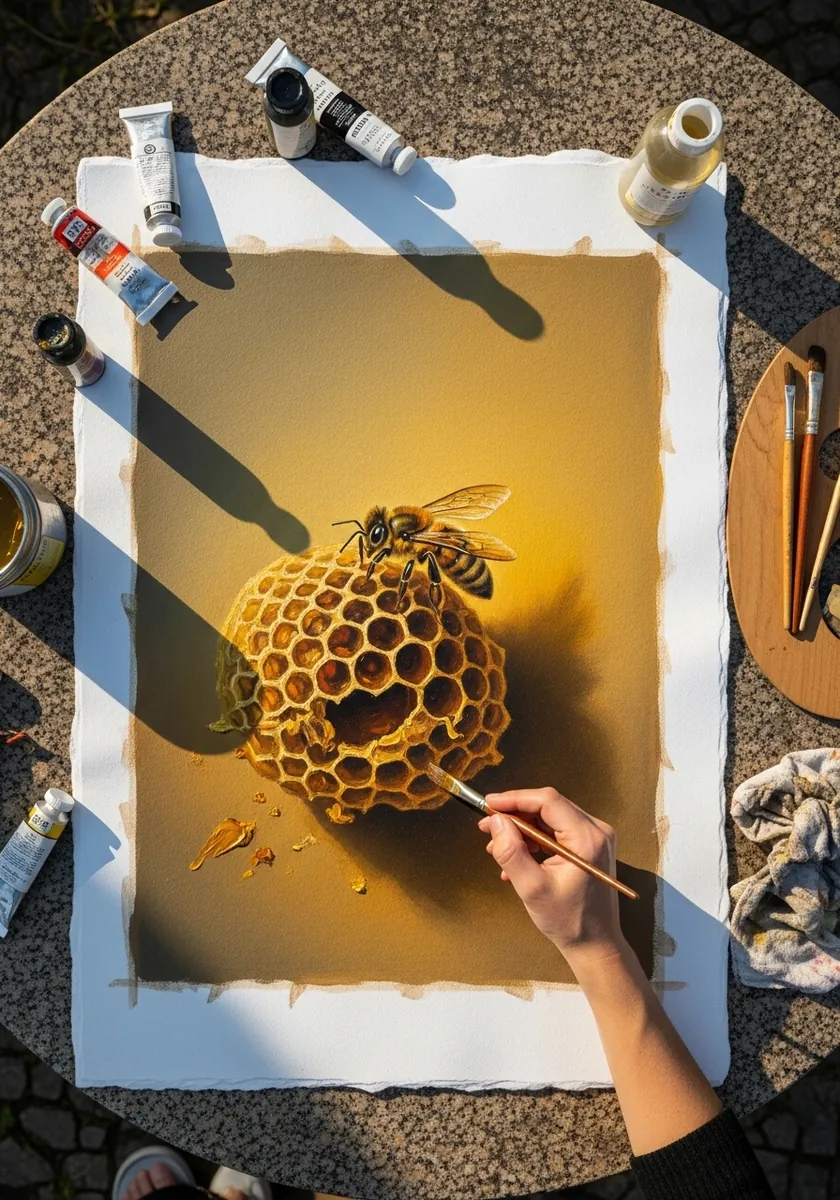
One strong light source turns a flat subject solid. Put your brightest yellow along the lit upper left of the comb, drop the opposite side into deep amber shadow, and cast one clear shadow onto the surface below so the ball sits rather than floats.
22. Bold Marker Bee with Flat Shadow
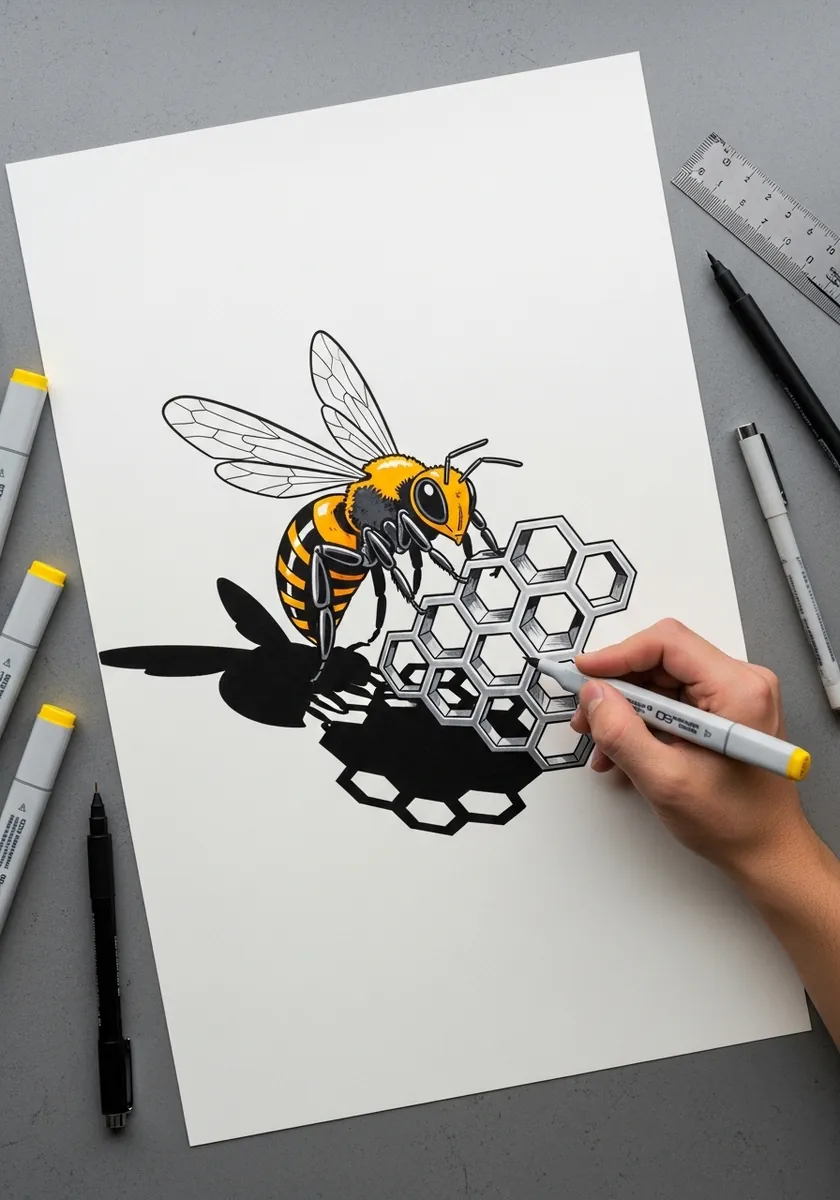
Flat graphic work depends entirely on line weight. Ink the bee heavily, keep the hexagons in a much finer line, and lay the shadow as a solid black silhouette with no interior detail. Three weights of black are enough to build the entire hierarchy.
23. Steampunk Mechanical Bee
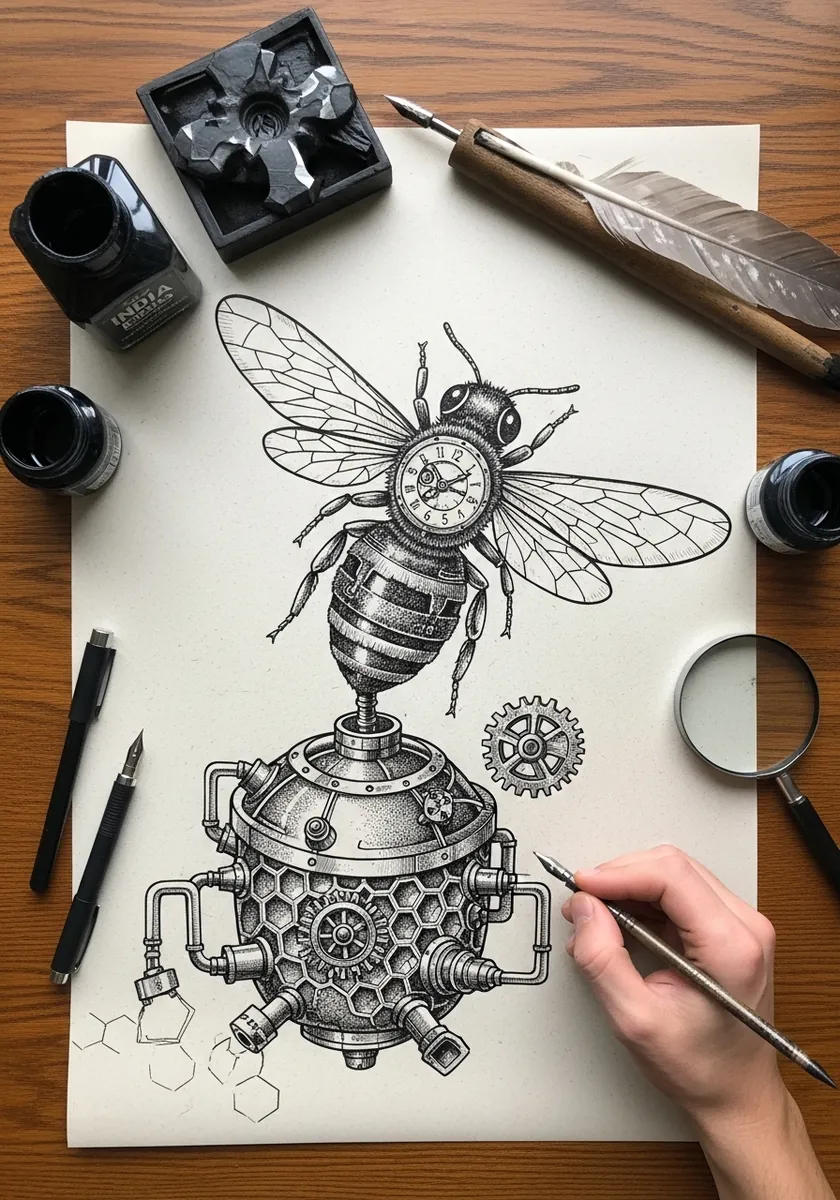
Mechanical creatures need real anatomy underneath the machinery. Sketch the bee properly in light pencil first, then replace each body section with gears and pipes while keeping the joints where actual joints would be. The wings stay organic, which makes the rest read as built.
24. Minimal Spiral Wash with a Tiny Bee
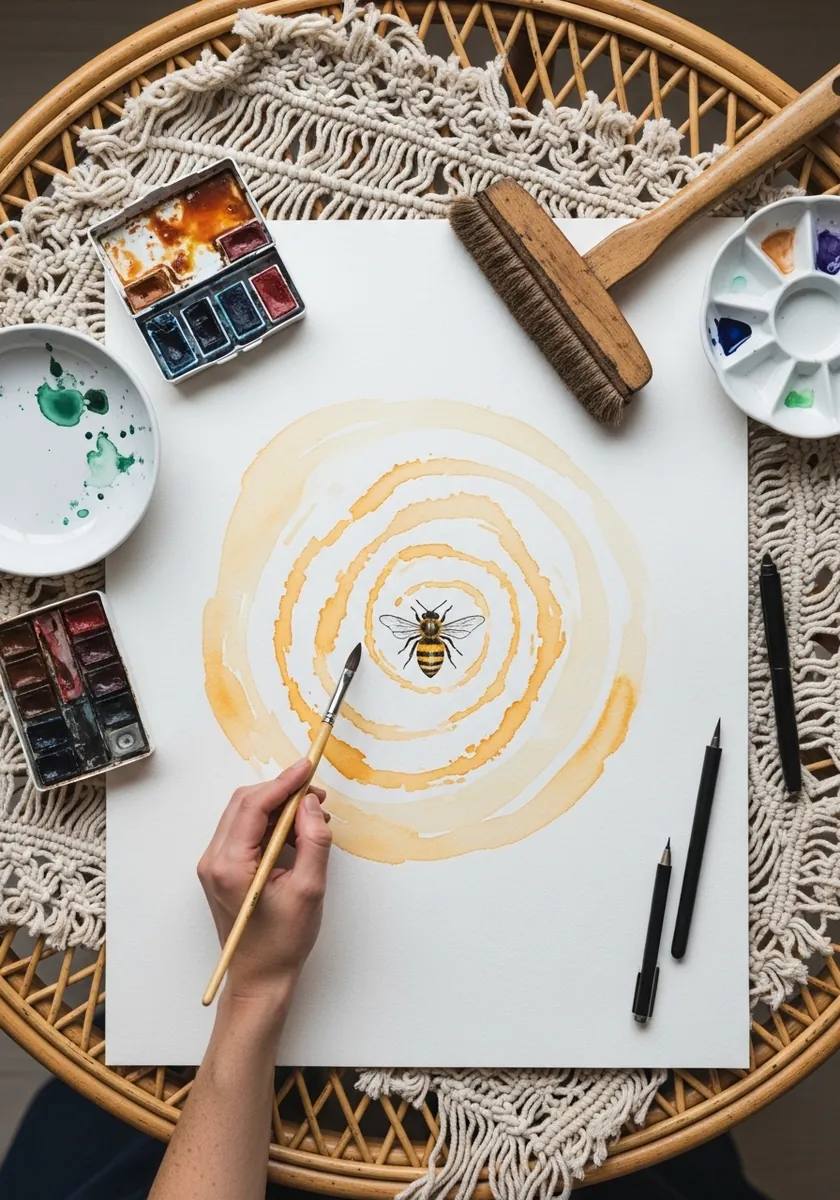
Restraint is the whole idea here. One loose spiral of dilute yellow and one small, carefully drawn bee. Because there is almost nothing on the page, the bee has to be accurate, so this is a better test of your drawing than a busy composition would be.
25. Glowing Gold Bees on Black Paper
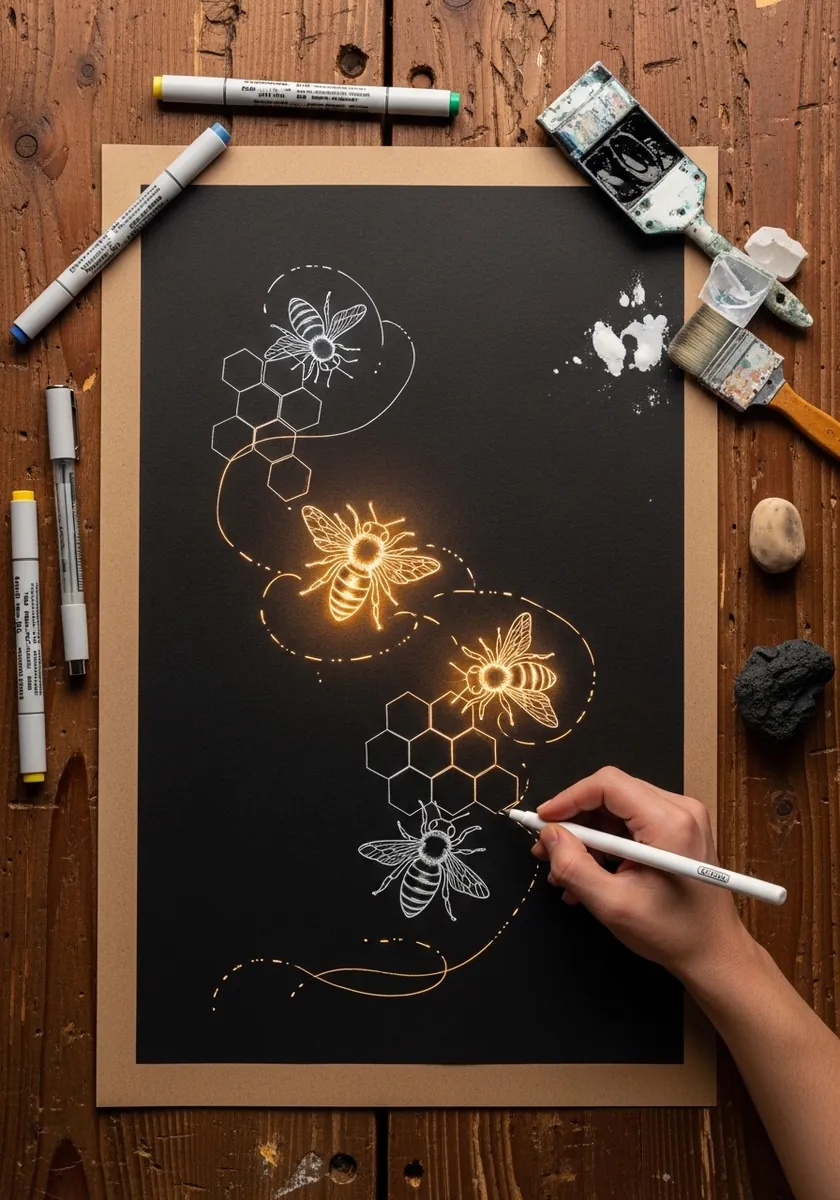
Working on black reverses your normal order, since you add light instead of shadow. Use metallic gold only on two or three bees to create focus, leave the rest in plain white line, and let the flowing dotted flight path connect them across the page.
26. Colored Pencil Bee on Sunlit Comb
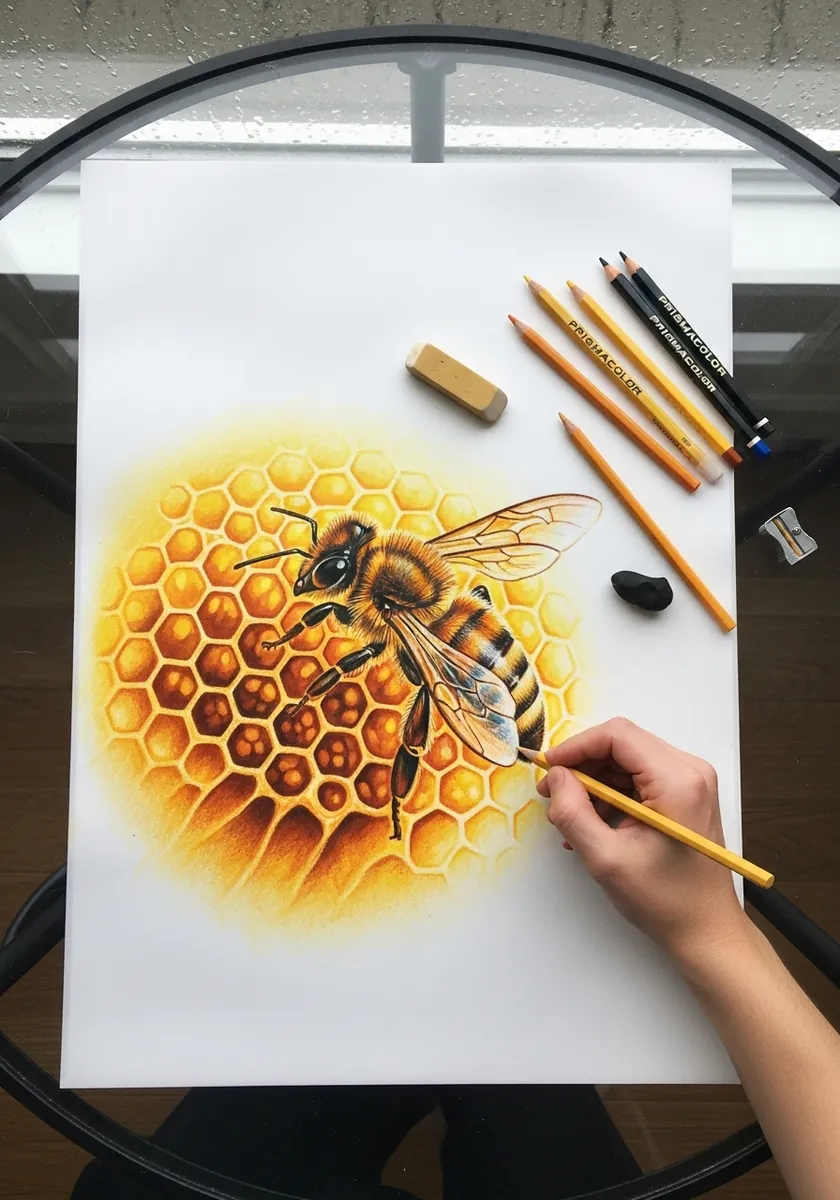
Colored pencil rewards patience. Layer four or five light passes rather than pressing hard once, and shift the hue slightly with each layer, from lemon through gold to burnt umber in the deepest cells. Burnishing the highlights last with a colorless blender gives the wax a real shine.
27. Islamic Geometric Bee Rosette
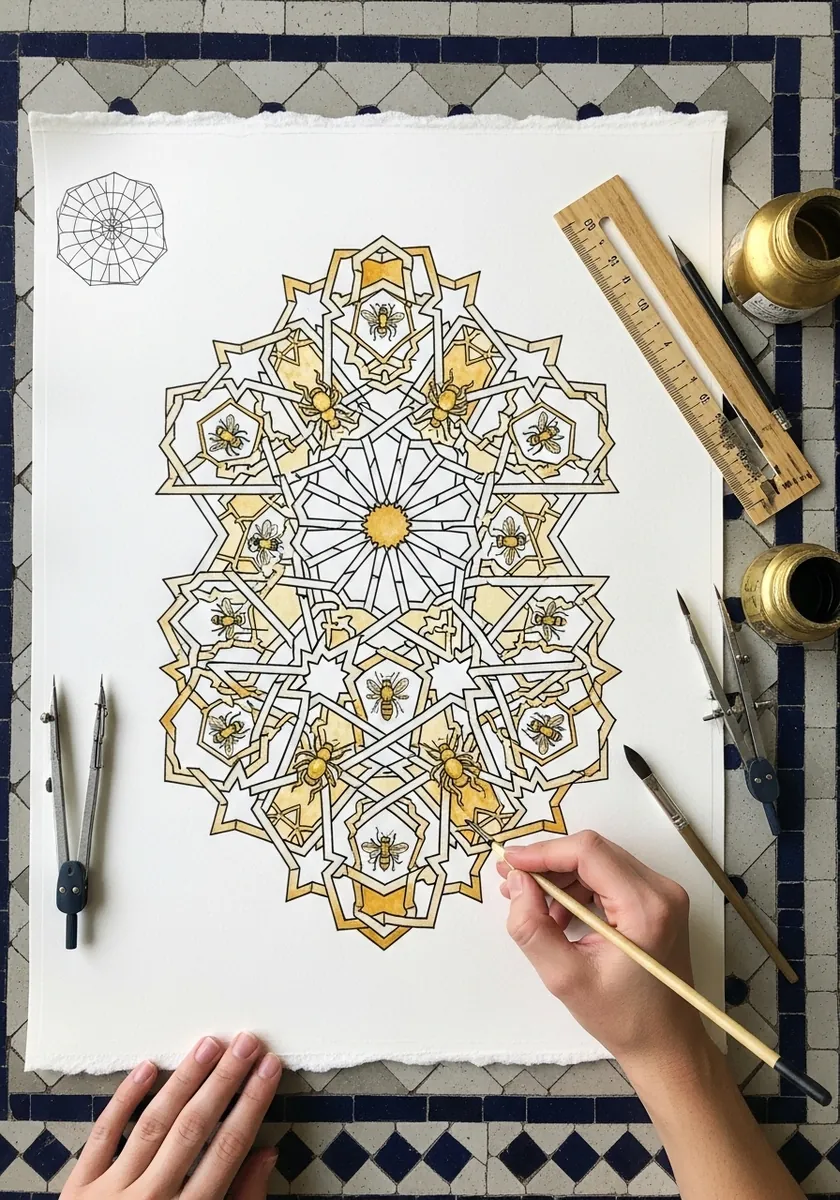
This is compass and ruler work, not freehand. Construct the underlying circle and its divisions accurately, build the interlacing star pattern from those guides, and only place the bees once the geometry is finished. Any error in the construction will be obvious once the pattern closes.
28. Graffiti Bee with Marker Lettering
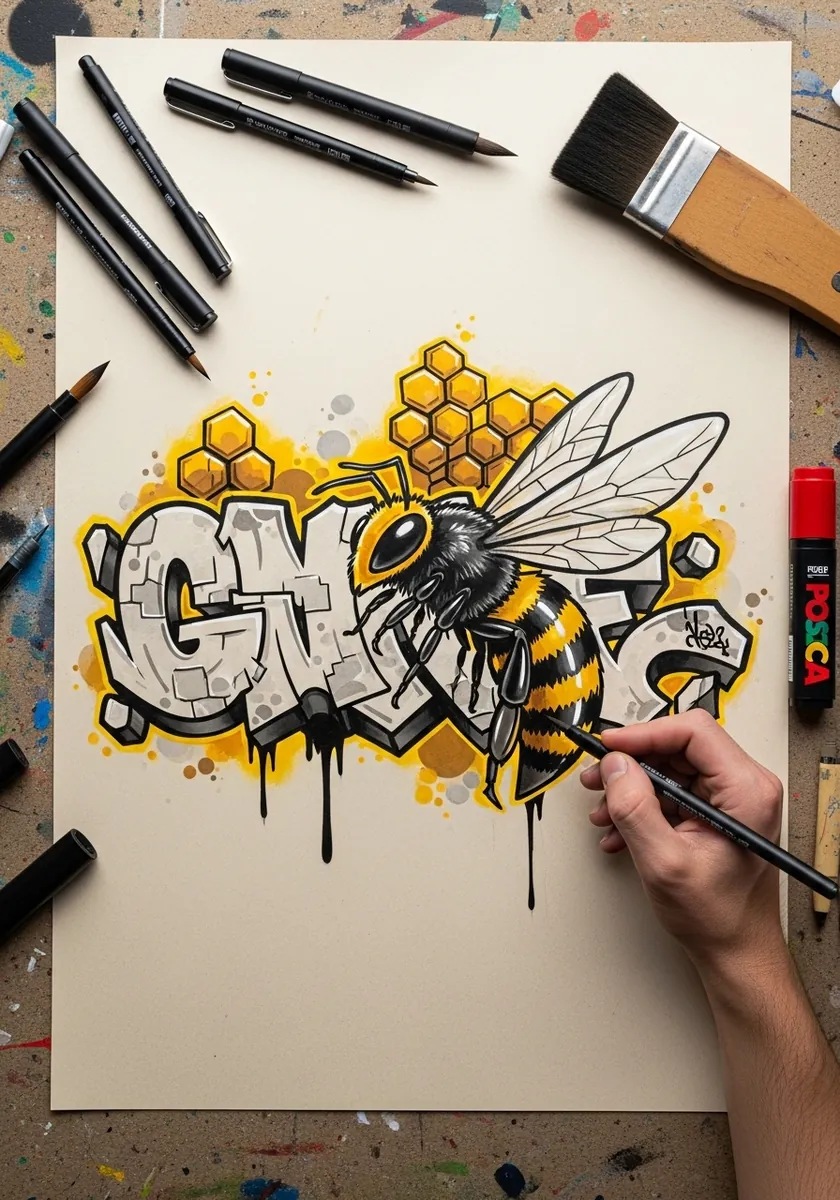
Character and lettering must share one perspective. Extrude the letters in a single direction, then place the bee so it overlaps two of them, which fuses the two elements. The same extrusion rule runs through these 3D typography drawing ideas if you want to push the lettering further.
29. Heraldic Gold Leaf Bee Panel
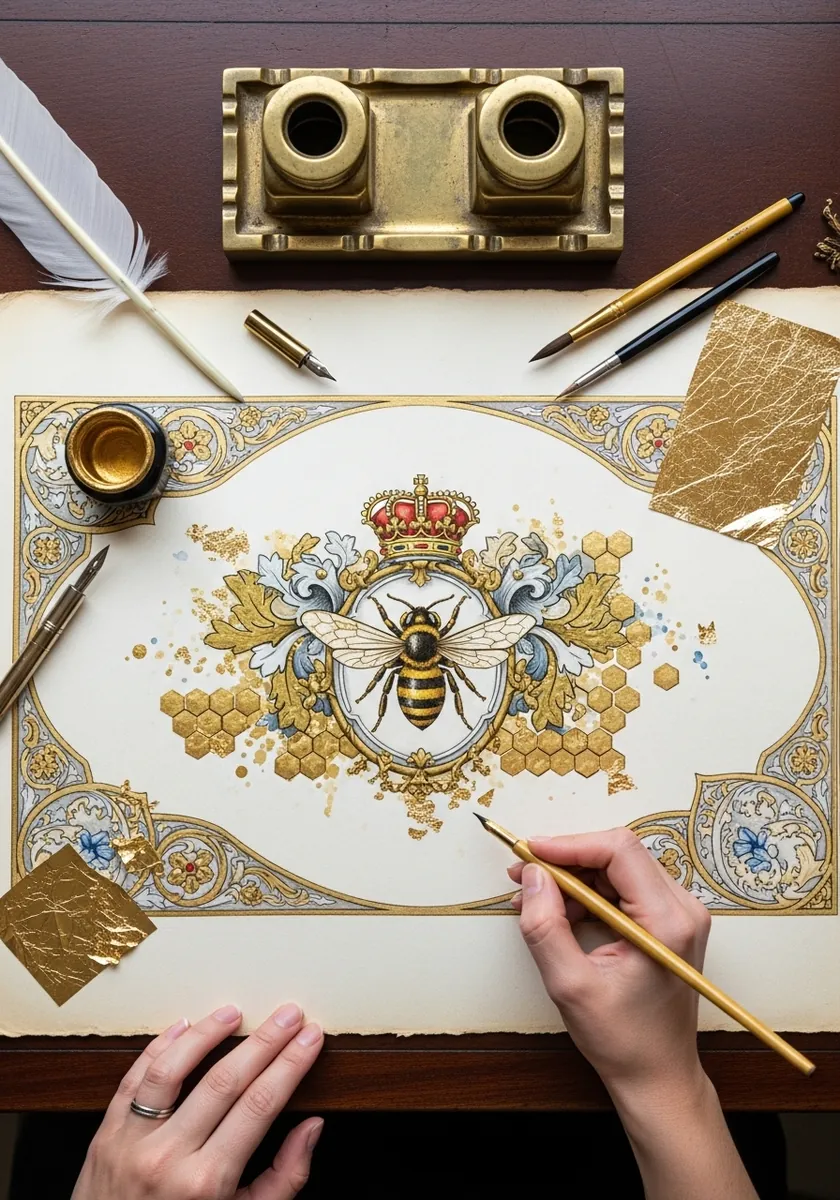
Gold leaf demands everything else stay restrained. Draw the ornament in fine blue and red line only, keep large areas of the paper completely empty, and reserve the metallic for the crown, the bee and a few honeycomb cells. Too much gold and the panel stops feeling precious.
30. Ink Wash Landscape with Distant Bees
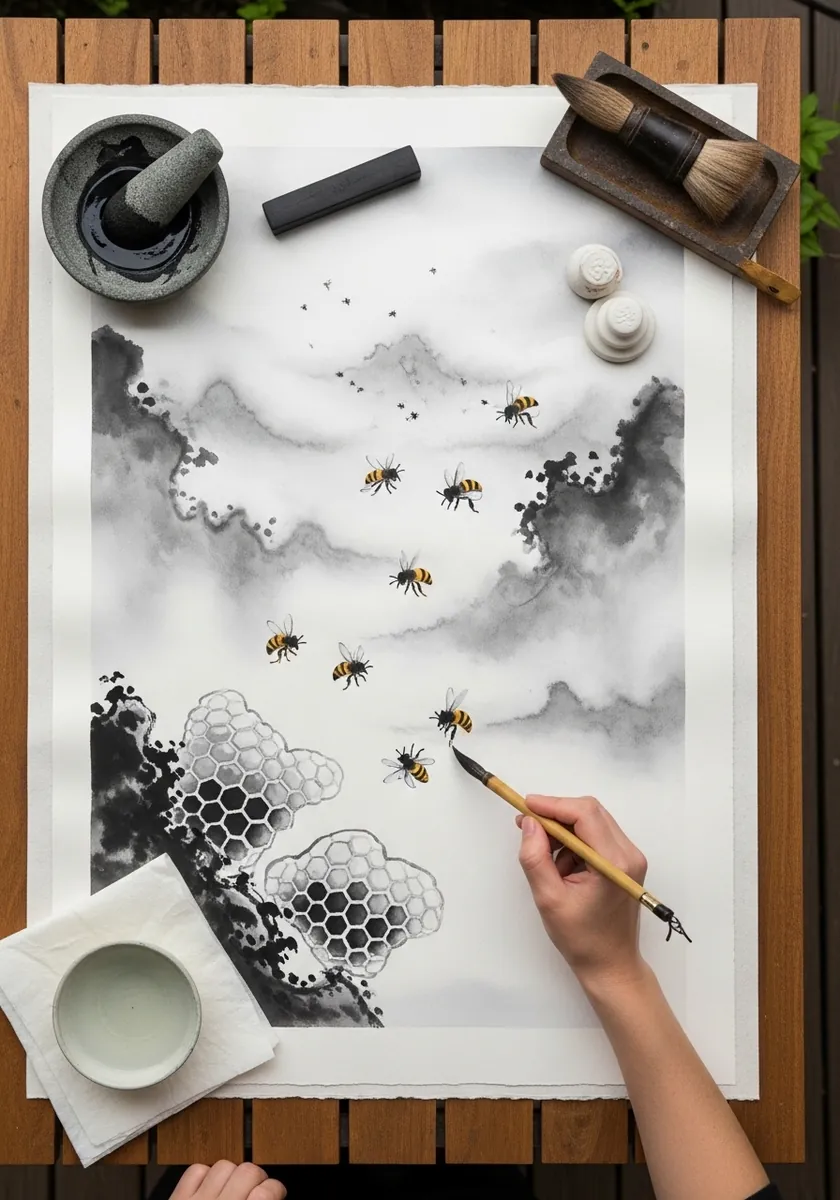
Atmospheric depth comes from value alone here. Paint the nearest rocks in the darkest ink, wash the middle distance gray, and leave the far mist as bare paper. Scatter the bees smallest and palest toward the back so they follow the same depth rule.
31. Splash Watercolor Comb with Flying Bee
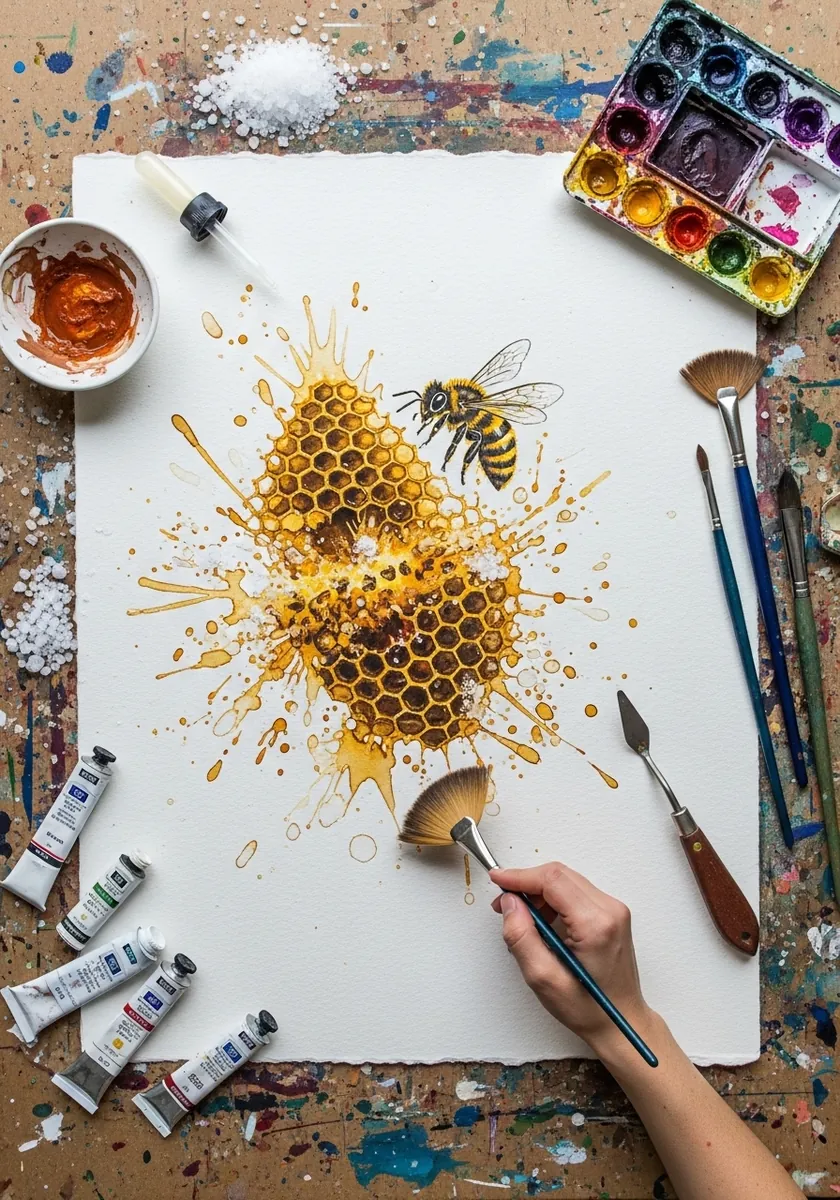
Finish with something loose. Paint the comb reasonably tightly in the center, then attack the edges with splatter and let the yellow throw itself outward. Because the middle stays controlled, the mess around it reads as energy rather than as a mistake.
Frequently Asked Questions
How do you draw a honeycomb pattern?
Draw one regular hexagon, then build outward so every new cell shares a complete wall with the one beside it. Three walls meet at each corner at 120 degrees. Use a ruler or stencil, because freehand hexagons drift out of shape within a few rows.
How many wings does a bee have?
A honeybee has four wings, two forewings and two smaller hindwings, one pair on each side. Most beginner drawings show only two, which is the commonest anatomical error in bee art. The wings are translucent, so let the body color show faintly through them.
What colors work best for bee and honeycomb art?
A warm yellow through raw sienna to burnt umber covers the honeycomb and the bee. Add one cool note, a blue shadow or a violet background, because an all-warm page reads as muddy. Keep true black for the abdomen bands and the eyes only.
Should I draw the bee or the honeycomb first?
Draw the honeycomb grid first, lightly and completely, then place the bee over it. Working the other way round forces you to fit hexagons around the insect, and the cells end up irregular. Erase the grid where the bee sits before you ink.
What is the easiest bee art idea for beginners?
A single bee on a loose watercolor honeycomb wash. You only need a handful of accurate hexagons at the center, the wash hides any irregular cells at the edges, and the bee itself is two ovals, four wings and a few stripes.
References and Further Reading