You do not need a set of twelve pencils. One HB used at three different pressures gives you light construction lines, a medium outline and dark accents, which is the entire range most beginner drawings need.
Key takeaways
- ["Use one HB at three pressures: light to construct, medium to outline, hard to accent", "Treat the eraser as a drawing tool for lifting highlights, not only for mistakes", "Build every subject from simple shapes before committing to any outline", "Draw long lines from the shoulder and short ones from the fingers", "Leave the darkest mark on the page until the very last minute"]
Most beginners buy a tin of twelve pencils and still end up with flat drawings. One HB used at three distinct pressures does almost everything. A barely visible touch gives construction lines, a normal grip gives the outline, and real pressure gives the accents; that range is what makes a drawing look finished.
The eraser is the other half of the tool kit, and it is not for mistakes. A kneaded eraser lifts graphite off the paper, so it can draw highlights back into a shaded area. Shape it to a point, dab rather than rub, and you can pull light out of a shadow in one movement.
One habit fixes wobbly lines faster than practice does. Draw long lines by moving your whole arm from the shoulder, and short ones with your fingers. Fingers can only travel a couple of centimeters smoothly, which is exactly why long strokes drawn from the wrist always curve.
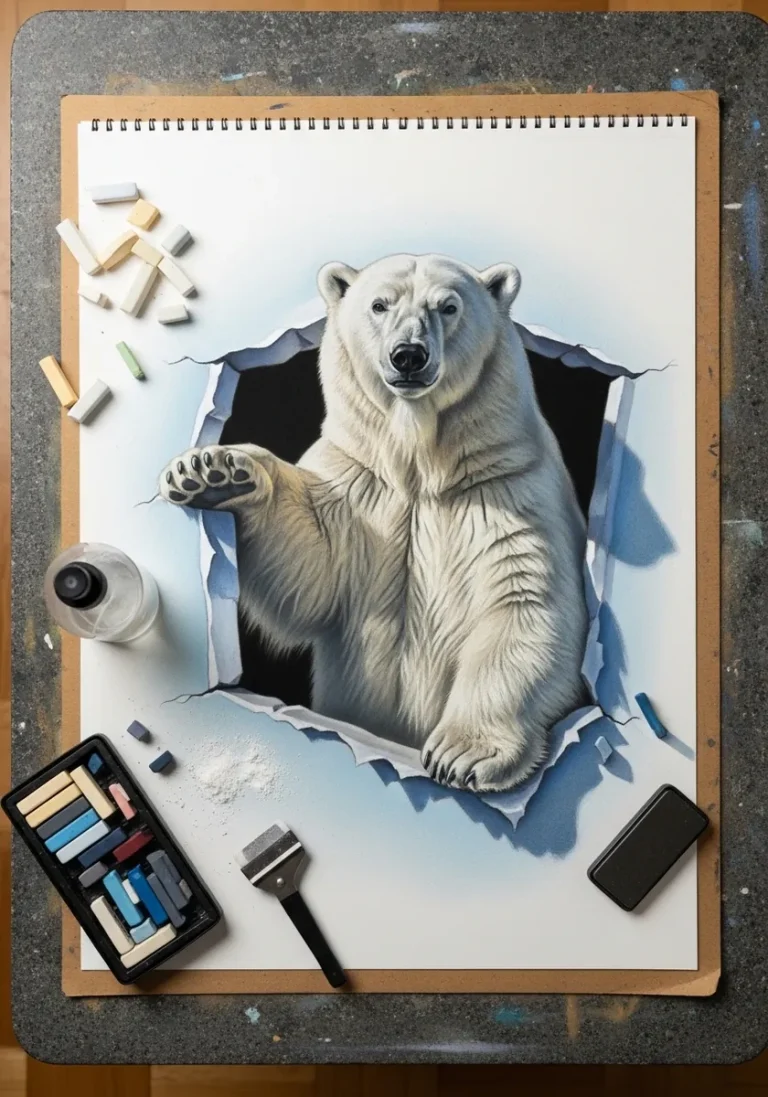
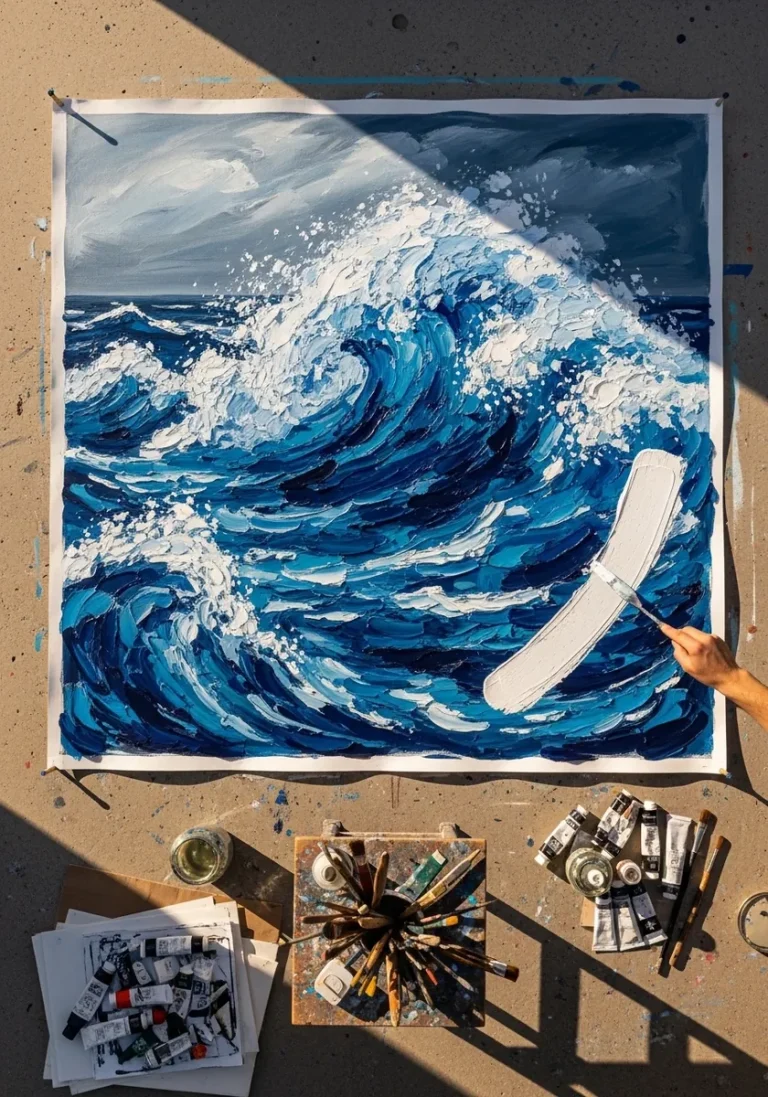
The forty subjects below run from a sunflower and an ice cream cone to a bicycle, a lighthouse and a treehouse, roughly in order of difficulty. For depth and shading work see 3D pencil drawing ideas, and for something simpler still, easy heart drawing for kids.
Compiled by the GS Art Zone editorial team. Last updated August 2026. Each idea is paired with the specific step that produces the effect, so you can go from the reference straight to paper.
What You Need Before You Start
- One HB pencil, which covers most of what a beginner actually needs
- A kneaded eraser, because it lifts graphite instead of scrubbing it away
- Smooth cartridge paper, since textured paper fights a hard pencil
- A sharpener you keep within reach, as a blunt point ruins fine lines
- A scrap sheet under your hand, to stop the drawing smudging as you work
1. Simple Sunflower
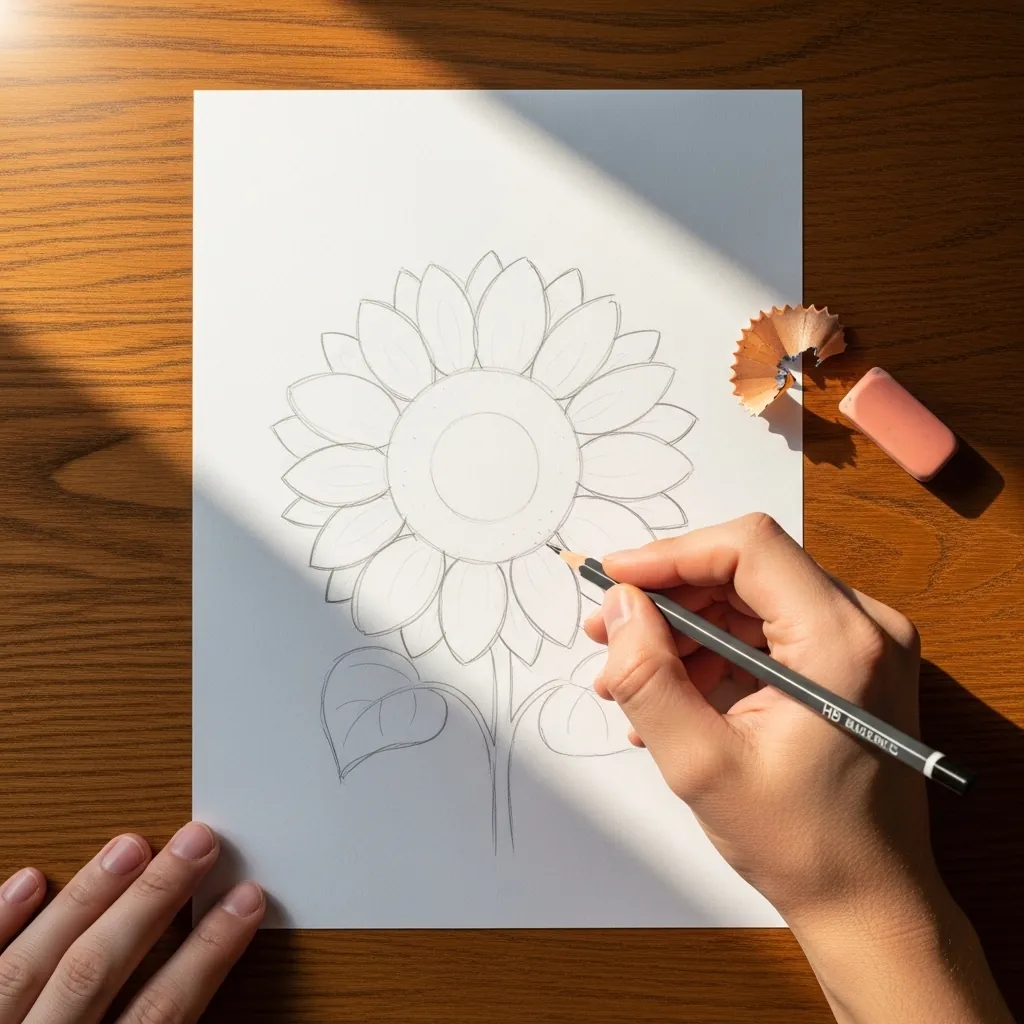
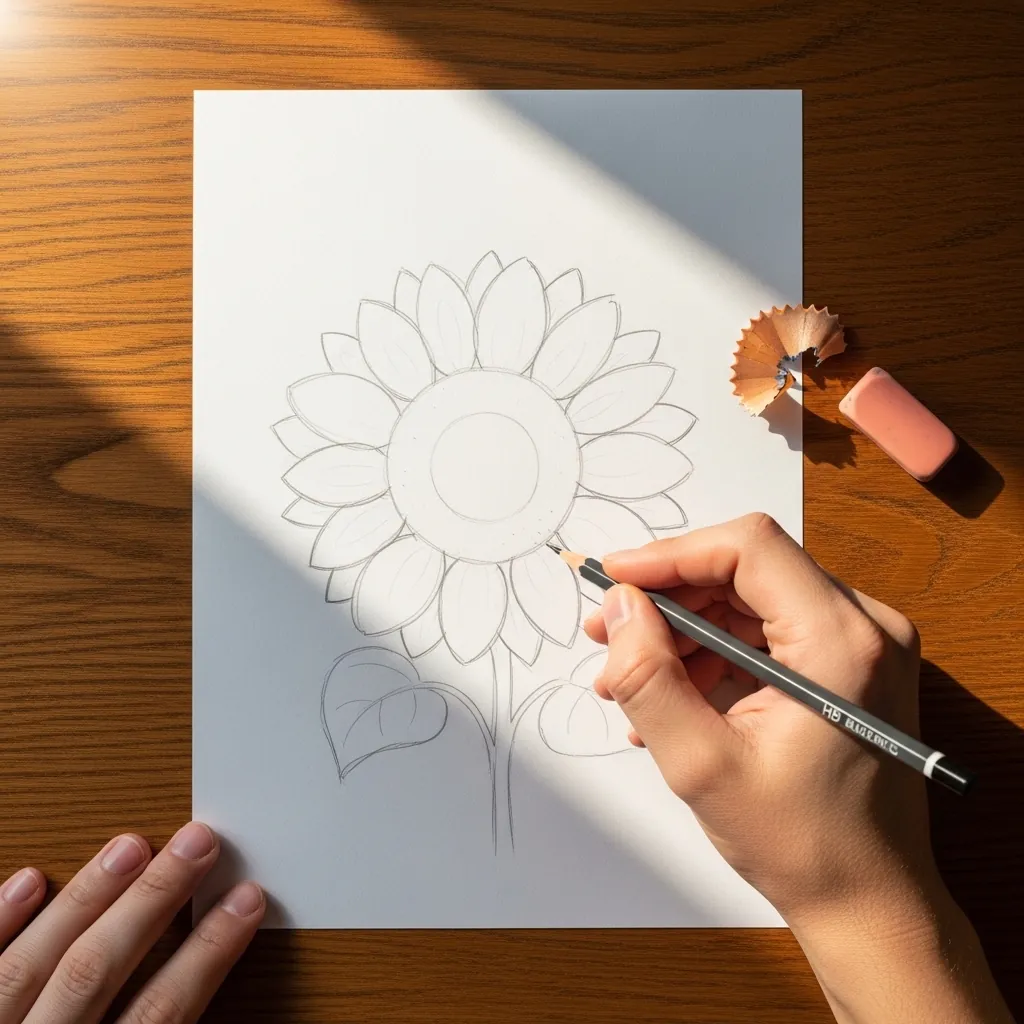
Flowers with a radial pattern are the ideal first exercise. Draw the center circle, then a second larger circle around it as a guide for how far the petals reach, and space the petals evenly around that ring before drawing any of them properly.
2. Cartoon Sitting Cat
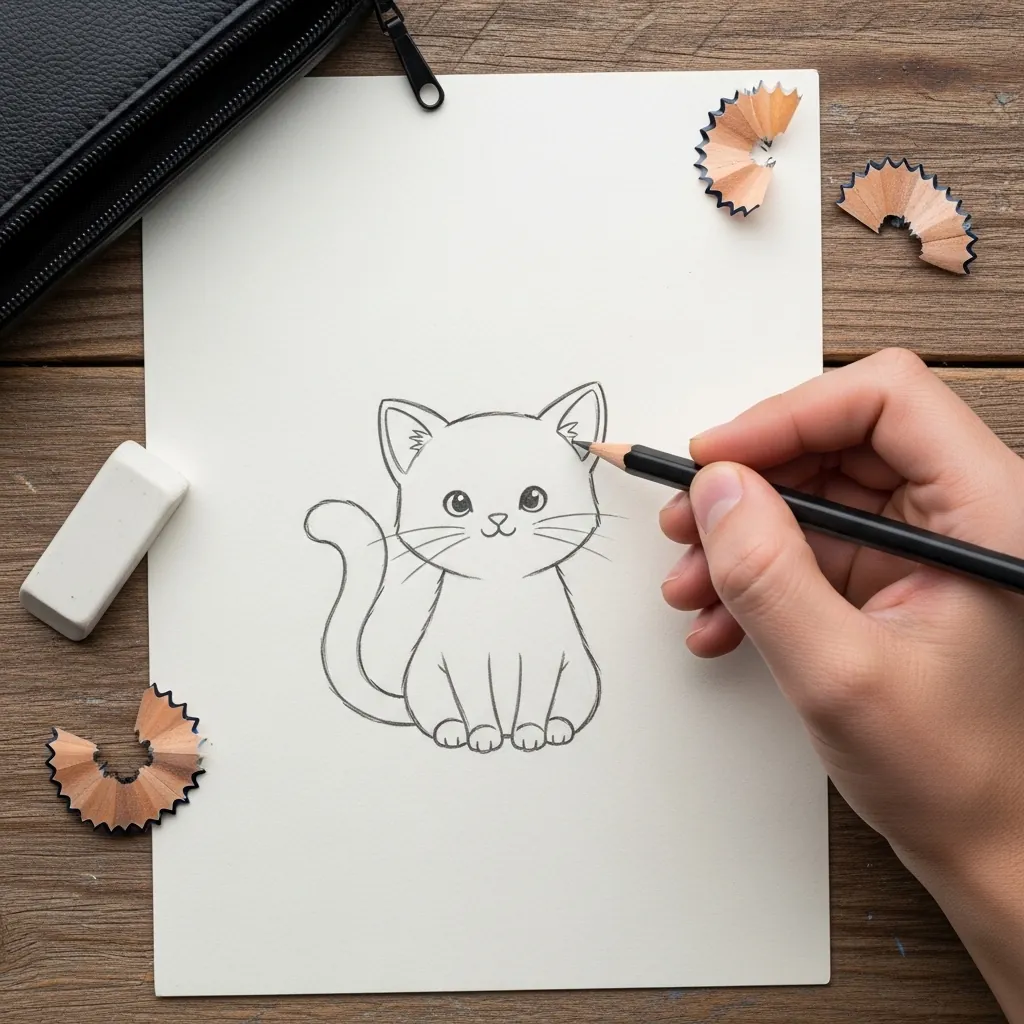
A sitting cat is a pear on top of a circle. Draw the round head first, hang a wider pear-shaped body beneath it, and curl the tail around the base so it overlaps the body; keep the ears as triangles that grow out of the head outline rather than sitting on it.
3. Two-Storey House
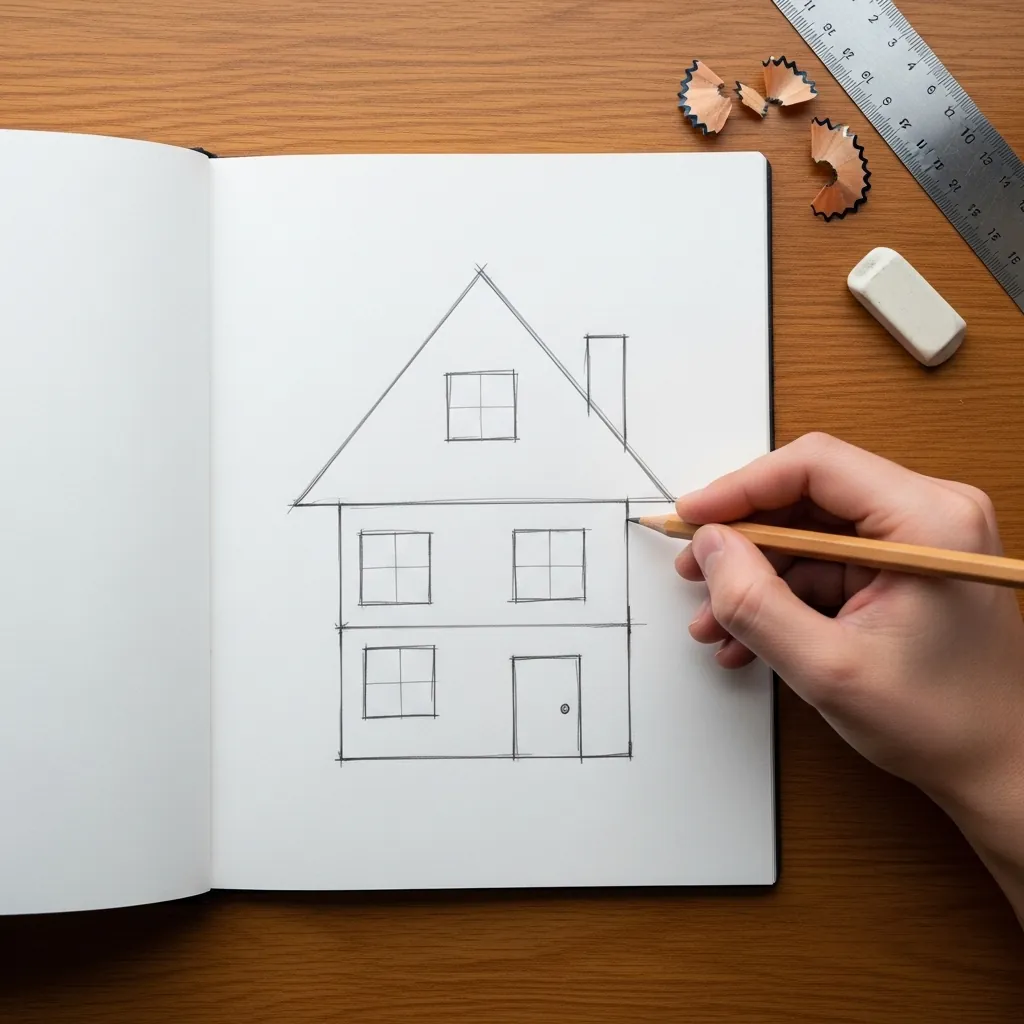
Buildings teach you to use a straight edge honestly. Rule the walls and roof, but draw the windows freehand so the picture keeps some life, and line every window up on the same horizontal levels. A house drawn entirely with a ruler looks like a plan.
4. Simple Landscape Scene
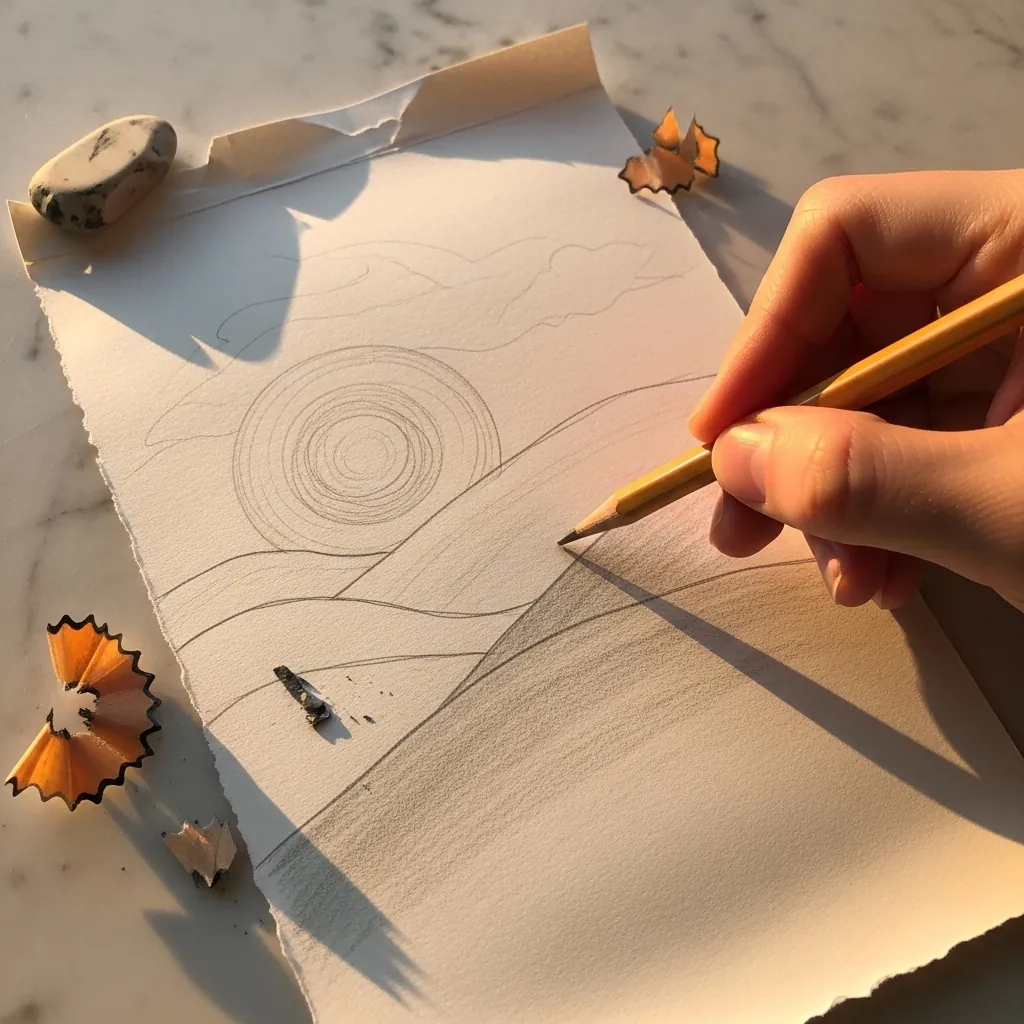
A landscape needs a horizon before anything else. Place it about a third of the way up or down the page rather than in the middle, then build the hills as overlapping curves that get smaller and fainter as they recede.
5. Ice Cream Cone
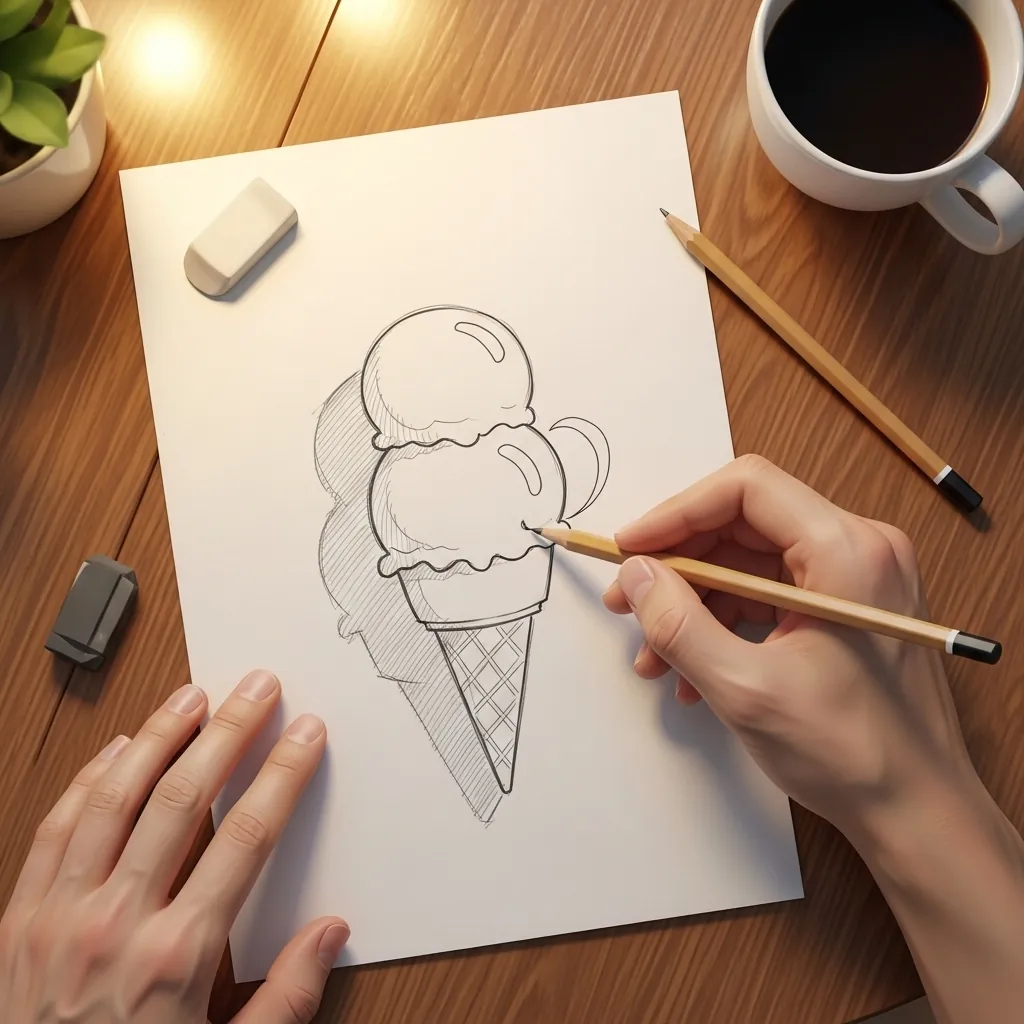
Scoops are circles that squash where they meet. Draw the cone as a narrow triangle first, sit the lower scoop on top so it slightly overhangs both sides, and let the upper scoop lean off center; a perfectly stacked cone looks fake.
6. Symmetrical Butterfly
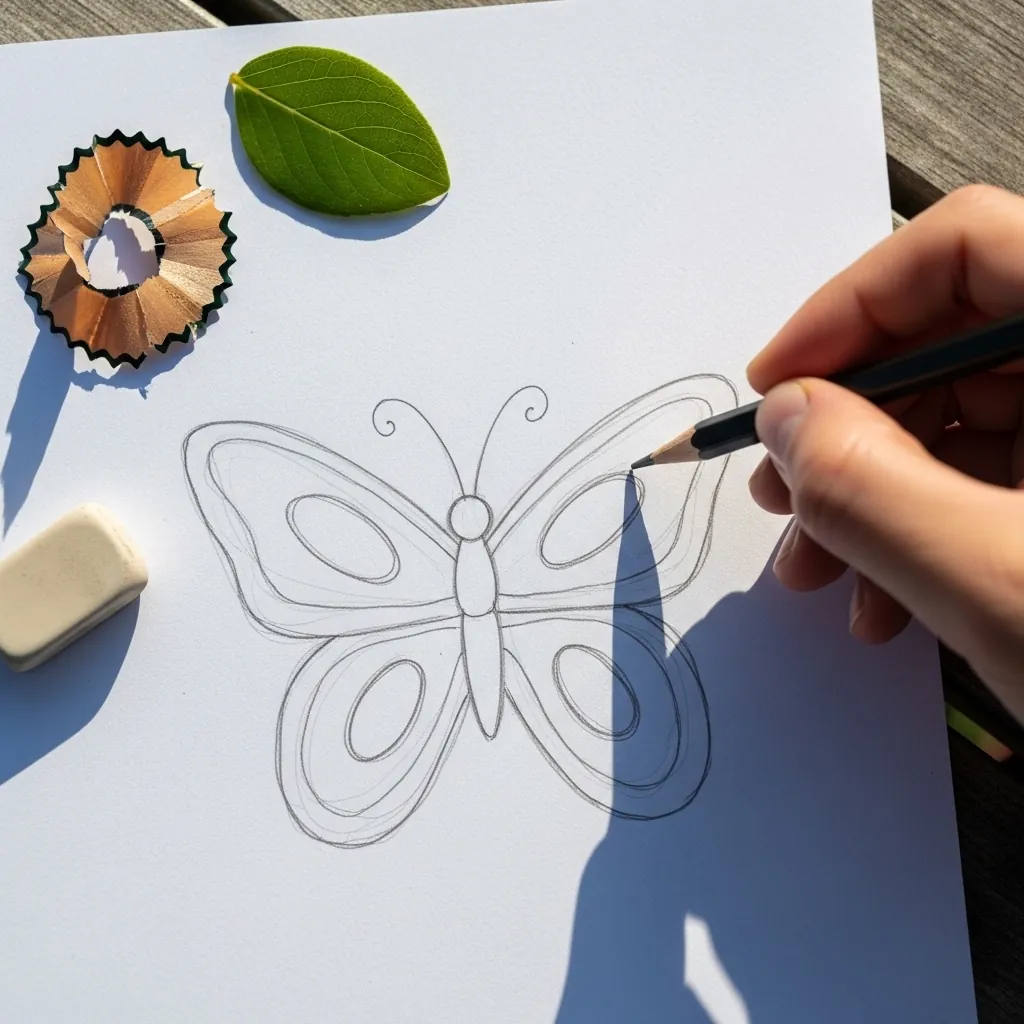
Symmetry is easier if you measure it. Draw the body as a vertical line down the middle, mark the wingtips on both sides at the same height, and build each wing between those marks. Check by turning the paper upside down.
7. Puppy Face
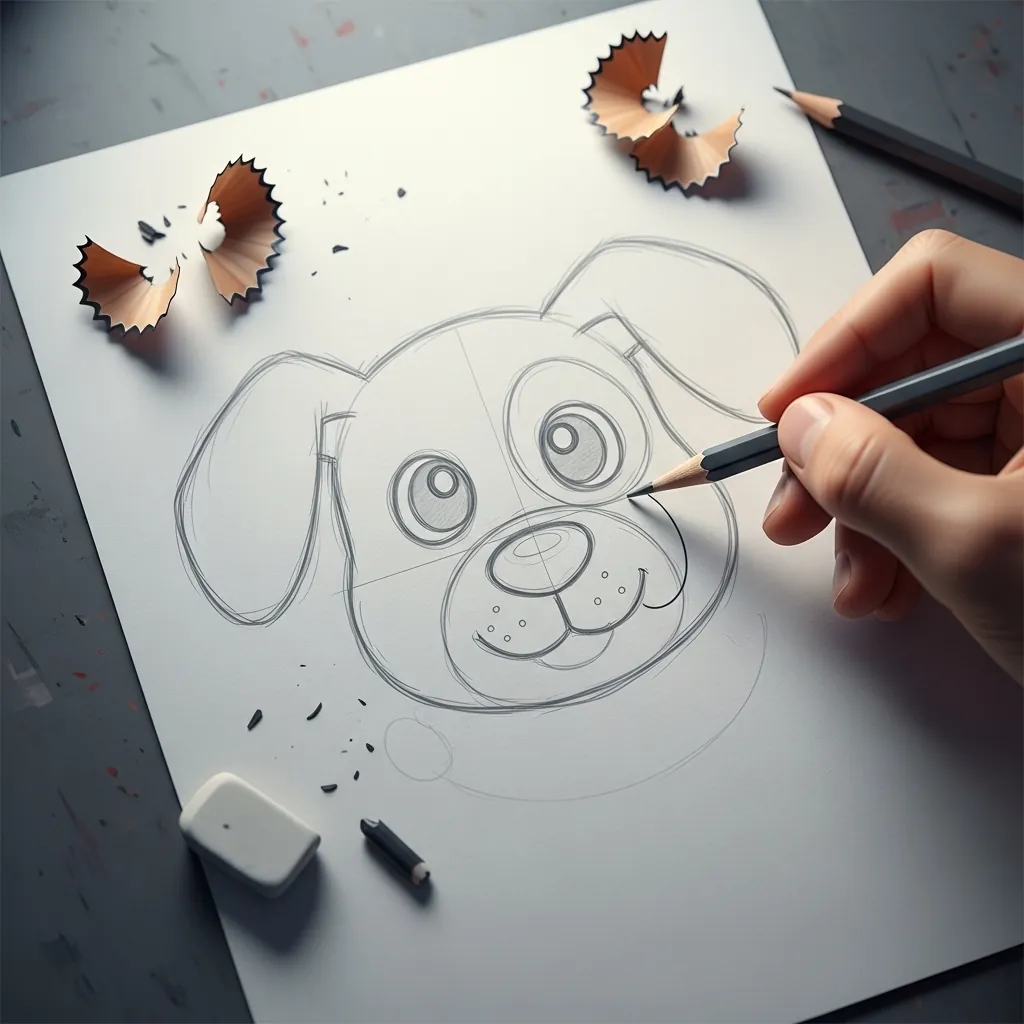
Animal faces come down to the muzzle. Draw a large circle for the head and a smaller overlapping oval low down for the muzzle, then put the nose at the top of that oval. The floppy ears hang from the sides of the head circle, not the top.
8. Hot Air Balloon
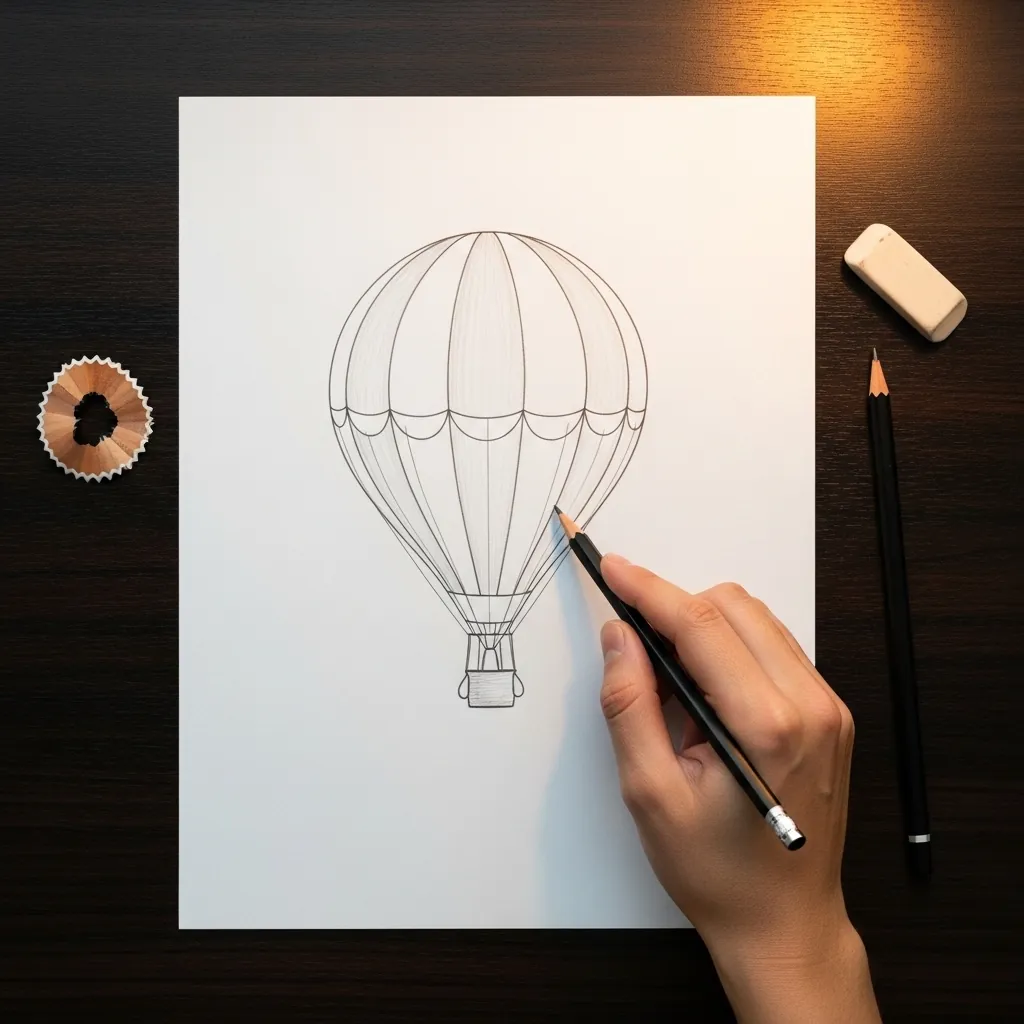
The panel lines on a balloon are what make it look round. Draw the outer shape first, then run curved lines from top to bottom that bow outward in the middle and converge at both ends, and space them so the middle ones are widest apart.
9. Spiral Rose
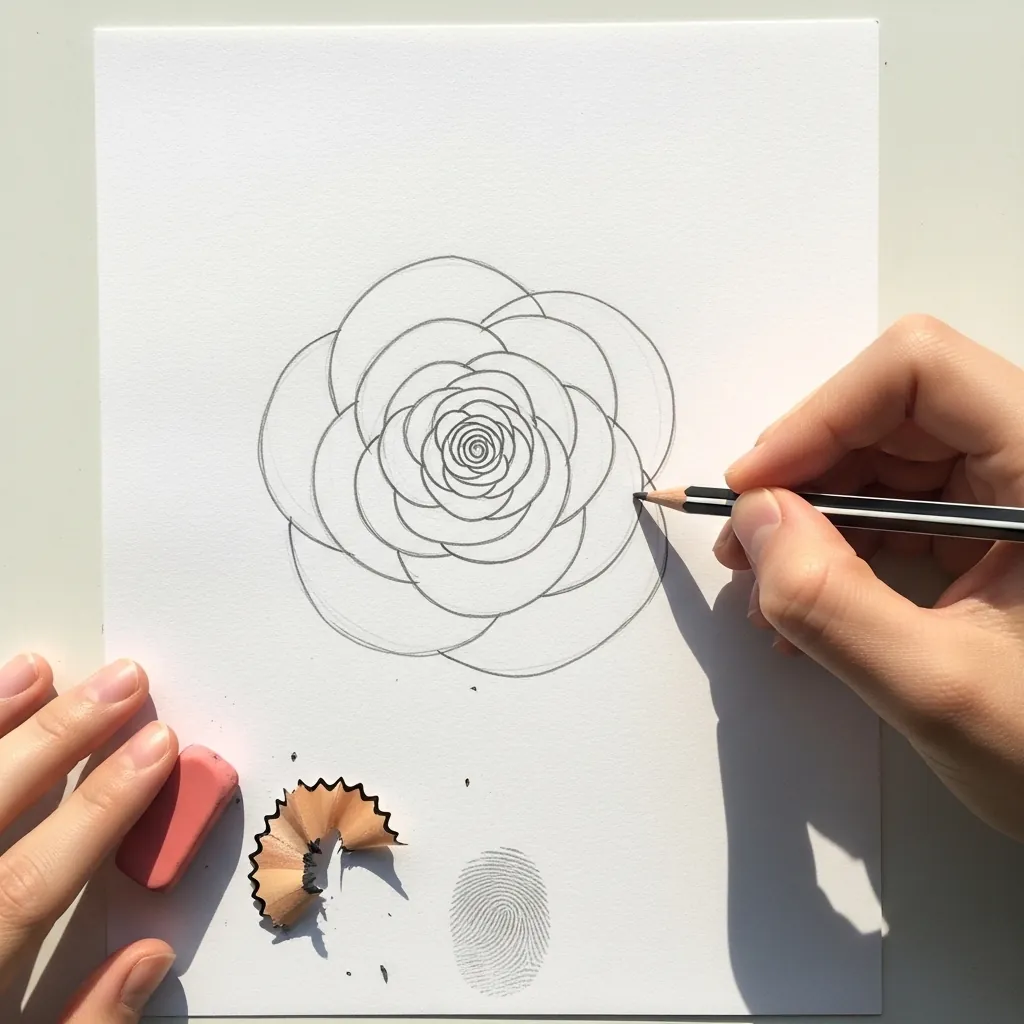
A rose can be built entirely from one spiral. Start with a small loose spiral in the center, then wrap petal shapes around it that get larger as they go outward, each one overlapping the last; keep the outer petals opening away from the center.
10. Lighthouse With Rays
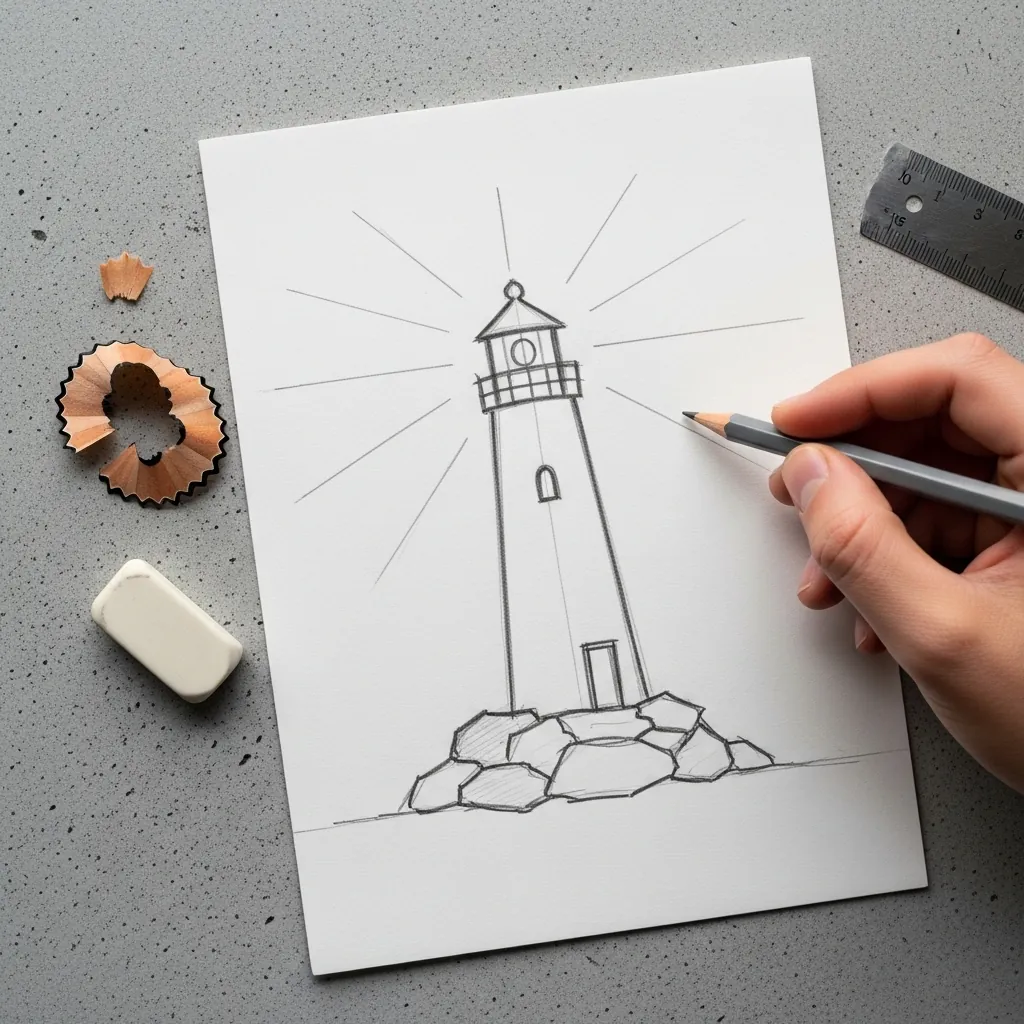
Light rays are straight lines radiating from one point. Mark the lamp room as that point, rule the rays outward at even angles, and make them fade as they get further away by easing off the pressure. Never draw them all the same weight.
11. Banana and Its Shadow
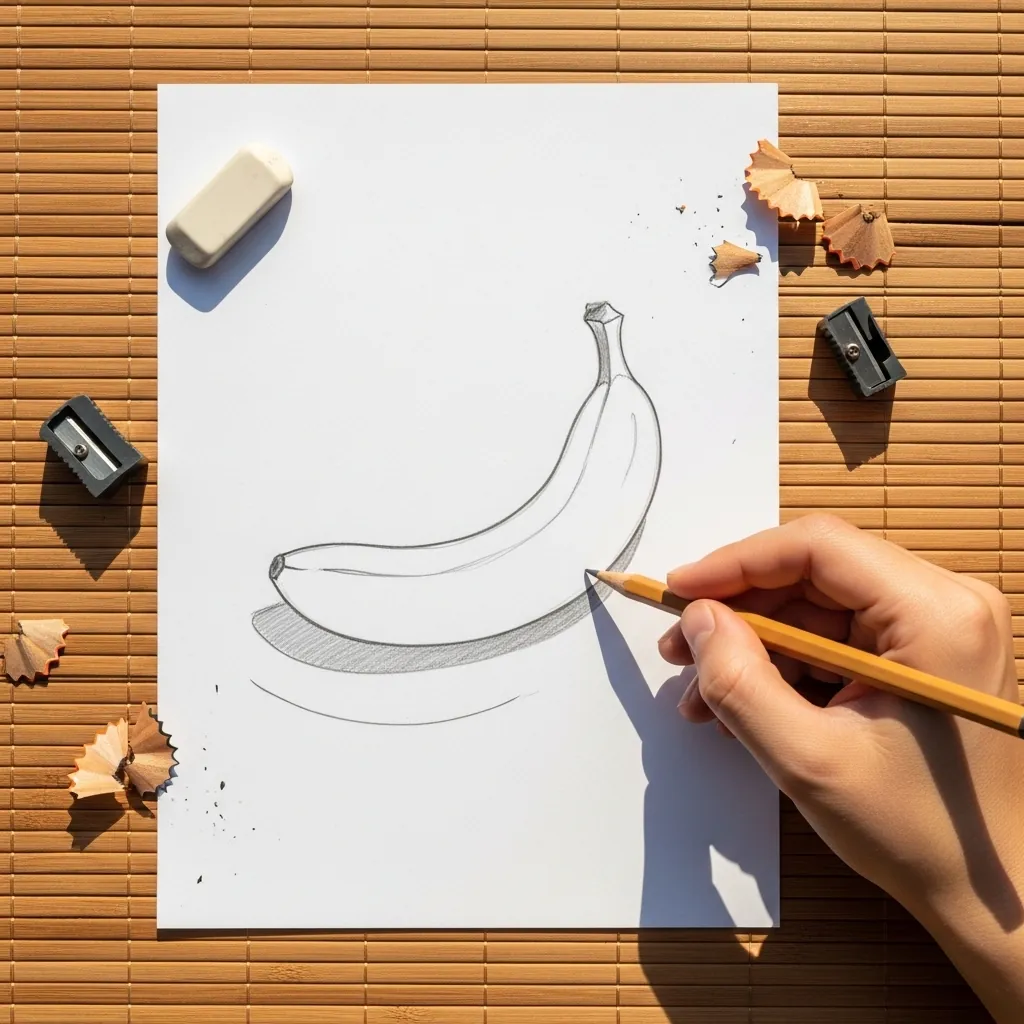
A cast shadow is what puts an object on a surface. Draw the banana, then lay a soft dark shape underneath it that touches the fruit along its whole contact edge, and let the tone weaken as it travels away. Anything floating above its shadow reads as a sticker.
12. Crescent Moon and Stars
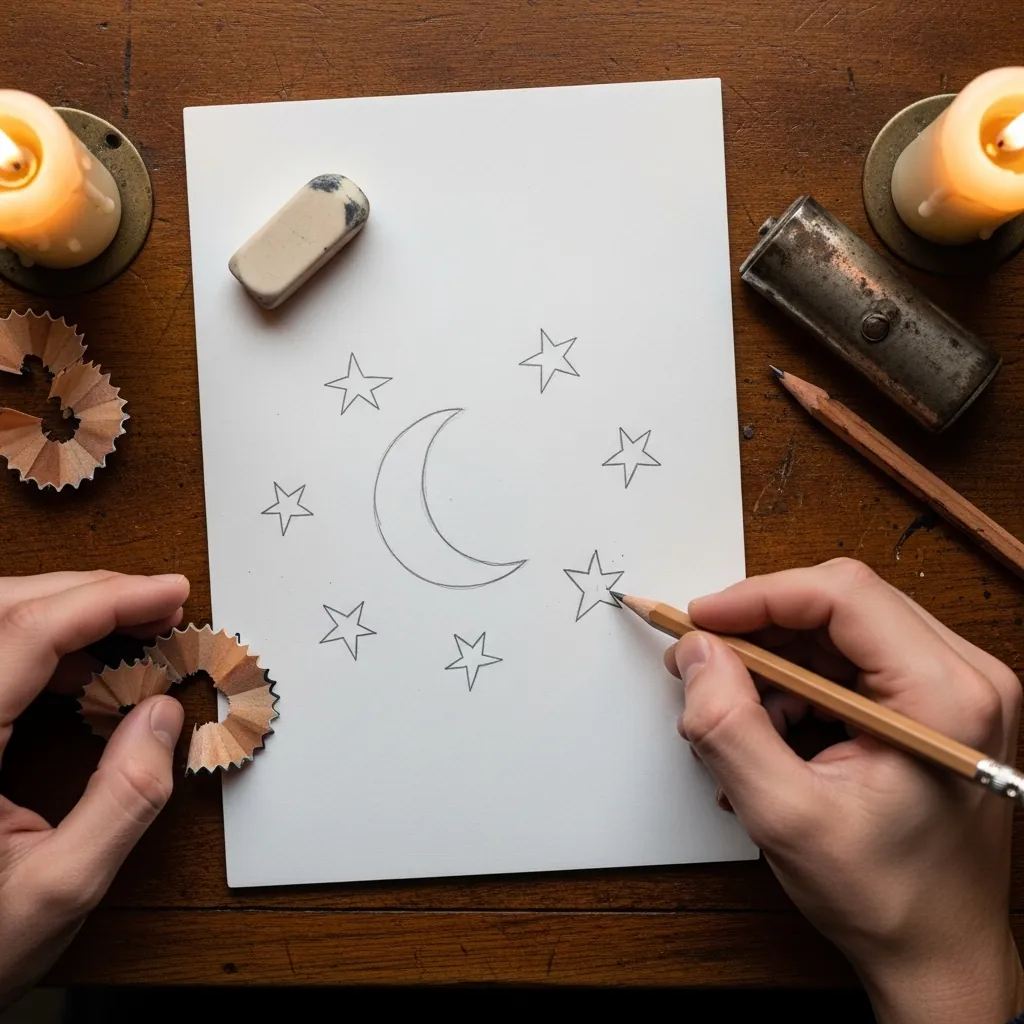
A crescent is the gap between two circles. Draw one circle, then a second overlapping it and slightly offset, and the sliver left over is the crescent shape. Vary the star sizes so the sky does not look like a pattern.
13. Spotted Mushroom
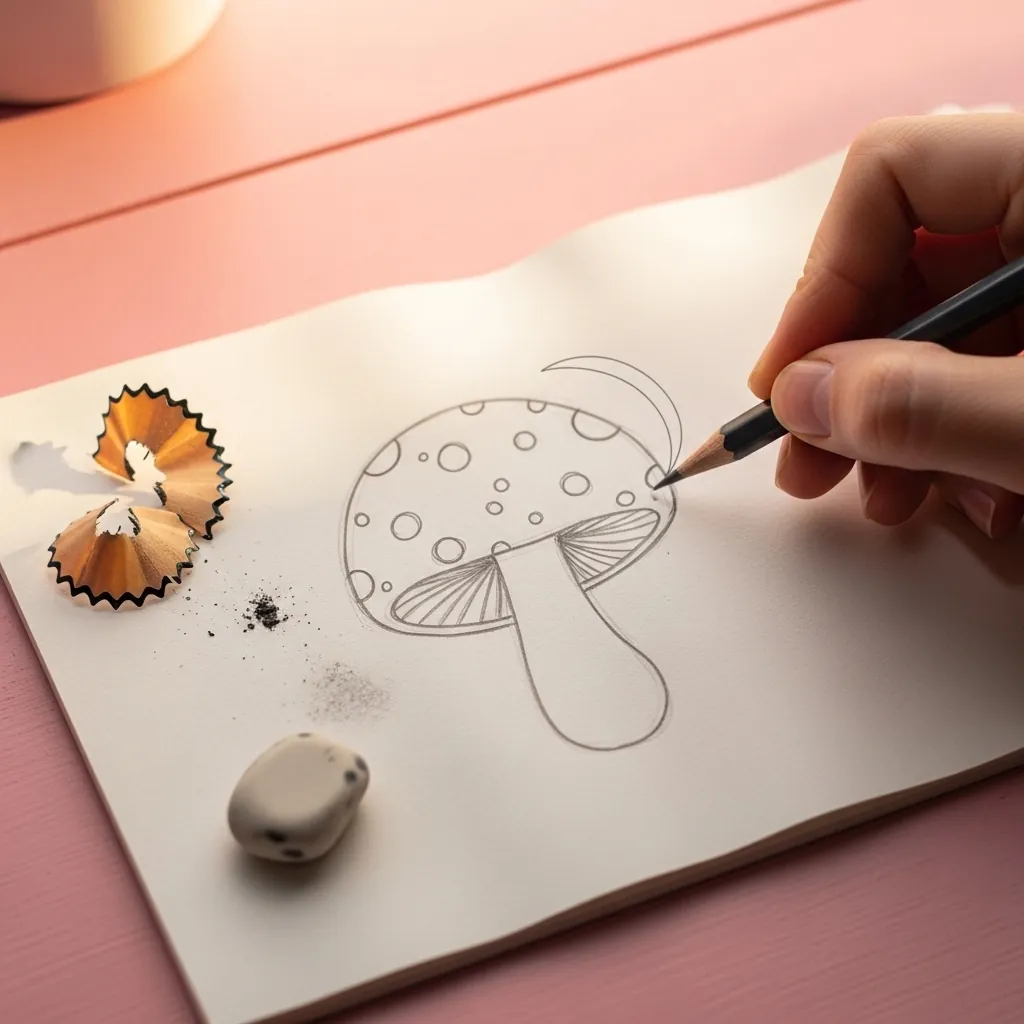
Spots on a curved surface must curve with it. Make the ones near the edge of the cap narrower ellipses and the ones in the middle rounder, and the flat cap immediately turns into a dome. The gills underneath run outward from the stem.
14. Simple Fish
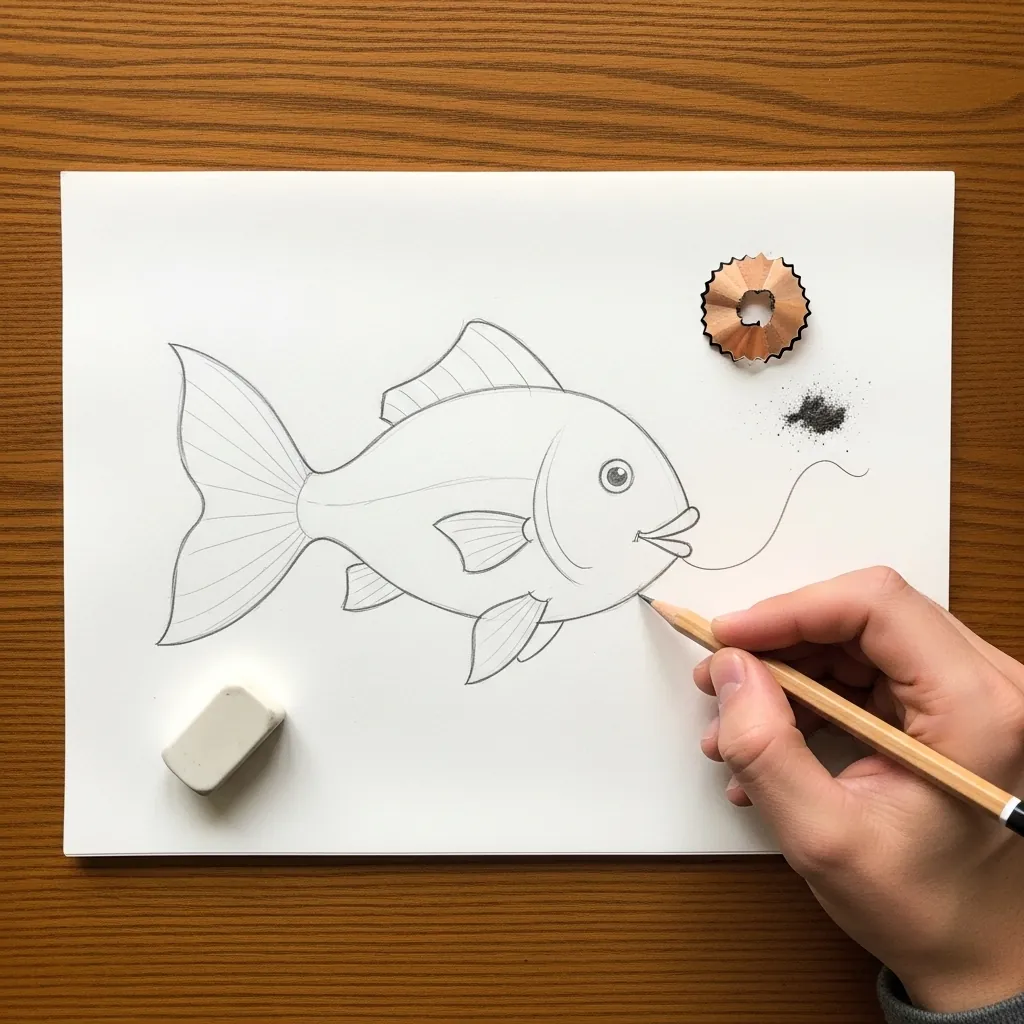
Fish are an oval with fins attached. Narrow the back end into the tail and leave the front blunt, place the eye close behind the mouth, and hang each fin from the widest part of the body. Rows of small overlapping arcs become scales at the very end.
15. Teacup With Steam
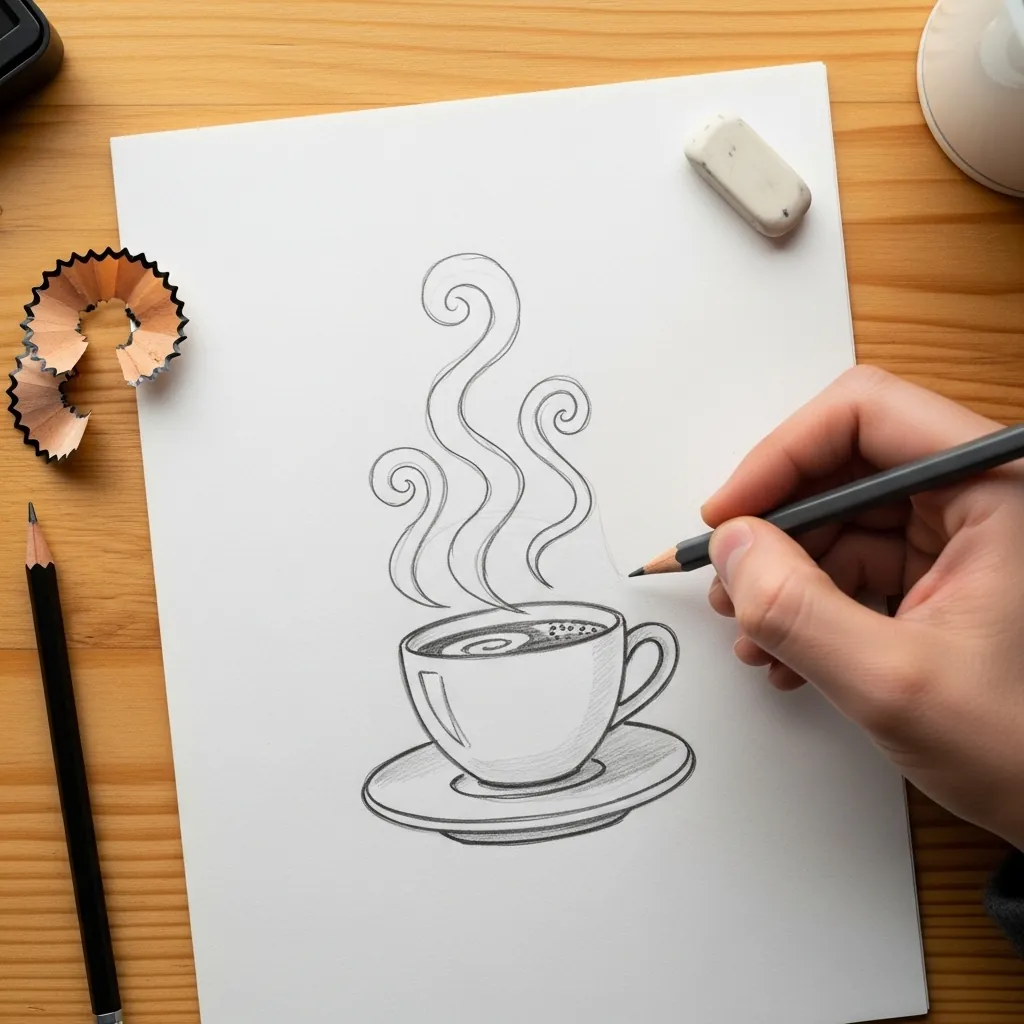
The rim of a cup is an ellipse, and getting it right is the whole drawing. Draw it wider than it feels, keep both ends of the ellipse rounded rather than pointed, and make the saucer ellipse slightly flatter because you are looking at it from further above.
16. Mountain Range
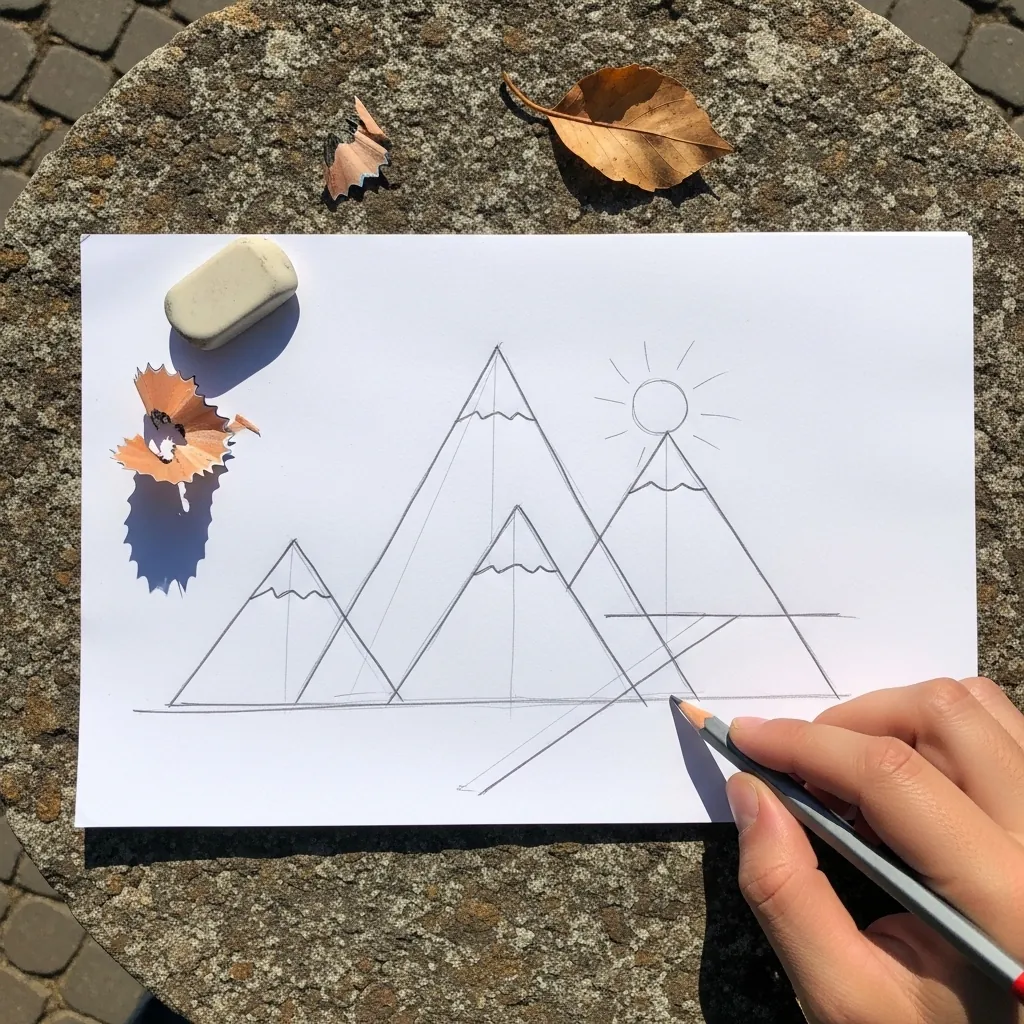
Overlapping is what creates distance. Draw the nearest peak first and complete, then let each range behind it disappear where the front one crosses it, and press more lightly on every layer further back. Never let two peaks meet at the same height.
17. Pineapple With Cross-Hatch
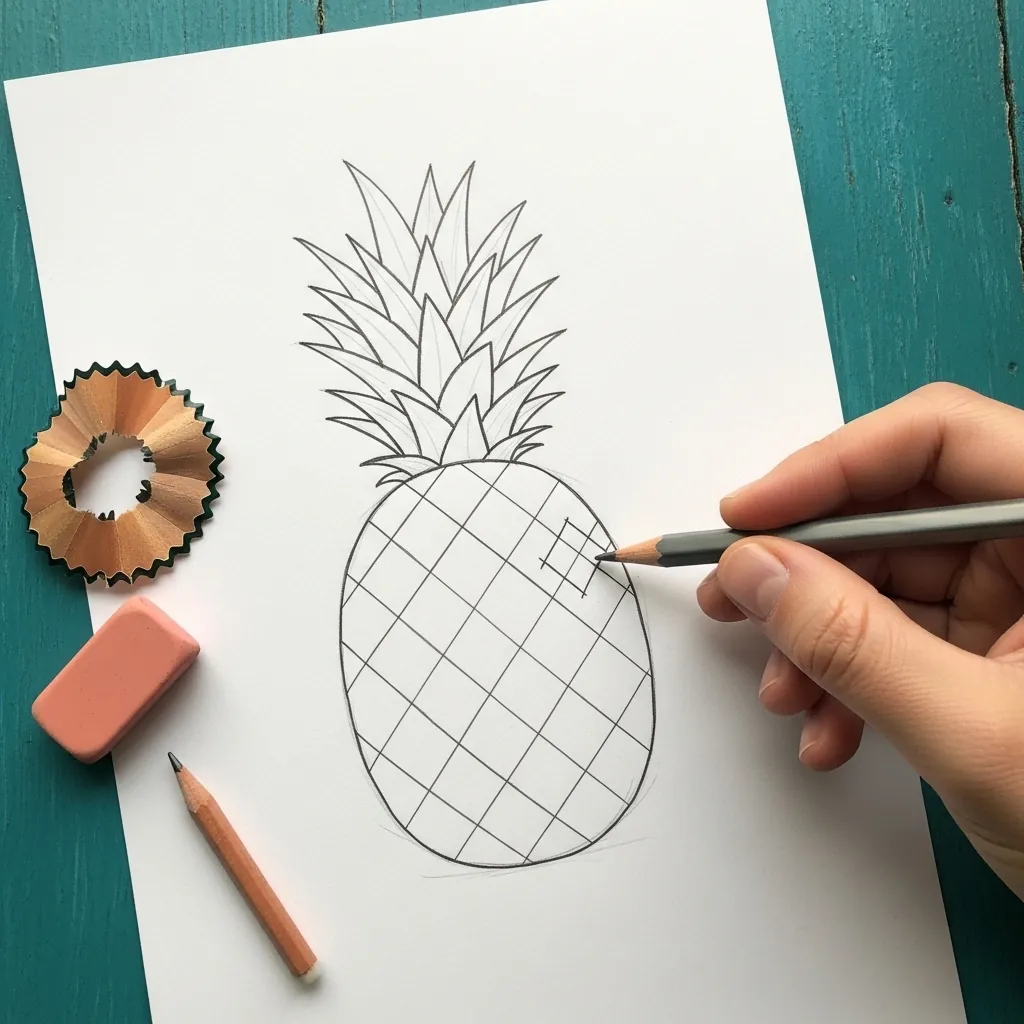
The diamond skin is just two sets of parallel lines. Draw one set slanting left, another slanting right, and let both follow the curve of the body rather than staying straight; the leaves at the top fan out at different angles and lengths.
18. Leafy Branch
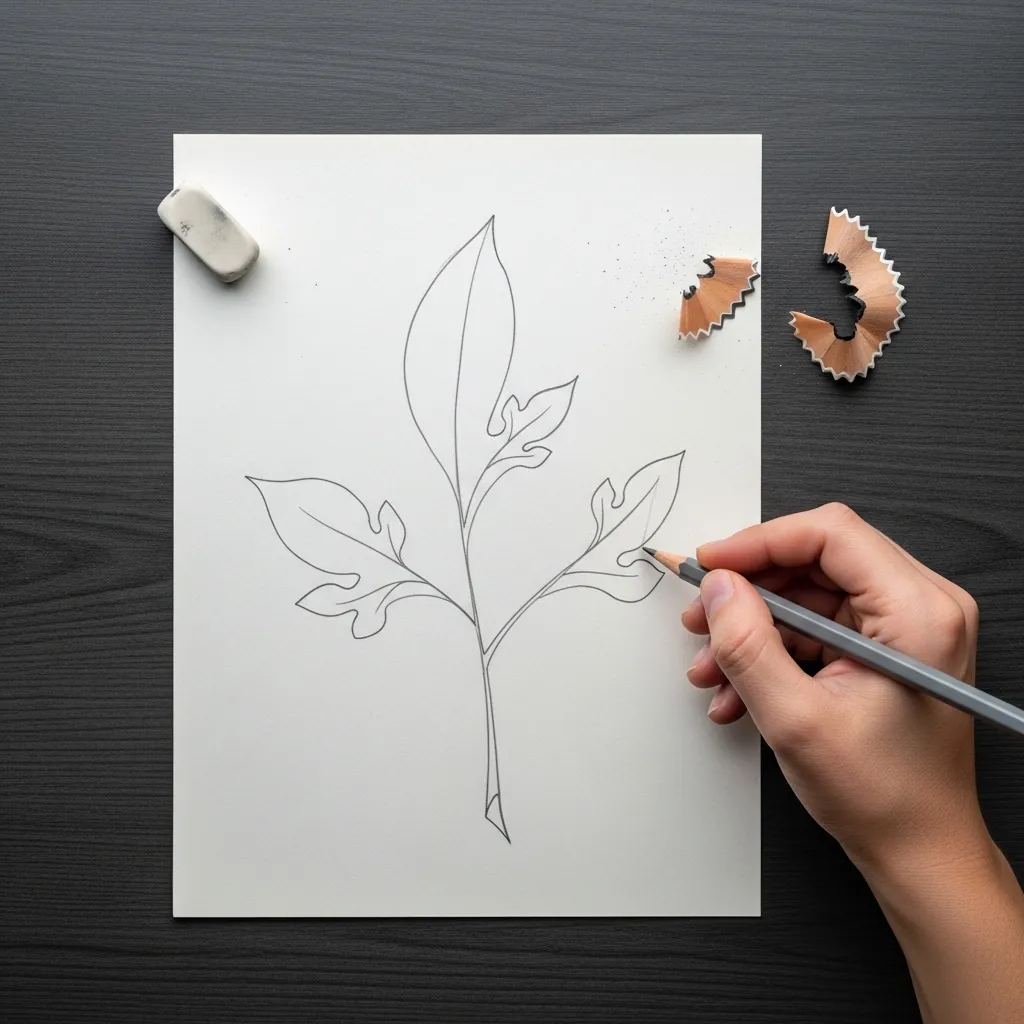
Leaves grow in an alternating pattern along most stems. Draw the branch first as one flowing line, then attach leaves left and right in turn rather than in facing pairs, and vary how far each one has opened. A central vein finishes each leaf.
19. Tiered Birthday Cake
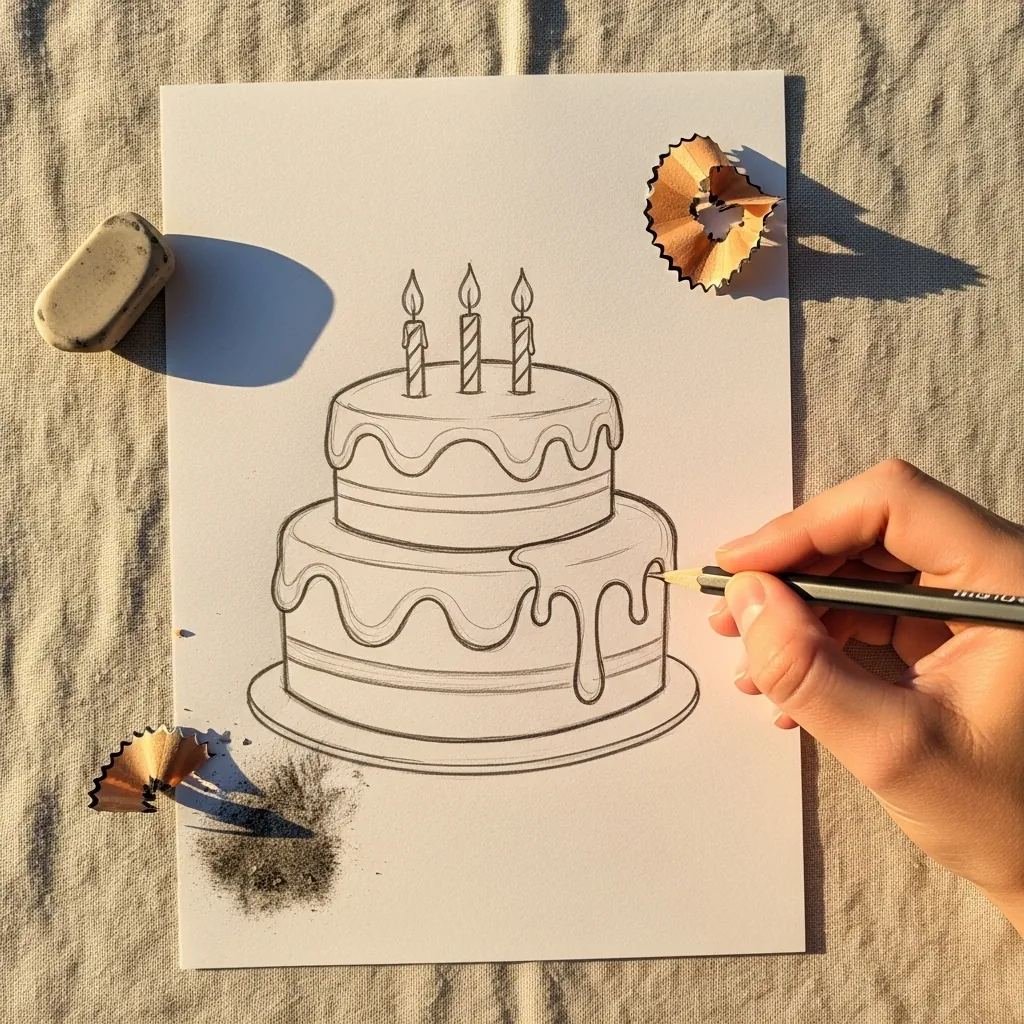
Stacked objects need consistent ellipses. Draw the top of each tier as an ellipse of the same flatness, keep the smaller tier centered on the larger one, and let the icing drips vary in length; identical drips look printed rather than poured.
20. Patterned Turtle
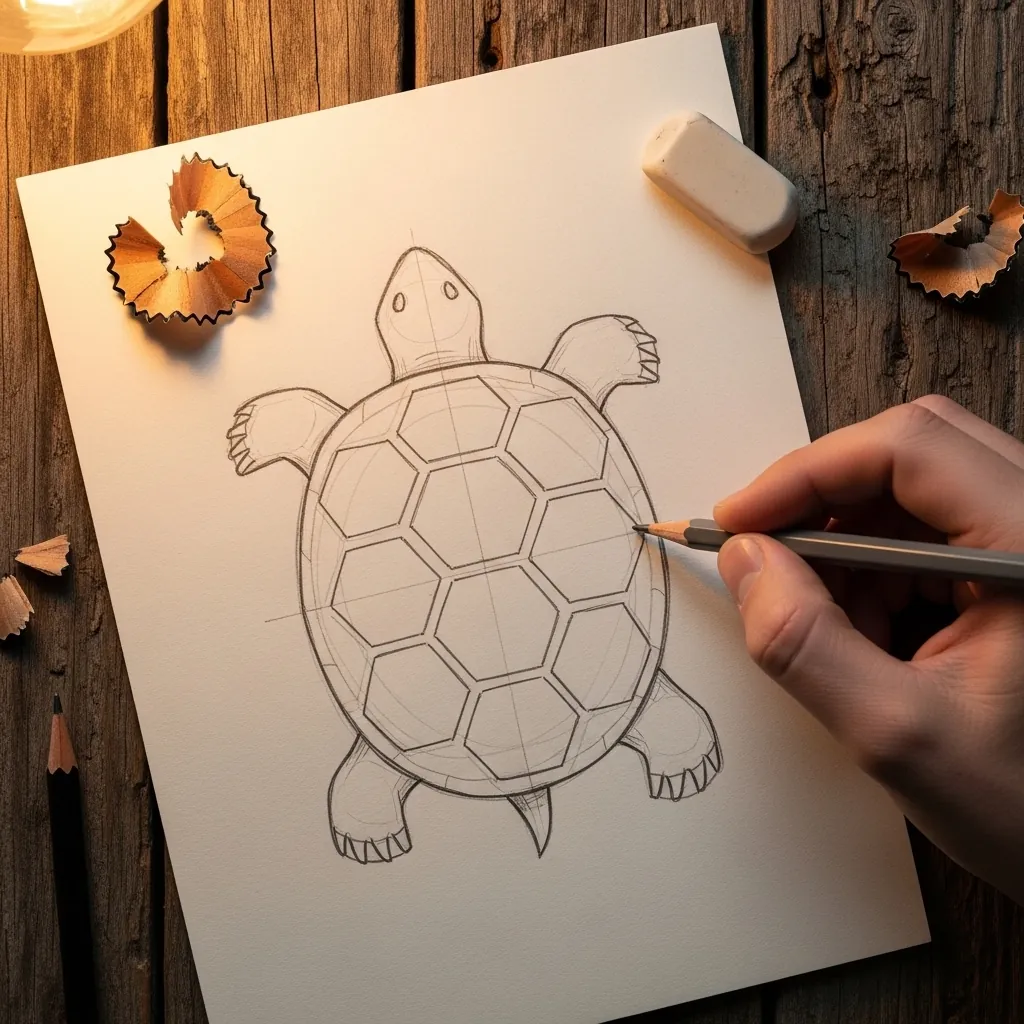
A shell pattern should follow the dome. Draw the outer shell shape, then divide it into panels that get narrower toward the edges, and keep the center panels the largest. Head and legs poke out as short rounded shapes with no visible joints.
21. Open Book
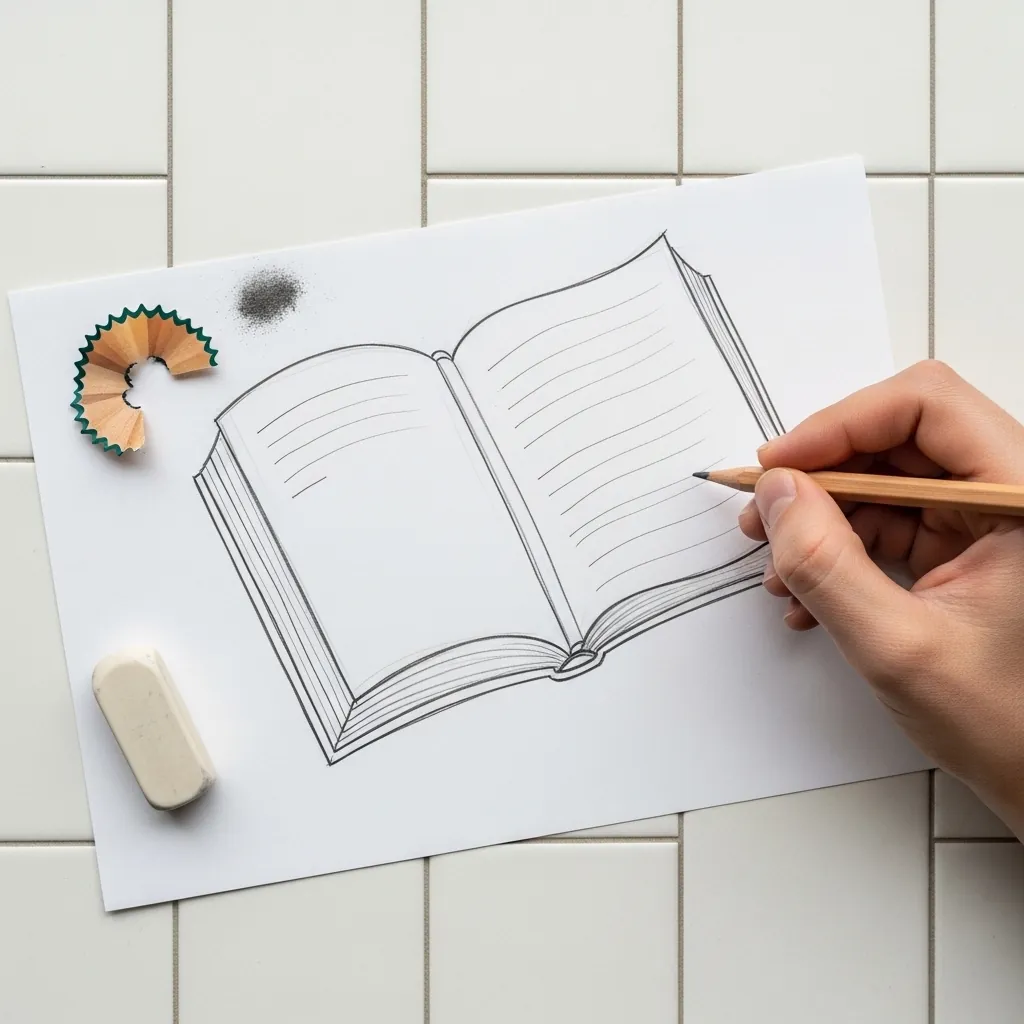
An open book is two shallow trapeziums meeting at a V. Draw the spine as a curve rather than a point, let the outer edges of the pages sag slightly, and run the text lines parallel to the top edge of each page. The page block has thickness.
22. Open Umbrella
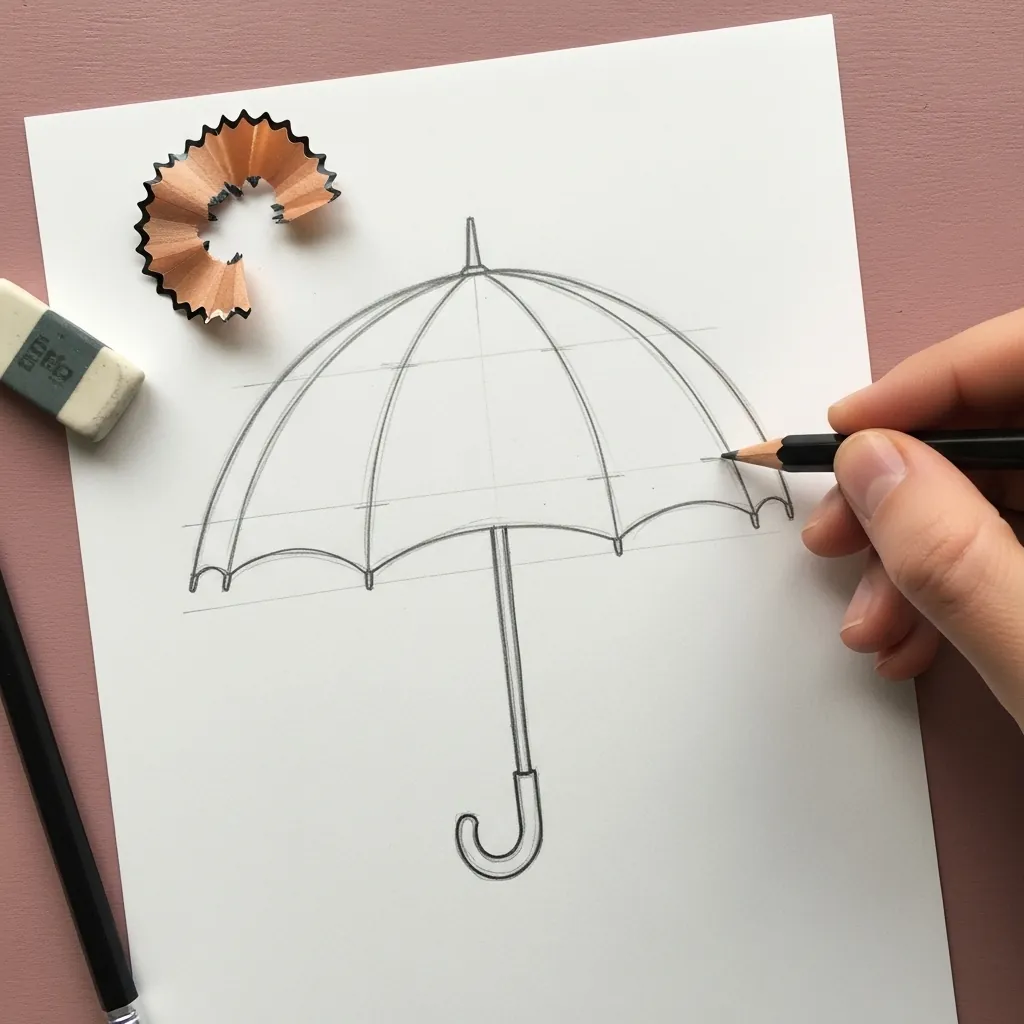
The canopy is a dome divided into panels. Draw the outer scalloped edge first, then run ribs from the top down to each scallop tip, and keep every panel the same width. Run the handle straight down through the middle so it does not look bolted on.
23. Spiral Shell Snail
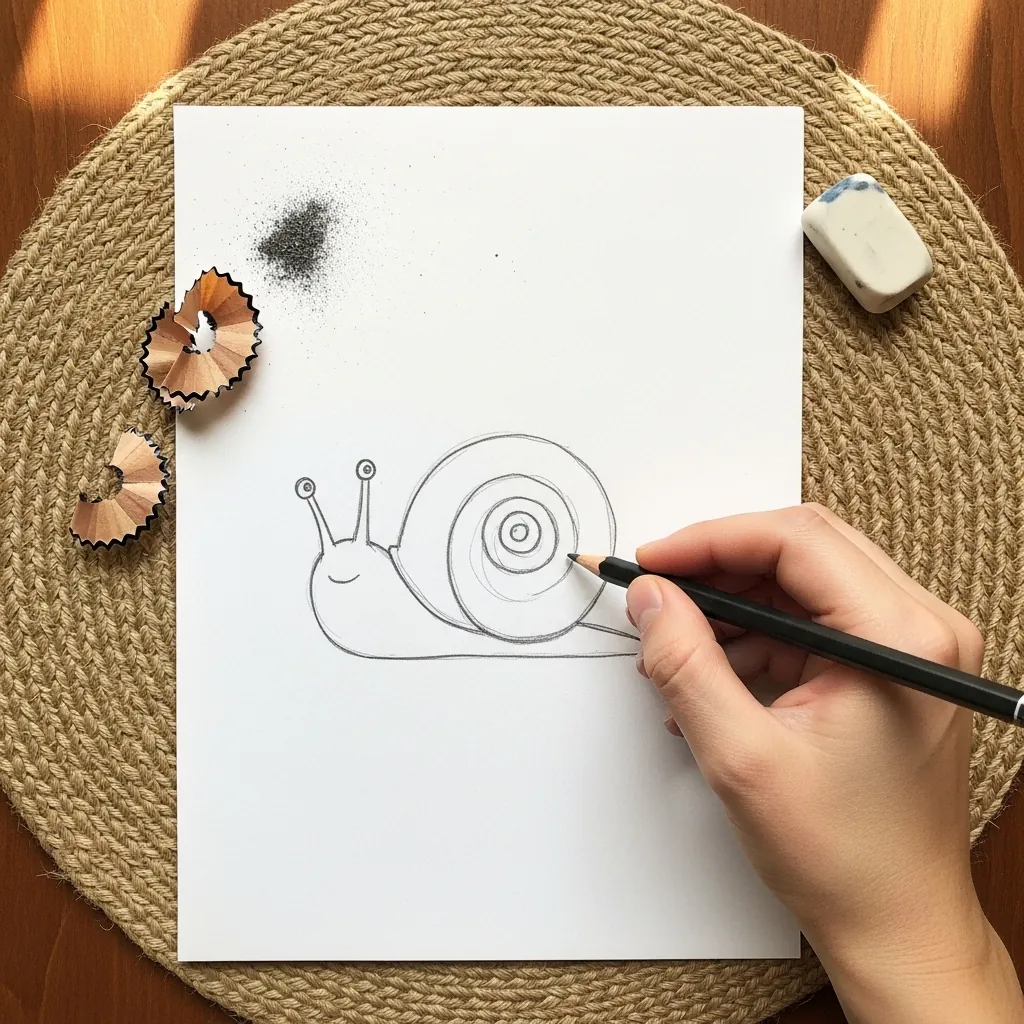
Spirals are easier drawn outward than inward. Start with a dot, wind the line around it keeping the gaps even, and stop when the shell is the size you want; the body flows out from underneath it with two stalks leaning apart at the front.
24. Rocket Ship
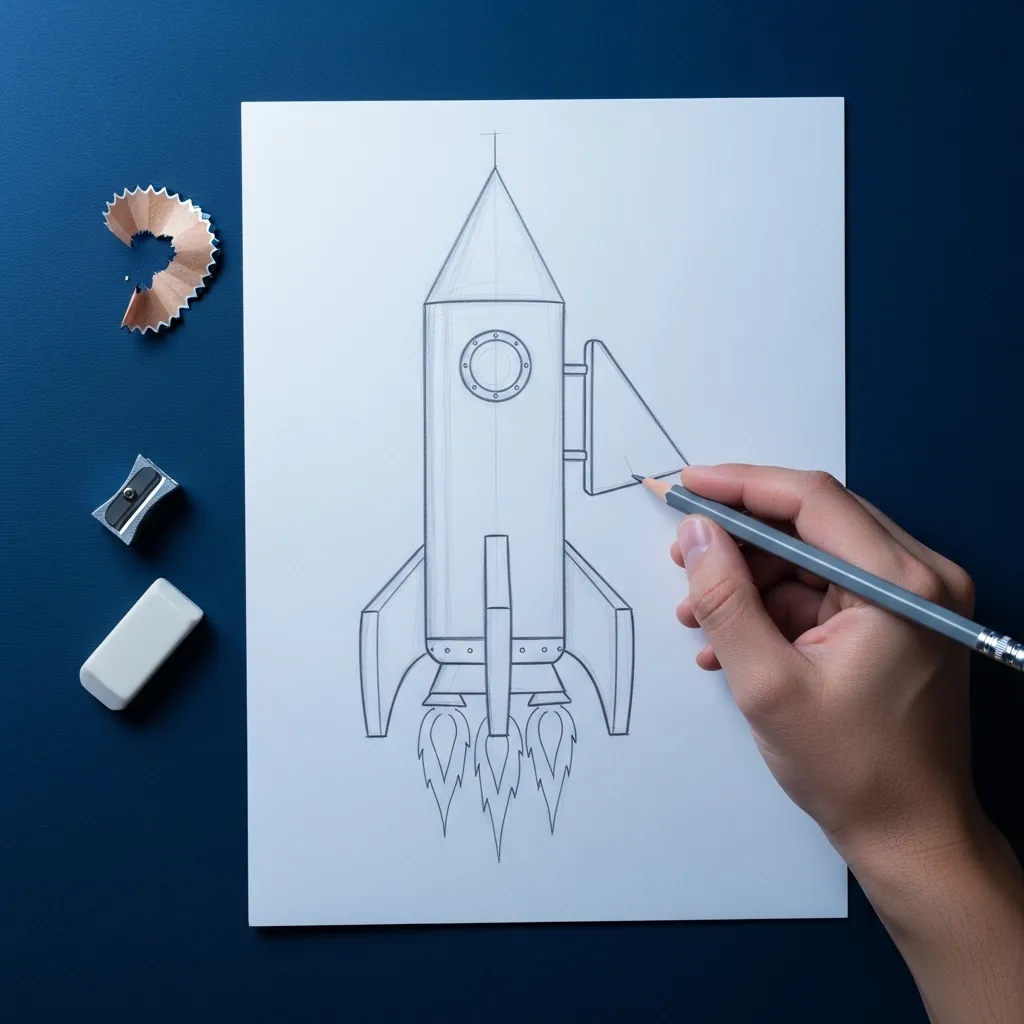
Rockets are a cone, a cylinder and three fins. Draw the body as a tall rectangle with a triangle on top, add fins at the base that angle outward, and place the porthole slightly above the middle. Symmetry matters more here than detail.
25. Friendly Whale
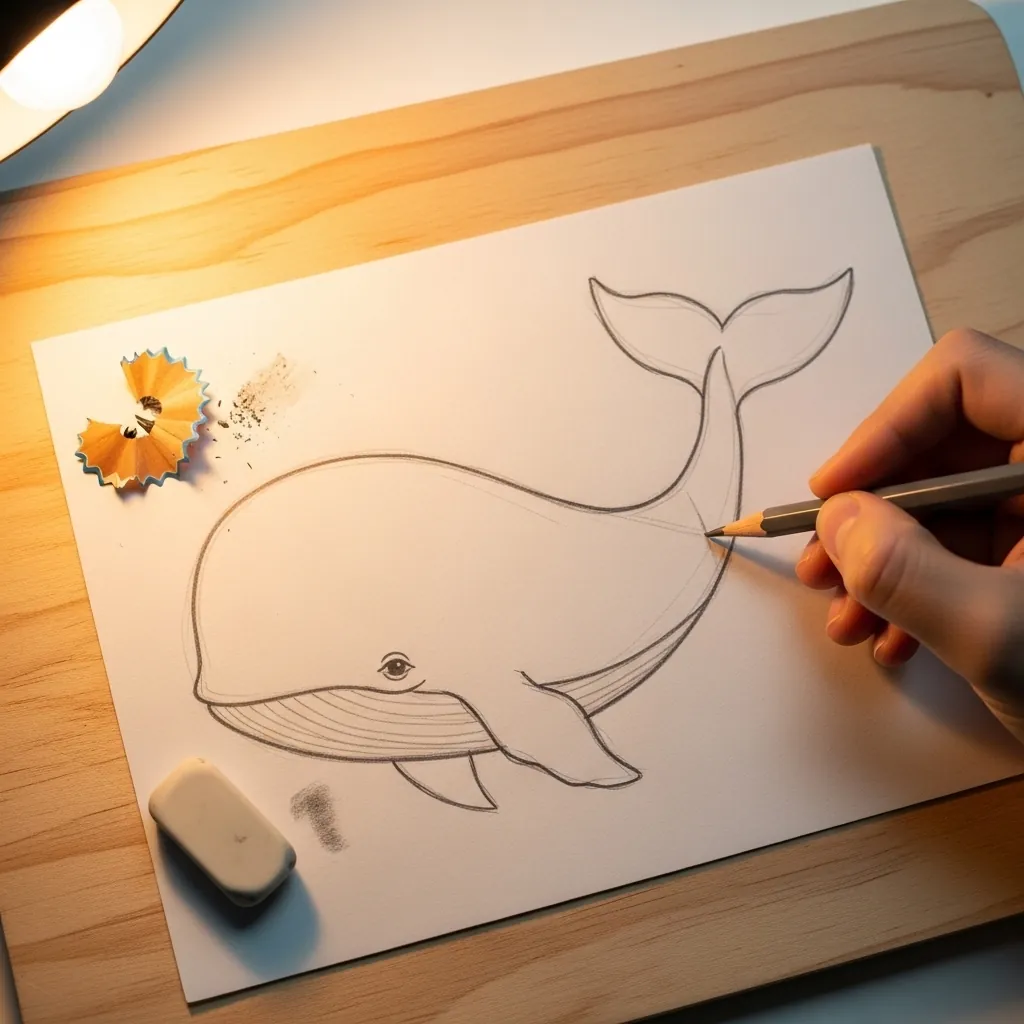
A whale is one long curve with a wide tail. Sweep the back in a single line from the head to the tail, drop the belly line beneath it, and let the fluke spread out horizontally rather than vertically. The eye sits low and far forward.
26. Cactus in a Pot
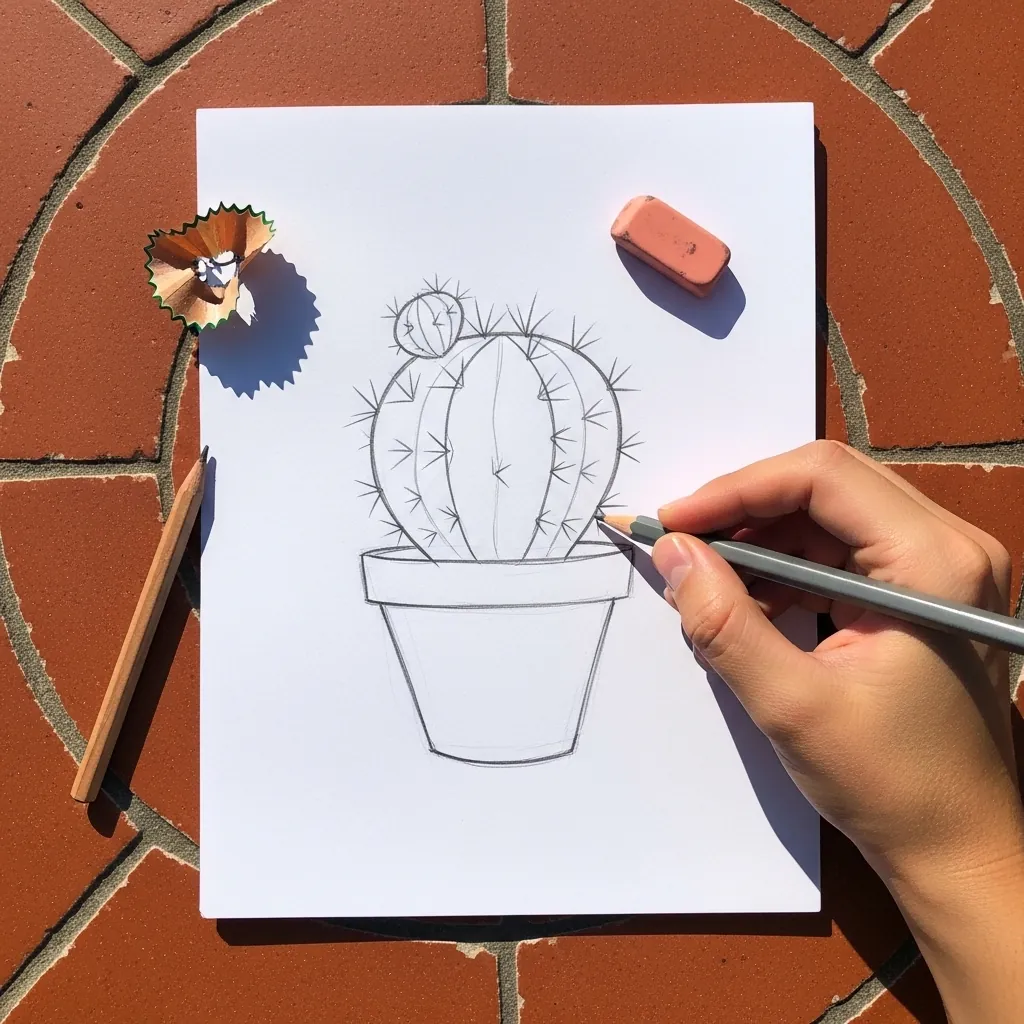
Spines are drawn from the plant outward. Flick each one away from the surface so it tapers, cluster them in small groups rather than spacing them evenly, and let the ones on the outer edge break the silhouette. The pot is two ellipses and a taper.
27. Smiling Sun
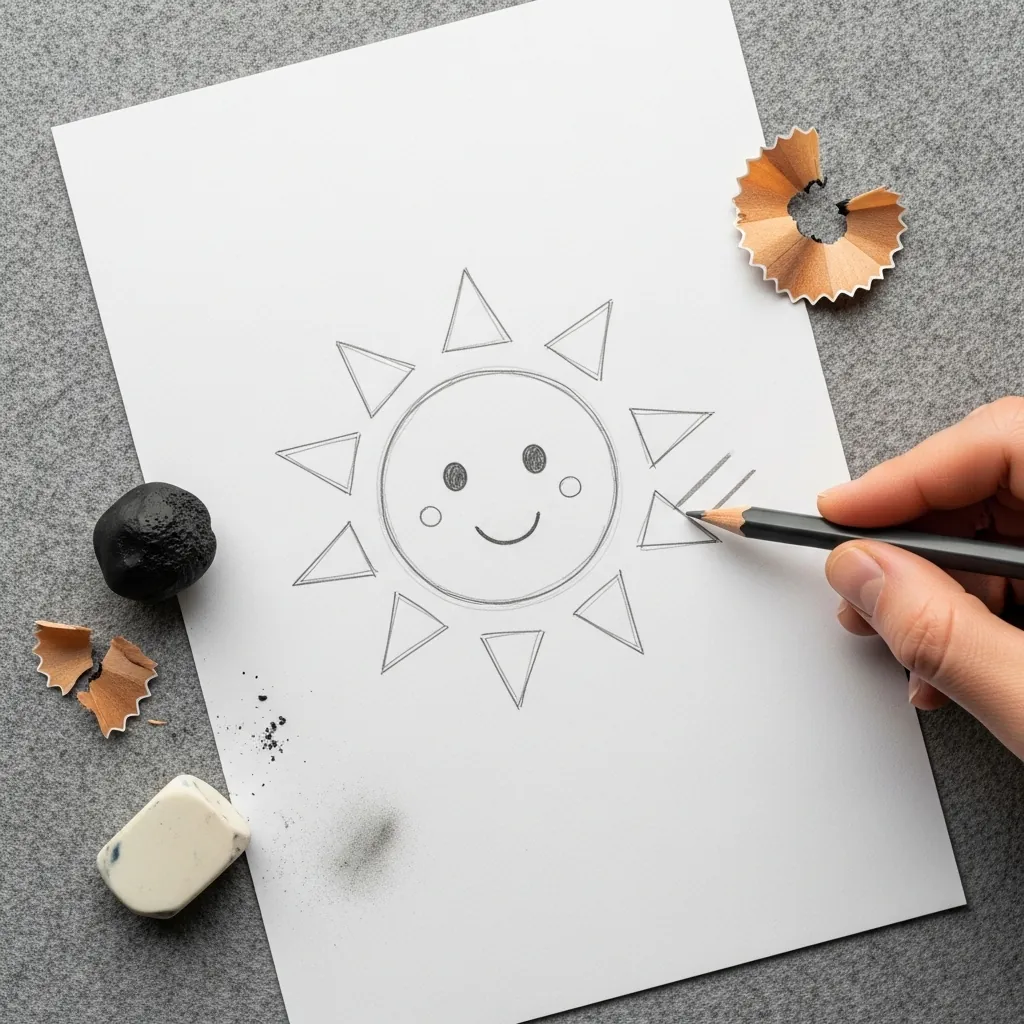
Rays look best when they alternate. Draw the circle, then place triangles around it turning slightly with the curve, and vary long and short so the outline has rhythm; the face sits low in the circle with a wide simple smile.
28. Shaded Apple
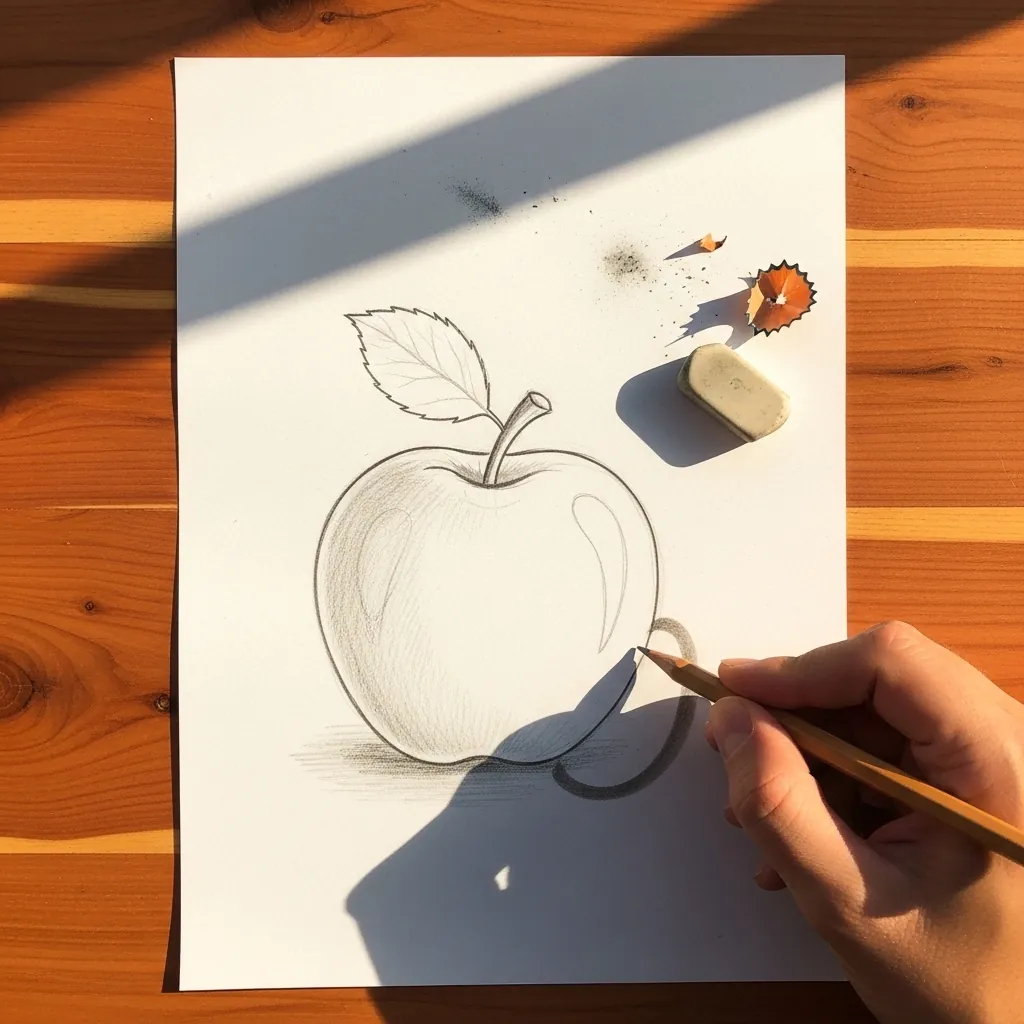
This is the first real shading exercise. Decide which side the light comes from, shade the opposite side of the apple, and leave a small untouched highlight on the lit side. A curved band of slightly lighter tone near the shadow edge gives the reflected light.
29. Owl on a Branch
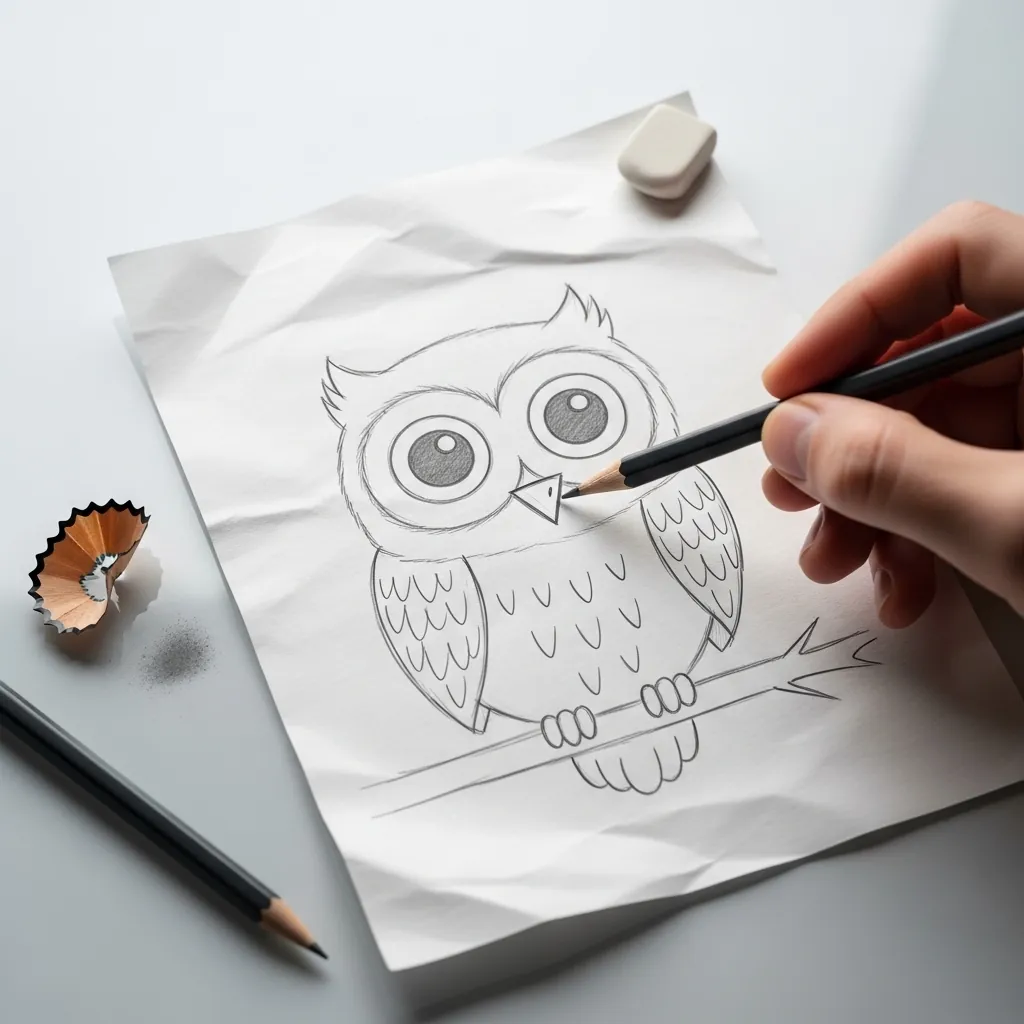
Owls are built from two huge circles. Draw the eyes first at the size you want, then build the head around them so the head is only slightly wider, and let the body be one rounded shape beneath. Feather marks are small U shapes in rows.
30. Dragonfly
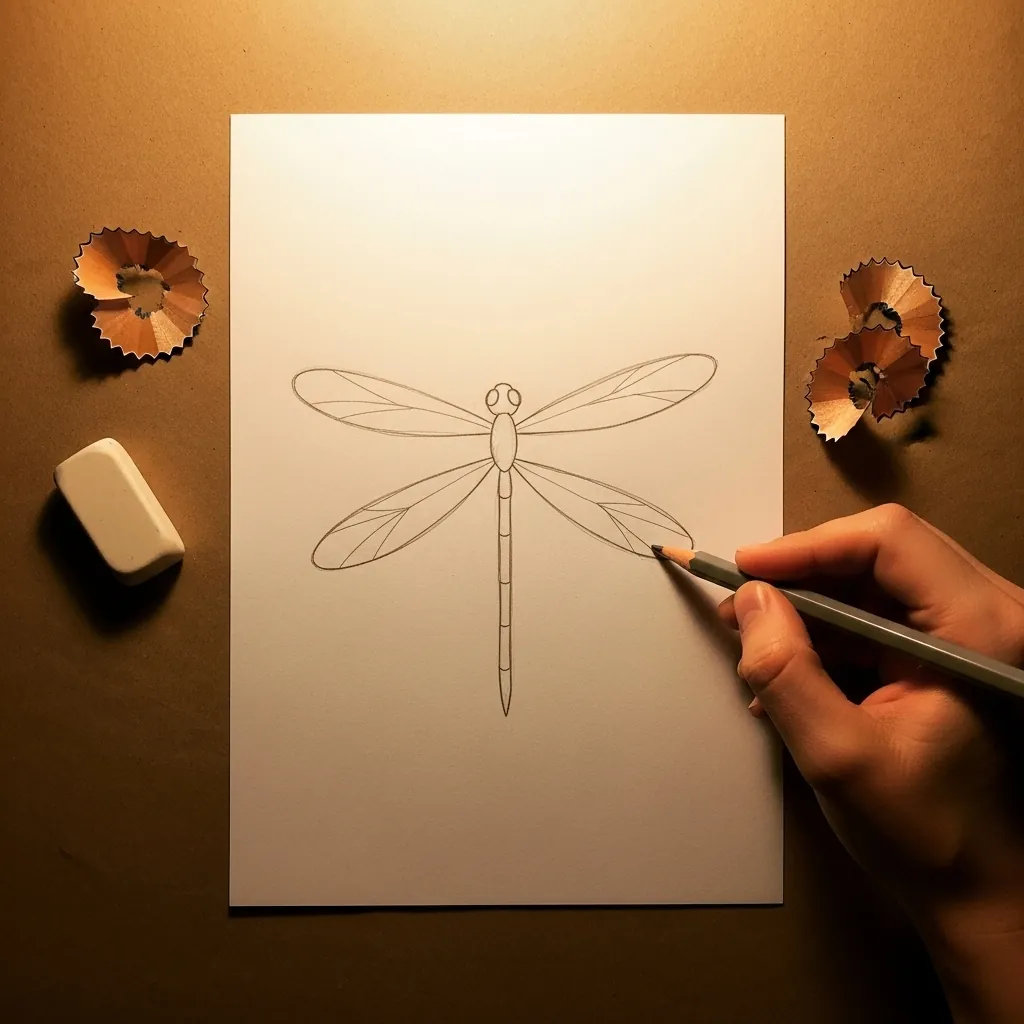
Four wings need to be paired properly. Draw the long thin body first, attach the larger front pair near the head and the slightly shorter rear pair just behind, and keep all four at slightly different angles. The wing veins run lengthways.
31. Rain Boots on a Grid
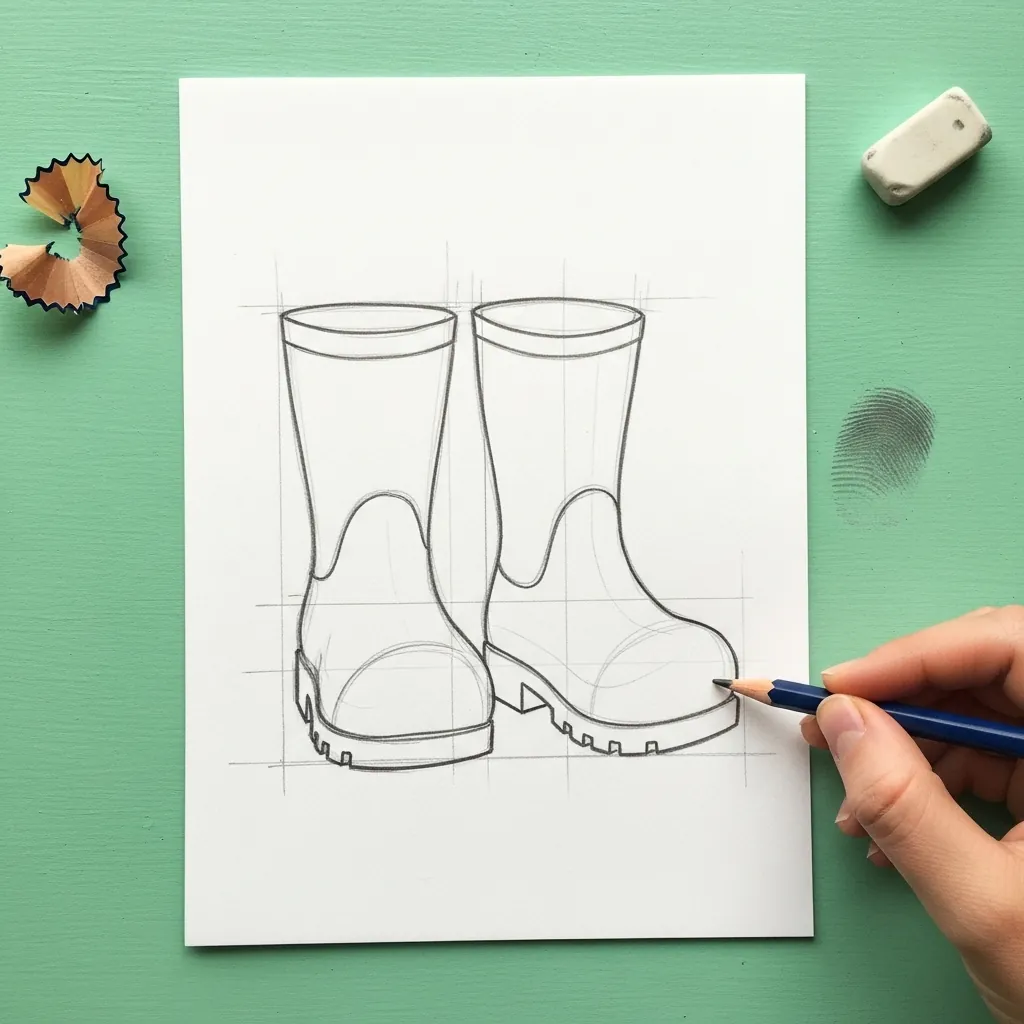
A grid is a genuine measuring tool, not cheating. Rule light squares over the page, note where the boot outline crosses each line, and copy those crossings; the shape assembles itself and you can rub the grid out at the end.
32. Envelope in Perspective
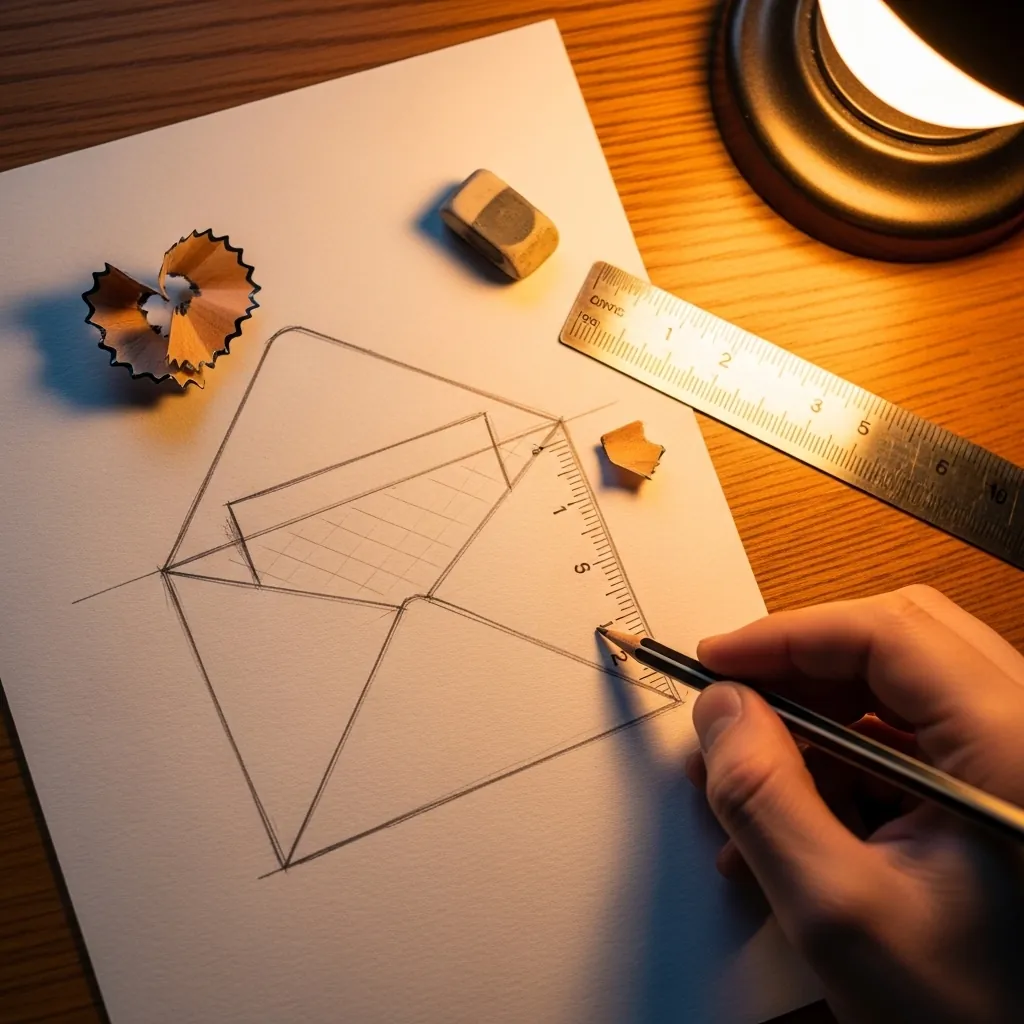
Perspective starts with parallel edges converging. Draw the envelope so both long edges lean slightly toward each other as they recede, keep the near edge longer than the far one, and check that the flap follows the same angles. A ruler helps here.
33. Strawberry With Seeds
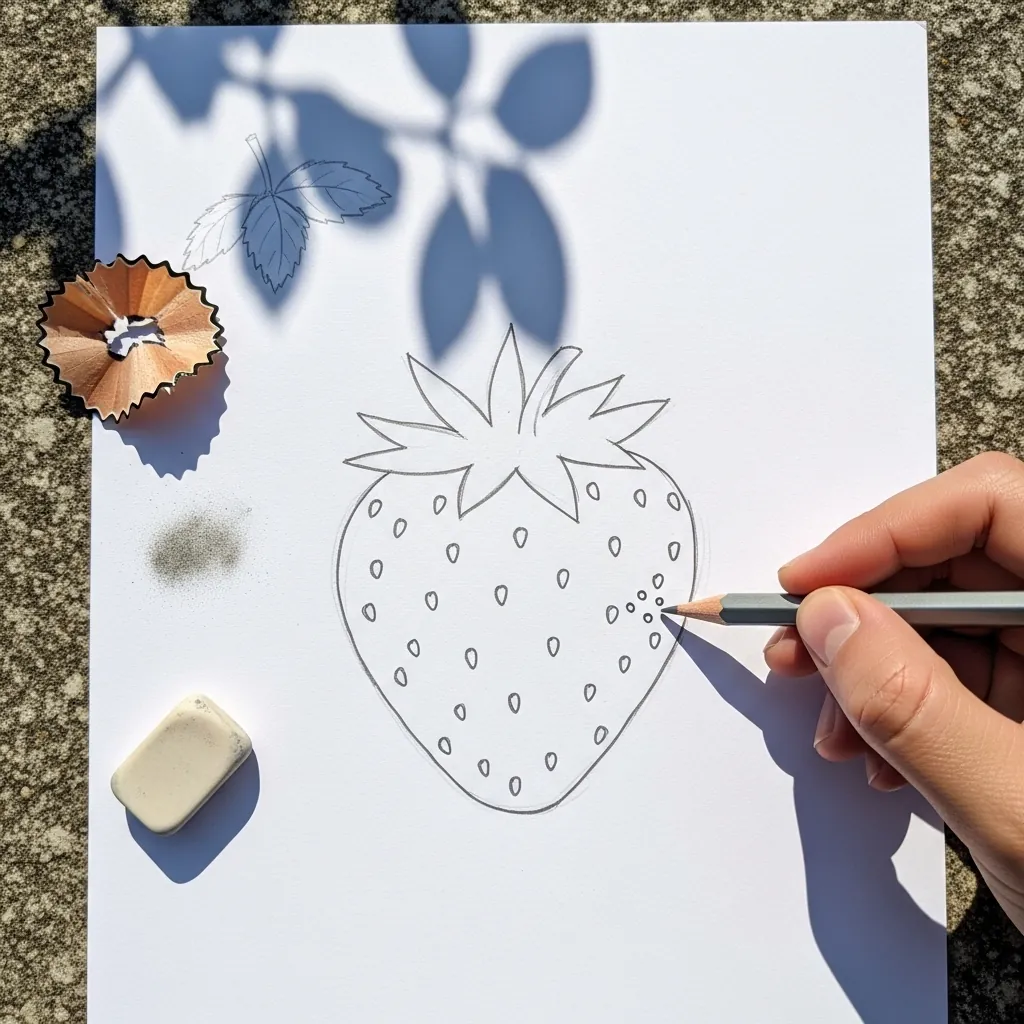
Seeds sit in dimples, which is why they cast tiny shadows. Draw each one as a small oval with a light crescent below it, angle them so they follow the curve of the fruit, and space them more tightly near the edges. The leaves sit flat on top.
34. Balloon Over Hills
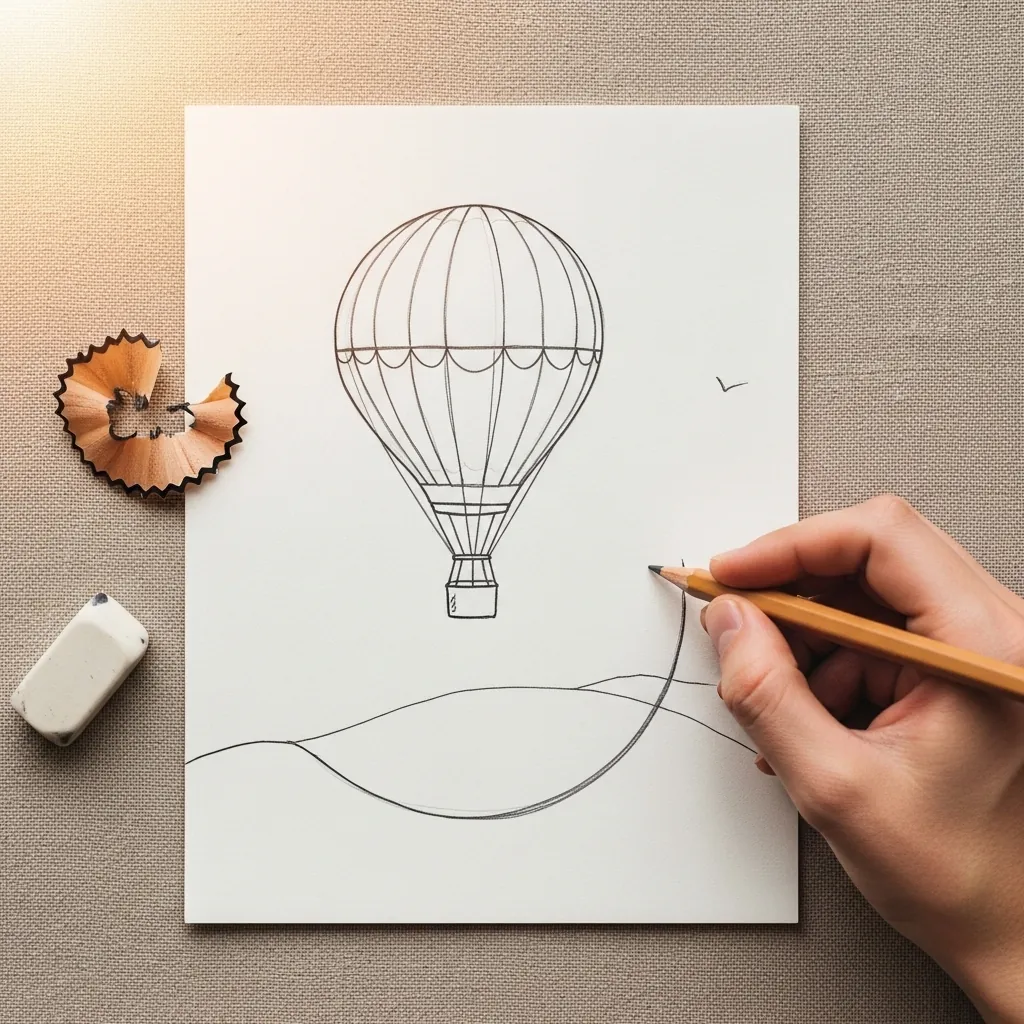
Placing an object in a scene is about scale. Draw the balloon small and high, run a single soft line for the hills below, and leave most of the page empty; the emptiness is what makes the balloon feel like it is drifting.
35. Treehouse in a Tree
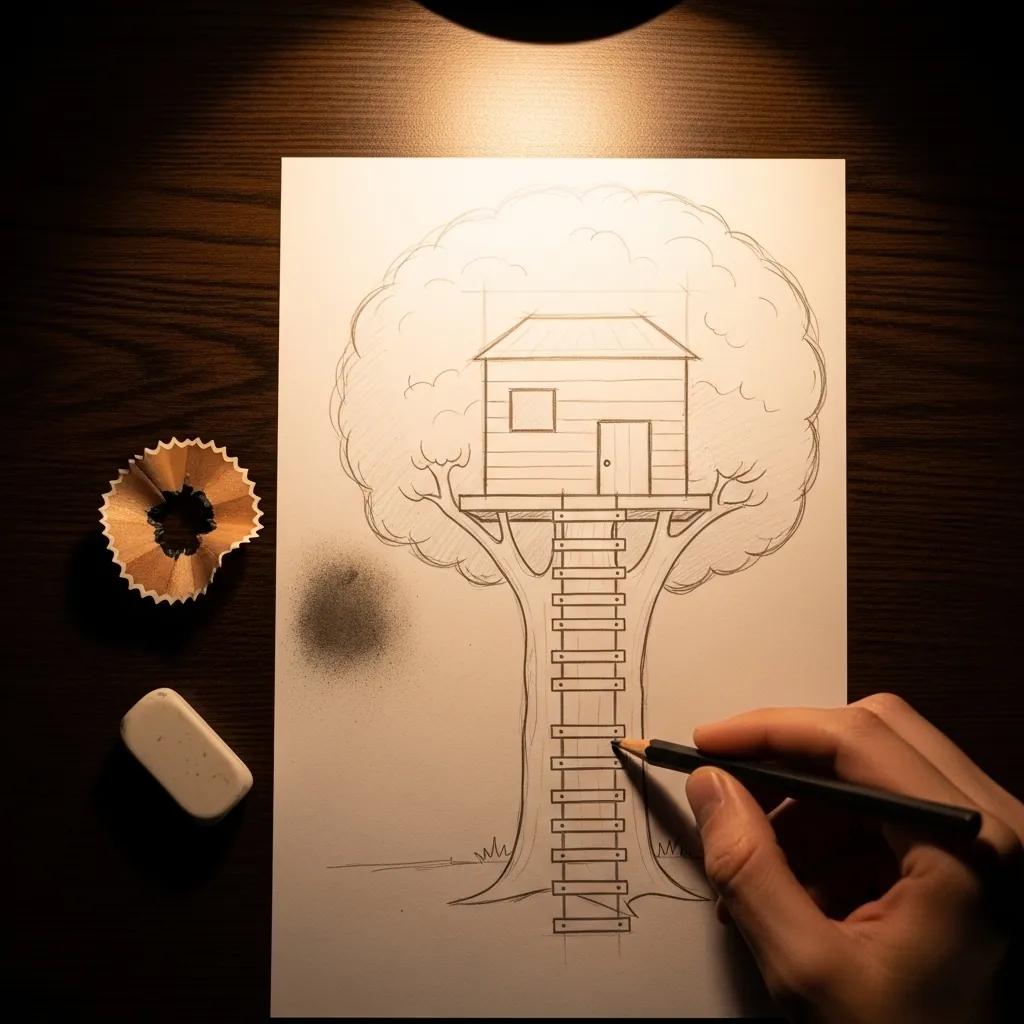
Complicated subjects need a plan. Draw the tree trunk and the foliage mass first, then place the house so the branches pass behind and in front of it, and run the ladder down to the ground at a slight lean; overlapping is what makes it sit in the tree.
36. Baby Dinosaur
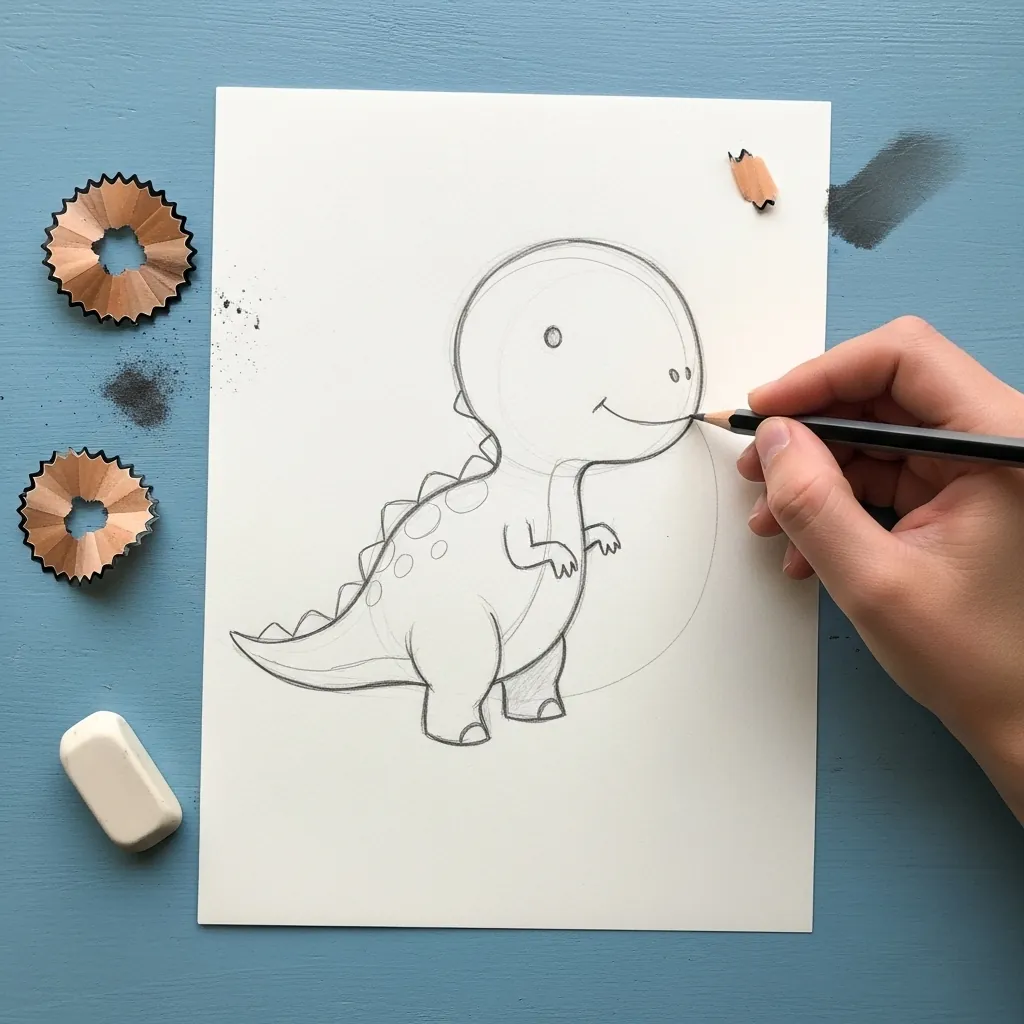
A cartoon dinosaur is a big egg with legs. Draw the body large and rounded, add a small head on a short neck, and run a row of triangles down the back that shrink toward the tail. Short thick legs keep it looking young.
37. Window With Curtains
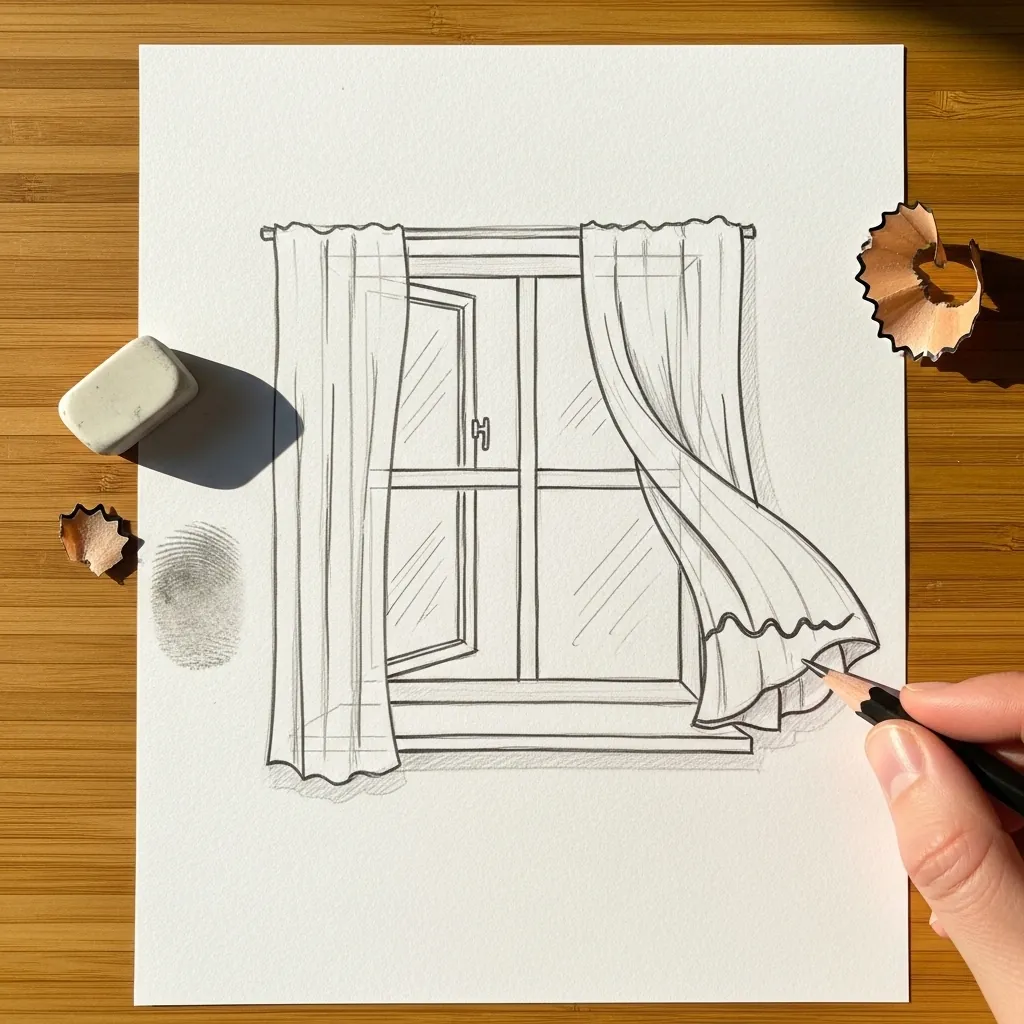
Fabric folds follow gravity and a gathering point. Draw the curtain rail first, gather the folds where the fabric is tied or hung, and let each fold widen as it falls; the window panes behind stay perfectly straight by contrast.
38. Bicycle From Circles
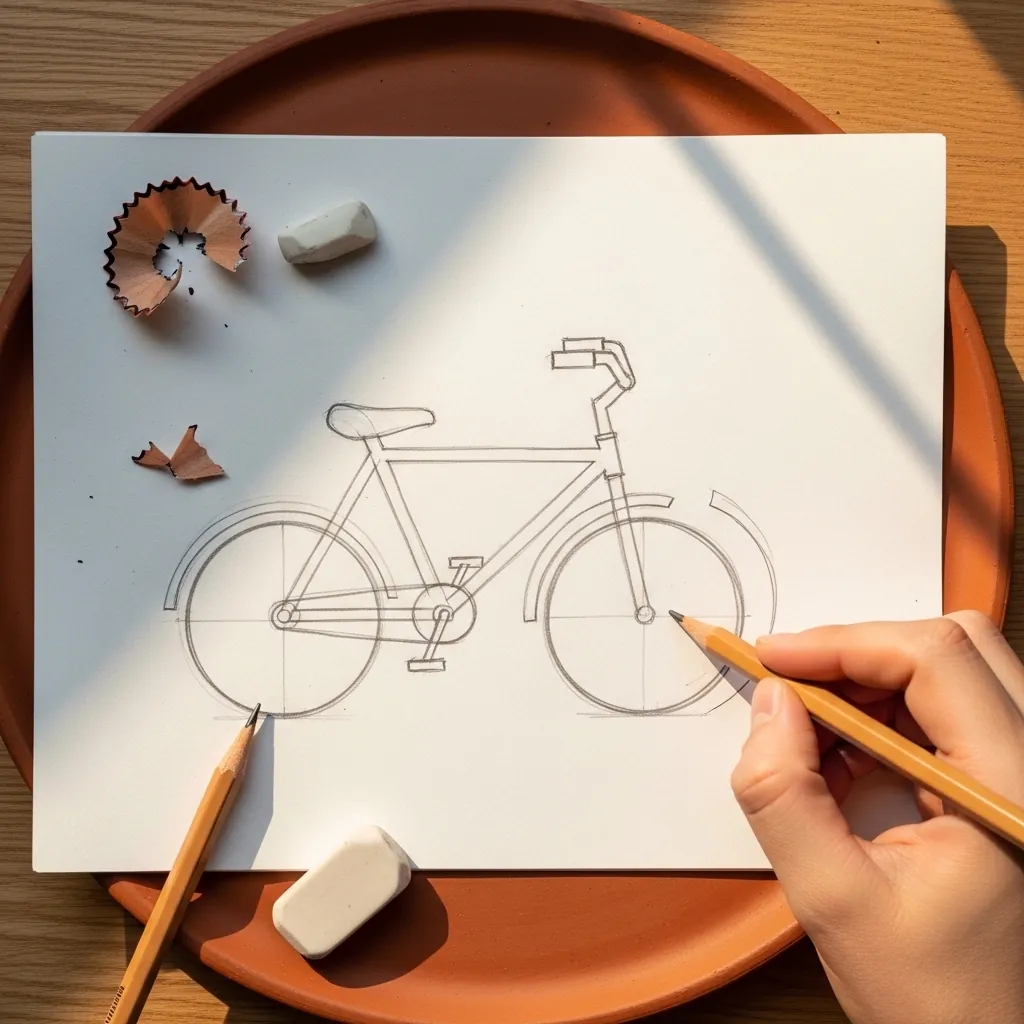
A bicycle is two identical circles joined by triangles. Draw both wheels the same size and a full wheel’s gap apart, join the hubs with the frame, and add the handlebars and saddle last. Getting the wheel spacing right fixes everything else.
39. Fluffy Teddy Bear
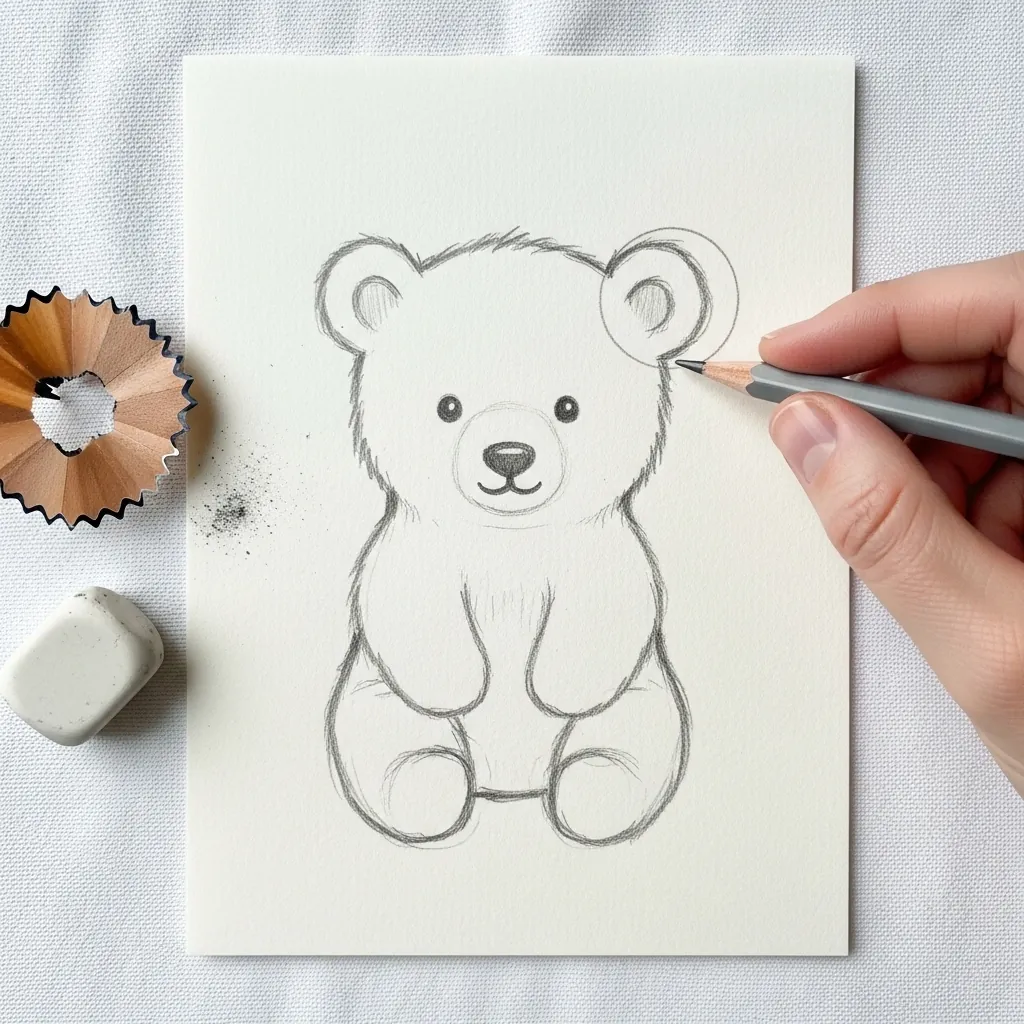
Fluff lives in the outline. Draw the edge of the bear as a broken, slightly furry line rather than a smooth one, keep the inner shading soft and directionless, and make the muzzle and paw pads the only smooth areas. Round ears sit high on the head.
40. Sleeping Moon and Star
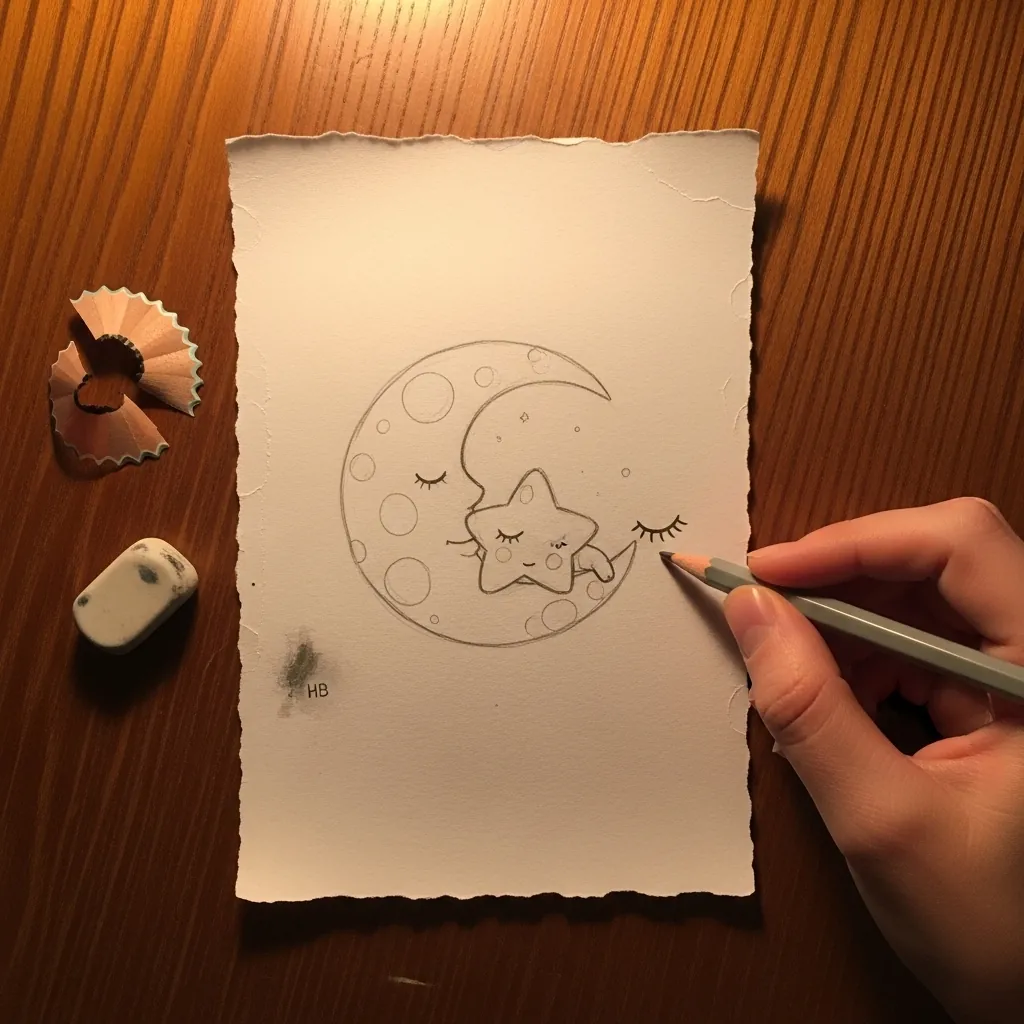
Finish with something purely decorative. Draw the crescent large with closed curved eyes and a small smile, tuck a tiny star into the inner curve, and add a few soft craters as light circles; keep every line thin so it stays gentle.
Frequently Asked Questions
Which pencil should a beginner buy?
A single HB is enough to start. It sits in the middle of the scale, so you can go lighter by easing off and darker by pressing, and you learn pressure control instead of swapping pencils. Add a 2B and a 4B only once you actually run out of range.
What do H and B mean on a pencil?
H stands for hard and B for black. An H pencil has more clay in the core, so it makes a light gray line and holds a point; a B has more graphite, so it is softer and darker. HB sits exactly between the two.
Why do my straight lines come out curved?
Because you are drawing them from the wrist. A wrist pivots, so it naturally traces an arc. Lock the wrist, move the whole arm from the shoulder, and let the pencil skim the paper for the full length of the line.
How do I stop smudging my drawing?
Put a spare sheet of paper under your drawing hand and never let your skin touch the graphite. Work from the top of the page downward if you are right handed, and from top right if you are left handed.
Should I outline first or shade first?
Outline first, but lightly. Get the whole shape down at a pressure you can still erase, check the proportions against the real object or reference, and only then start shading. Committing to a dark outline early is what makes drawings impossible to fix.
References and Further Reading