Learning how to color with alcohol markers is mostly about one idea: alcohol markers blend by layering ink while it is still wet, not by pressing harder. The ink soaks into the paper and softens its own edges, so smooth color comes from timing and layering, not force. Once that clicks, coloring pages stop looking streaky and start looking soft and polished.
In this guide, you will learn exactly how these markers work, the supplies that make them easy, and ten beginner techniques step by step. No art degree needed. If you can color inside the lines, you can do every technique here today.
TL;DR
- Alcohol markers blend while the ink is wet, so work one small area at a time.
- Use smooth marker paper so the ink can soak in and level itself out.
- Layer the same color for shadows, and blend two colors by feathering the second into the still-wet first.
- Small circular strokes give the flattest, least streaky color.
In this guide
What Supplies Do You Need?
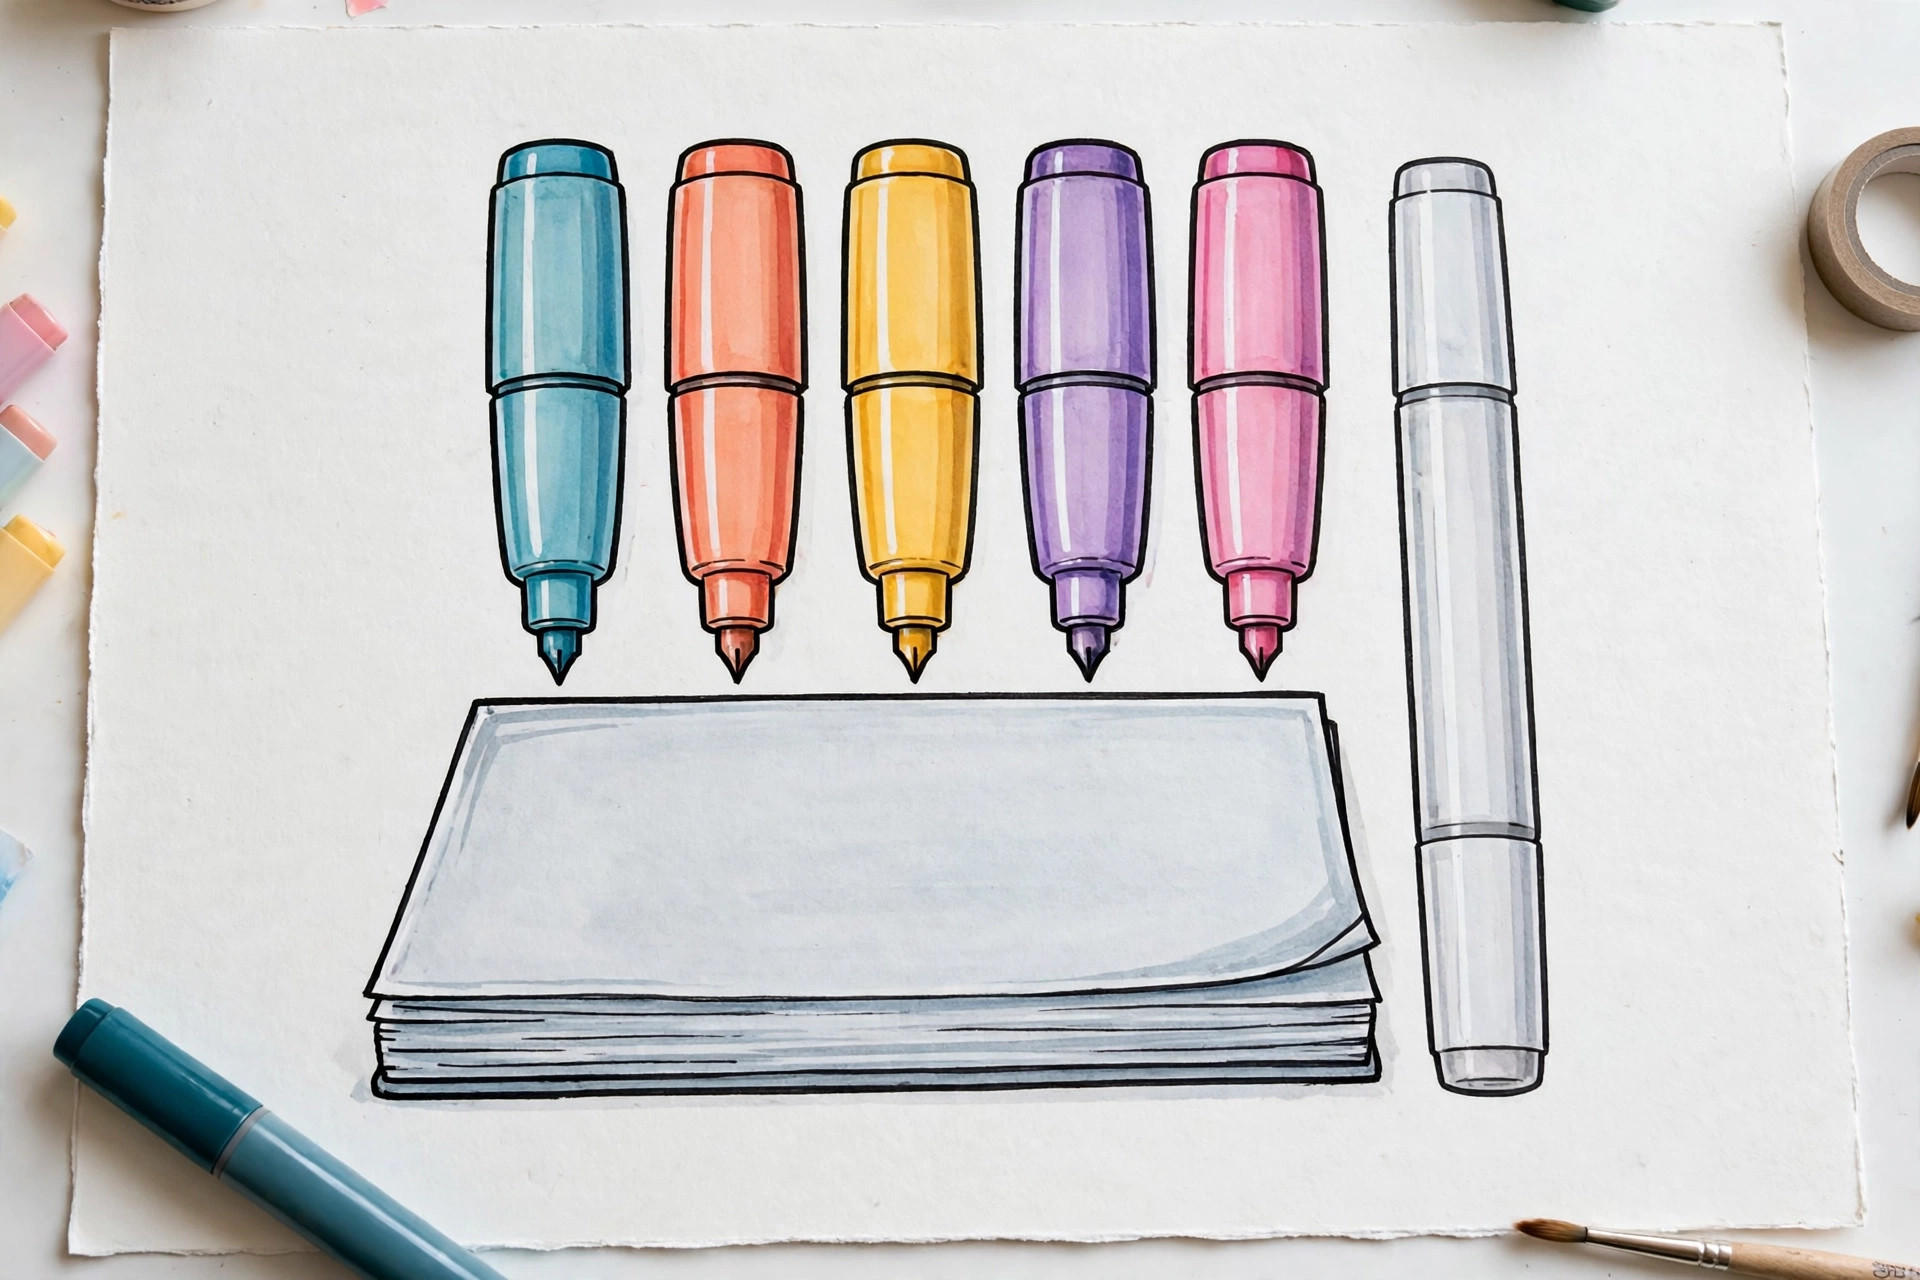
You only need four things: a small set of alcohol markers, smooth marker paper, a white gel pen, and a fine liner pen. Everything else is optional, so start simple and add supplies only when a project asks for them.
- Alcohol markers: A starter set of 24 to 48 colors is plenty. Brush tips (soft, flexible tips that act like a tiny paintbrush) are the easiest for blending, so choose a set that has them if you can.
- Marker paper (also called bleed-proof paper): Smooth paper made for markers. It slows the ink down so it stays wet a little longer and blends instead of streaking.
- White gel pen: A pen with opaque white ink, used at the very end for sparkles, eye highlights, and tiny stars.
- Fine liner: A thin, waterproof black or brown pen for fixing wobbly outlines and adding small details like whiskers or stitches.
If you are still choosing your first set, our tested guide to the best alcohol markers for beginners compares beginner-friendly options at different budgets. Whatever set you pick, the techniques below work exactly the same.
How Do Alcohol Markers Actually Work?
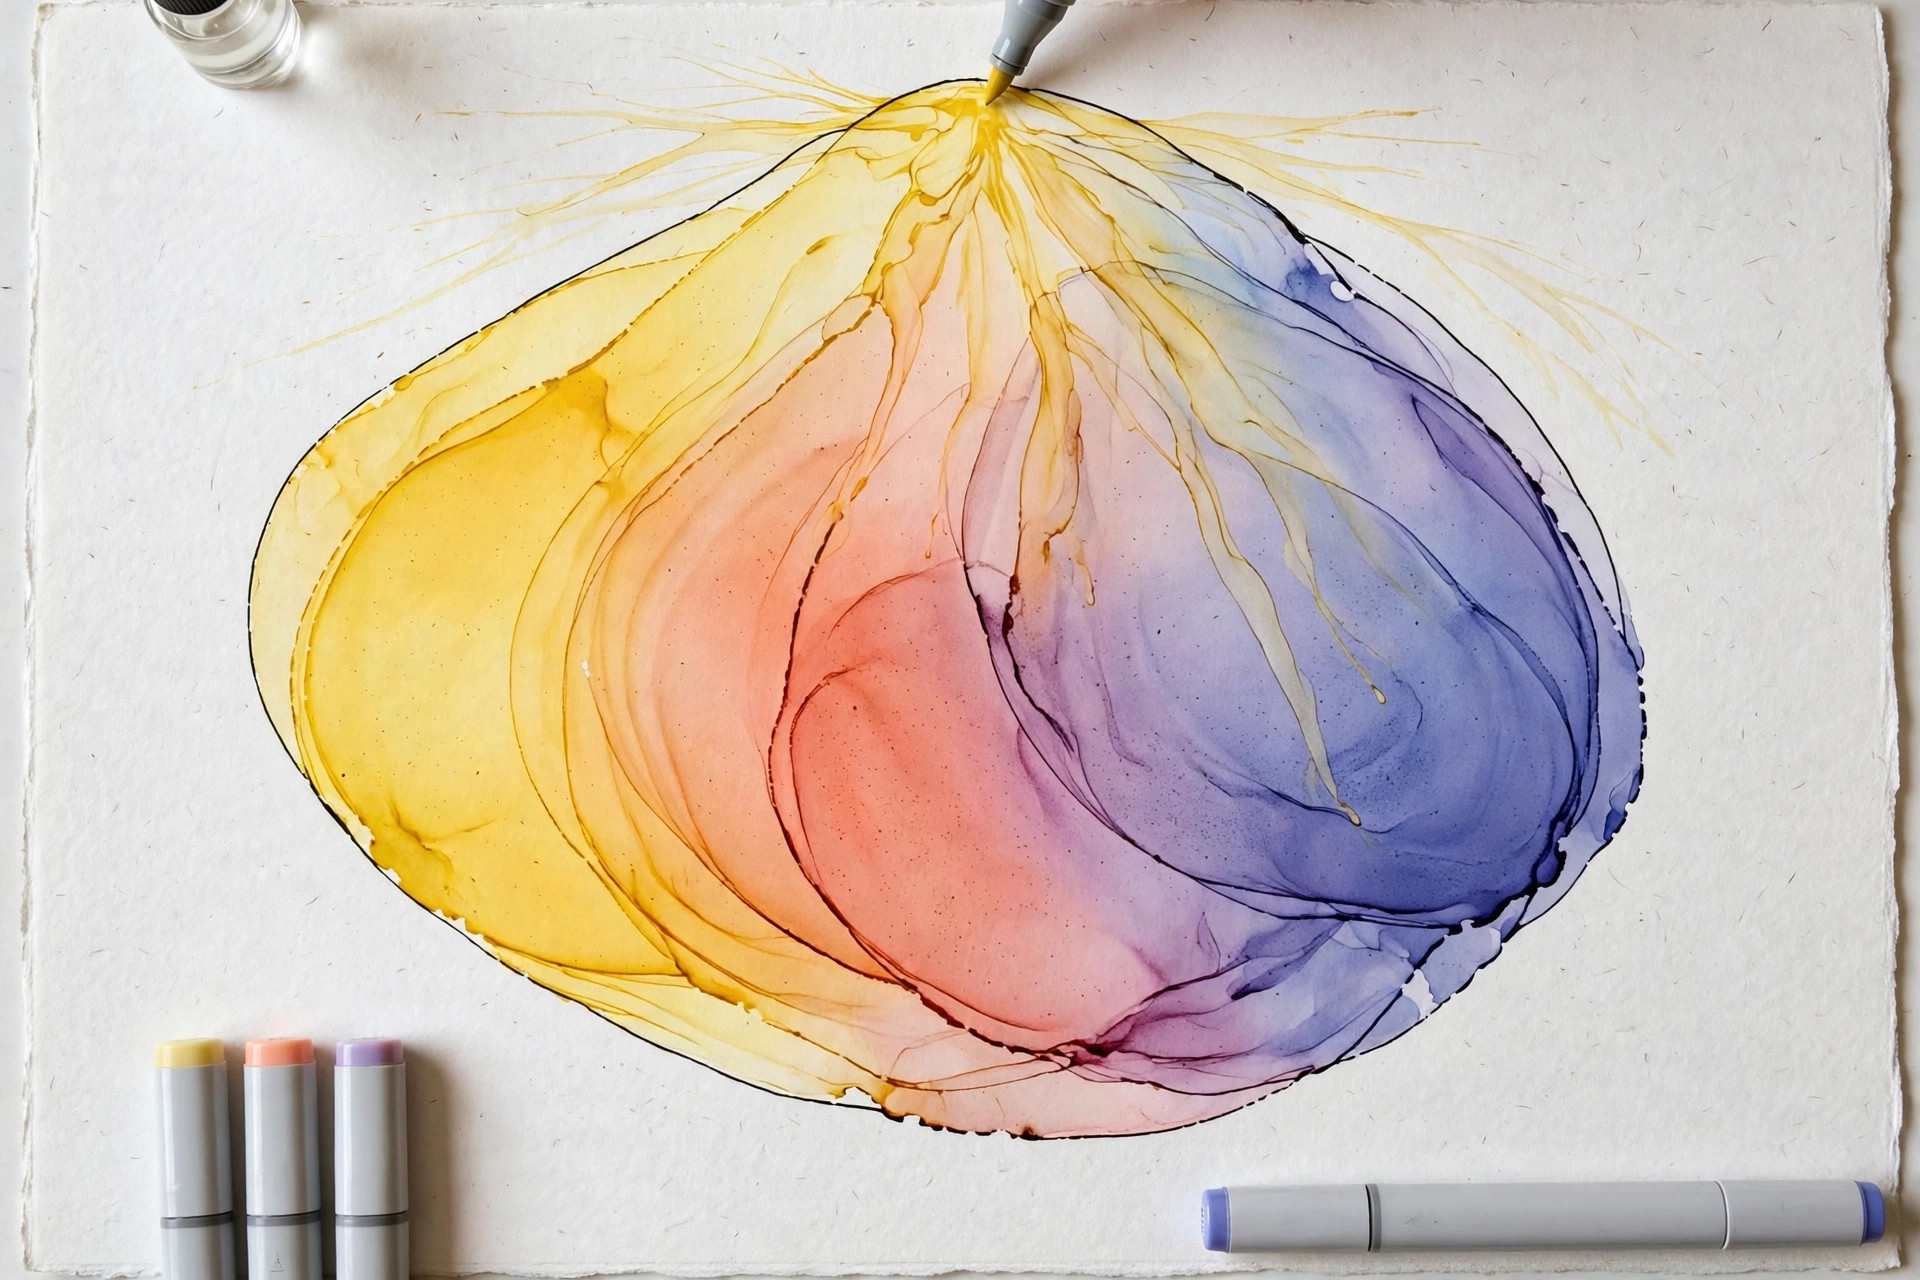
Alcohol markers carry their color in alcohol instead of water, and that one difference explains everything about how they behave. The alcohol spreads the ink into the paper fibers, then evaporates (dries into the air) quickly, leaving smooth color behind.
Because the ink soaks into the paper instead of sitting on top, each new stroke melts slightly into the one under it. Artists call this self-leveling: the ink settles itself flat, which is why marker coloring can look almost printed when it goes well. It is also why pressing harder does nothing useful. Pressure cannot push ink deeper in a helpful way; it only frays your brush tip and floods the paper.
Streaks happen when one stroke dries before the next stroke touches it. The dry edge stays visible as a line. That is why the golden rule of markers is: keep the edge wet. Color one shape at a time, keep moving, and let each new stroke overlap the wet edge of the last. Most shapes dry in well under a minute, so a comfortable, steady pace is all you need.
10 Alcohol Marker Techniques for Beginners
These ten techniques build on each other, from plain flat color to simple textures. Practice each one on scrap paper or a spare coloring page first, and you will be surprised how quickly they feel natural.
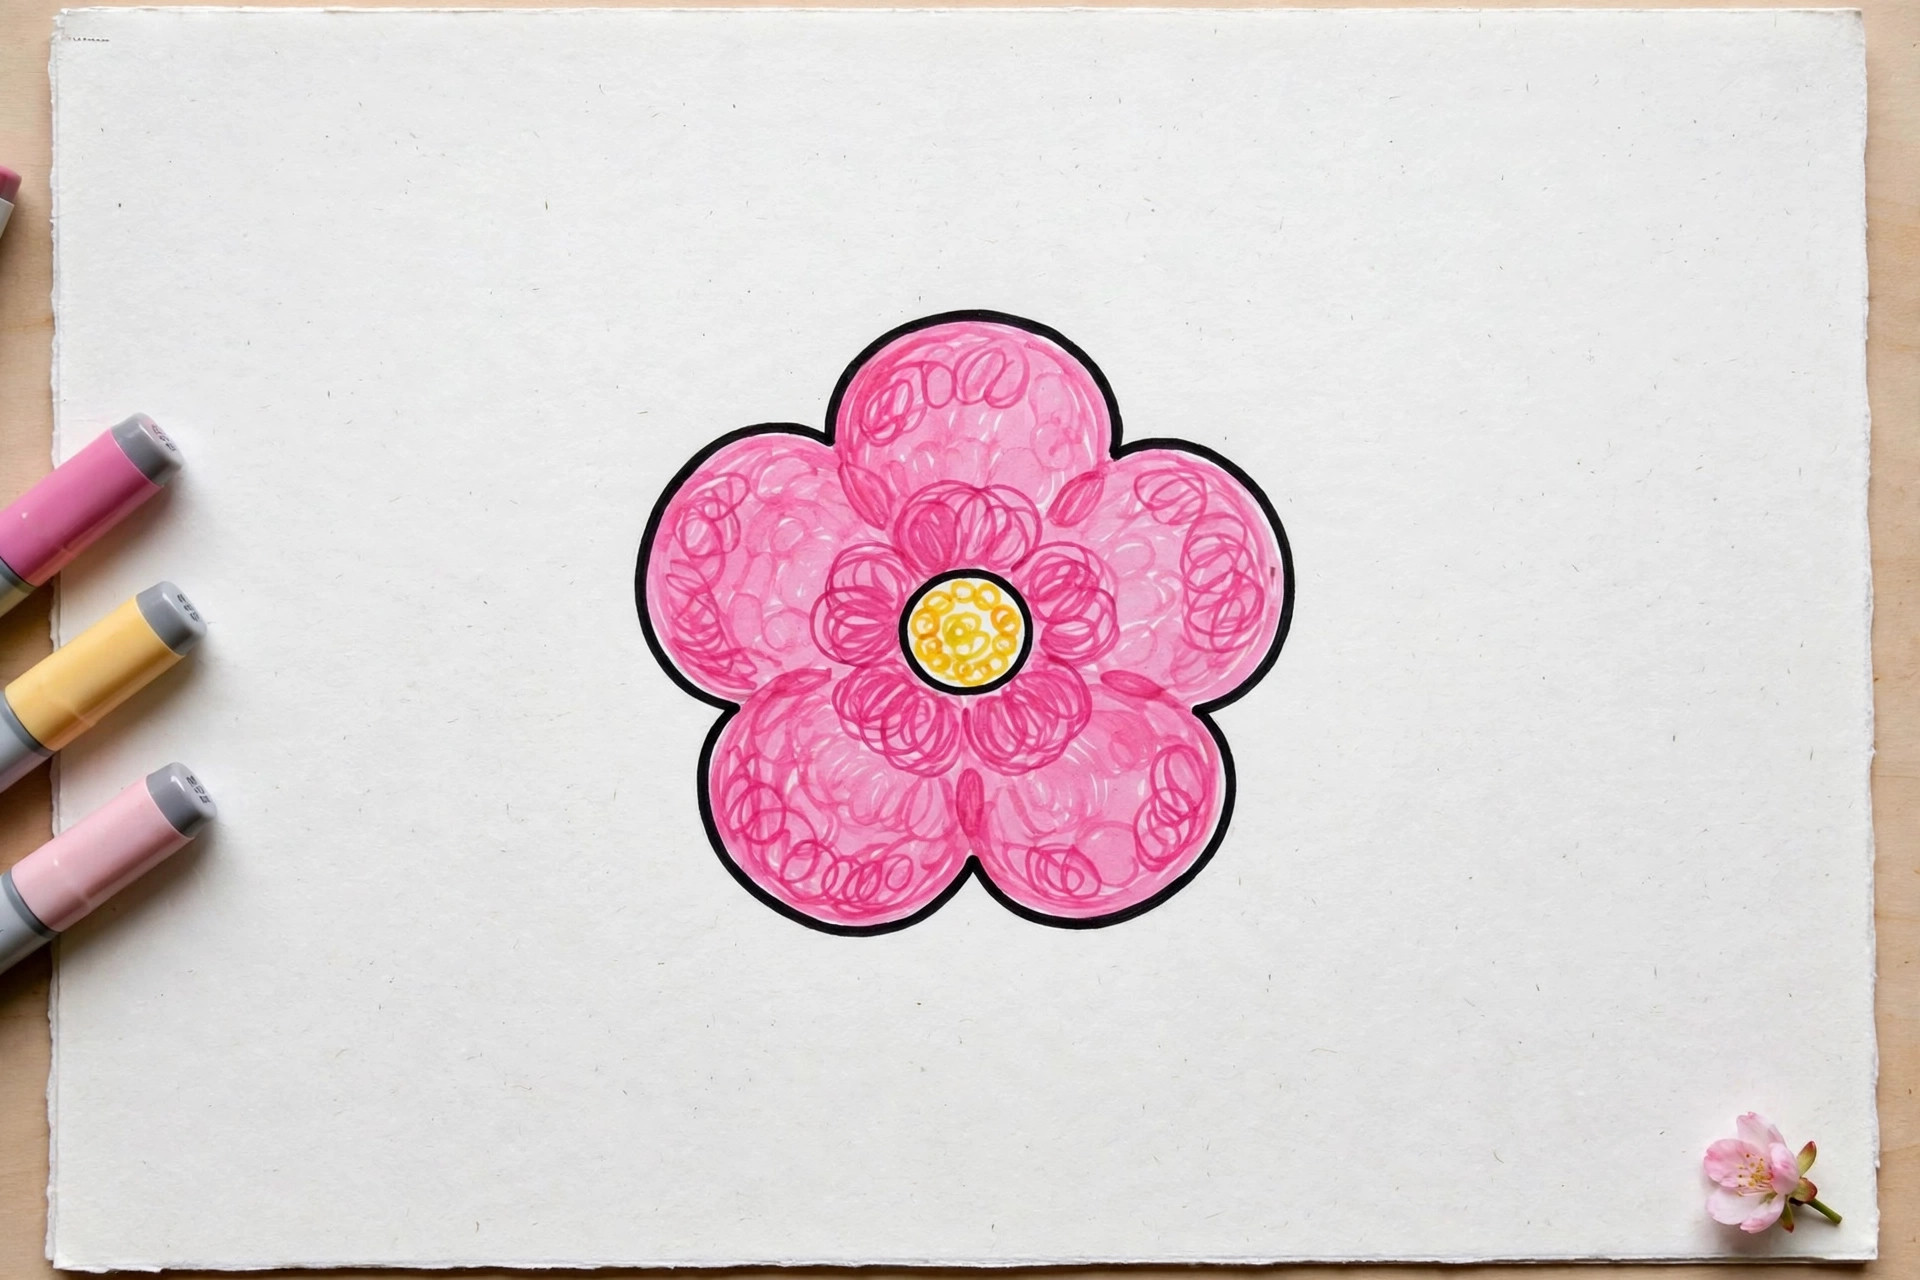
1. Flat Color With Small Circles
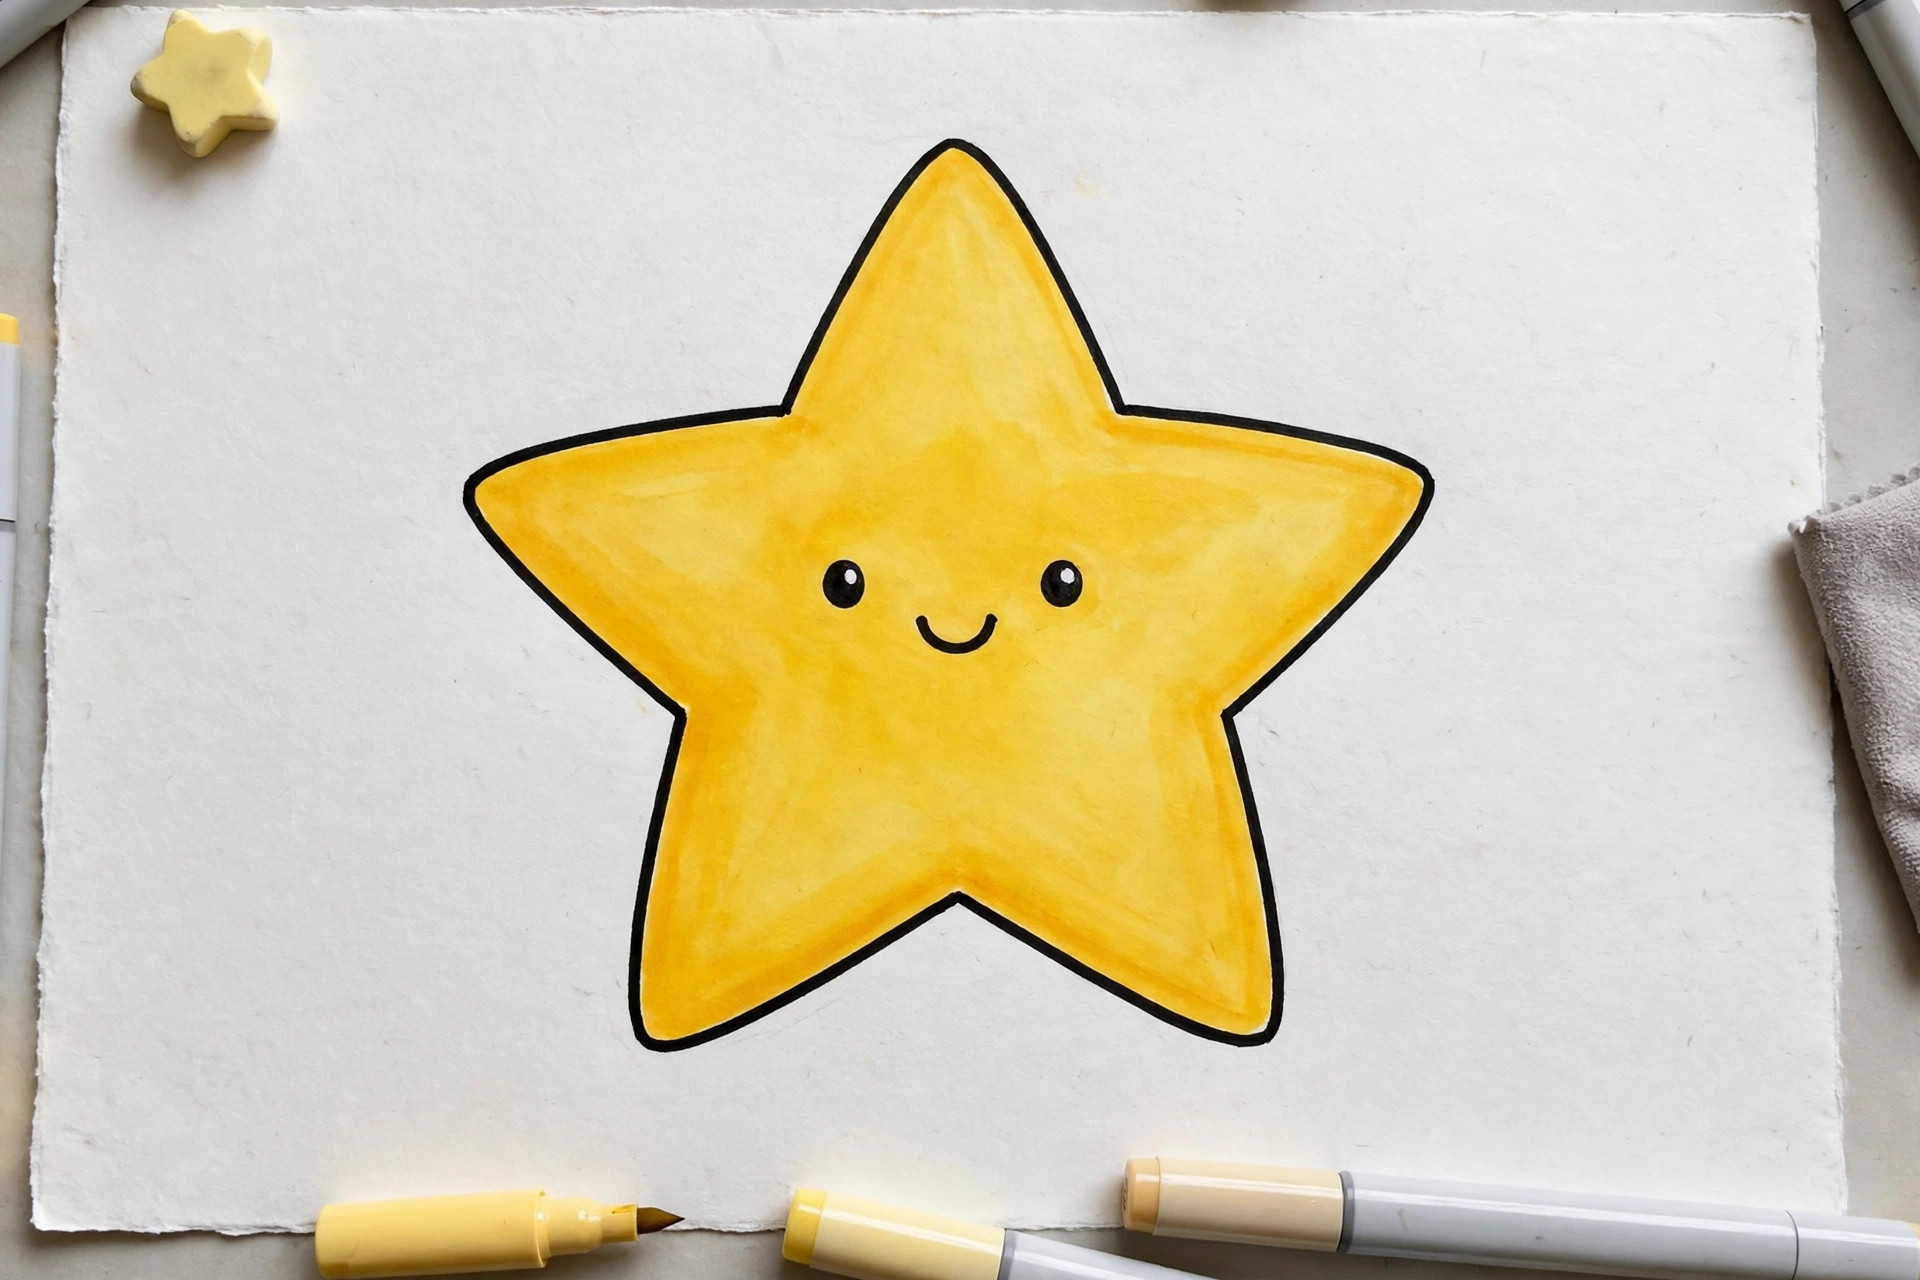
Flat color means one even layer of color with no streaks, and small circular strokes are the easiest way to get it. Color in tiny circles instead of long back-and-forth lines, slowly moving across the shape and always overlapping the wet edge. Beginner tip: if a shape is big, split it into two or three smaller zones and color one zone at a time.
2. Flicking Strokes
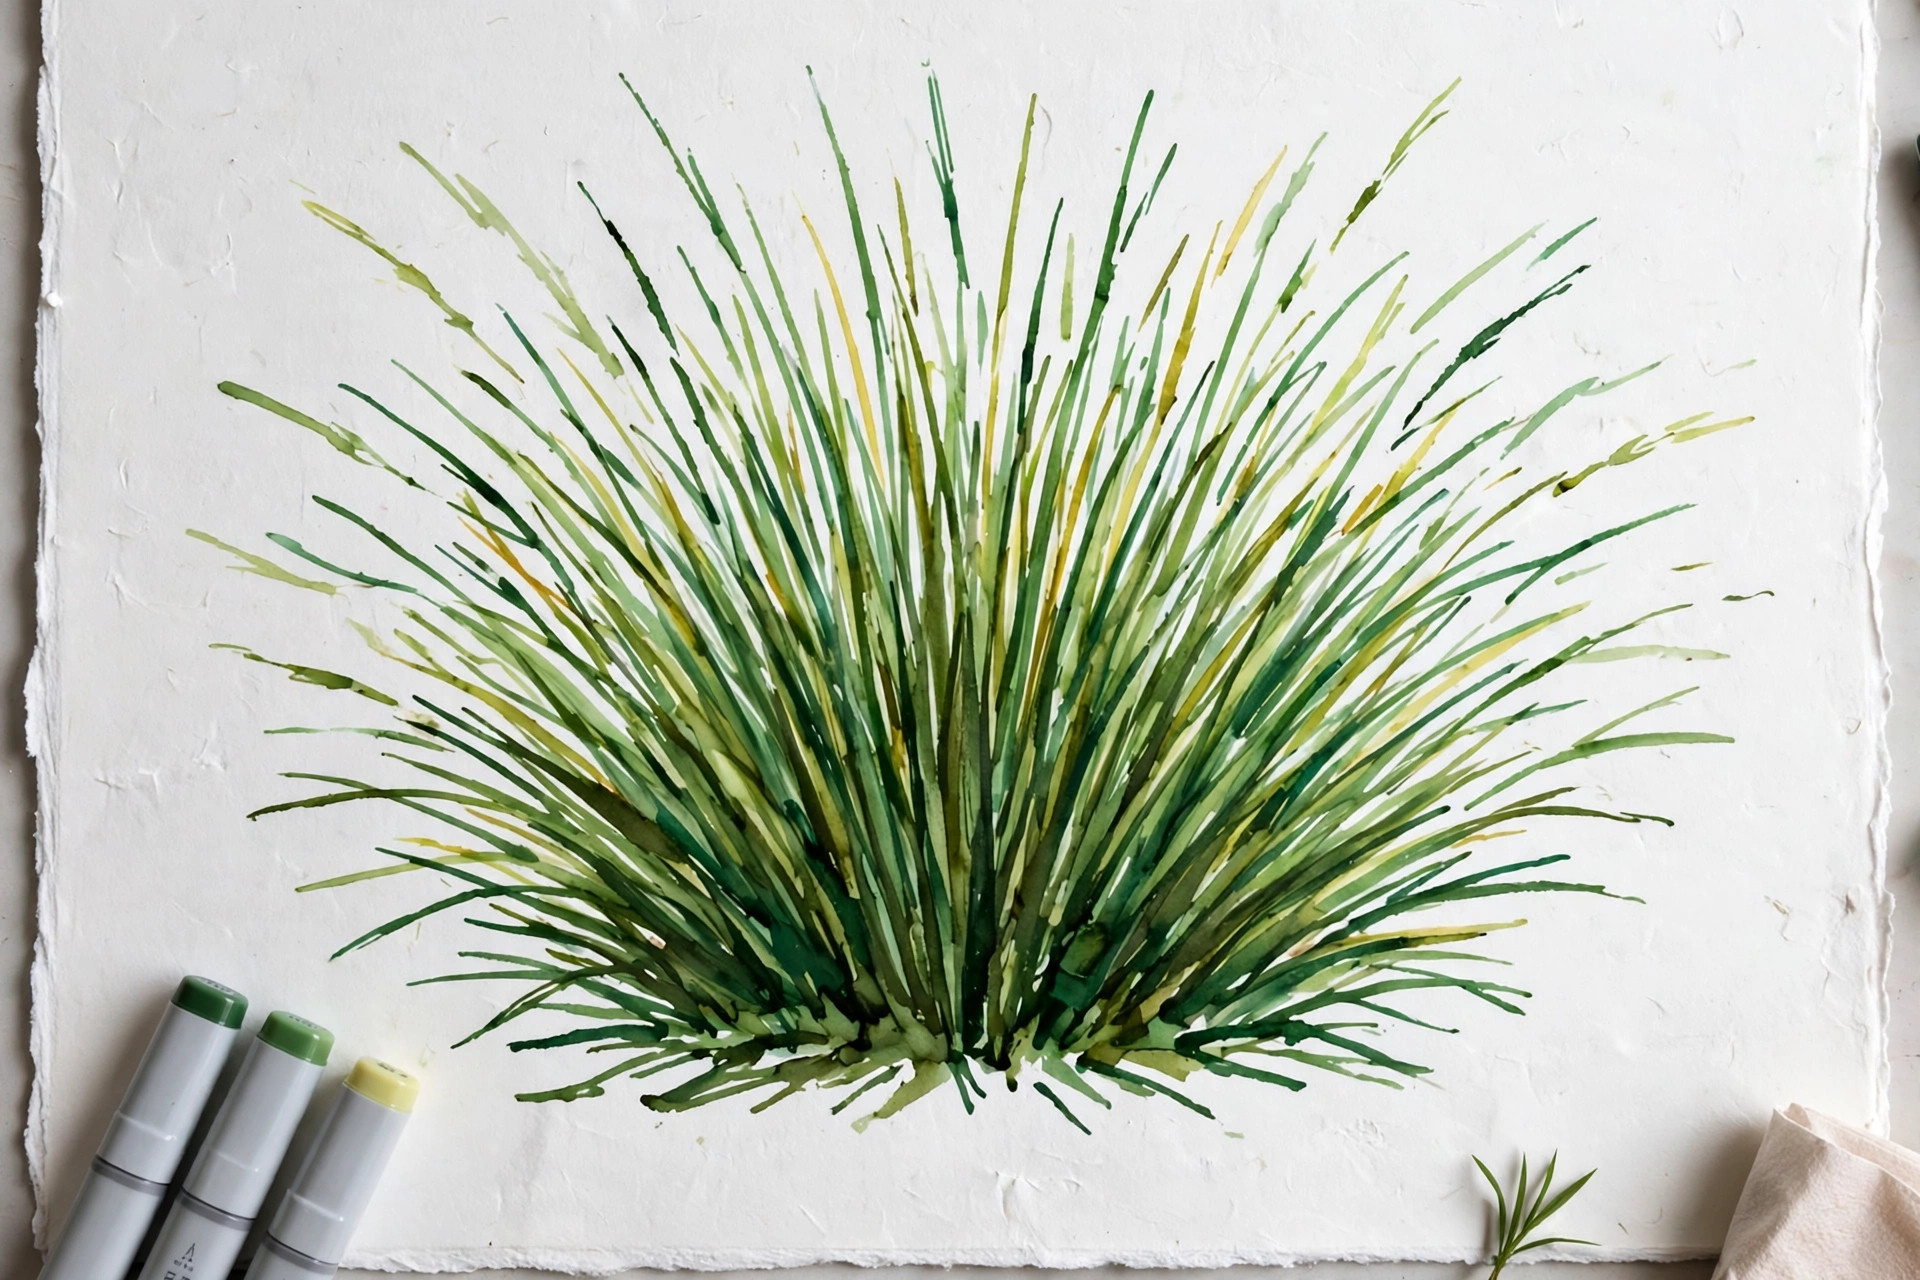
A flick is a stroke that starts firm and lifts off the paper at the end, so it fades from dark to nothing. Press down at the starting point, then sweep and lift in one motion, like a tiny check mark. Flicks are perfect for hair, fur, grass, and soft shadow edges. Beginner tip: practice rows of flicks on scrap paper until the fade looks even, then use them in a real page.
3. Layering the Same Color for Shadow
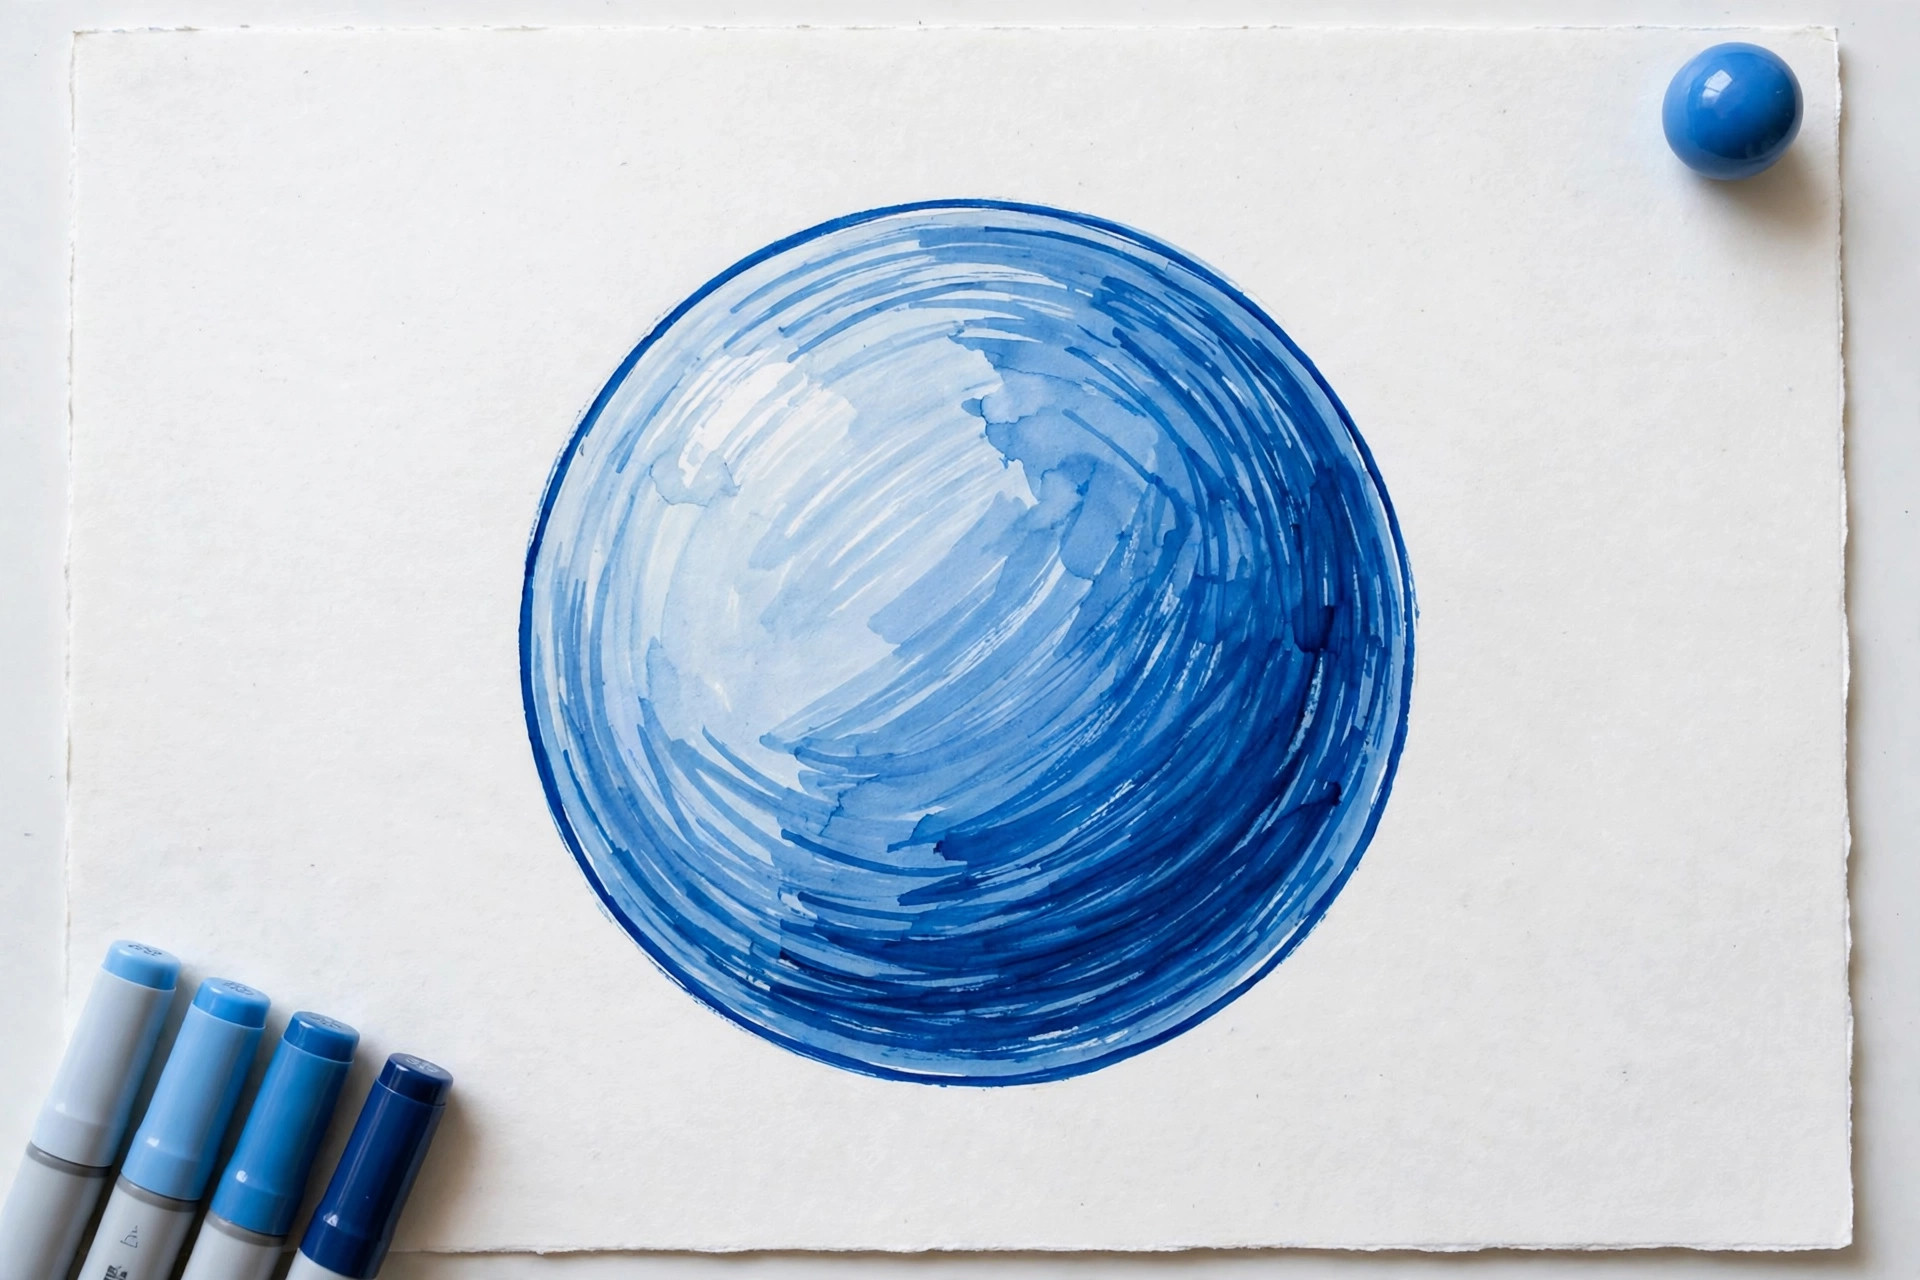
One layer of a marker is its true color; a second layer of the same marker, painted after the first dries, looks noticeably darker. That is free shading with zero new supplies. Color the whole shape once, wait about a minute, then color only the shadow areas again. Beginner tip: shadows usually sit under edges, folds, and anything that overlaps the shape, like a chin over a neck.
4. Two-Color Blend
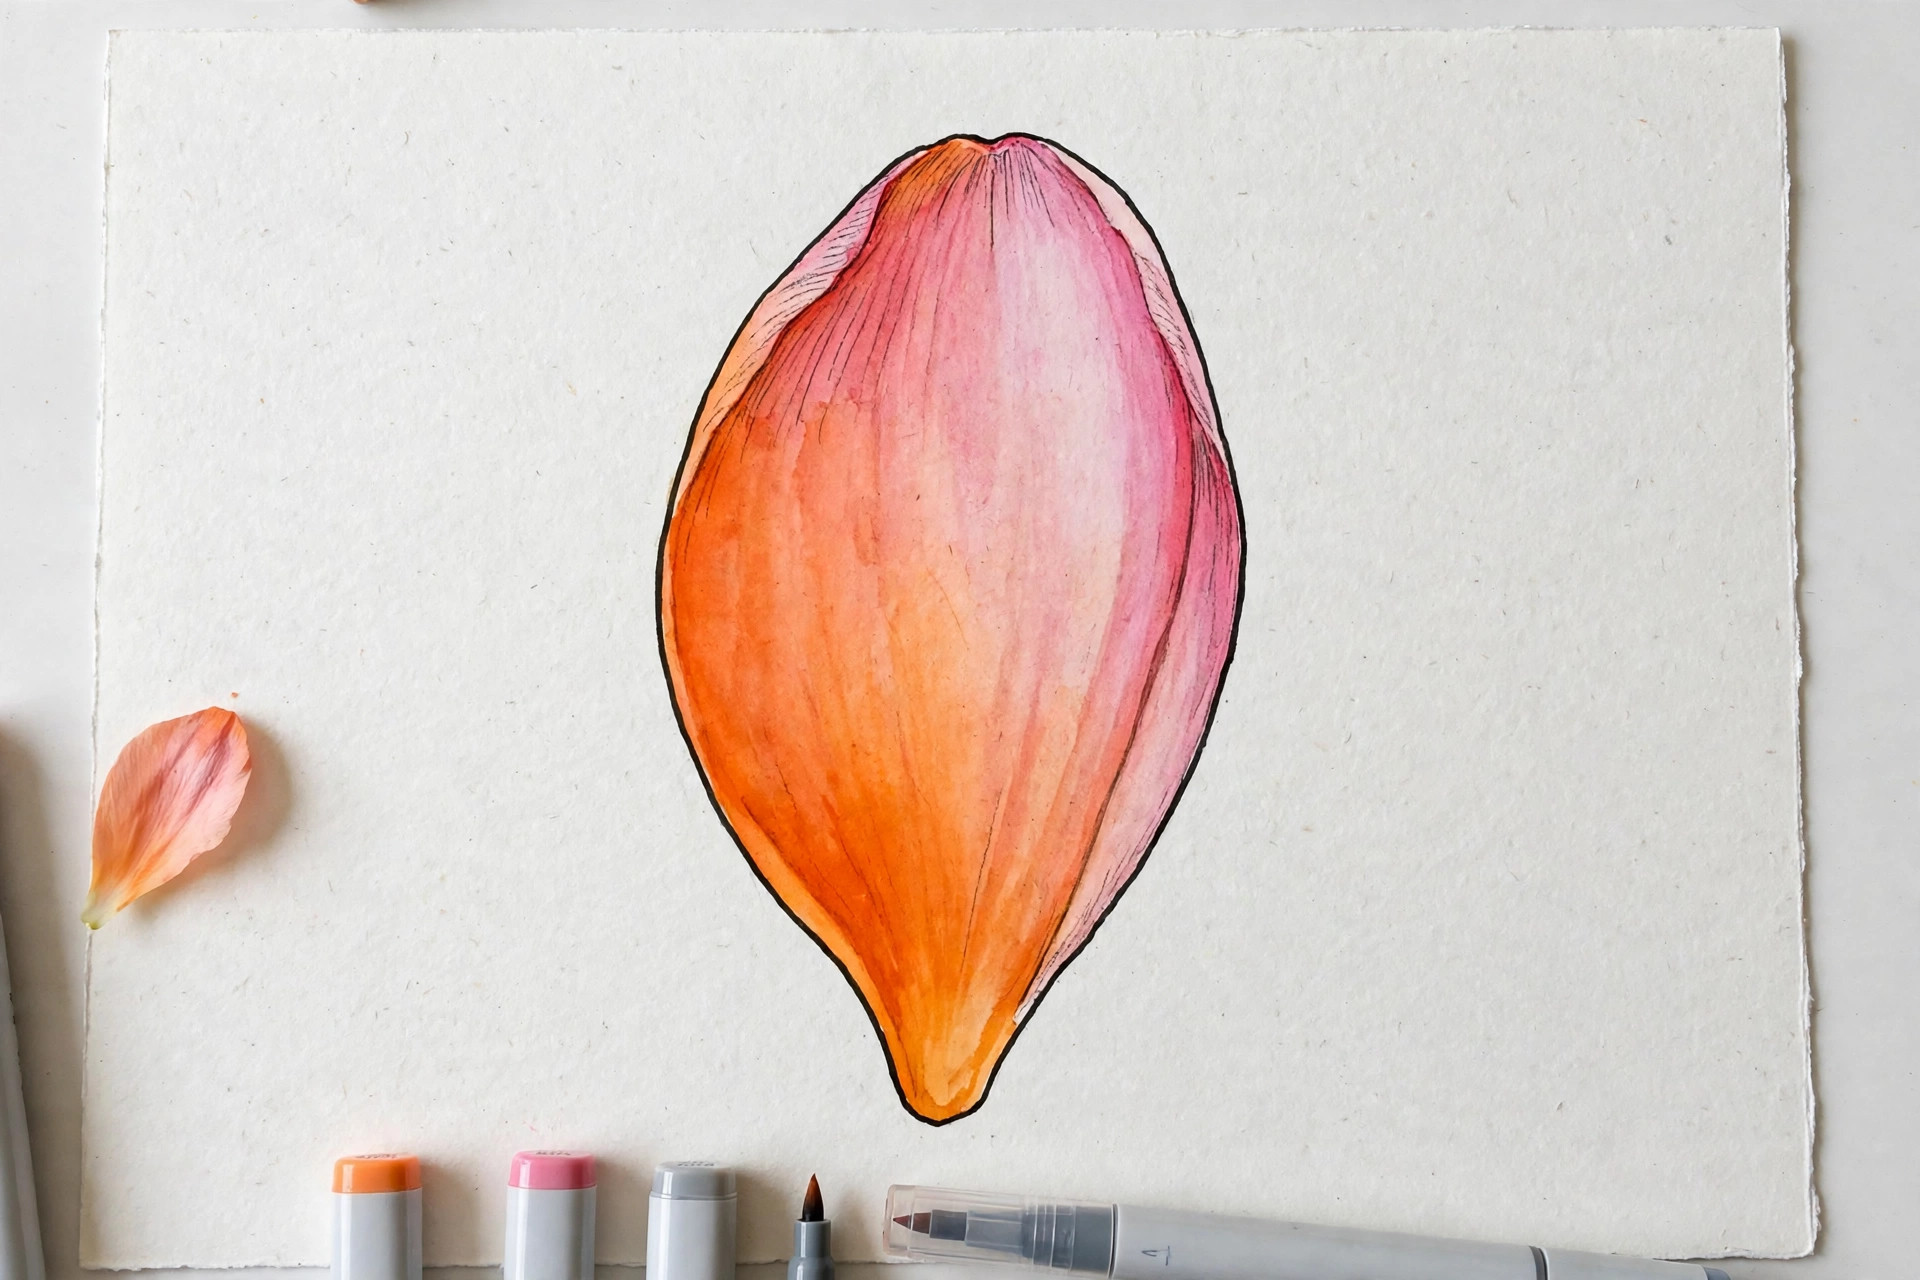
To blend two colors, color the first color over about two-thirds of the shape, then, while it is still wet, color the second color over the last third and feather it into the first. Where they meet, the inks melt together into a soft middle tone. Beginner tip: blend colors that are neighbors, like pink into peach or blue into teal, because close colors melt together kindly.
5. Feathering the Edge
Feathering means ending a stroke with light flicks so the color fades out softly instead of stopping at a hard line. Use tiny flicks with the very tip of the brush, adding less and less ink as you move outward. It is the secret behind soft cheeks, gentle shadows, and sunset skies. Beginner tip: feather with the lighter of your two colors, since light ink is more forgiving.
6. Stippling (Dots)
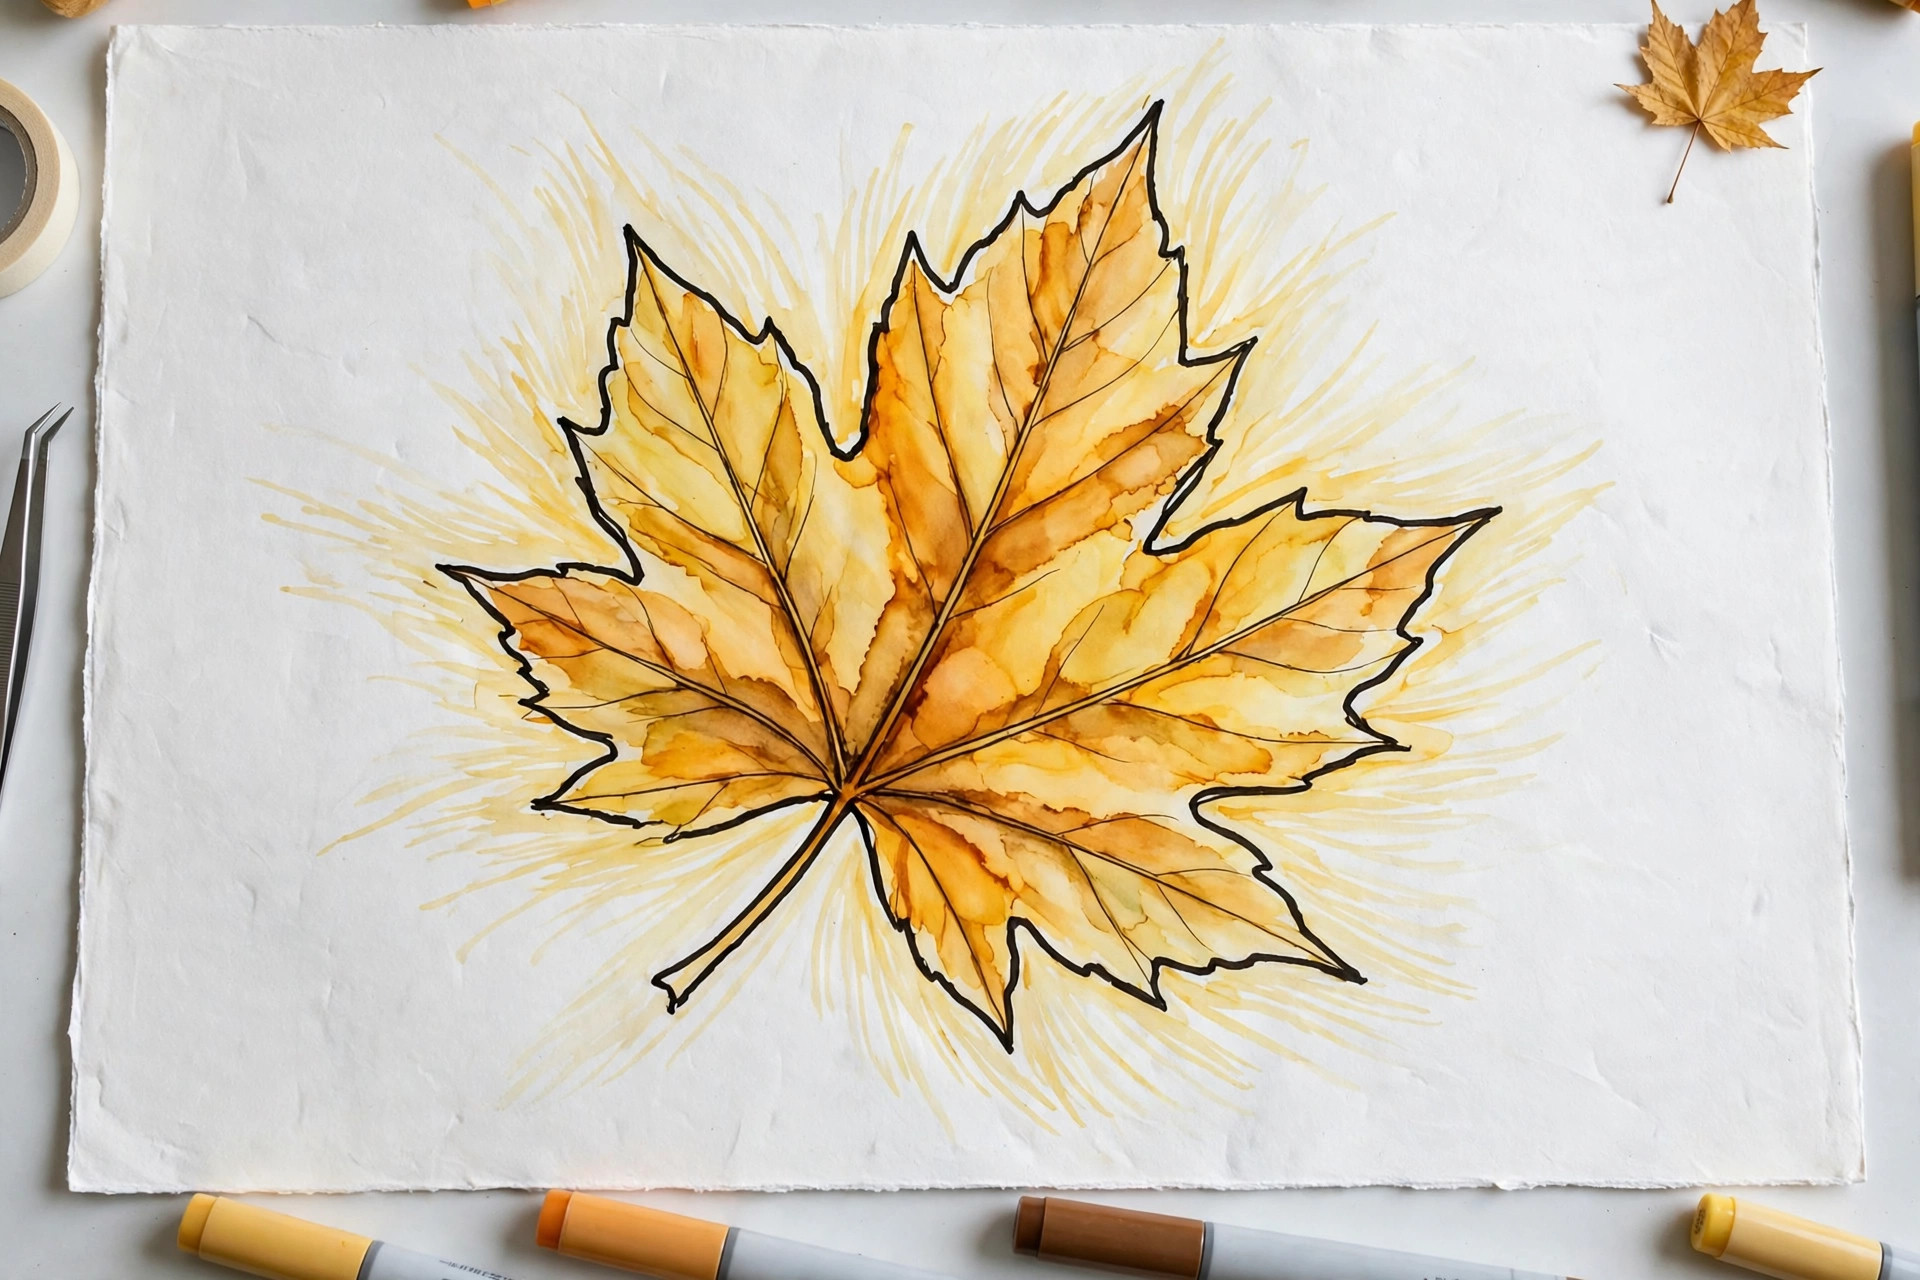
Stippling means building color and texture out of many small dots. Tap the marker tip down again and again: dots close together look dark and solid, dots spread apart look light and airy. It is wonderful for sandy beaches, starry skies, freckles, and fuzzy textures. Beginner tip: dots take patience, so use stippling for small areas and accents rather than whole backgrounds.
7. Three-Shade Gradient
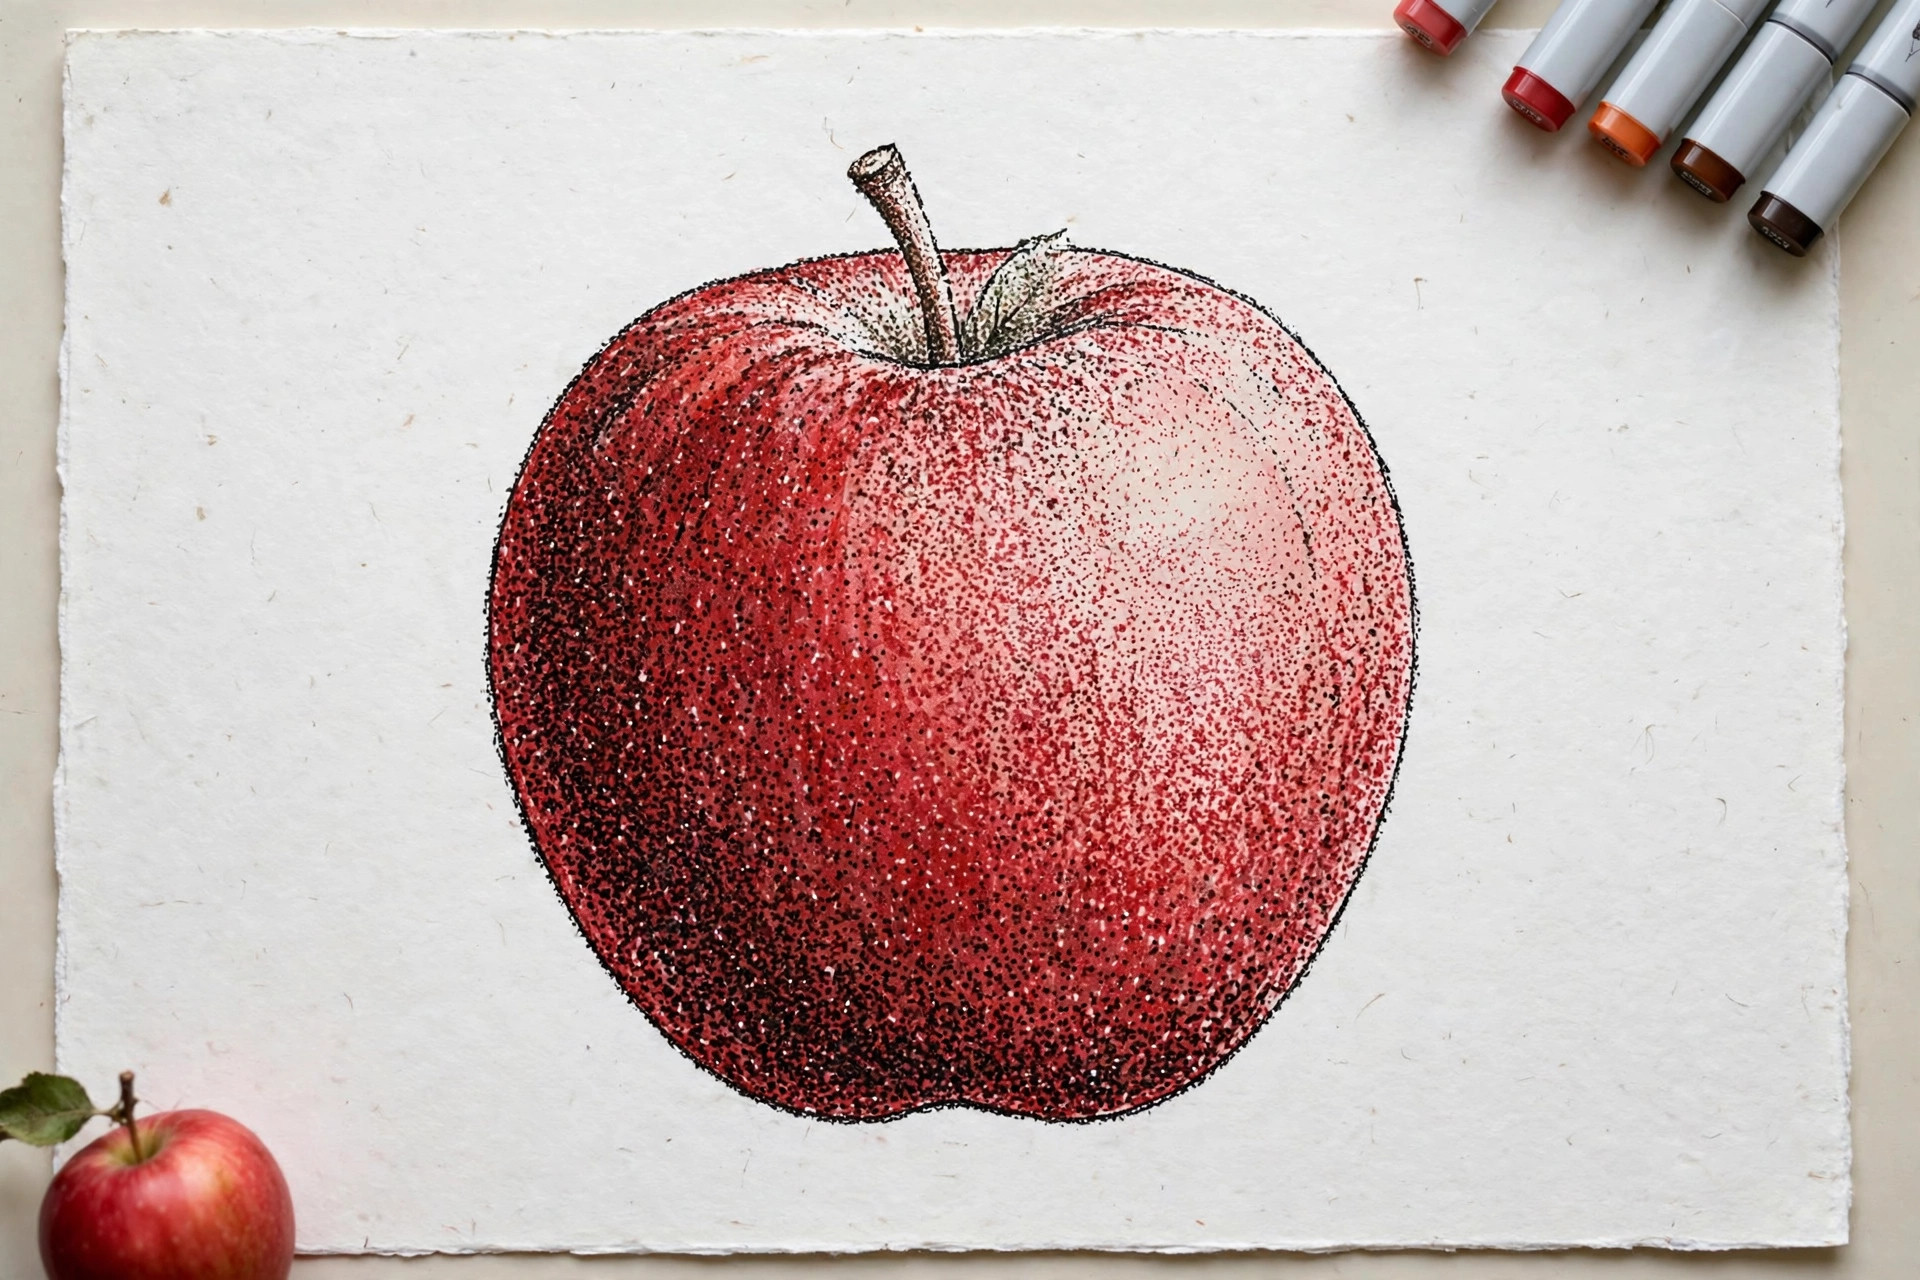
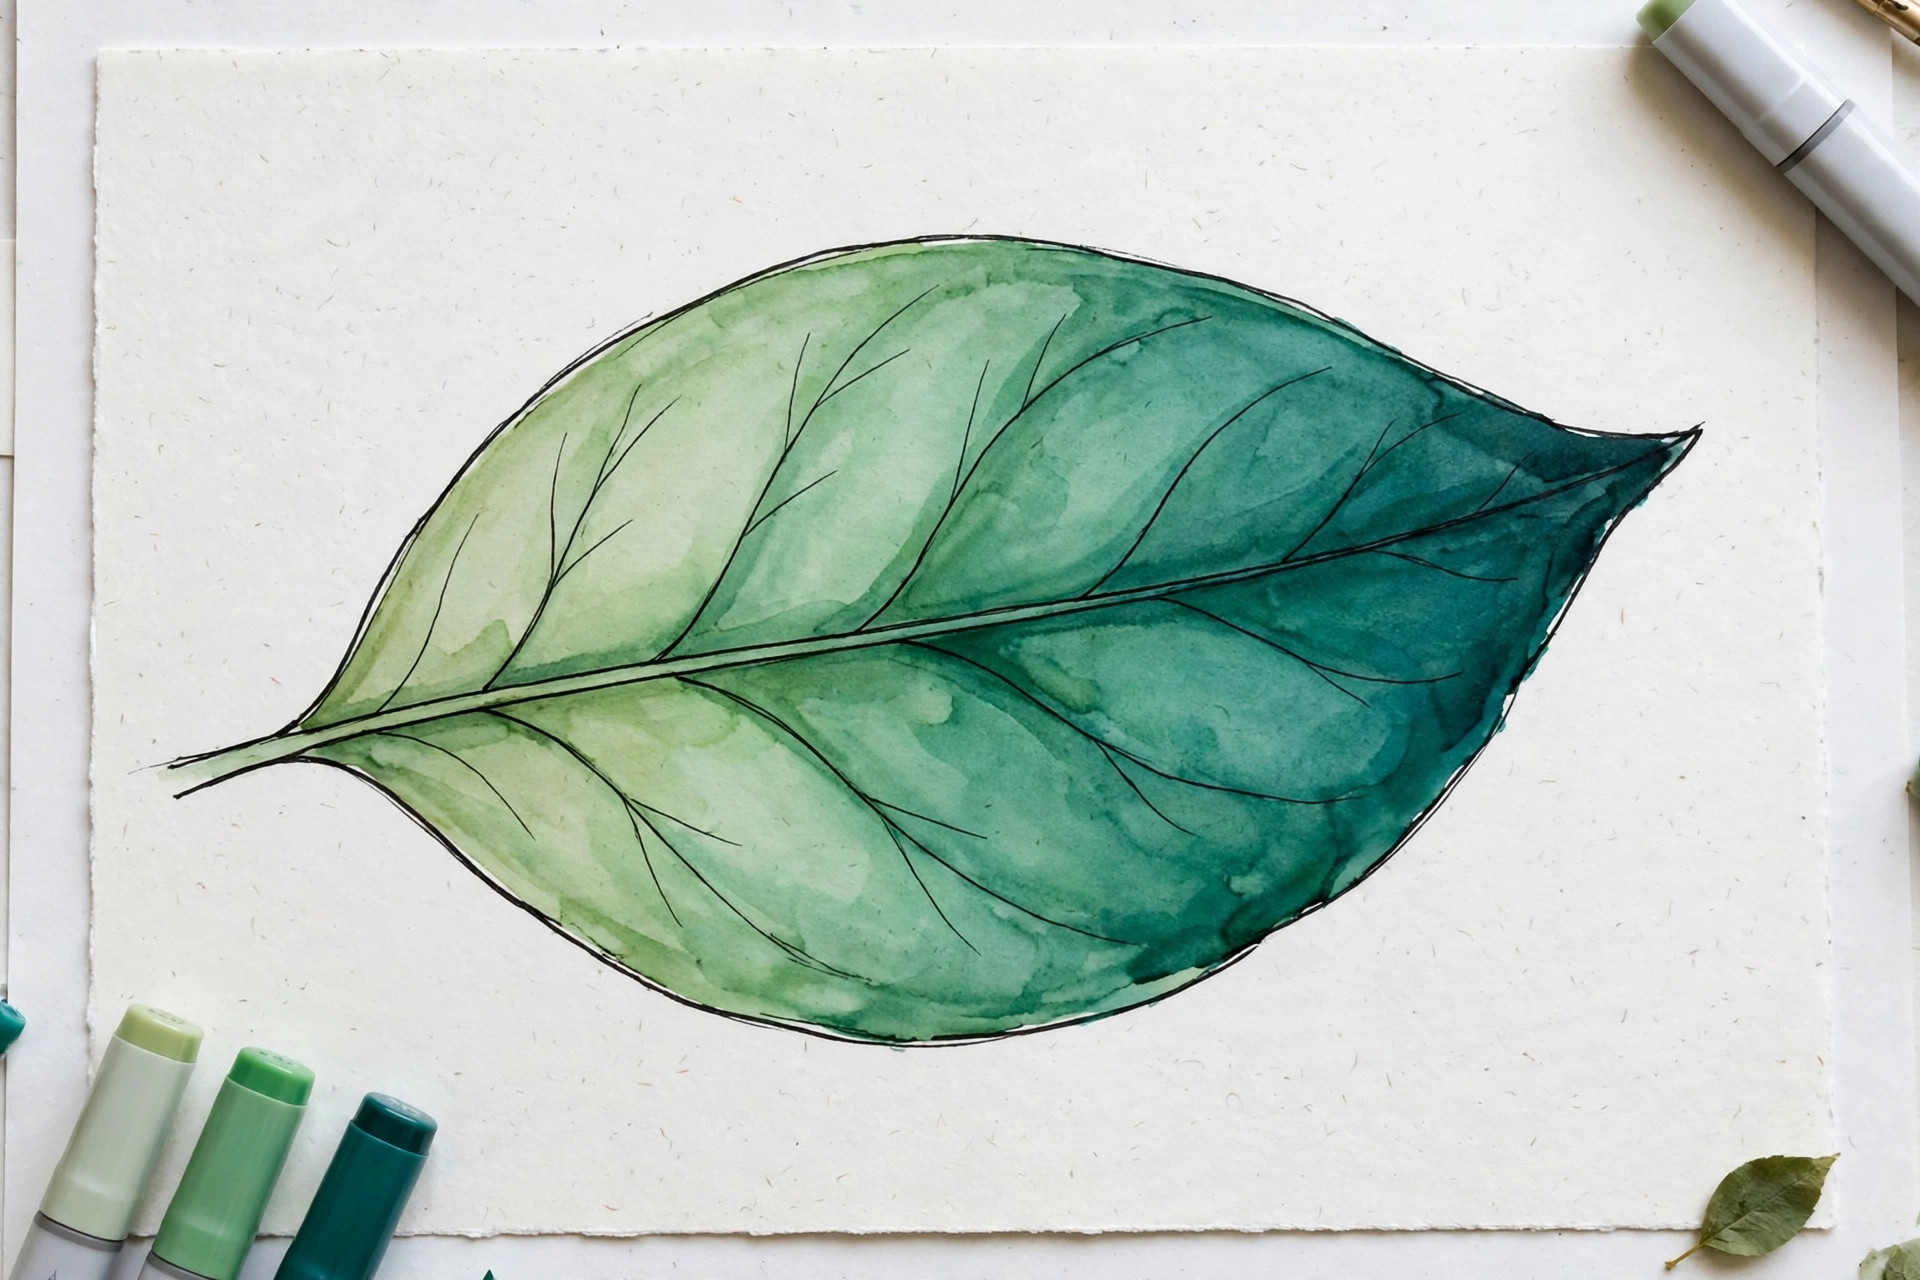
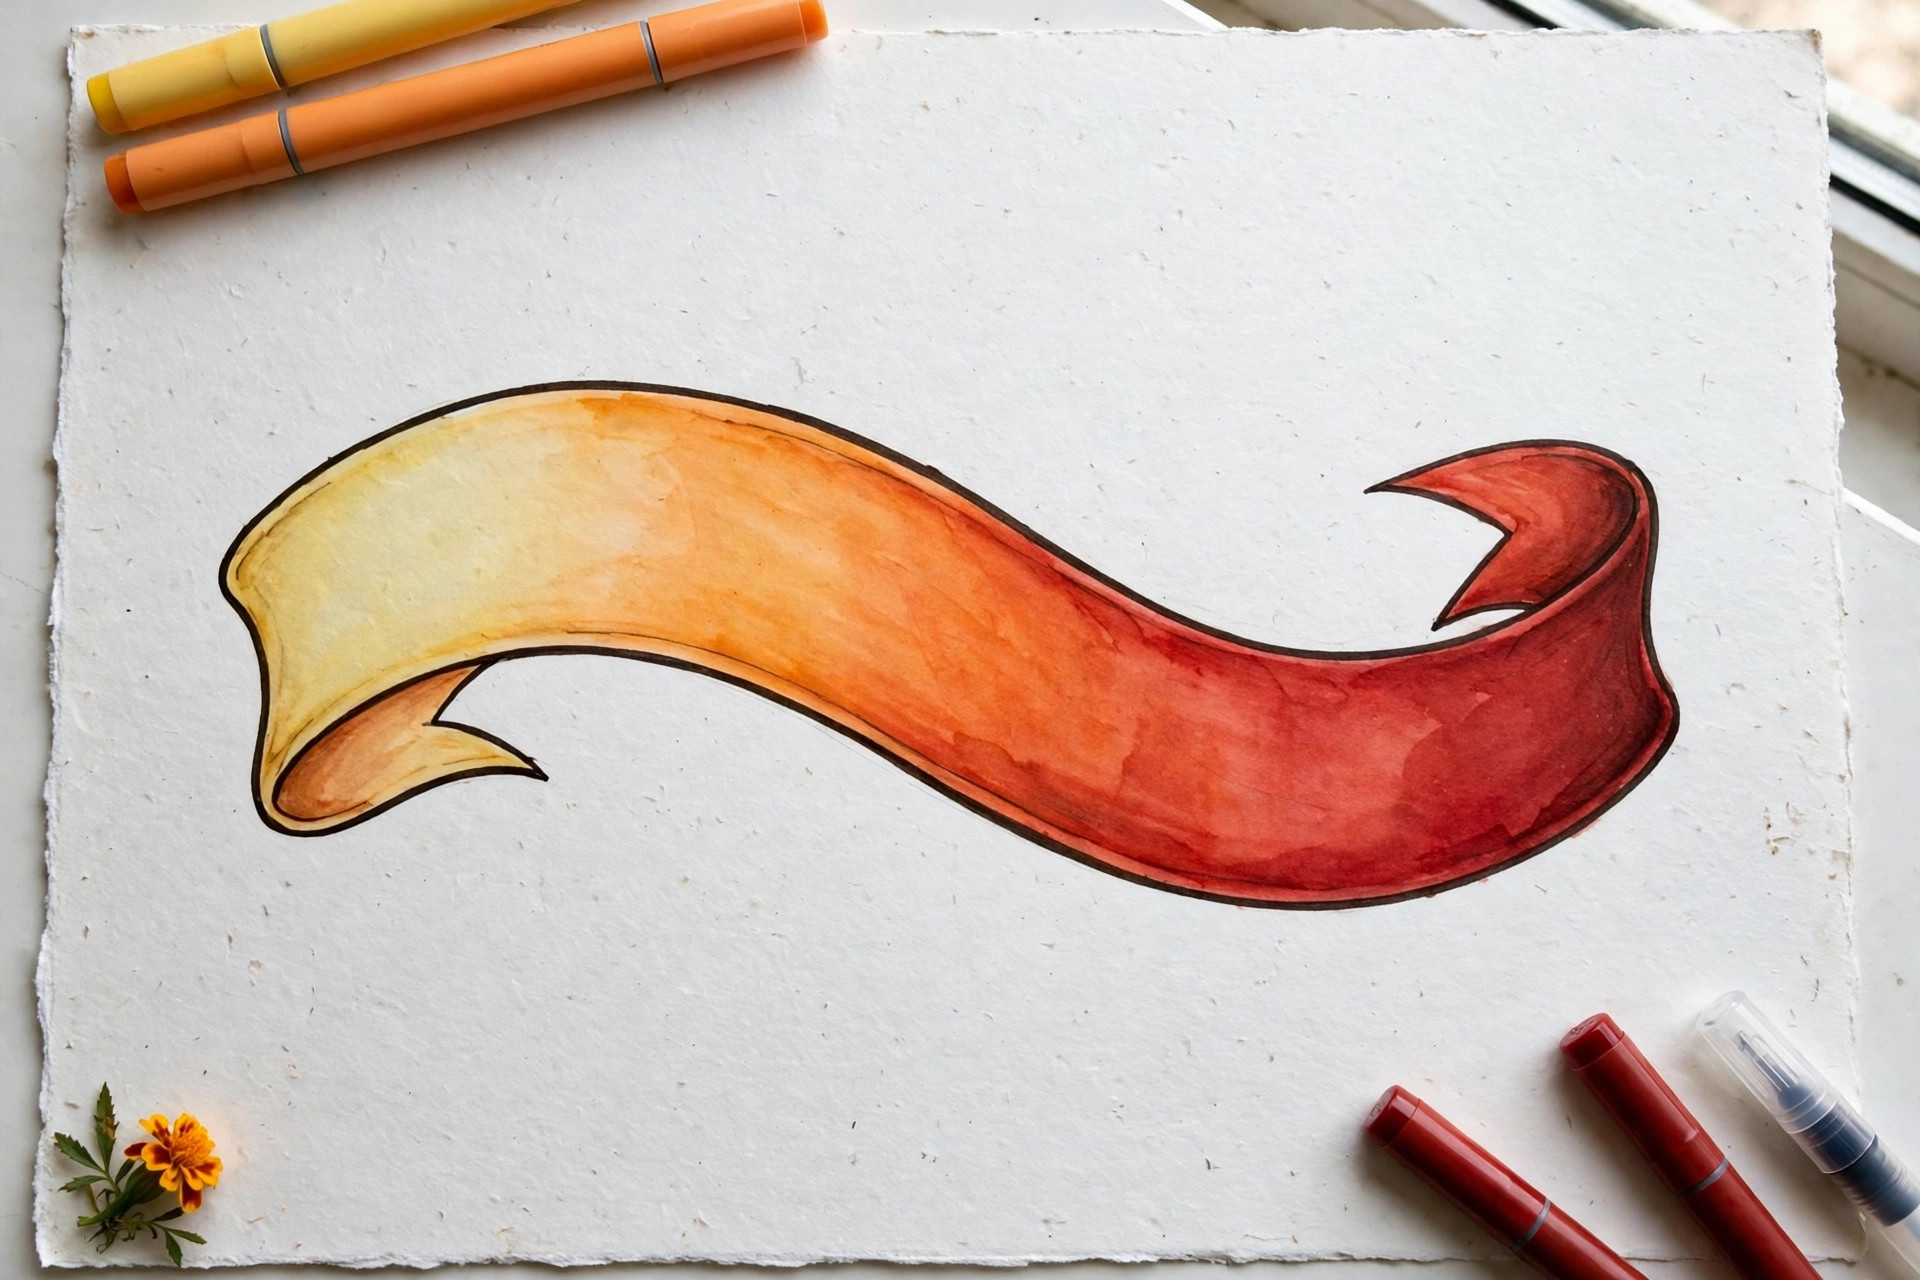
A gradient is a smooth change from dark to light. Pick three markers from the same color family: a dark, a medium, and a light shade. Color the shadow area with the dark shade, the middle with the medium, overlapping the dark while wet, then finish with the light shade over the rest, overlapping again. Beginner tip: work quickly and in that dark-to-light order, because each new, lighter layer helps melt the edge of the one before it.
8. Colorless Blender Tricks
A colorless blender is a marker filled with clear alcohol and no color. It pushes ink around instead of adding it, so you can soften a harsh edge, fade a color gently to white, or lift tiny mistakes by dabbing at them while the ink is fresh. You can also dot it onto dry color to make soft polka-dot or cloudy patterns. Beginner tip: the blender lightens and moves ink; it does not erase like a pencil eraser, so use a light touch.
9. White Gel Pen Highlights
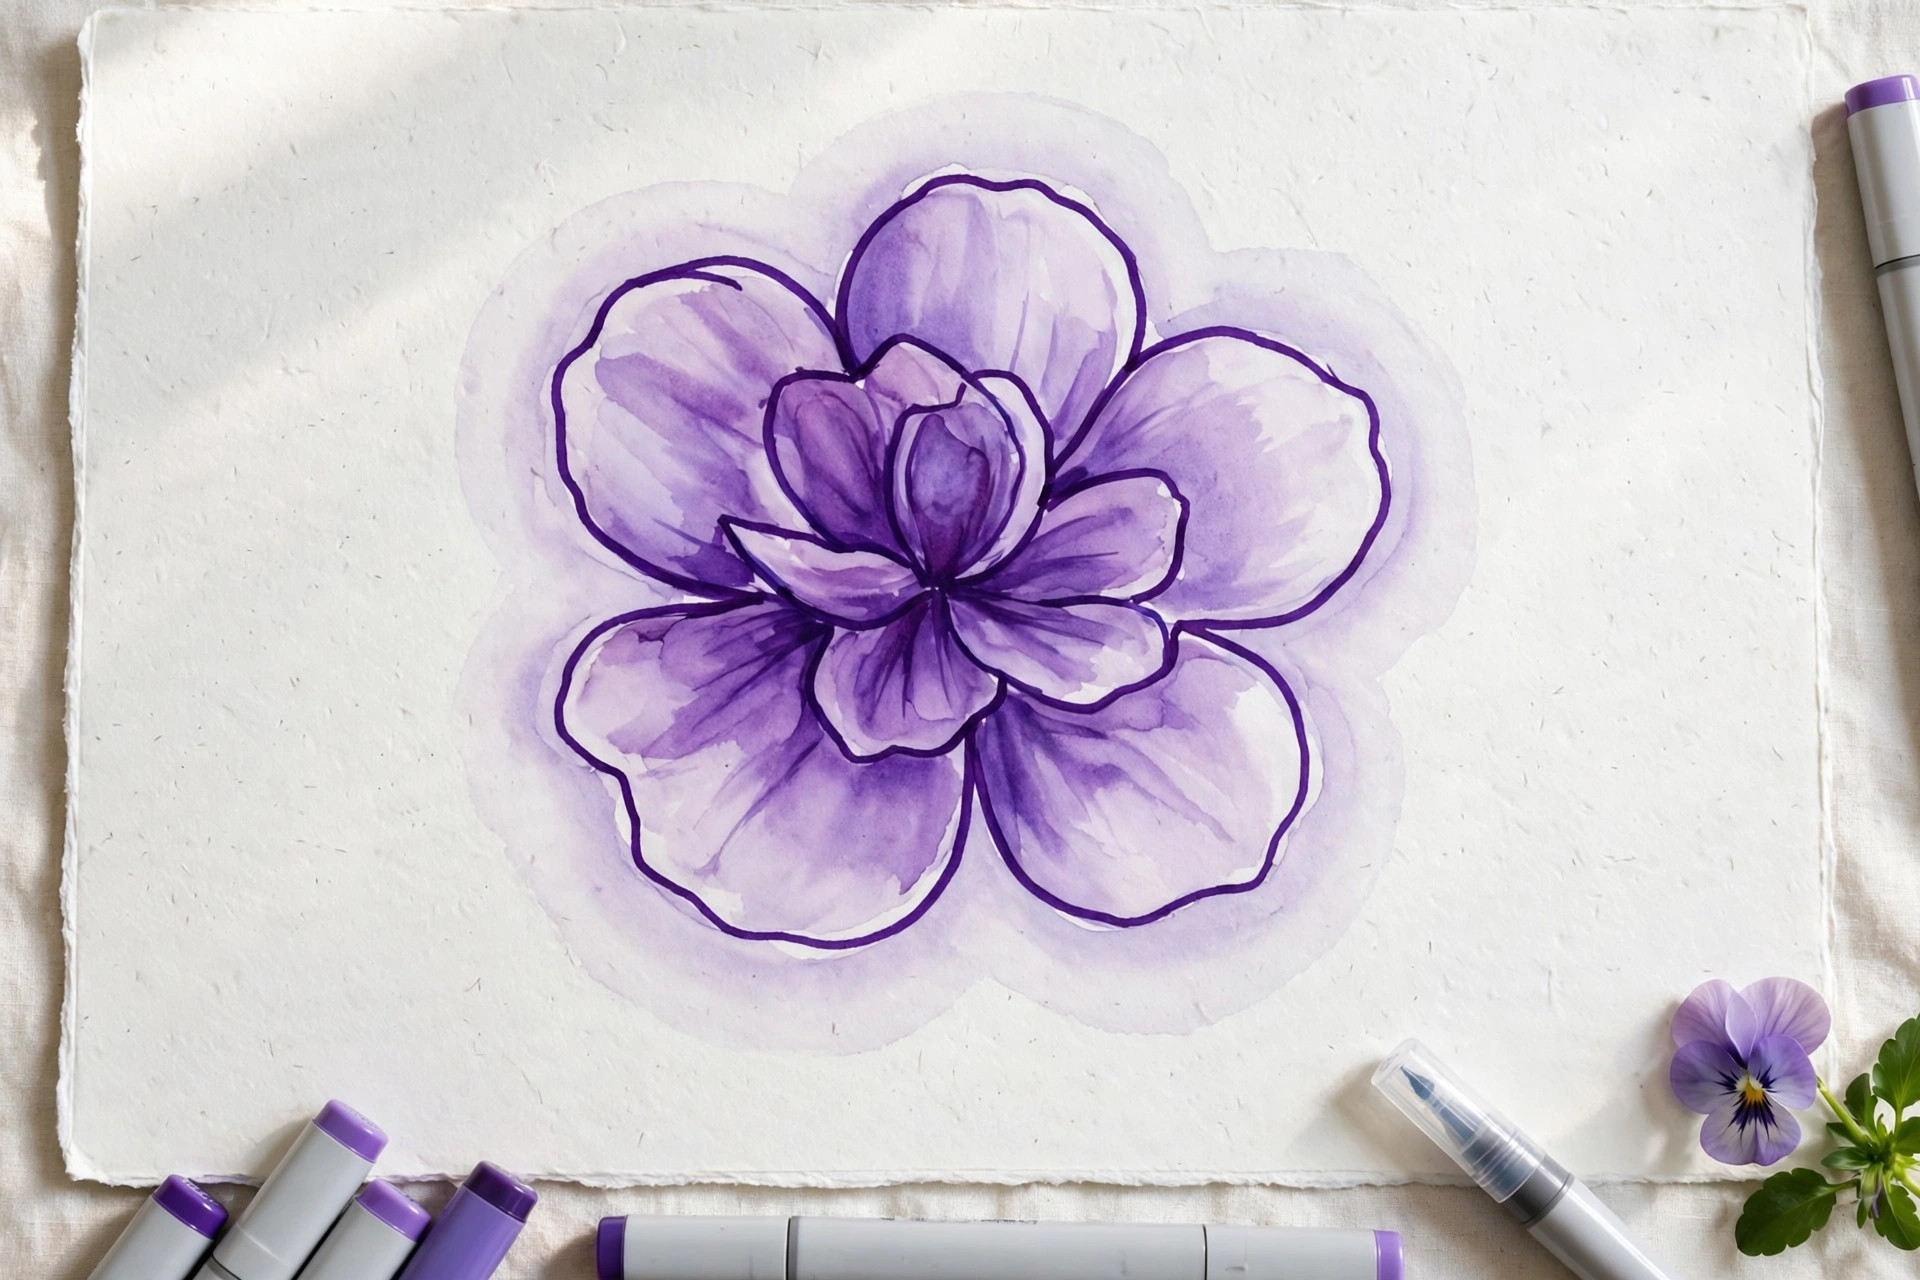
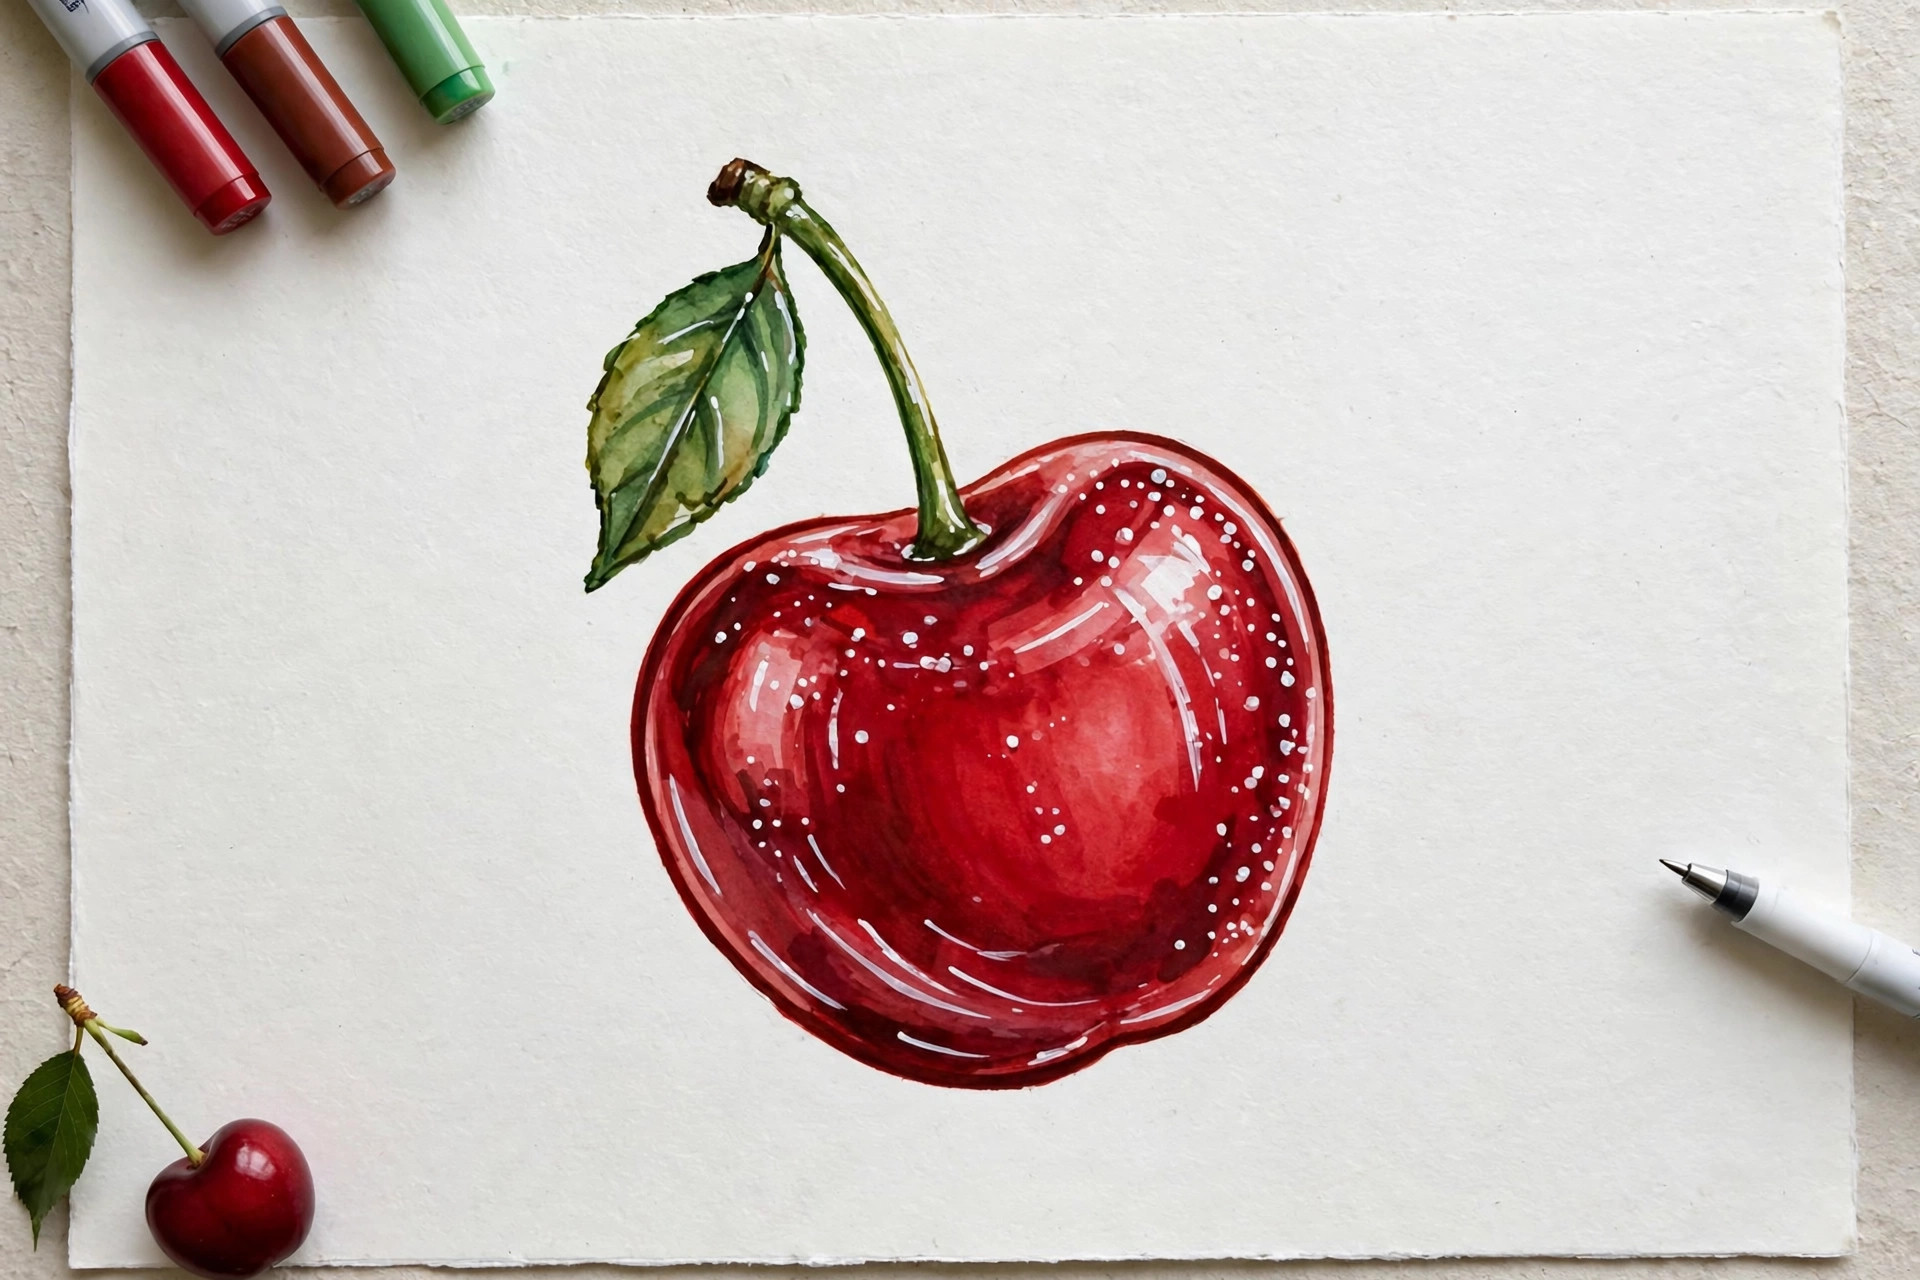
After your coloring is fully dry, a white gel pen adds the sparkle that makes a page look finished. Add a tiny white dot in each eye, a shine line on hair or glass, snow dots, stars, and stitched lines on clothes. Beginner tip: less is more. A few small highlights look magical; white everywhere just looks messy.
10. Simple Textures: Fur, Wood, and Brick
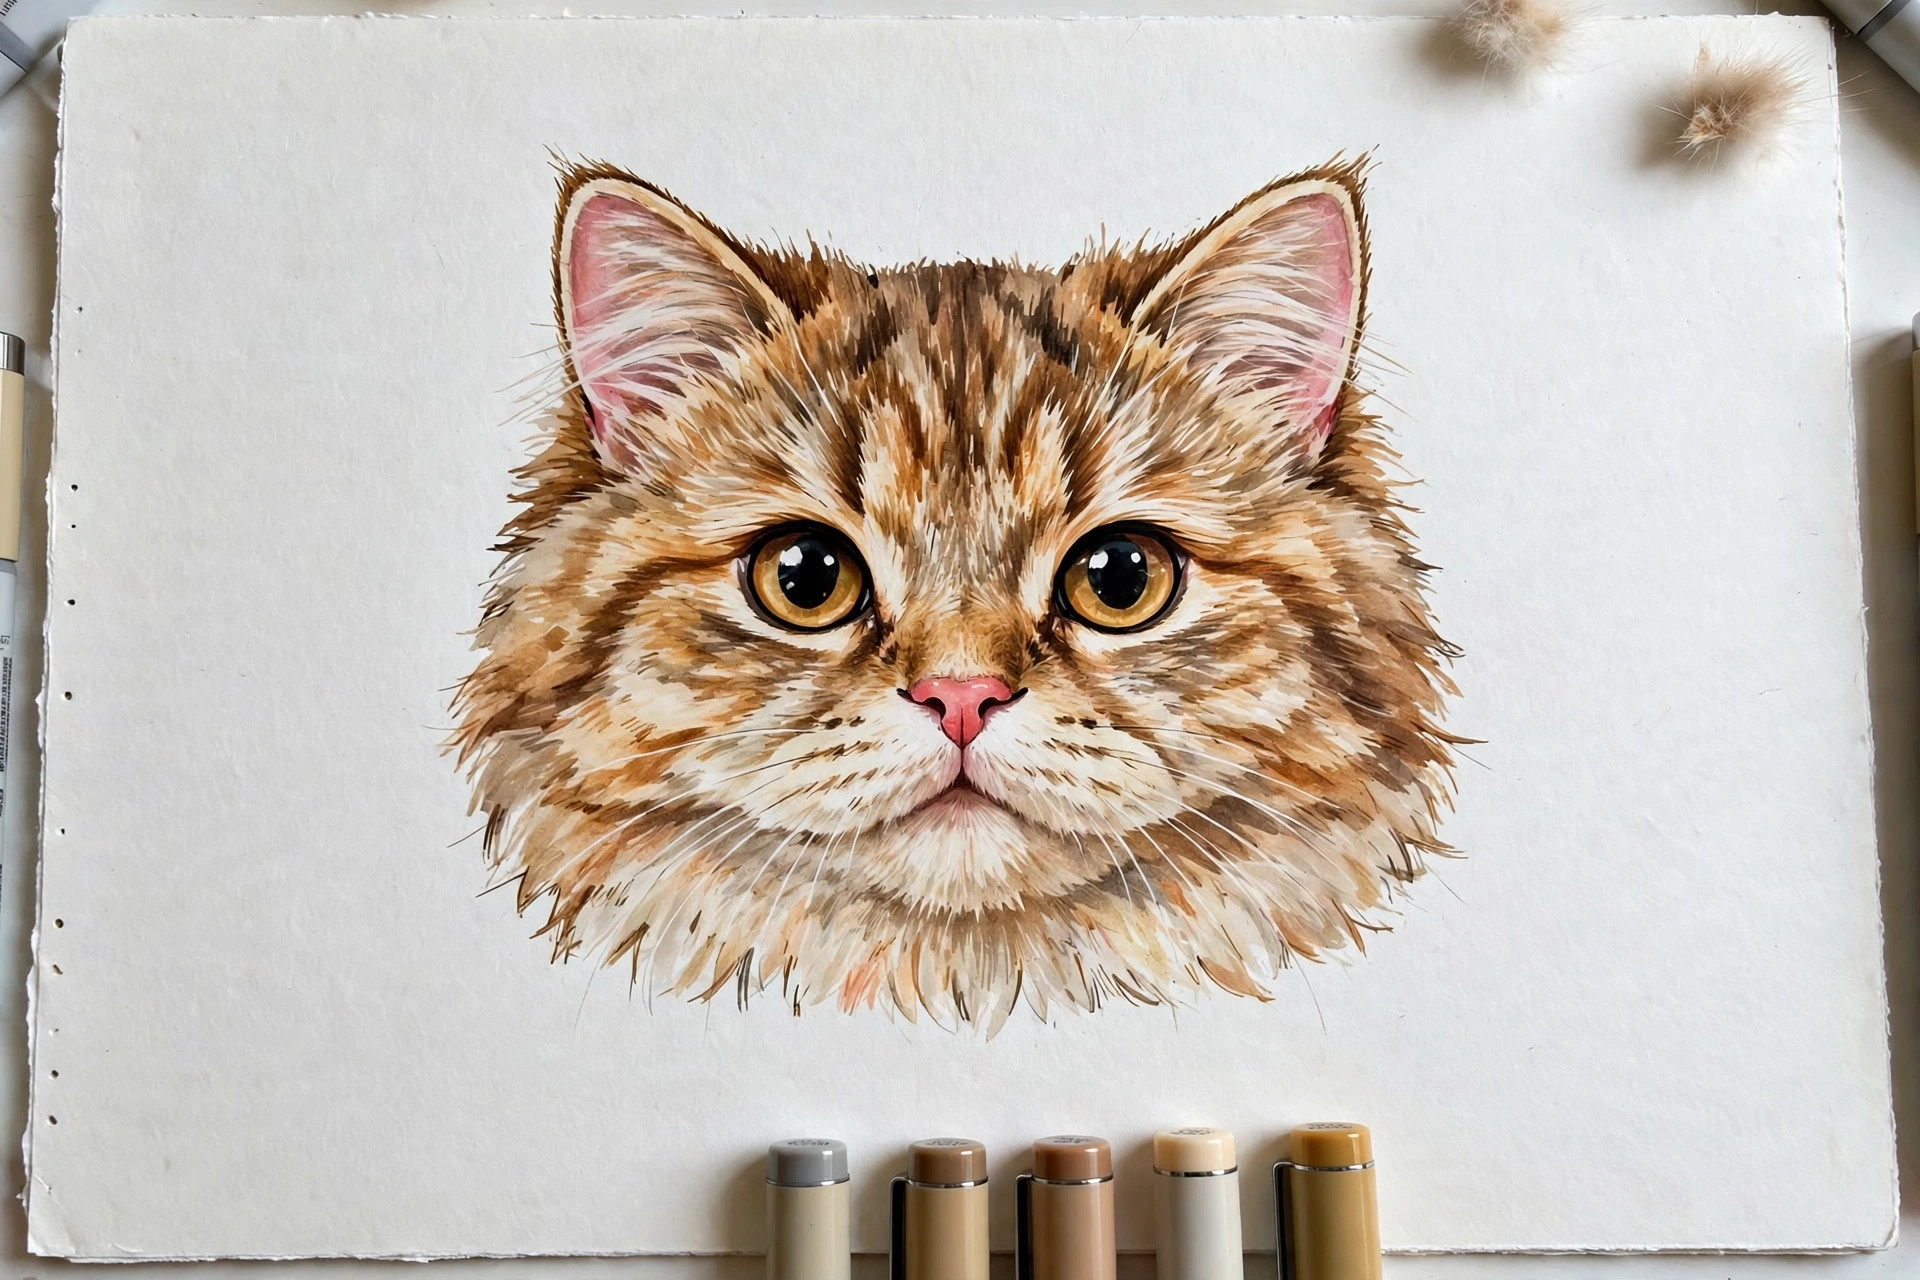
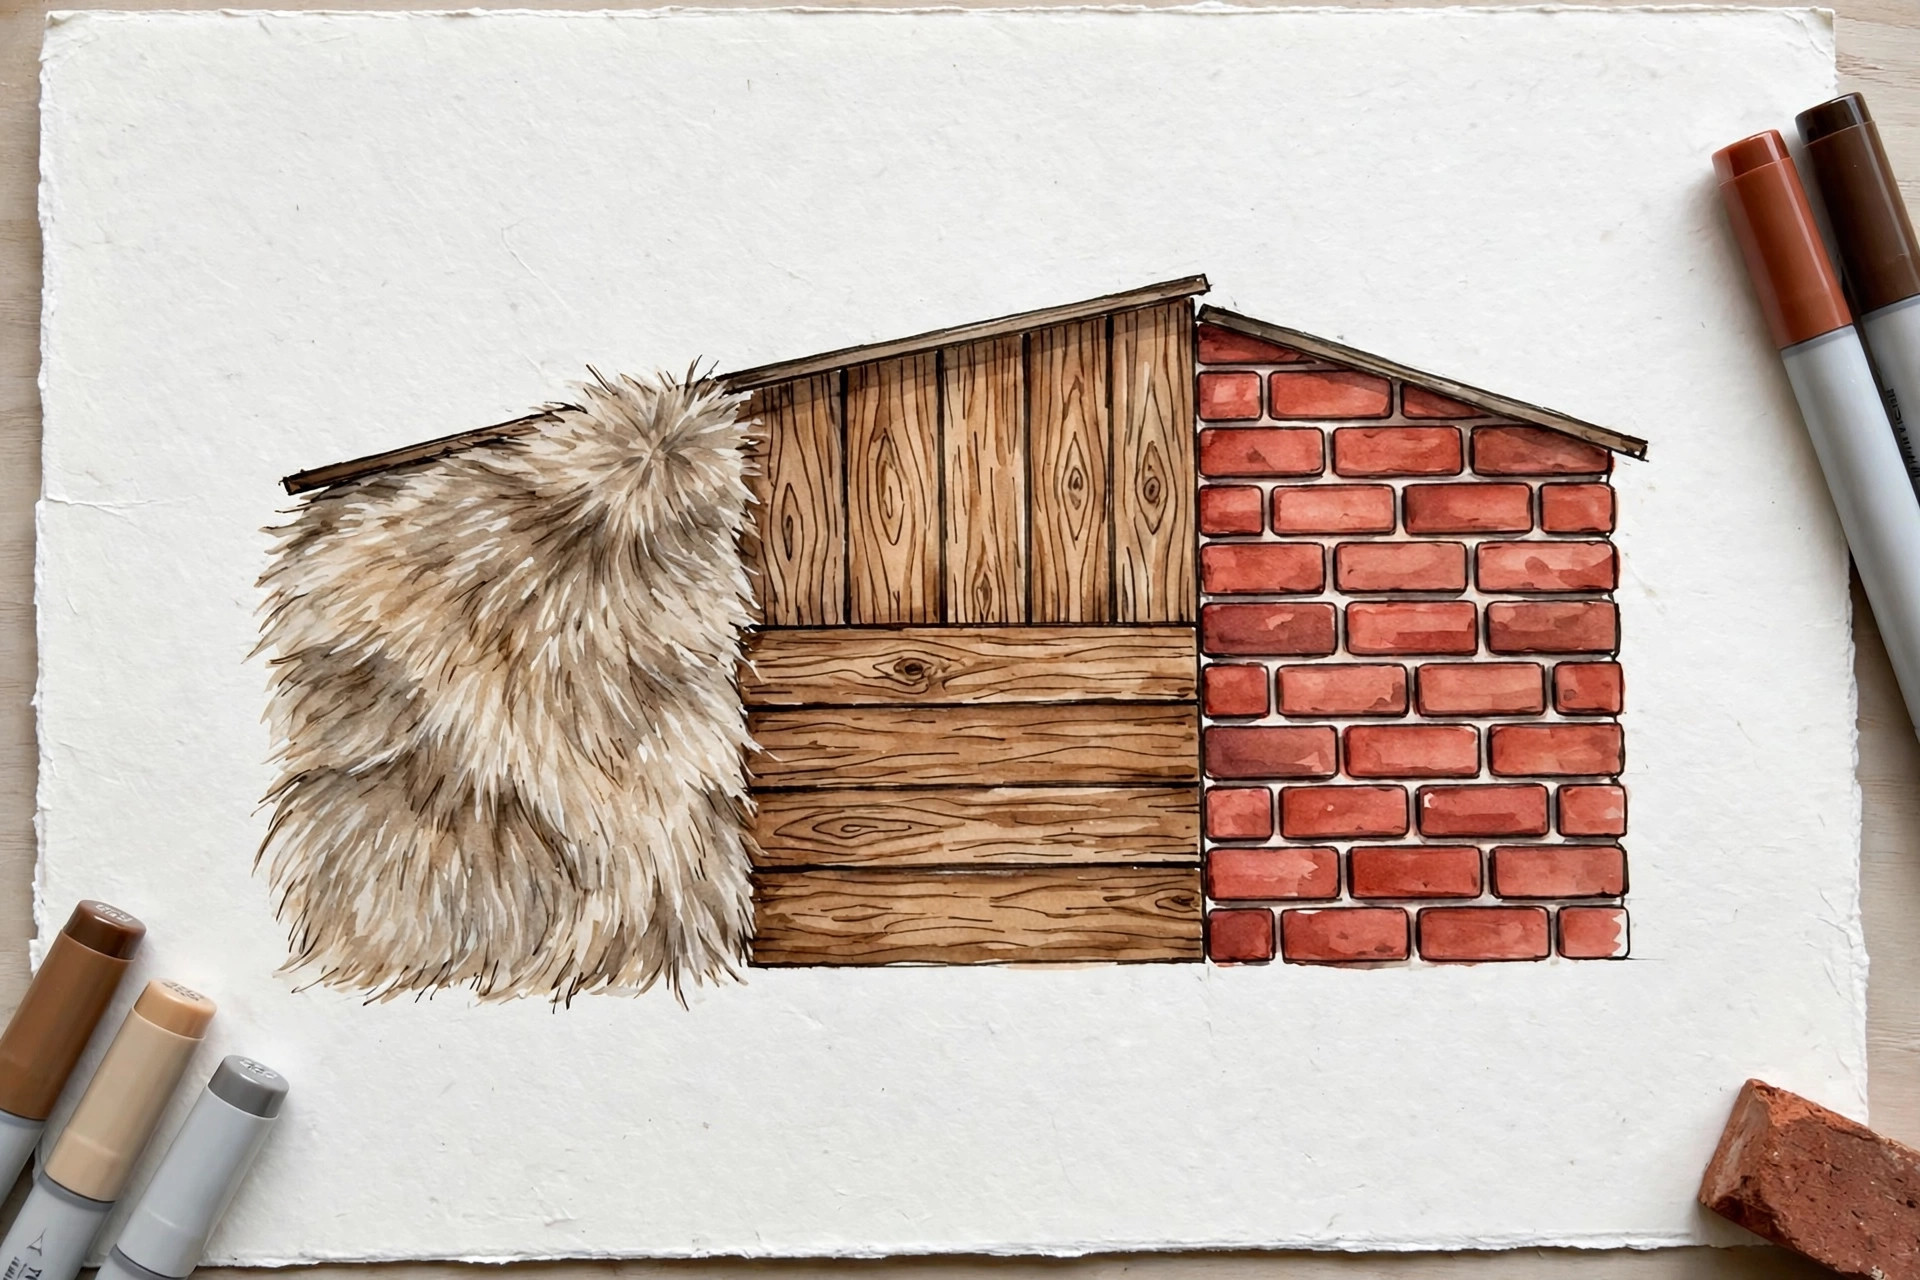
Textures sound advanced, but each one is just a repeated simple mark. For fur, layer short flicks in the direction the fur grows. For wood, draw long, slightly wavy lines with a darker shade along the grain, then soften them with the base color. For brick, color the wall one flat color, then add a slightly darker shade in offset rows of rounded rectangles. Beginner tip: keep texture marks loose and imperfect; real textures are never perfectly even.
How Do You Pick Colors That Blend Well?
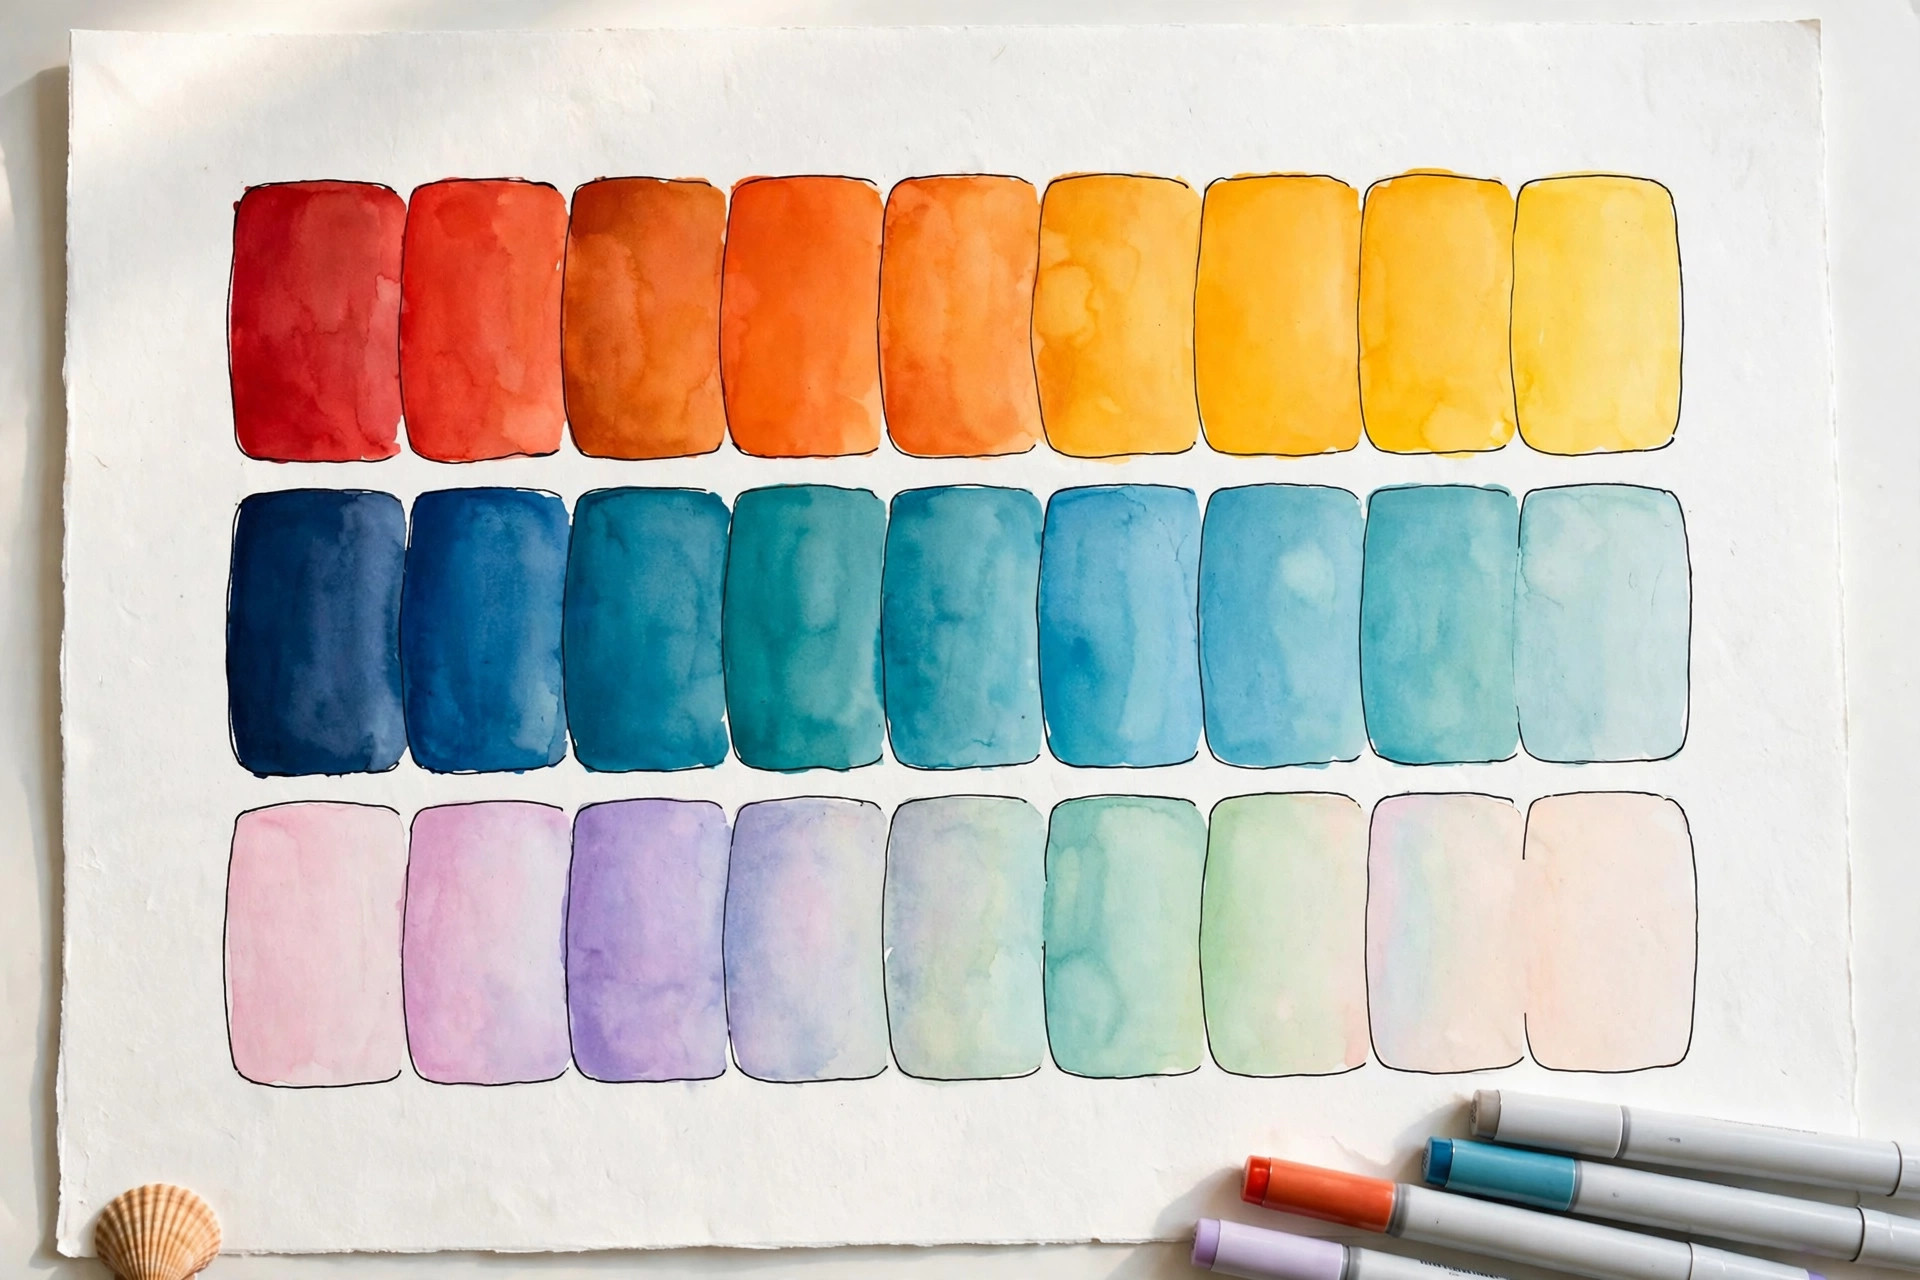
Colors blend best when they are close relatives: shades from the same color family whose set numbers sit near each other. Marker sets are usually numbered so that neighbors, like a light, medium, and dark version of the same pink, are designed to melt into each other. Big jumps, like dark navy straight into pale yellow, tend to make muddy, streaky middles.
Before coloring a real page, make a swatch chart: a simple grid on marker paper where you color one square with each marker and write its number under it. Colors look different on paper than on the marker cap, so the chart becomes your honest menu. Test any new blend on the chart first. Ten seconds of testing saves a whole page.
6 Mistakes That Make Marker Coloring Look Messy
Most messy pages come from the same six small mistakes, and every one has an easy fix.
1
Coloring a huge area all at once. The ink dries before you finish, leaving streaks. Fix: work shape by shape.
2
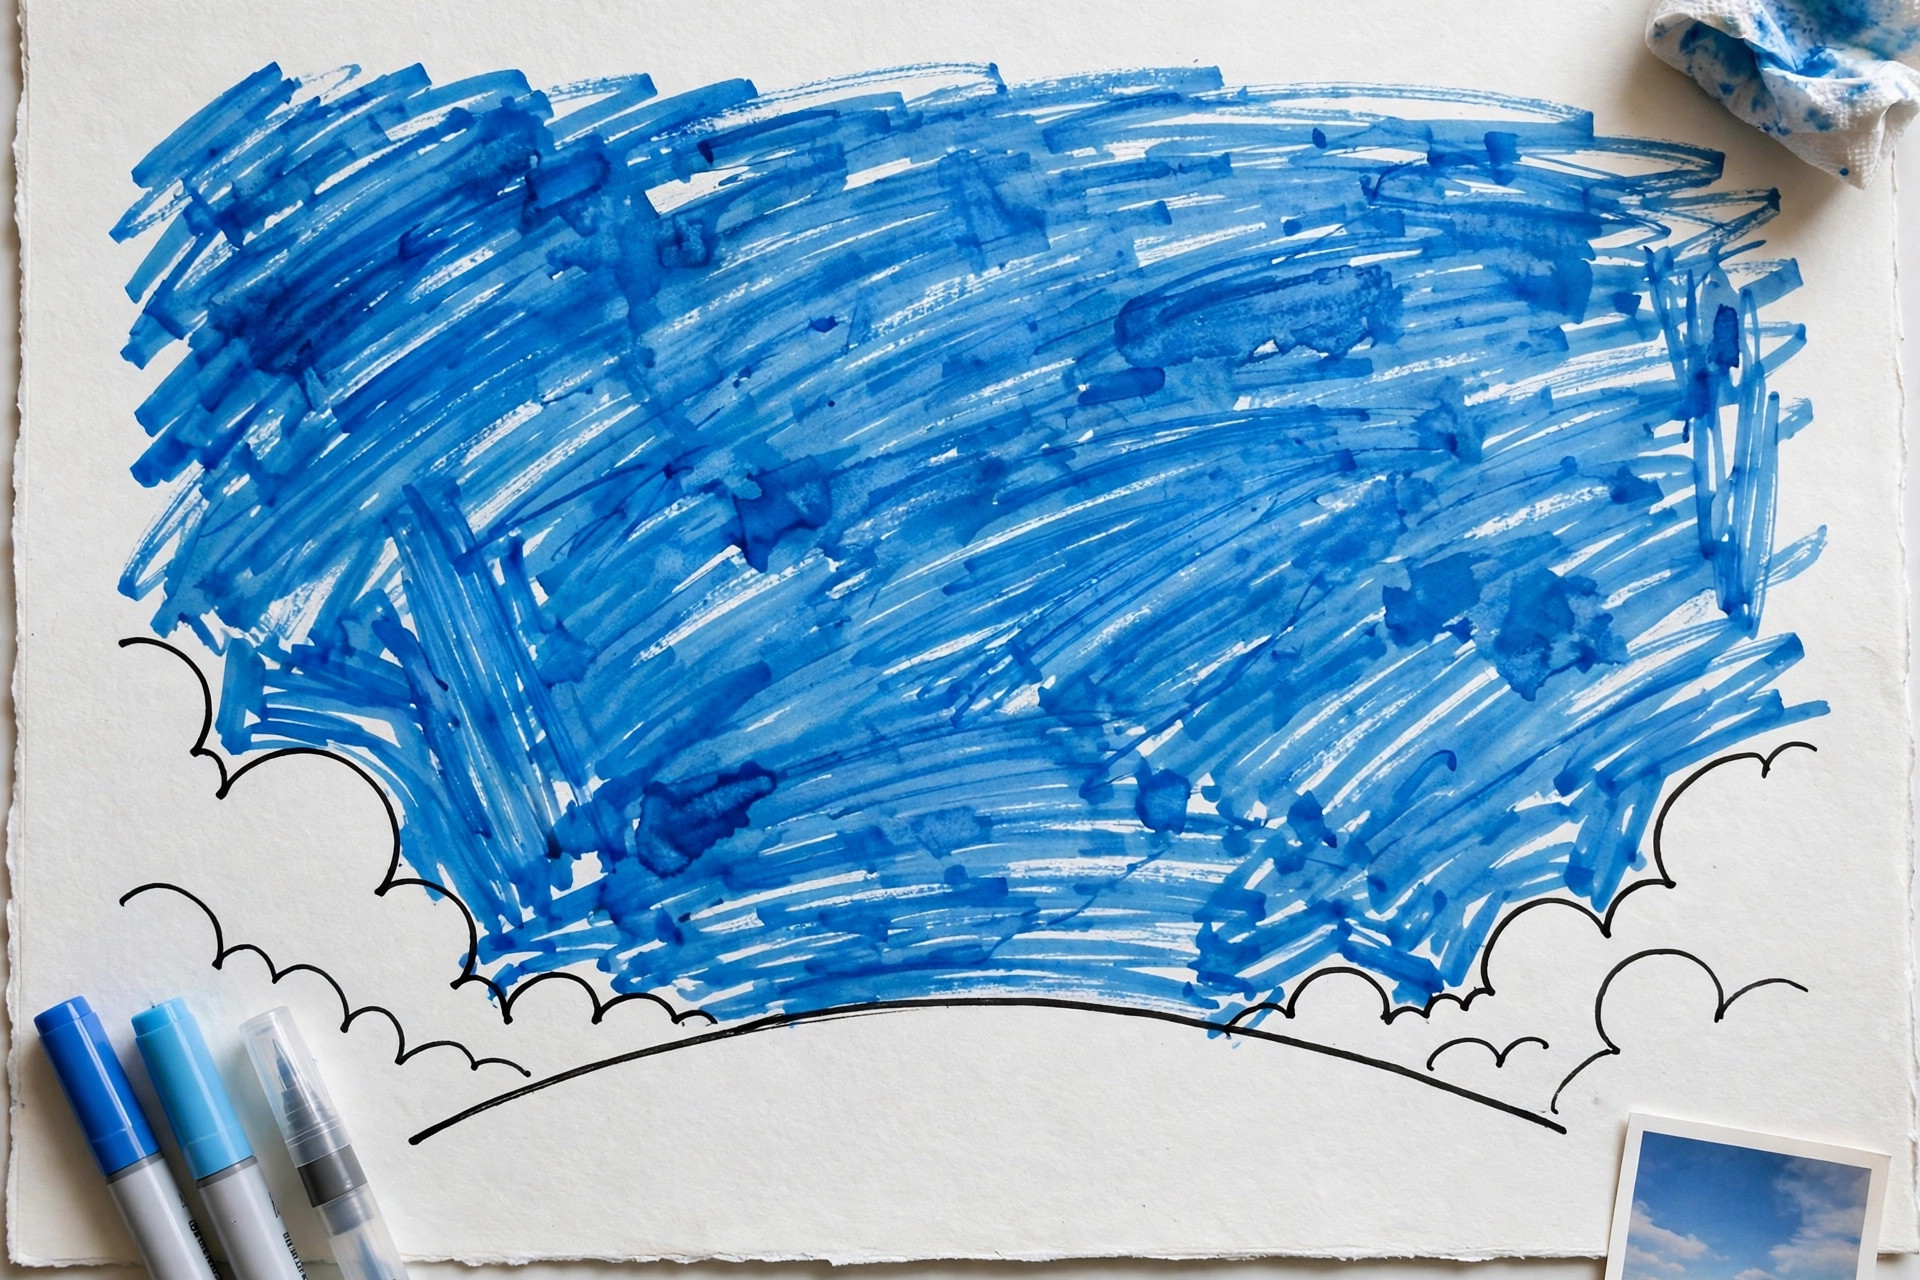
Pressing hard to get darker color. Pressure floods the paper and wrecks brush tips. Fix: layer the same color after it dries.
3
Using rough or thin paper. Ink feathers and bleeds on the wrong paper. Fix: smooth marker paper, and read our guide on why alcohol markers bleed through if your pages soak through.
4
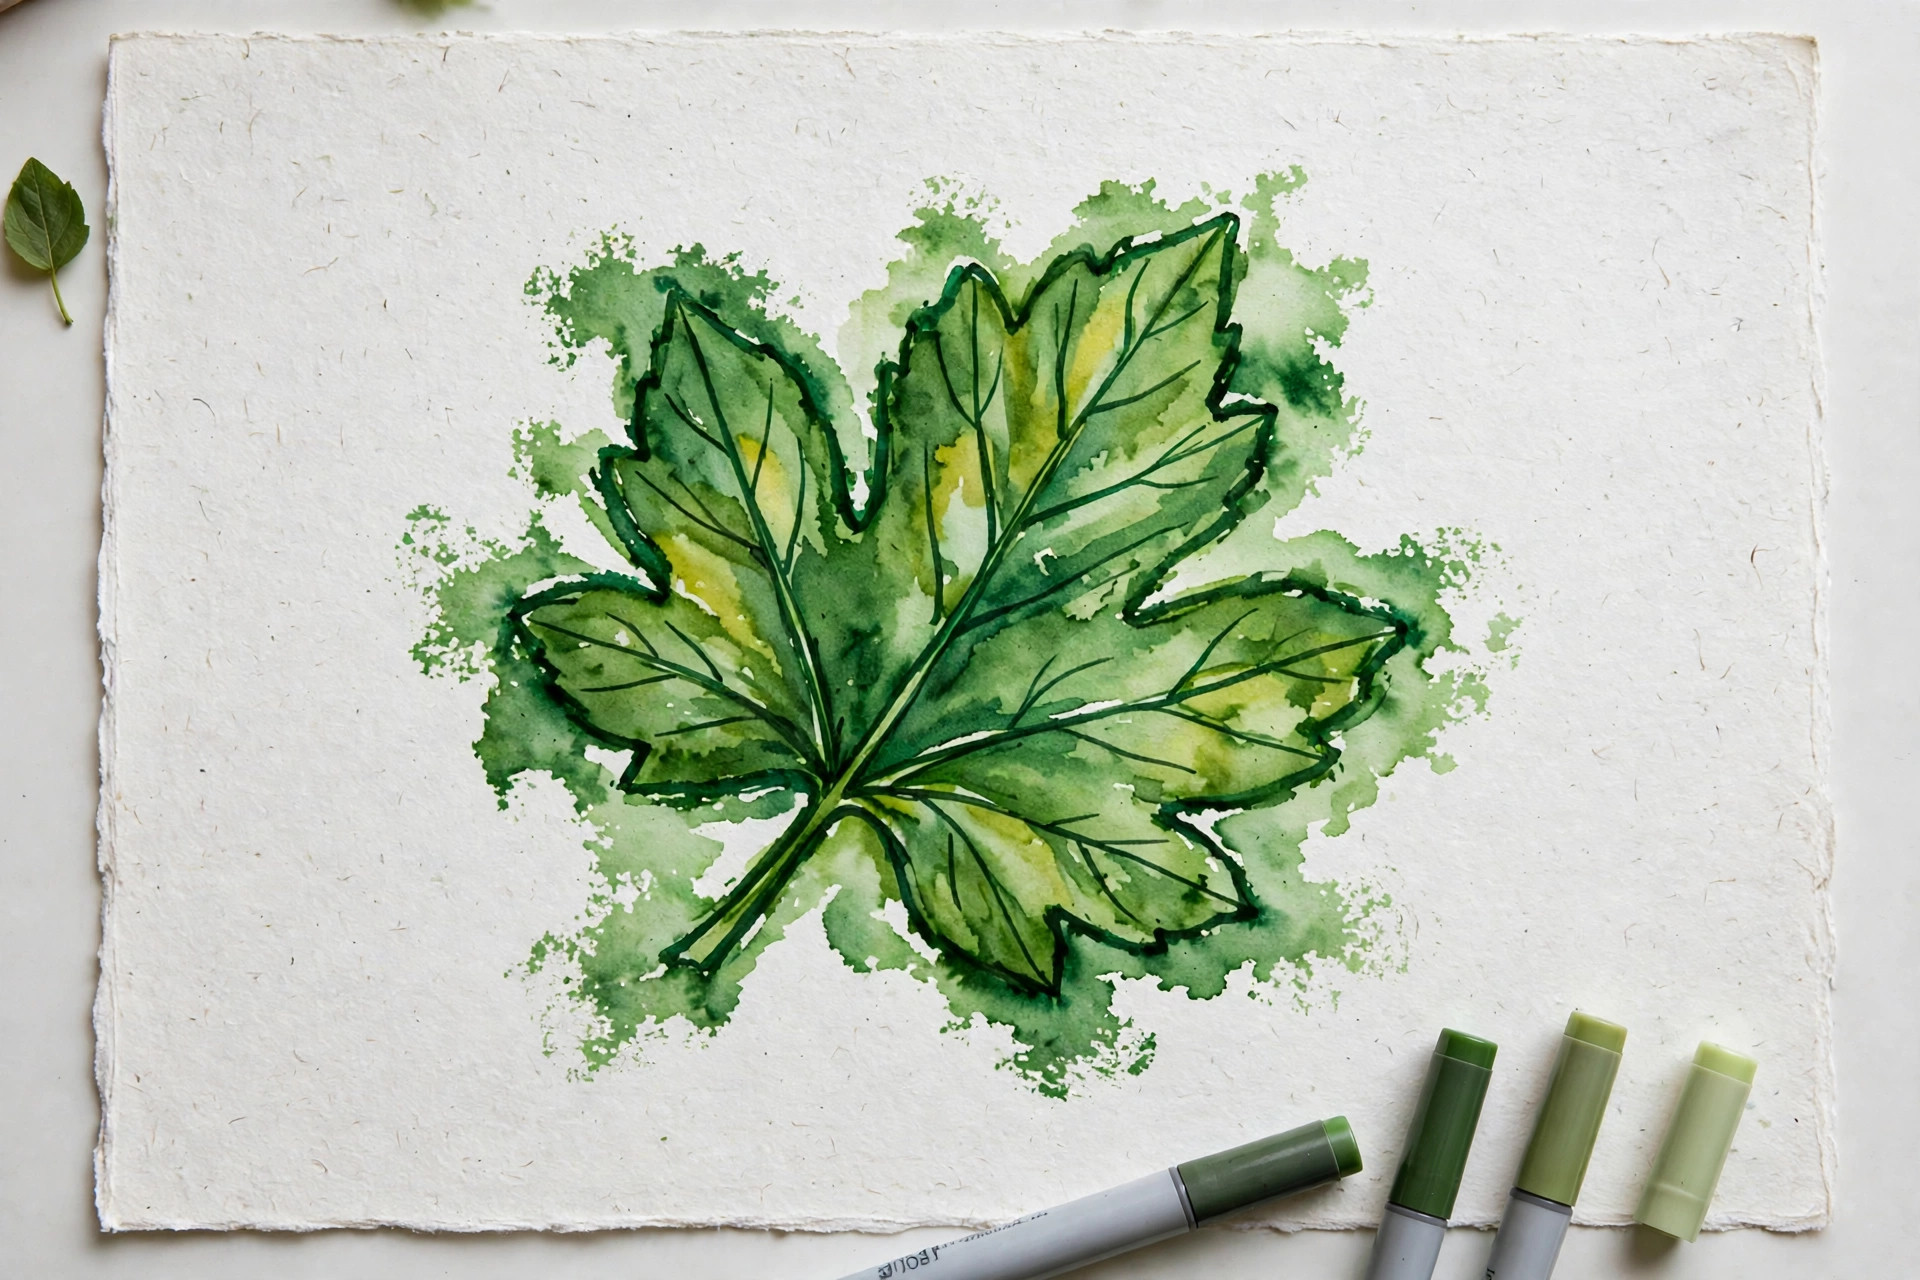
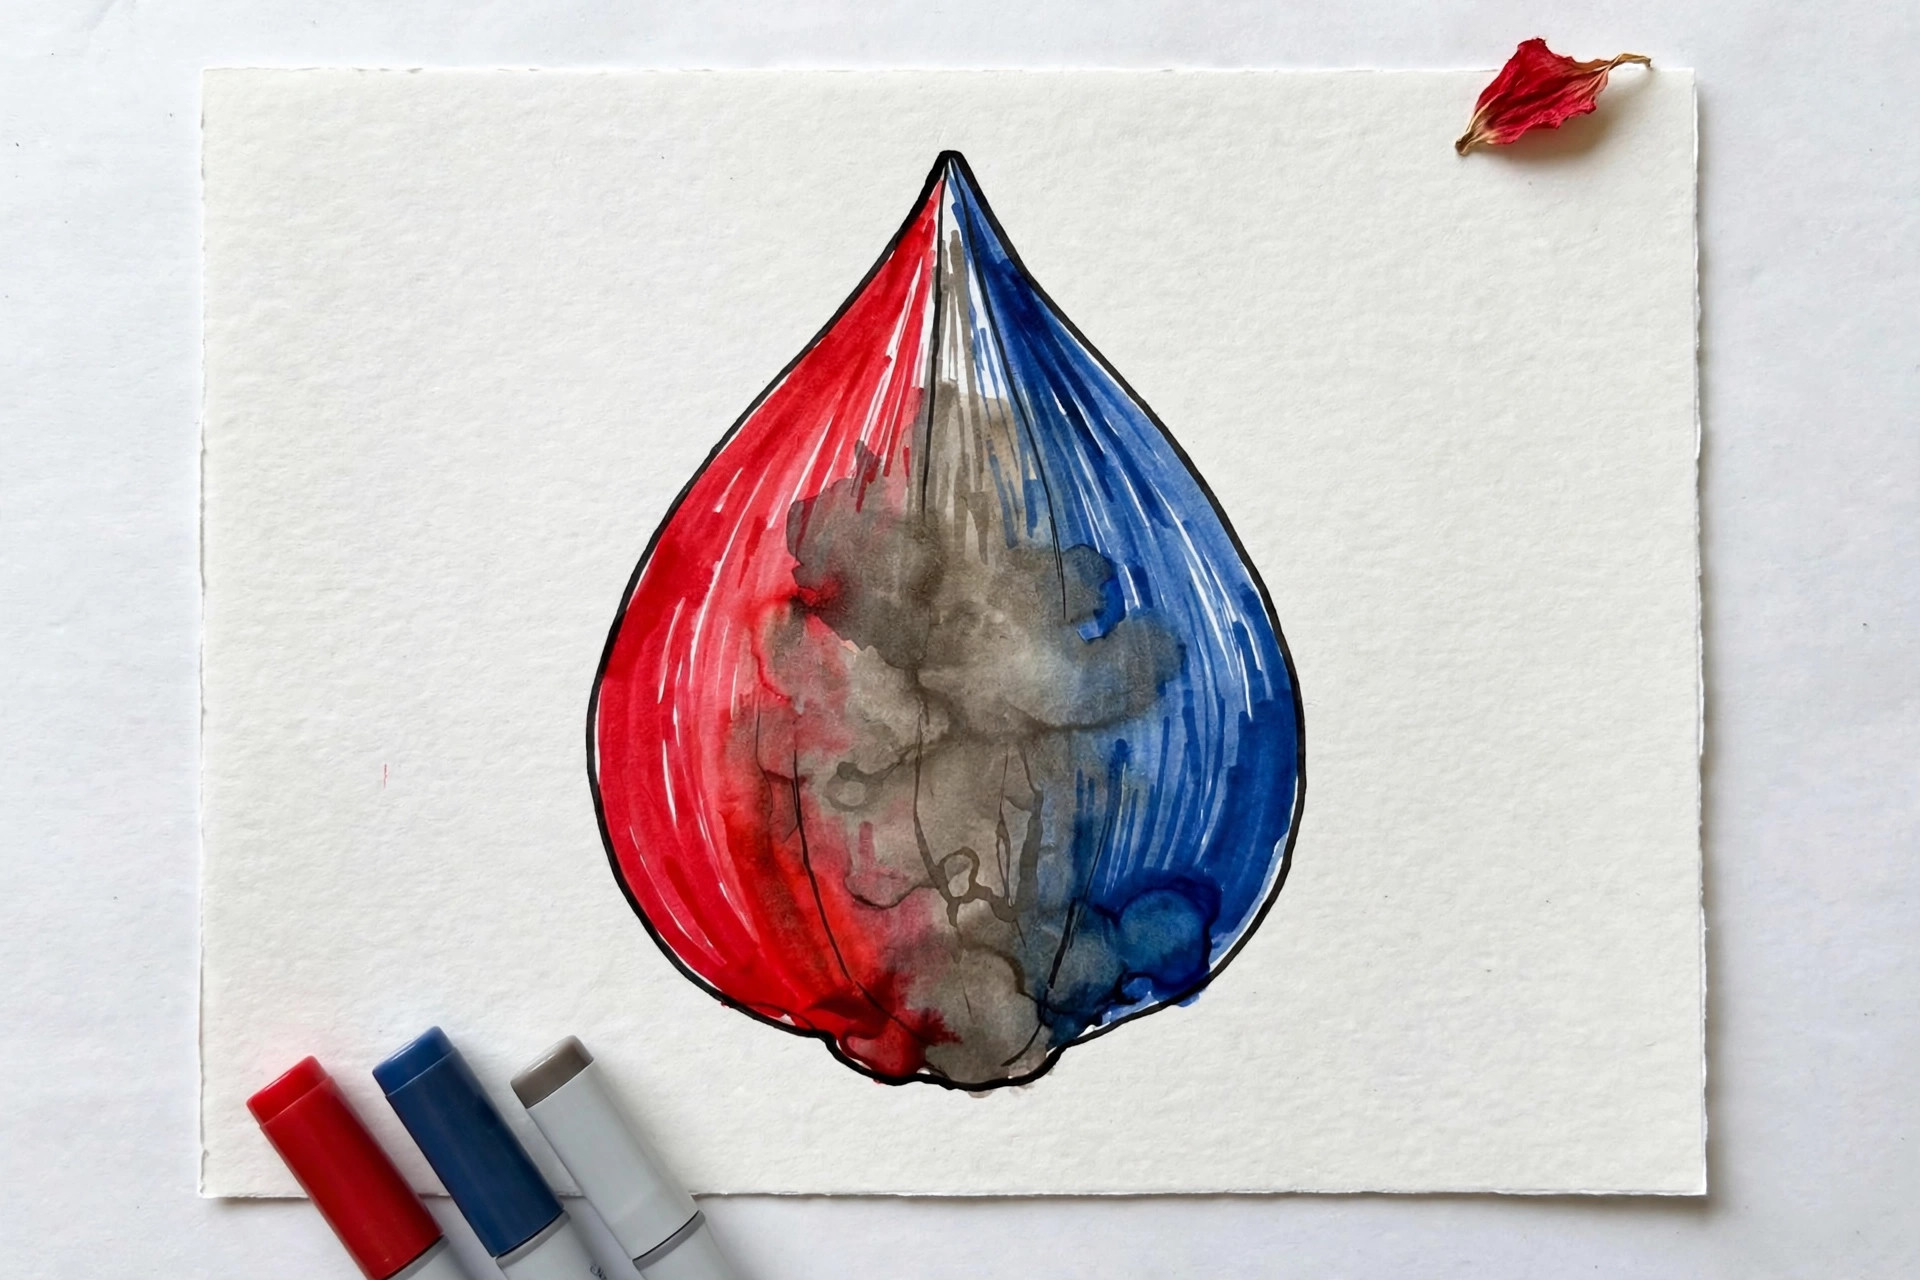
Blending colors that are too far apart. Distant colors make mud. Fix: blend neighbors, and build big changes in steps.
5
Going back over dry ink to “fix” it. A fresh stroke on dry ink leaves a dark edge. Fix: recolor the whole shape evenly, or leave it and call it texture.
6
Outlining last with the marker itself. Marker ink smears printed lines if you scrub. Fix: glide over outlines once, lightly, or tidy them at the end with a fine liner.
Frequently Asked Questions
Why do my markers look streaky?
Markers look streaky when one stroke dries before the next stroke overlaps it, leaving a visible dry edge. The fix is to keep the working edge wet: color one small shape at a time, use small circular strokes, and overlap each new stroke into the wet ink. Smooth marker paper also helps, because it keeps the ink workable a few seconds longer.
What paper is best for alcohol markers?
Smooth, bleed-proof marker paper is best for alcohol markers, because it lets the ink soak in slowly and level itself flat. Look for paper that is smooth rather than rough or toothy, and thick enough that ink does not soak straight through. Plain printer paper and most coloring-book pages are too absorbent, so place a protective sheet underneath them.
Can you blend any two colors?
You can blend any two colors in the sense that the inks will mix, but the result is only pretty when the colors are close relatives. Neighbors in the same family, like two pinks or a blue and a teal, melt into a clean middle color. Very distant colors, like red and green or dark navy and pale yellow, usually mix into a dull, muddy tone.
Do alcohol markers bleed through coloring books?
Yes, alcohol markers almost always bleed through coloring-book paper, because the alcohol carries the ink deep into the page. Always slide a protective sheet, like a spare piece of card or marker paper, under the page you are coloring so the next page stays clean. Many cozy coloring books are printed single-sided for exactly this reason.
How long do alcohol markers last?
A well-capped alcohol marker typically lasts through many months of regular coloring, and many sets are refillable, so a favorite color can last for years. Always click the cap back on right after use, because the alcohol evaporates quickly from an open tip. Storing markers flat, lying on their sides, keeps the ink shared evenly between both tips.
Where to Go Next
Ready to put these techniques to work? Browse our collection of cozy coloring ideas for cute, low-pressure pages that suit every technique above. If your ink keeps soaking through the page, our explainer on why alcohol markers bleed through paper shows you how to stop it. And if you are still building your kit, start with our guide to the best alcohol markers for beginners.