Animal tracks are identified by toe count, claw marks, overall shape and the trail pattern between prints. Dog family tracks show claws and an X between the pads; cat family tracks are rounder, asymmetrical and usually claw free.
Key takeaways
- Count the toes first: four means dog or cat family, five means raccoon, bear or the weasel group.
- Visible claw marks nearly always mean a canine, since cats retract their claws when walking.
- Cat tracks are wider than long with a three-lobed rear pad; dog tracks are longer than wide.
- Deer leave two crescent halves that point in the direction the animal was moving.
- The trail pattern matters as much as one print, because gait separates bounders from walkers.
Identifying a track comes down to four questions asked in order. How many toes? Are there claw marks? Is the print longer than wide, or wider than long? What does the trail do between prints? Answer those and most tracks narrow to a handful of candidates.
Drawing them is the fastest way to learn them. When you have to decide where the fourth toe sits or how far the claw marks fall in front of the pad, you stop seeing a vague paw shape and start seeing the actual field marks that separate a coyote from a bobcat.
The thirty studies below run from single ink prints to full comparison plates and finished field guide pages. Some are technical, some are decorative. Where a piece shows a real species, the note explains the mark that identifies it, so the artwork stays accurate as well as attractive.
If you enjoy this kind of close observation, mandala practice builds the same patience with repeated forms, and these 3D digital art ideas cover depth if you want to render prints pressed into deep mud.
Compiled by the GS Art Zone editorial team. Last updated August 2026. Each idea is paired with the specific step that produces the effect, so you can go from the reference straight to paper.
What You Need Before You Start
- Waterproof fine liners in 0.1, 0.3 and 0.5 for outlines, stippling and pad texture
- A small watercolor set in earth tones, since almost every track sits on mud, sand or snow
- Soft graphite or charcoal for pressed snow prints where the edges are soft rather than crisp
- A ruler, because scale is a genuine identification feature and worth marking on study sheets
- Toned or kraft paper for prints in sand, and black paper with white pencil for snow at night
1. Canine Trail in Watercolor Gray
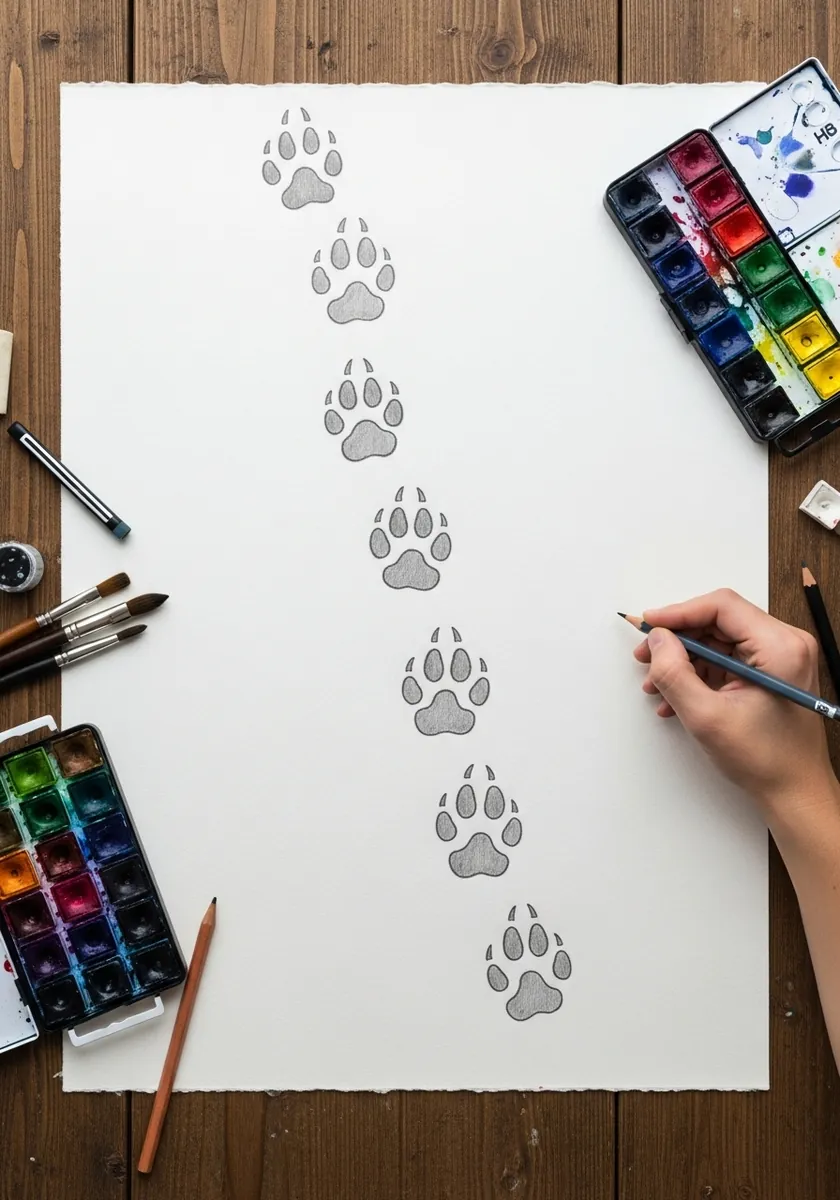
Start with a trail rather than a single print, because the line of travel teaches you more than any one paw. Note how these sit almost in a straight line with a consistent stride. That direct register is typical of wild canines, which place the hind foot into the front foot’s print to save energy. Domestic dogs wander far more.
2. Deer Hooves with Spring Flowers
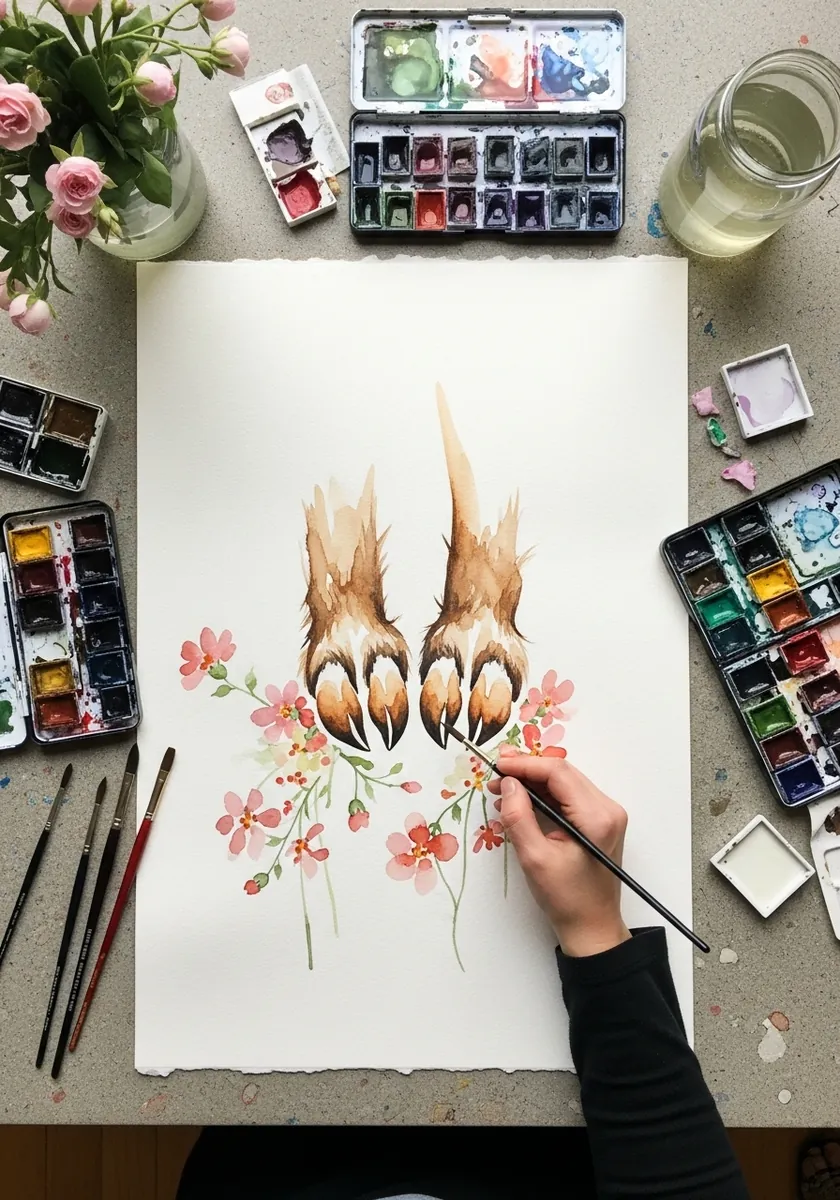
Deer leave no toes at all. Each print is a cloven hoof split into two crescent halves, and the pointed ends face the direction of travel. Paint the two halves as separate shapes with a clear gap between them, then let the decorative flowers sit behind rather than over the hooves so the identifying shape stays legible.
3. Raccoon Hand Prints in Ink
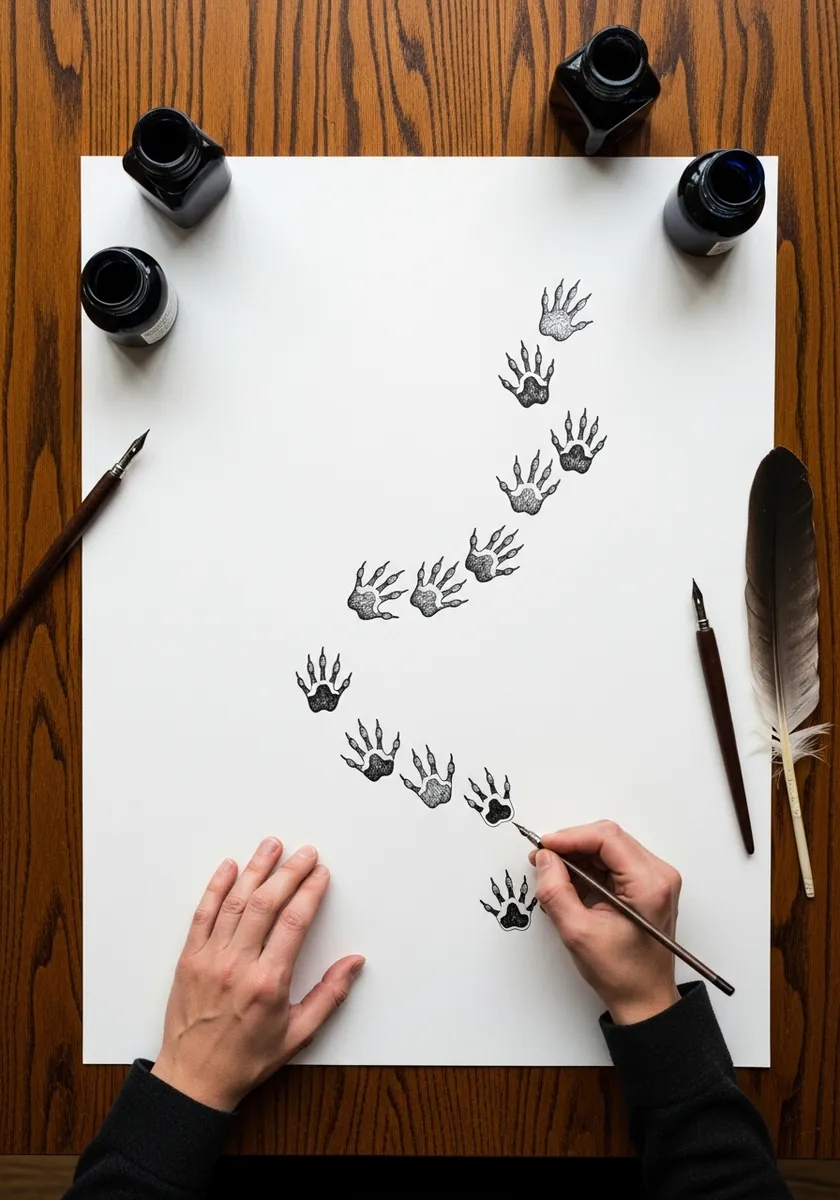
Few tracks are as easy to name, because raccoons have five long slender toes on both front and hind feet and the front print looks unmistakably like a tiny human hand pressed into the mud. Ink is the right medium here since those toe outlines need to stay crisp, so keep the palm pad compact and let the fingers splay wide.
4. Two Large Prints with Soft Edges
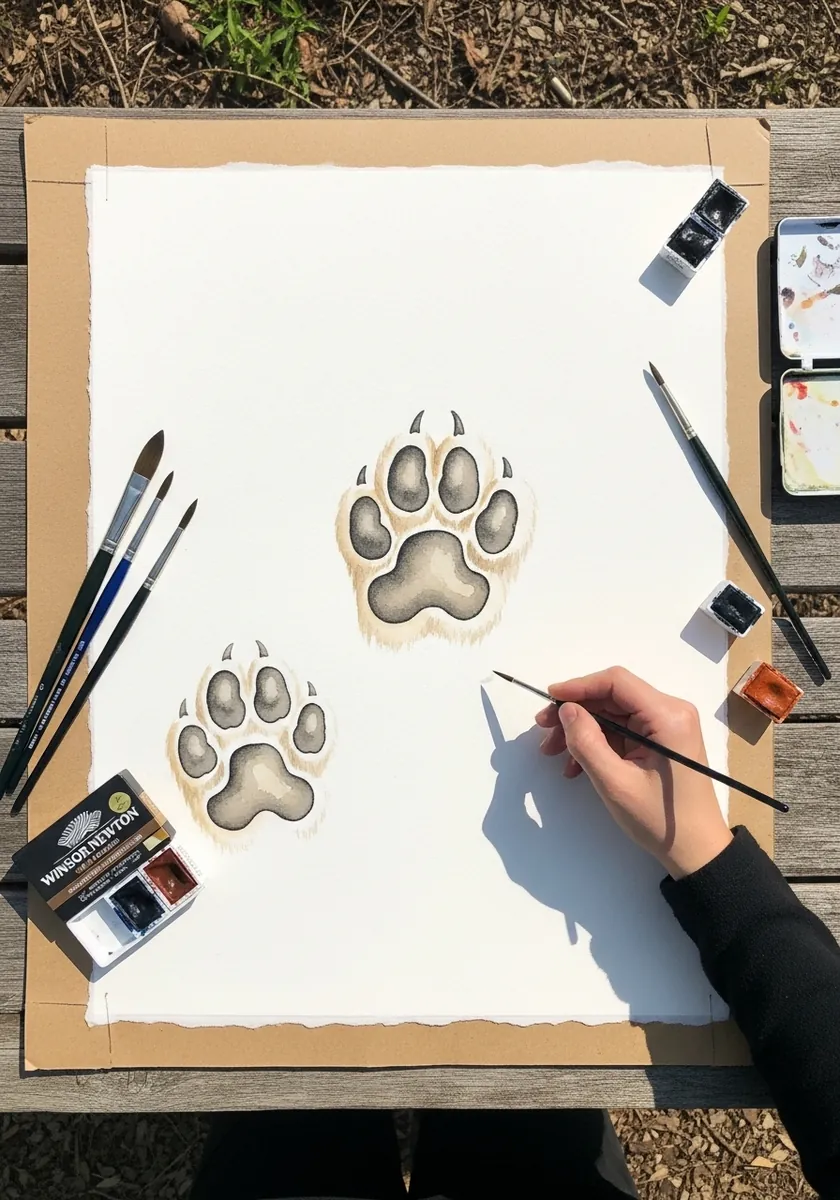
Claw marks are the single most useful detail in this whole set. They tell you immediately that you are looking at a canine or a bear rather than a cat, because cats walk with their claws retracted. Place the marks slightly ahead of each toe, never touching it, and keep them as small separate dots.
5. Charcoal Prints Beside Tree Trunks
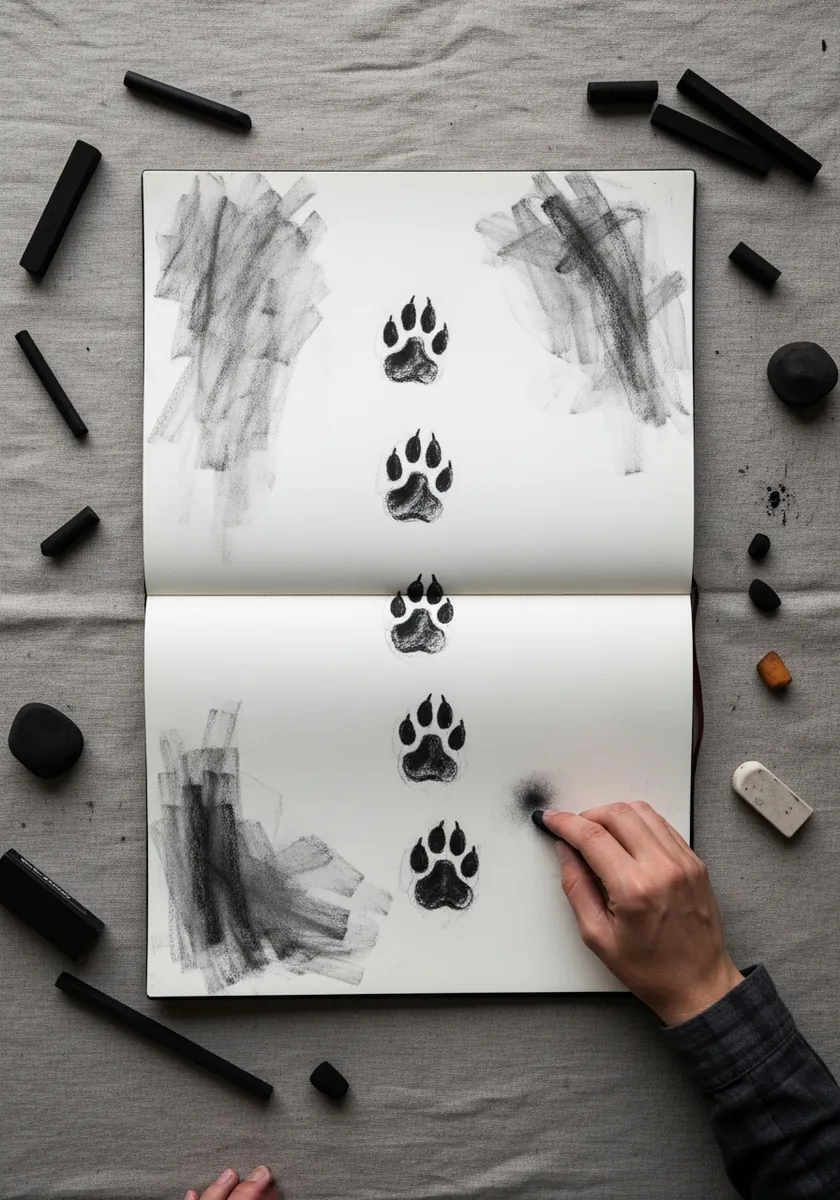
Context is worth drawing. A print beside a trunk tells a story that an isolated print cannot, and field notebooks are usually full of these quick contextual sketches. Work loosely with the side of the charcoal for the trees, then press harder for the prints so they read as the sharpest thing on the spread.
6. Bold Black Bear Paw Silhouettes
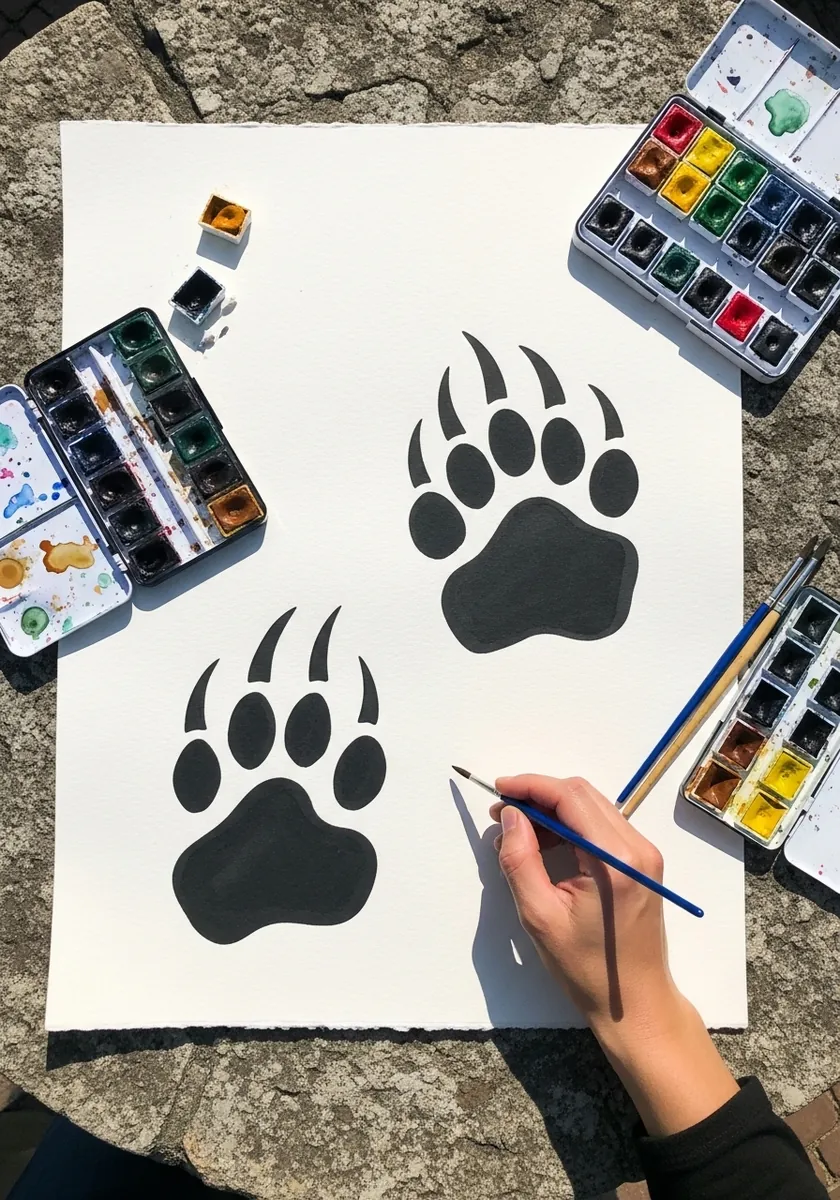
Bear prints have five toes. The claws land well in front of the pad, sometimes by a noticeable gap, and that distance is the real giveaway. Painted here as flat silhouettes, the shapes become almost graphic. Bear tracks survive that treatment better than most. Their outline is distinctive enough to lose every scrap of interior detail and still be readable.
7. Warm Ink Prints Under Lamplight
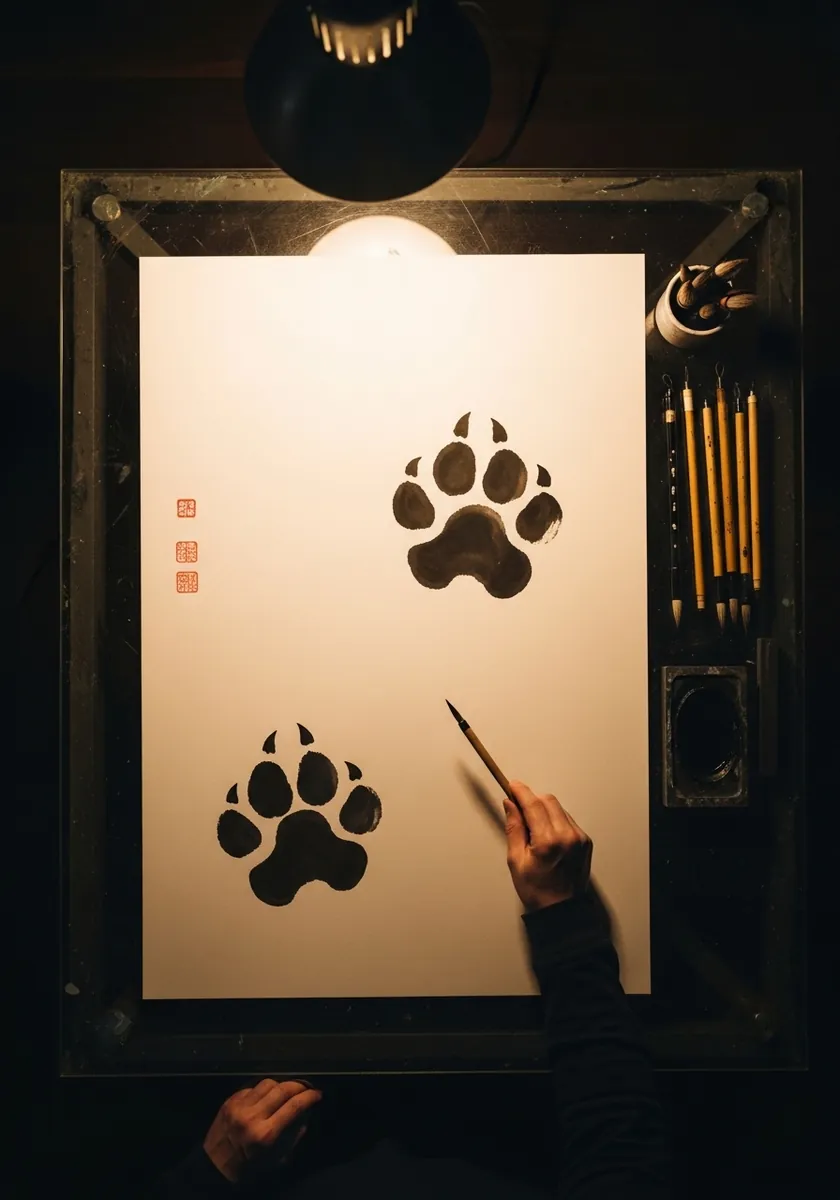
Warm ink on cream changes the feel completely. The same print that reads as clinical in black now reads as a specimen from an old collection. Mix a little brown into black ink rather than using pure sepia, and keep the pad edges slightly ragged so the print looks pressed into ground rather than stamped.
8. Deer Slots in Purple Watercolor
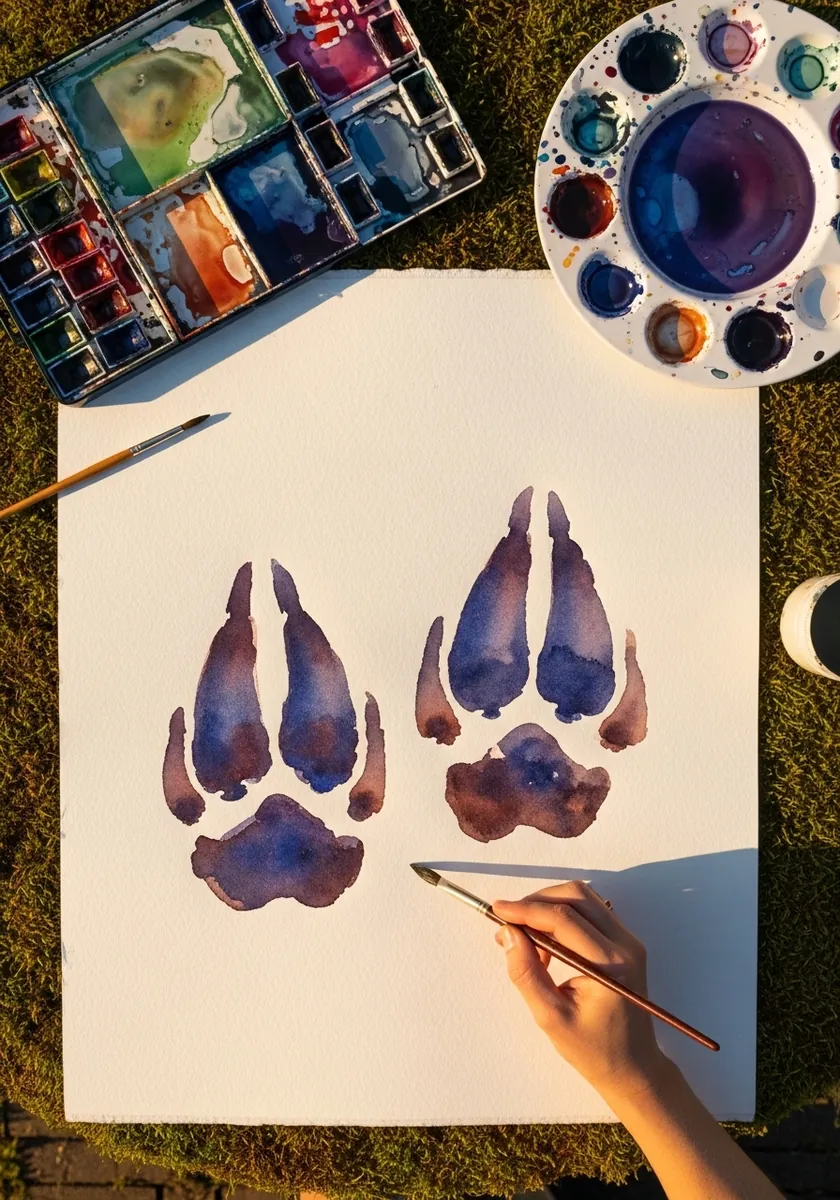
Colour does not have to be literal, and these deer slots in violet and blue prove it because the cloven shape carries the identification entirely on its own. Drop pigment into a wet shape and let it granulate toward the edges, which mimics the way silt settles unevenly around the rim of a real print in drying mud.
9. Single Bird Foot Study in Pencil
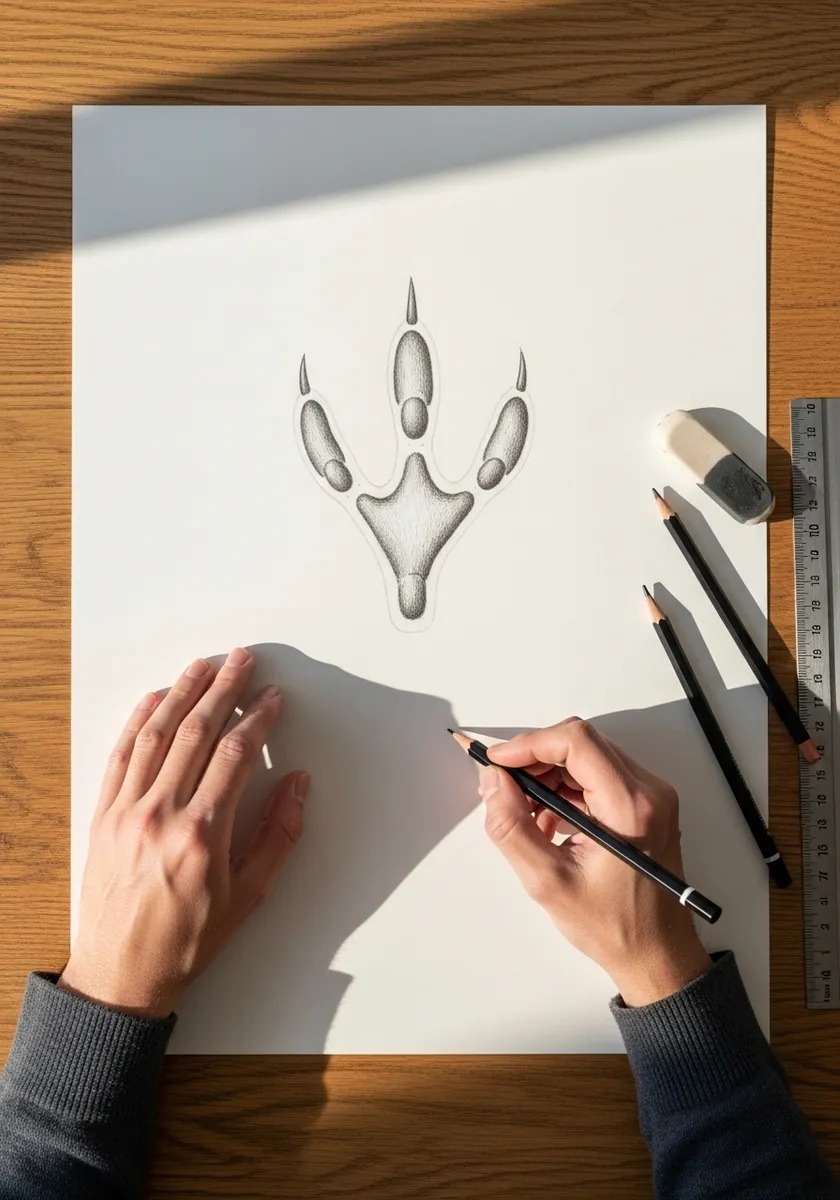
Most birds you will meet leave three toes forward and one back, an arrangement called anisodactyl. Drawing just one print at a large scale forces you to look properly at where the toes join. Keep the rear toe shorter and thinner, and give each toe a slight inward curve rather than drawing it straight.
10. Small Five-Toed Tracks in Ink
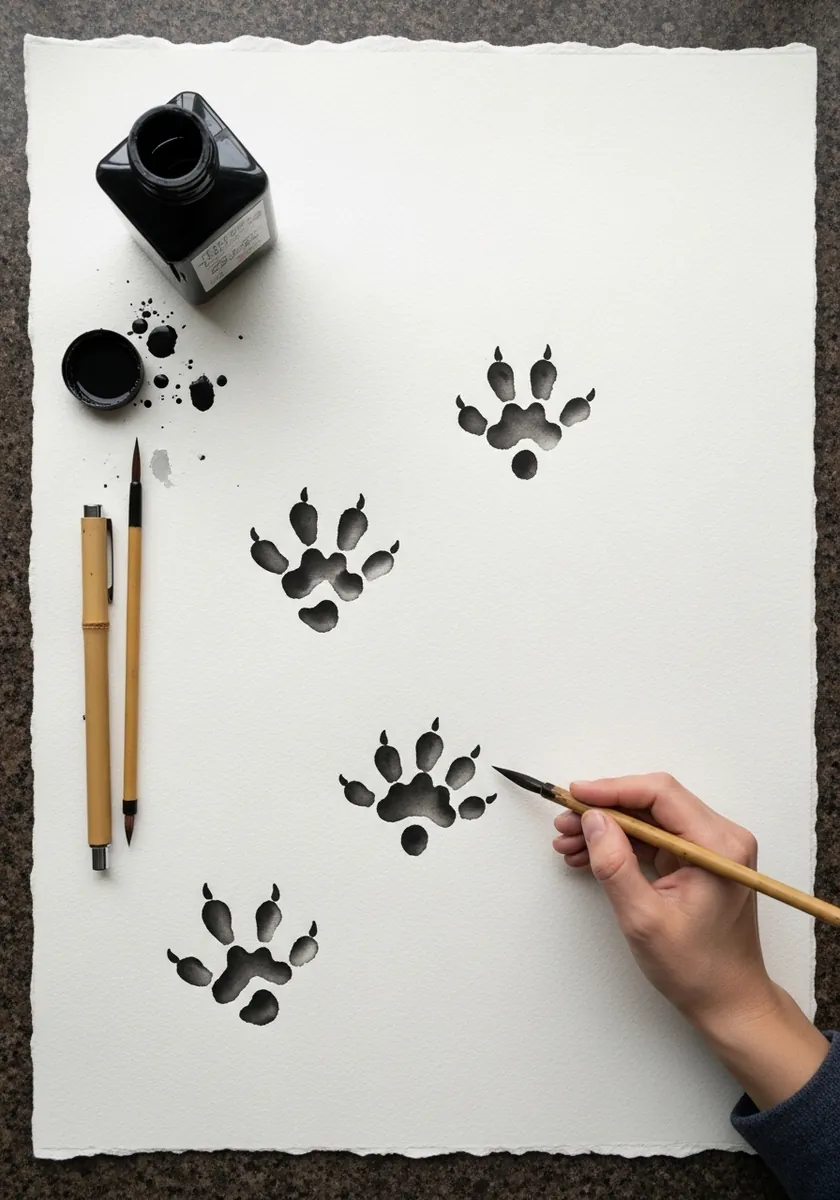
Five toes on a small print puts you in the weasel and otter family, or possibly a young raccoon. Size does real identification work here, so include a scale mark if the sheet is a study. Splatter a little ink around the prints to suggest the loose damp ground these animals usually cross.
11. Four Stippled Prints on a Sketchbook Page
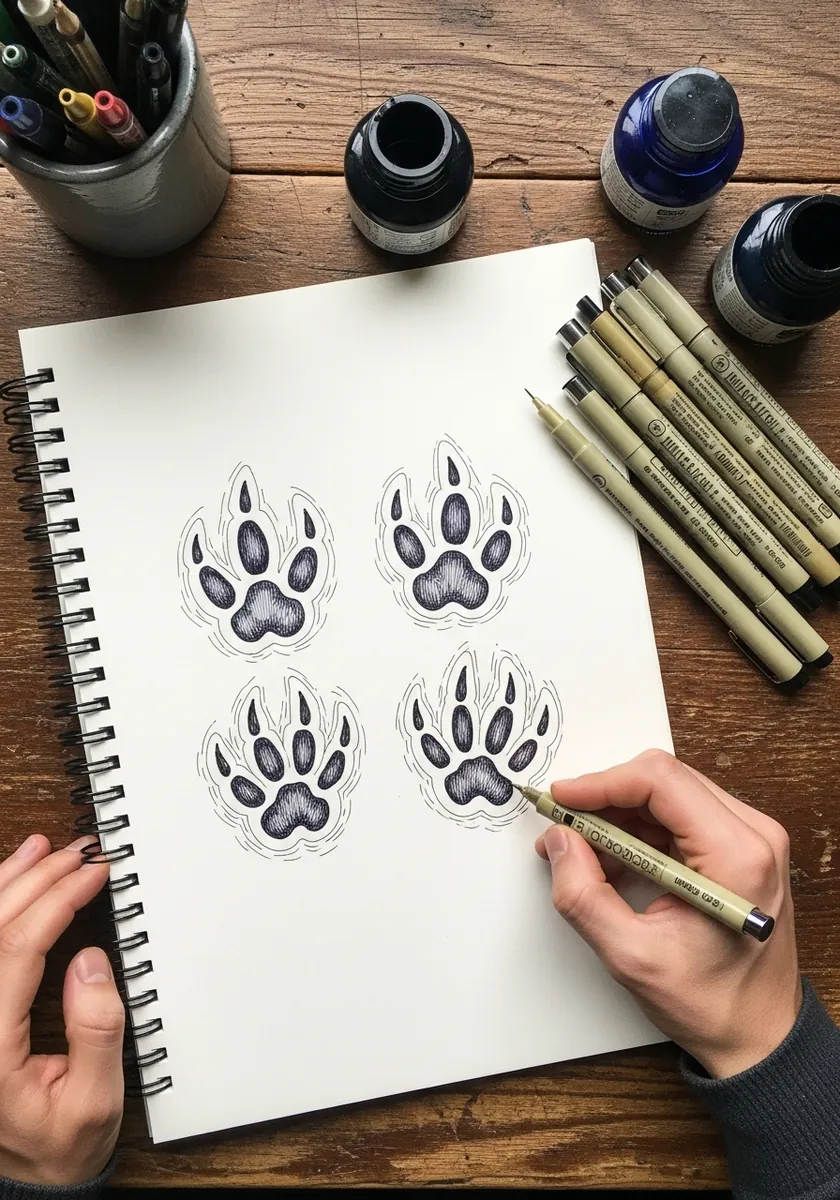
Stippling suits track work better than hatching. Dots let you build up the compressed dark center of a print while keeping the rim pale, exactly as a real print looks when the ground has been pushed down hardest under the pads. Build density slowly and resist the urge to outline the whole shape.
12. Bird Feet in Brush and Ink
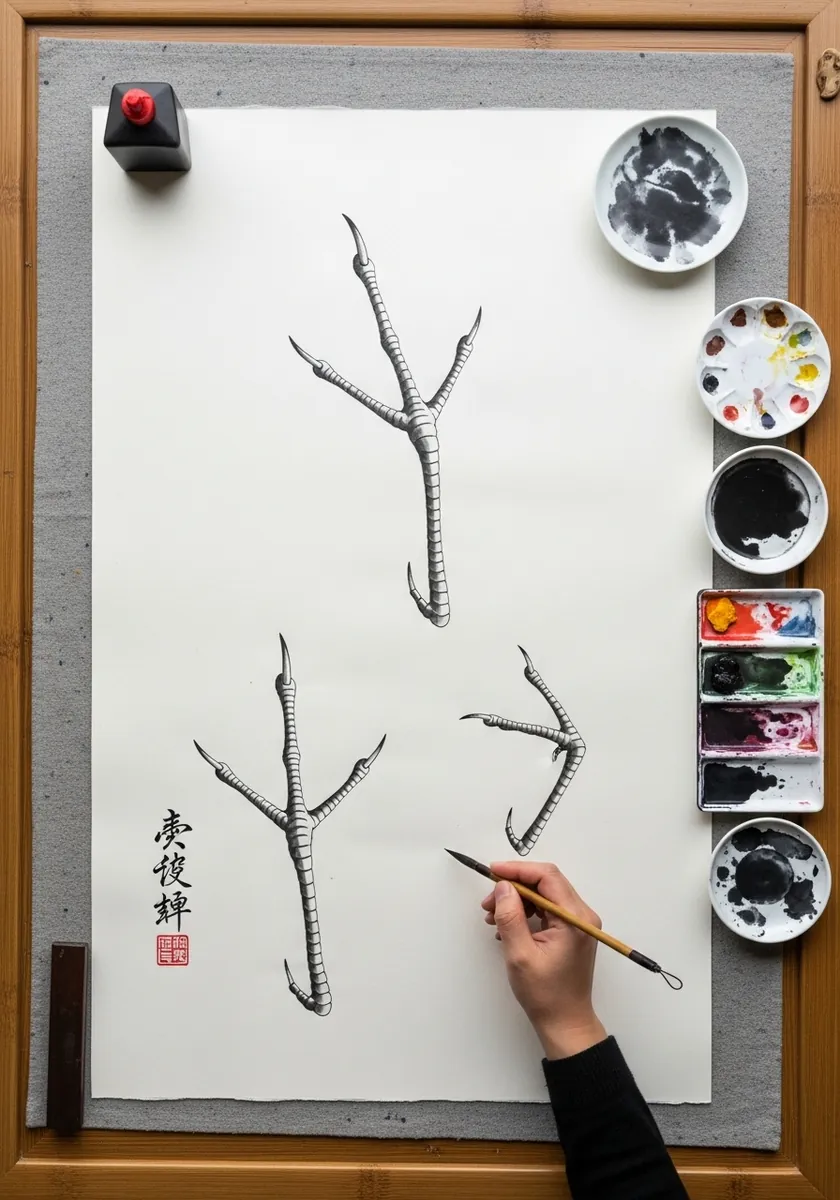
Brush work rewards restraint. Each of these bird tracks is three strokes and a joint, laid down with a loaded brush in one motion. Load once and commit. Accept whatever taper you get. The scaled texture on the toes is suggested with two or three dry-brush marks rather than drawn scale by scale.
13. Vertical Trail of Small Canine Prints
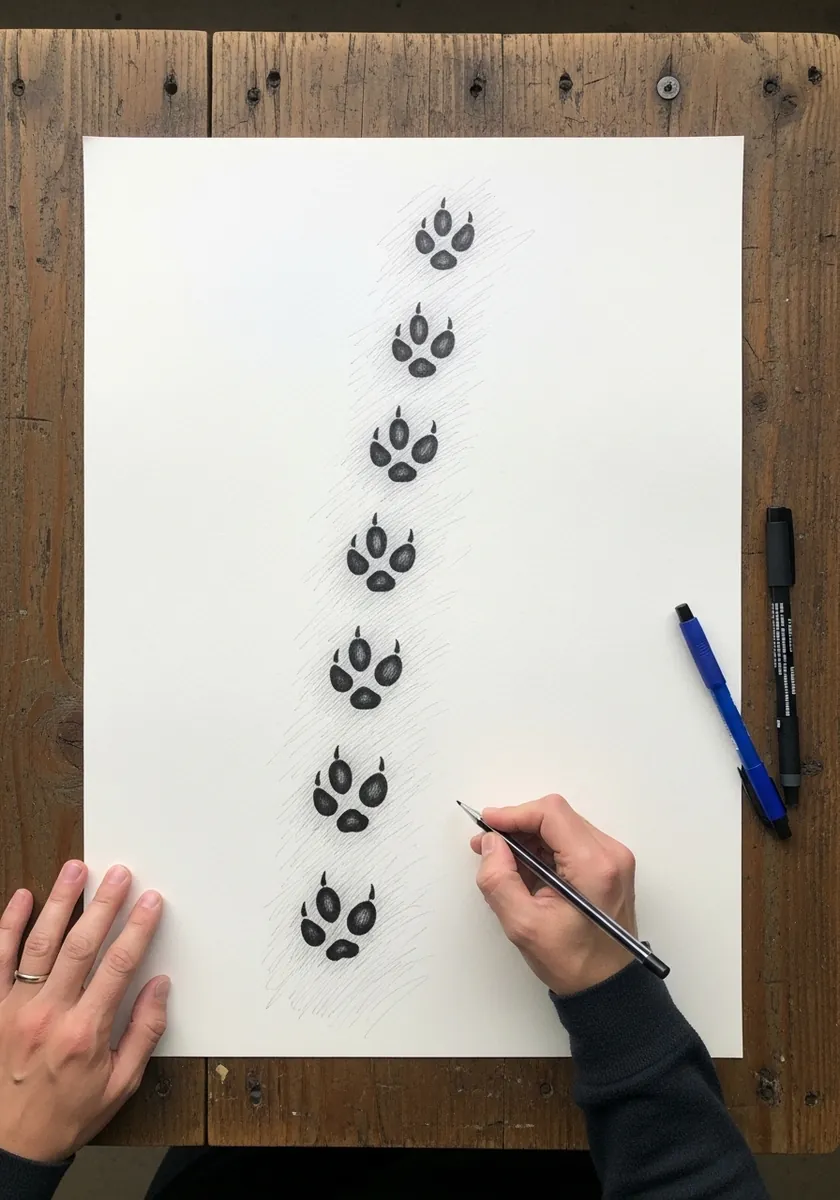
A narrow, near straight trail like this suggests a fox rather than a dog. Foxes place their feet almost in a single line, a gait sometimes described as direct registering, and the result is a remarkably tidy track. Keep the prints small, evenly spaced, and barely offset from the center line.
14. Large Painted Paw in Brown and Black
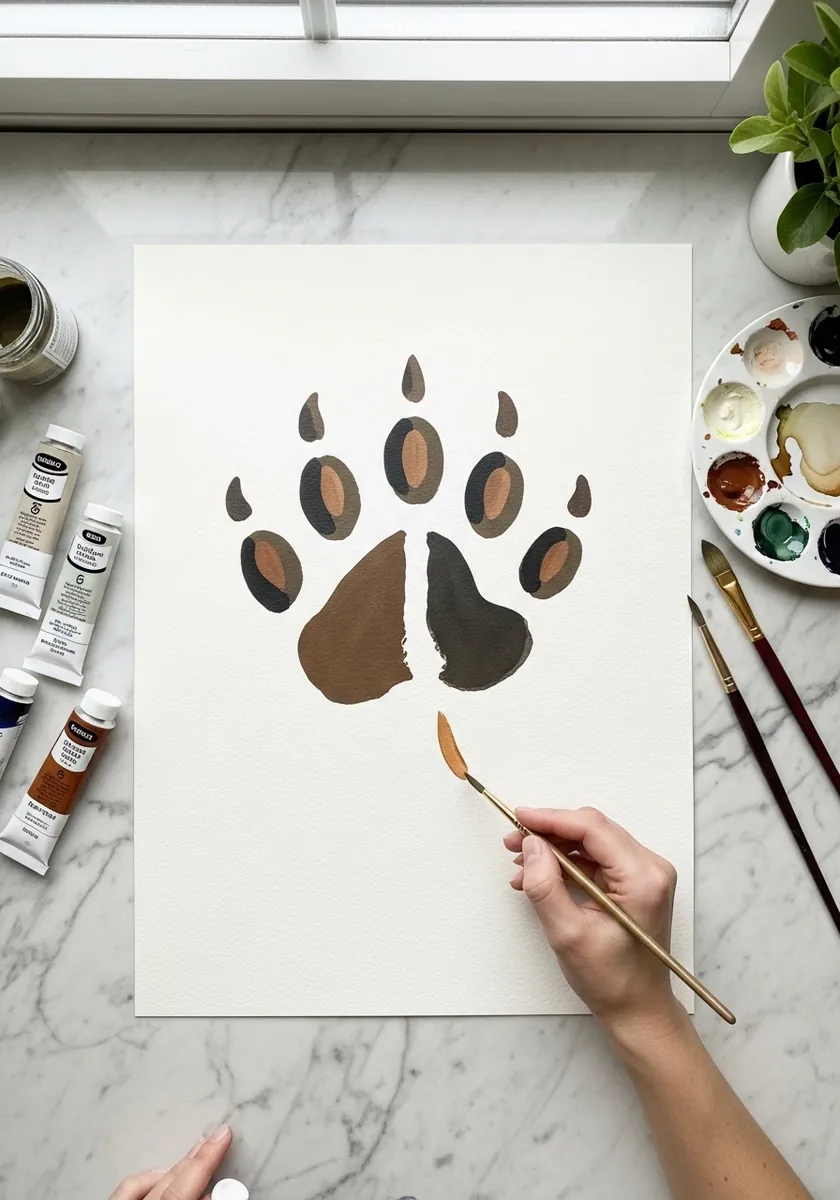
Splitting a print into two flat tones is a useful shorthand. It reads as a print catching light from one side without needing any blending at all. Five toes and heavy claws point to a bear here. Paint the two halves as separate shapes and let them meet along a hard vertical edge.
15. Scattered Bird Tracks on White
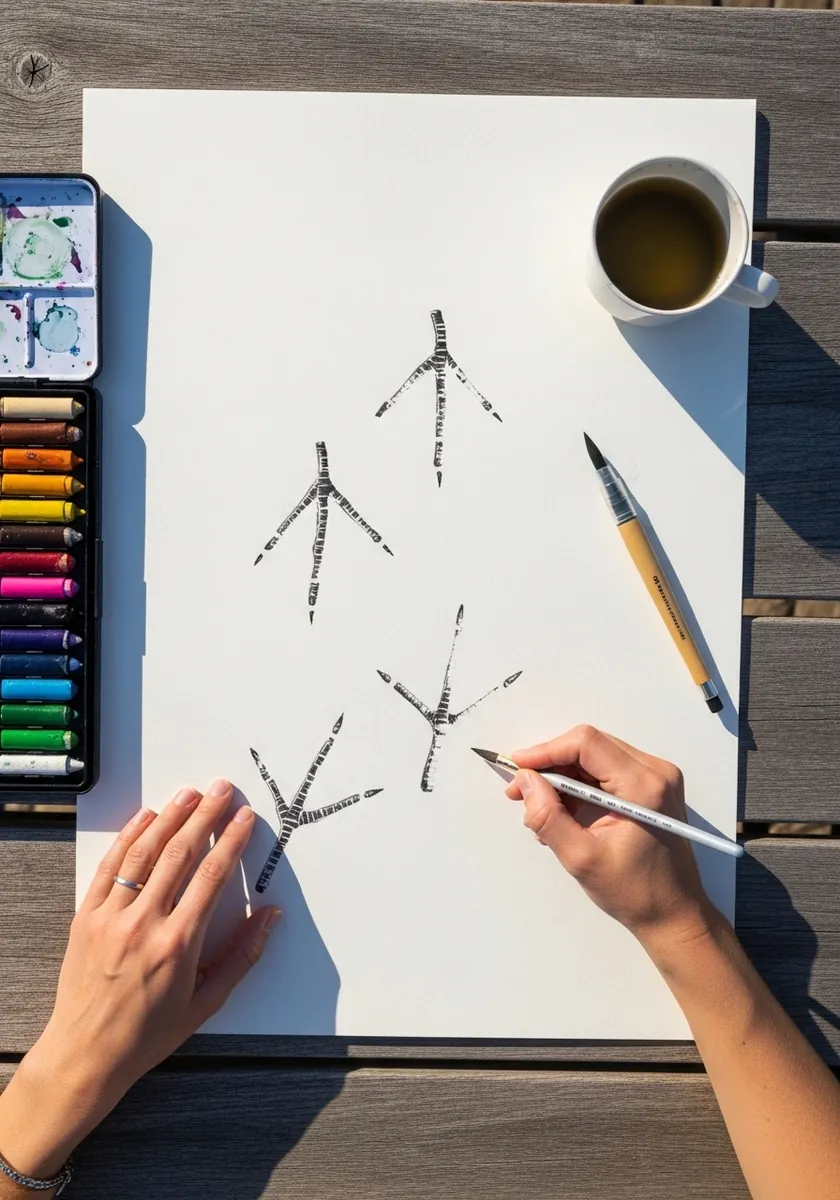
Birds rarely walk in a straight line and their tracks tend to cross and double back. Scattering the prints at different angles is more truthful than lining them up neatly. Vary the rotation of each print and let two or three overlap slightly, which is what a patch of wet sand actually looks like.
16. Neon Lit Bear Paw Graphics
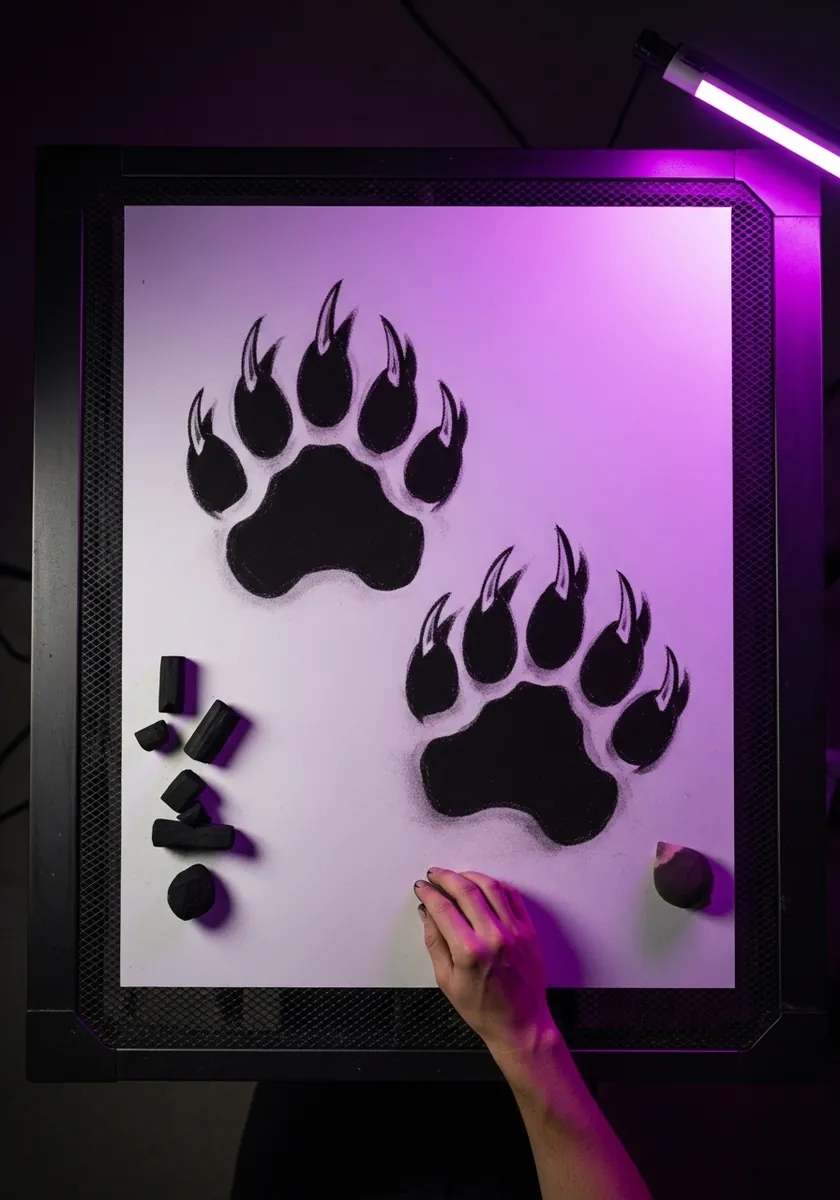
Not everything has to be a field study, and lit with coloured light and reduced to flat black shapes these bear paws become poster graphics instead. The identification still holds because the five toes and the forward claws survive the stylisation, which is the honest test of whether a simplified track drawing has gone too far.
17. Dog Versus Cat Comparison Plate
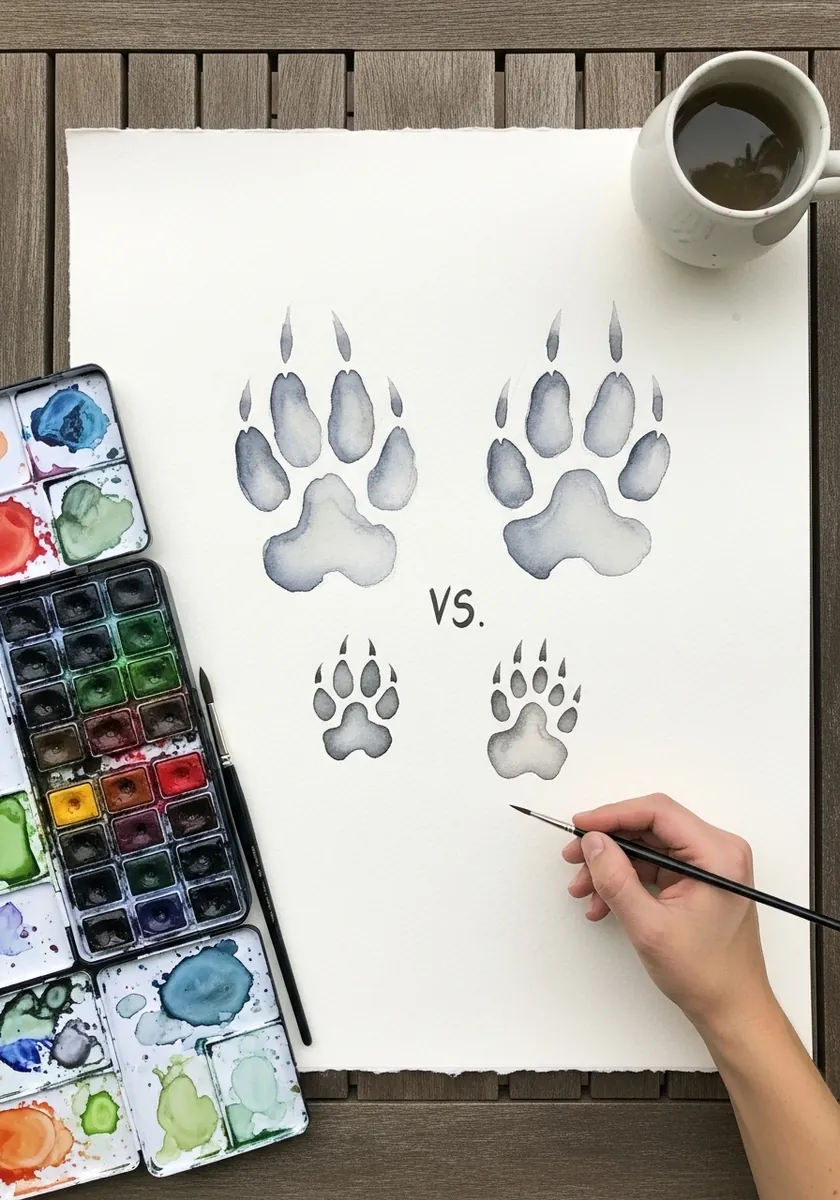
This is the single most useful sheet you can make. Dog prints sit longer than wide with claws showing and a clear X of space between the pads. Cat prints sit wider than long, show no claws, and have a rear pad with three lobes along its lower edge. Paint them side by side at the same scale.
18. Outline Only Canine Prints
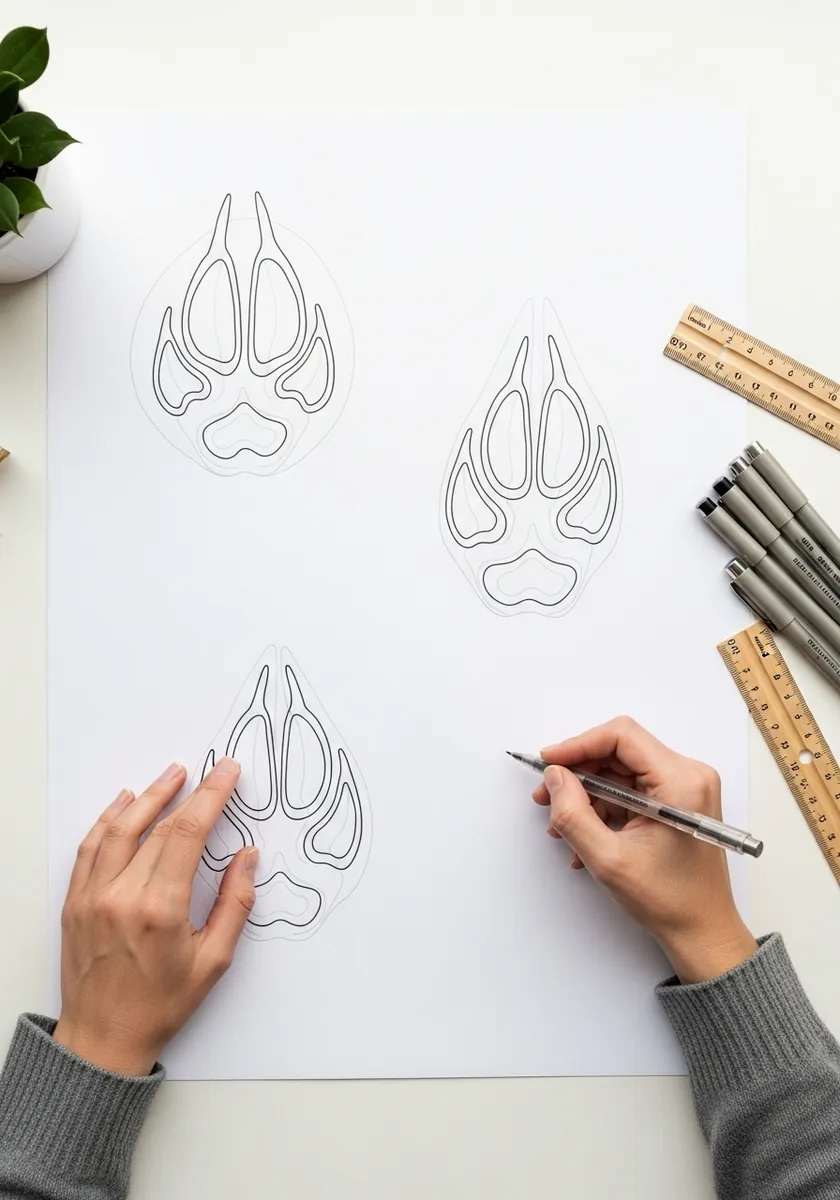
Stripping a print back to pure outline is a genuine exercise, not a shortcut. Without tone to hide behind, every toe placement has to be correct. Draw the four toes first, get their spacing right, and only then add the rear pad. If the outline reads clearly, the shaded version will too.
19. Bird Track in Warm Earth Tones
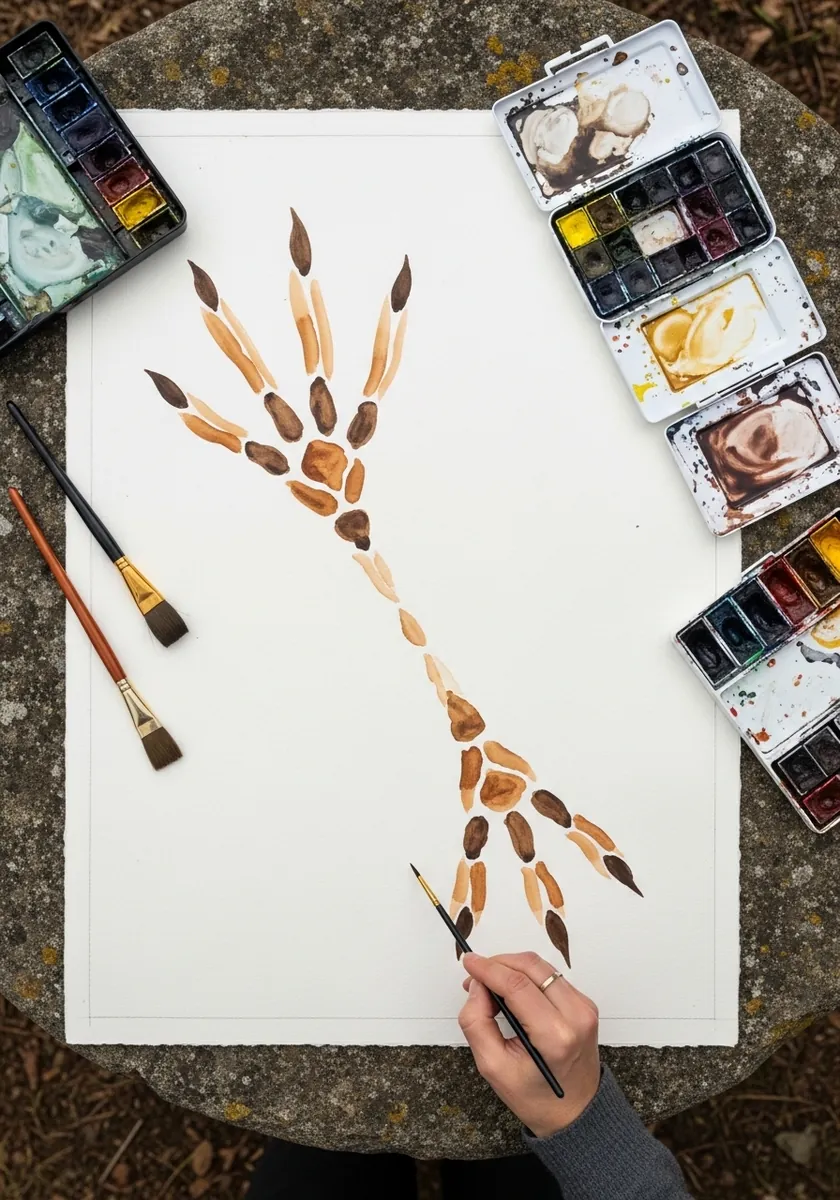
Painting each toe as a chain of separate marks rather than one continuous stroke gives a print real texture. Real bird feet are scaled, and those scales catch mud in bands. Work in ochre and burnt sienna, leave small gaps of white paper between the marks, and the toe will read as jointed.
20. Three-Toed Prints with Stickers Effect
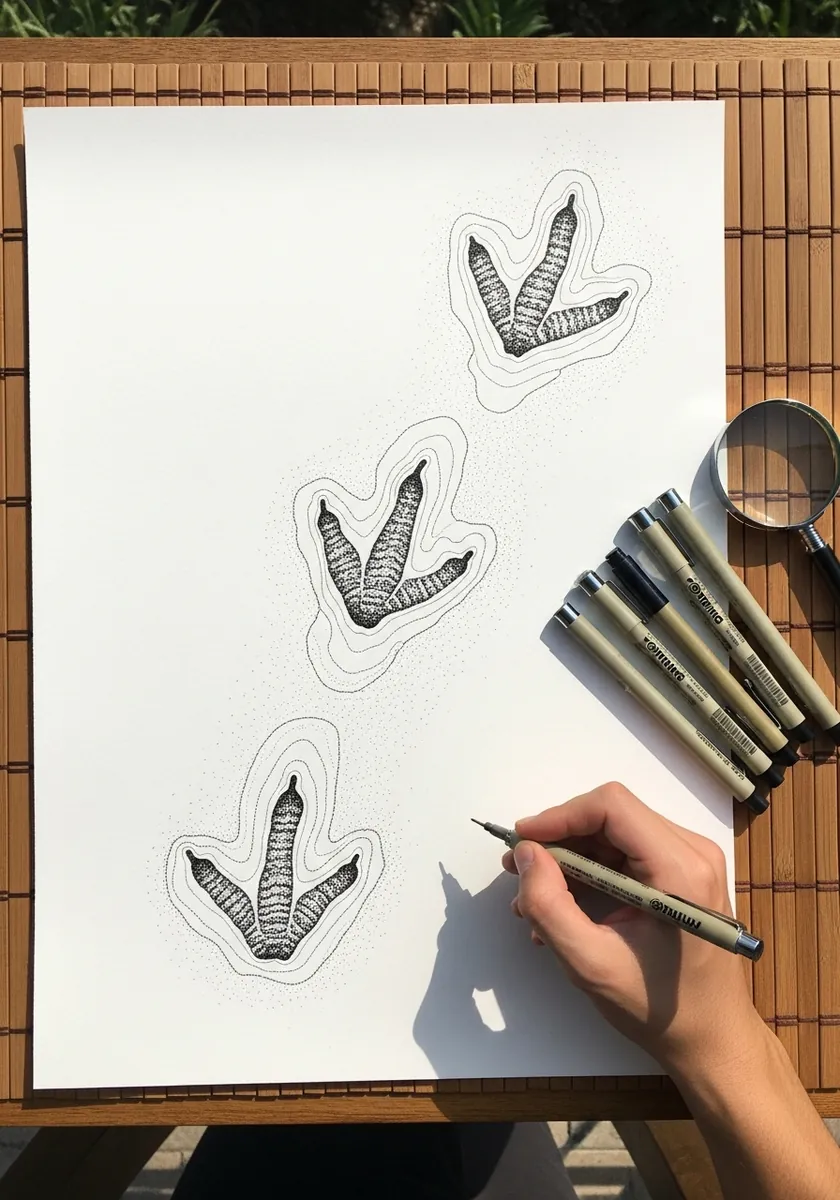
Giving each print a white border lifts it off the page like a cut-out sticker. It is a decorative choice rather than a field one, but it makes an attractive study sheet for a wall. Draw the print fully, then trace a generous outline around it and leave that band completely untouched.
21. Furry Snow Paw Prints in Pastel
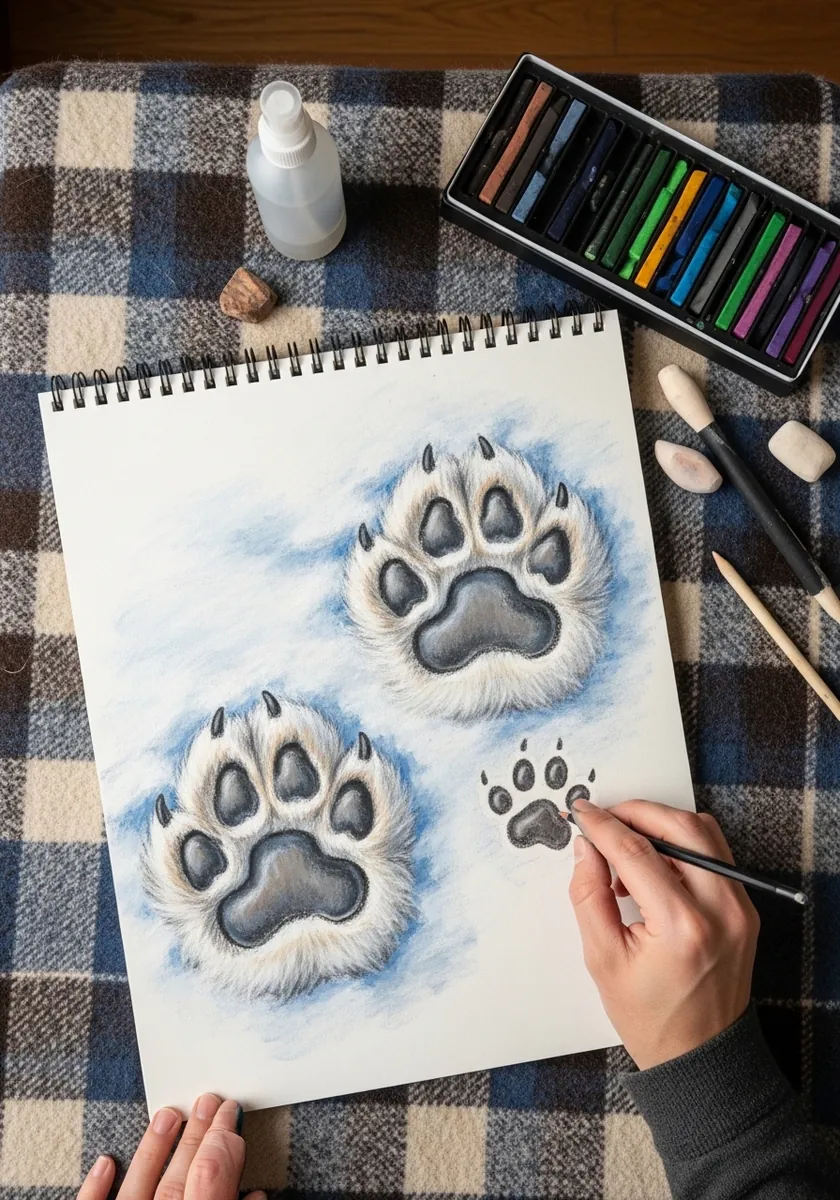
Snow prints look nothing like mud prints. Edges collapse. Fur leaves a soft fringe around the rim, and the depression fills with blue shadow rather than dark earth. Work in soft pastel and keep every single edge fuzzy. This is one of the rare cases where blending absolutely everything is the correct decision.
22. Ink Trail Beside a Grey Wash Path
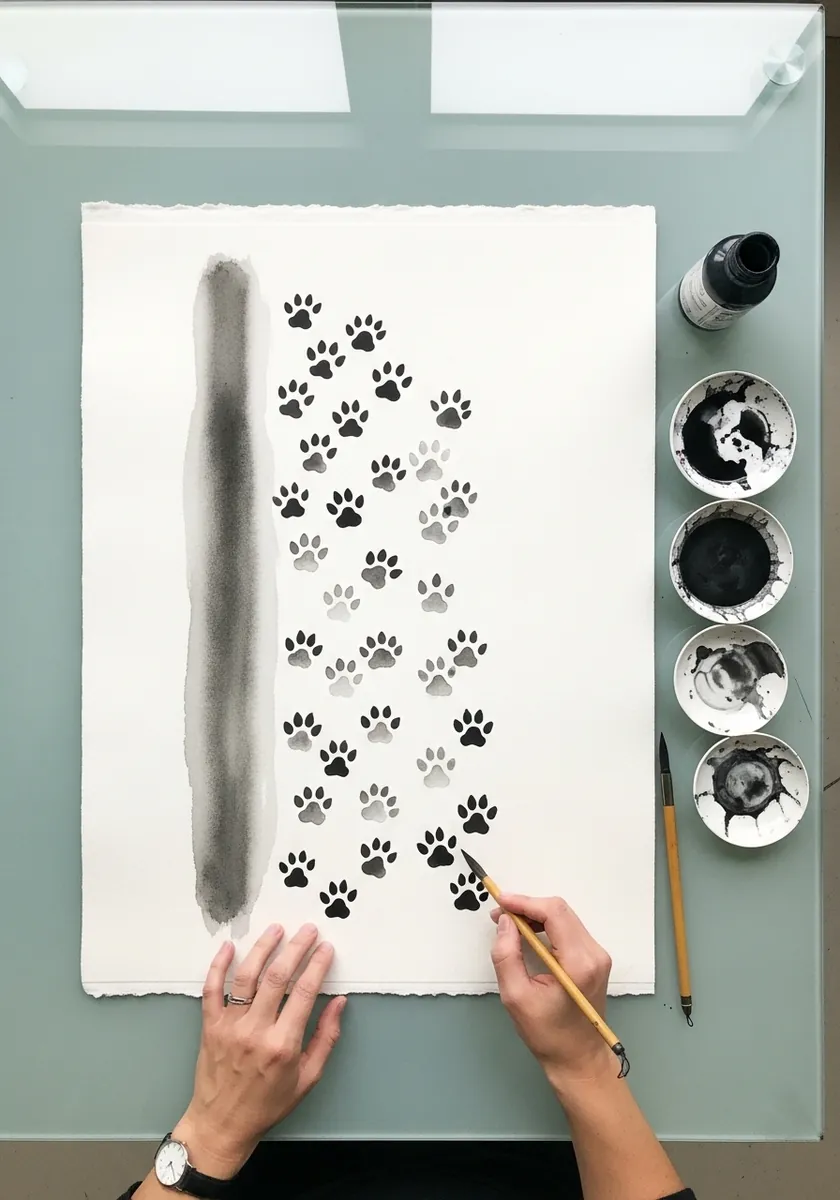
Pairing a trail with the feature it follows tells you something about behaviour. Animals move along edges, and a track running parallel to a wall, a stream or a path is extremely common. Lay the wash first, let it dry completely, then stamp the prints beside it in dense black ink.
23. Deer Slots in Coloured Pencil
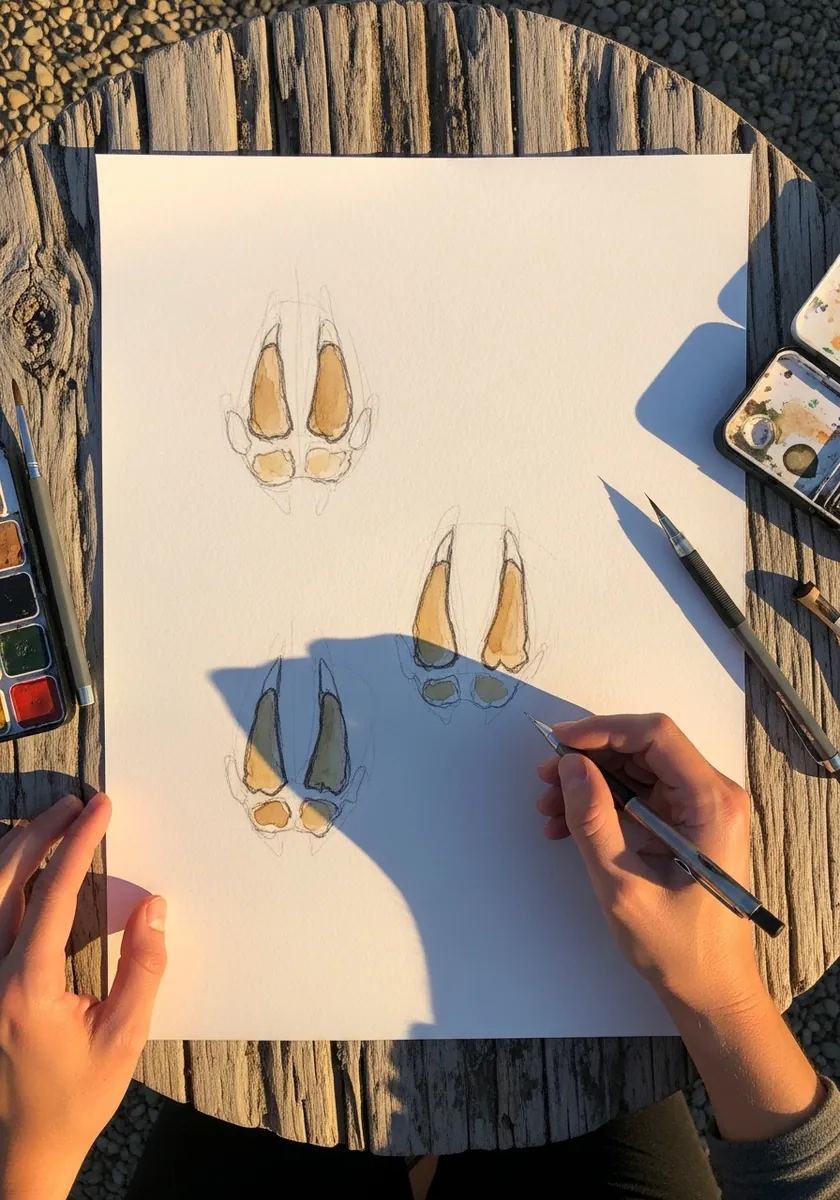
Showing one print from several angles is how proper field guide plates are built. A deer slot splays wider when the animal runs and closes tight when it walks, so the same species produces noticeably different prints. Draw at least two states and label them if the sheet is meant to teach.
24. Bird Track with Feathered Wash
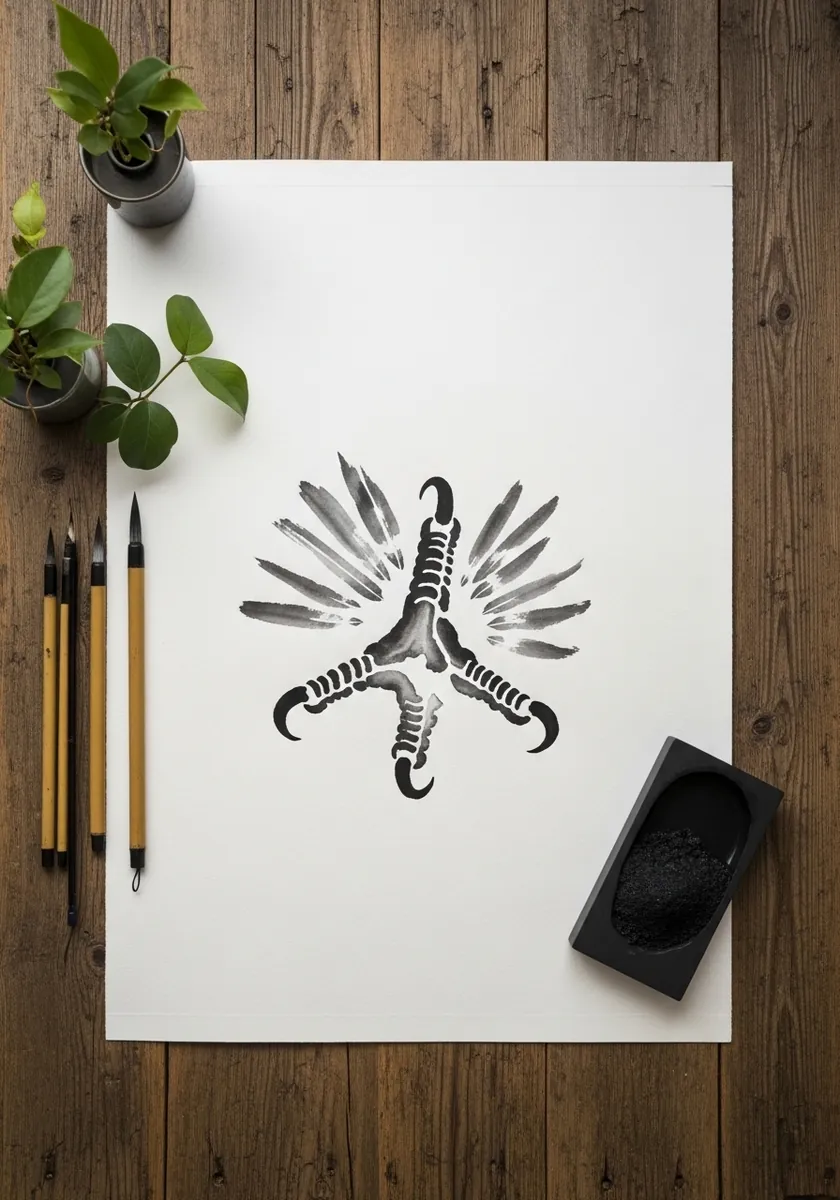
Combining the track with the animal that made it is an old illustration convention that still works, provided you keep the feathers loose and grey so they stay clearly secondary to the print itself. Put the track down in the sharpest, darkest ink on the page, because the eye reads the crispest thing as the subject every time.
25. Stippled Print with Radiating Texture
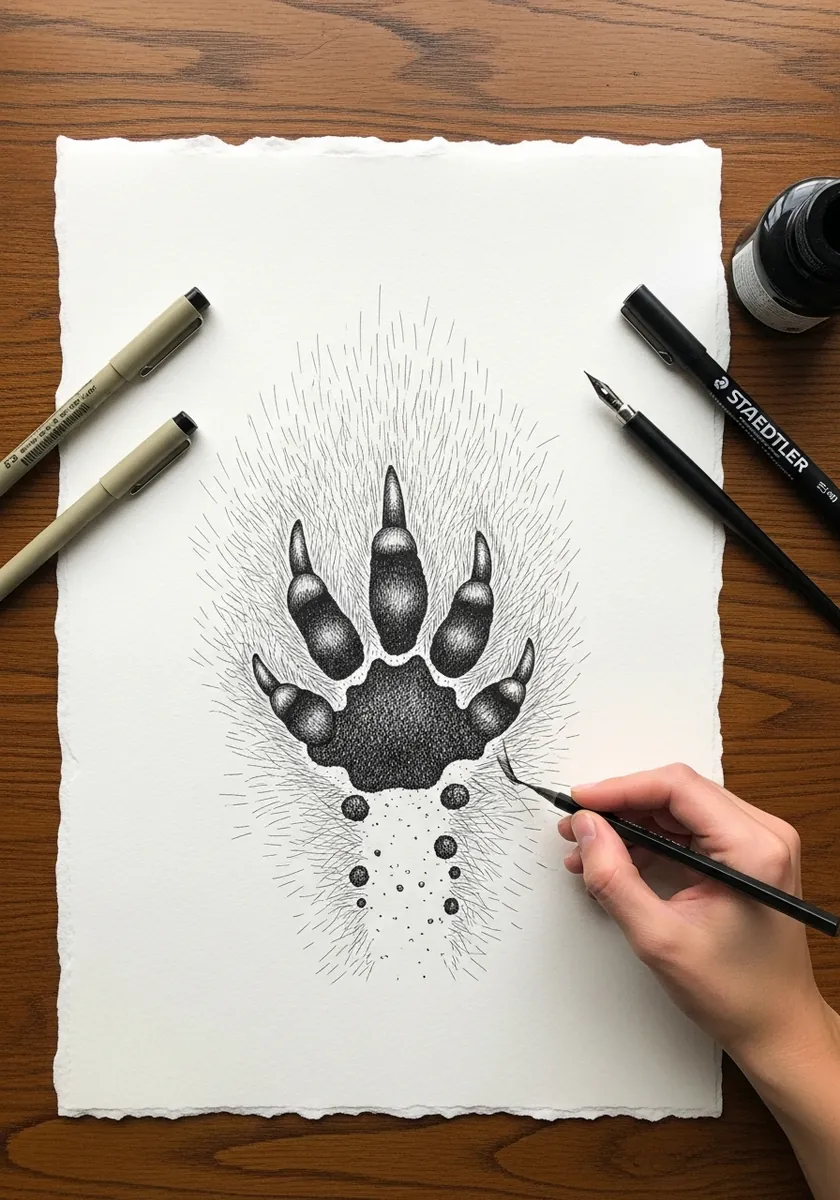
Radiating lines around a print suggest the ground being pushed outward by the animal’s weight. Stipple the print itself so the center is nearly solid, then run fine hatch lines outward from the rim, thinning them as they travel. A few loose dots below the print imply crumbs of thrown earth.
26. Detailed Bear Prints in Loose Soil
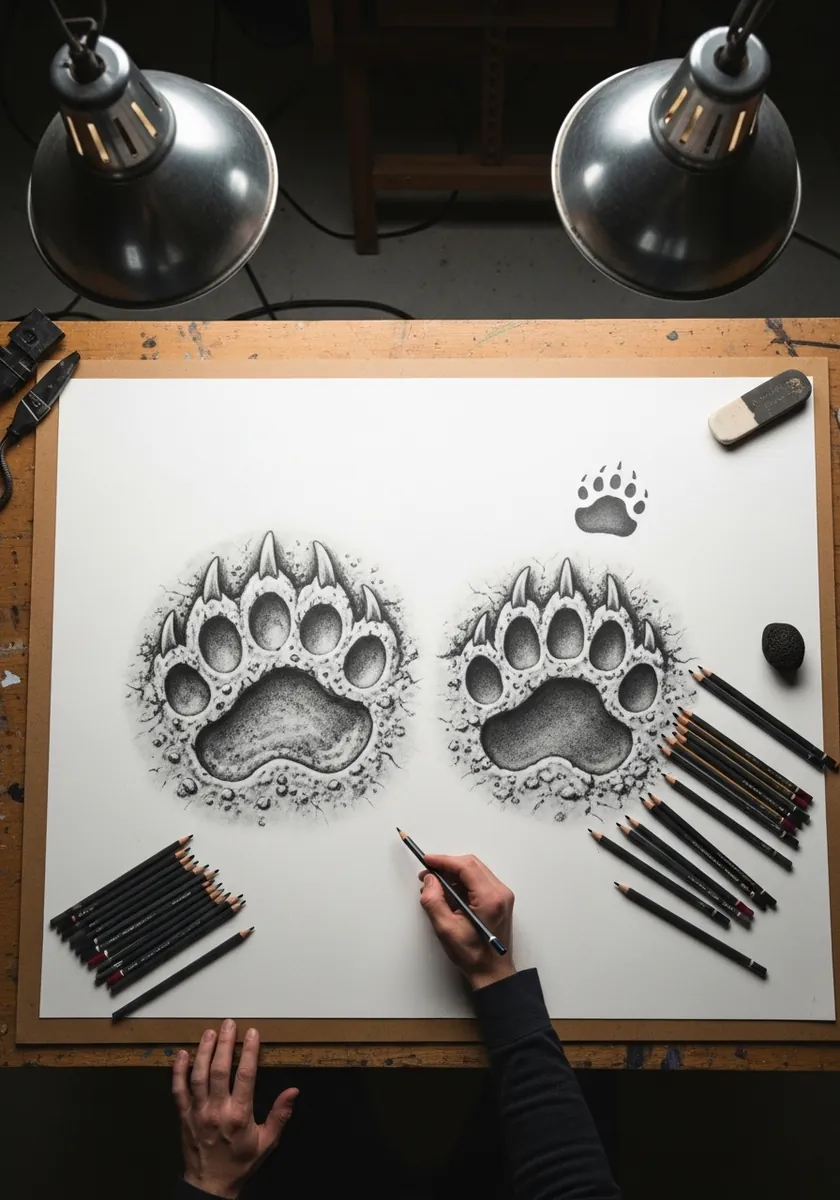
The ground deserves as much attention as the paw. Loose soil piles into a ridge around the rim of a heavy print and crumbles inward at the edges. Render that ridge with small irregular clumps, keep the interior of the print smooth by comparison, and the paw will look genuinely pressed in.
27. Bird Tracks Among Tropical Leaves
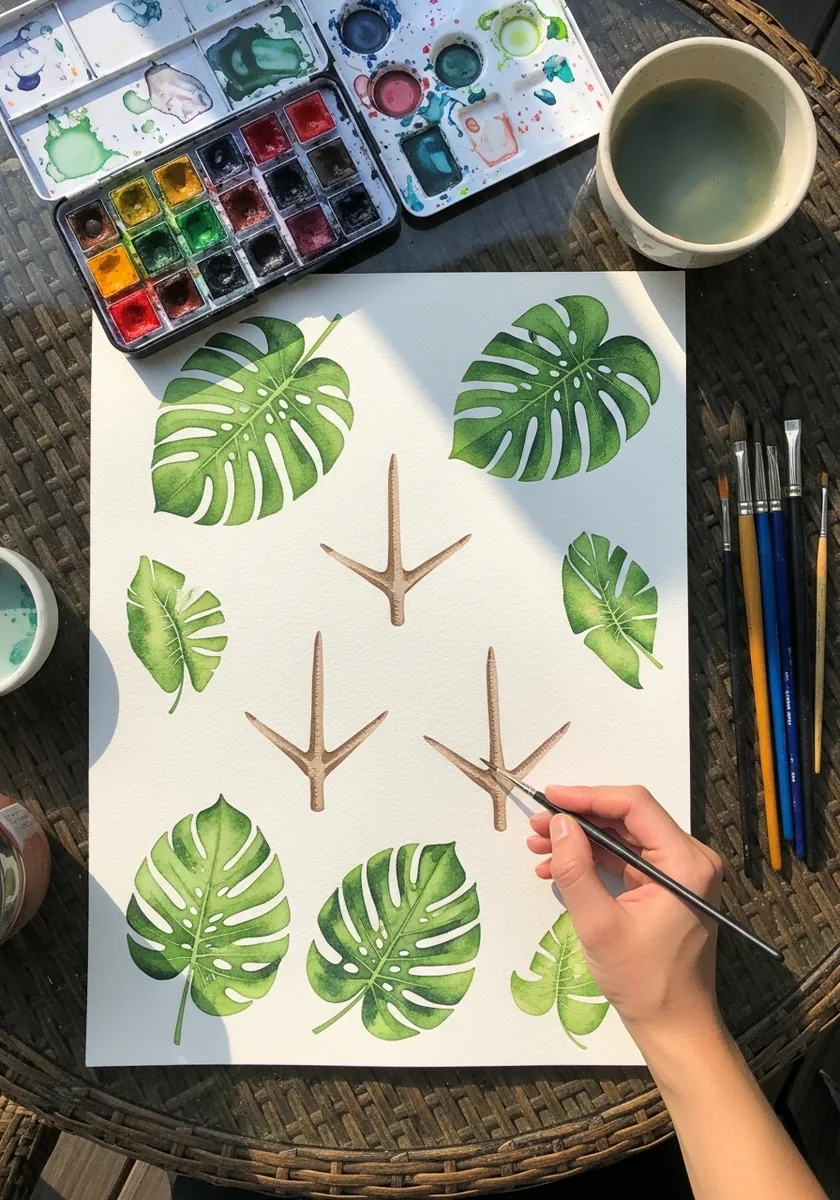
Green foliage around a neutral track gives a study sheet somewhere to breathe. Paint the leaves first in a limited range of greens and let them dry hard, then add the tracks in a warm neutral so they sit forward. Leaving white paper between the two layers keeps the tracks from muddying.
28. Front and Hind Prints on Kraft
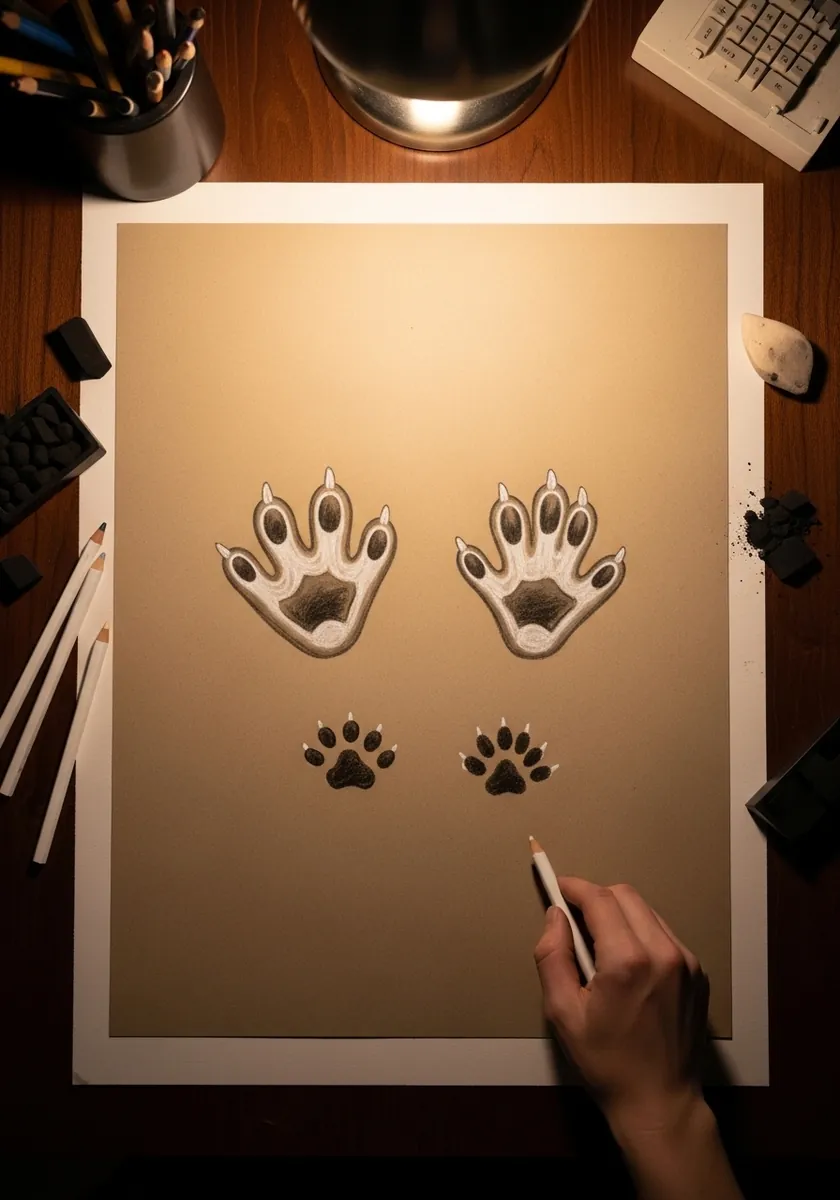
Front and hind feet almost never match. Showing both is what makes a study genuinely useful rather than decorative. In most four-footed mammals the front foot is broader and carries more of the animal’s weight. Kraft paper hands you the mid tone for free. You only need white for the highlights along the raised rims.
29. Bird Tracks with Soft Colour Blush
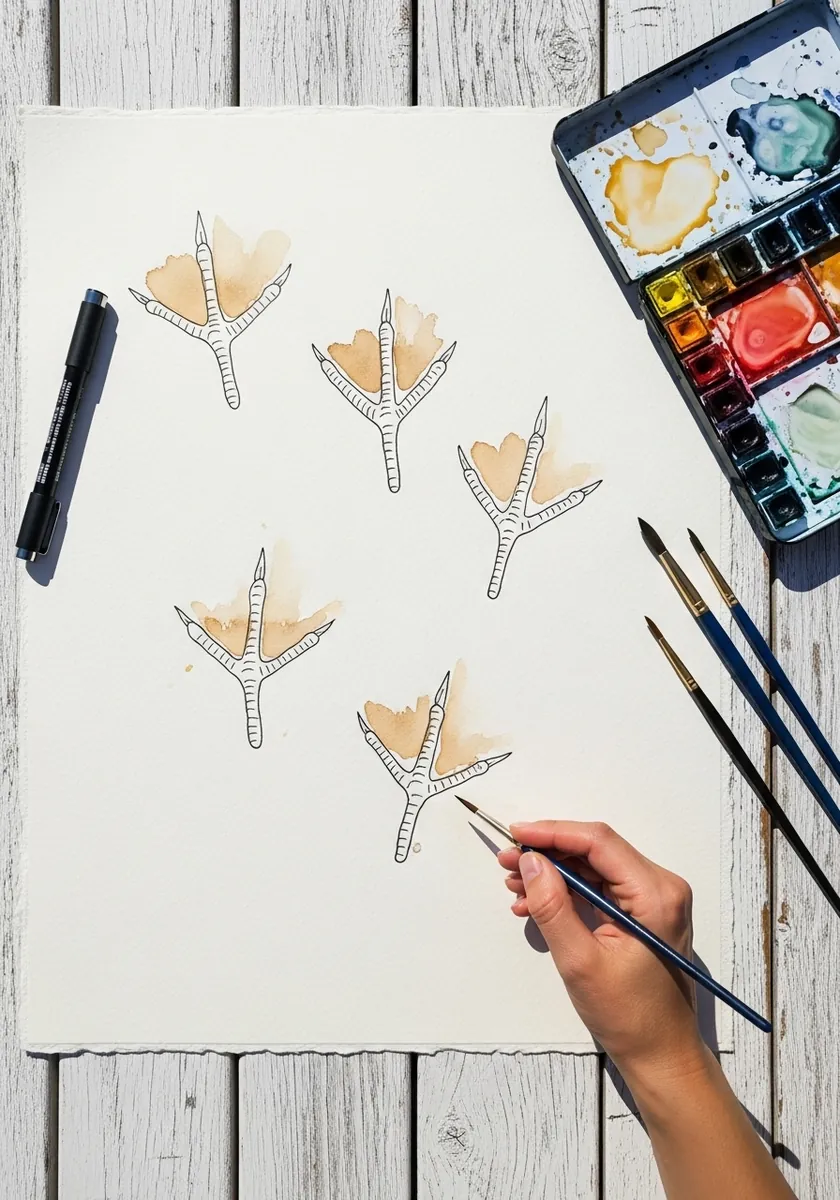
A loose wash behind a precise line drawing is a reliable combination. Ink the tracks first with a waterproof pen and let them cure fully, then drop clean peach colour behind them and let it find its own edge. The contrast between controlled and uncontrolled carries the whole page.
30. Complete Field Guide Identification Chart
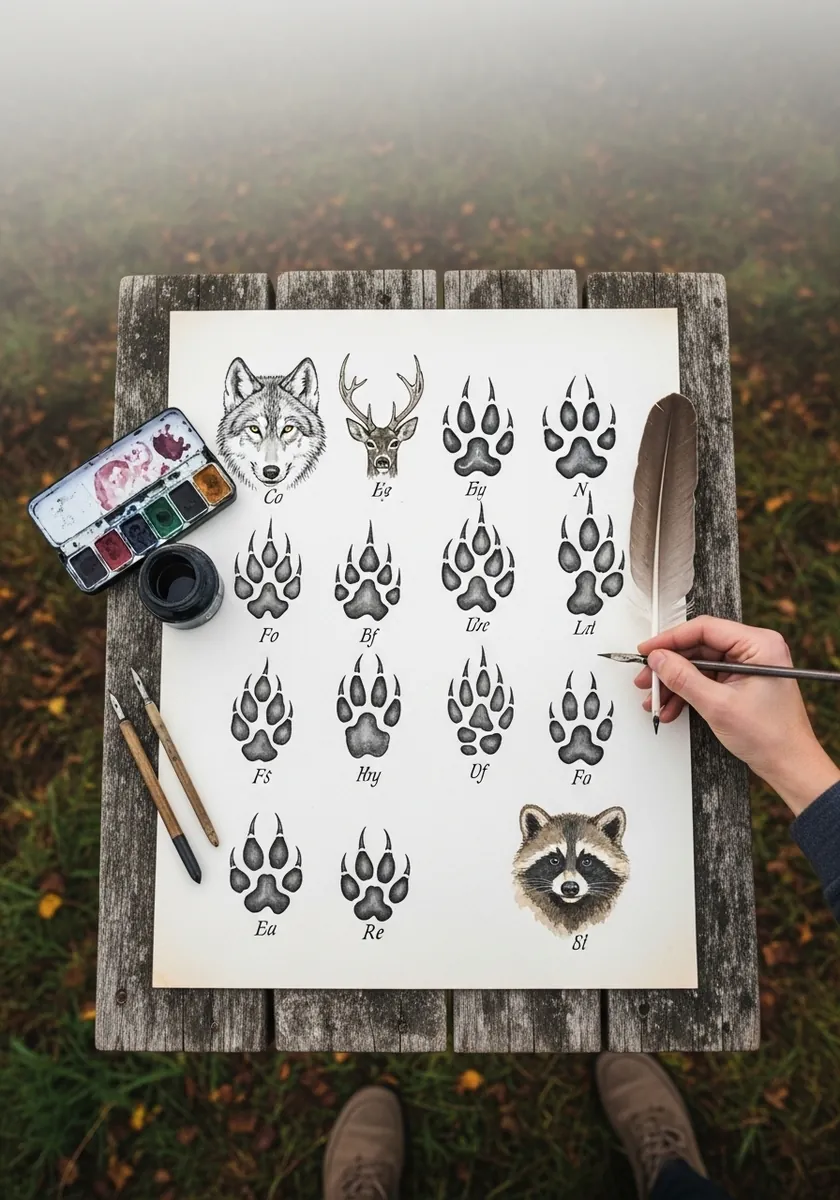
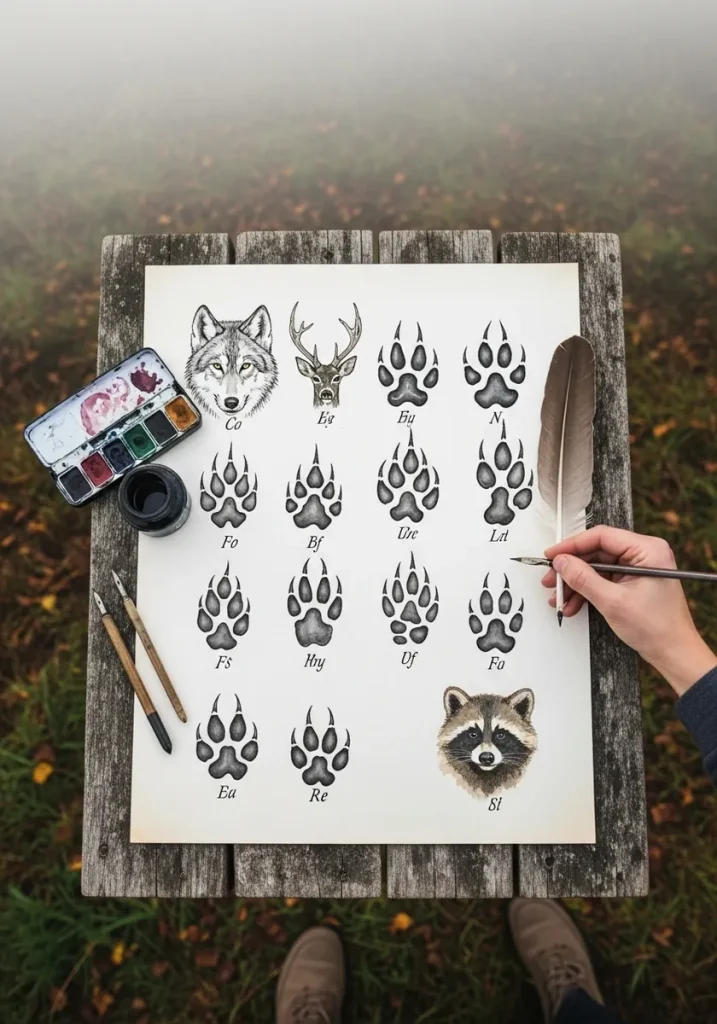
Everything in this list builds toward a page like this one. A proper plate shows each track at a consistent scale, labelled, with the animal that made it drawn small in the margin for reference. Rule a grid before you begin so every cell is identical, because inconsistent scale ruins a comparison chart.
Frequently Asked Questions
How do you identify animal tracks?
Work through four checks in order. Count the toes, look for claw marks, judge whether the print is longer than wide or wider than long, then step back and read the trail pattern. Those four together narrow almost any track to a small group.
What is the difference between dog and cat tracks?
Dog family prints usually show claw marks and are slightly longer than they are wide, with an X-shaped gap between the toes and the rear pad. Cat prints are rounder, wider than long, asymmetrical, and rarely show claws because cats retract them.
How many toes do different animals leave in a track?
Four toes point to the dog and cat families, plus rabbits and most rodents on the front feet. Five toes indicate raccoons, bears, otters, badgers and the rest of the weasel group. Deer and elk leave no toes at all, only two hoof halves.
Which direction was the animal travelling?
For deer, the pointed end of each cloven half faces forward. For paw prints, the toes lead and the wider rear pad trails behind. In bounding animals such as rabbits, the larger hind feet actually land ahead of the smaller front feet.
What is the best medium for drawing animal tracks?
Ink suits crisp prints in firm mud, because a clean outline shows the pad shapes clearly. Watercolor and soft graphite suit snow and sand, where the edges collapse and blur. Match the medium to the ground, not to the animal.
References and Further Reading