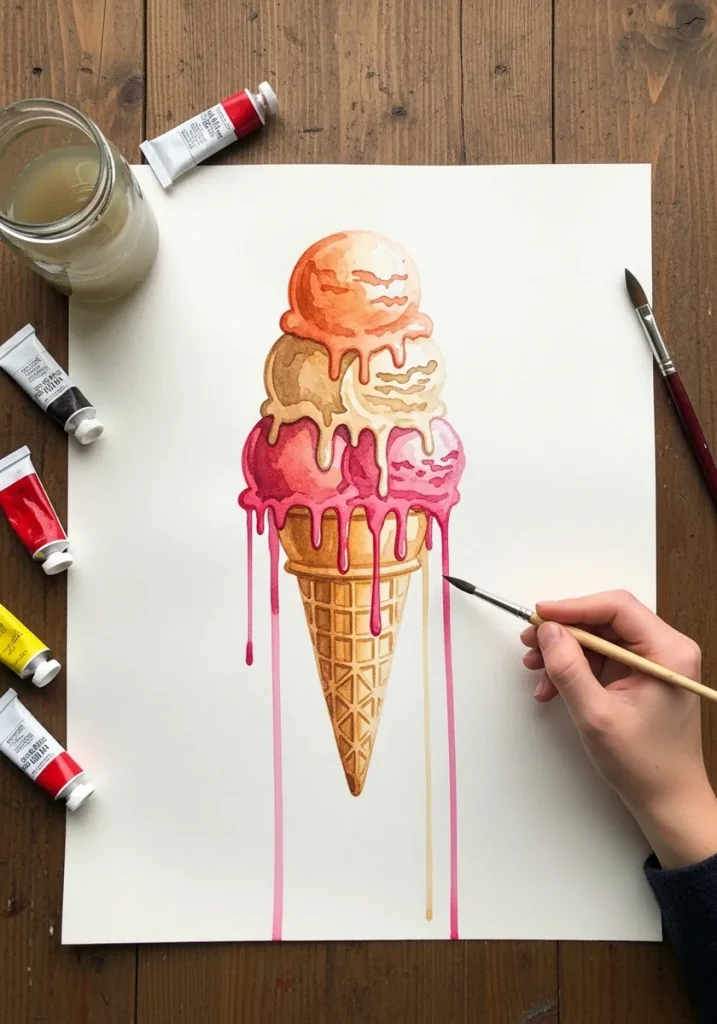
A convincing drip has three parts: a narrow neck where it leaves the scoop, a wider body, and a rounded bead at the tip. Draw it as a uniform stripe and it reads as a painted line rather than melting ice cream.
Key takeaways
- Every drip needs a narrow neck, a swelling body and a heavy rounded bead at its lowest point.
- Melt runs from the lowest point of an overhang, not evenly around the whole rim.
- All drips fall parallel and vertical no matter how the cone is tilted, because gravity has one direction.
- A waffle cone lattice curves: the diamonds narrow toward the outer edges and the rows read as ellipses.
- Ice cream is a foam that can be nearly half air by volume, which is why it collapses as it melts.
A drip is not a stripe, and that is where most of these drawings fail. Real melt leaves the scoop through a narrow neck, swells into a wider body, then gathers into a heavy rounded bead at the tip. Draw those three parts and the ice cream turns wet on the page.
Two rules govern where the drips go. Melt runs from the lowest point of an overhang, so it clusters at two or three spots rather than spacing itself evenly, and every drip falls straight down regardless of how the cone is tilted. Gravity has only one direction.
The cone deserves the same attention. A waffle lattice curves around the surface, with the diamonds narrowing toward each outer edge and the rows reading as shallow ellipses. For the wet-media approach to sweets generally, watercolor ice cream ideas covers washes in more depth.
The thirty-one pieces below run through graphite, neon on black, art nouveau, impasto, sumi-style ink, vaporwave and folk pattern. If you want more food subjects with the same surface problems, try watercolor food drawing or these strawberry studies.
Compiled by the GS Art Zone editorial team. Last updated August 2026. Each idea is paired with the specific step that produces the effect, so you can go from the reference straight to paper.
What You Need Before You Start
- A white gel pen or gouache, since the highlight on a wet drip must sit on top of the color
- One warm cream and one cool gray, enough to render vanilla convincingly on white paper
- A rigger or liner brush, which is the only practical tool for pulling a long tapered drip
- Waterproof ink for the cone lattice, so a later wash does not lift the linework
- Toned or black paper for the neon, chalk and airbrush pieces further down the list
1. Three Scoops With Long Pink Drips
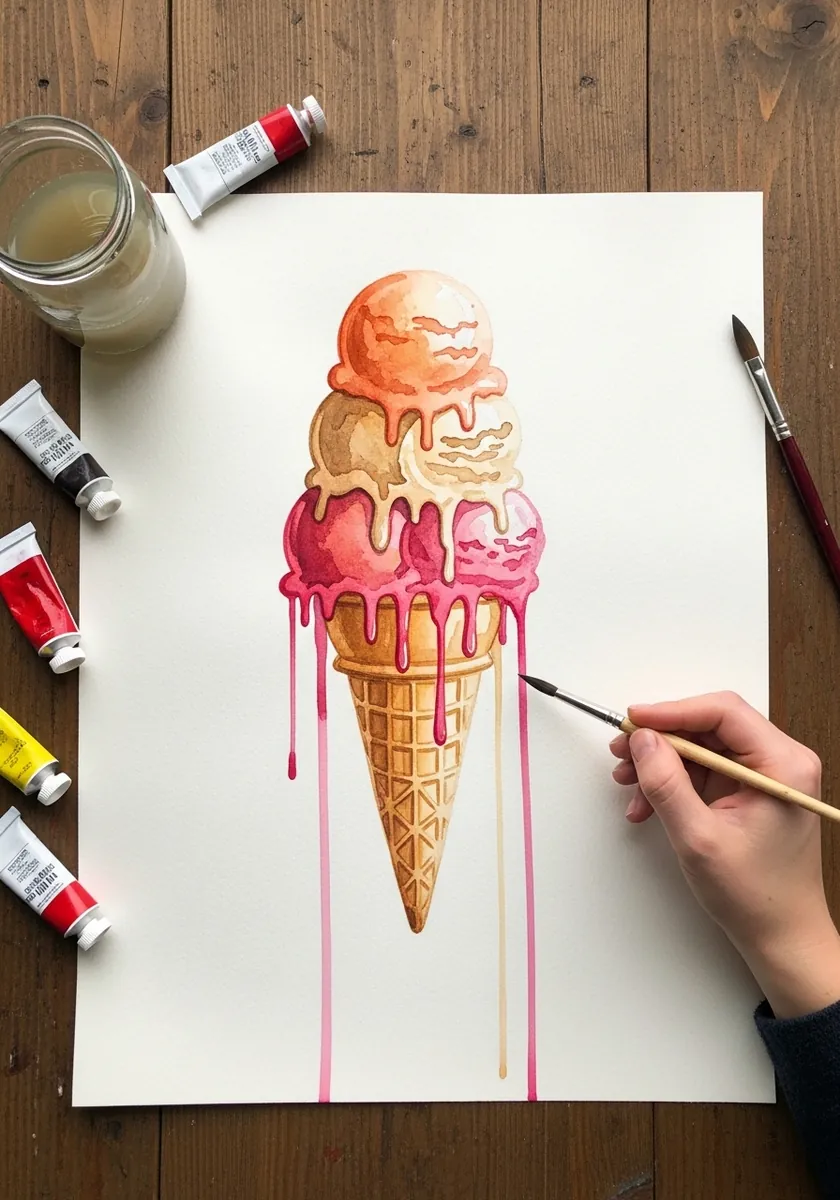
Long runs need to thin as they descend. Start each drip at full width where it leaves the scoop, then narrow it steadily, and finish with a bead noticeably wider than the trail above. That final swelling is what suggests weight gathering at the tip.
2. Graphite Soft Serve With a Puddle
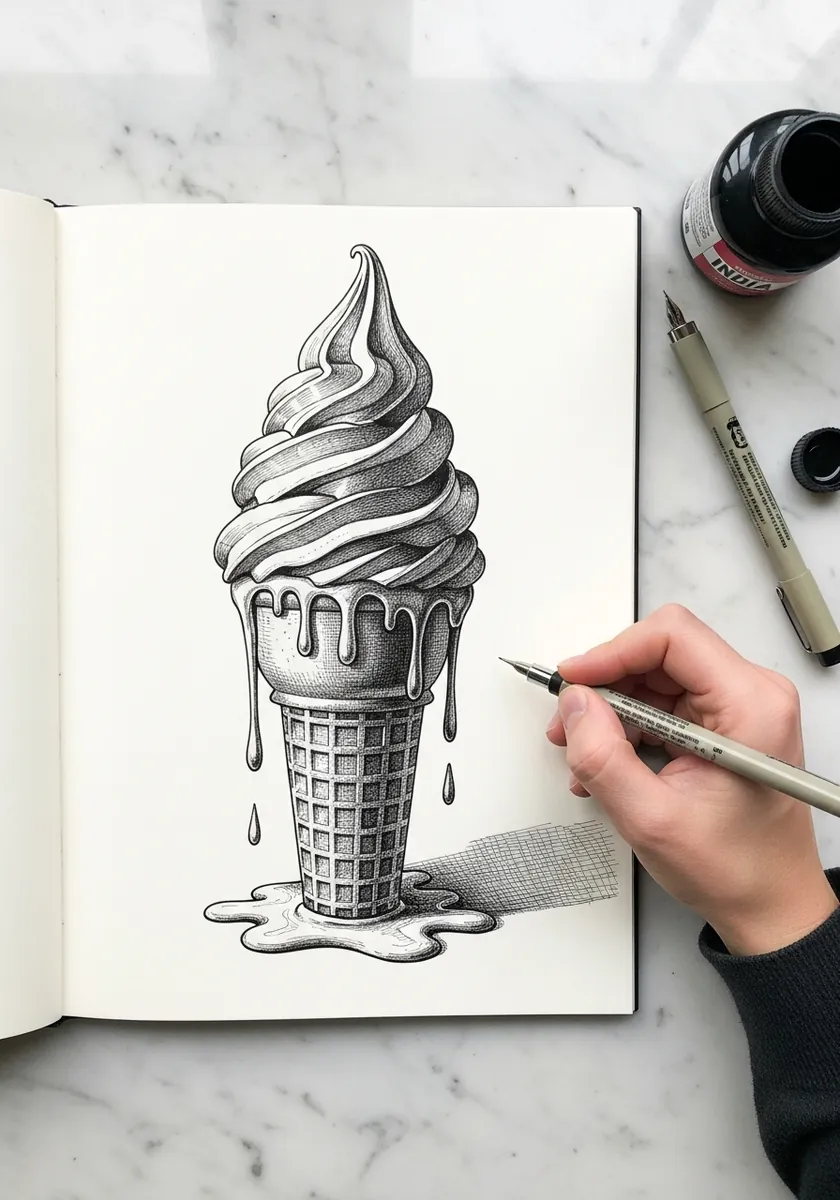
Puddles are drawn as ellipses seen in perspective, never as flat blobs. Keep the far edge tighter than the near one. Run a thin bright line along the rim where the surface catches light, and seat the cone in the puddle rather than perching it on top.
3. Mint Chip Scoops in Colored Pencil
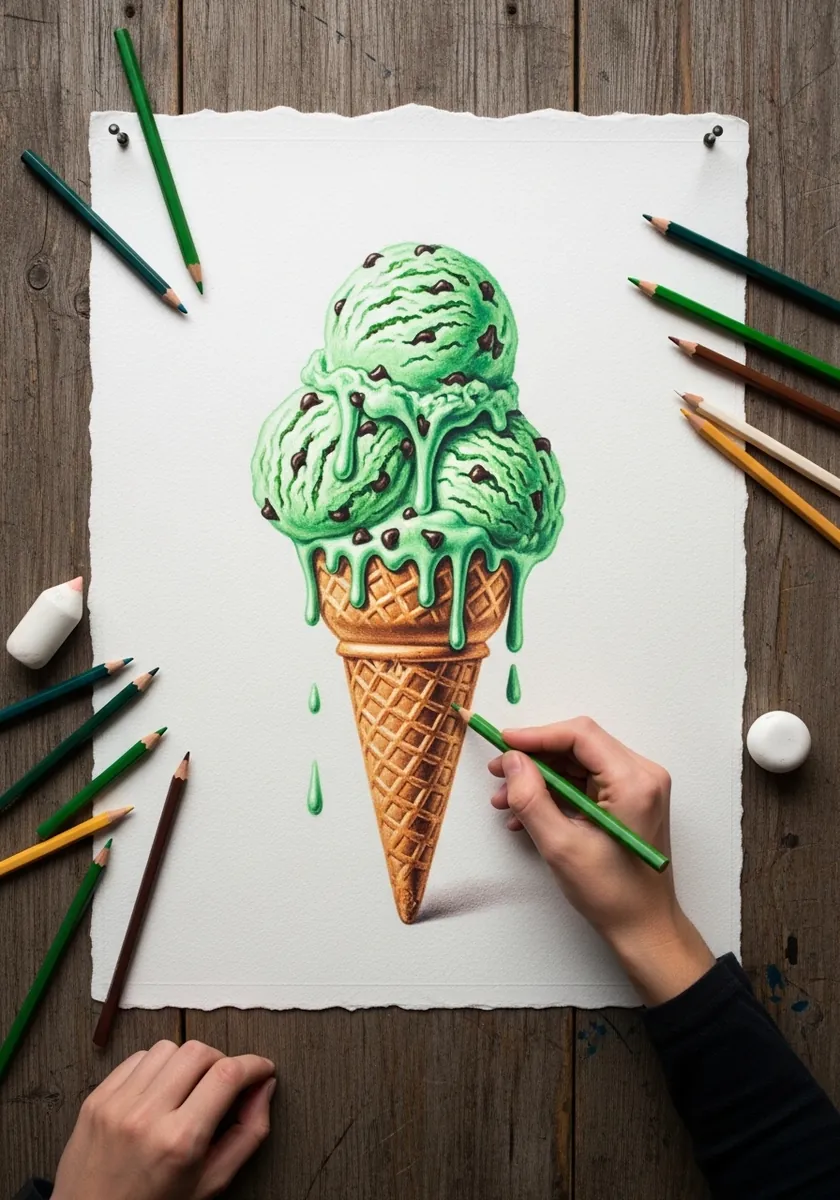
Chips have to follow the curve of the scoop, so scale them smaller toward the outer edges and let a few break the silhouette, which makes the surface read as textured rather than printed. Keep the green muted, since real mint ice cream is far paler than most people draw it.
4. Kawaii Scoops With Faces
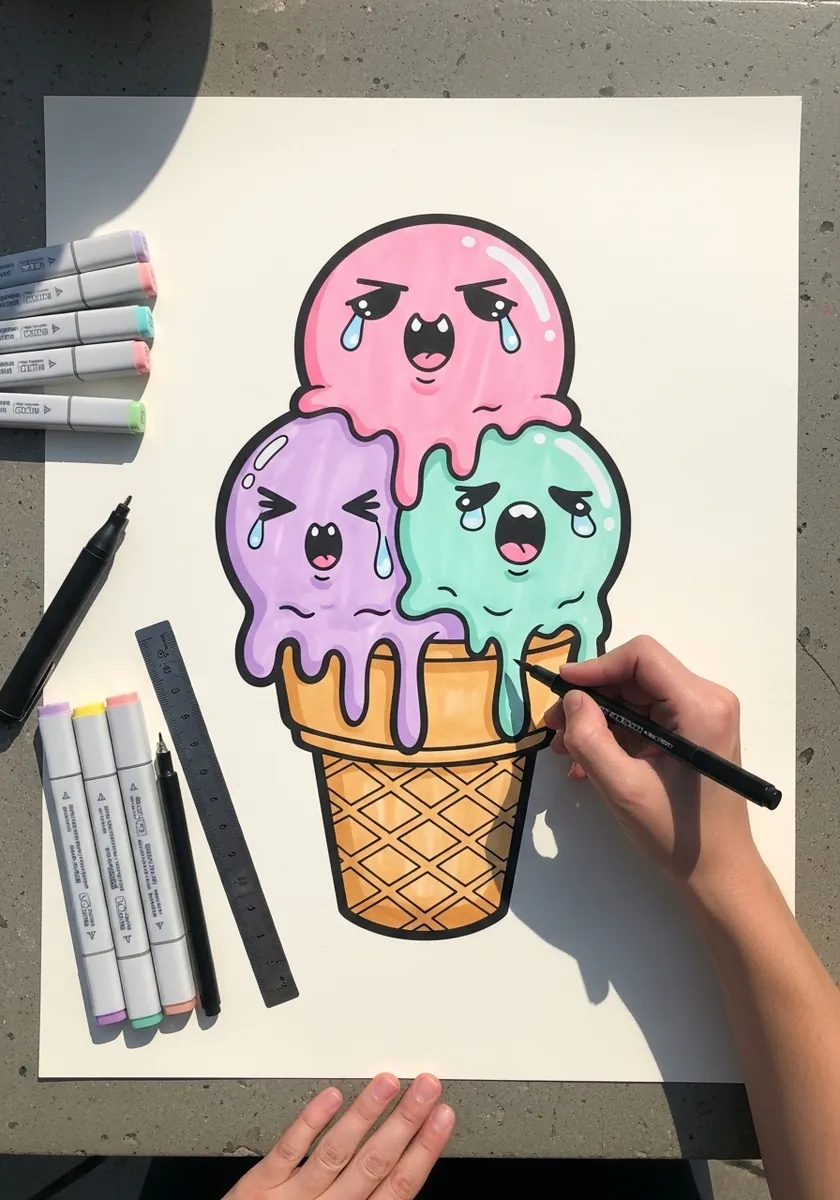
Faces on a stacked subject need consistent placement, so set every pair of eyes at the same relative height within its own scoop, keep the mouths small and add blush low and wide. Consistency across the set is what makes a group of characters feel designed.
5. Vanilla Scoop in White on Gray
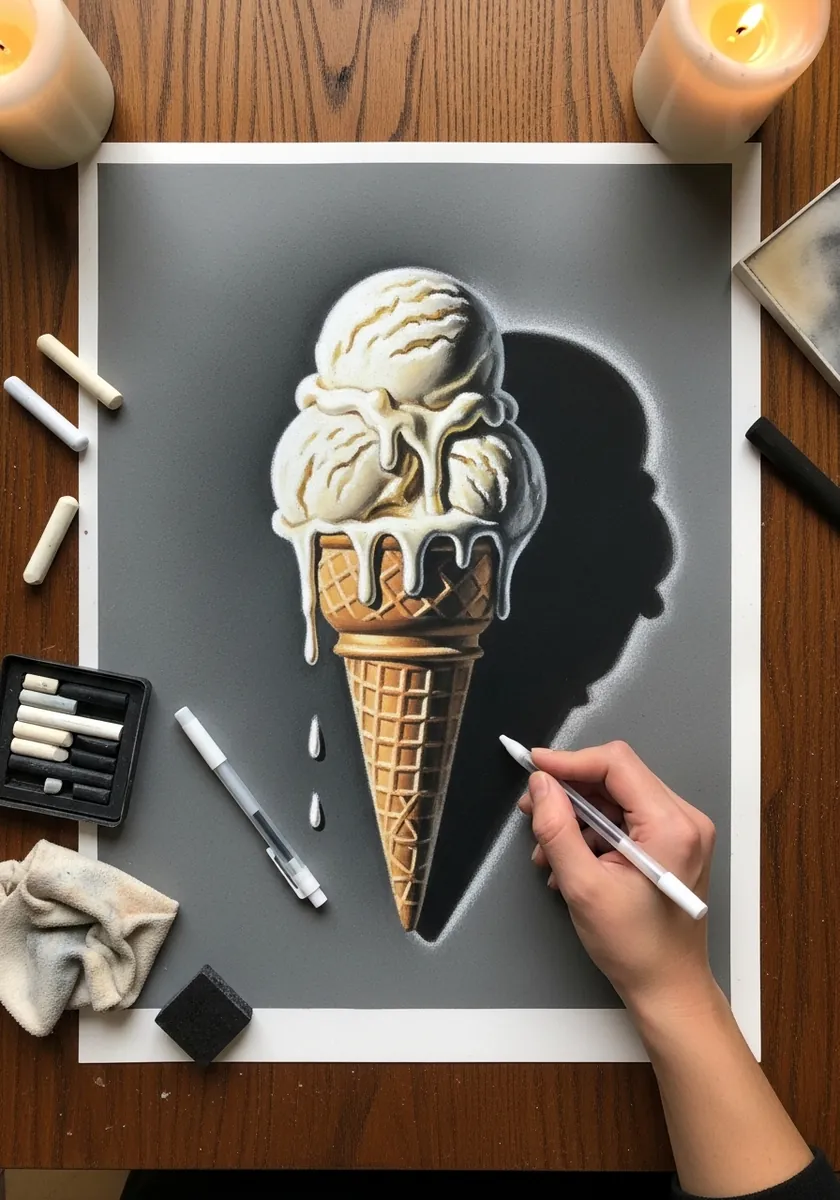
Working light on mid-tone paper means the shadow is already there. Add white only where the form turns toward the light, then push one hard cast shadow with a darker gray. The untouched paper carries everything in between, which is most of the drawing.
6. Rainbow Watercolor Soft Serve
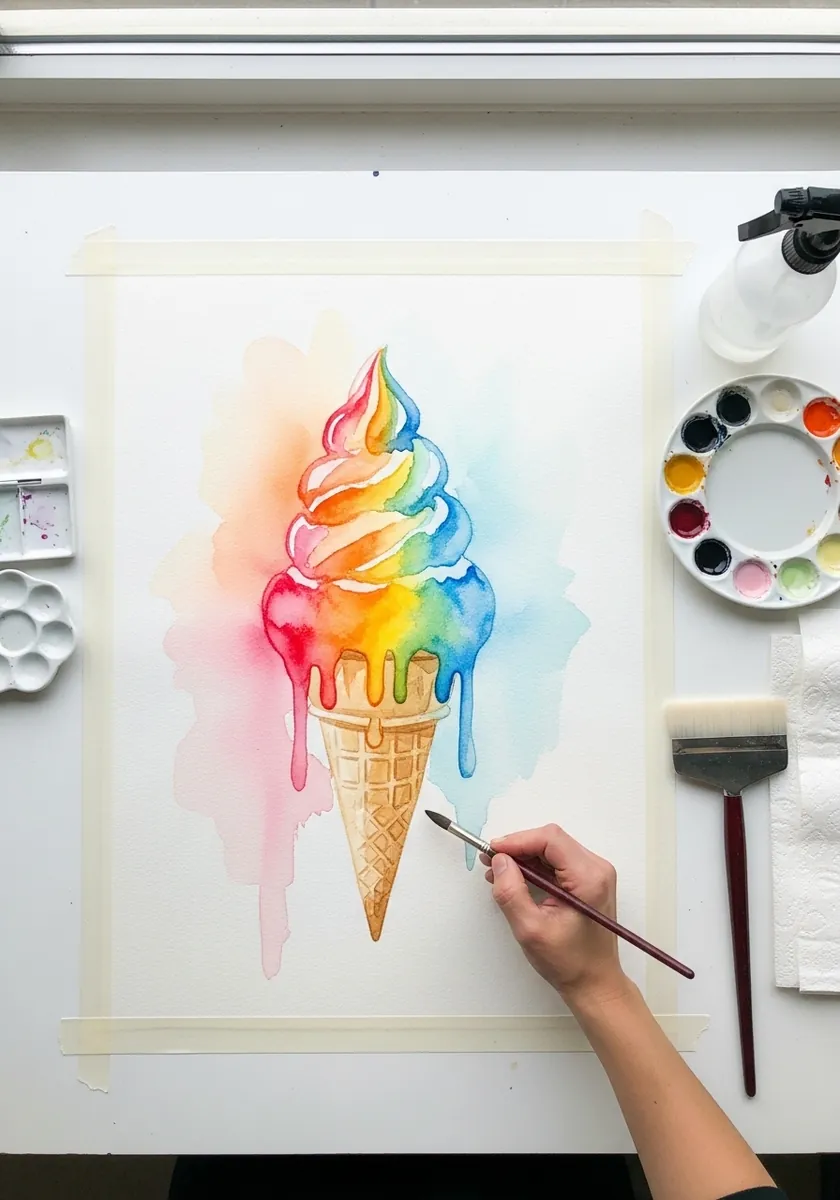
Letting hues merge on wet paper works if the sequence is right. Lay them in wheel order along the swirl. Each meeting then produces a clean intermediate rather than mud. Leave a dry gap at the very top so the highlight survives all that bleeding.
7. Graphite Cone in Deep Shadow
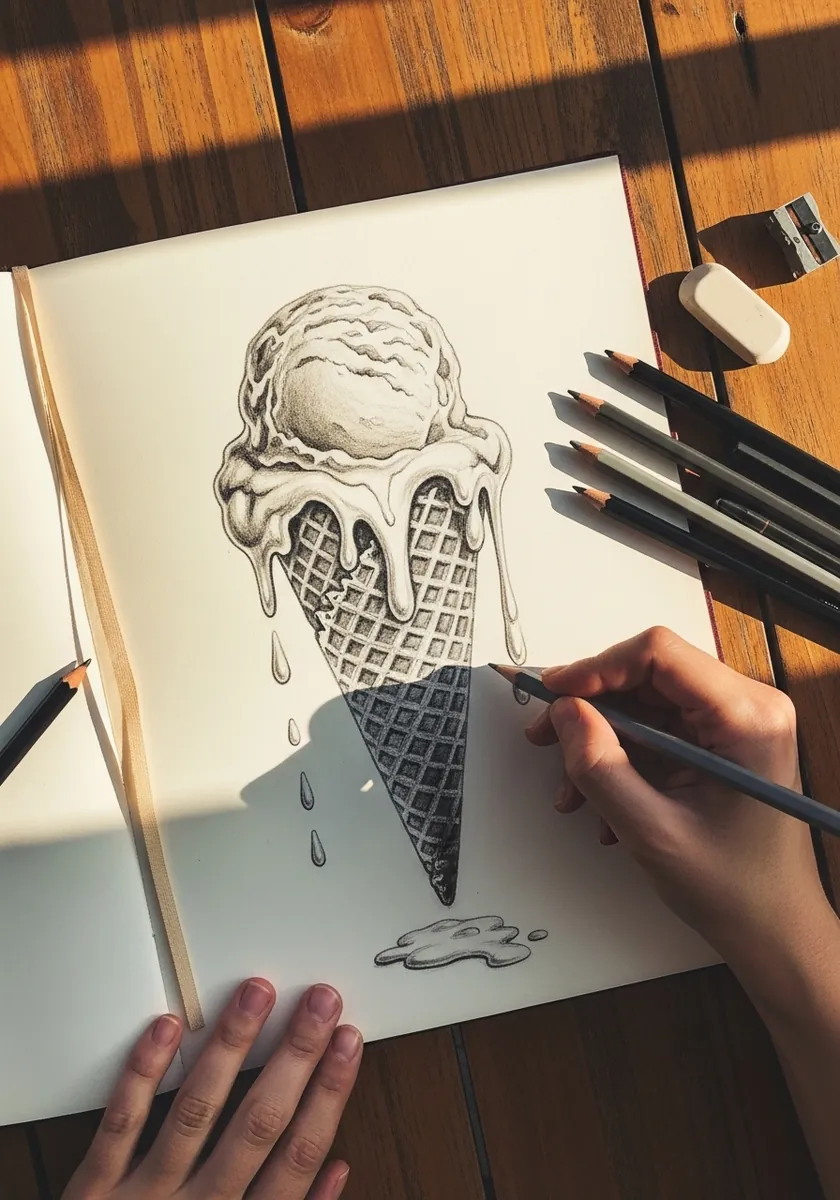
Letting part of a subject fall into darkness is a compositional choice. Render the scoop fully, then drop the lower cone almost to black with no detail at all. The eye fills in what it cannot see, and the contrast makes the lit half read brighter.
8. Comic Style Cone With Blue Outline
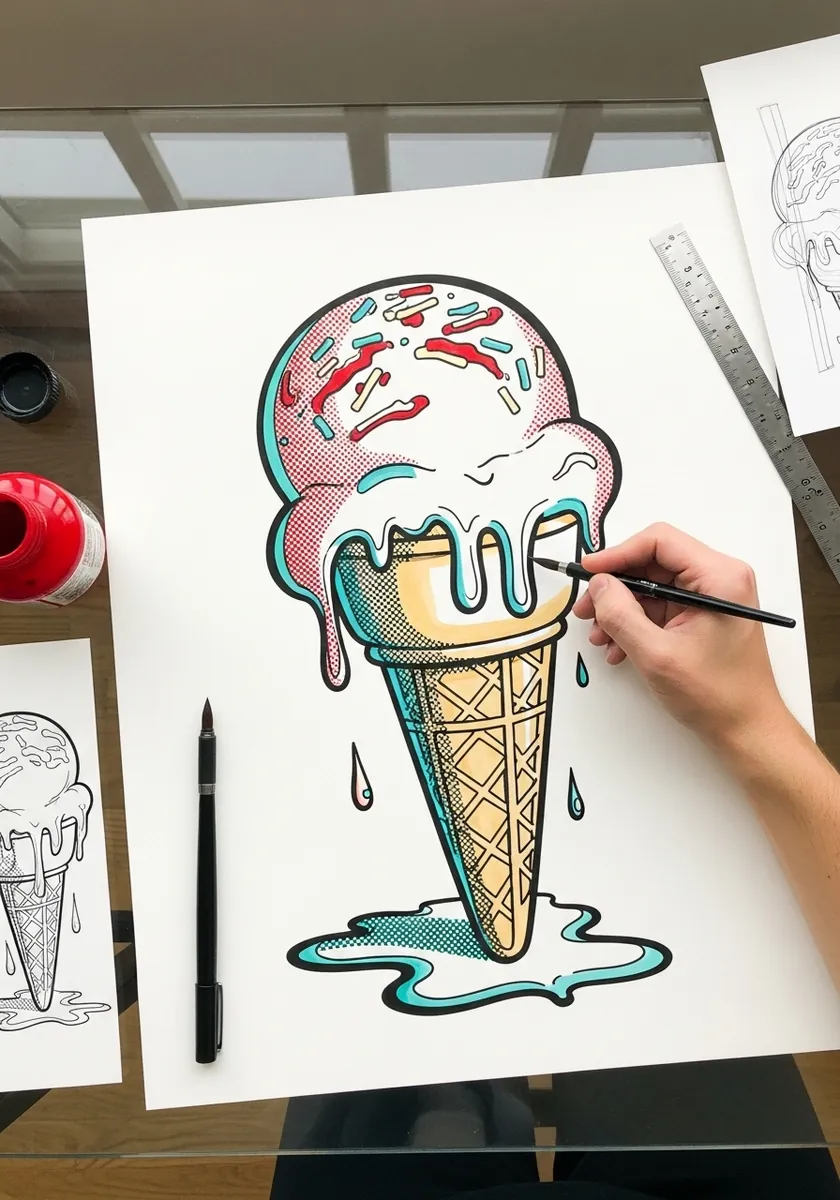
Colored outlines soften a cartoon without weakening it. Use one consistent line weight throughout in a saturated blue, fill everything flat, and skip shading entirely. Give the puddle beneath the same outline treatment so it clearly belongs to the same drawing.
9. Amber Ink Drips Into a Puddle
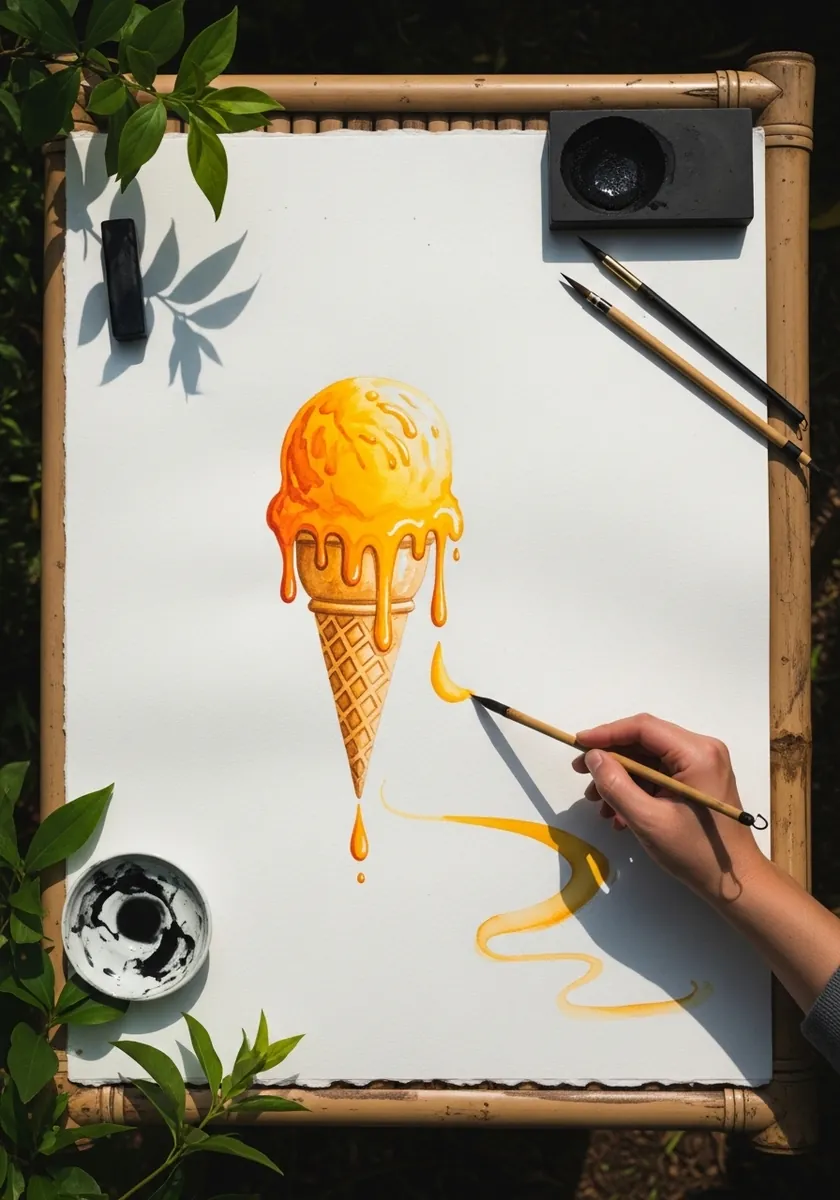
One color used at several dilutions can carry a whole piece. Keep the scoop at full strength, thin the ink as it runs, and let the puddle be the palest passage. That gradient in density does the same work that a second color would.
10. Ornamental Cone in Gold Line
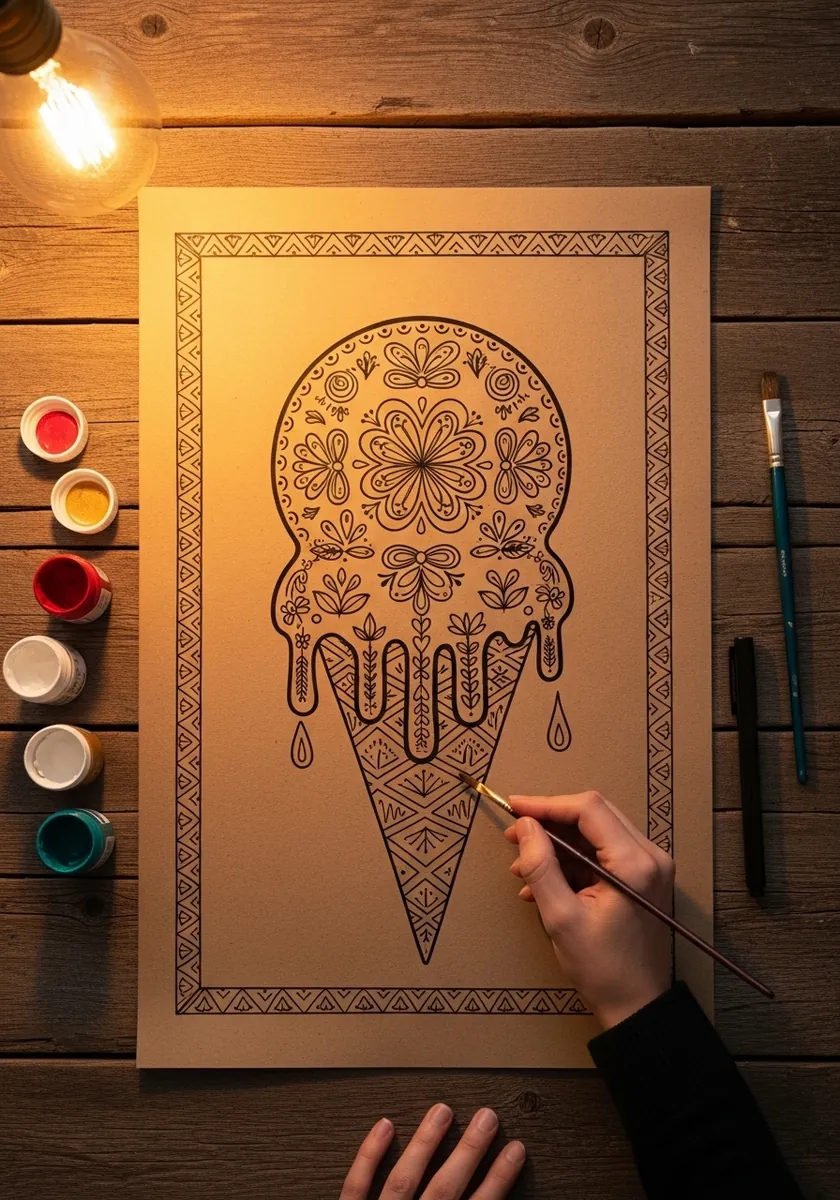
Filling a melting form with pattern needs the motifs to flow downward, so let each drip carry its own narrowing strand of ornament rather than stopping the pattern at the rim. This is the same logic used in mandala construction.
11. Technical Diagram of a Cone
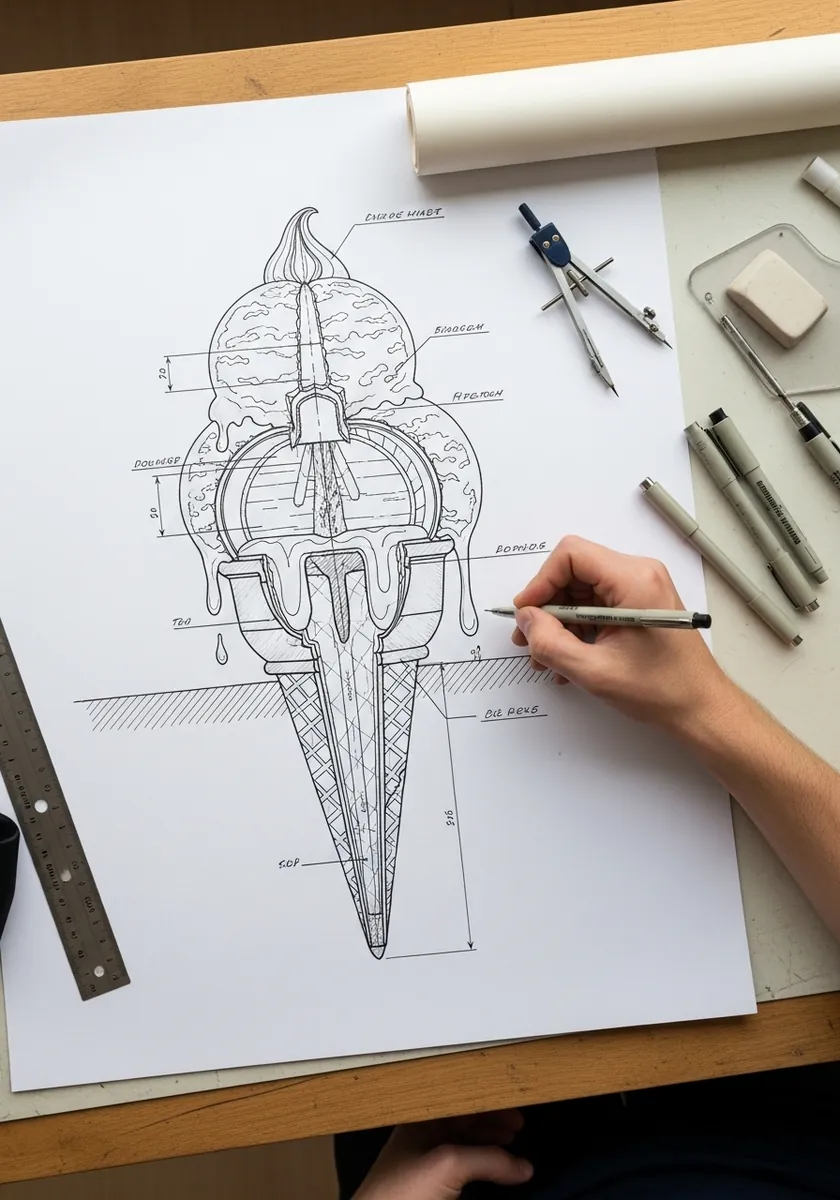
Diagram styling forces you to name the parts, which is a genuinely useful exercise. Label the scoop, the overhang, the drip neck and the lattice, then rule your leaders out to the margin at matching angles. Naming a structure makes you draw it better.
12. Pale Cone With a Palm Shadow
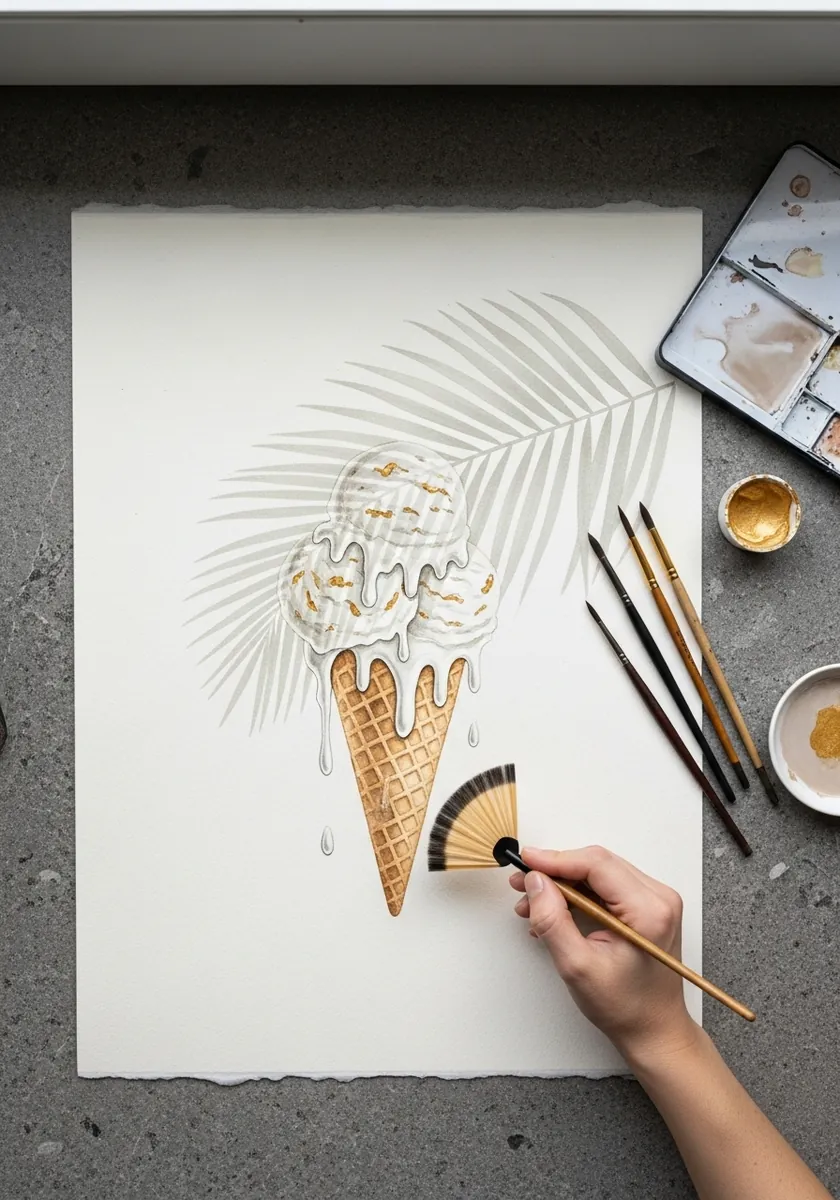
A cast shadow can be the entire subject. Keep the cone nearly colorless, then lay the palm frond shadow across the page in one cool gray wash. Shadows falling across a form should bend where the form curves, never run straight over it.
13. Graffiti Splatter Ice Cream
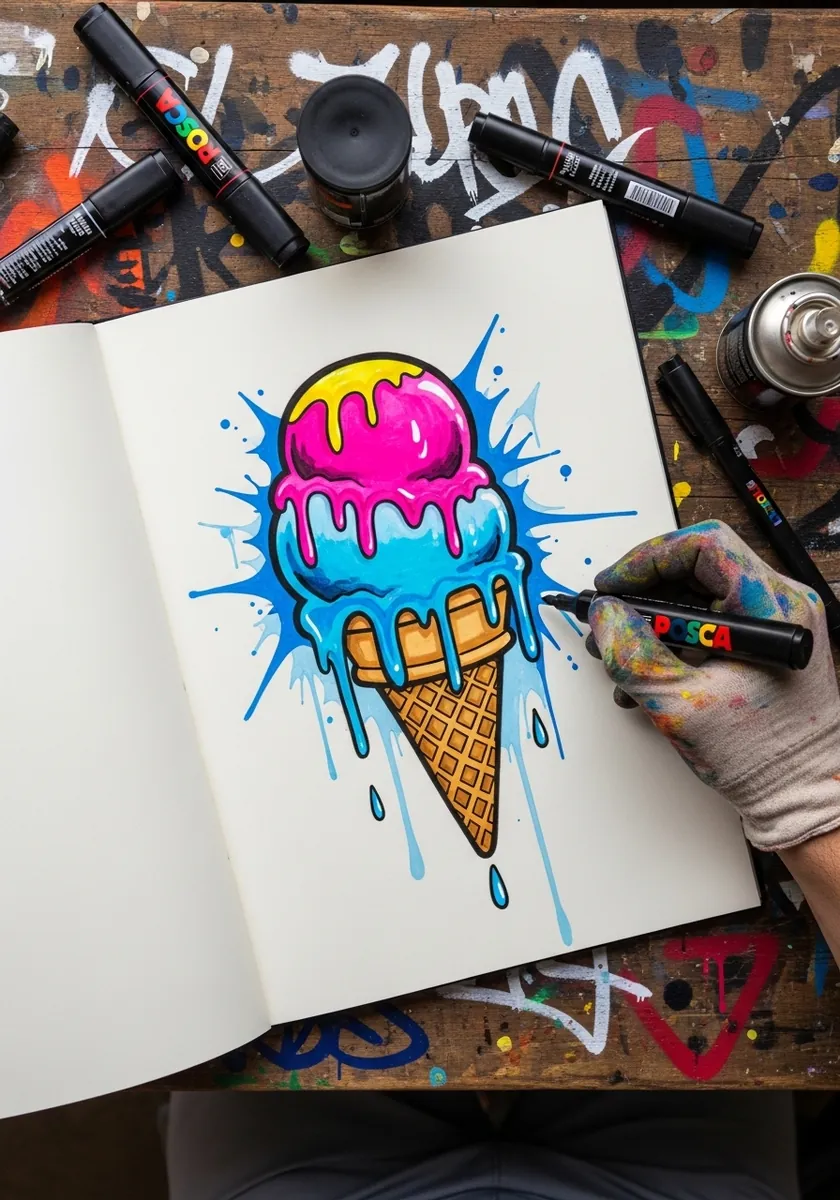
Street styling stacks its layers in a fixed order. Fill flat first. Outline heavy, add a bright keyline outside the black, then splatter last of all. Splatter applied underneath the outline simply disappears, which is why it always goes on top.
14. Art Nouveau Cone With Gold Border
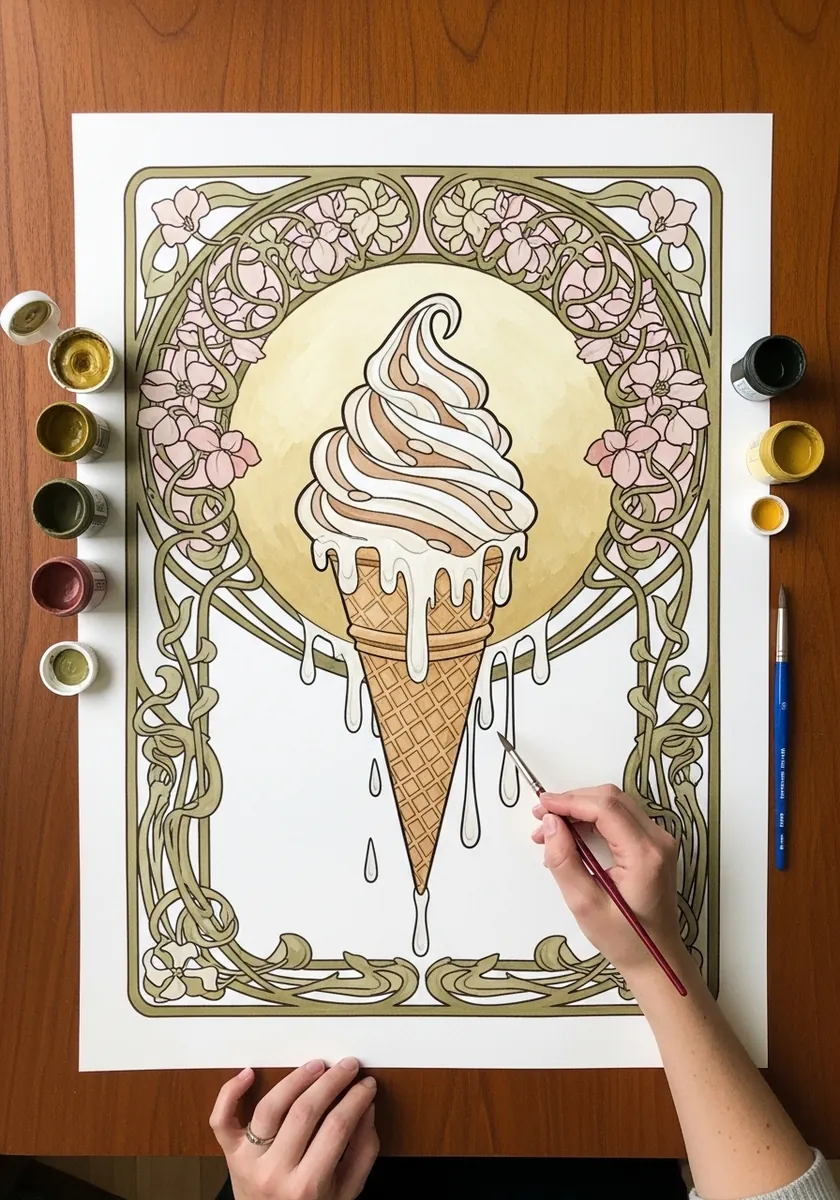
Nouveau borders use a line that swells and tapers rather than staying even. Draw the frame with a brush pen and vary the pressure through every curve, then keep the ice cream inside comparatively plain so the border stays the decorative element.
15. Impasto Sundae in a Glass
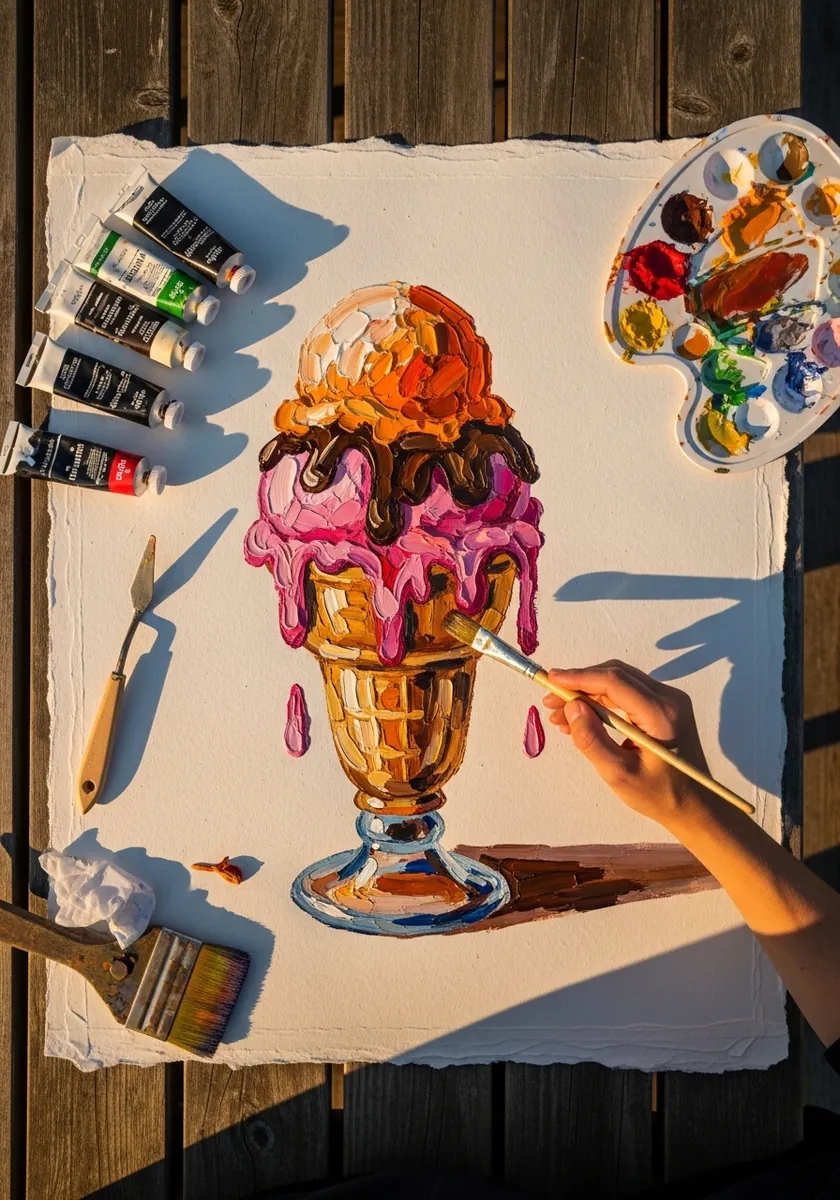
Thick paint models form through its own ridges. Load the brush heavily. Lay each scoop in one directional stroke and let the raised edges catch real light from the room. Glass beneath it should stay comparatively thin and smooth, so the two surfaces read differently.
16. Beach Horizon Watercolor Cone
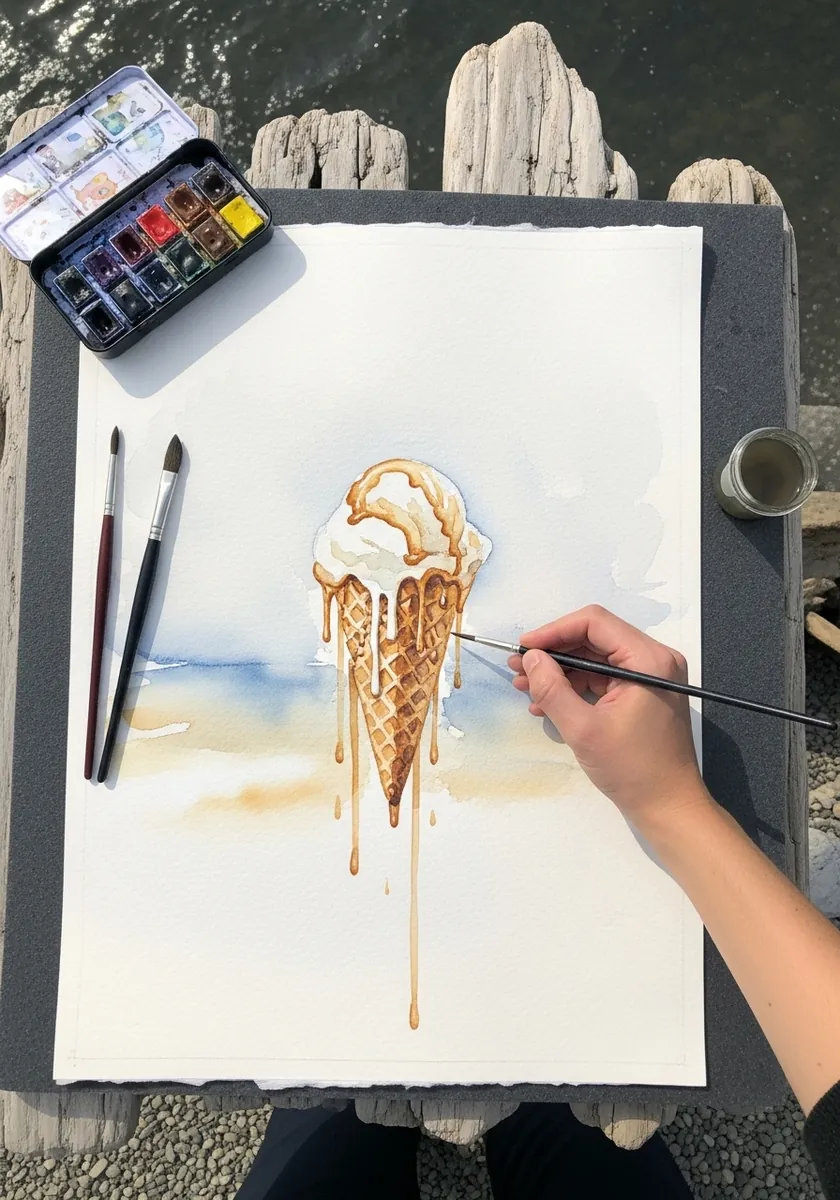
A horizon line placed low turns a small subject monumental. Keep the wash bands simple, sand below and sky above, and let the cone break the line where it crosses. Everything else stays understated so the drips remain the only genuinely detailed passage.
17. Neon Outline Cone on Black
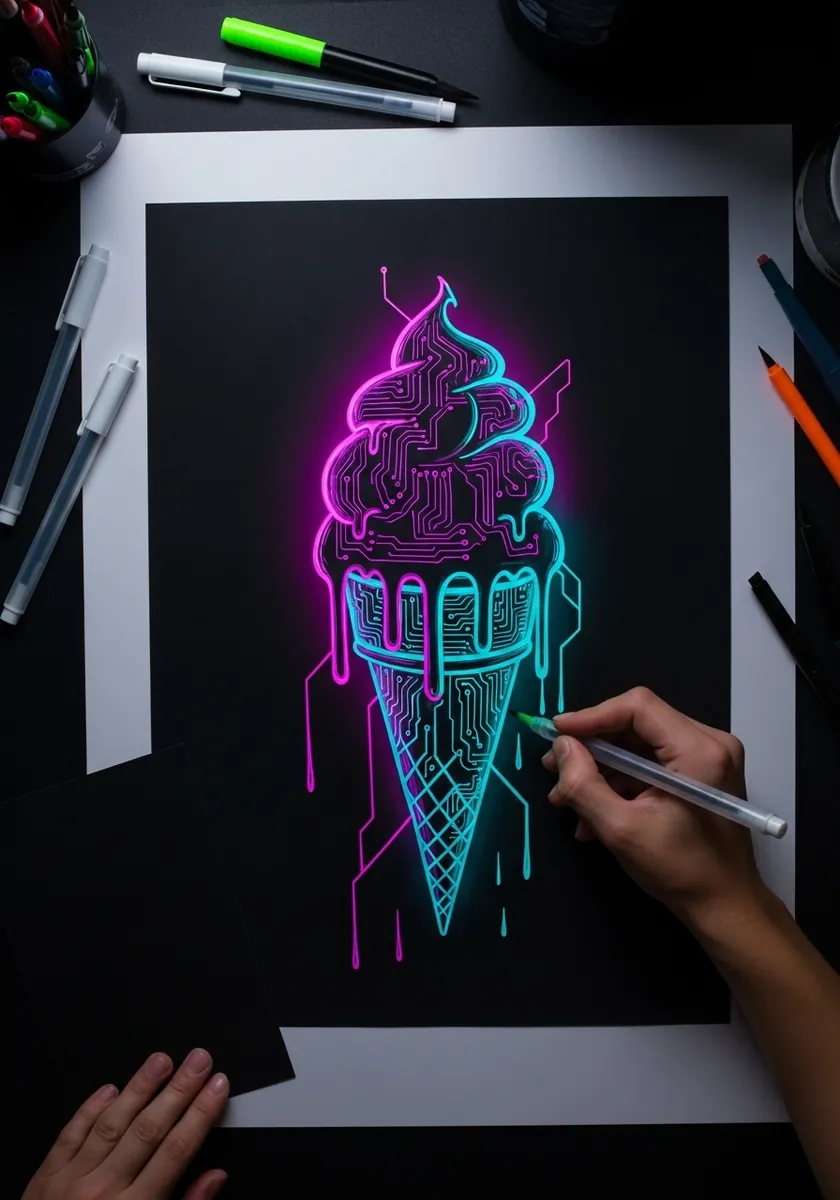
Neon needs a halo rather than more brightness. Draw the line at full saturation, then repeat it just outside in a heavily diluted version of the same hue. Without that second faint line the piece stays flat colored line on black.
18. Airbrushed Lilac Cone on Kraft
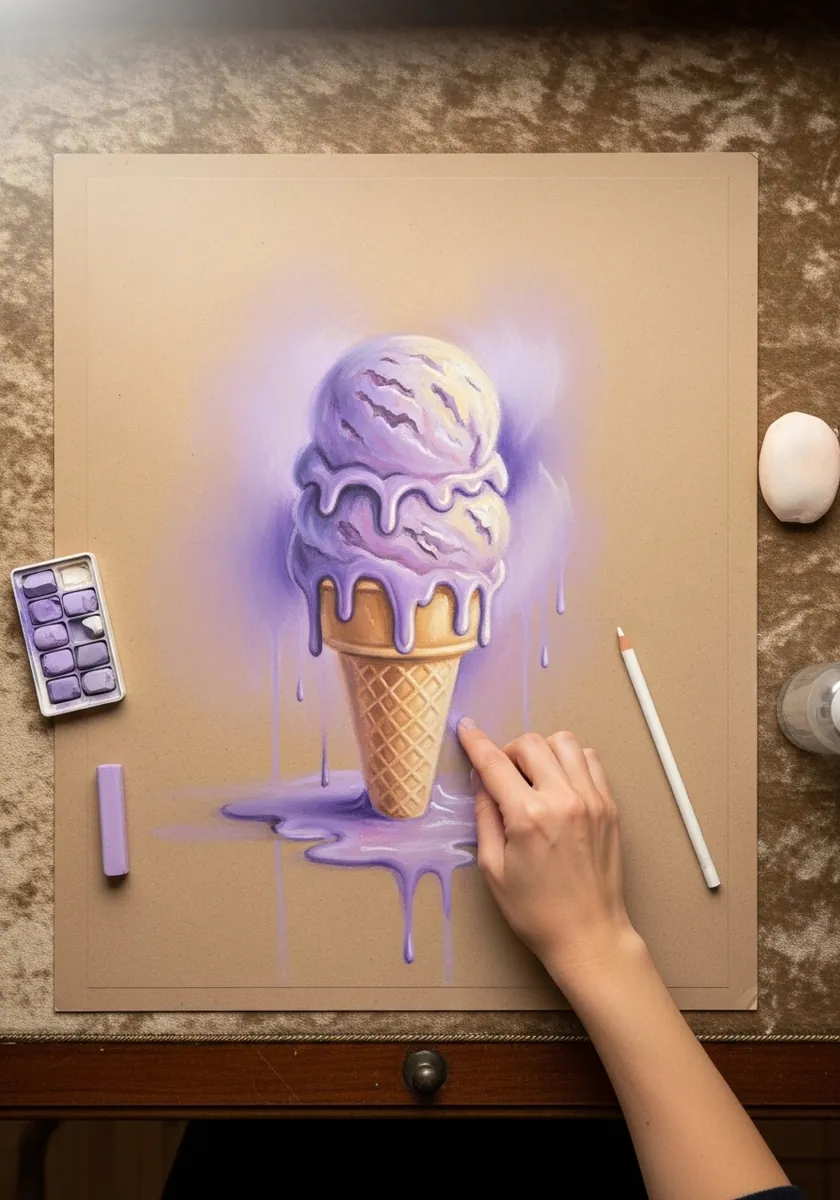
Airbrush works by building density in passes, never in one go. Keep the nozzle moving, stop well before you think it is enough, and mask the cone edge for a crisp boundary. Soft everywhere with no hard edge anywhere reads as unfinished.
19. Minimal Single Color Line Cone
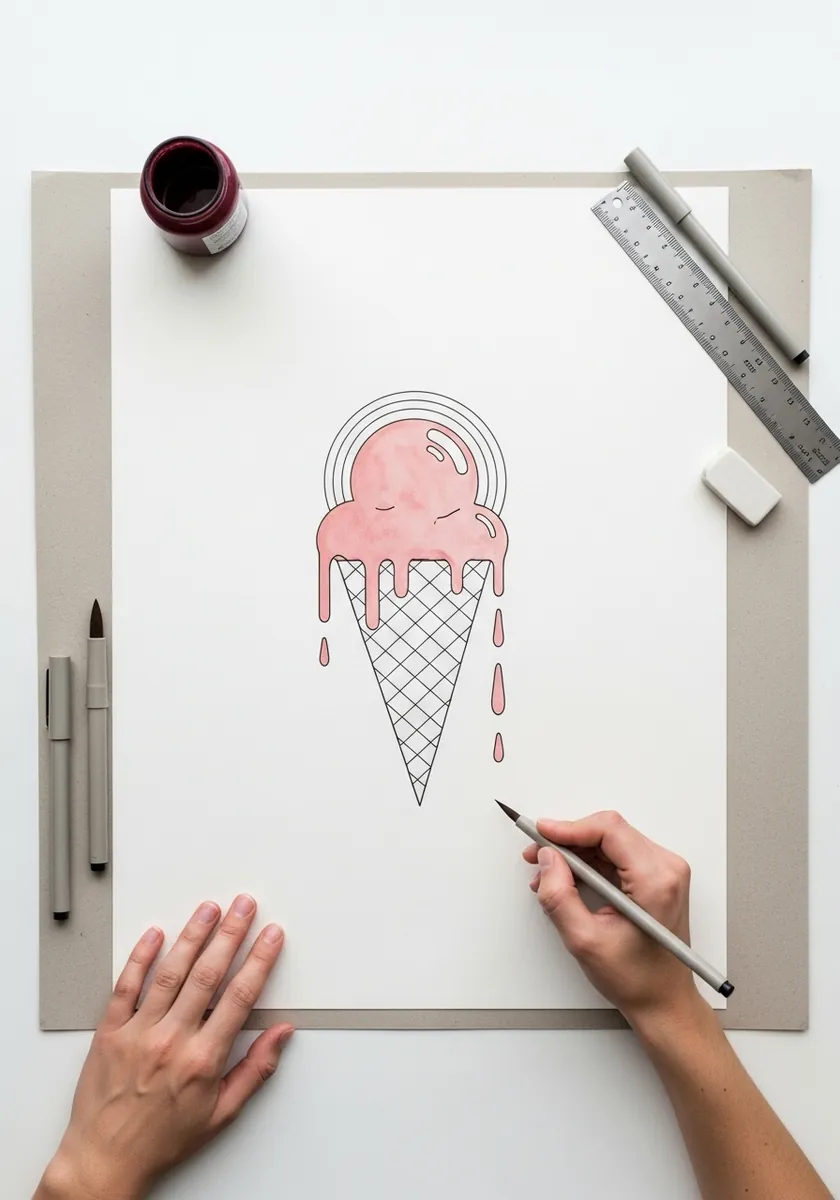
Extreme economy is a skill worth practicing deliberately. Give yourself perhaps twelve lines in total. Spend three of them on drips and leave everything else implied by the gaps. Working this sparely also tells you immediately whether your proportions are right, since nothing is left to hide a bad shape.
20. Engraved Cone in Fine Ink
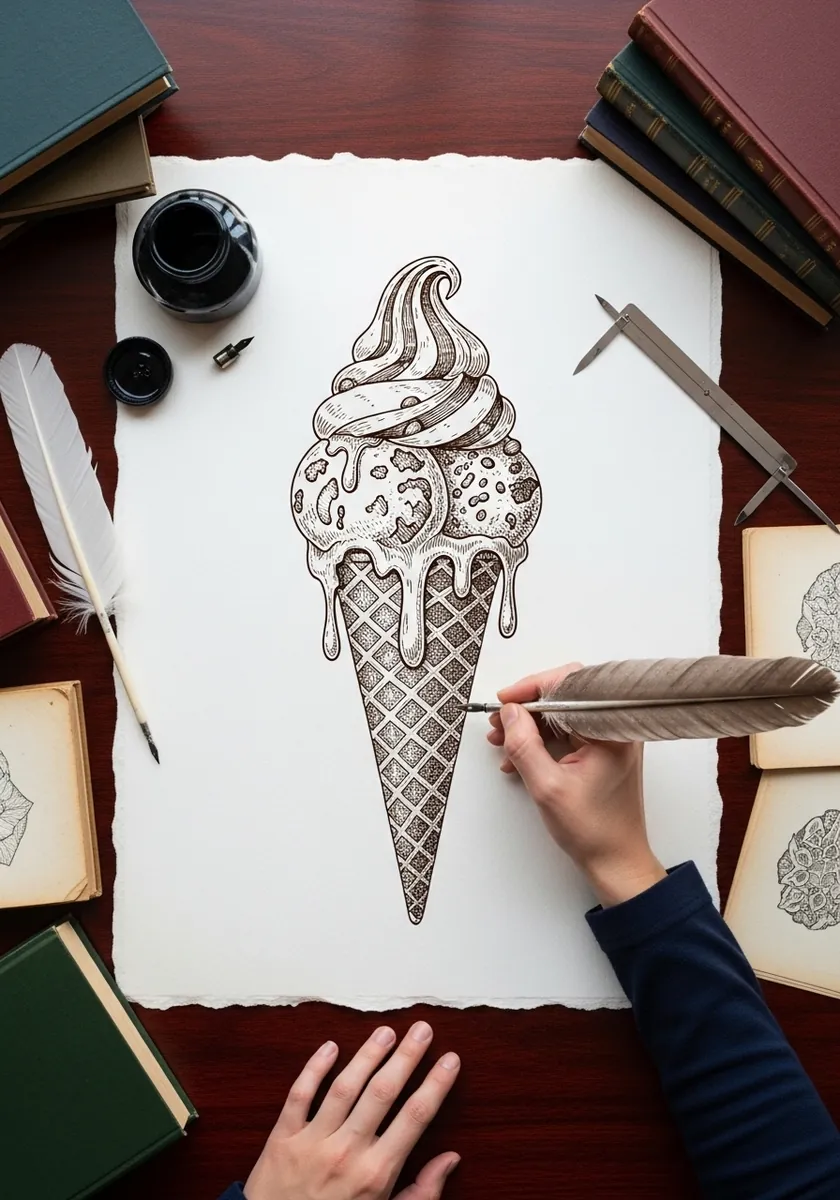
Engraving describes form with parallel lines that follow the surface, so curve your hatching around each scoop, run it lengthwise down the drips and cross-hatch only in the deepest shadow. Straight hatching laid across a round form flattens it instantly.
21. Palette Knife Ice Cream
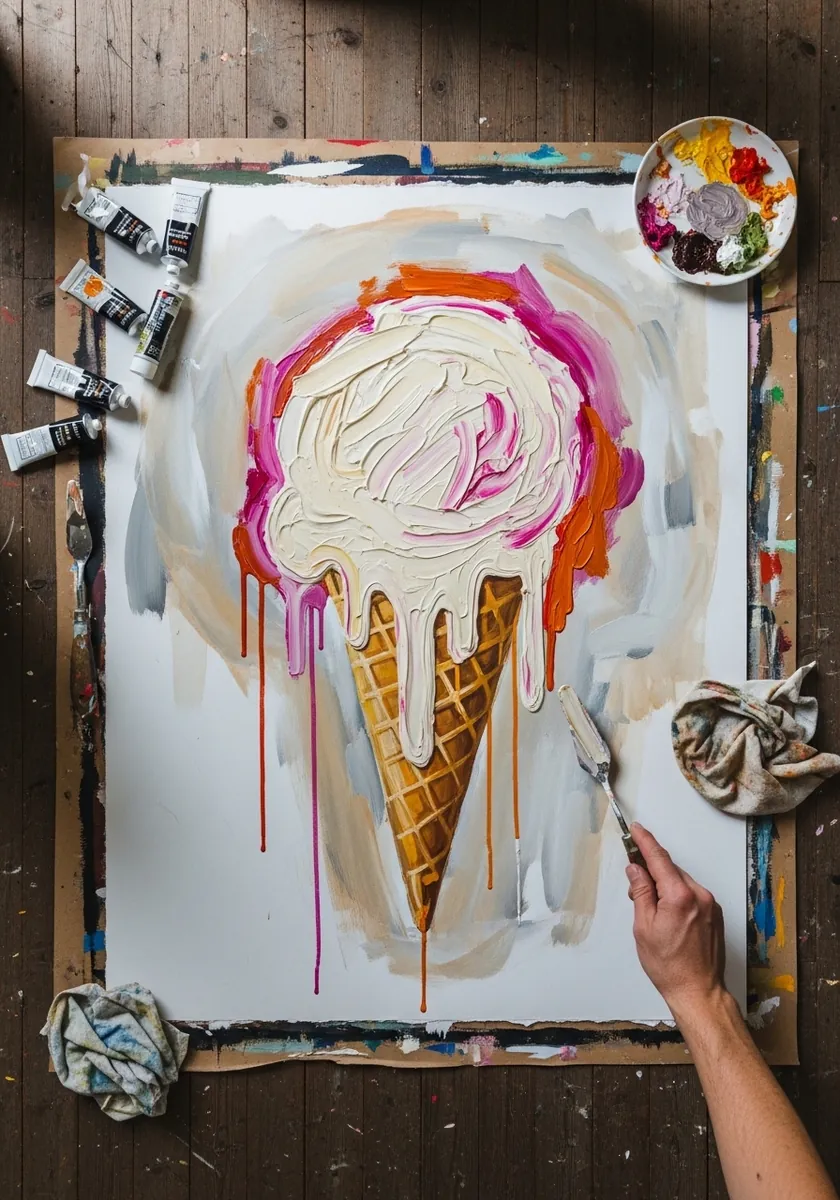
A knife cannot draw detail, which is precisely its value here. Build the scoop from three or four decisive slabs of color. Scrape once through them to suggest the swirl, then stop, because reworking knife paint turns those crisp ridges to mush.
22. Matcha Soft Serve in Gouache
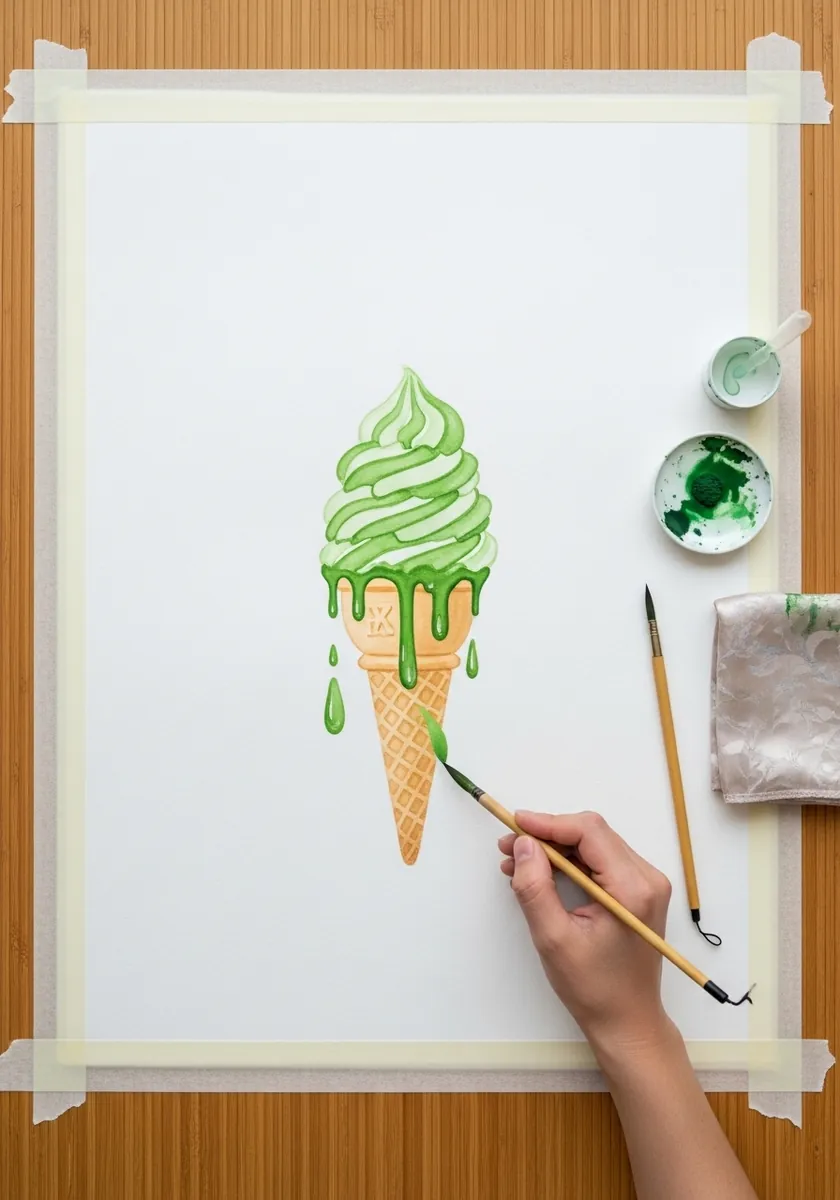
Taping the border gives you a clean white margin and a reason to be bold inside it, so paint right across the tape without hesitating anywhere. Gouache suits soft serve particularly well because it dries flat and even, matching the material’s matte surface.
23. Folk Pattern Cone on Red
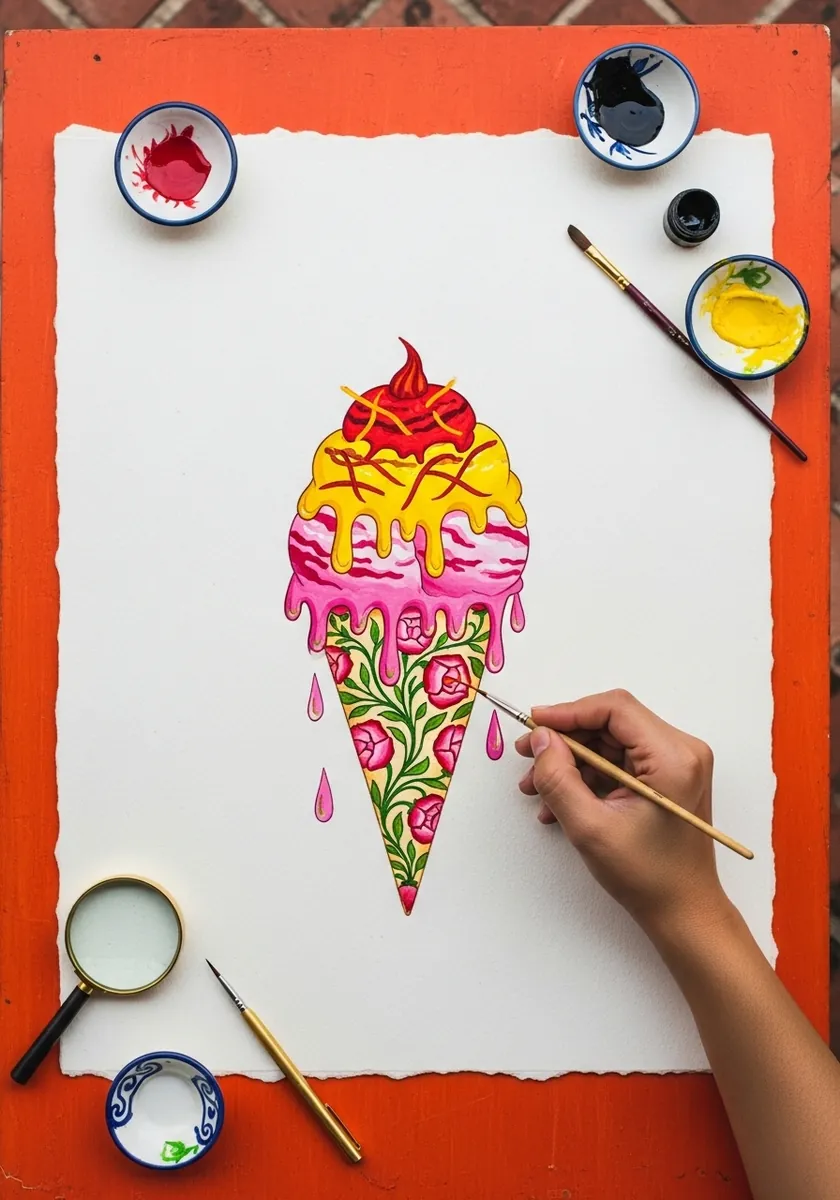
Saturated grounds change how every color behaves. Test your scoop hues against the red first. Anything close to it in value will vibrate uncomfortably. Folk patterning works here because flat motifs hold their own against a strong flat field of color.
24. Vaporwave Cone With Grid Sunset
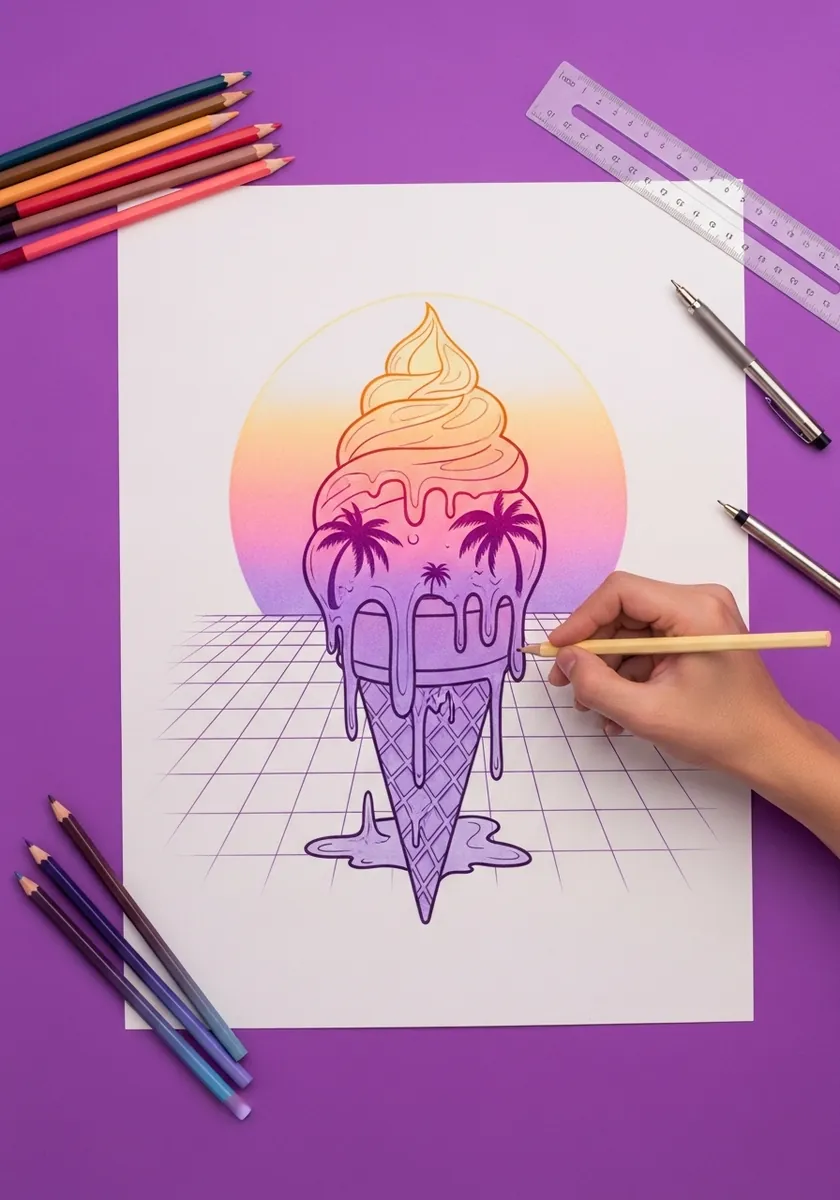
Retro grid work needs correct perspective to land. Converge every line on one point at the horizon. Space the horizontals progressively closer as they recede into the distance. A grid with evenly spaced rows reads as wallpaper rather than as receding ground.
25. White Cone Painted on Black
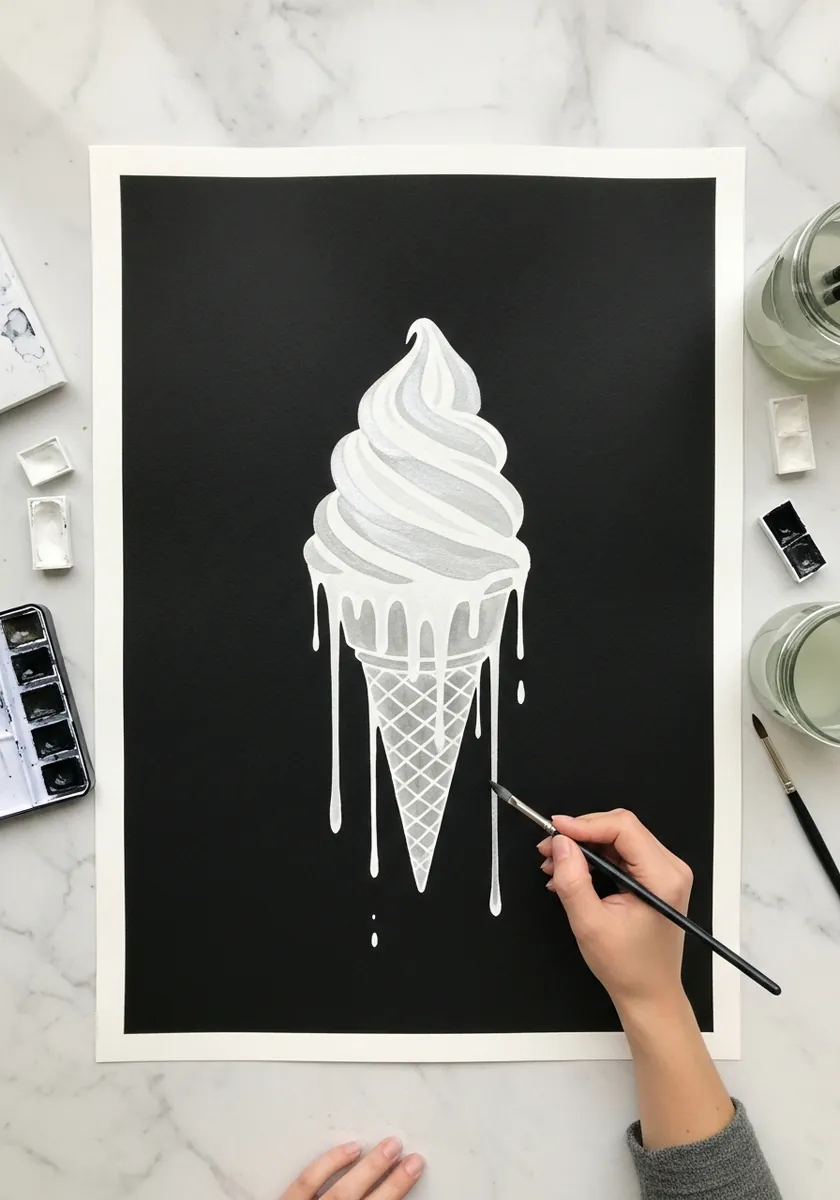
Opaque white on black is a lesson in restraint. Lay the brightest passages solid, then thin the paint to a gray for the turning edges, and stop well before the ground disappears. Whatever black survives is exactly what gives the white its brilliance.
26. Charcoal Cone With Scribbled Ground
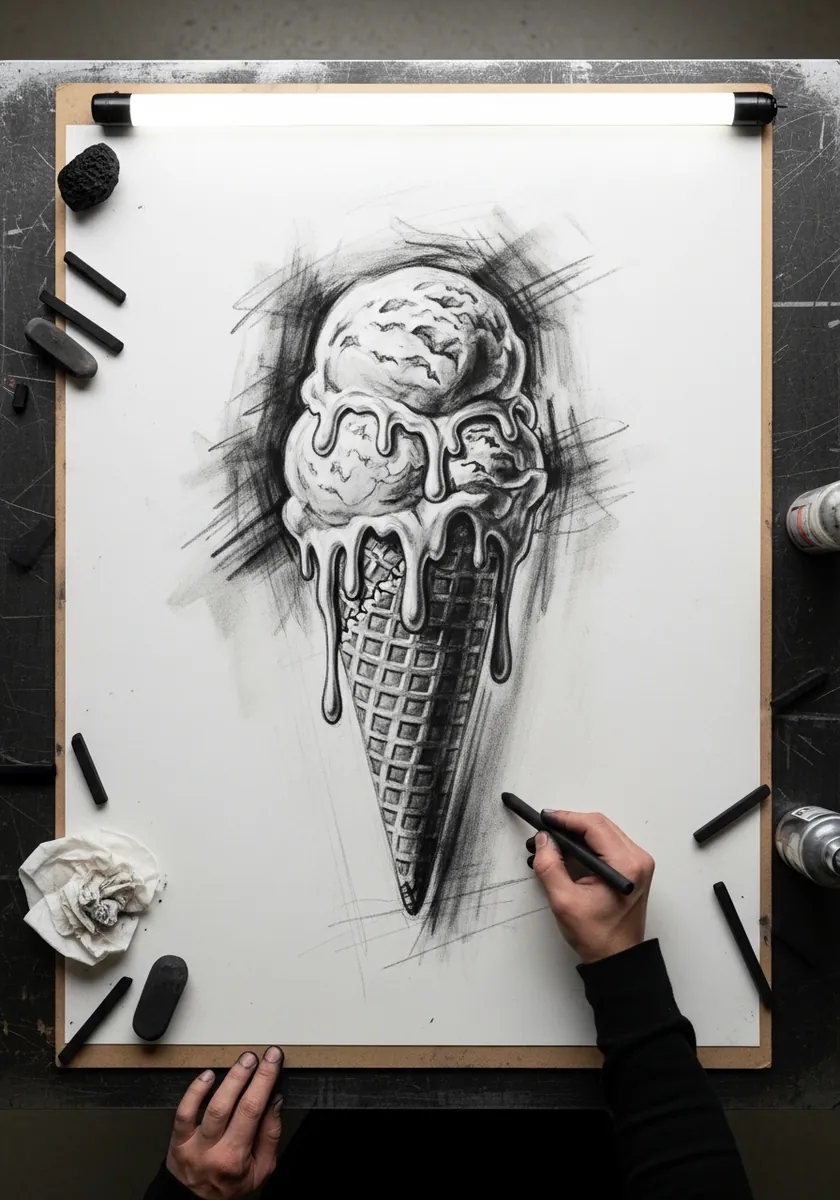
A scribbled background belongs to the drawing rather than sitting behind it, so work the marks in one consistent direction, let them touch the subject in a few places, and keep them densest immediately around the cone. Even scribble spread everywhere just becomes gray.
27. Strawberry Kawaii Cone on Floral Cloth
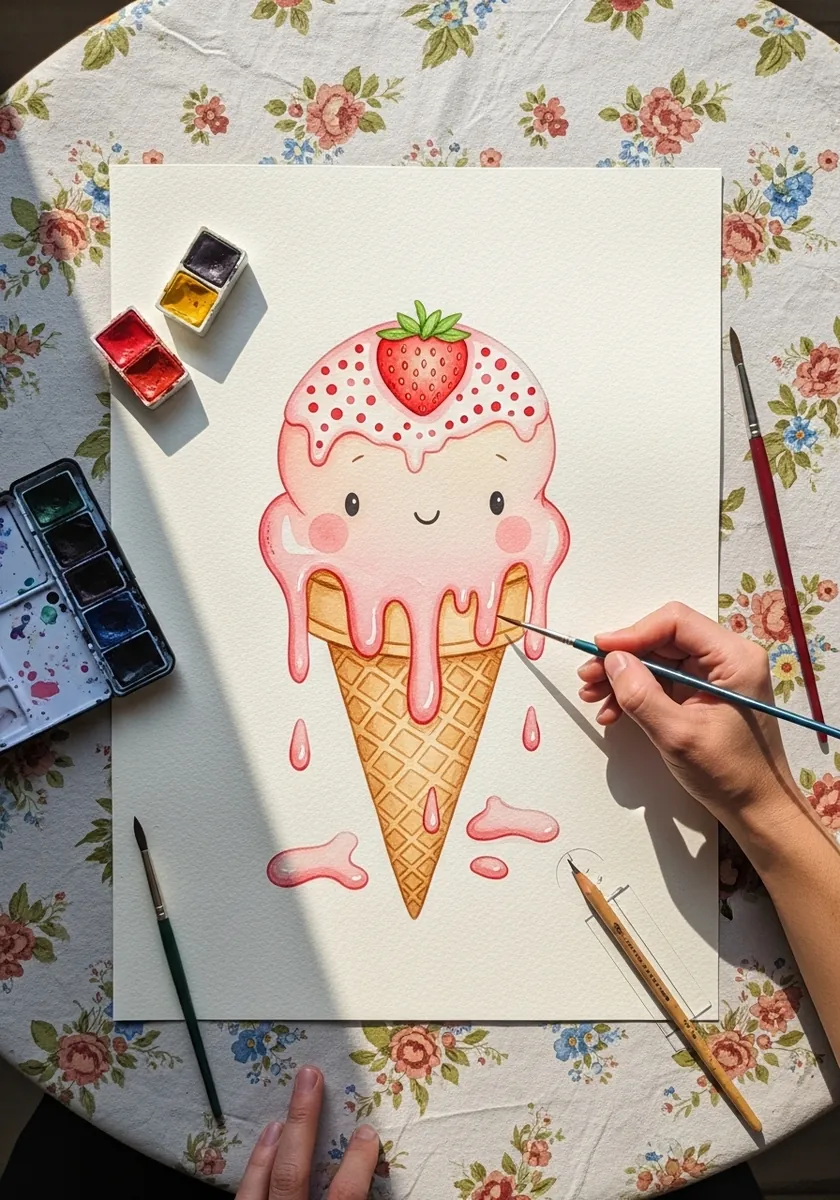
Photographing or painting on patterned cloth needs the subject to hold its own. Keep the ice cream in higher contrast than the fabric beneath, outline it clearly, and place the strawberry so it breaks the silhouette. Otherwise the pattern swallows it.
28. Cartoon Cone With Action Lines
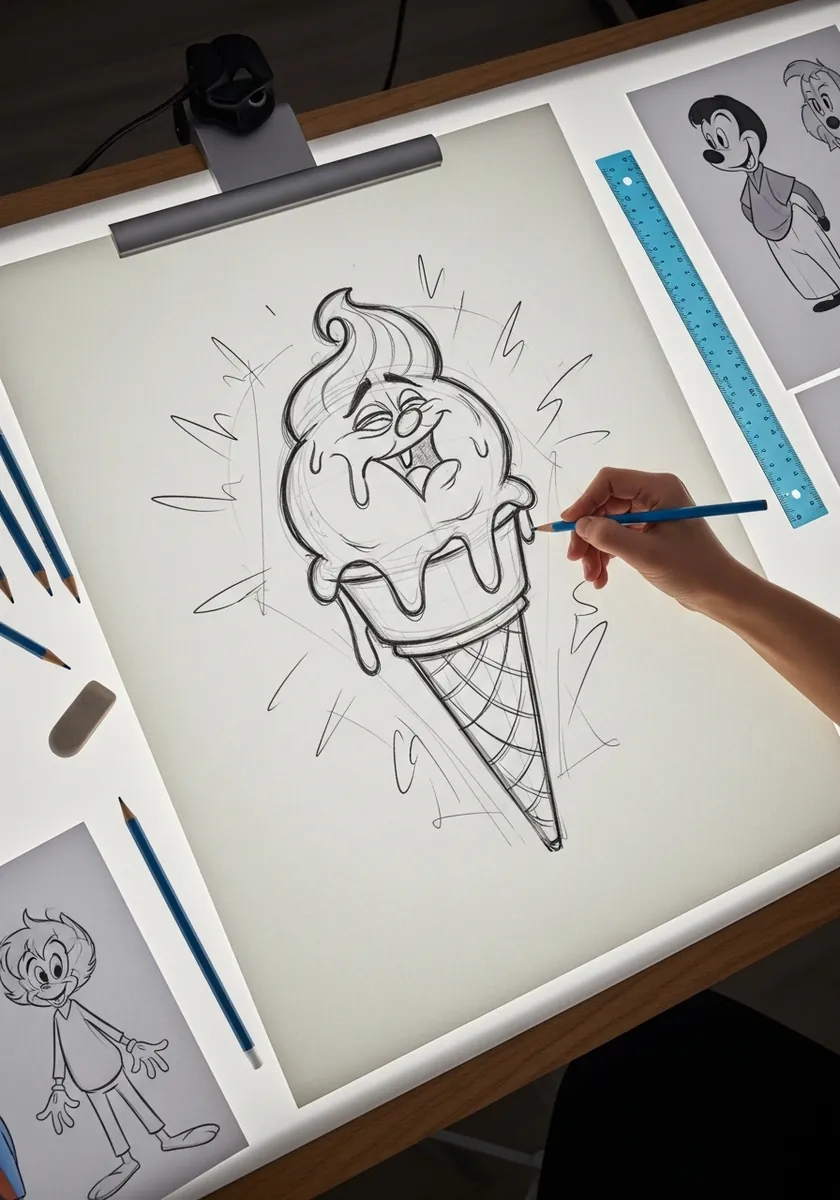
Radiating lines behind a subject should all originate from one hidden point. Rule them from behind the scoop, vary their lengths, and keep them well clear of the outline. Lines touching the character make the drawing look crowded rather than energetic.
29. Teal Scoops on a Dark Wash
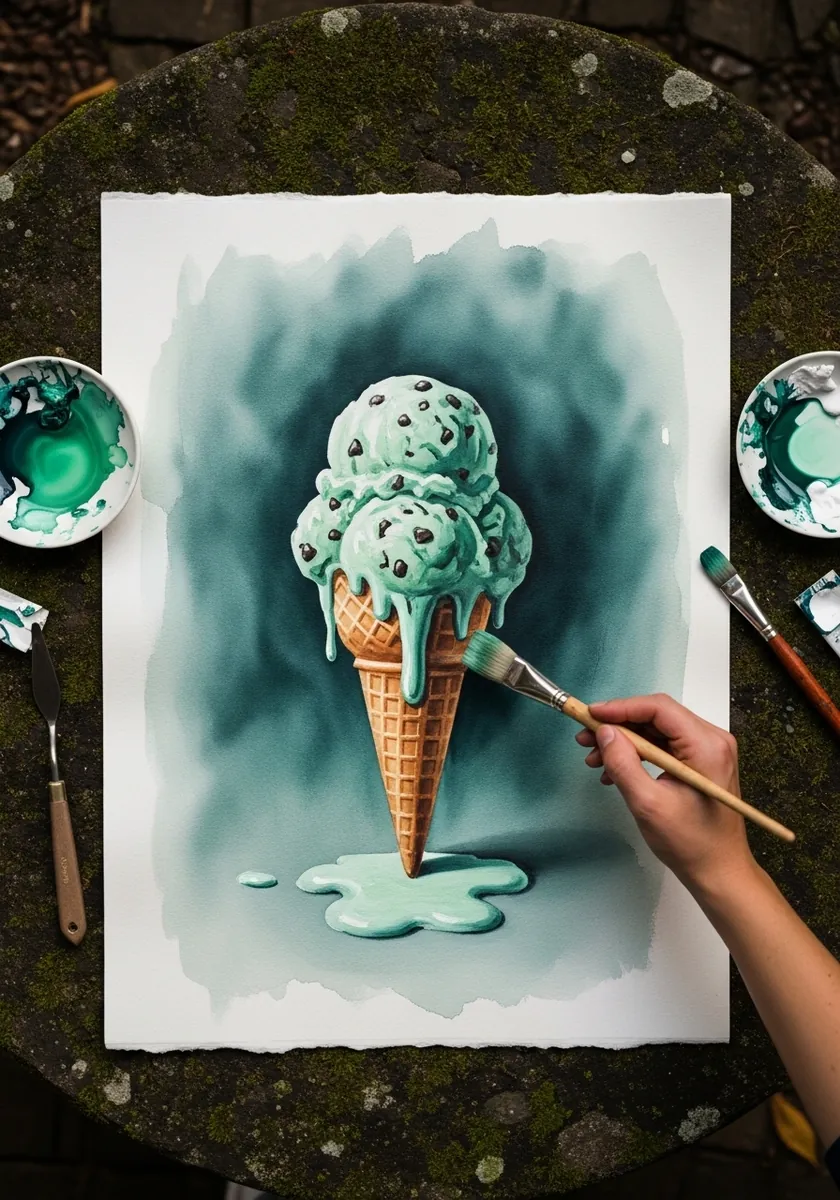
Painting a light subject against a dark wash means working around it, so lay the background right up to the scoop edge in one continuous pass, keeping the brush moving so no bloom forms anywhere. Reserved paper always stays cleaner than a lifted highlight.
30. Ink and Wash Caramel Cone
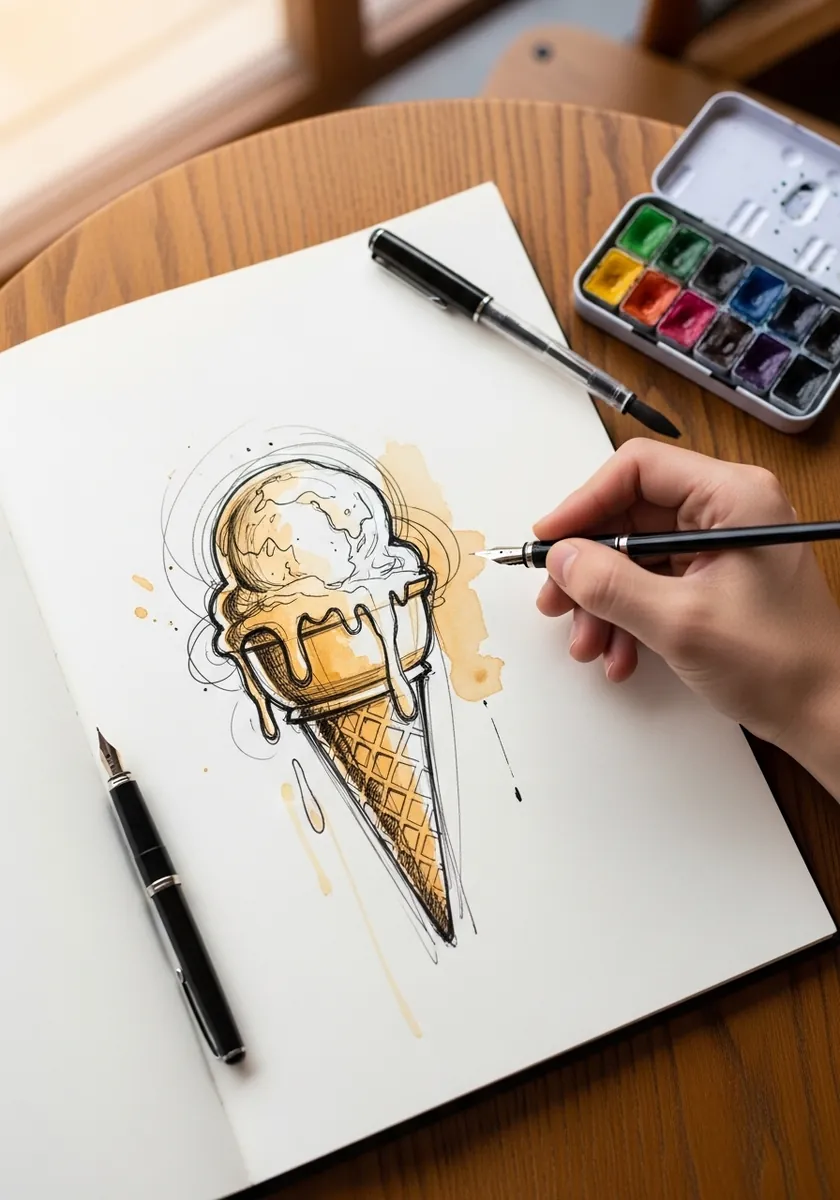
Line first, then wash, and let the two disagree slightly. Draw the cone confidently in ink. Float the caramel wash a little outside those lines in places rather than filling them neatly. That deliberate misregistration is exactly what gives sketchbook work its looseness.
31. Large Scale Red Drip Painting
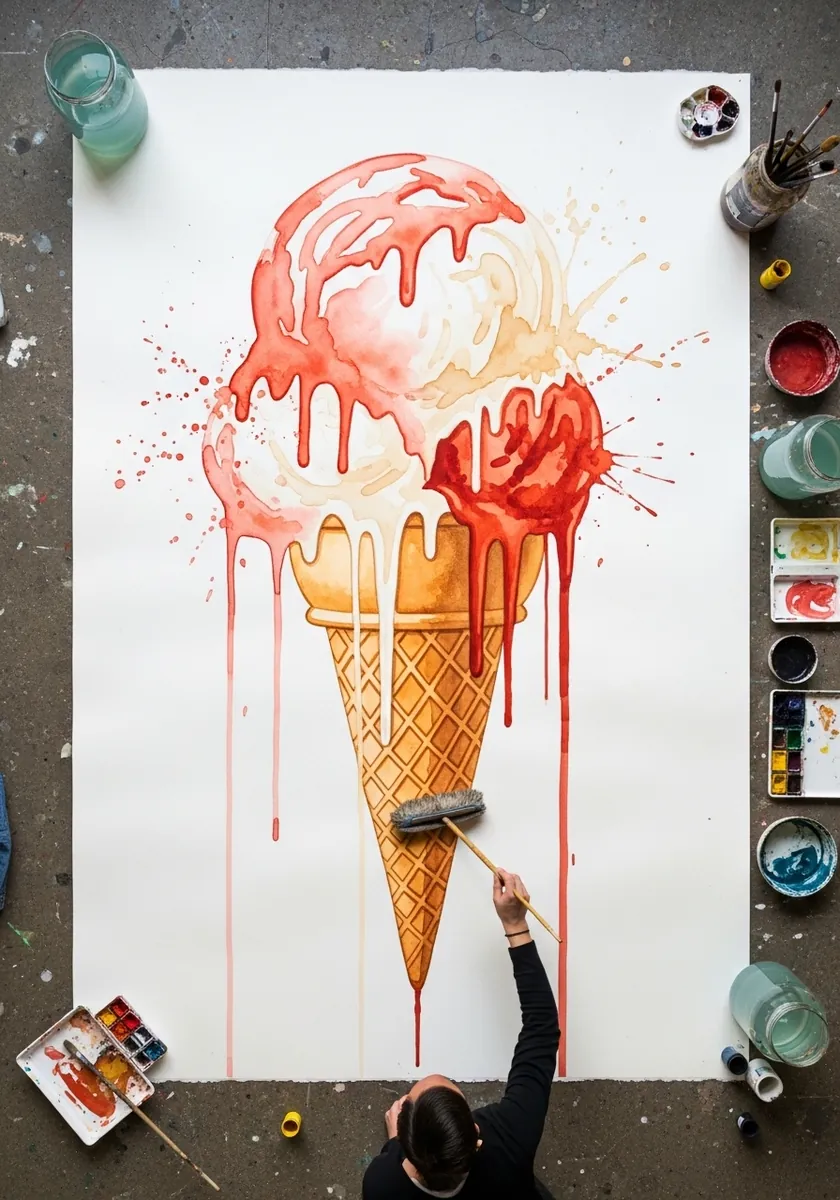
At large scale you can let real gravity do the work. Paint the scoop thin and wet, stand the paper upright, and allow the pigment to run genuinely rather than drawing each drip. Catch the runs with a dry brush when they reach the length you want.
Frequently Asked Questions
How do you draw melting ice cream so it looks wet?
Give every drip three parts: a narrow neck where it separates from the scoop, a wider body below, and a heavy rounded bead at the tip. Then place one small bright highlight on the bead. A uniform-width stripe with no bead never reads as liquid.
Where should the drips fall from?
From the lowest point of each overhang. Melt collects where the scoop bulges furthest out, so drips cluster at two or three places rather than spacing evenly around the rim. Vary their lengths and let one run all the way down the cone.
How do you draw a waffle cone correctly?
Draw the cone outline first, then rule two families of curved lines across it rather than straight ones. Each diamond narrows as it approaches the outer edge, and the rows curve as shallow ellipses, because the surface is wrapping around a cone.
What direction do the drips go if the cone is tilted?
Straight down, always. Gravity does not care how the cone is held, so every drip and every puddle edge stays vertical and horizontal respectively. Tilting the drips to match the cone is the single most common mistake in this subject.
Why does ice cream collapse rather than just shrink as it melts?
Because it is a foam. Air whipped in during freezing can account for a large share of its volume, so as the structure warms and the ice crystals give way, that air escapes and the scoop slumps well before it fully liquefies.
References and Further Reading