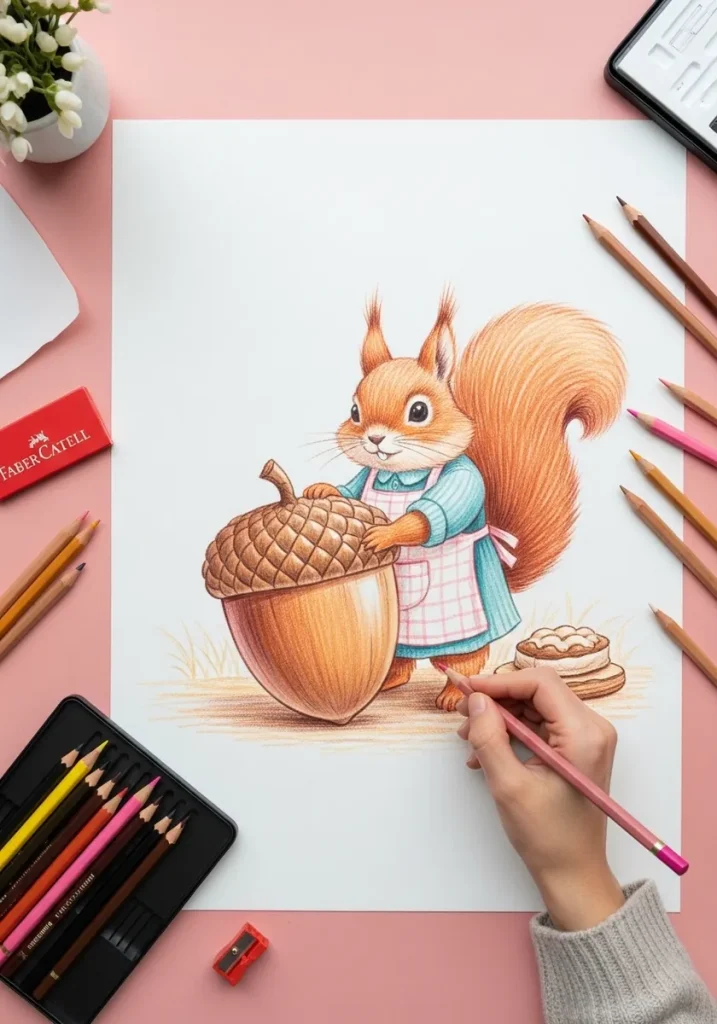
A squirrel's front paws have four working fingers and only a vestigial thumb, so the fingers wrap over the front of the nut rather than gripping it like a hand. Drawing five fingers is the fastest way to make the paw look human.
Key takeaways
- Give each front paw four fingers, not five, and let them curl over the front of the nut|Squirrels gnaw at the pointed tip of an acorn, so angle the nut with that end toward the mouth|Draw the cap scales in overlapping rows that follow the curve of the dome, never as a flat grid|Make the body respond to the weight: spine curved back, tail raised as a counterbalance|Keep the tail roughly as long as the head and body together, held in an S curve over the back
There is one detail that gives away almost every squirrel drawing, and it is on the paw. A squirrel has four working fingers on each front foot and only a vestigial thumb. Draw five and the paw stops being an animal’s and starts looking like a small hand.
The nut has its own rules. Squirrels gnaw at the pointed tip, away from the cap, so tilting the acorn with that end toward the mouth is both accurate and a far better composition than sitting it flat. The cap scales overlap in curving rows like roof tiles, never in a flat grid of diamonds.
Making it look genuinely giant is a matter of body language rather than size. Lean the animal back from the hips, raise the tail as a counterweight, widen the back feet, and let the fingers press into the shell. Weight is something the character shows you, not something the object announces.
The thirty ideas below run from hyperreal graphite through sumi-e, steampunk, illuminated manuscript and Scandinavian folk pattern. For more animal fur practice, watercolor fox drawing works the same problem, and pumpkin drawing ideas covers the rest of the autumn table.
Compiled by the GS Art Zone editorial team. Last updated August 2026. Each idea is paired with the specific step that produces the effect, so you can go from the reference straight to paper.
What You Need Before You Start
- A real acorn if you can find one, since the cap texture is almost impossible to invent
- A 2B for the fur body and a 6B for the dark under the tail and the cap shadow
- A fine liner for the individual cap scales, which need a crisper line than the fur
- A kneaded eraser shaped to a point for lifting the light hairs back out of the tail
- Warm brown and a cooler gray brown, because the nut and the fur are not the same brown
1. Splashy Orange Watercolor
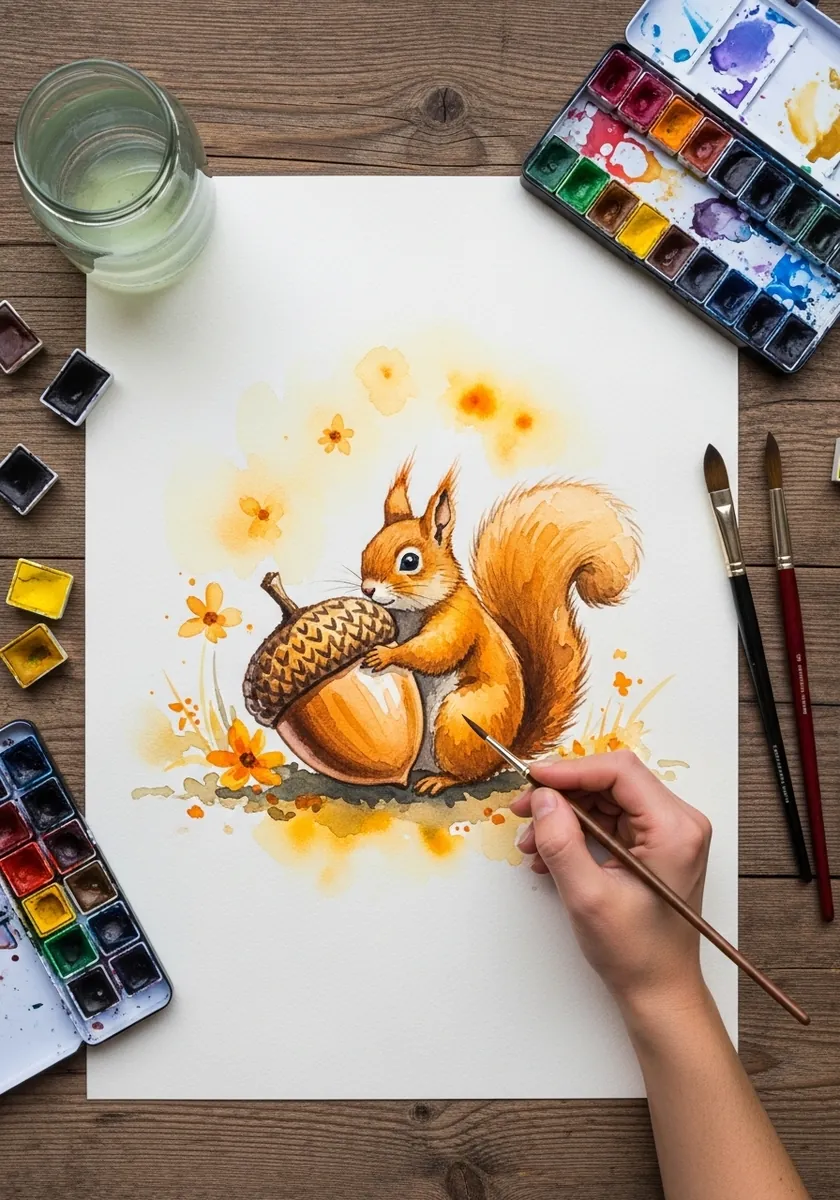
Loose splashes work best when they echo the subject color rather than adding a new one. Mix a wash from the same orange in the fur, flick it from a loaded brush only around the outside of the figure, and keep the acorn itself completely clean so it stays the focus.
2. Graphite Squirrel on an Acorn
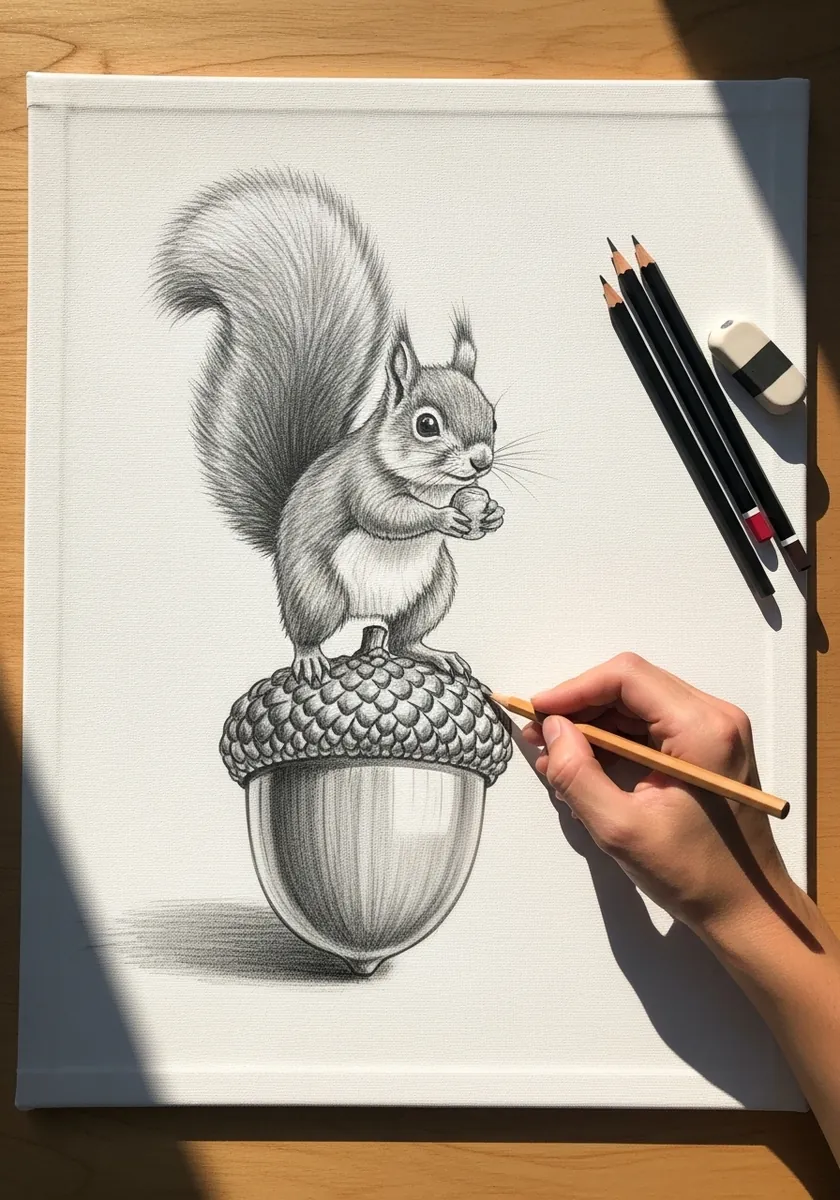
Standing the animal on the nut turns a size gag into a balance problem. Place the back feet either side of the center line, curve the spine slightly forward over them, and let the tail arc back behind for counterweight. The pose has to look stable or the drawing reads as a mistake.
3. Bold Outline Cartoon Version
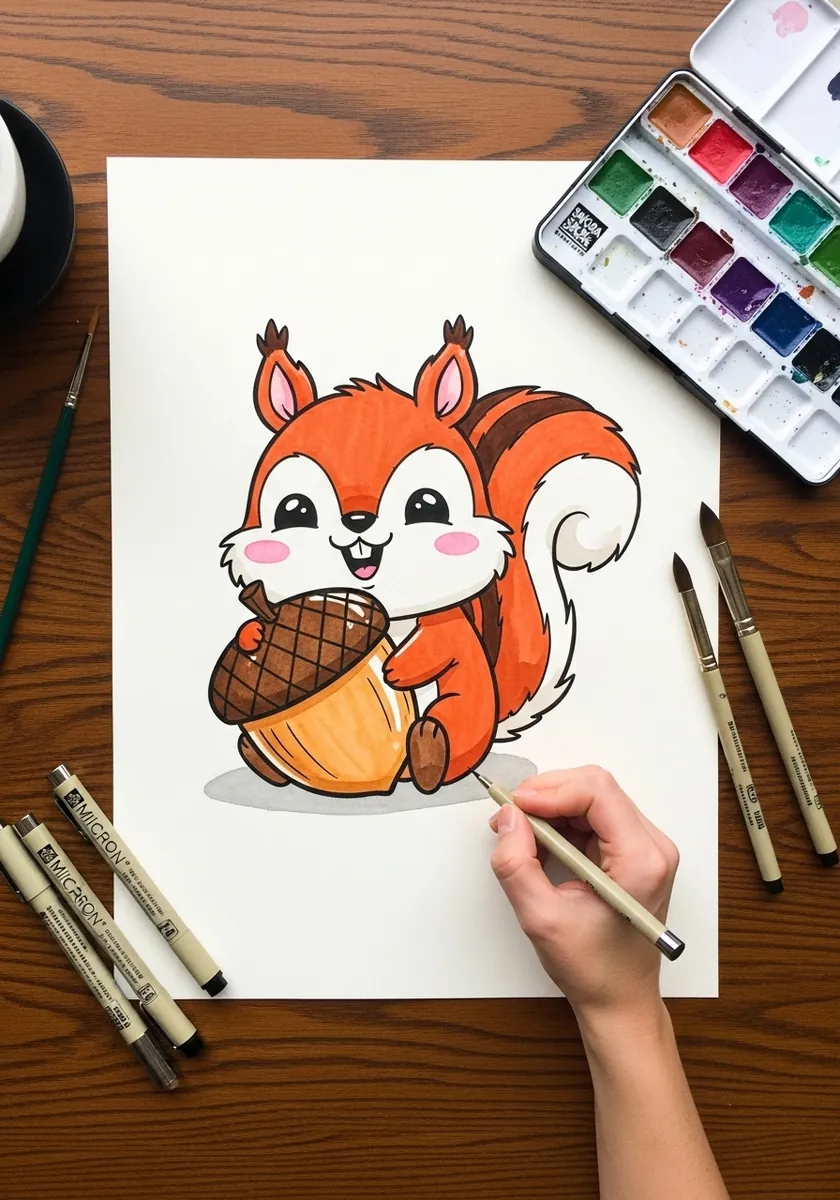
Cartoon simplification still needs the real facts underneath. Reduce the fur to a few directional tufts and the cap to a scalloped edge, but keep four fingers on the paw and the tip of the nut angled toward the mouth. Those two details are what stop it looking generic.
4. Dramatic Charcoal Study
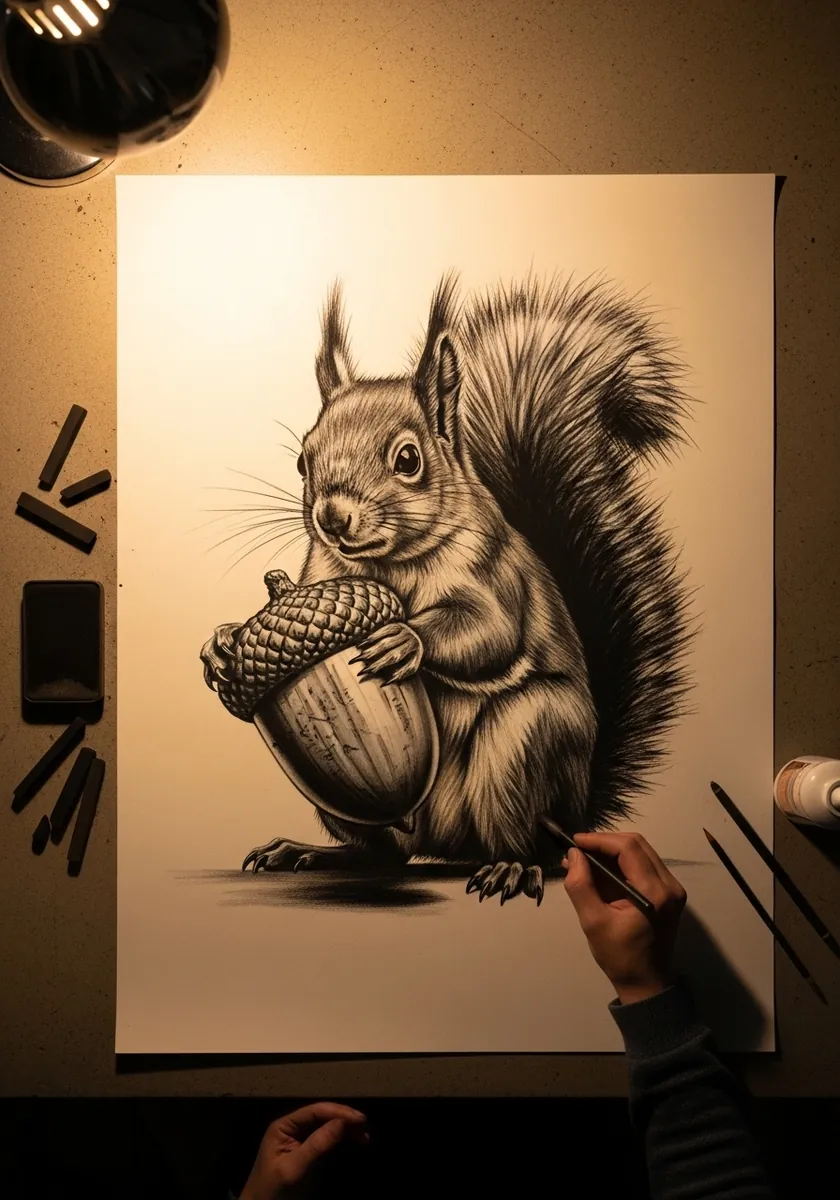
Charcoal on a dark ground means working from the light side inward. Establish the lit edge of the fur first, then push the background almost solid black, and leave a rim of paper showing along the tail where light catches the outer hairs. Blend the middle values last.
5. Minimal Ink Pine and Acorn
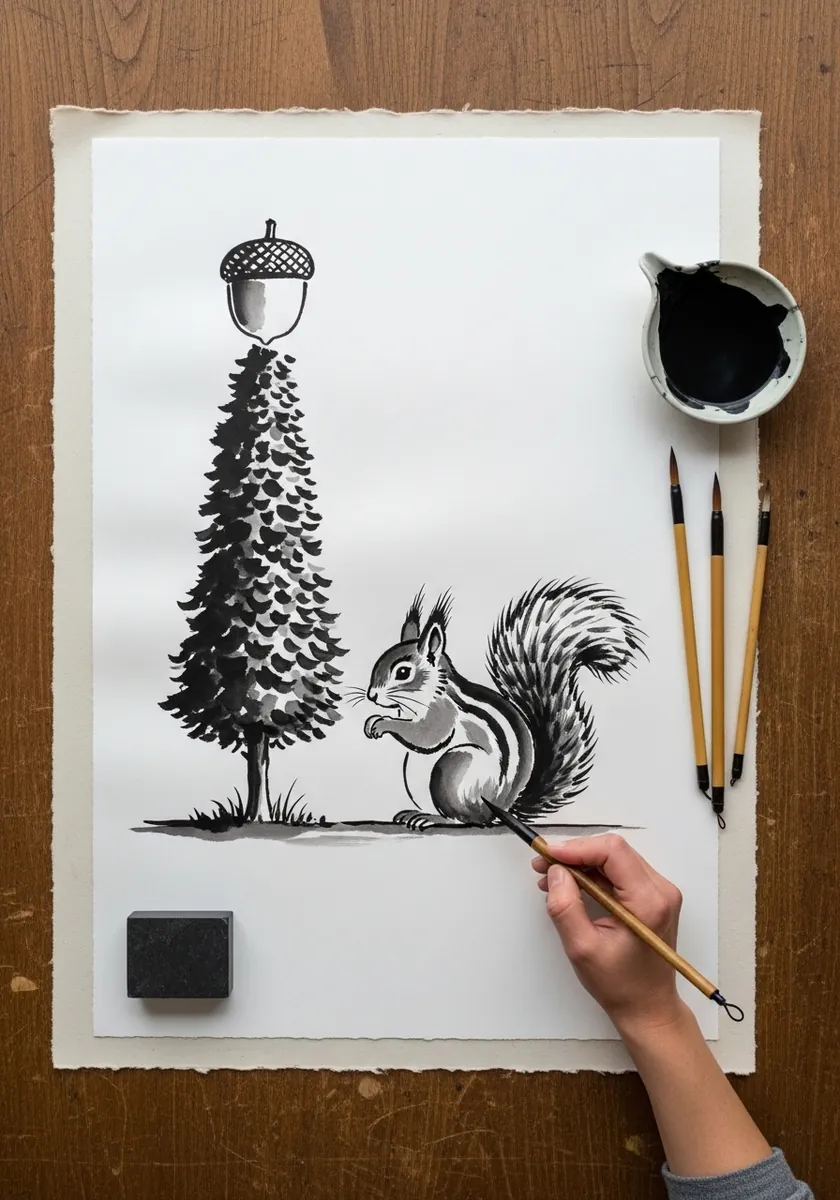
Sparse compositions live on placement. Put the three elements at clearly different heights, leave most of the page empty, and keep every line the same weight so nothing dominates. The white space is doing as much work here as the ink.
6. Pencil Study With Colored Acorn
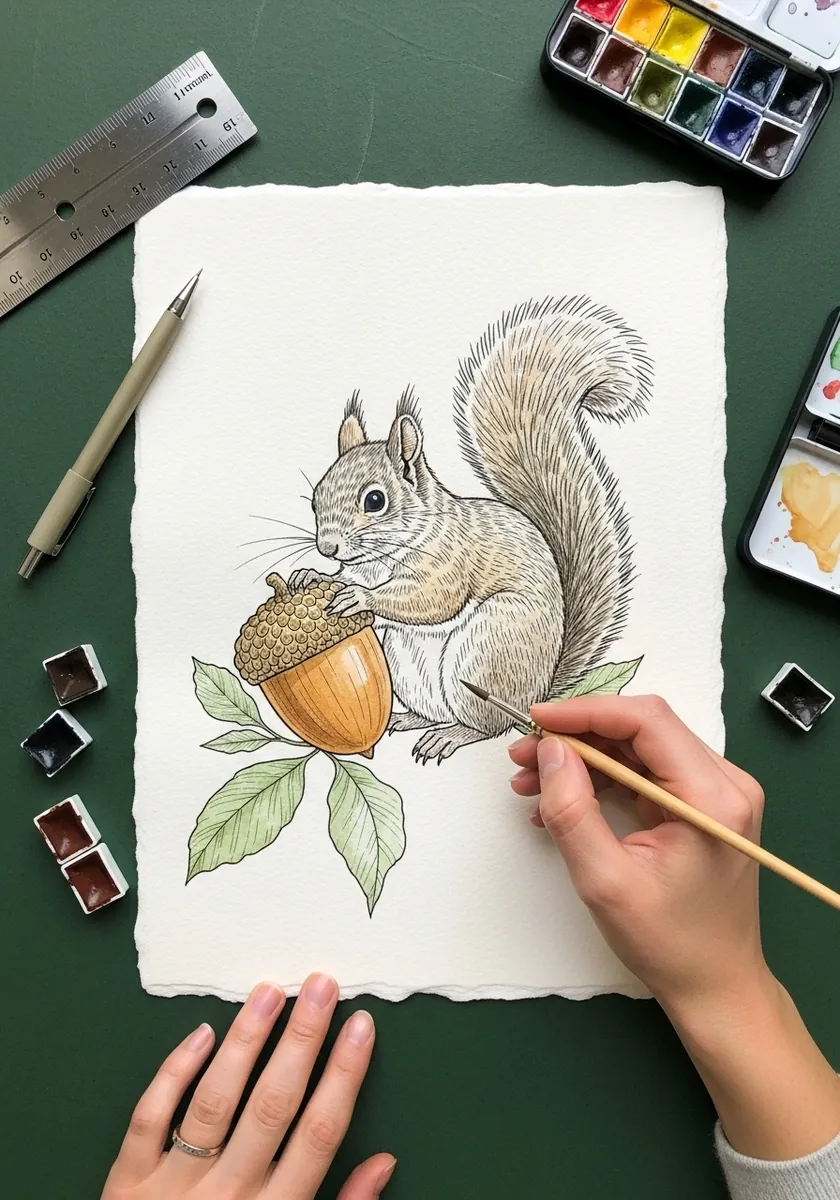
Coloring only one element directs the eye immediately. Keep the animal in pure graphite, restrict the color to the nut and the leaves, and make sure the colored area is smaller than the gray one. Reverse those proportions and the effect disappears completely.
7. Rainbow Neon Colored Pencil
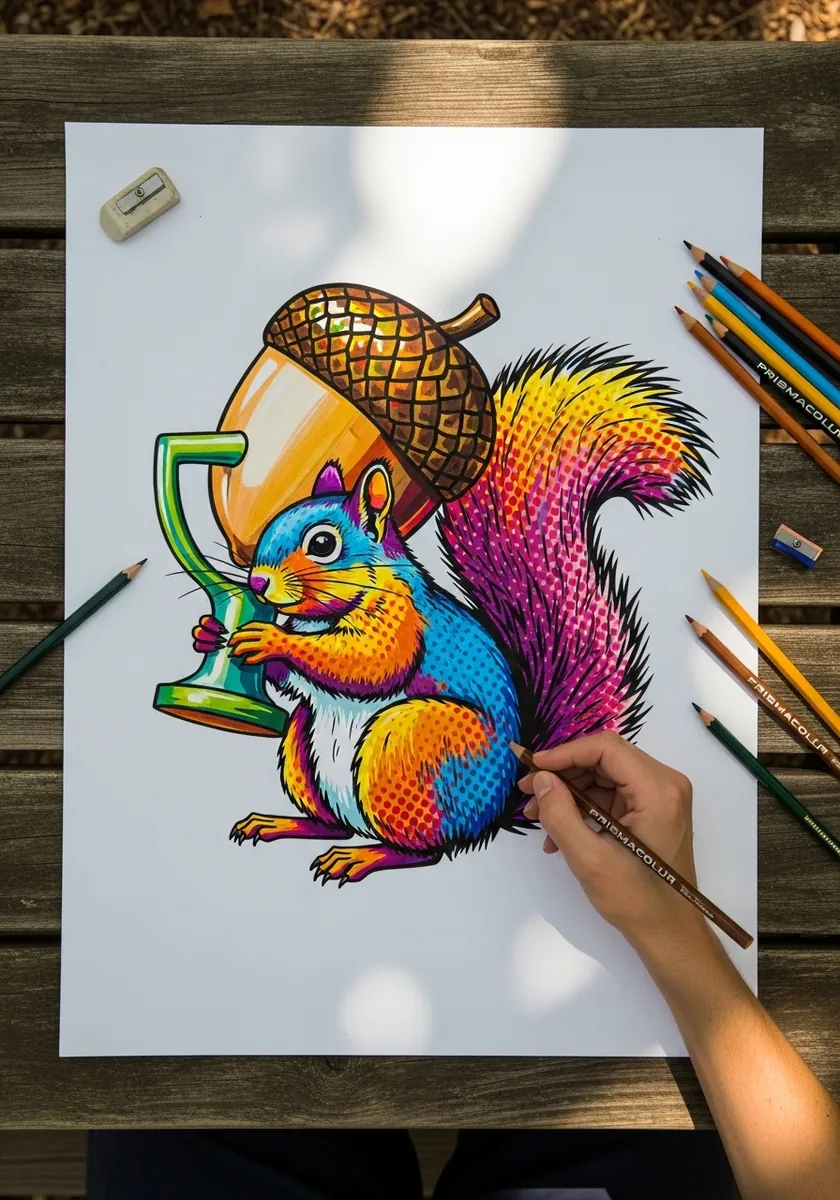
Unnatural color needs natural form to hold it together. Render the fur direction, the tail volume and the cap texture exactly as you would in graphite, then simply swap the palette. Getting the structure right first is what keeps it from turning into mush.
8. Steampunk Acorn Machine
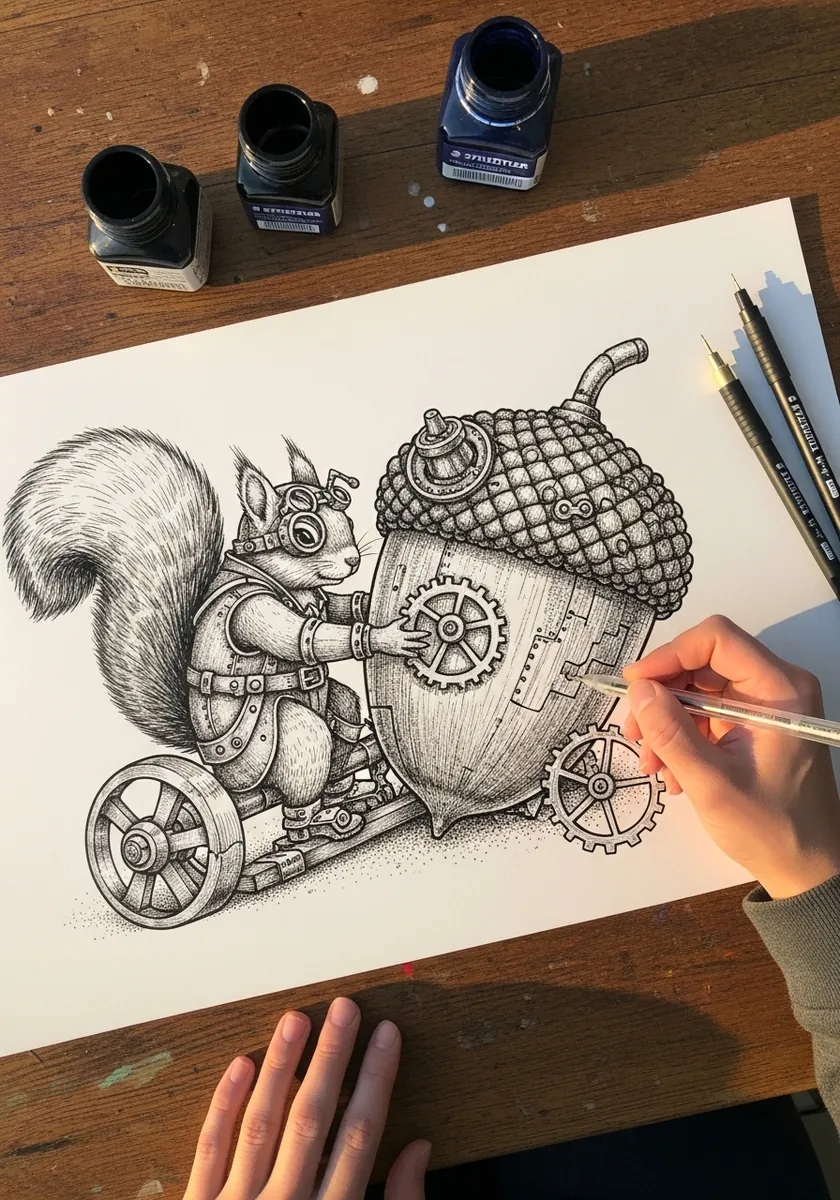
Mechanical detail reads best when the parts could actually turn. Line the gear teeth up so they mesh, keep every axle horizontal, and let the acorn body sit on a visible frame rather than floating. Small logic like that is what sells an invented machine.
9. Yellow Splash Acorn Painting
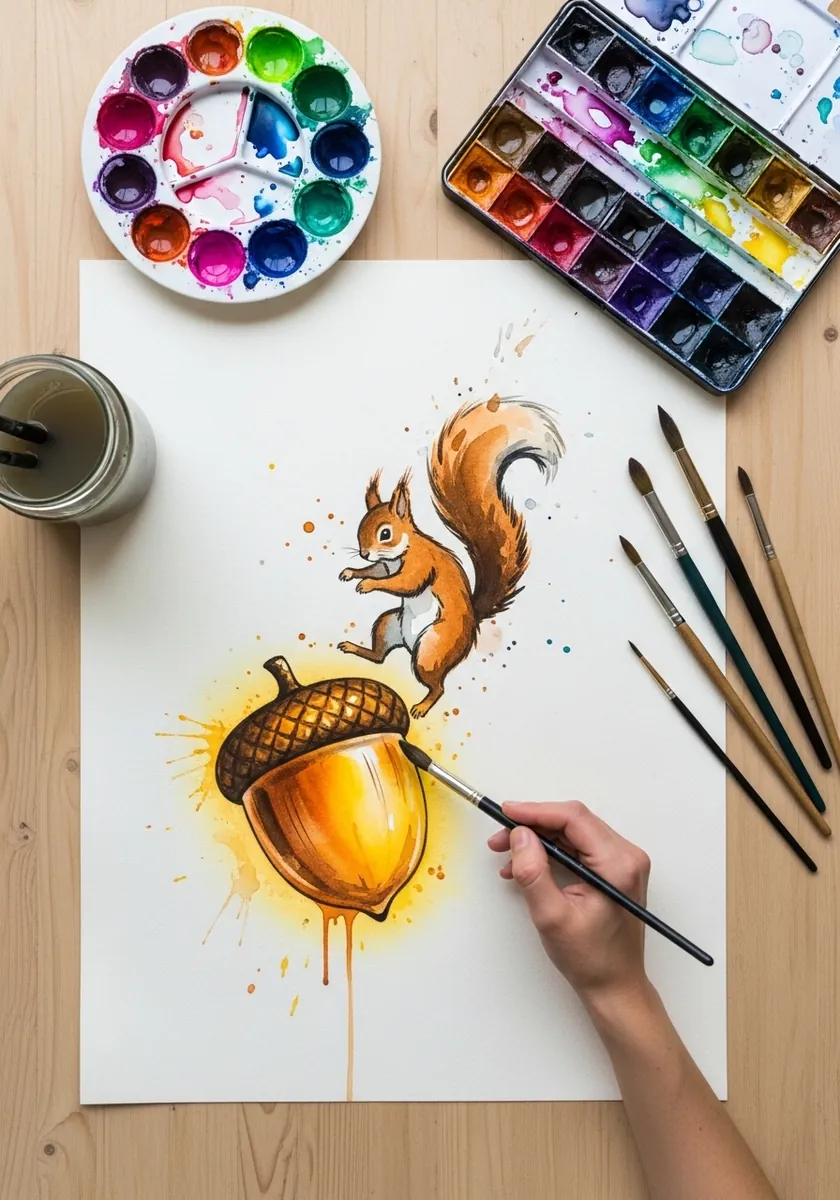
Scale reversal is worth trying deliberately. Make the nut the largest object on the page and shrink the animal to a fraction of it, keep the acorn saturated and the squirrel almost transparent, and the whole thing reads as a small creature and a huge prize.
10. Graphite on Tan Paper
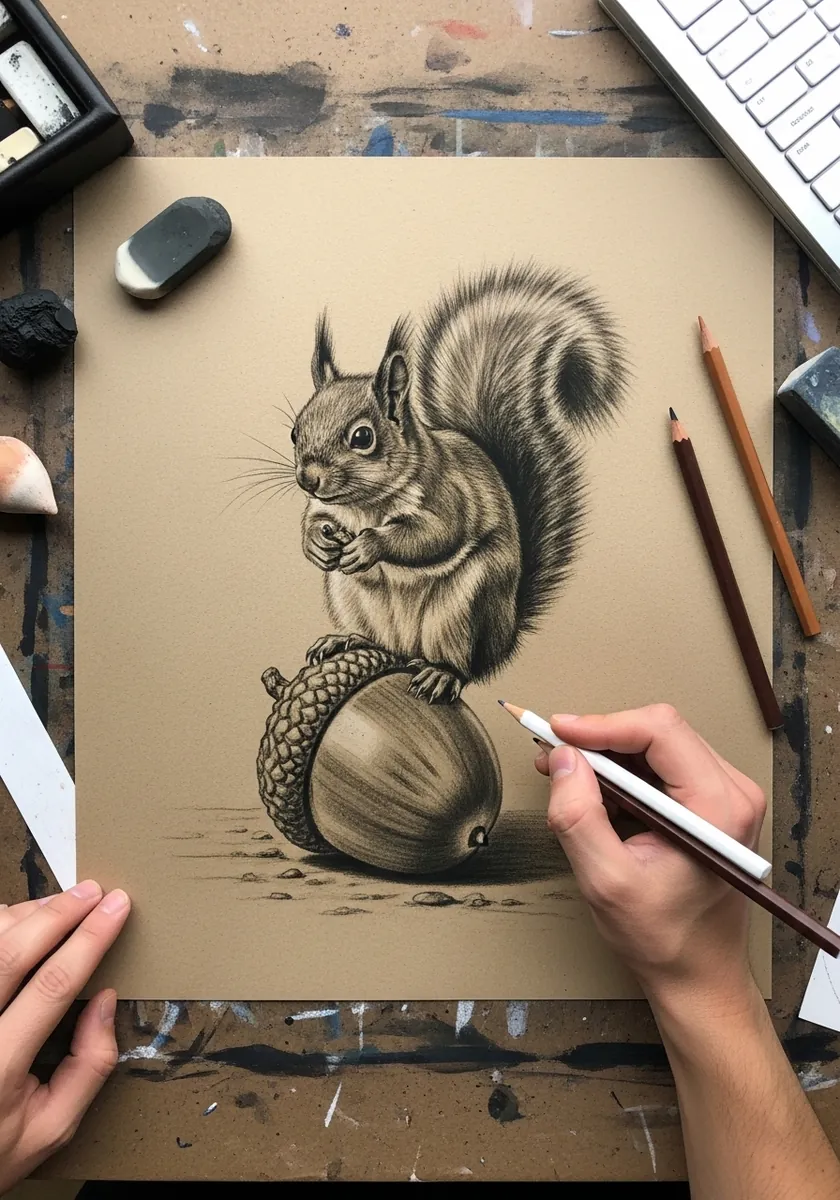
Toned paper handles fur particularly well. Work the darks with graphite, lift the individual light hairs back with a white pencil, and let the tan sit as the mid value throughout the body. The tail is where this technique pays off most obviously.
11. Whimsical Ink Fairy Tale Squirrel
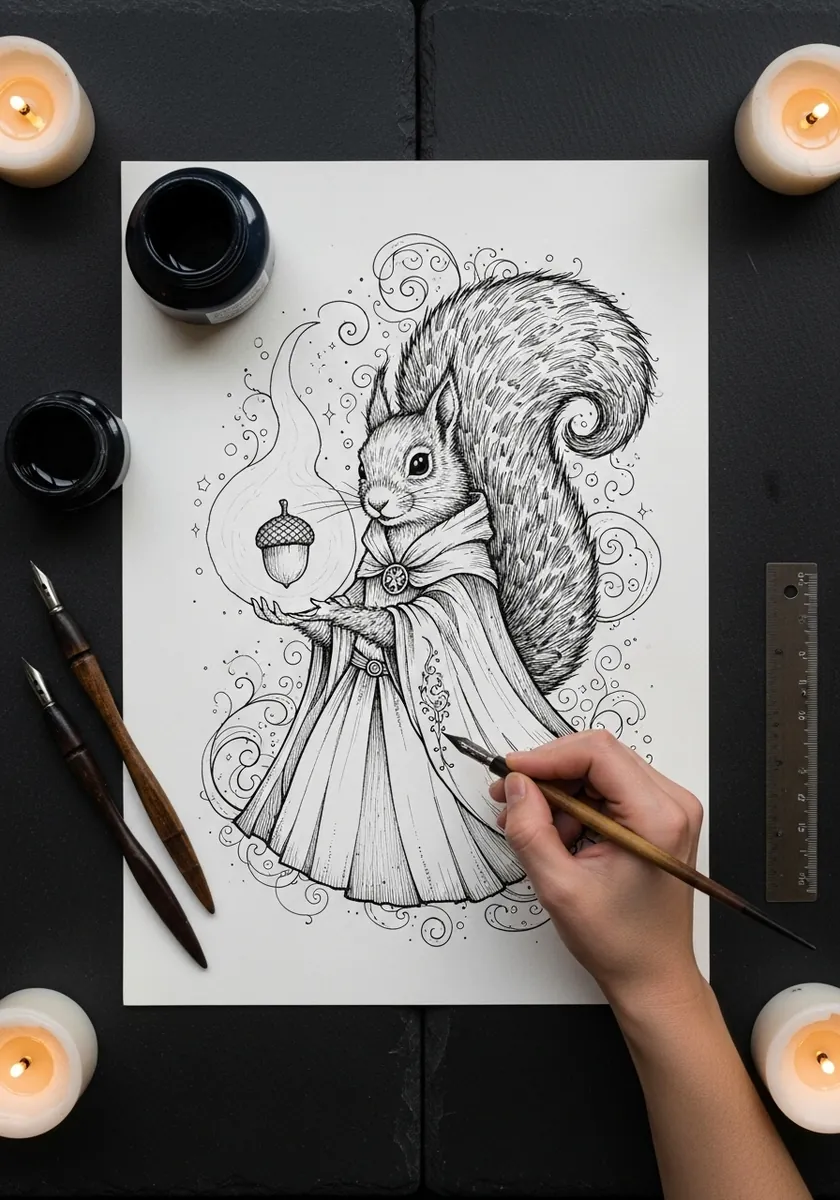
Costume on an animal works when the anatomy underneath still shows. Let the fabric follow the real shoulder and hip positions, keep the tail emerging cleanly from the back rather than the skirt, and leave the paws and face entirely unclothed.
12. Impasto Swirling Oil Study
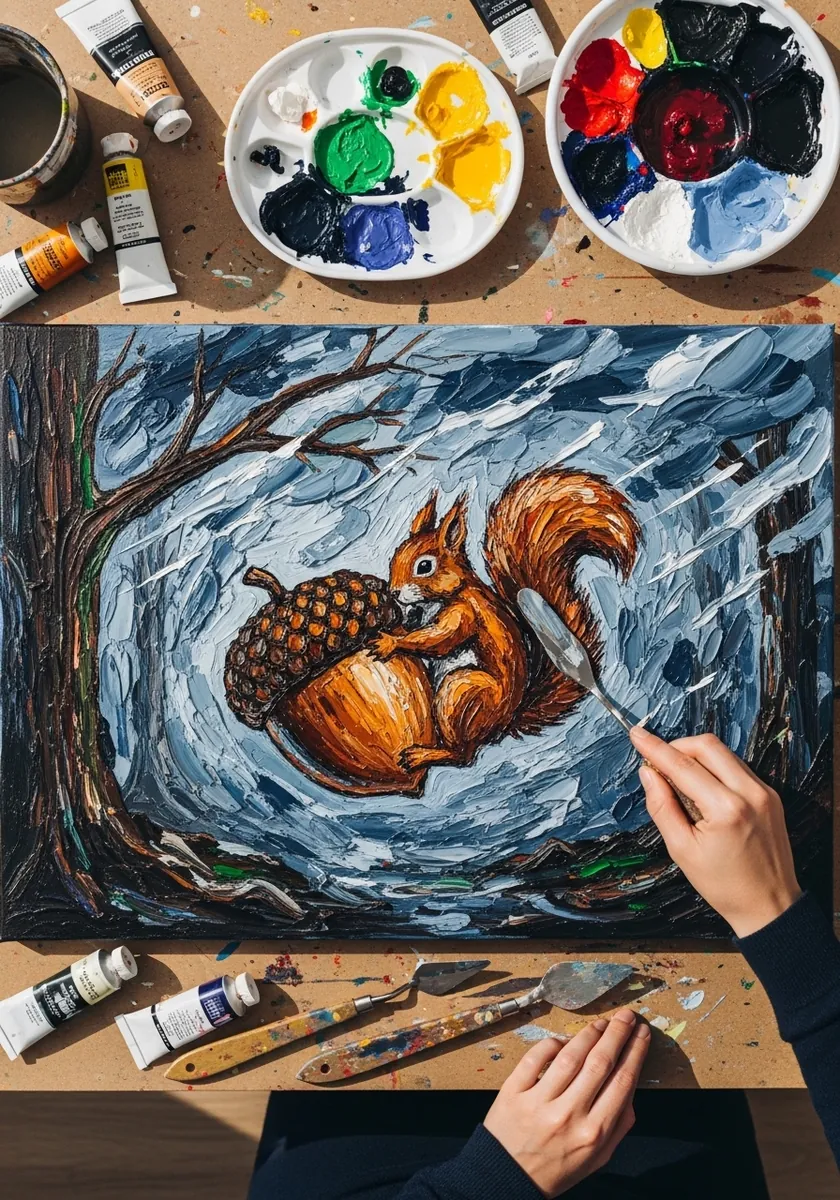
Heavy paint and small detail rarely coexist. Build the background swirls with a loaded brush first, wipe clean, then place the animal in slightly thinner paint so it separates. Never scrub a dark background into a light figure while both are wet.
13. Sumi-e Acorn and Squirrel
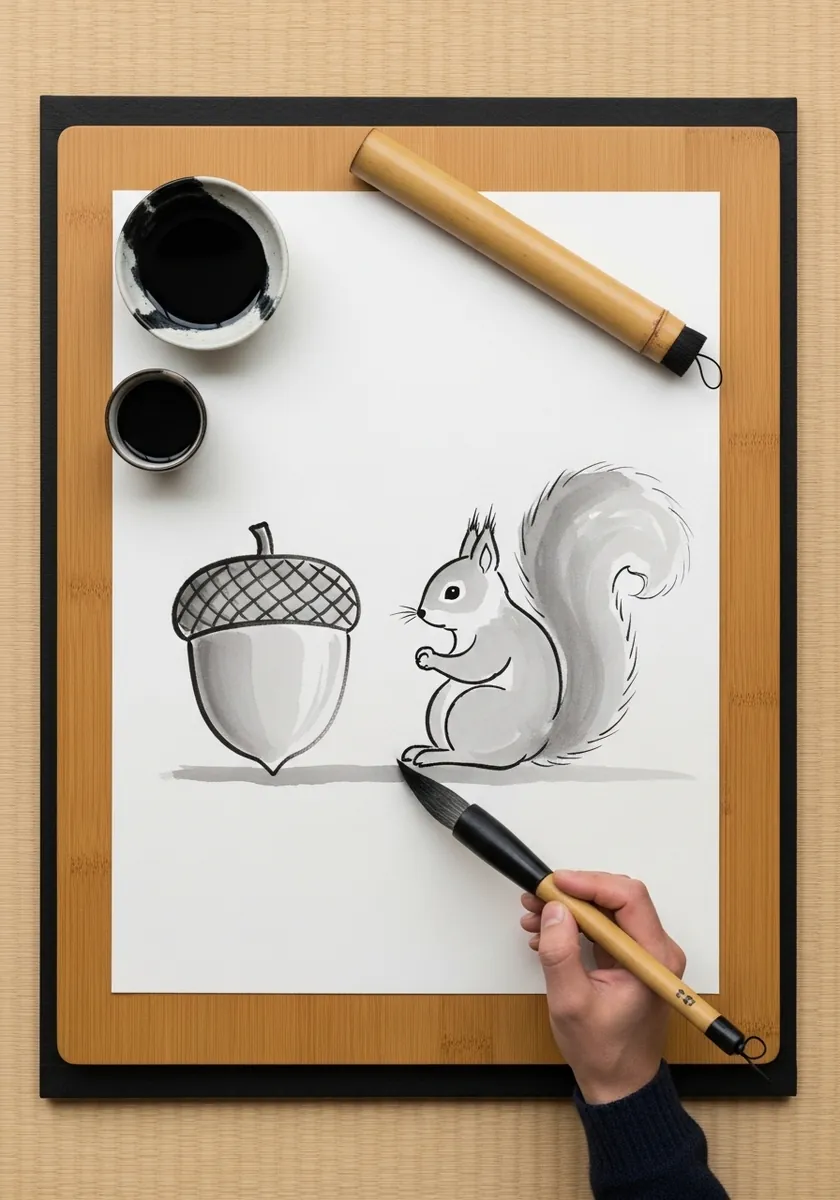
Brush work rewards deciding before the stroke rather than during it. Load once, place the acorn body in two strokes, and let the brush dry out naturally for the fur. Every hesitation shows in the line, which is exactly why the discipline is useful.
14. Zentangle Patterned Squirrel
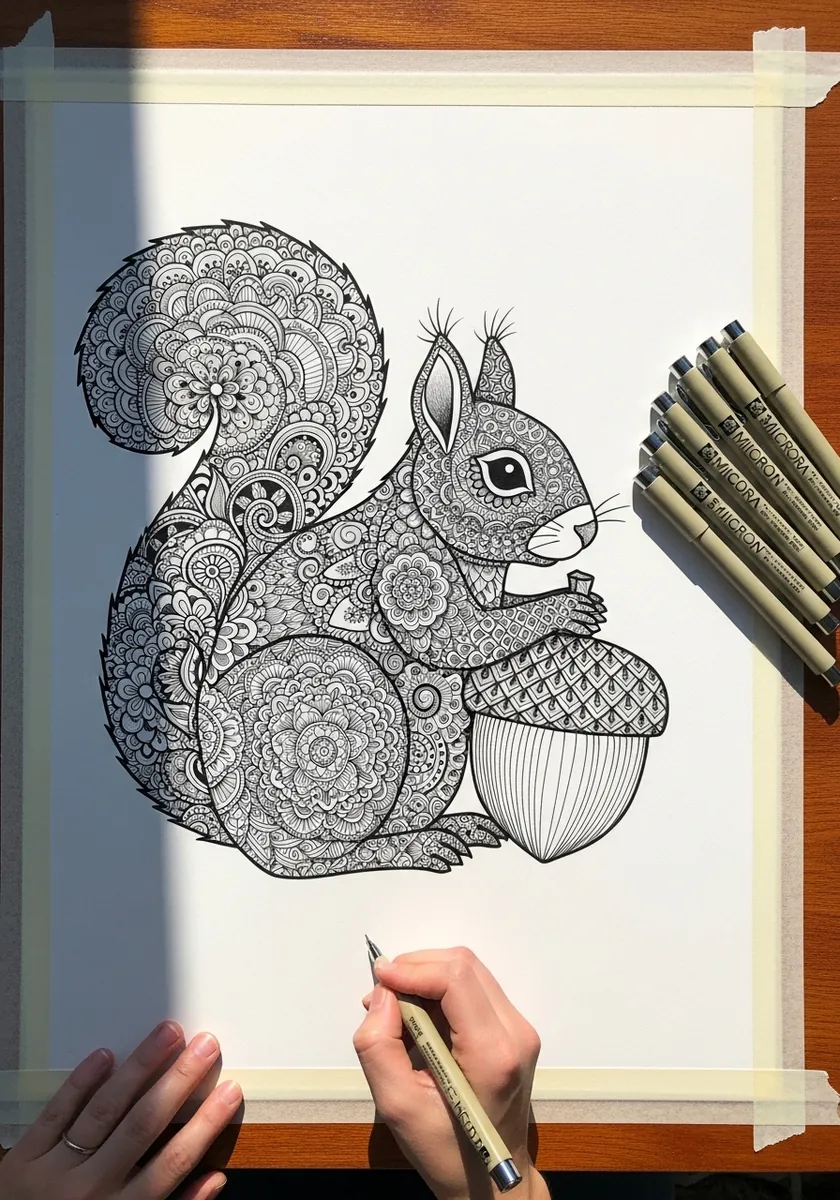
Filling a silhouette with pattern needs internal boundaries. Divide the body into sections along the real anatomy, the haunch, the shoulder, the tail, and give each section its own pattern. Without those divisions the whole animal turns into one flat texture.
15. Fauvist Forest in Gouache
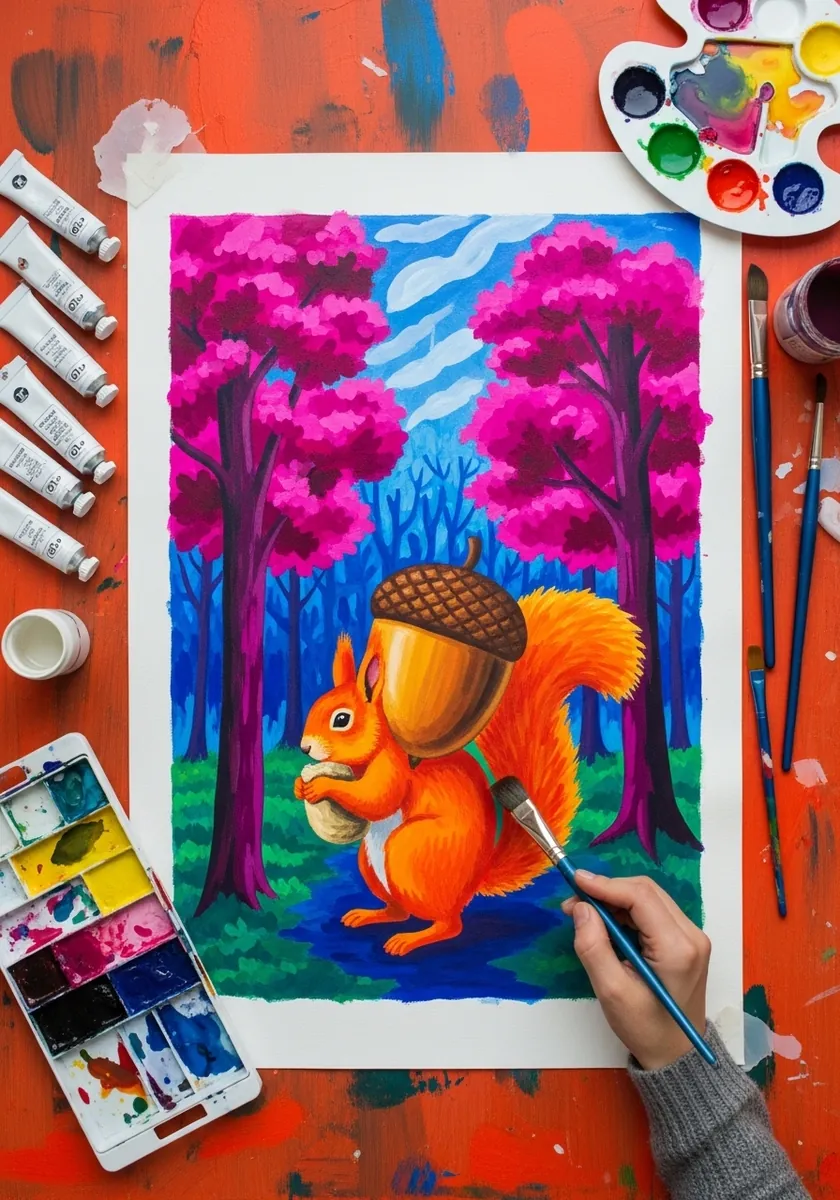
Fauvist color is a set of relationships, not random brightness. Choose one hot color for the light areas and one cool for the shadows, then apply that pairing consistently across trees, ground and fur. The consistency is what makes it look intentional.
16. Chalk Line on Black Paper
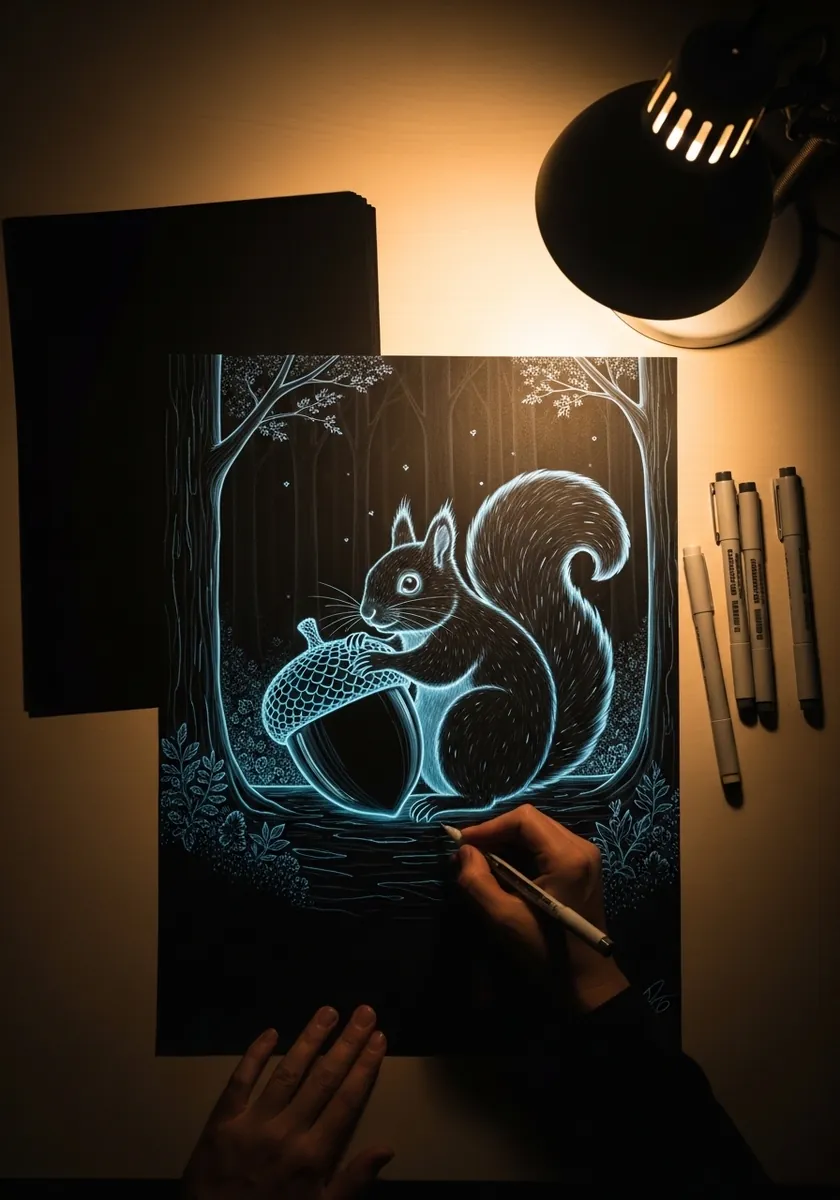
Light lines on black work like a photographic negative. Draw only what would catch the light, the top of the tail, the brow, the upper curve of the cap, and leave everything in shadow untouched. Filling in the dark areas kills the glow immediately.
17. Storybook Tea Party Scene
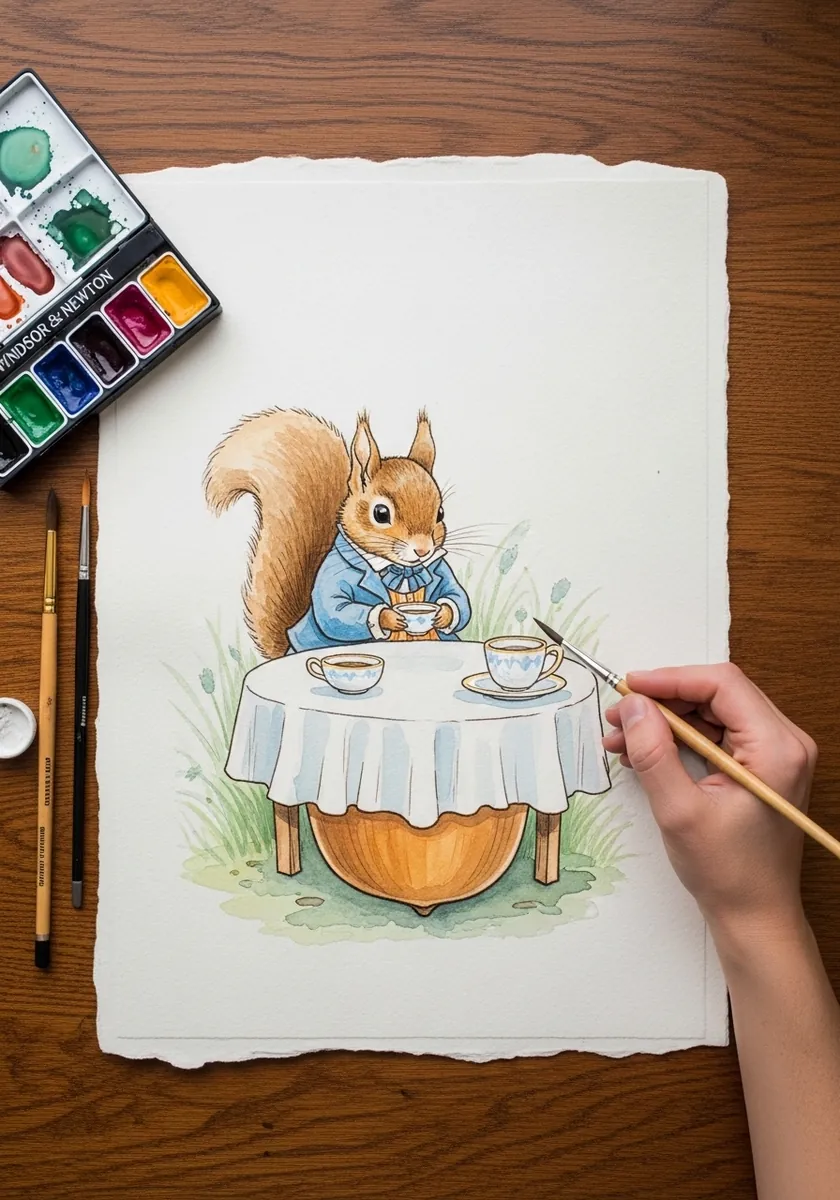
Using an object as furniture forces a scale decision. Fix the acorn table height first, then build the squirrel to match it, and keep the teacups small enough that the table still reads as enormous. Scale errors here are far more visible than anatomy ones.
18. Bold Brush Silhouette
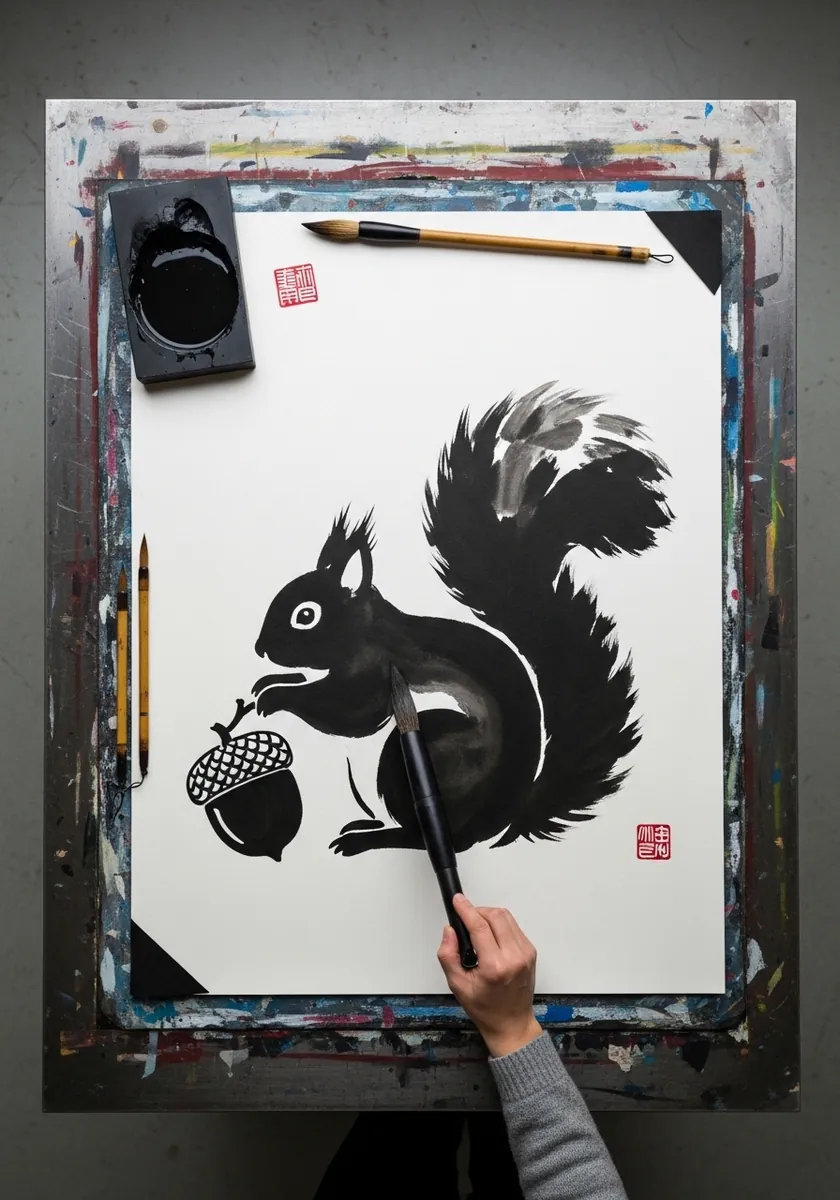
A silhouette has nowhere to hide a bad shape. Get the outline right in pencil first, checking the tail curve and the ear placement, then fill it in one pass. The red seal mark should be small and placed off center for balance.
19. Annotated Botanical Study
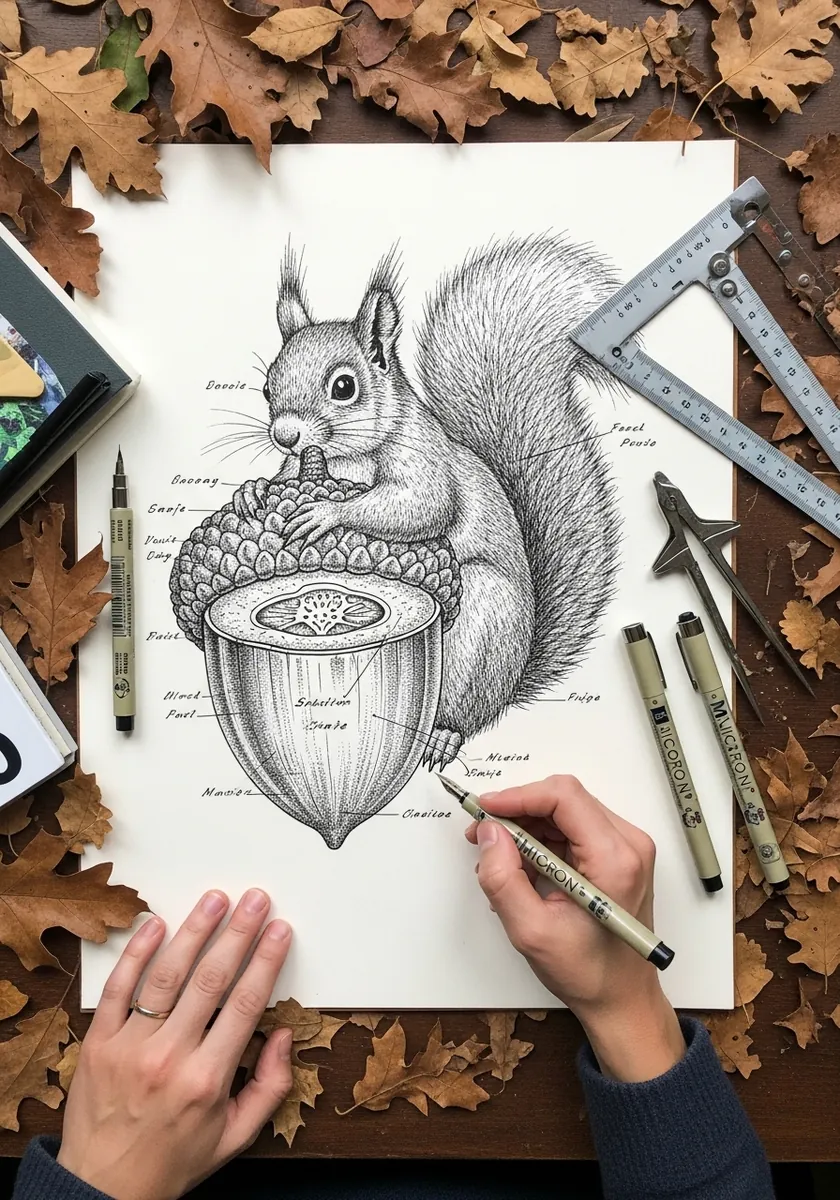
Adding notes turns a drawing into a record. Label the cap, the nut and the point where it was attached to the tree, write the observations in a small consistent hand, and keep the labels well outside the drawing so they never crowd it.
20. Moonlit Watercolor With Drips
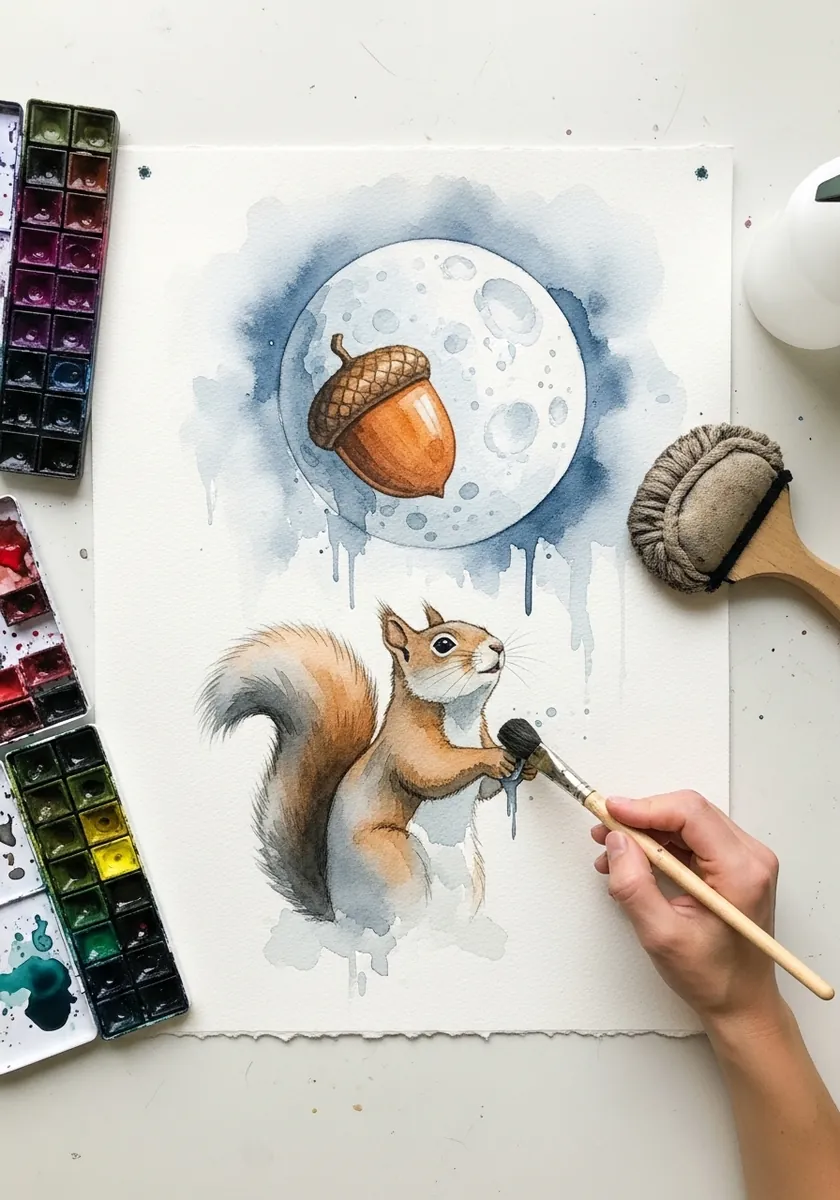
A pale circle behind a subject creates instant depth. Wash the moon in first and let it dry hard, keep the figure below and slightly to one side, and let a few controlled drips fall from the lower edge while the paper is still tilted.
21. Hyperreal Graphite Fur
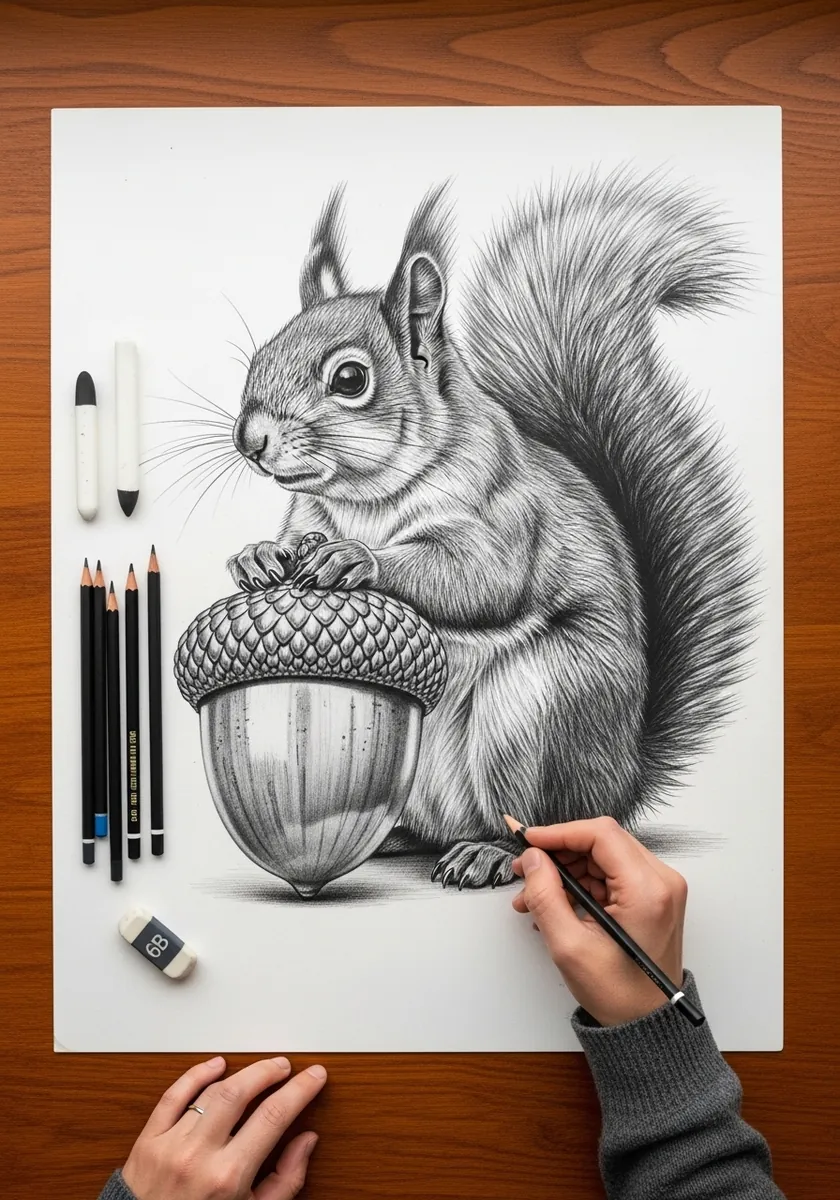
Realistic fur is built in layers, not strokes. Lay a smooth mid gray across the whole body, work the darks between the hair groups, then lift the light hairs back out with a sharp eraser. Drawing individual hairs onto white paper never looks right.
22. Illuminated Manuscript Panel
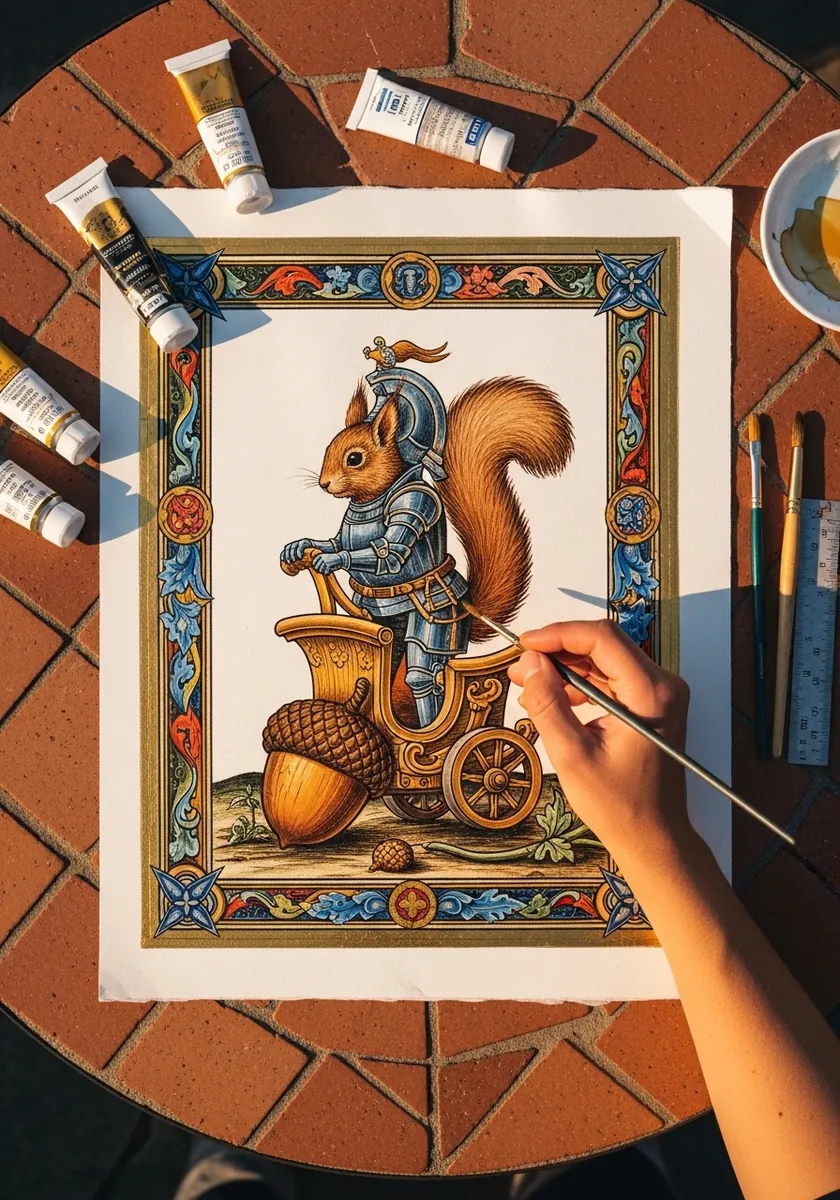
Manuscript borders follow strict geometry. Rule the frame, keep the corner motifs identical, and let the illustration sit fully inside the ruled area with no overlap. That containment is what makes the page look like a genuine manuscript rather than a pastiche.
23. Comic Action Panel
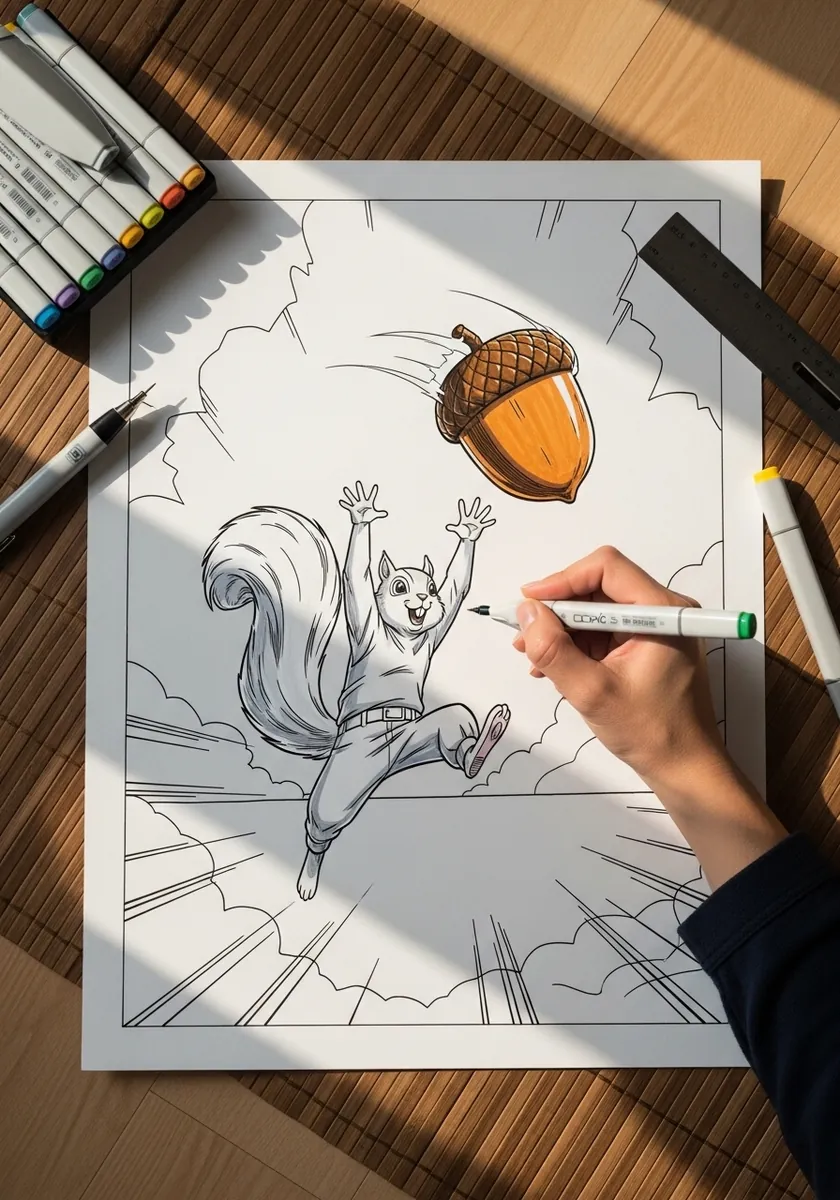
Motion needs a clear direction and something to leave behind. Stretch the body along the line of travel, trail the tail behind rather than curling it, and radiate the speed lines from the point the animal jumped rather than from the figure itself.
24. Starry Night Style Painting
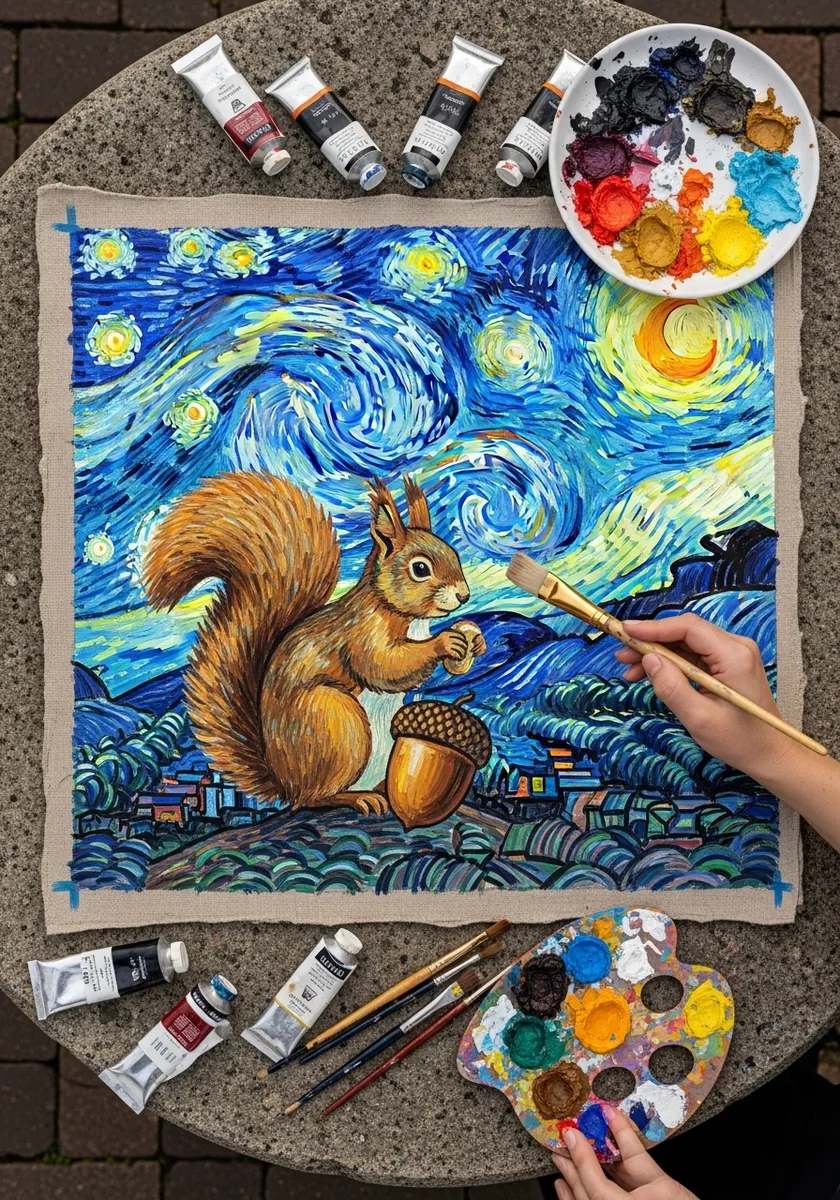
Short curved strokes moving in shared directions are what create that swirling energy. Keep the sky strokes flowing consistently around the figure, and paint the squirrel with slightly longer smoother marks so it separates from all that movement behind it.
25. Cute Storybook Baker
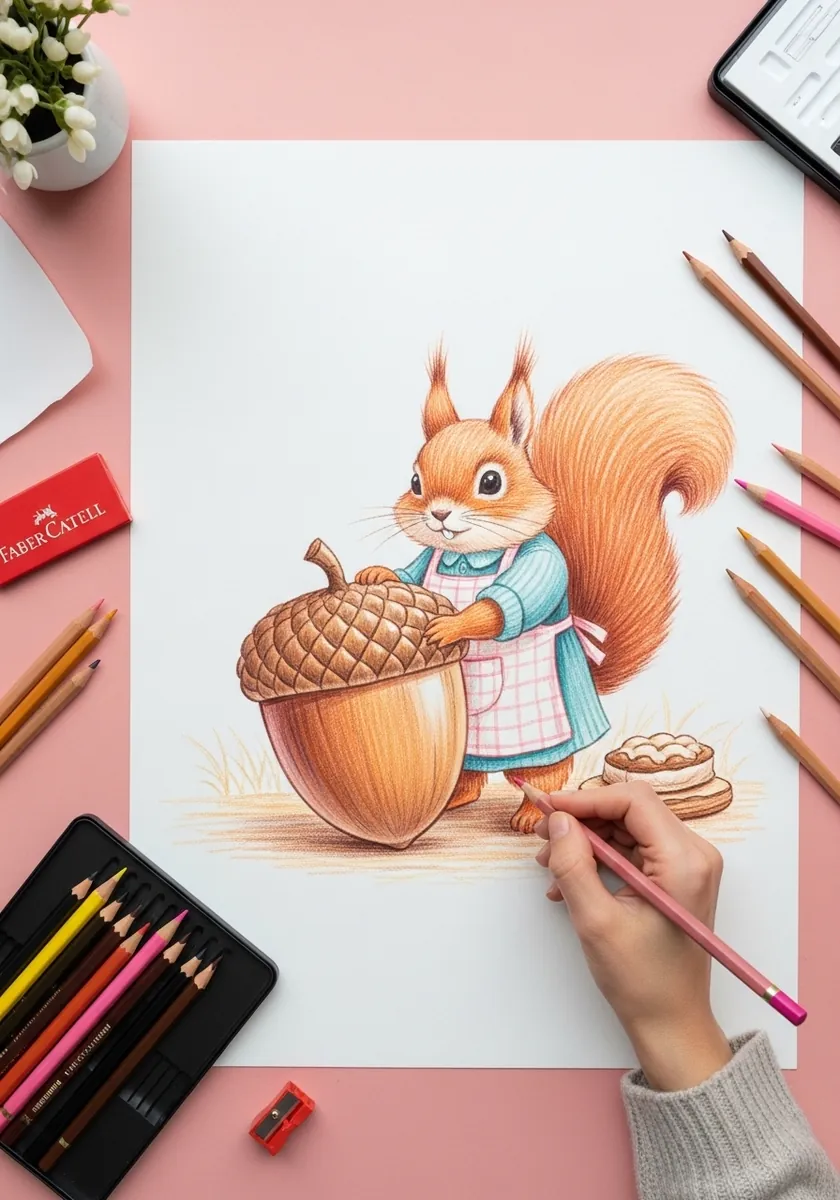
Character warmth comes from small deliberate choices. Round every angle slightly, enlarge the eye and lower it on the head, shorten the muzzle, and keep the accessories few. Overloading a cute design with props dilutes exactly what makes it appealing.
26. Elizabethan Portrait Squirrel
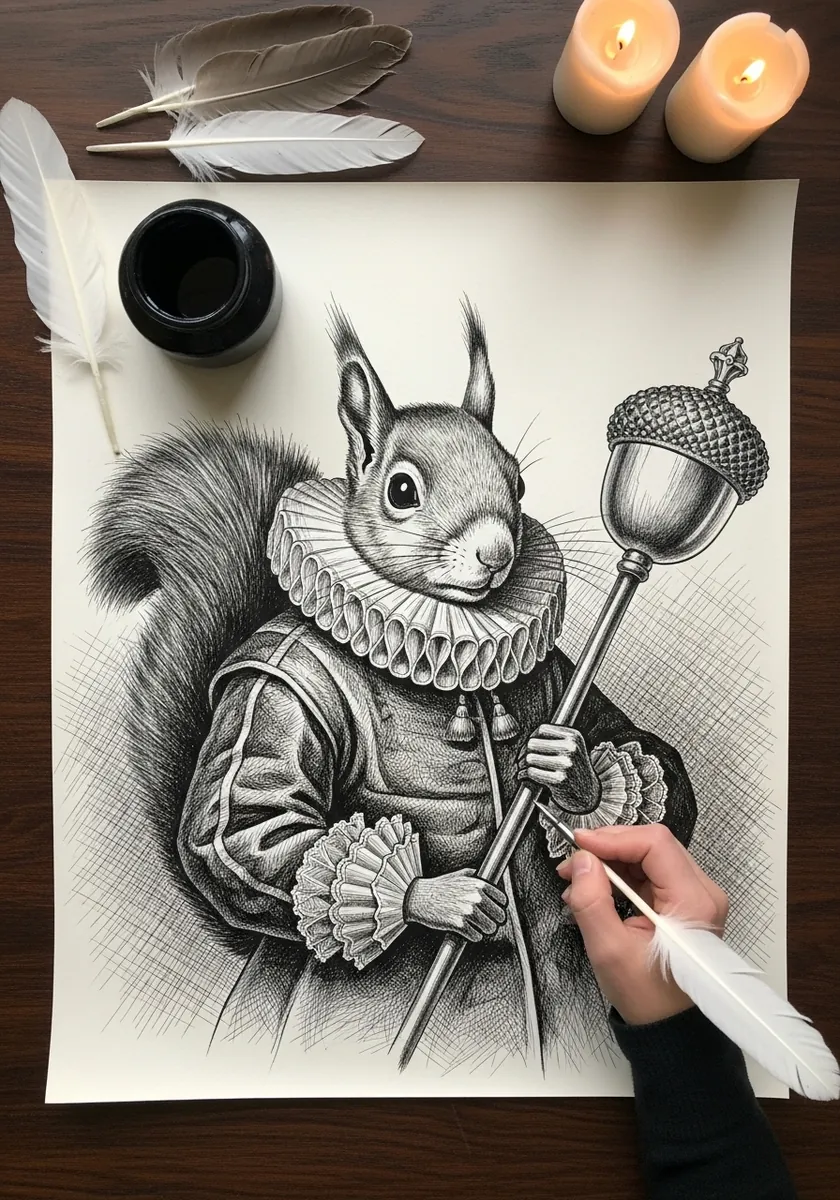
Formal portraiture has a fixed language worth borrowing. Set the head at three quarters, the body squarer to the viewer, and the gaze out at the audience. Cross hatch the collar tightly and keep the fur looser so the two textures read differently.
27. Scandinavian Folk Pattern
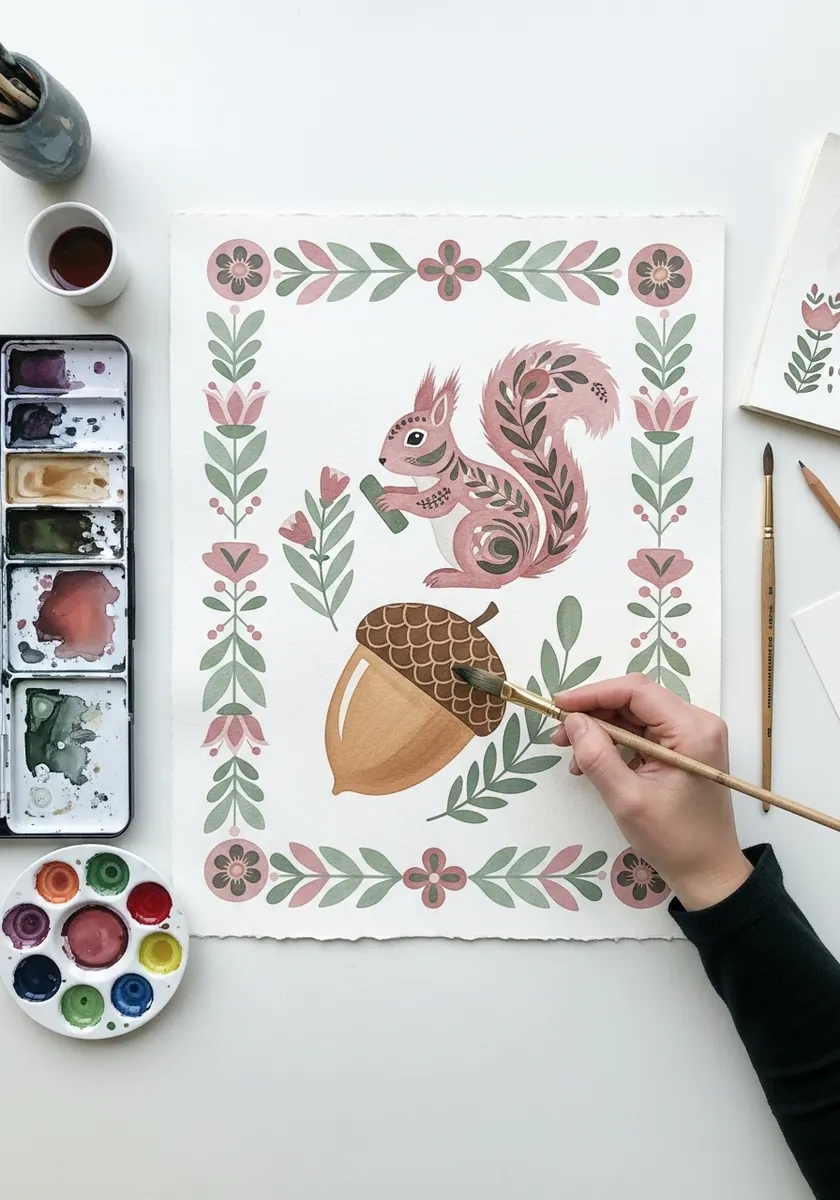
Nordic folk design works on symmetry and a tight palette. Limit yourself to three colors, mirror the border motifs exactly on left and right, and flatten the animal into simple stylized shapes with no shading at all anywhere on the page.
28. Flat Gouache on Moss
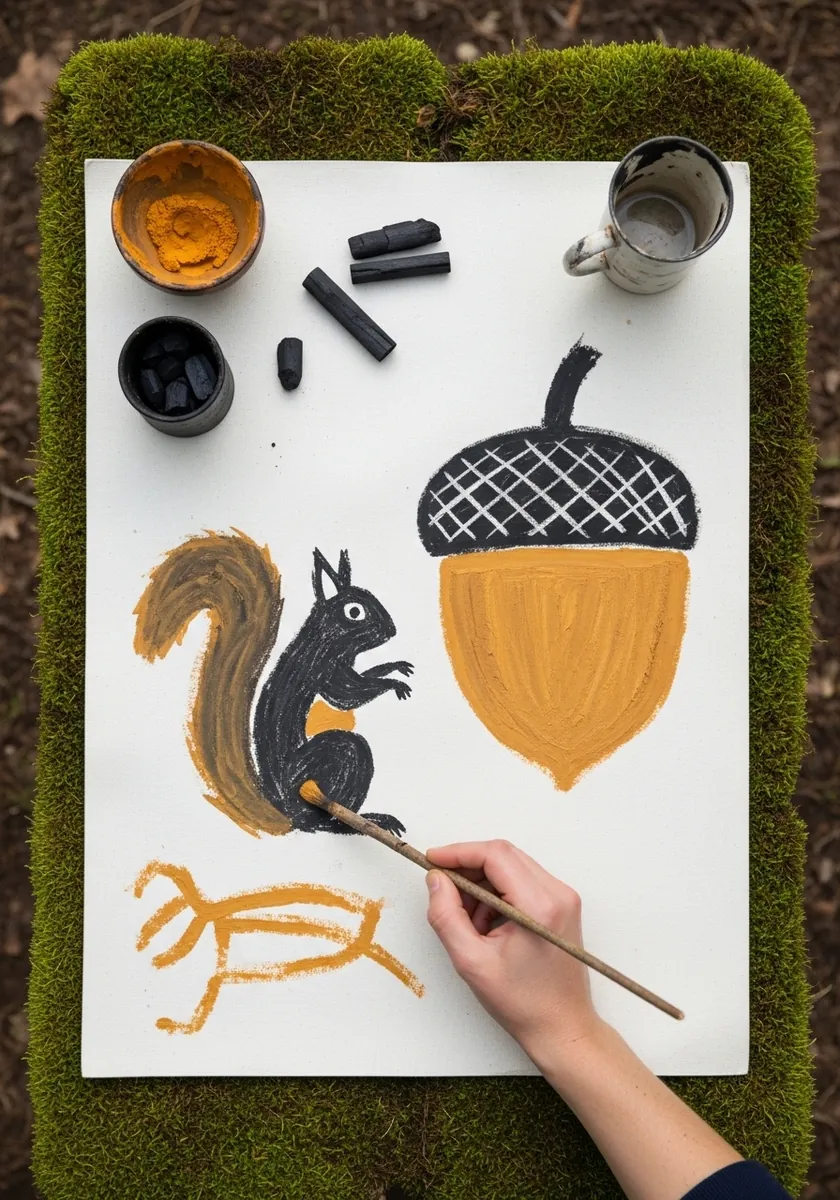
Two flat colors can carry a whole image if the shapes are strong. Simplify the animal to a solid silhouette, paint the nut in one unbroken gold, and let the negative space between them do the composing. No shading, no outline, no texture.
29. Tropical Jungle Watercolor
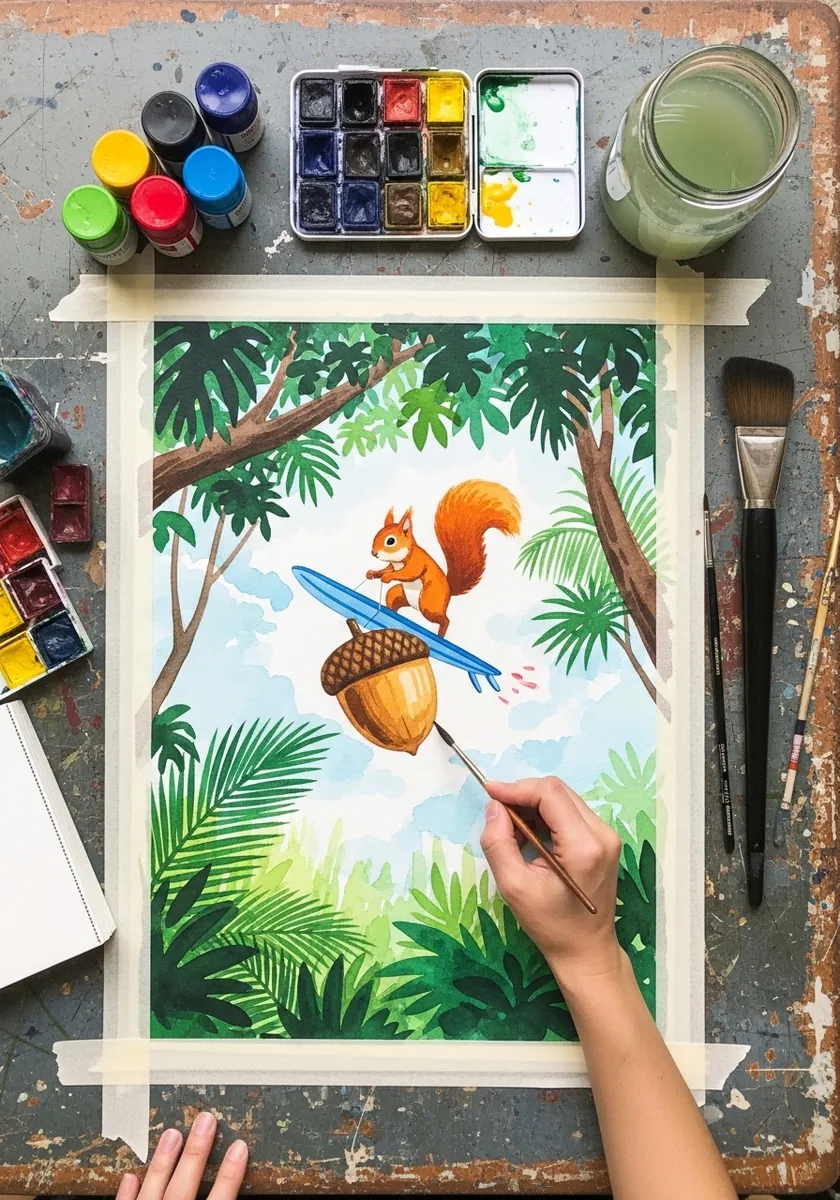
Dense foliage needs value separation more than it needs detail. Paint the far leaves pale and cool, the near ones darker and warmer, and reserve the strongest contrast for immediately around the animal so it never gets lost in the green.
30. Acorn House Fantasy Build
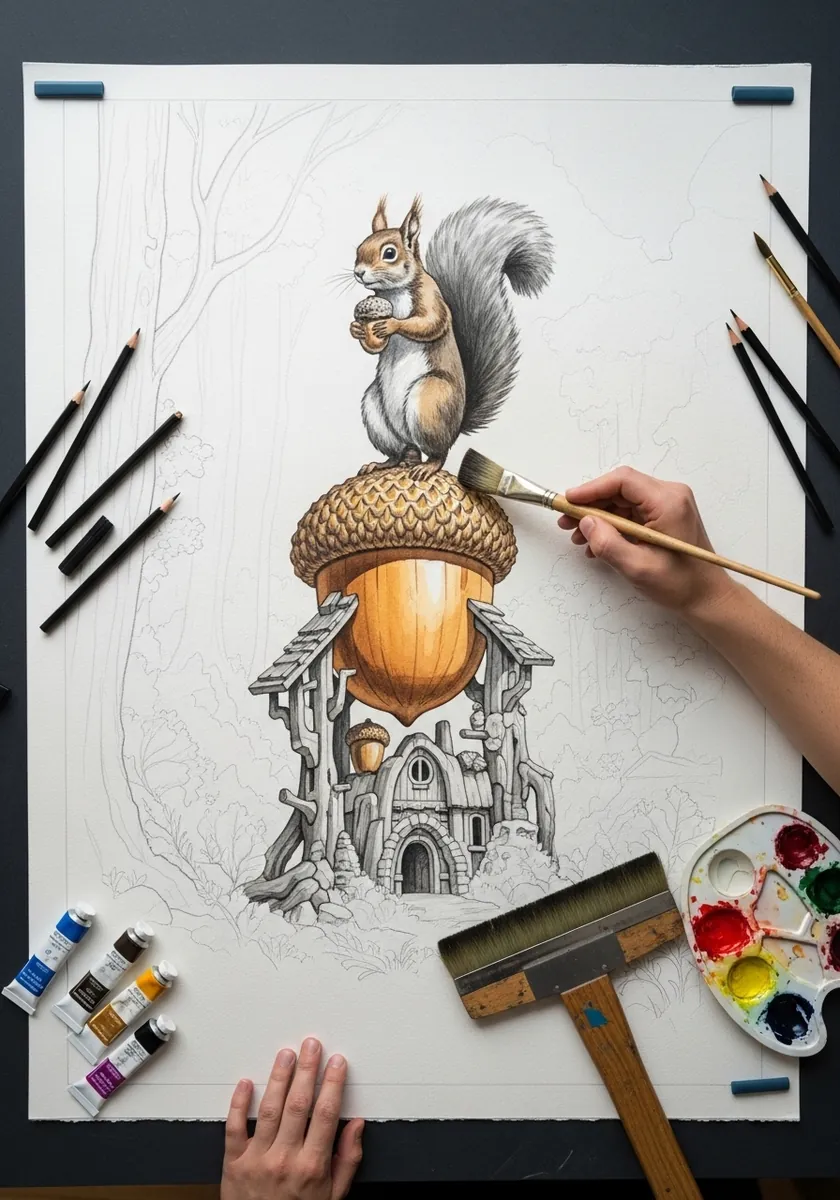
Architecture inside an organic shape has to respect that shape. Follow the curve of the nut with every window row, keep the door on the widest part, and let the cap become the roof with its scales reading as tiles. Nothing should look bolted on.
Frequently Asked Questions
How many fingers does a squirrel’s front paw have?
Four working fingers and a small vestigial thumb, with five toes on each back foot. That is why a squirrel presses a nut against its chest and curls the fingers over the front rather than gripping it the way a hand would.
Which end of the acorn does a squirrel chew?
The pointed tip, away from the cap. Angling the nut so that tip faces the mouth instantly makes a drawing look observed, and it also gives you a natural reason to tilt the acorn rather than sitting it flat and symmetrical.
How do I draw the acorn cap texture?
In overlapping rows that curve around the dome, like tiles on a roof. Each scale sits between two in the row above, and the rows get shorter as they approach the stalk. A flat grid of diamonds is the usual mistake.
How do I show that the acorn is heavy?
Through the body, not the nut. Lean the squirrel back from the hips, raise the tail to counterbalance, spread the back feet wider, and let the fingers press into the shell hard enough to flatten slightly against it.
Do squirrels really forget where they bury nuts?
Less than the joke suggests. Gray squirrels are scatter hoarders, burying nuts one at a time across hundreds of separate spots, and they relocate many of them by memory and smell. The ones they miss are how oak trees spread.
References and Further Reading