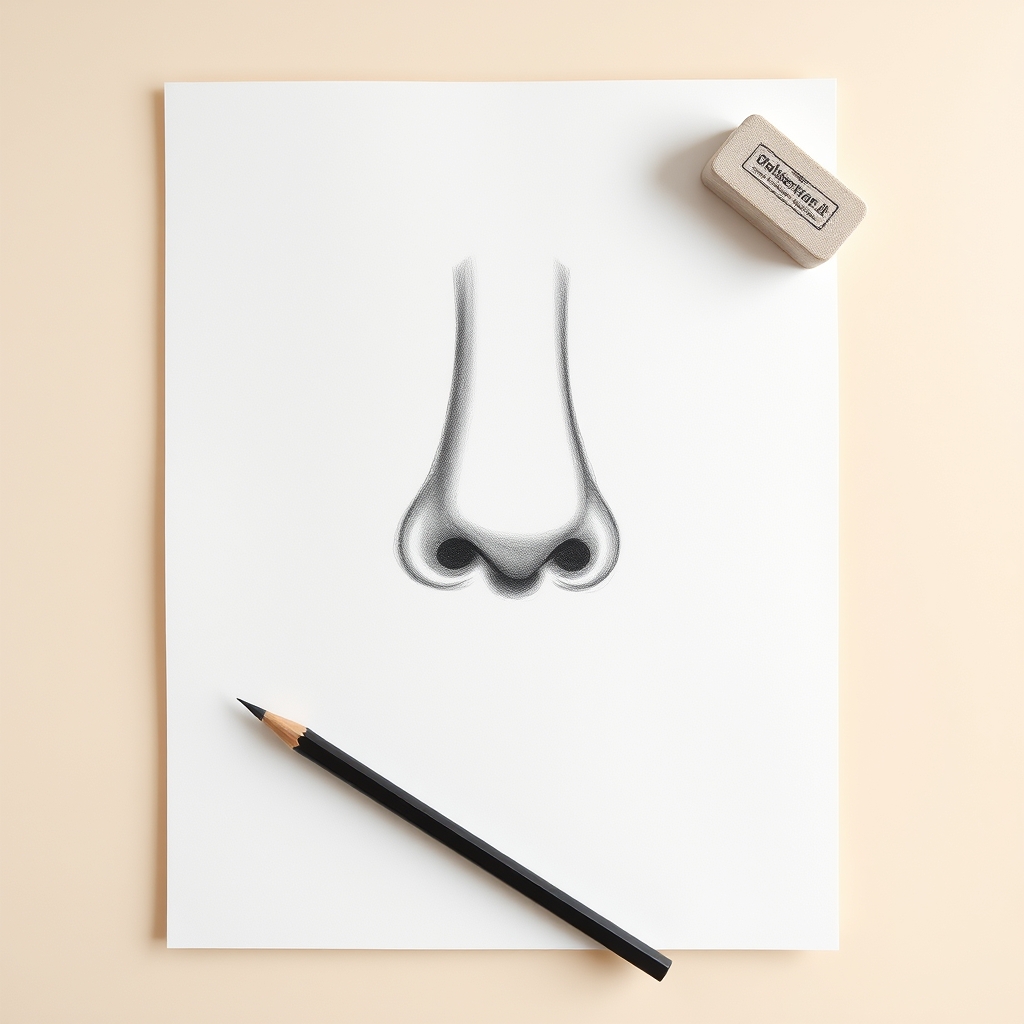
To draw a nose, start with a light circle for the ball of the nose and a vertical center line through it. Wrap a rounded wing around each side of the ball and tuck a comma-shaped nostril underneath each wing, then run two soft broken lines up for the bridge. Finish by shading: darkest inside the nostrils, a soft shadow under the ball and down one side of the bridge, and a small highlight lifted back out of the tip.
Key takeaways
- A nose is described by value, not outline — a hard border all the way around makes it look pasted on.
- The ball of the nose is roughly as wide as one eye, and beginners almost always draw it too small.
- Nostrils are commas tucked under the wings, not circles sitting beside them.
- Shade one side only; even shading on both sides cancels out the form.
- In profile only one nostril is visible, as a dark slit behind the wing.
- Erase the construction circle last, after the shading is settled.
A nose has almost no hard edges. That is the whole problem. Eyes have lids, lips have a clear border, but a nose is a soft form that only becomes visible where light stops falling on it, which means it cannot be drawn the way beginners instinctively draw everything else.
Outlining a nose is what makes it look pasted on. A real nose is a ball at the tip with two wings wrapping around it and a bridge running back up between the eyes, and it reads as three-dimensional only once the shadow under that ball is in place.
Build it as a form and shade it last. Three steps for the front view, one more for the profile, and every photograph below is the same drawing carried one stage further.
What You Need Before You Start
- An HB pencil for the construction circles and a 2B or 4B for the shadows
- A blending stump or a folded tissue, since nose shading has to stay soft
- A kneaded eraser for lifting the highlight back out of the tip
- A mirror, or your own nose in side view, lit from one side by a lamp
Light one side only. A nose lit flat from the front loses every shadow that describes its shape, which is exactly why noses photographed with a phone flash look like a smudge with two holes in it.
Step 1: Start With a Ball and a Center Line
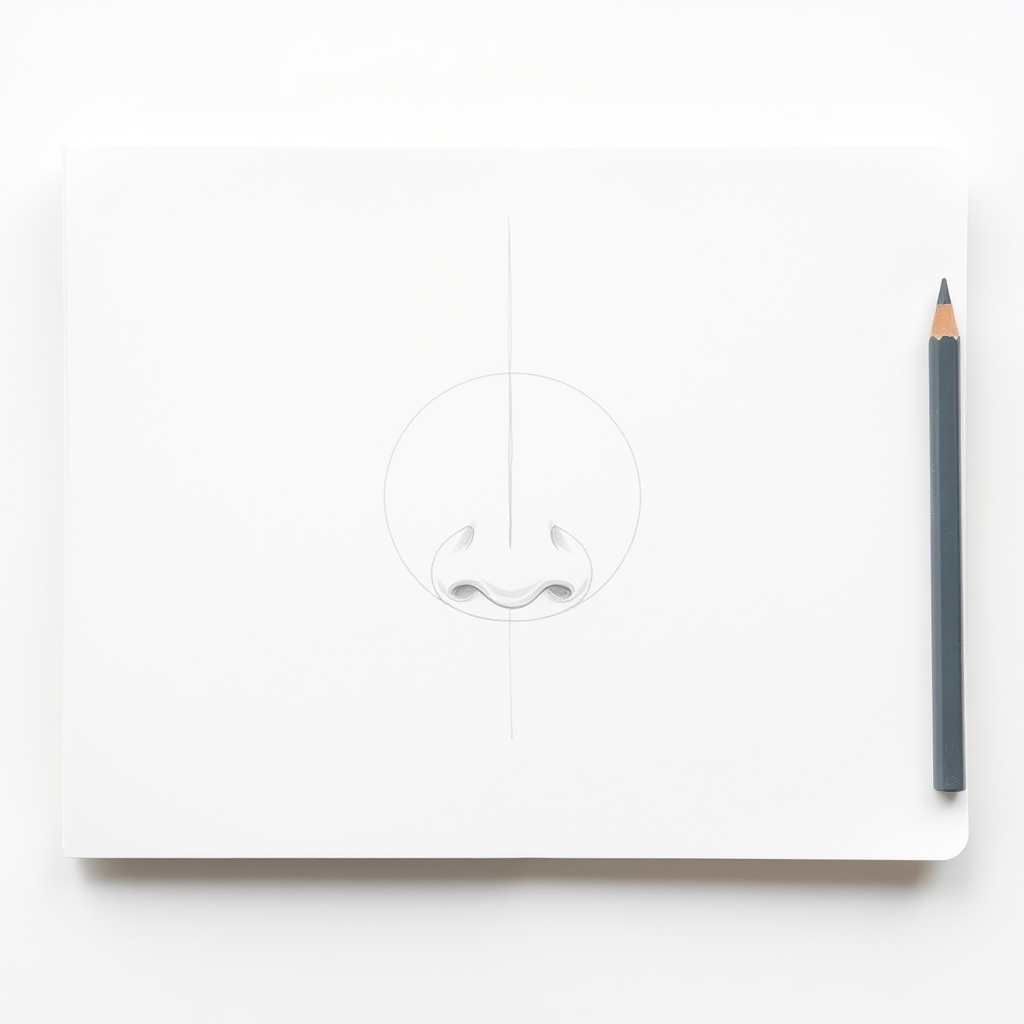
Draw one light circle for the ball of the nose and a vertical line straight down through the middle of it. That line is your symmetry guide, and it is the single cheapest insurance against the lopsided nose that ruins an otherwise good portrait. Keep both marks faint enough to lift out later.
The circle is bigger than you think. On most faces the ball of the nose is roughly as wide as one eye, and beginners routinely draw it half that size, which is why their noses end up looking pinched and doll-like on an otherwise adult face.
Step 2: Wrap the Wings Around and Tuck the Nostrils Under
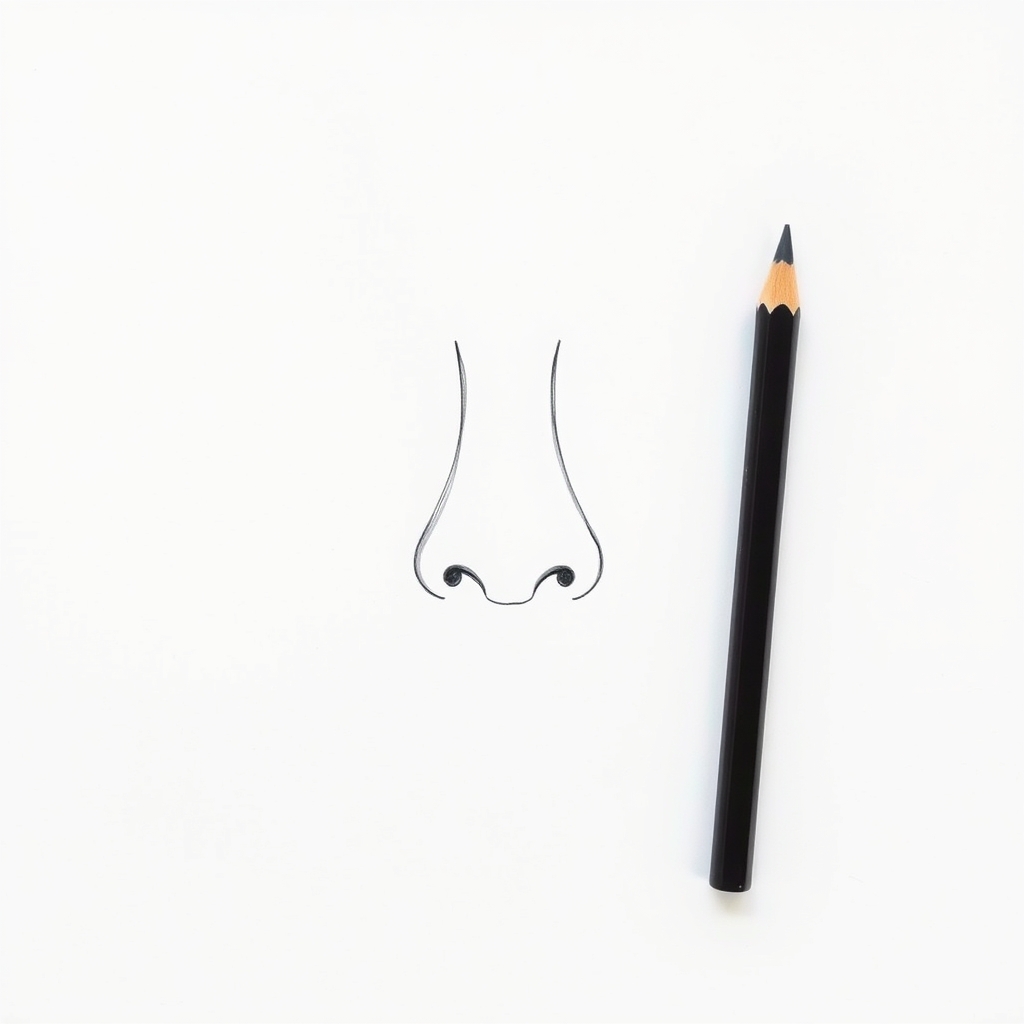
A wing goes on each side of the ball, curving down and back like a shell wrapping around it. Then the two nostrils, which are commas rather than ovals, and they sit underneath the wings rather than beside them. Drawing nostrils as two dark circles facing the viewer is the fastest way to turn a nose into a pig snout.
Run two soft tapering lines up from the wings for the bridge, and keep them broken. The sides of the bridge are a change of plane, not an edge, so a continuous hard line there reads as a scar. Let the line fade out entirely somewhere between the tip and the brow.
Step 3: Let the Shadow Build the Form
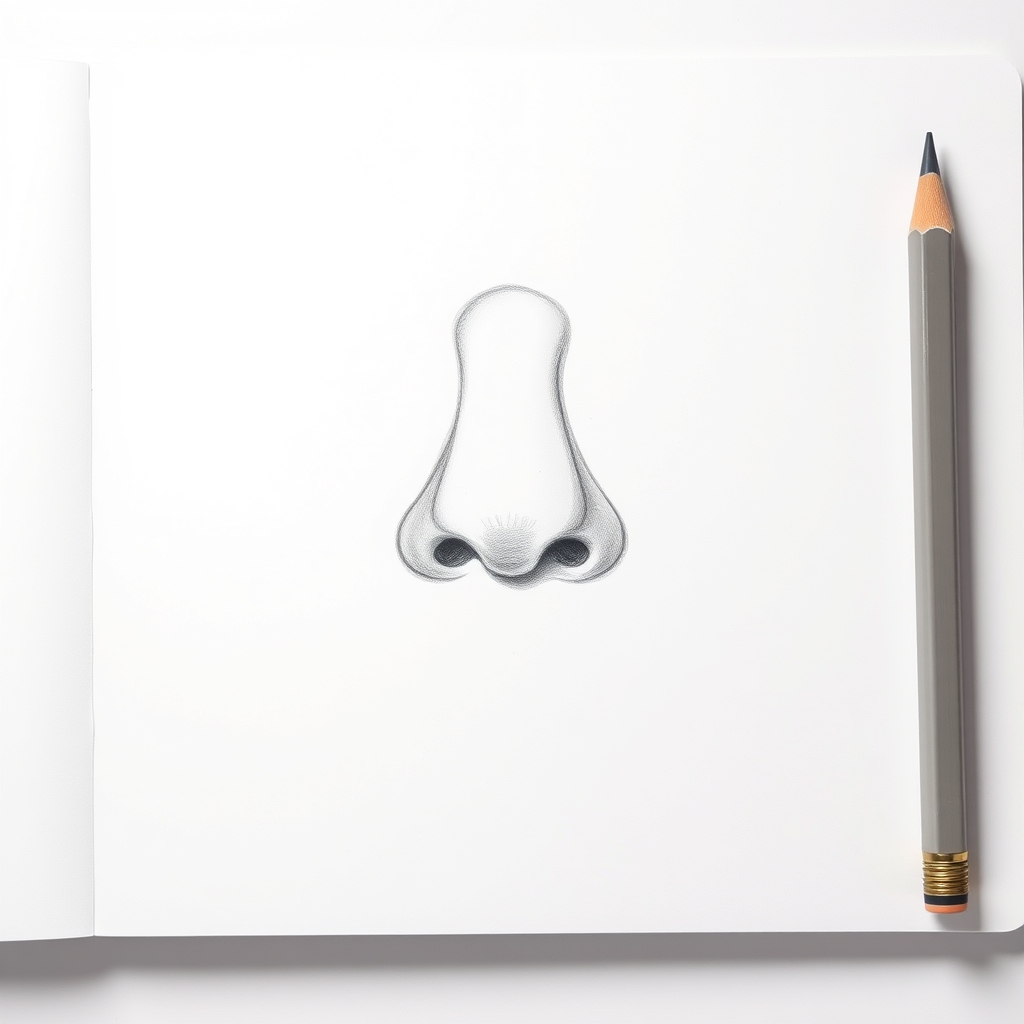
This is where the nose becomes solid. Put the darkest value inside the two nostril openings, a softer shadow directly under the ball where it casts onto the lip area, and a mid grey down whichever side of the bridge faces away from your light. Blend those transitions until no stroke is individually visible.
Then lift a small highlight back out of the tip with the kneaded eraser, and leave the top ridge of the bridge almost untouched white. That single bright spot on the ball is what convinces the eye it is looking at something round, and it costs one second at the very end.
Erase your construction circle and center line last, once the shading is settled. Removing them early takes away the only reference you have for keeping both sides even.
Drawing the Nose From the Side
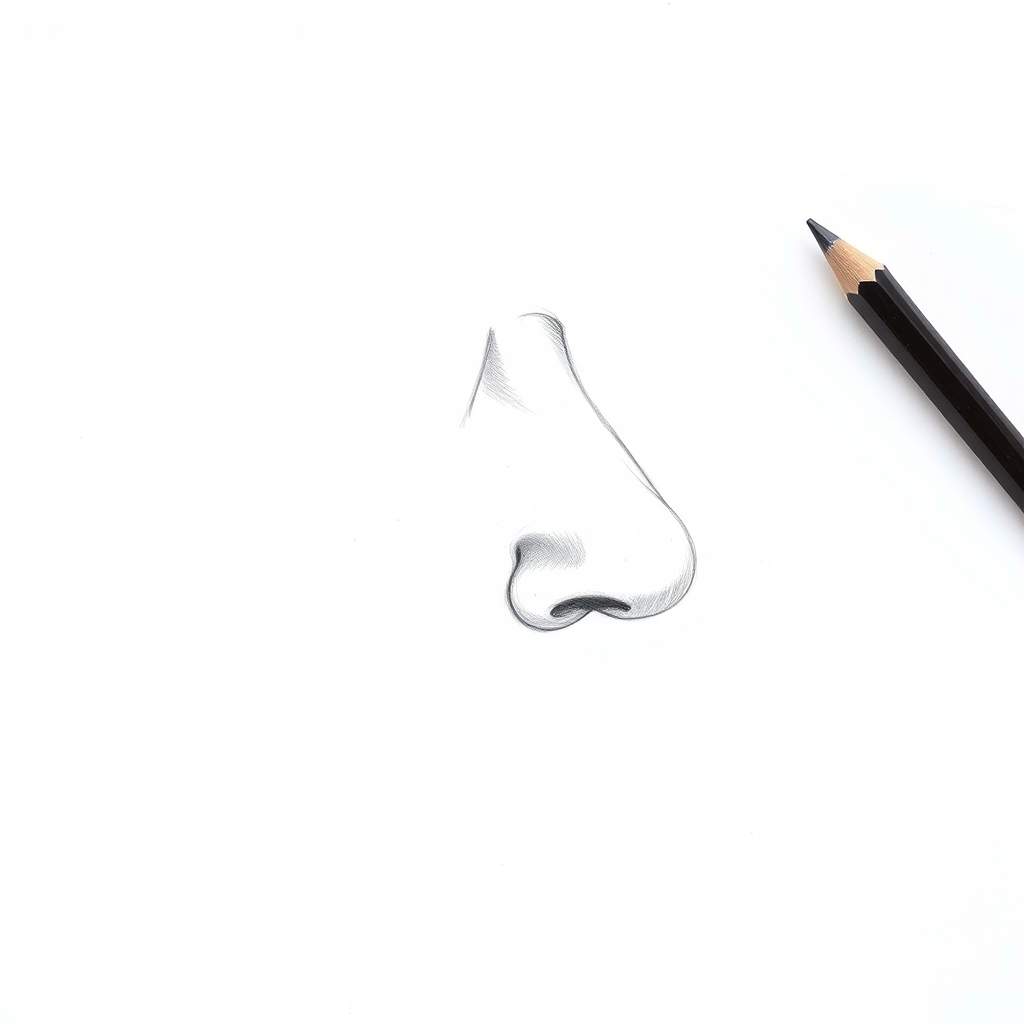
The profile is one continuous line and four events along it: a dip where the bridge meets the brow, a long straight or gently curved run down the length, a rounded turn at the tip, and a sharp tuck back underneath to the base. Get those four in the right order and almost any nose shape becomes possible.
Only one nostril is visible from the side, and it reads as a dark curved slit sitting behind the wing rather than on it. Drawing both nostrils in a profile view is a common slip that instantly flattens the whole head.
Four Mistakes That Make a Nose Look Wrong
- Outlining the whole nose. A hard border all the way around makes it look stuck onto the face. Most of a nose has no edge at all, only a change in value.
- Nostrils drawn as circles. They are commas seen at an angle, tucked under the wings, and they are almost never fully round from the front.
- A ball drawn too small. It should be close to the width of one eye. Undersizing it is the most common single cause of a childlike nose on an adult face.
- Shading evenly on both sides. One side faces the light and one does not. Symmetric shading cancels out the form you just built.
None of these is a rendering problem. All four are decisions made before any shading starts, which is why the construction circle in step one is worth the thirty seconds it takes.
Frequently Asked Questions
How do you draw a nose step by step for beginners?
Draw a light circle for the ball of the nose with a vertical center line through it, wrap a rounded wing around each side and tuck a comma-shaped nostril under each wing, then shade the nostrils darkest, add a soft shadow beneath the ball and down one side of the bridge, and lift a highlight back out of the tip.
Why do my noses always look flat?
Almost always because the drawing is an outline with two dark nostrils and nothing in between. A nose is described by value, not line. Add a shadow under the ball and along one side of the bridge and the same drawing will read as round immediately.
How big should a nose be on a face?
On a front-facing adult head the base of the nose sits roughly halfway between the eyebrow line and the chin, and its width is about the same as the gap between the two eyes. Checking those two measurements catches most placement errors before any detail goes in.
How do you draw an anime or cartoon nose?
Stylized noses keep the shadow and drop the outline. Most anime noses are a single small mark placed exactly where the shadow under the ball would fall, which is why they still read correctly despite having almost no drawing in them. Put that mark in the wrong place and the face looks off even though nothing is technically drawn wrong.
Should I draw the nose before the eyes?
Place all the features lightly first, then finish them in any order. The nose is a useful anchor because it sits on the center line, so getting its position right early keeps the eyes and mouth from drifting off to one side.
Where to Go Next
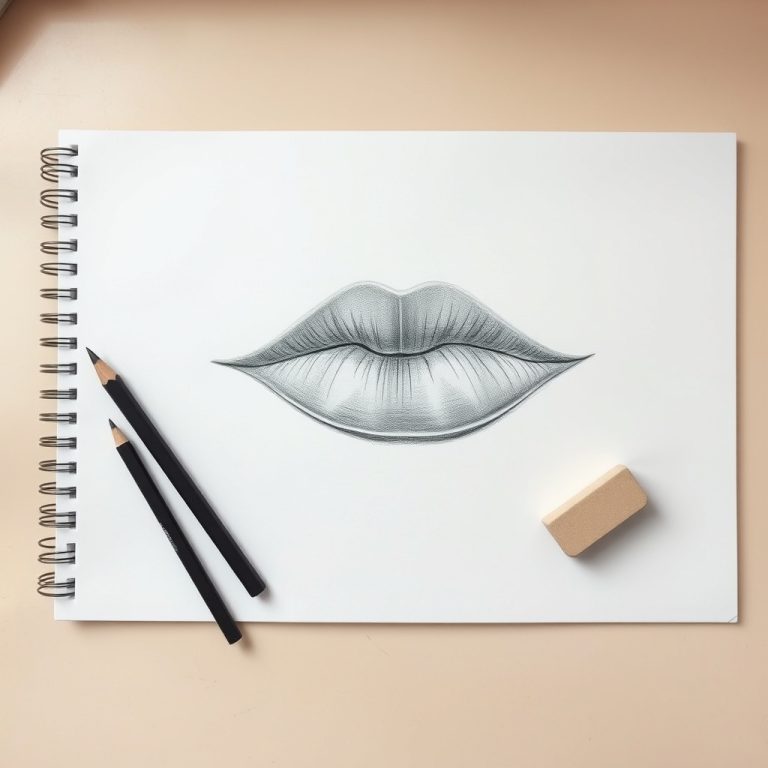
A nose rarely gets drawn on its own. Once this one behaves, the face drawing tutorial shows where it sits relative to everything else, the eye tutorial covers the feature that shares its center line, and how to draw lips handles the one directly below it.
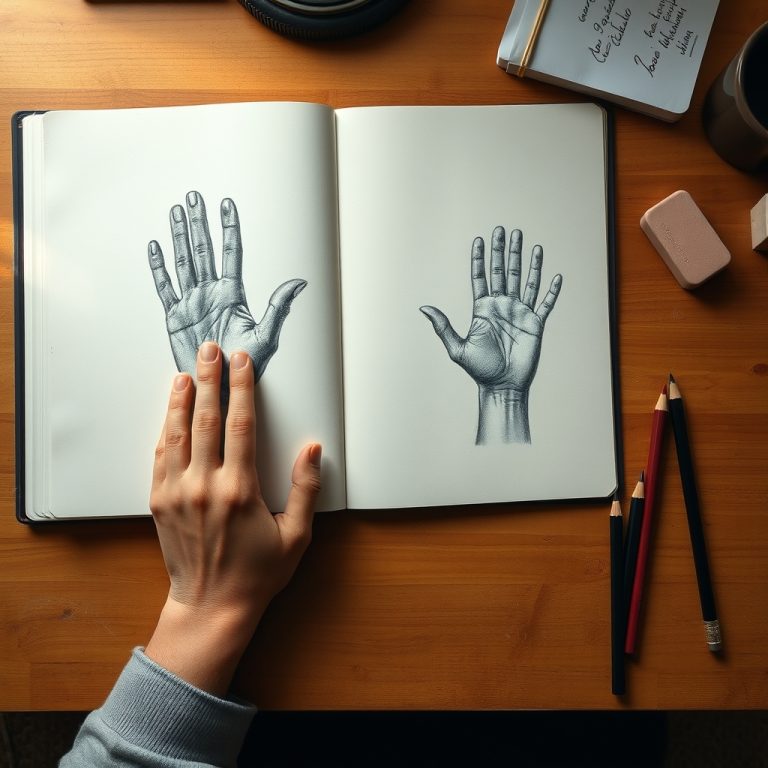
For the two subjects that fail for the same soft-form reason, see hair drawing techniques and how to draw hands. If shading itself is the sticking point, easy pencil drawing ideas drills pressure control on simpler shapes, and the drawing guide sorts every subject by the skill it trains.