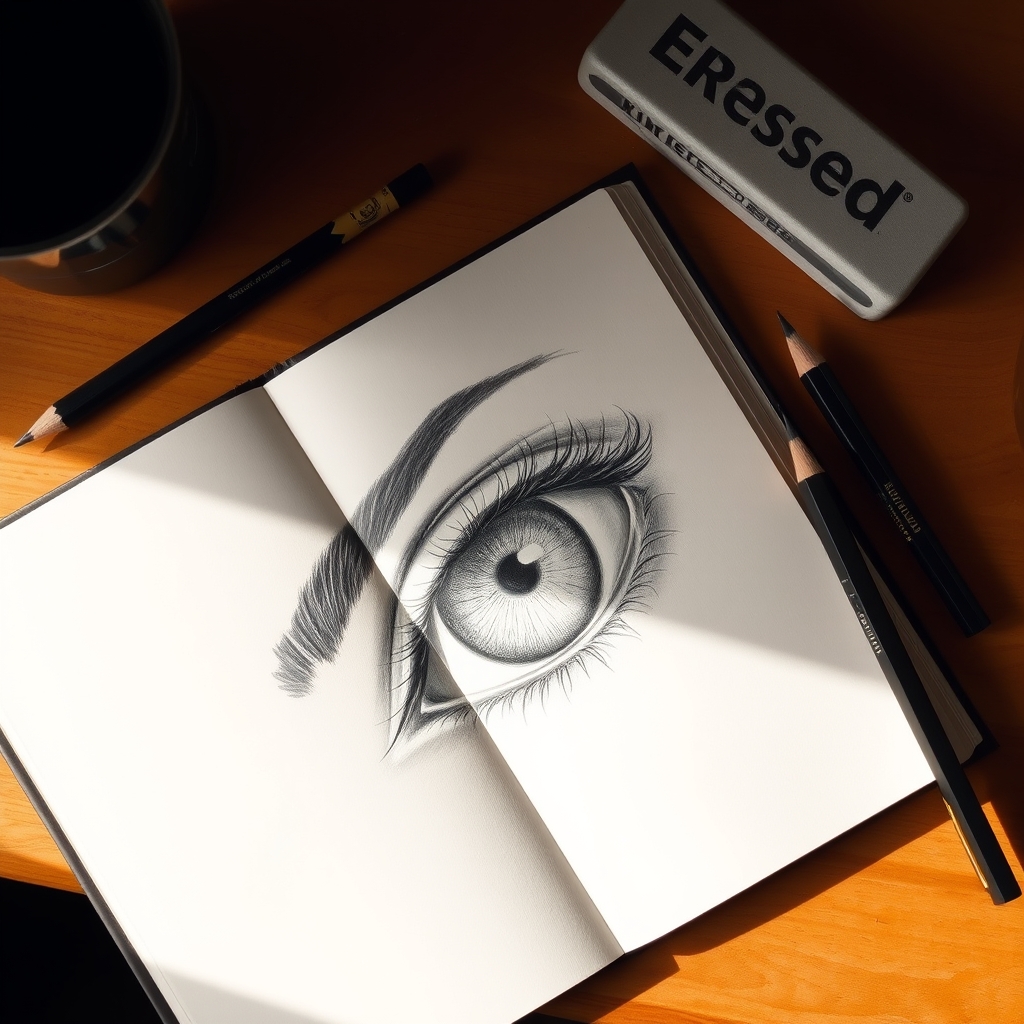
Draw the eyeball as a light circle first, then wrap an asymmetric almond opening over it. Tuck the top of the iris behind the upper lid, shade the shadow the lid casts on the eyeball, give the lower lid visible thickness, and add clumped lashes and one highlight last.
Key takeaways
- An eye is a sphere with lids wrapped over it, not a flat almond shape.
- The upper lid peaks nearer the inner corner, the lower lid dips nearer the outer corner.
- In a relaxed face the upper lid always covers the top of the iris.
- The darkest value belongs under the upper lid, not only in the pupil.
- Use one iris highlight; two or more makes the eye look like wet plastic.
Eyes are the first thing a viewer looks at in any portrait, and the first thing that gives a beginner away. The drawing is usually neat, the lashes are careful, and yet the whole face has a flat, staring, slightly dead look that is hard to explain.
The cause is almost always the same: the eye was drawn as a flat almond shape with a circle floating inside it. A real eye is a sphere sitting in a socket, with soft lids wrapped over the front of it. Once you build it in that order, the life appears on its own.
These six steps take about fifteen minutes. None of them requires steady hands, only the right sequence.
What You Need Before You Start
- An HB pencil for construction and a 4B or 6B for the darks
- A kneaded eraser, used mainly to lift the iris highlight back out
- A blending stump, or a tightly rolled corner of paper
- Paper with some tooth so the dark shadow under the lid can build up
- A reference photo lit from one clear direction, not a flash photo
Step 1: Draw the Sphere, Not the Eye
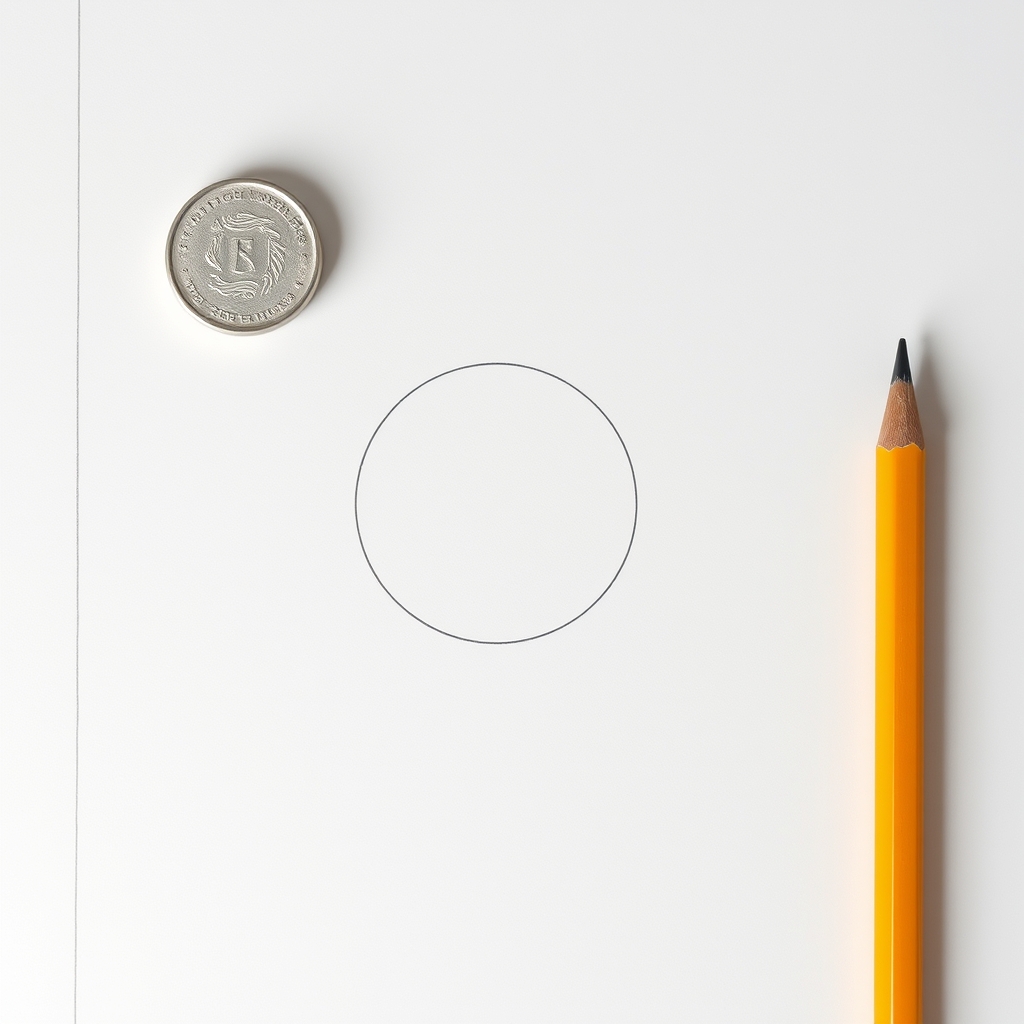
Draw a light circle. This is the eyeball, and it is considerably larger than the part you will actually see, because most of the sphere is hidden inside the skull and behind the lids.
Keep it faint, because it is scaffolding rather than a line you keep. Everything from here on gets positioned on the surface of this ball, which is what makes the finished eye read as round instead of cut out of paper.
Step 2: Wrap the Lids Over It, Off-Balance
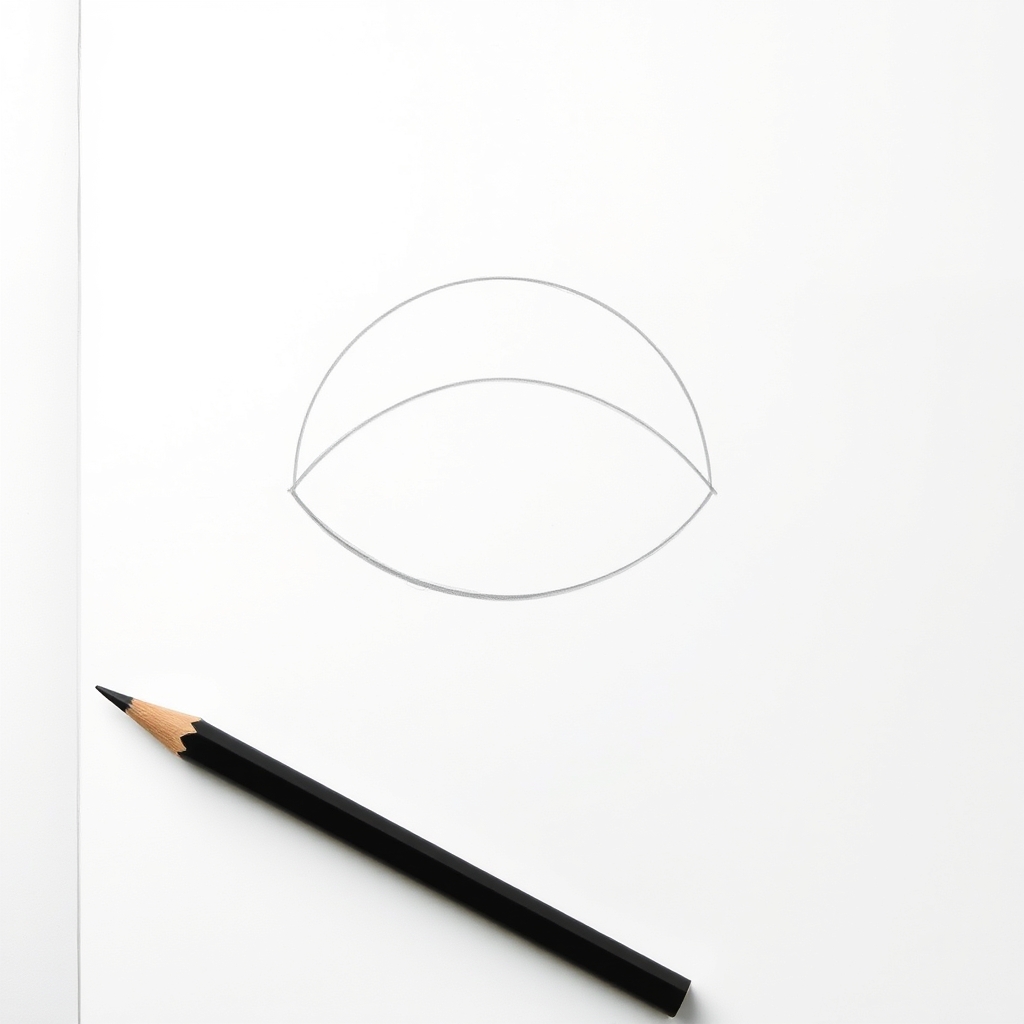
Cut the visible opening over the sphere. The shape is an almond, but a lopsided one: the upper lid reaches its highest point nearer the inner corner, and the lower lid reaches its lowest point nearer the outer corner. The two peaks are never above each other.
That offset is what stops an eye looking like a leaf. Draw both curves peaking in the middle and the result is symmetrical, decorative and immediately wrong.
Step 3: Tuck the Iris Under the Upper Lid
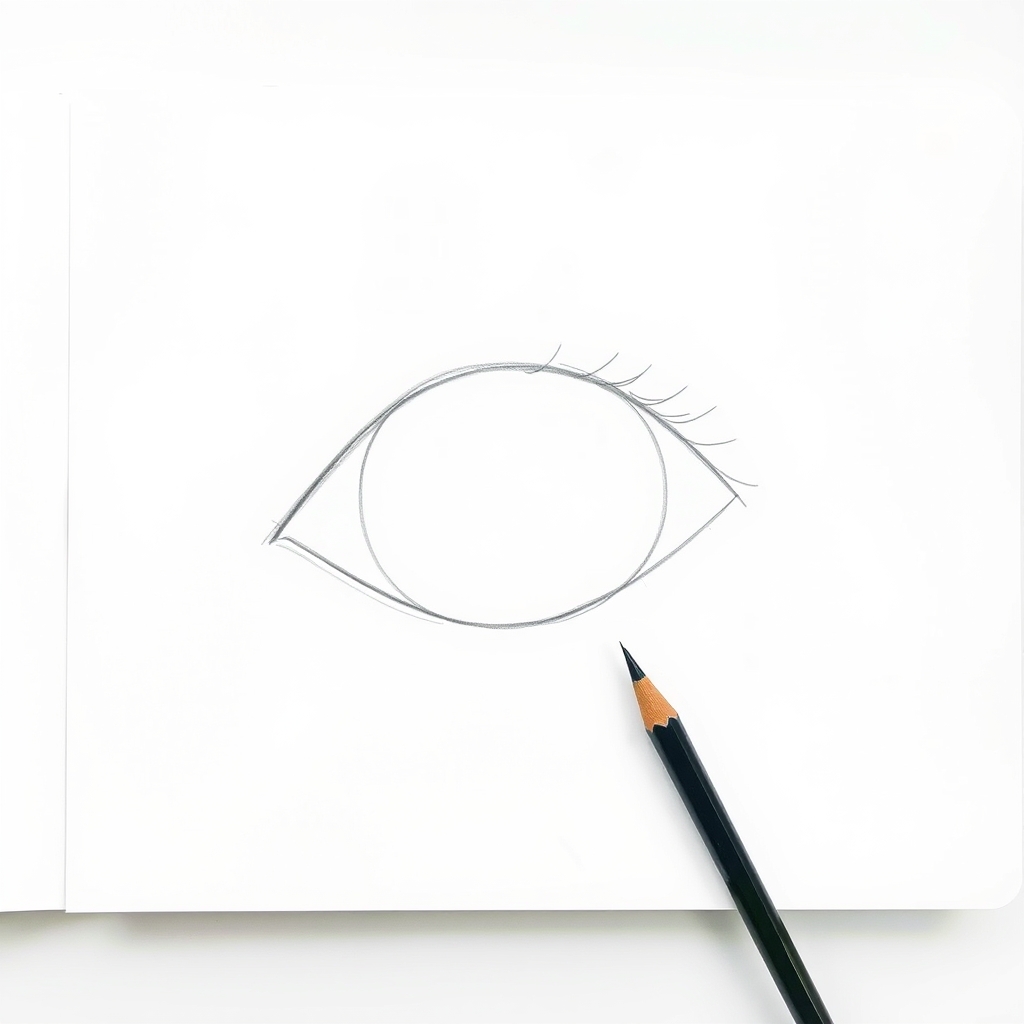
Draw the iris as a large circle, then hide the top of it behind the upper lid. In a relaxed face the upper lid always covers part of the iris. A full circle with white visible all the way around it is the anatomy of a startled or terrified expression, which is why beginner portraits so often look alarmed.
Make the iris larger than feels right, too. Beginners consistently draw it too small, which reads as a cold or distant stare.
Step 4: Put the Darkest Value Under the Lid, Not in the Pupil
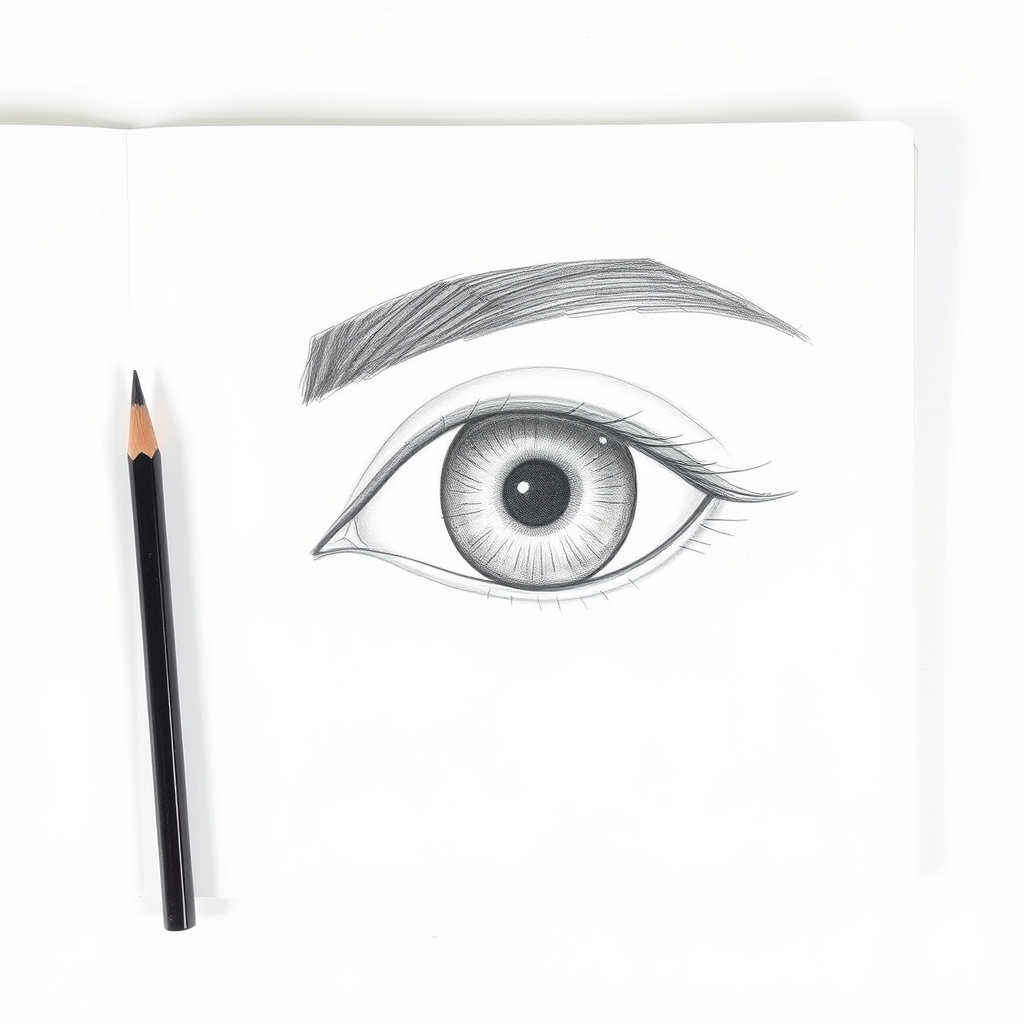
Fill the pupil solid black, then do the thing most people skip: shade a band of shadow across the top of the eyeball where the upper lid overhangs it. That lid has thickness and it casts a shadow, and this shadow is what tells the viewer the eye is a ball rather than a disc.
Keep the lower half of the white pale but never pure white. A fully white eyeball looks like plastic, because in reality it curves away from the light at the bottom too.
Step 5: Give the Lower Lid Thickness
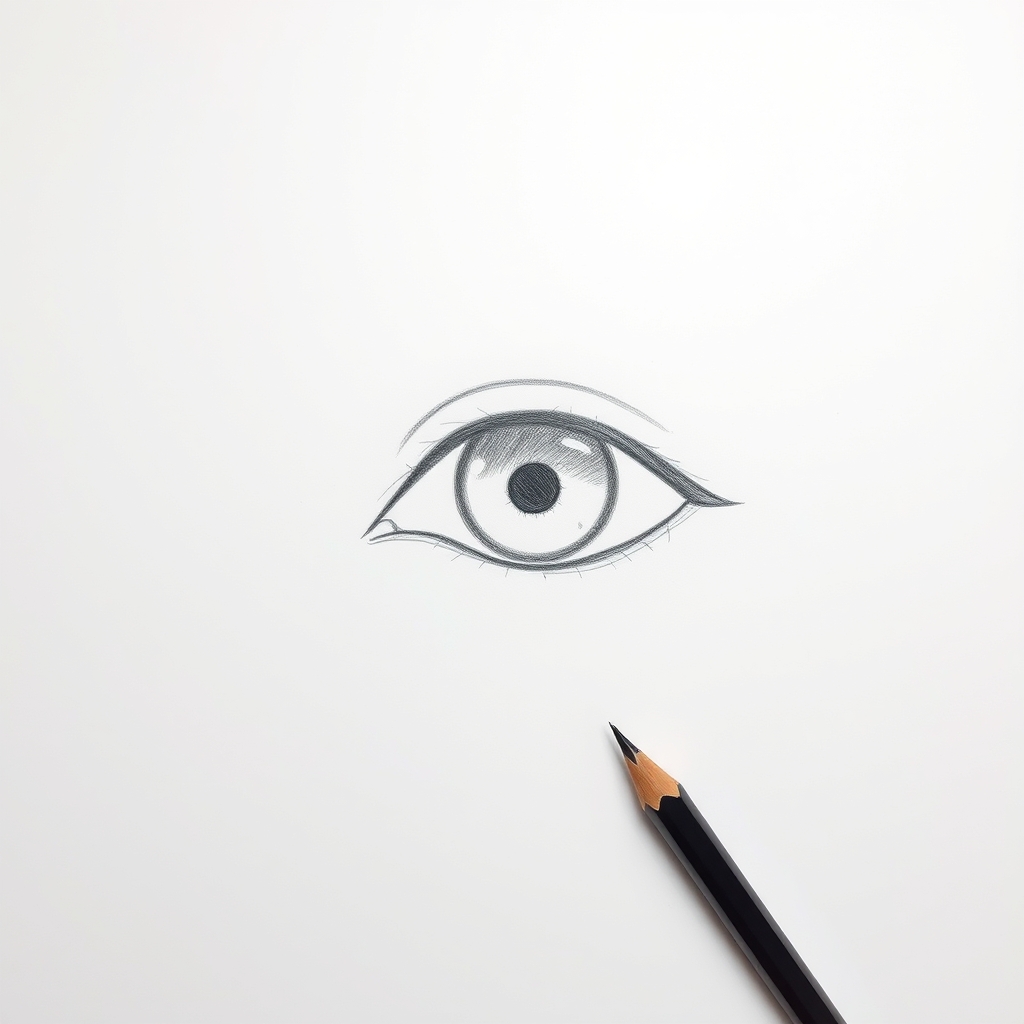
The lower lid is not a line. It is a narrow rim of flesh with a top edge that catches the light, and drawing it as a single stroke is one of the quickest tells of a beginner drawing.
Add the tear duct at the inner corner as a small soft triangle, slightly pinker and lower than you expect. These two details cost thirty seconds and do more for realism than an hour of careful lash work.
Step 6: Lashes and the Highlight, Last
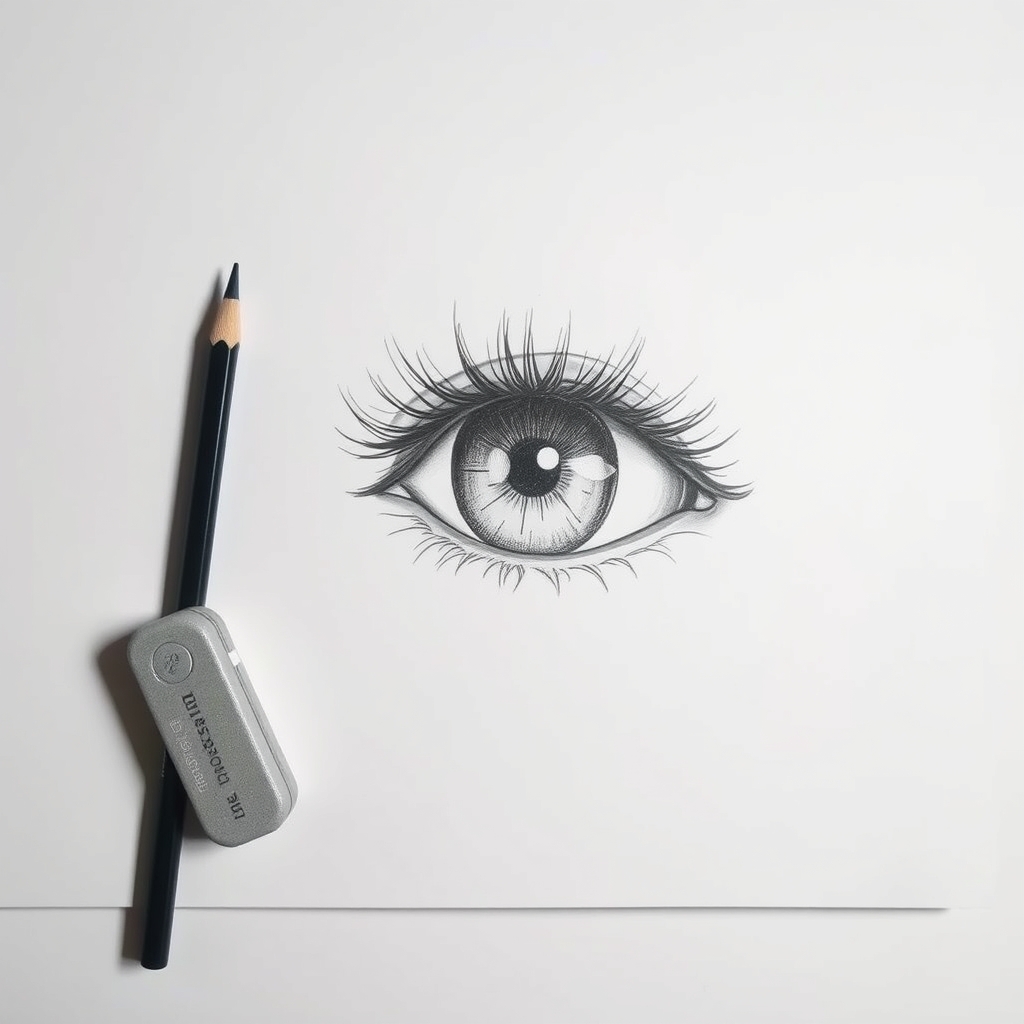
Lashes grow out of the lid line, not off the edge of the eyeball, and they grow in clumps rather than evenly spaced. They are shortest at the inner corner and longest and densest at the outer corner, where they sweep outward and up.
Finally, lift one small highlight out of the iris with the kneaded eraser, placed on the opposite side from your light source. One highlight reads as alive. Two reads as wet plastic.
The Mistake That Makes Eyes Look Flat
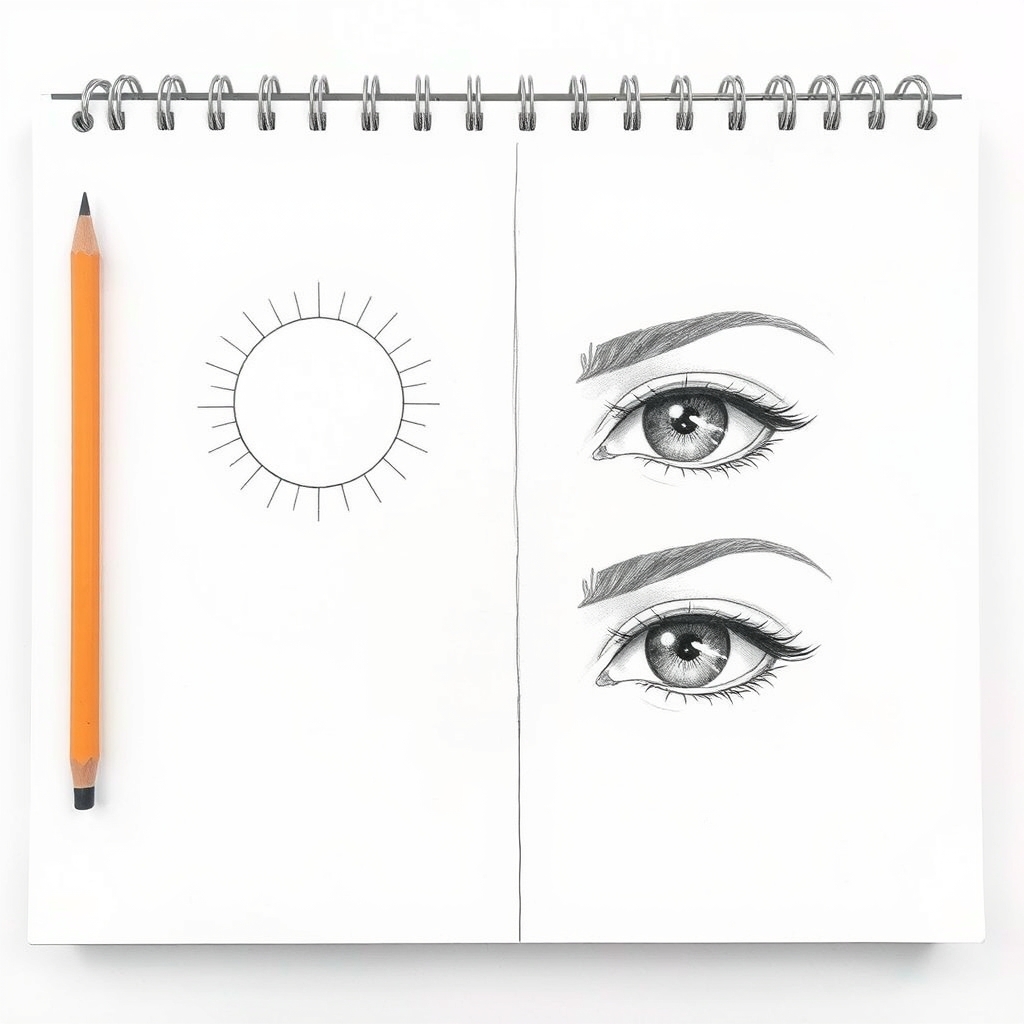
The eye on the left has four problems, and they compound. The almond is symmetrical, the iris floats as a complete circle with white all around it, there is no shadow under the upper lid, and the lashes radiate evenly like sun rays.
The one on the right fixes all four, and none of the fixes is a hand skill. They are things you decide before you start shading: build on a sphere, offset the lid peaks, hide the top of the iris, and shade under the lid.
How the Eye Changes With Angle and Age
- Three-quarter view. The far eye compresses horizontally but keeps its height, and the iris becomes a narrow ellipse rather than a circle. The sphere underneath is what makes this predictable.
- Looking down. The upper lid covers more of the iris and the lashes point downward. Almost no white shows above the iris.
- Children. Larger iris relative to the opening, and a smoother lid with less crease, which is a large part of why child faces read as young.
- Older faces. The upper lid crease sits lower and closer to the lashes, and the skin above it folds over. Drawing that fold is often the difference between forty and sixty.
Once single eyes are reliable, the next problem is placing two of them correctly on a head, which is a proportion question rather than a rendering one. Our face drawing tutorial and the five-eye rule covers exactly that spacing.
Frequently Asked Questions
How do you draw an eye step by step?
Draw the eyeball as a light circle first, wrap an asymmetric almond opening over it, tuck the top of the iris behind the upper lid, shade the lid shadow across the eyeball, give the lower lid visible thickness, then add clumped lashes and one highlight.
Why do my drawn eyes look flat or dead?
Usually because there is no shadow cast by the upper lid onto the eyeball. Without it the eye reads as a flat disc. Adding that one band of shading fixes more drawings than any other single change. For the other faults that make work look flat, see why drawings look bad and the flip test.
Should the iris be a full circle?
No. In a relaxed expression the upper lid always covers the top of the iris. A complete circle with white visible all the way around is anatomically the look of shock, which is why it makes portraits feel unsettling.
Where should the highlight go in an eye?
On the opposite side of the iris from your light source, straddling the edge of the pupil. Keep it to one highlight; adding several makes the eye look glassy rather than living.
How do you draw anime eyes differently?
Anime exaggerates the same anatomy rather than replacing it. The iris becomes much larger, the upper lid is drawn as a heavy dark band, and highlights are enlarged into shapes. The lid still covers the top of the iris, which is why stylized eyes built on this method still read correctly.
Where to Go Next
Eyes, hair and the overall head are the three parts of a portrait that fail independently. Our hair drawing techniques use the same build-the-mass-first logic, and cute girl drawing ideas put both together on a simpler stylized face. The nose is the third feature sitting on that same center line, and drawing a nose depends far more on shadow than on line. Lips complete the set, and they hinge on one wavy line most people never darken enough.
For another subject built strictly from the inside out, see how to draw a rose step by step. The drawing guide explains which subject trains which skill, and the art supplies guide covers the pencils and paper worth owning.