A ladybug reads correctly when the black shield behind the head, the pronotum, is drawn as its own segment. The tiny head tucks under it, the six legs attach to the thorax, and a straight seam splits the two wing cases.
Key takeaways
- The black shield behind the head is the pronotum, and it usually carries two white patches.
- Spot count identifies the species rather than the beetle's age; a seven-spot ladybird always has seven.
- A single straight seam splits the two elytra, and every spot pattern must mirror across it.
- All six legs attach to the thorax, well forward, never along the sides of the domed shell.
- Ladybug larvae look nothing like adults, being long, spiky and usually black with orange marks.
Almost every ladybug drawing skips the same part. Between the head and the wing cases sits a separate black shield called the pronotum, usually marked with two white patches, and the tiny head tucks underneath it. Add that segment and the beetle stops looking like a spotted dome with a face.
Two more rules finish the job. A single straight seam splits the two wing cases, so every spot pattern has to mirror across it, and all six legs attach forward on the thorax rather than along the sides of the shell. Those three details carry any level of finish.
One myth is worth clearing up while you draw. Spot count has nothing to do with age. It identifies the species, so a seven-spot ladybird carries seven for life. For related insect structure, nature watercolor studies cover the same observational habits.
The twenty-nine portraits below run through watercolor, sumi-e, block print, alcohol ink, oil pastel and graphite, set on leaves, mushrooms, dandelions and snowberries. For the plants they sit on, flower drawing ideas and watercolor flower art pair naturally with these.
Compiled by the GS Art Zone editorial team. Last updated August 2026. Each idea is paired with the specific step that produces the effect, so you can go from the reference straight to paper.
What You Need Before You Start
- A warm red plus a deeper crimson, since a ladybug shell is never one flat color
- Waterproof black ink, because red laid over water-soluble ink will turn muddy immediately
- A white gel pen for the pronotum patches and the hard highlight on the dome
- A 0.05 fine liner for leg segments, which are thinner than most people draw them
- Green in two temperatures, one yellow-leaning and one blue-leaning, for the leaves and stems
1. Cluster of Ladybugs on Pale Wash
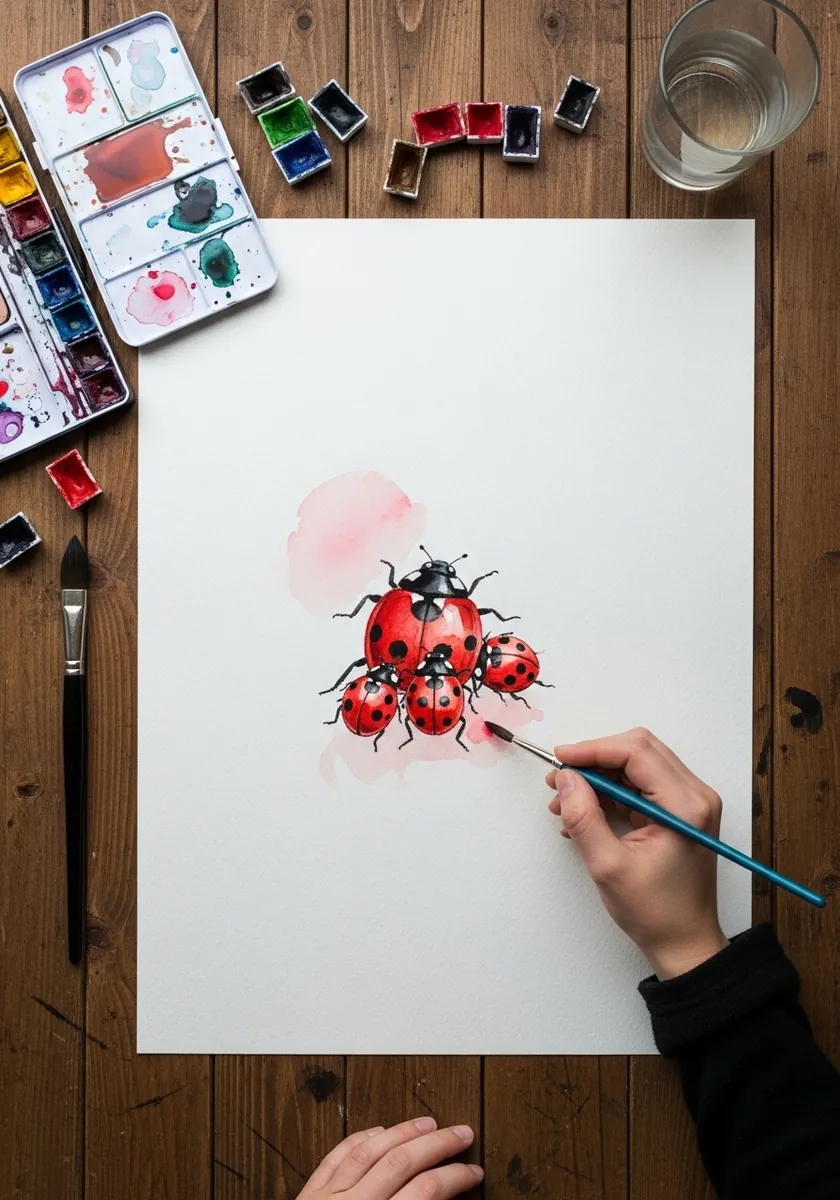
Grouping insects means solving overlap first. Decide which beetle sits in front and let its outline cut cleanly through the one behind, with no shared edges anywhere. A pale wash beneath the cluster ties the group together without adding any detail that would compete.
2. Graphite Ladybugs on a Lily
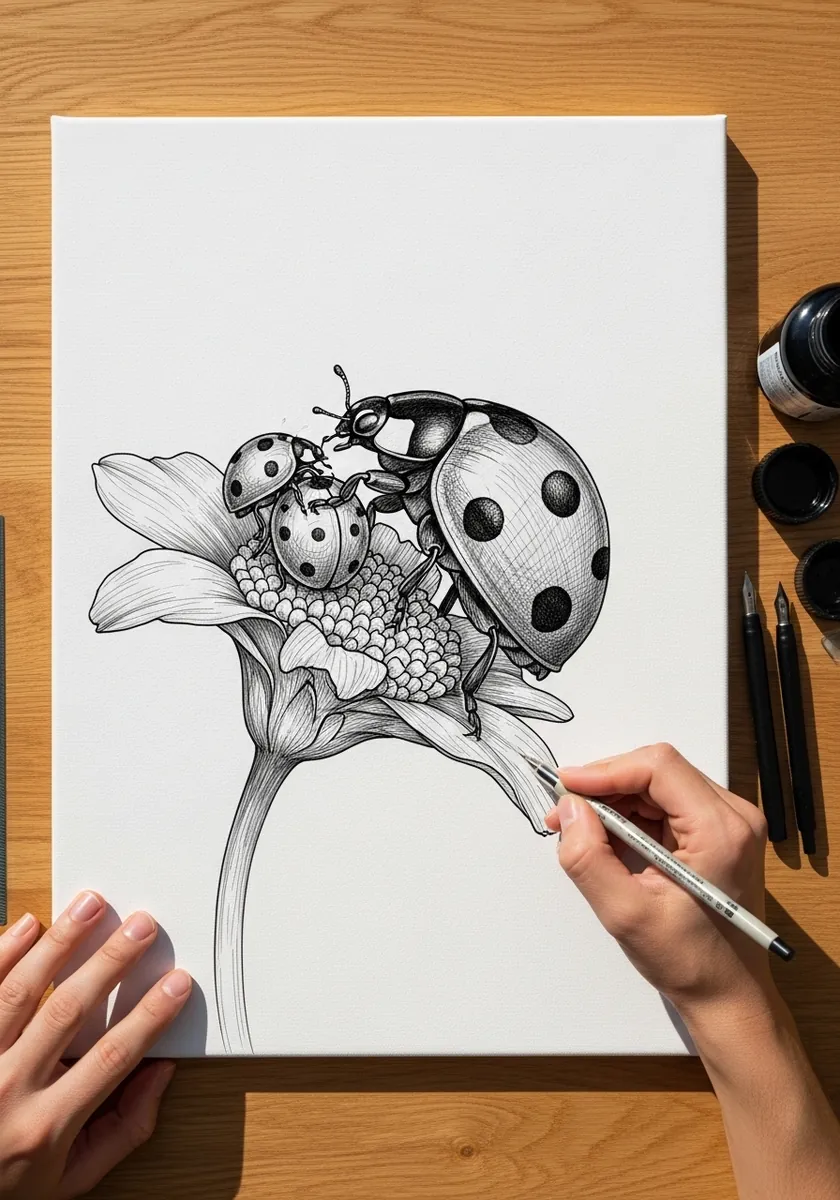
Monochrome forces you to solve the spots as value rather than color, so keep the shell mid-gray, push the spots to near black, and reserve the paper white for the pronotum patches and the dome highlight, letting the petals stay lighter so the beetles hold attention.
3. Ladybugs on Red Toadstools
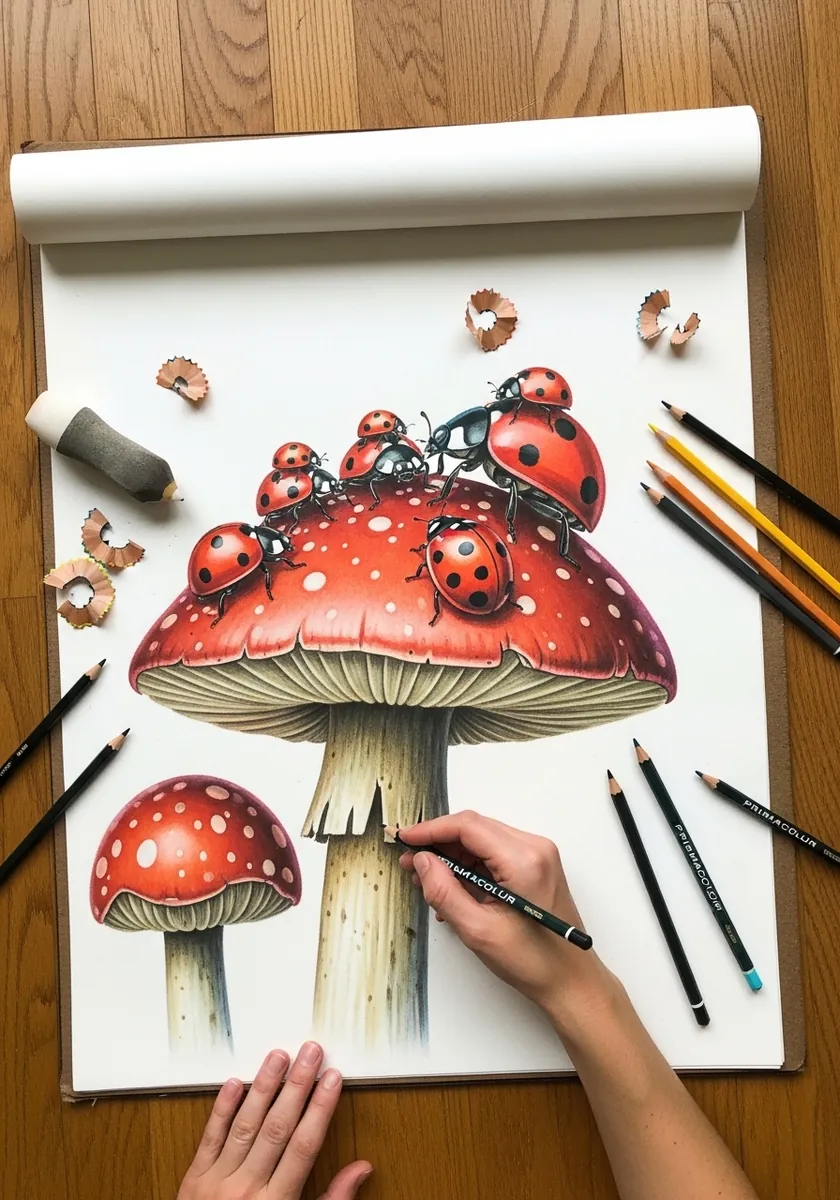
Pairing two spotted subjects is a real risk. Solve it by scale: make the mushroom spots much larger and softer edged, and keep the beetle spots small and hard. Without that separation the eye cannot tell where the insect ends and the fungus begins.
4. Ladybugs on a Sunlit Leaf
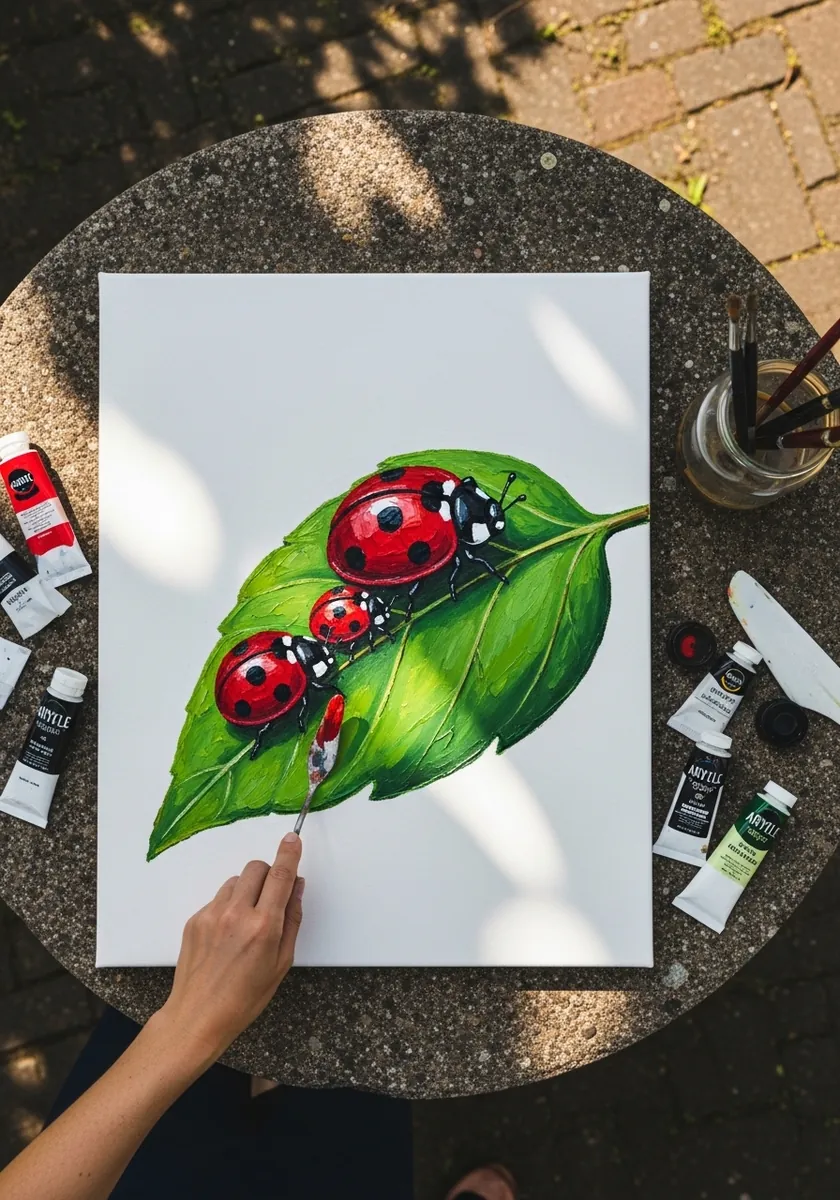
Leaf veins give you a ready-made composition. Run the midrib as a diagonal and place the beetles along it at uneven intervals, since insects never space themselves evenly. Let one sit slightly off the leaf edge so the arrangement does not feel arranged.
5. Minimal Ladybug Study With Gray Wash
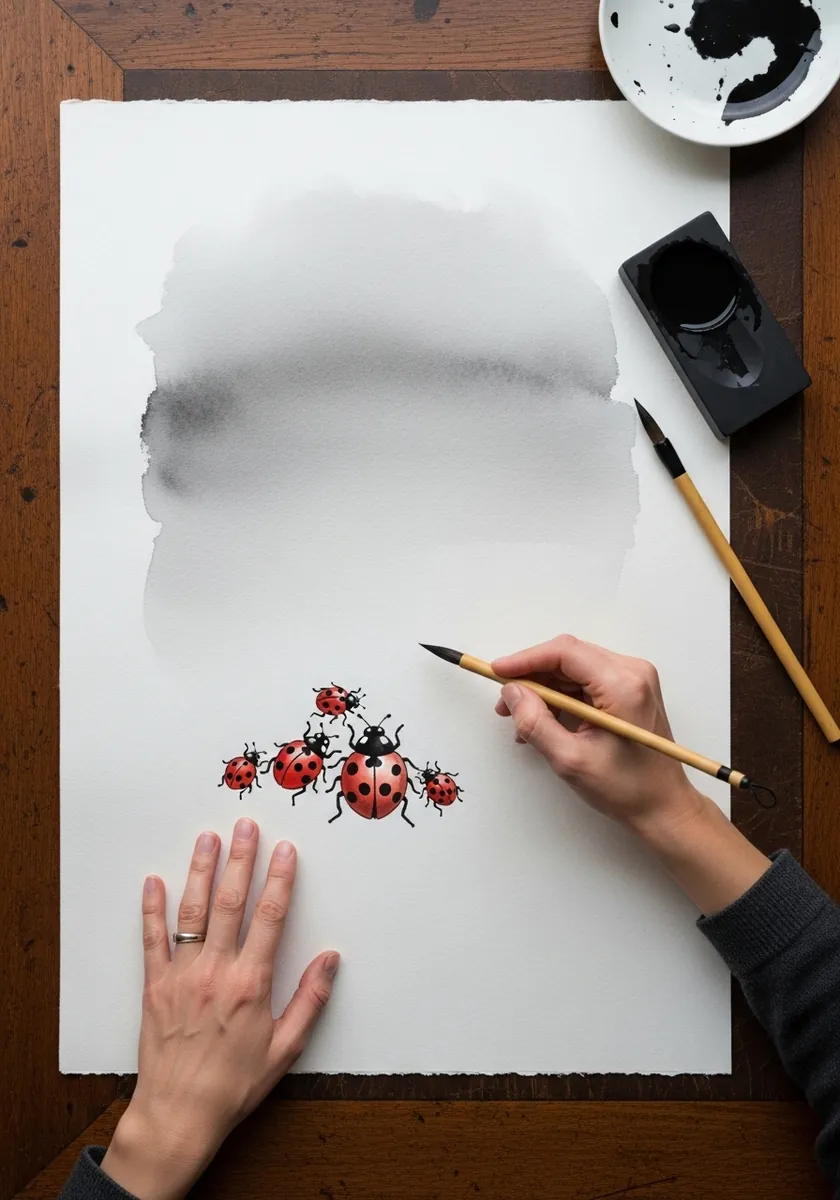
Empty space above a small subject creates atmosphere for free. Keep the beetles tiny and precise in the lower third. Float one soft gray wash across the top with nothing in it at all. Restraint of this kind is much harder than filling the page.
6. Charcoal Ladybugs Under a Full Moon
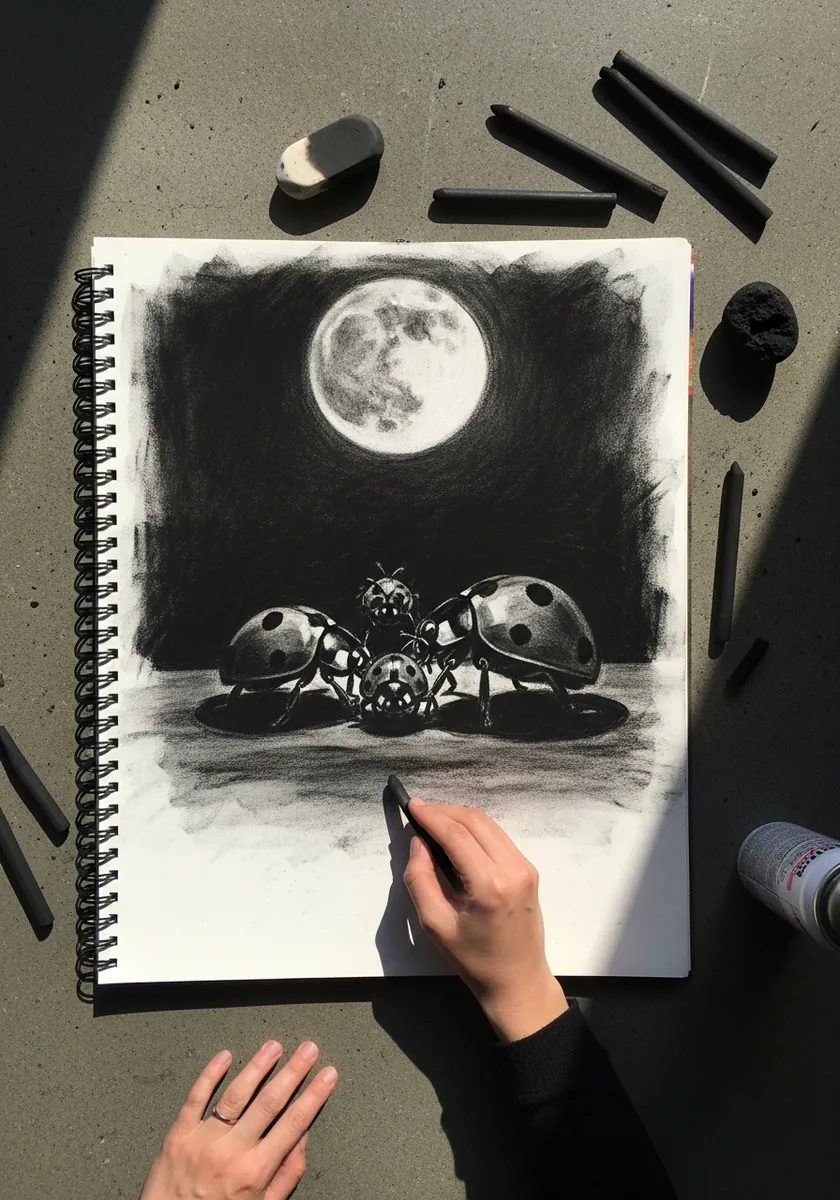
A moon behind a subject sets your value structure immediately. Keep the disc the brightest thing on the page, drop the beetles to near silhouette, and let just enough charcoal lift on their shells to show the dome. Spots survive as darker patches only.
7. Flat Graphic Ladybugs on a Hill
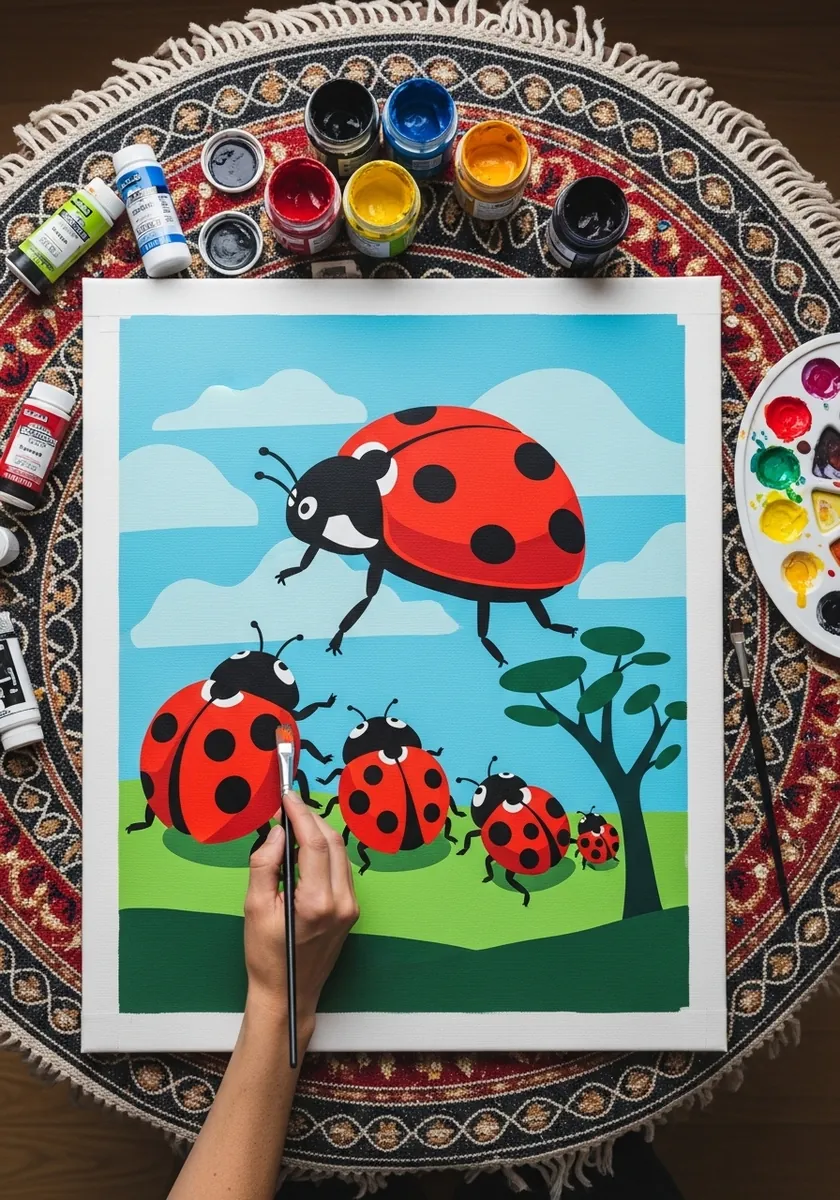
Poster styling removes shading entirely, so the silhouette has to work alone. Cut the shell as a clean oval, mark the seam, and keep every leg a uniform black stroke. Three flat colors, red, black and green, carry the whole image.
8. Fine Line Ladybugs on a Rose
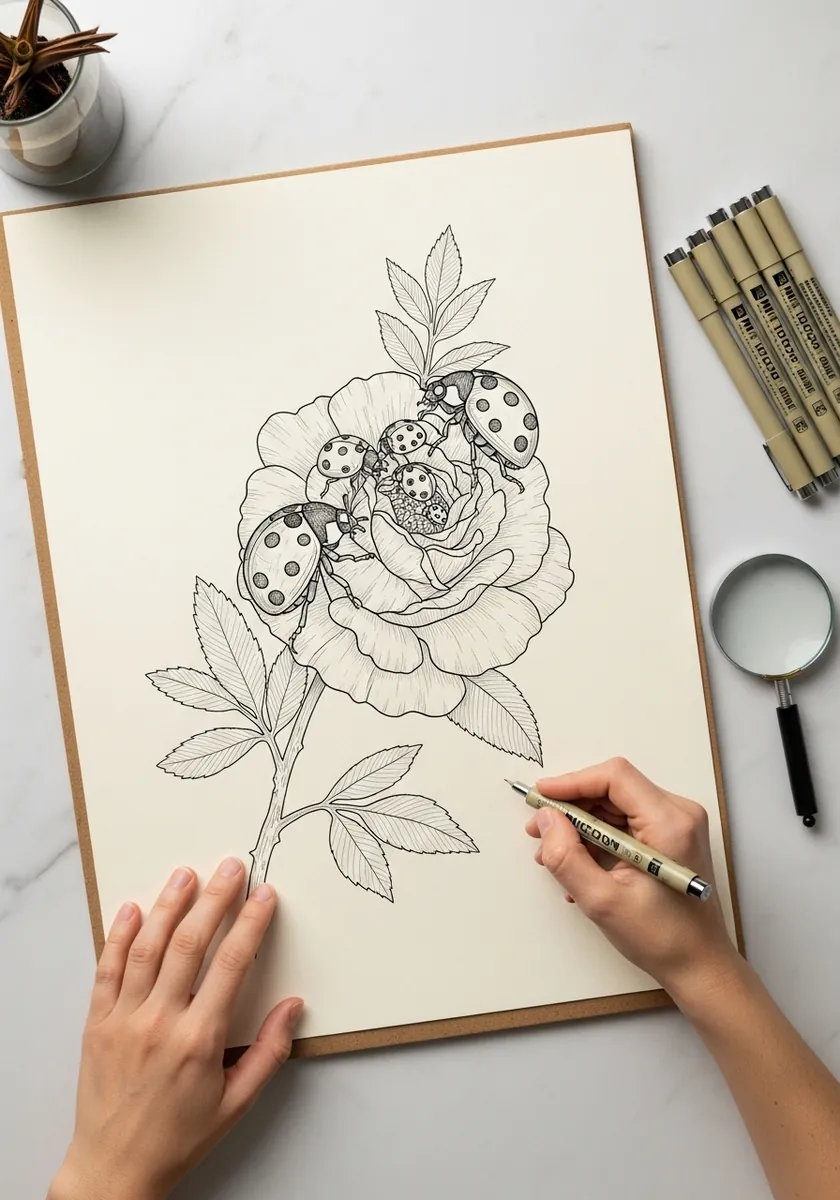
Leaving a drawing at the outline stage is a legitimate finish. Keep every line the same weight, draw the petal overlaps carefully, and stop. The unshaded beetles read as part of the same botanical study rather than as the point of it.
9. Stippled Ladybug With Scattered Dots
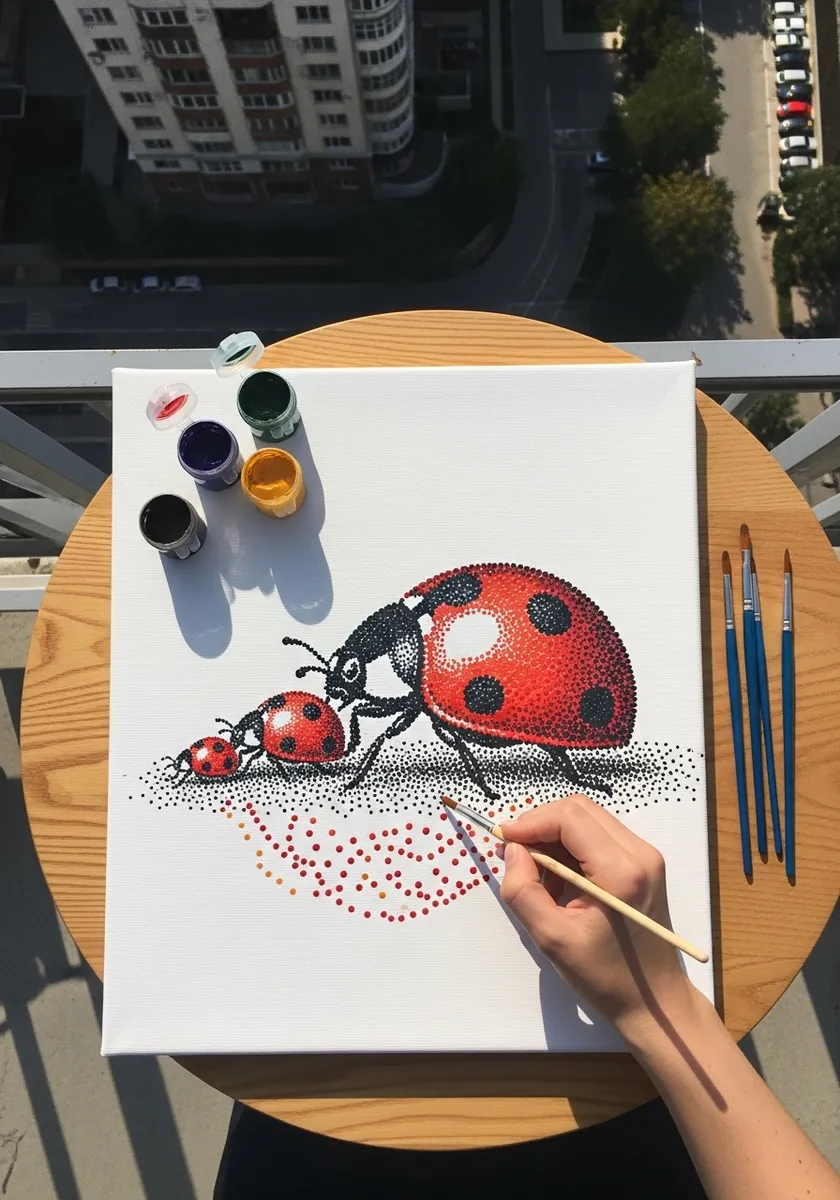
Stippling builds tone by density, not by pressure, so cluster your dots tightly along the lower curve of the shell and thin them out toward the highlight while keeping every dot the same size. A scattered red trail behind suggests movement without any lines.
10. Ladybugs on an Autumn Leaf
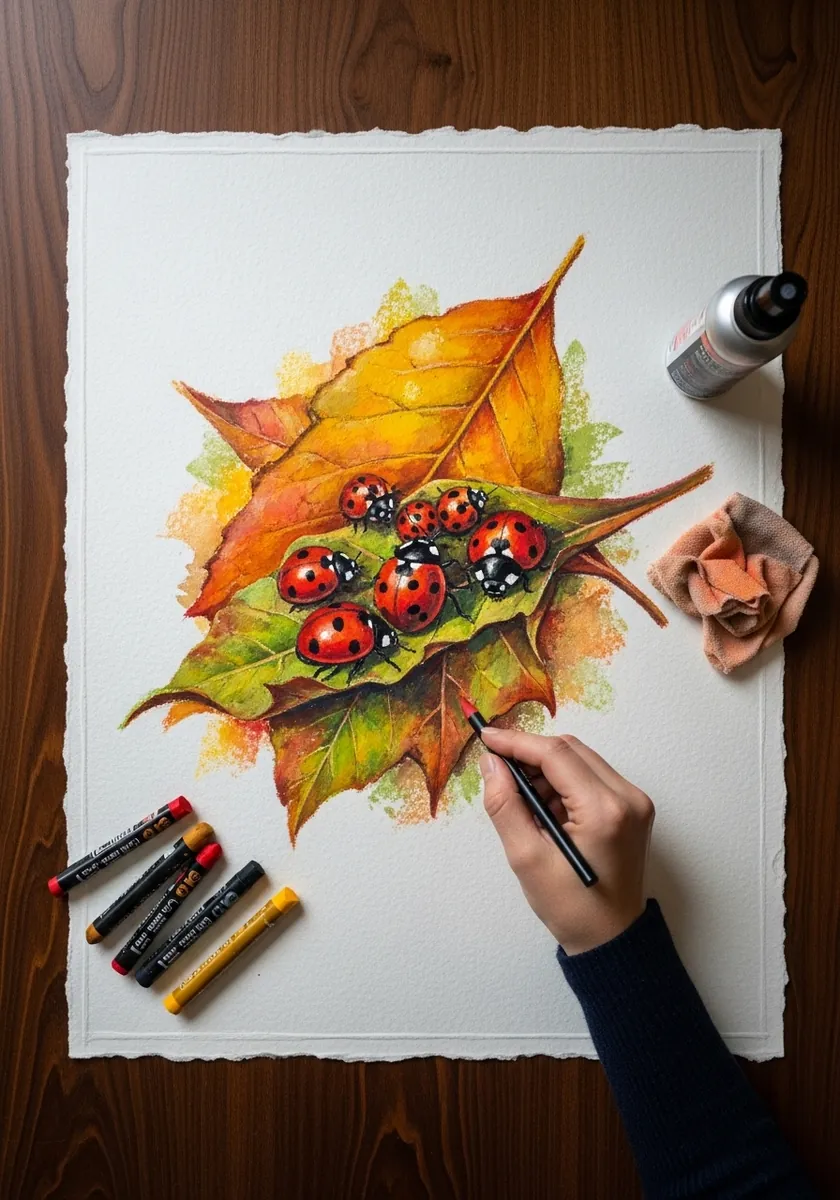
Warm on warm needs the beetles to stay the most saturated thing present. Keep the leaf in muted ochres and rusts, then lay the shells in pure red on top. Oil pastel suits this because it sits above the layer beneath rather than mixing into it.
11. Ladybug on a Dandelion Head

A dandelion is drawn as one mass, not as individual petals. Lay a yellow disc, let it dry, then pull a few darker strokes outward from the center to suggest structure. Placing the beetle at the rim gives the flower an immediate sense of scale.
12. Soft Pastel Ladybugs on Cosmos
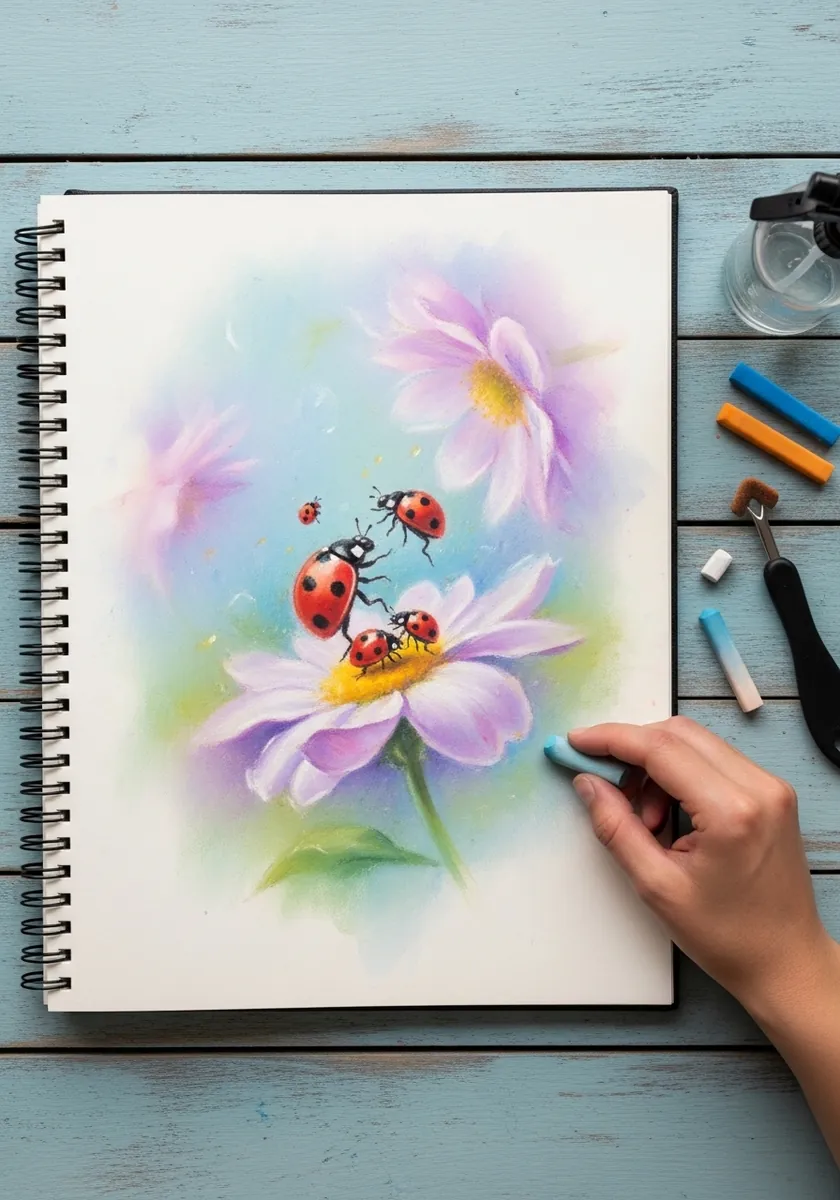
Everything soft except the subject is a reliable strategy. Blend the flowers with a finger until their edges dissolve. Draw the beetles crisply afterward with a sharpened pastel pencil. That contrast in edge quality does the same work as a change in focus.
13. Illuminated Ladybug Miniature
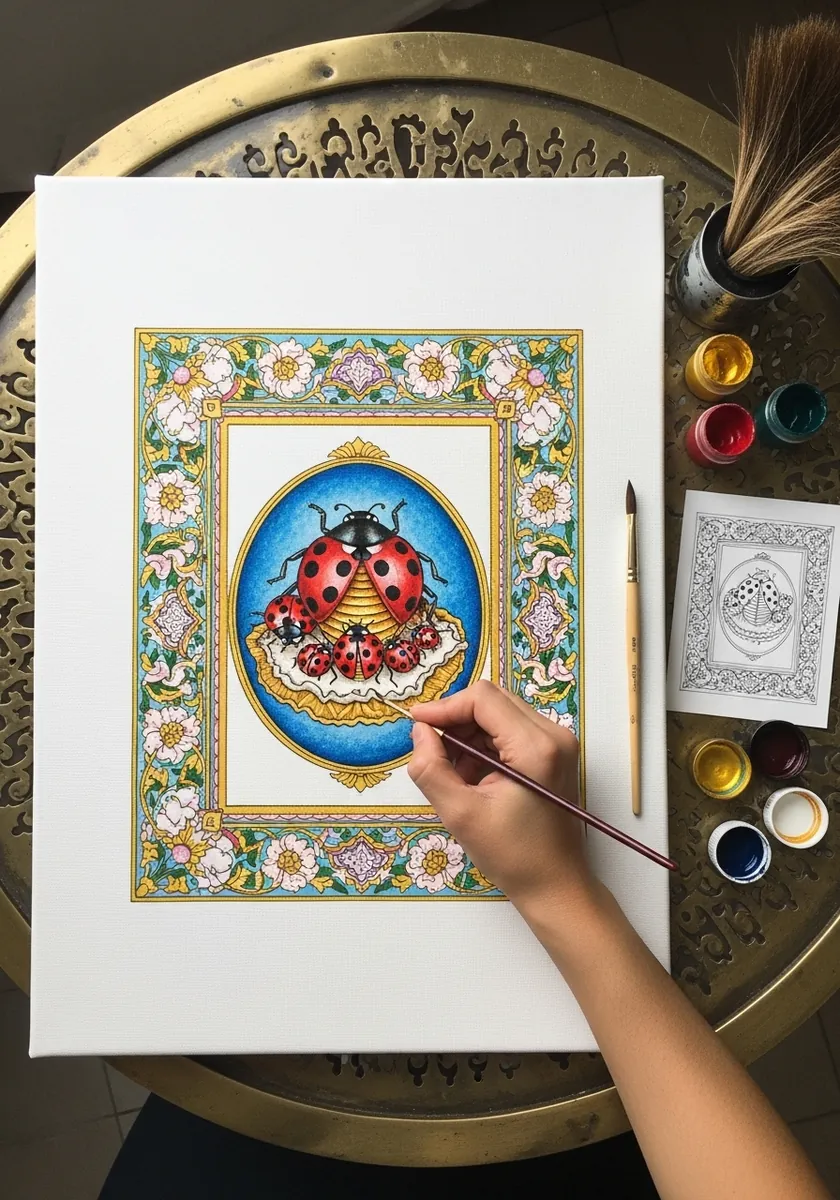
Manuscript styling means the border matters as much as the subject. Rule the frame first, build the floral margin from a repeating unit, and keep the central beetle flat and symmetrical. Gold reads best applied last, over fully dry paint.
14. Alcohol Ink Ladybugs in Red and Teal
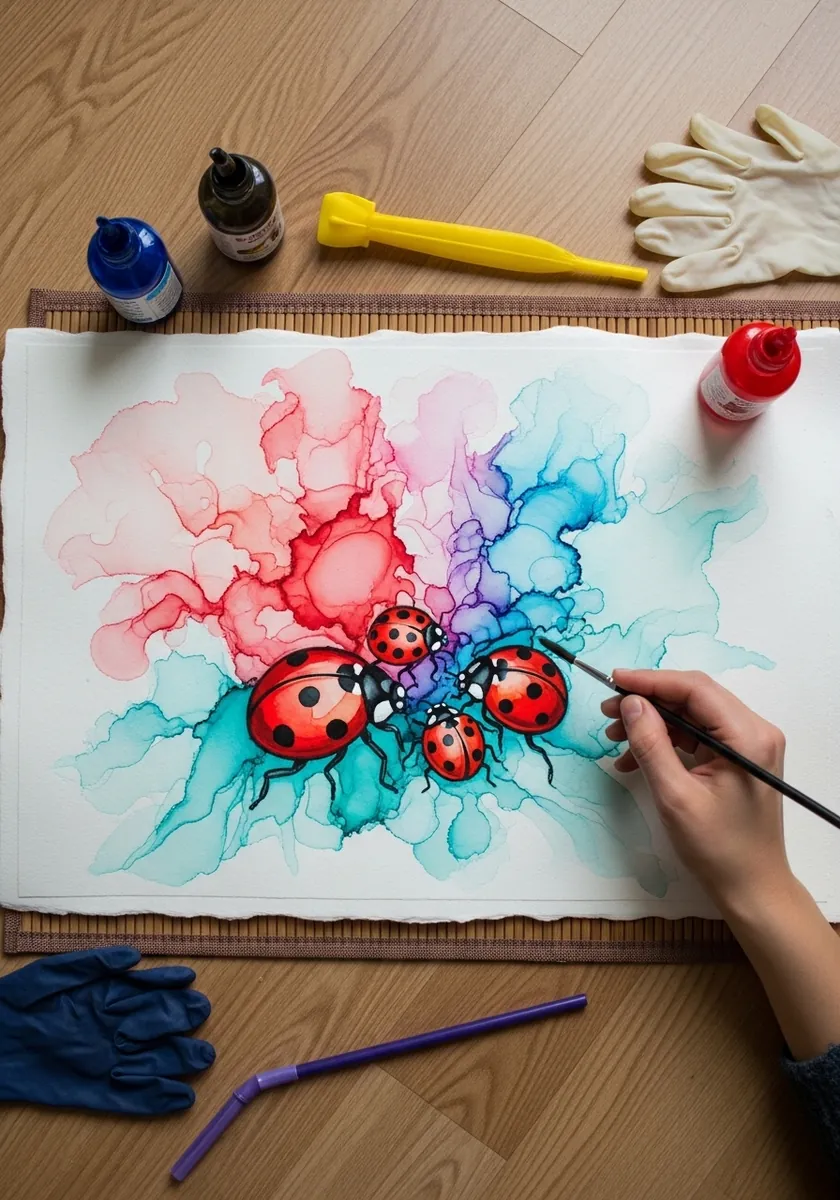
Alcohol ink cannot be controlled, only steered. Drop the teal first and let it spread on its own, then place the beetles into the dried result where the shapes suggest a resting spot. Working the other way round fights the medium and rarely succeeds.
15. Ladybugs in a Sunflower Center
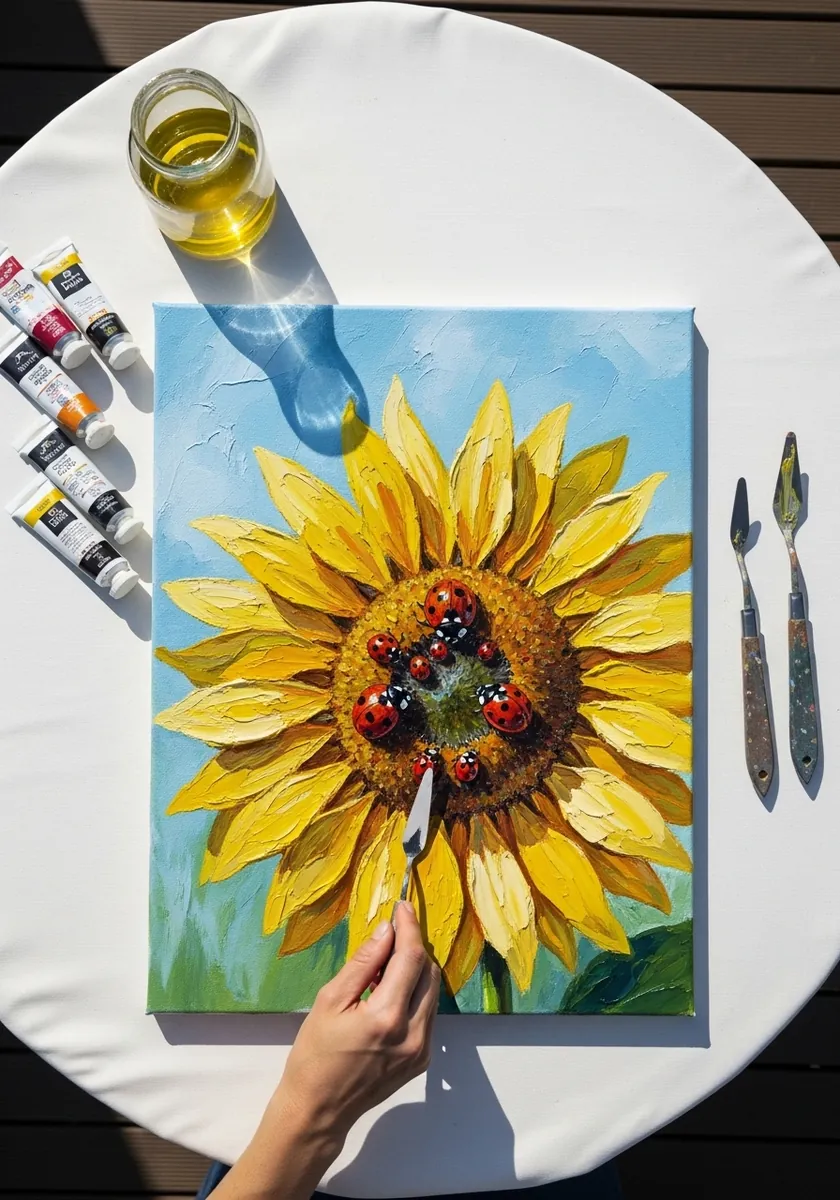
A sunflower center is a spiral, not a random texture. Lay the seed pattern along two opposing spirals radiating from the middle, then let the beetles interrupt it. That underlying order is what makes the flower convincing at any level of detail.
16. White Gel Pen Ladybug on Kraft
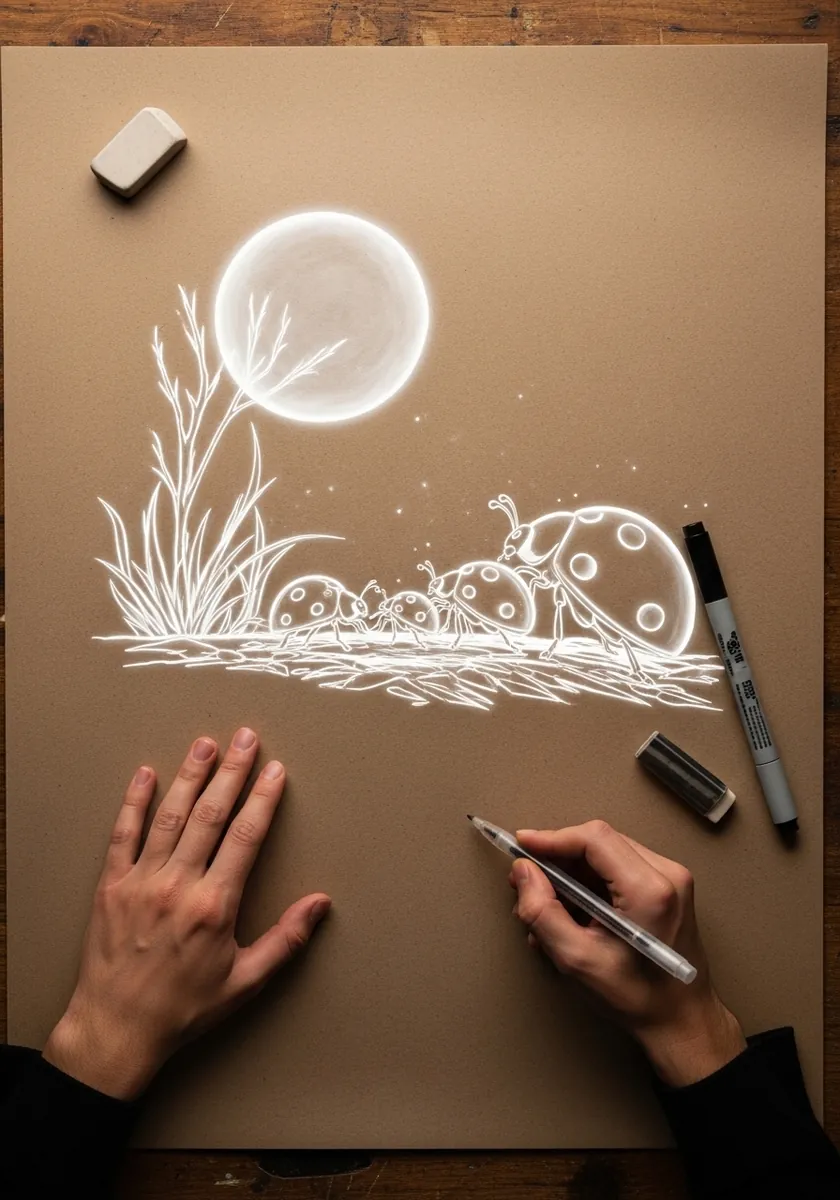
Drawing in white on toned paper reverses your usual thinking, because the kraft becomes your shadow, so mark only where light actually falls: the top of the dome, the upper edge of each leg, the moon behind. Whiting out everything destroys the effect.
17. Block Print Ladybug Family
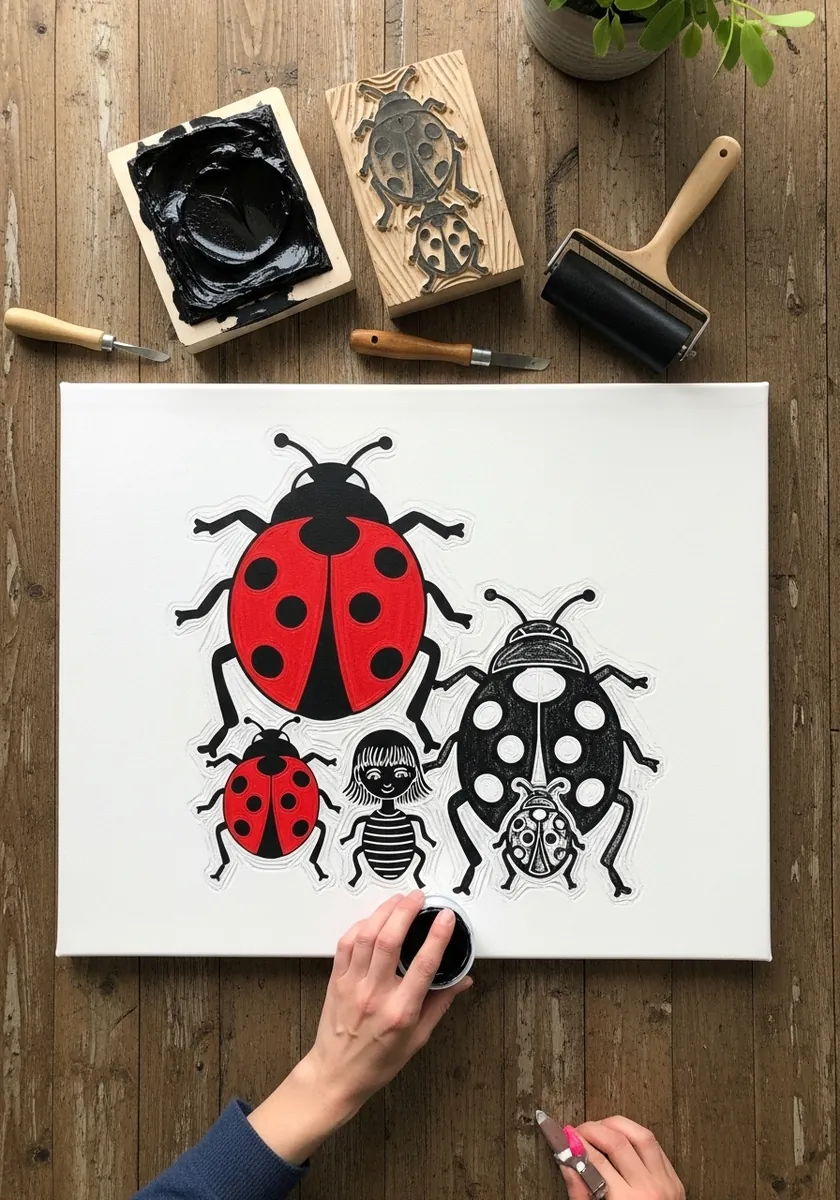
Relief printing has no half measures, since every mark is either cut or left. Design in solid shapes, carve the seam and spots as clean gaps, and remember the print reverses. This suits a ladybug well, because the beetle is already two flat colors.
18. Watercolor Ladybugs in Spring Grass
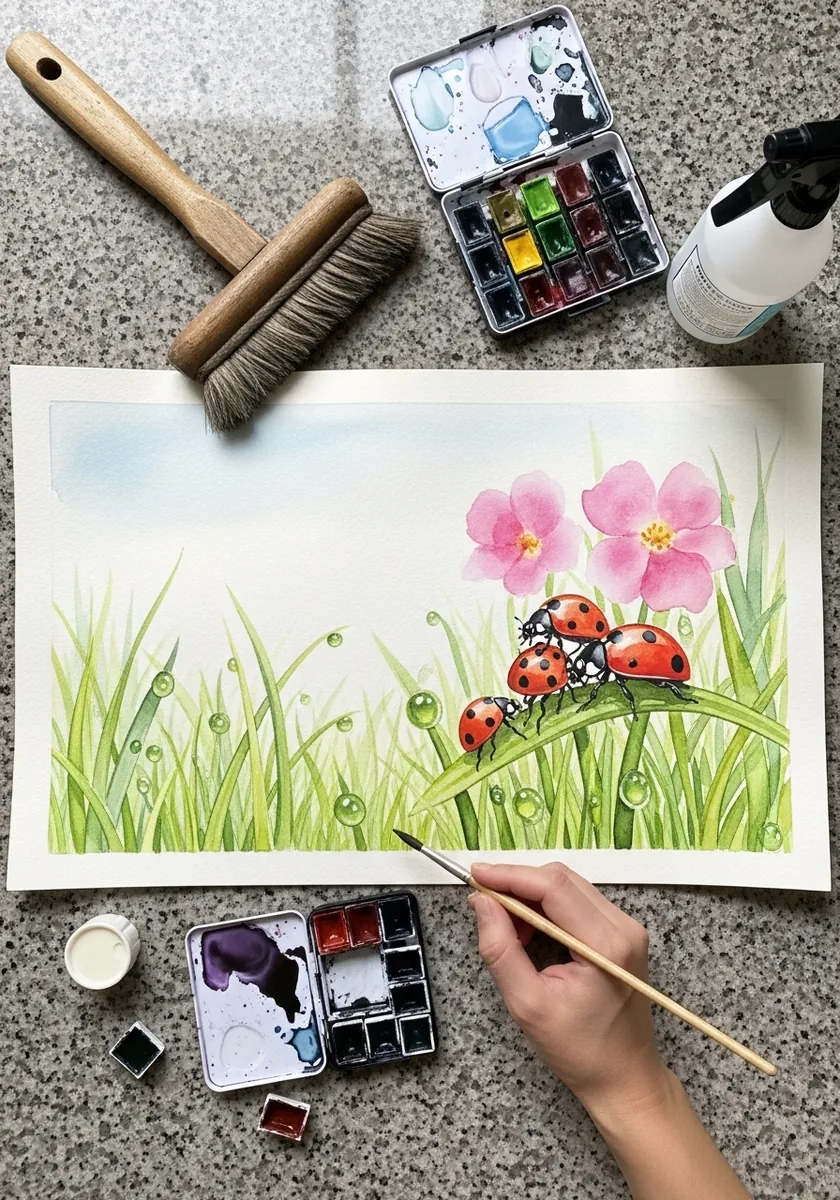
Grass is painted from the base upward in one stroke each, lifting the brush as you go so the blade tapers. Vary the angle constantly. Beetles then sit where blades cross, which is exactly where they would find footing in life.
19. Cartoon Ladybug Family in the Rain
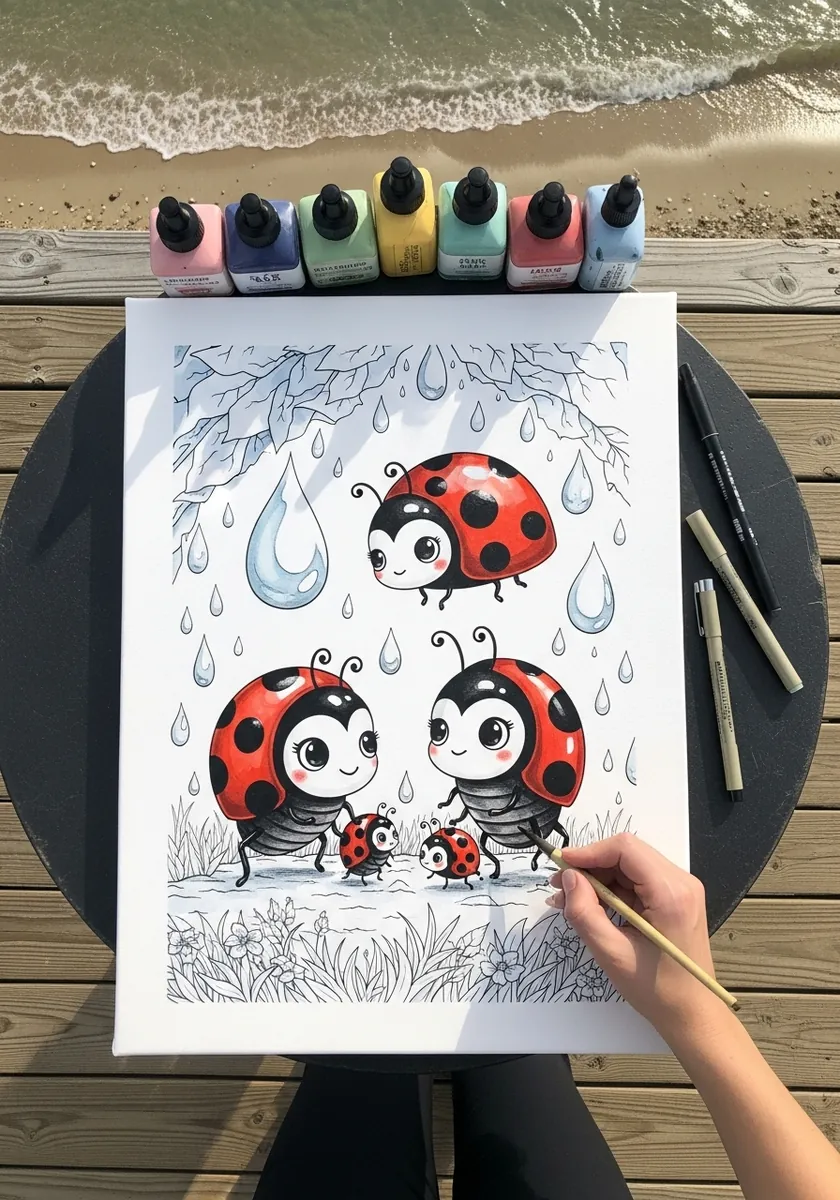
Cartooning insects means choosing which anatomy to keep. Hold onto the pronotum and the seam. Enlarge the eyes and shorten the legs as freely as you like. Keeping one true structural detail stops a stylized bug from turning into a generic red blob.
20. Realistic Graphite Ladybugs on a Leaf
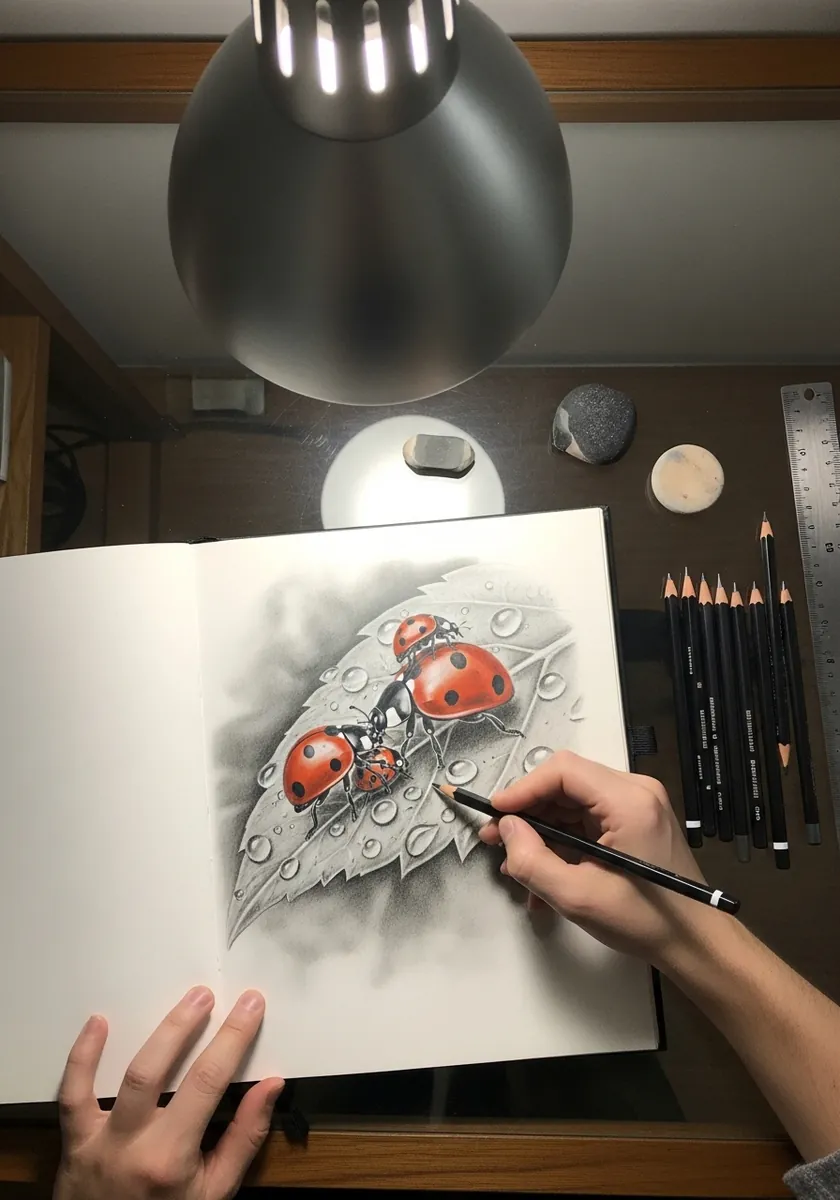
Close realism lives in the surface. A ladybug shell is glossy and slightly pitted, so build smooth graphite for the dome, then lift tiny highlights with a kneaded eraser. The leaf beneath should stay matte by contrast, with no burnished areas at all.
21. Expressive Splatter Ladybugs
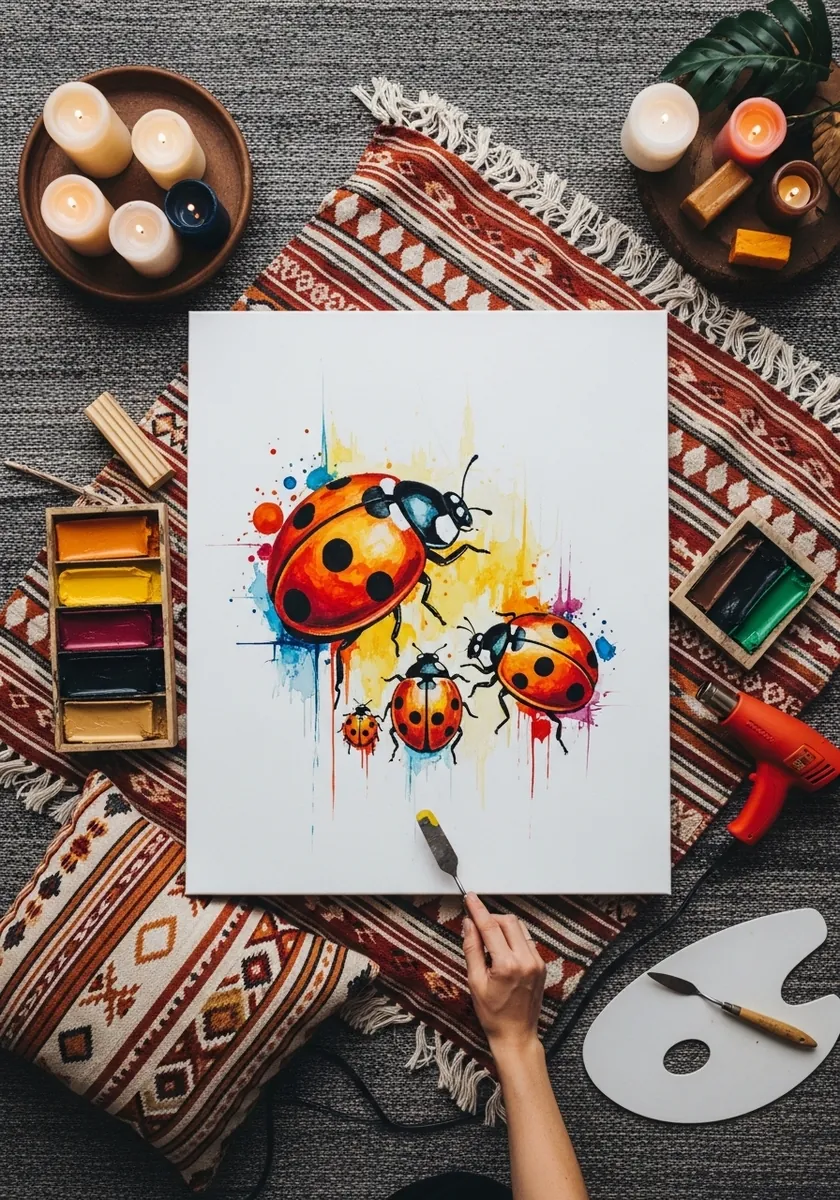
Splatter works when it stays on one side. Flick the ink from a single direction so the marks all travel the same way, and keep the beetles themselves cleanly painted by comparison. Mess spread evenly across a page reads as an accident rather than as energy. Direction is the whole difference.
22. Engraved Ladybug in an Ornate Frame
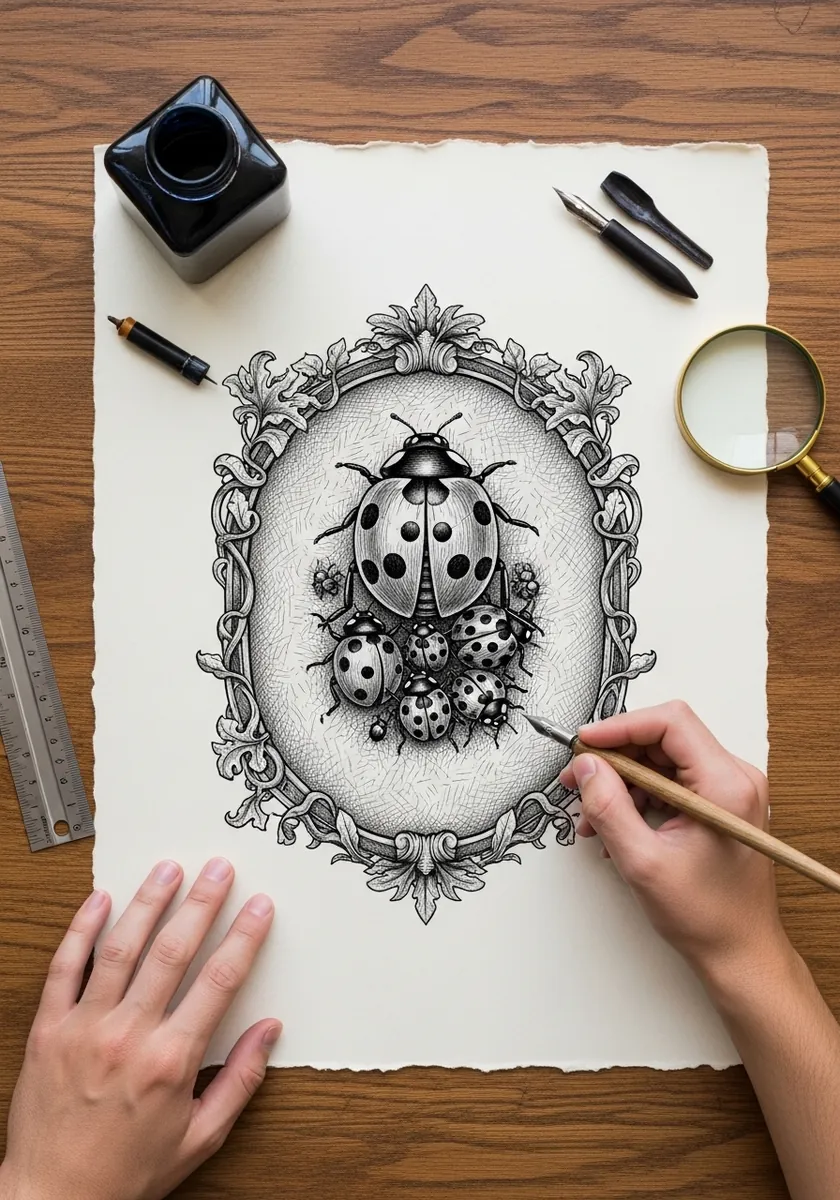
Engraving builds tone from parallel lines that follow the form, so curve your hatching around the dome like contour lines on a map, cross-hatch only in the deep shadow beneath the beetle, and keep the oval frame perfectly symmetrical. The style depends on that consistency.
23. Glowing Ladybugs at Night

A warm light source in a cold scene needs everything to respond to it. Let the grass blades nearest the glow pick up yellow and cool rapidly with distance. Paint each beetle darkest on the side facing away, and resist adding any second light from the opposite direction.
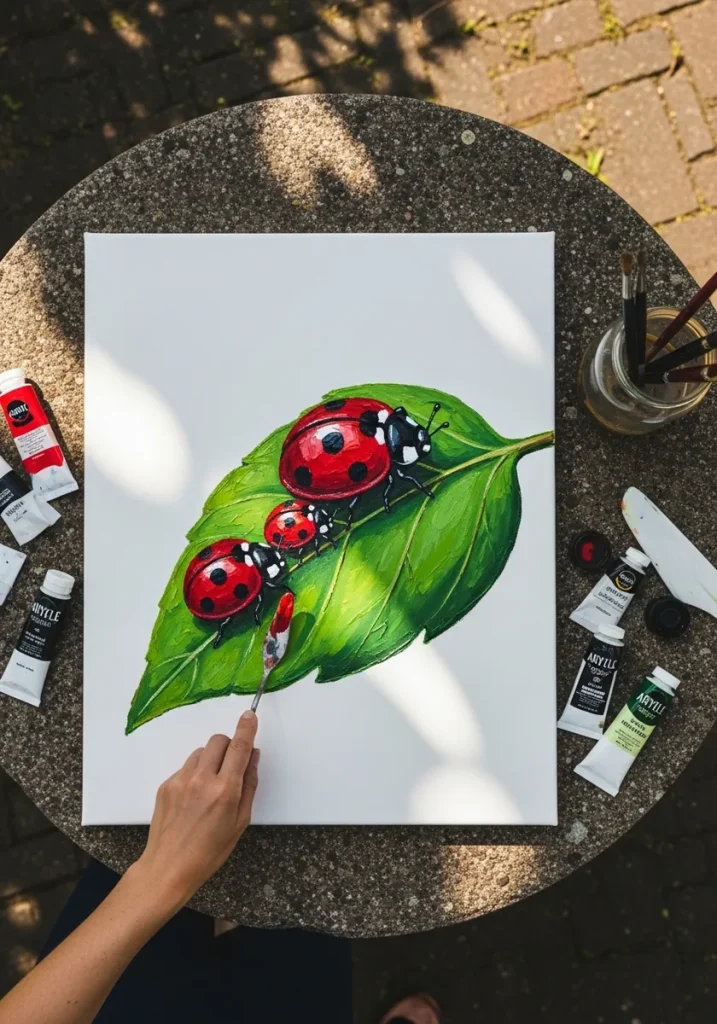
24. Large Canvas Ladybug in Acrylic
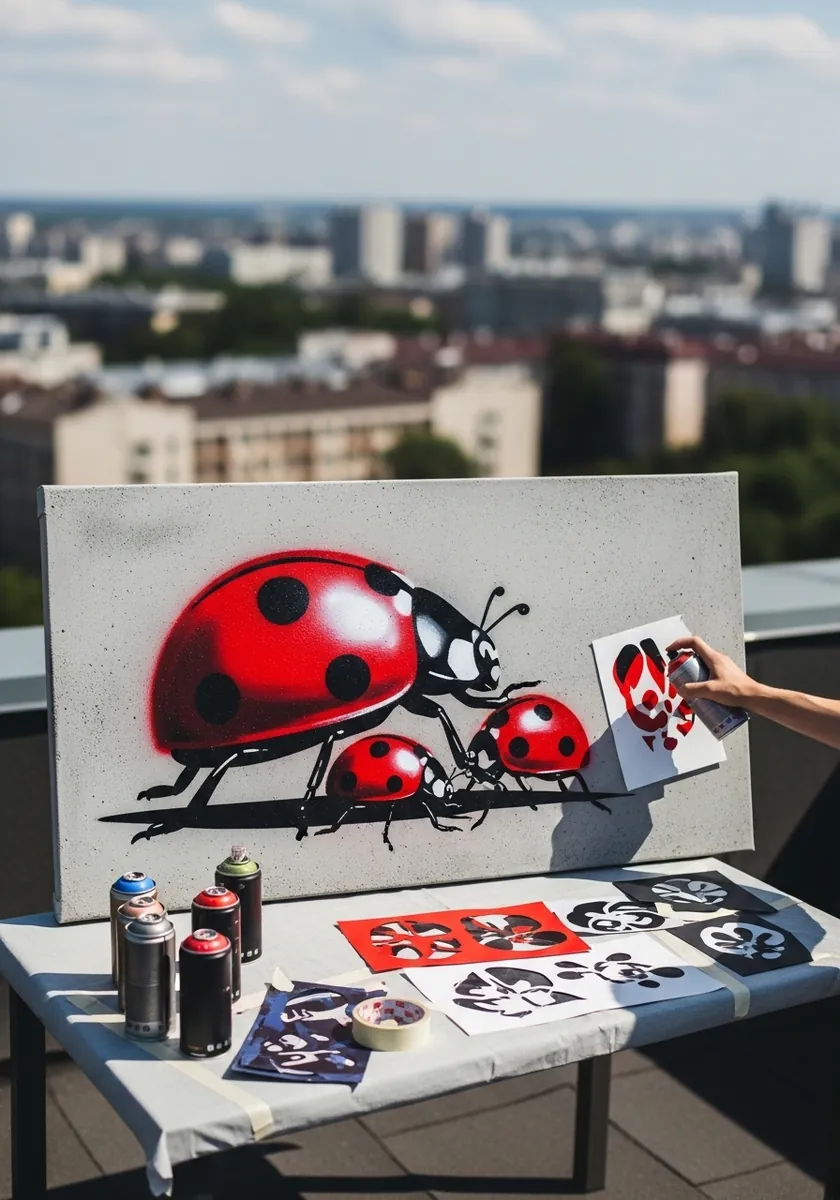
Scaling up from a small reference changes what you can leave out. At canvas size the dome needs a real gradient rather than a flat fill, and the leg joints have to be genuinely drawn. Details you could suggest at postcard size become obvious gaps.
25. Ladybugs on Snowberries in Winter

White subjects are painted entirely through their surroundings. Leave the berries as bare paper and define them with the shadows between, keeping those shadows blue-gray rather than neutral. The red beetles then become the only saturated note in an almost colorless piece.
26. Portrait With Ladybugs on a Leaf
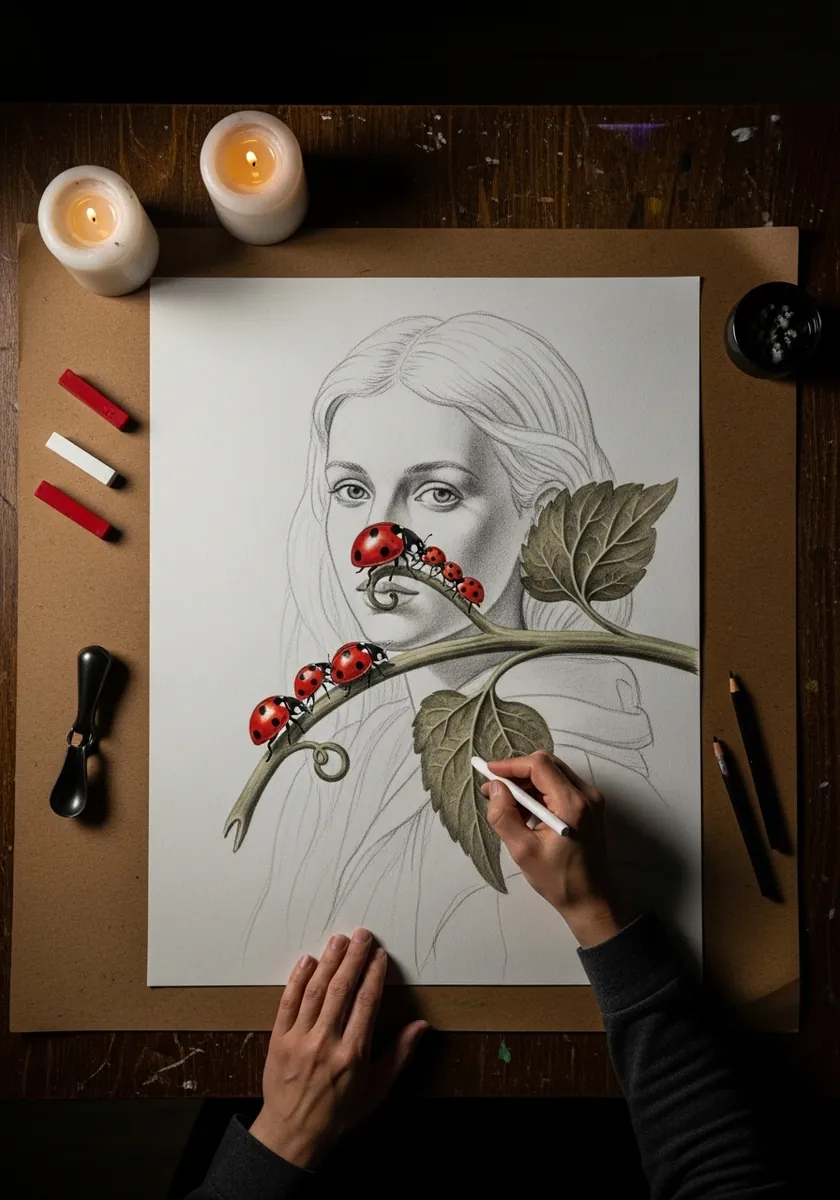
Combining a face with a small subject is a scale problem. Render the beetles at true size against the features rather than enlarging them for visibility, and keep the portrait itself softly finished. Sharp insects against a soft face create the whole effect.
27. Sumi-e Ladybugs With a Red Seal
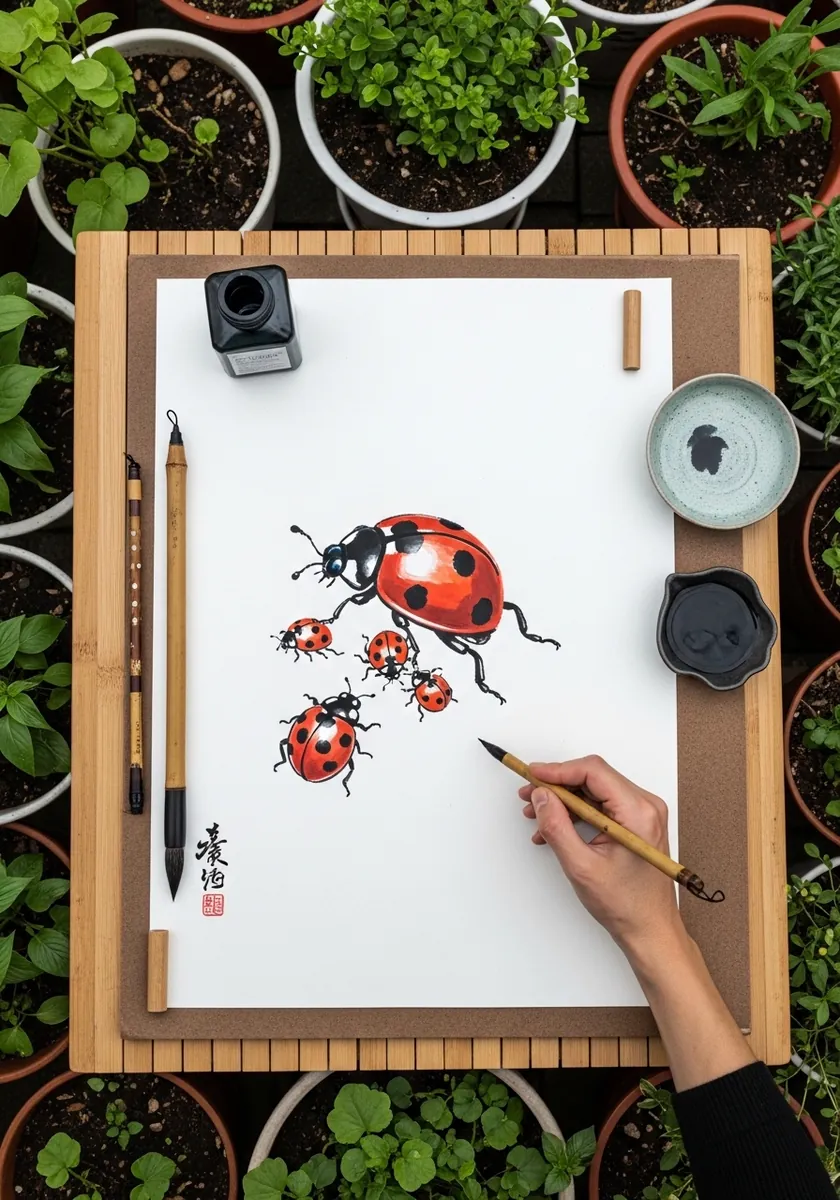
Brush painting rewards decisiveness above all. Load the brush once, place each beetle in two or three strokes, and accept whatever the brush gives you. The red seal is not decoration, it is the only warm accent, so its placement genuinely matters.
28. Ladybugs on a Branch in Blue
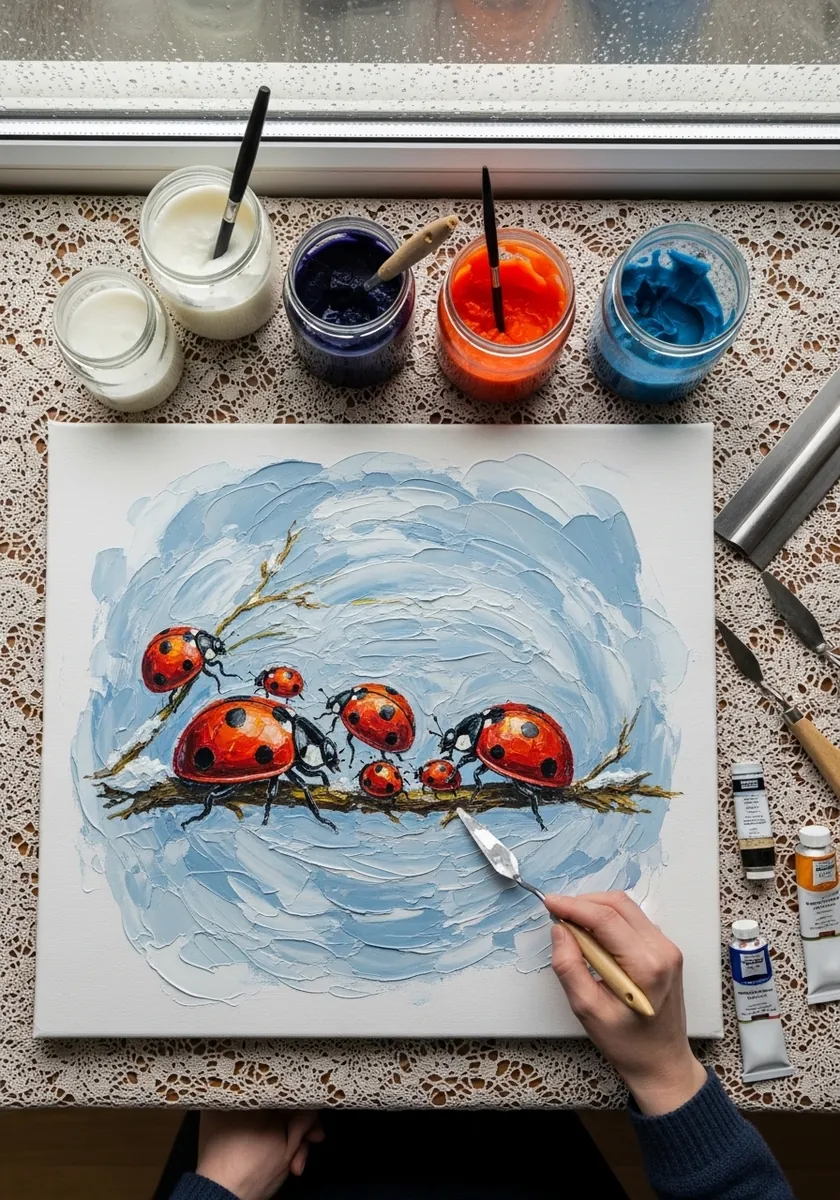
A branch running across the page gives you a natural procession. Space the beetles unevenly along it, turn one to face the other way, and let a single one sit underneath. That upside-down beetle is what makes the branch read as three-dimensional.
29. Gold Line Folk Ladybug
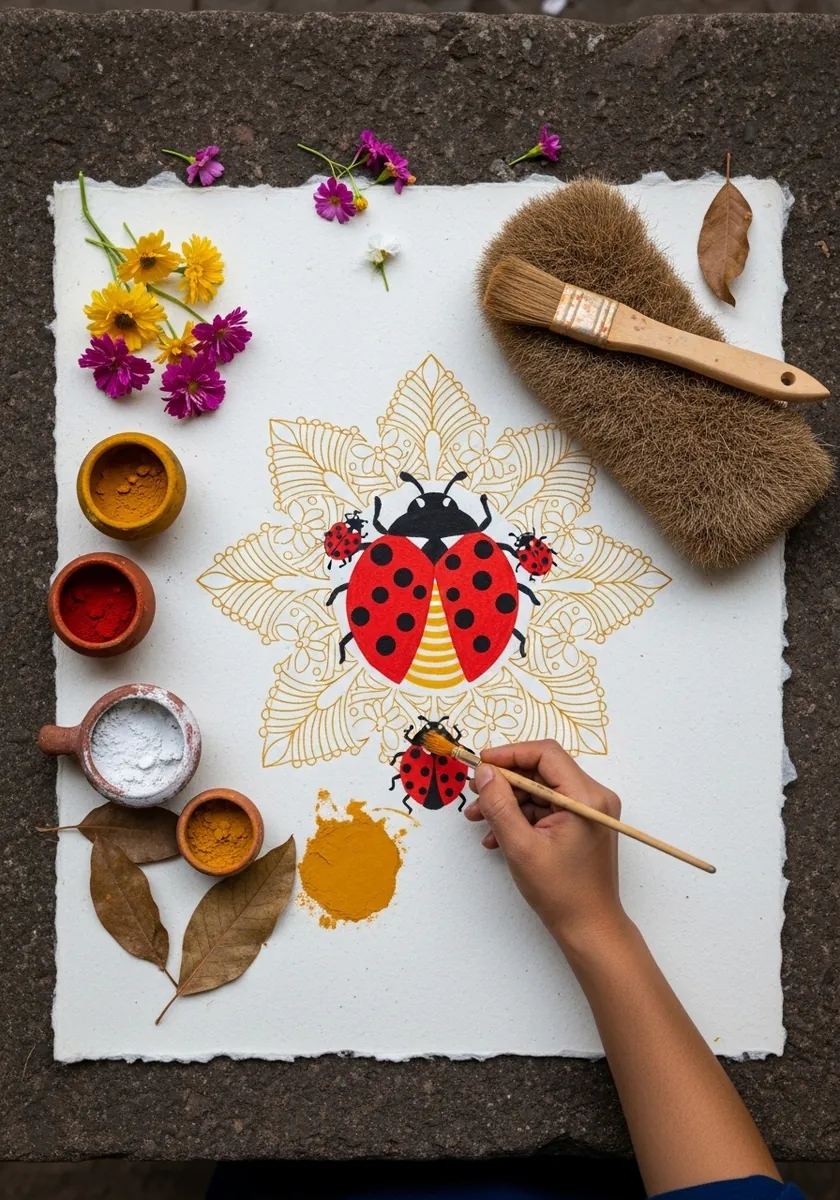
Folk ornament is built from repeated units rather than invented as you go. Draw one petal shape properly. Repeat it around the flower, then place the beetle dead center. Gold line over flat red needs the red fully dry, or the metallic drags and smears.
Frequently Asked Questions
Do the spots on a ladybug show its age?
No, that is a common myth. Spot count identifies the species. A seven-spot ladybird carries seven spots for its whole adult life, and a two-spot carries two. The pattern is fixed once the beetle emerges and hardens.
What part of a ladybug do most drawings get wrong?
The pronotum, which is the black shield sitting between the head and the wing cases. It is a separate segment, usually marked with two white patches, and the tiny head tucks underneath it. Drawings that omit it end up with an oversized head stuck onto a dome.
How do you draw the shine on a ladybug shell?
Place one small hard-edged highlight high on the dome and slightly off center, then run a much softer band of reflected light along the lower rim. Keep the red darkest at the outer edges, because that is where the curved surface turns away from the light.
Where do a ladybug’s legs attach?
All six attach to the thorax, forward on the body and beneath the pronotum. None of them come out of the sides of the domed shell, which is a wing case rather than a body segment. Getting this right instantly makes the insect look correct.
What does a baby ladybug look like?
Nothing like the adult. The larva is elongated and spiky, usually black with orange or yellow markings, and it looks closer to a tiny alligator than a beetle. Including one in a family portrait is accurate and far more interesting than drawing a smaller adult.
References and Further Reading