The CG animation look starts with the eyes. They are large spheres set into sockets, so the eyelid wraps over the ball as a curved band rather than sitting flat on the surface of the face.
Key takeaways
- Draw eyes as spheres inside sockets, with the lid curving over the ball rather than lying flat.
- Use three lights: a key, a cool rim behind, and a warm bounce coming up from the ground.
- Thin areas such as ears, fingers and nose tips glow warm, because light passes through them.
- Build every character from a few large simple volumes so the silhouette reads at thumbnail size.
- Squash and stretch is one of the twelve animation principles set out in The Illusion of Life in 1981.
The whole look begins at the eyes, and this is the detail most drawings get wrong. Each eye is a sphere sitting inside a socket, so the upper lid curves over the ball as a band with real thickness, and the iris follows that curve. Eyes drawn flat on the face never come alive.
Lighting does the rest. Use three sources: a key from one side, a cool rim behind the character, and a warm bounce rising from the ground. Then let thin areas such as ears, fingers and nose tips glow warm, because light genuinely passes through them.
There are no black outlines anywhere in this style. Forms separate through value, temperature and rim light alone, which is why the pieces below rely on smooth gradients. For the underlying volume practice, 3D pencil shading is the right companion.
Squash and stretch, one of the twelve principles set out in The Illusion of Life in 1981, governs how these characters move. The thirty-one ideas below run through forest creatures, underwater scenes, folk-framed panels and neon nightclubs. For flatter cartoon construction, see 3D cartoon character ideas.
Compiled by the GS Art Zone editorial team. Last updated August 2026. Each idea is paired with the specific step that produces the effect, so you can go from the reference straight to paper.
What You Need Before You Start
- A full graphite range, since this look depends on smooth gradients rather than line
- One warm red for the glow through ears and fingers, which is what softens CG-style skin
- A cool blue or violet for the rim light, applied only along edges facing away from the key
- A blending stump, because visible hatching immediately breaks the rendered surface
- A white gel pen for the catchlights, which every one of these characters needs in both eyes
1. Fox in a Mushroom Forest
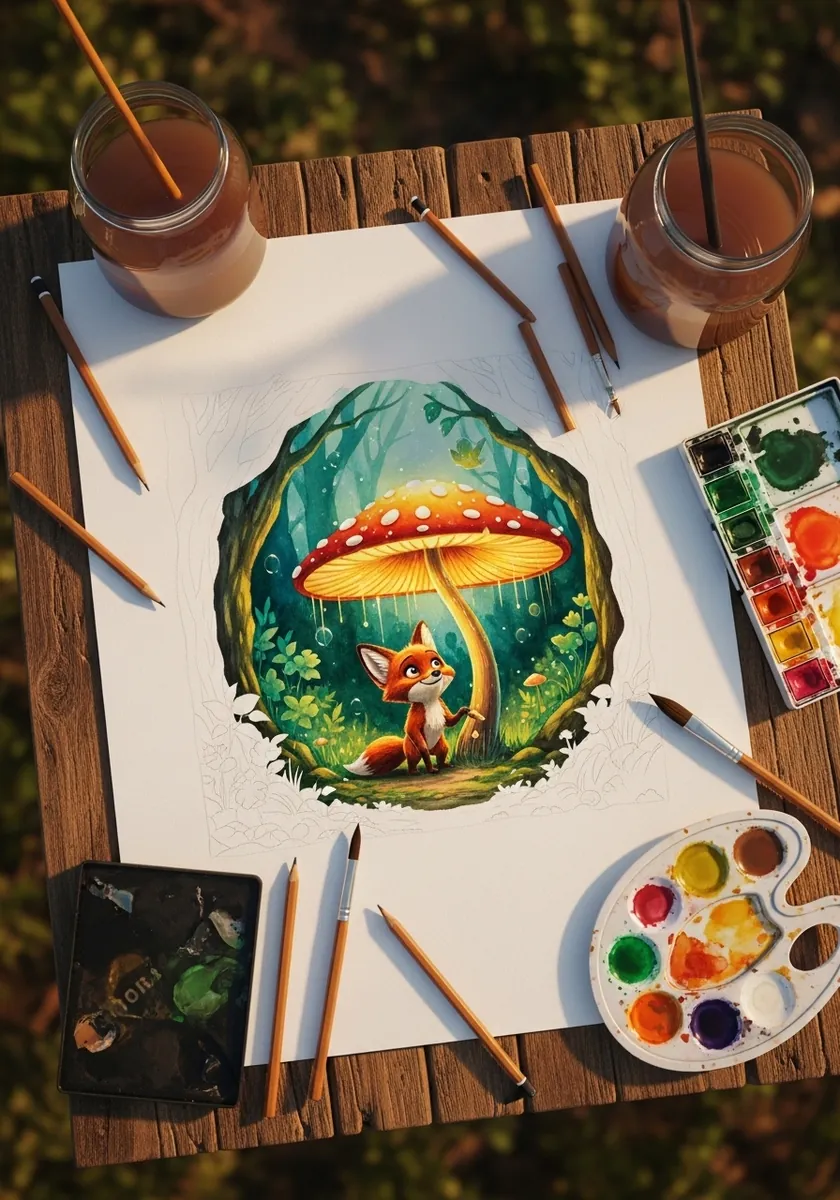
A circular vignette focuses attention hard. Keep the fox and the mushroom inside the inner two thirds, let the forest darken toward the ring, and place your brightest value at the mushroom cap. Everything outside the circle stays untouched paper.
2. Baby Elephant With Bubbles
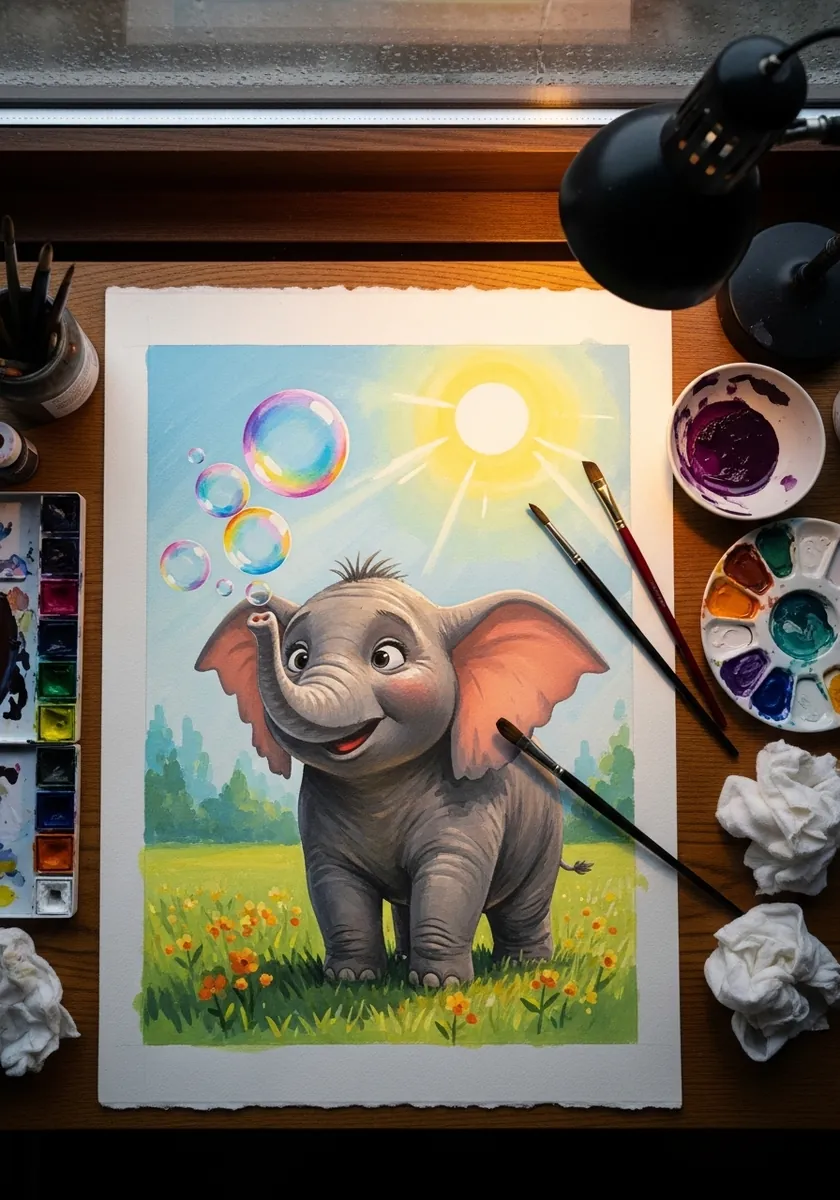
Baby proportions mean an enormous head on a small body. Push the skull to nearly half the total height, keep the legs short and thick, and set the eyes low and wide apart. Bubbles stay as reserved white with a single curved highlight each.
3. Girl in a Floating Teacup
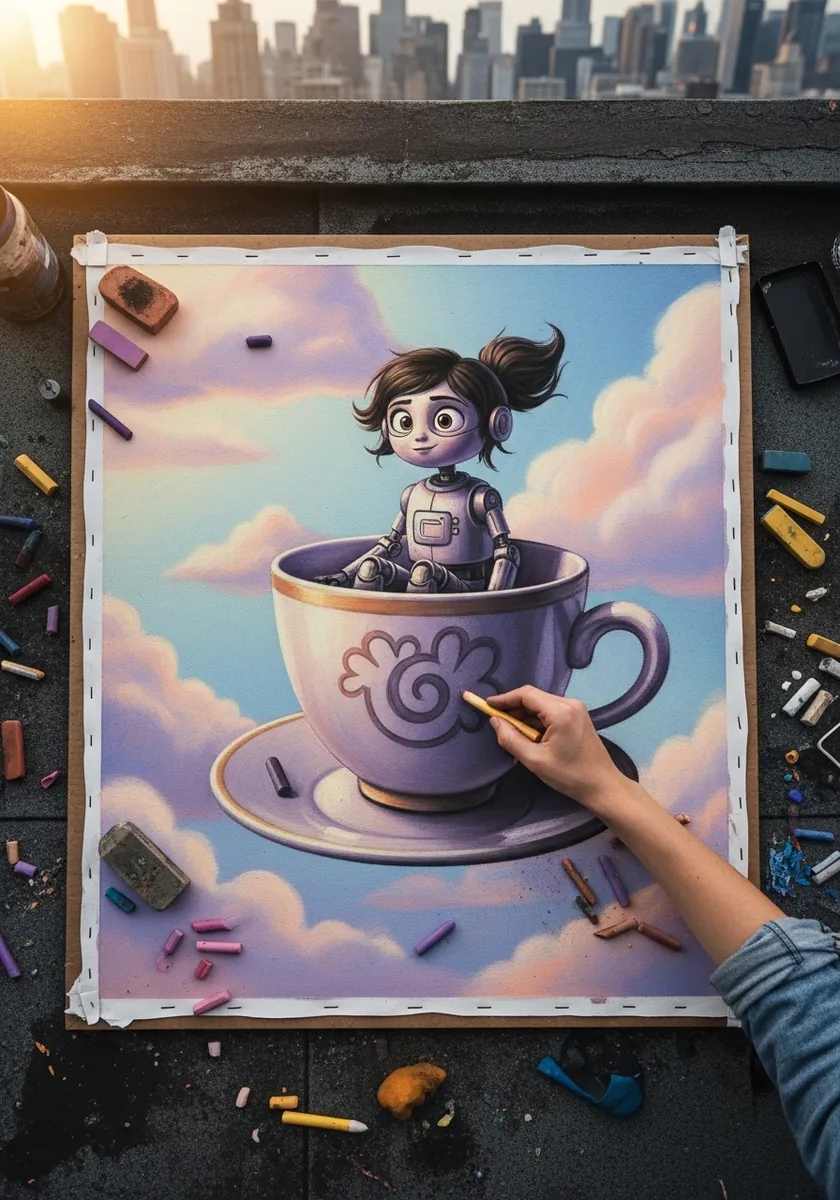
Oversized props need internal consistency. Draw the teacup with a correct ellipse at the rim and a matching one at the base, then scale the figures against it. Clouds beneath should be lit from the same direction as the characters.
4. Pencil Creature on a Bridge
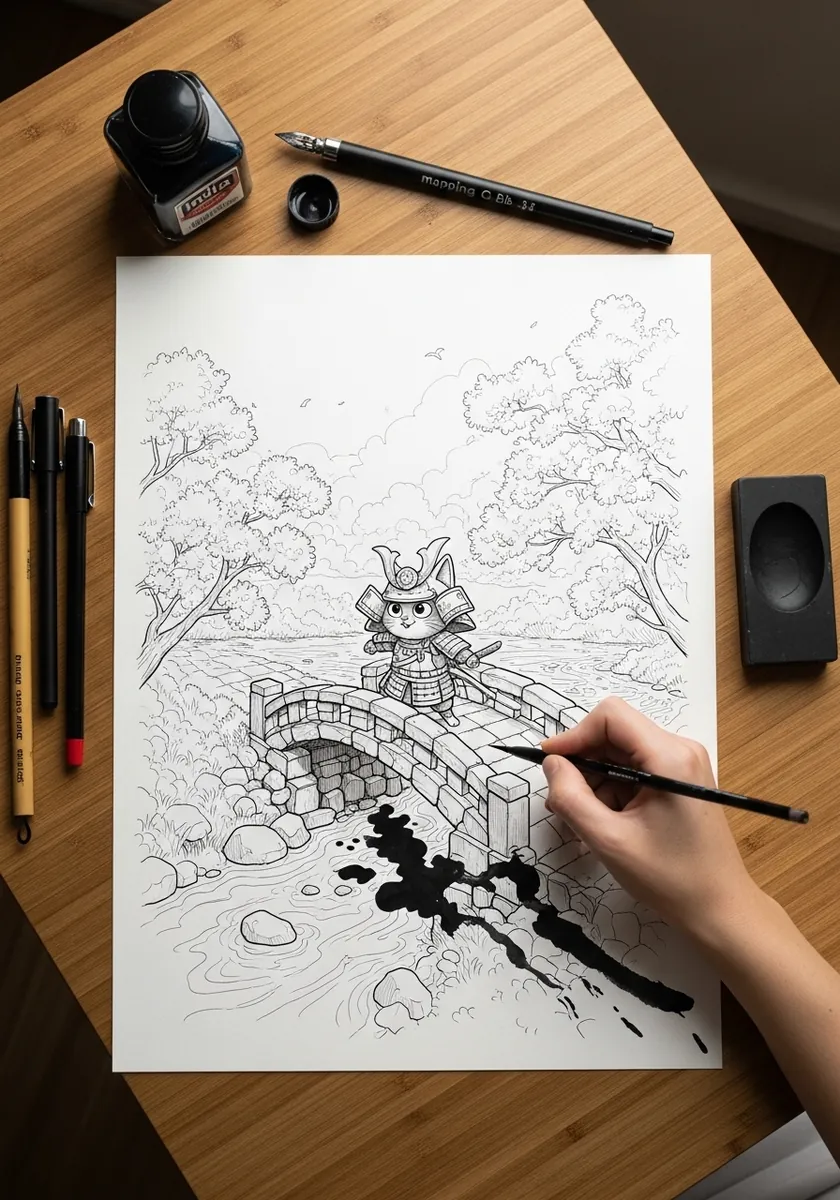
Construction stage is where the volumes get decided. Block the character as two or three large simple masses, check the silhouette reads at thumbnail size, and only then think about detail. Anything unclear now stays unclear when rendered. Keep the bridge arch a true half-ellipse, since a lopsided arch undermines the whole scene.
5. Grandmother Baking Cookies
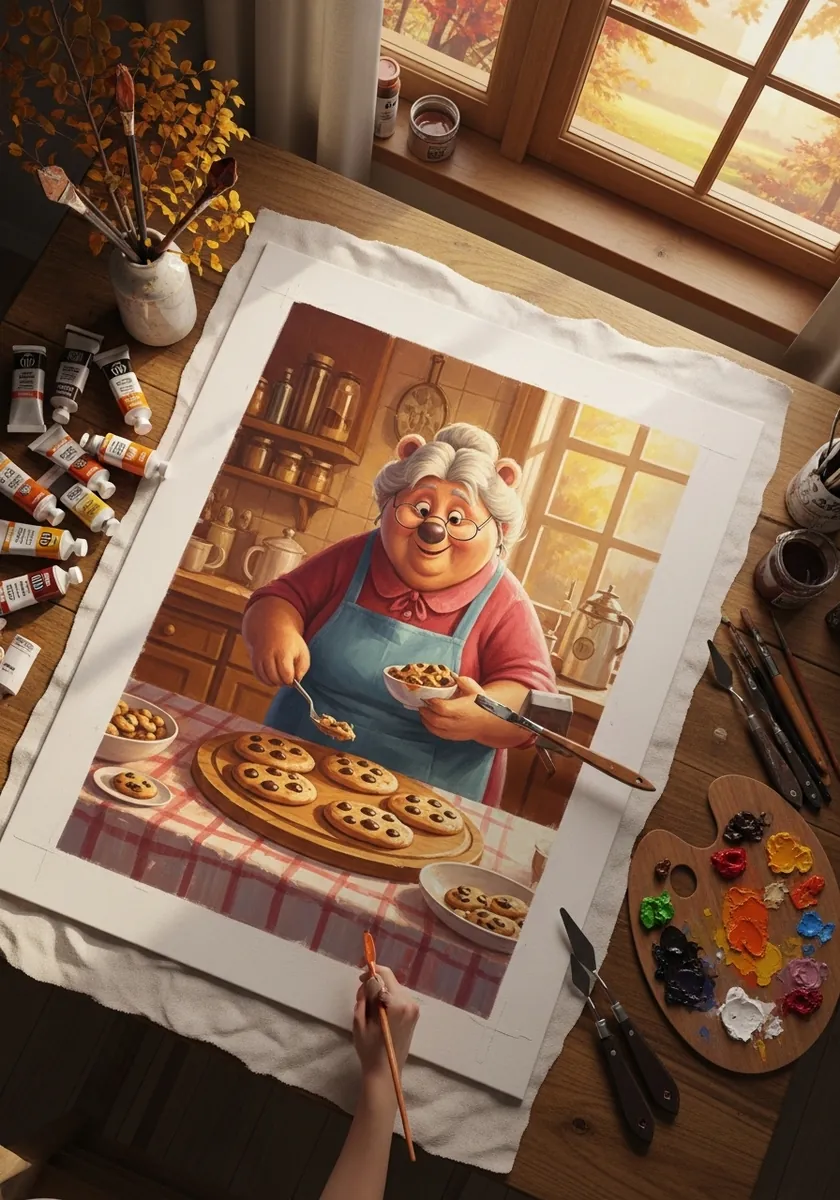
Warm interiors need one dominant light. Put a window or lamp to one side, let everything nearest it go golden, and cool the shadows toward blue. The tray of cookies should be the brightest surface in the room. Warm the steam faintly too, because rising vapor picks up whatever light it passes through.
6. Octopus Pirate With Treasure
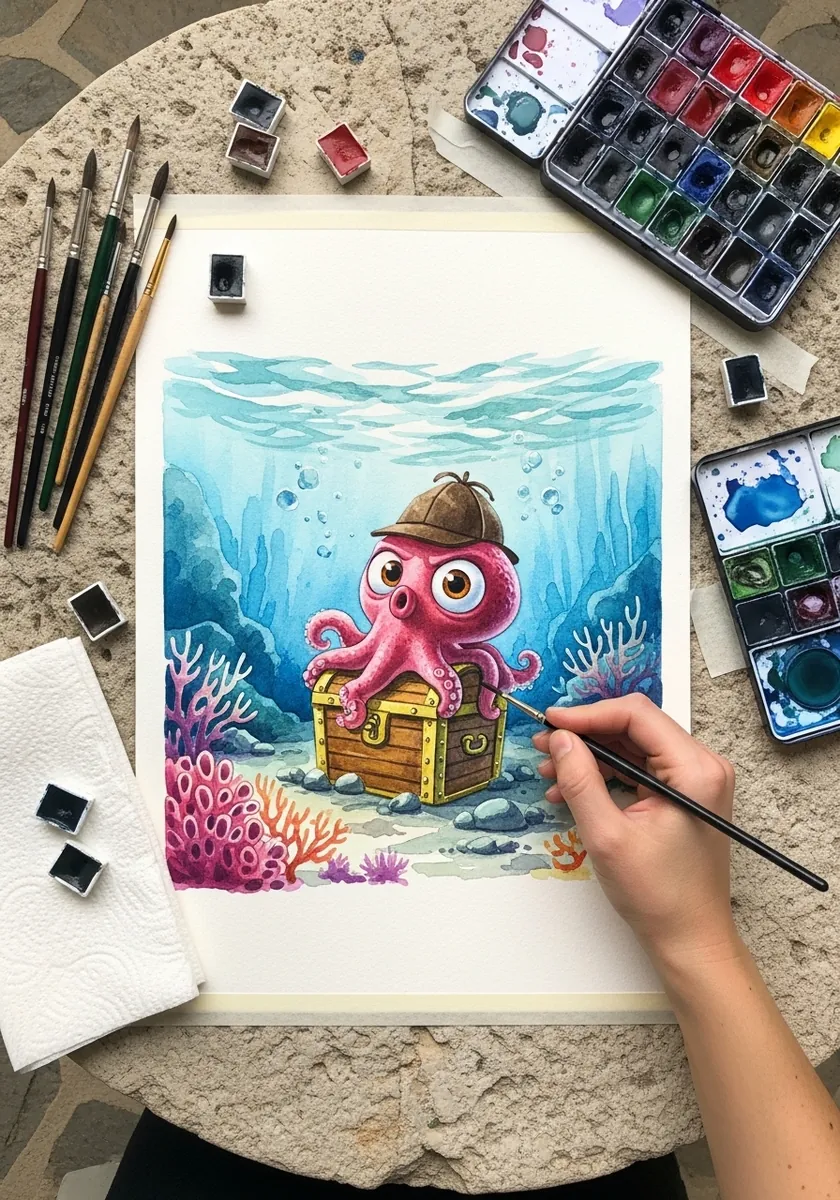
Eight limbs are a composition problem. Let two or three tentacles do real work, holding the chest or gesturing, and curl the rest loosely into the background. Every arm given equal prominence makes the character unreadable. Suckers should shrink steadily toward each tentacle tip, which is what makes them read correctly.
7. Dog DJ in a Neon Club
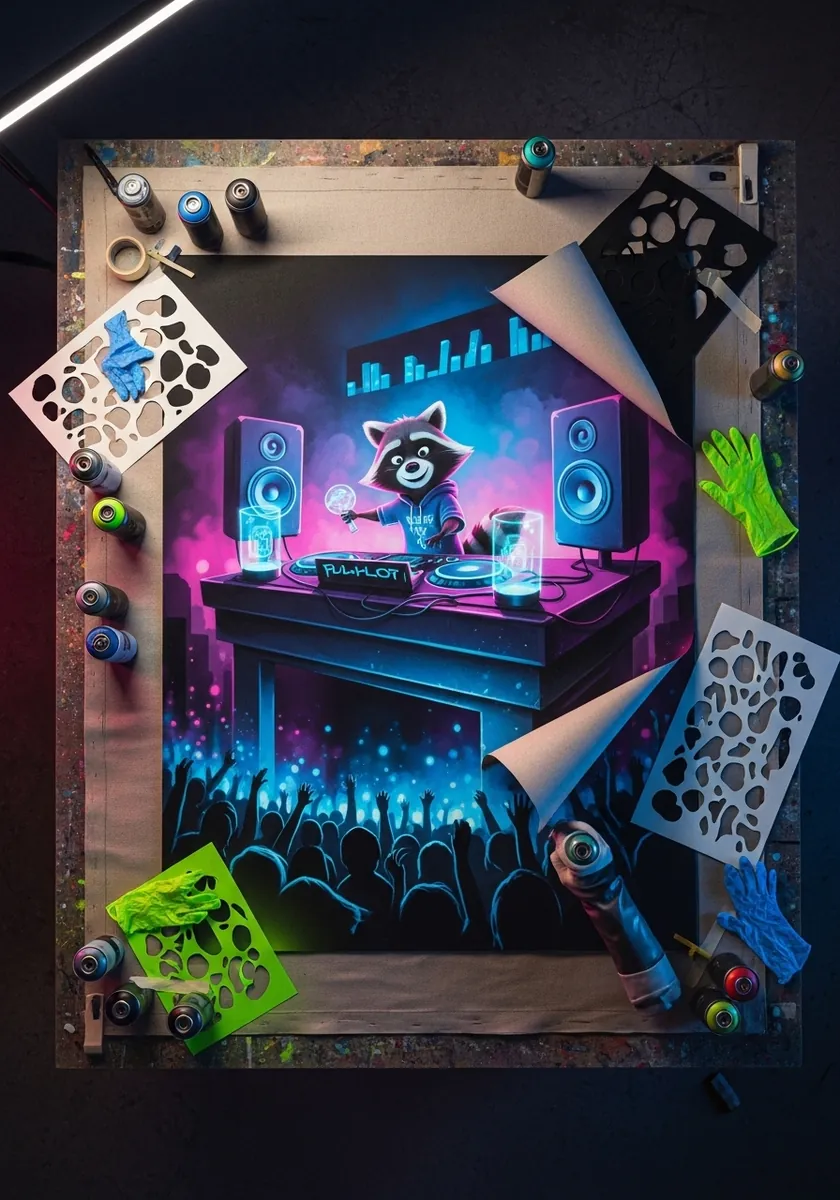
Colored light replaces the usual key. Give the scene two saturated sources, magenta from one side and cyan from the other, and let them meet on the character. Any surface catching both should shift toward white rather than muddy purple.
8. Girl Riding a Tiger in a Frame
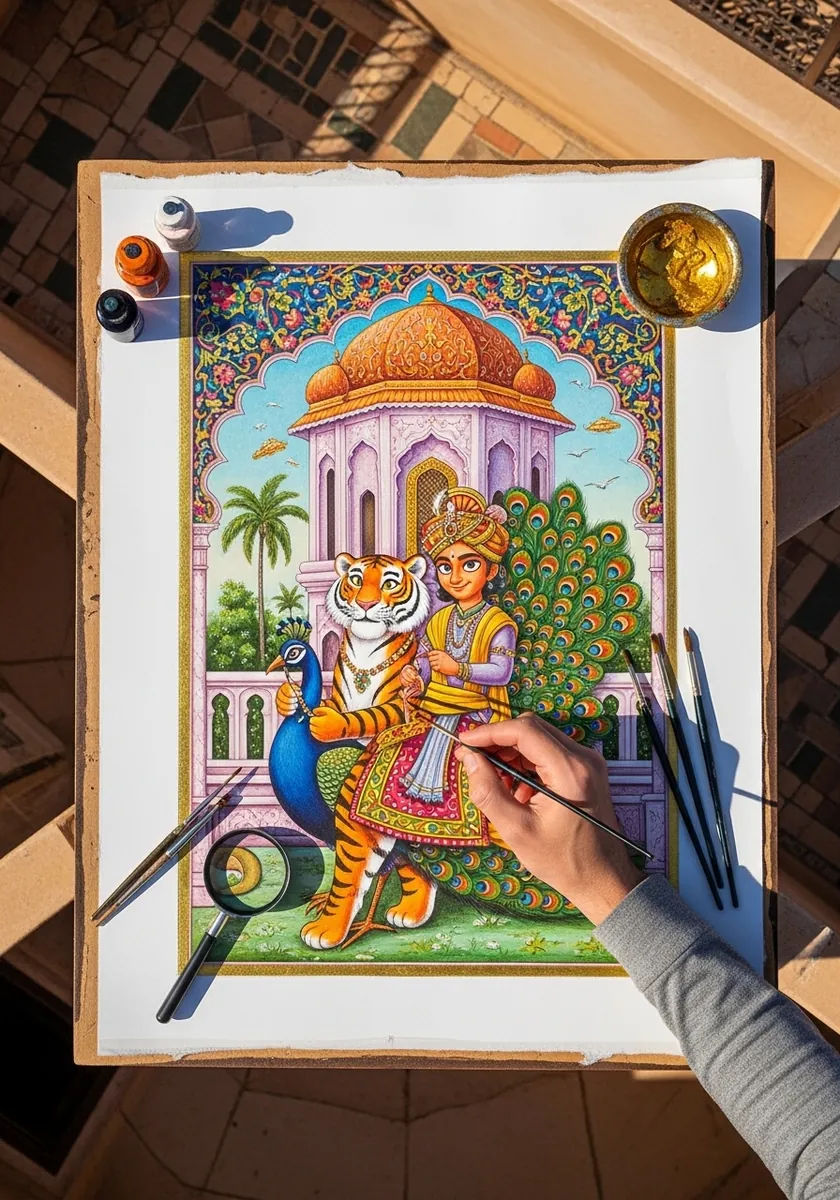
Combining a rendered character with a flat decorative border needs a clear boundary. Keep the frame entirely two-dimensional with no shading at all, and let the scene inside carry all the depth. The two should never blend at the edge.
9. Boy Inventor in a Workshop
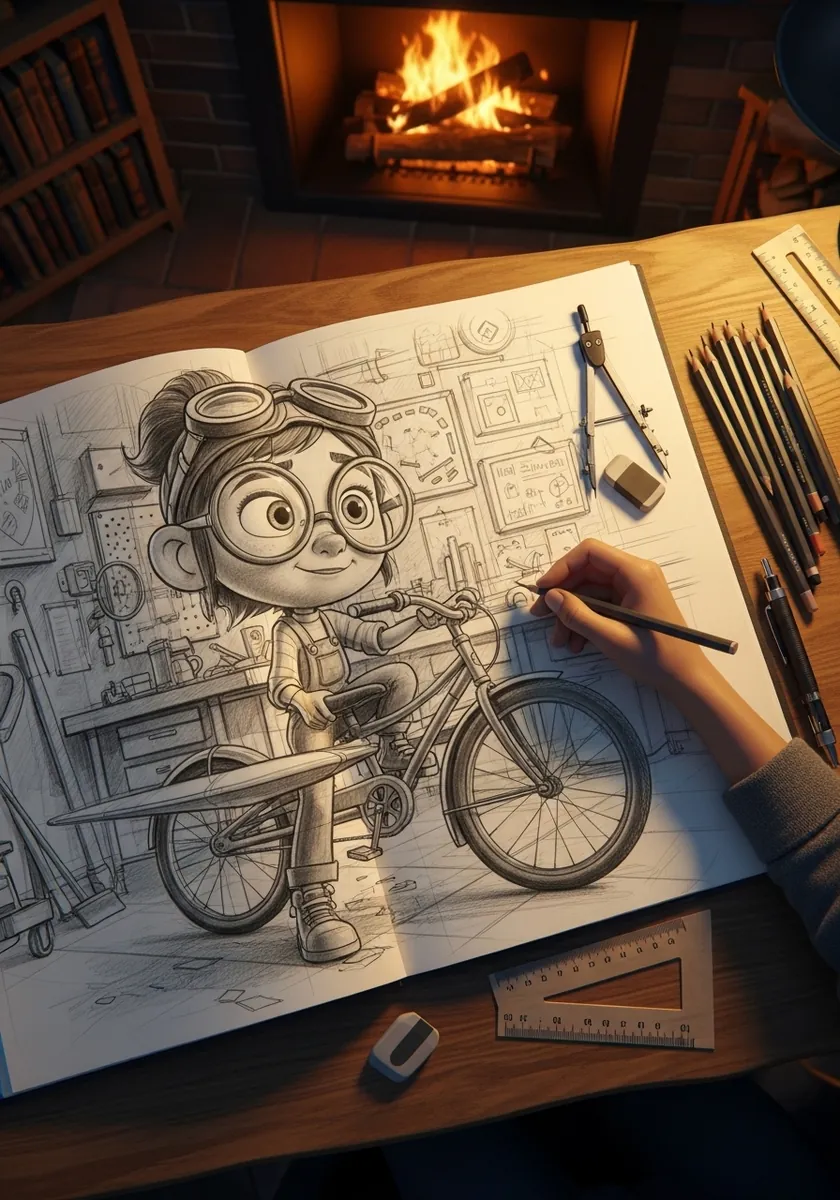
Cluttered backgrounds need to lose contrast. Render the character fully, then draw everything behind at half the value range and half the detail, letting the tools and shelves dissolve as they recede. Sharp background clutter competes with the face. Keep his goggle lenses the brightest small note, so the eye returns to the face after wandering.
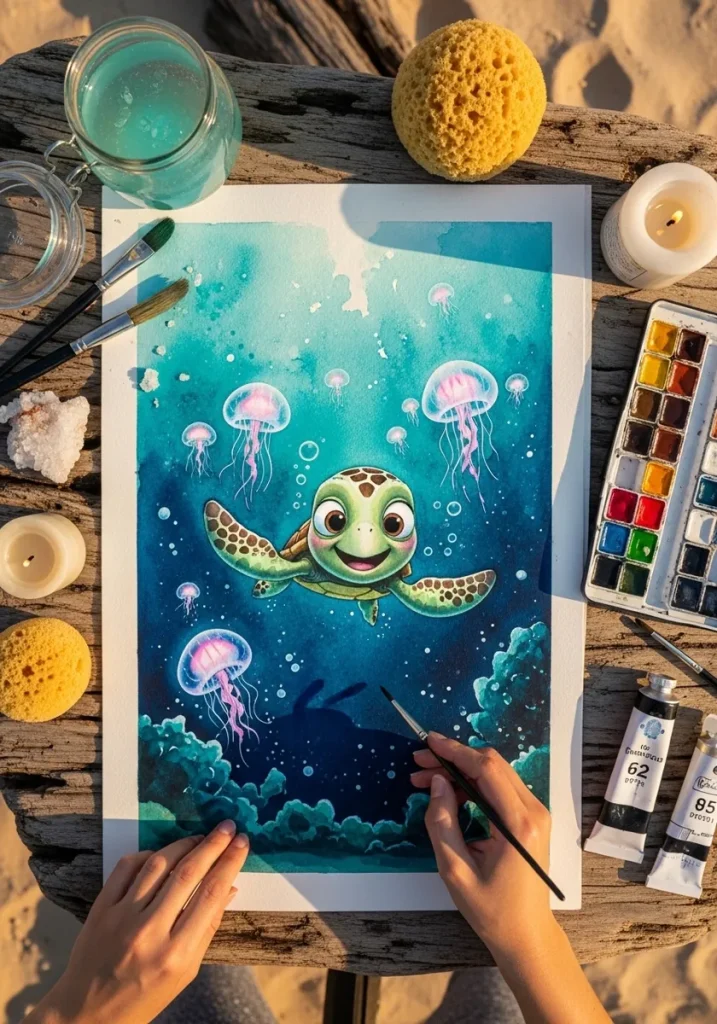
10. Sea Turtle With Jellyfish
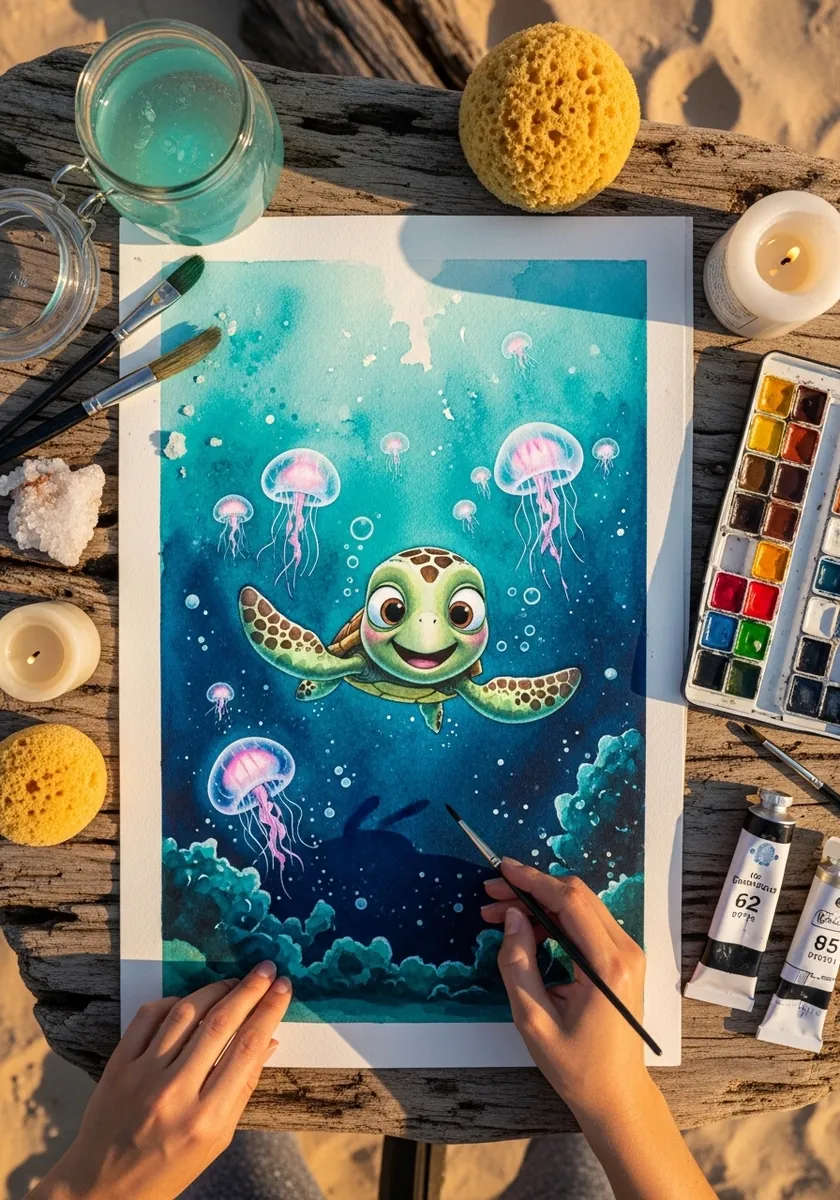
Water changes light behavior completely. Cool everything as it recedes, add visible light shafts from above at a consistent angle, and let the jellyfish provide small warm points against all that teal. Nothing should stay fully saturated in the distance.
11. Flamingo at an Easel
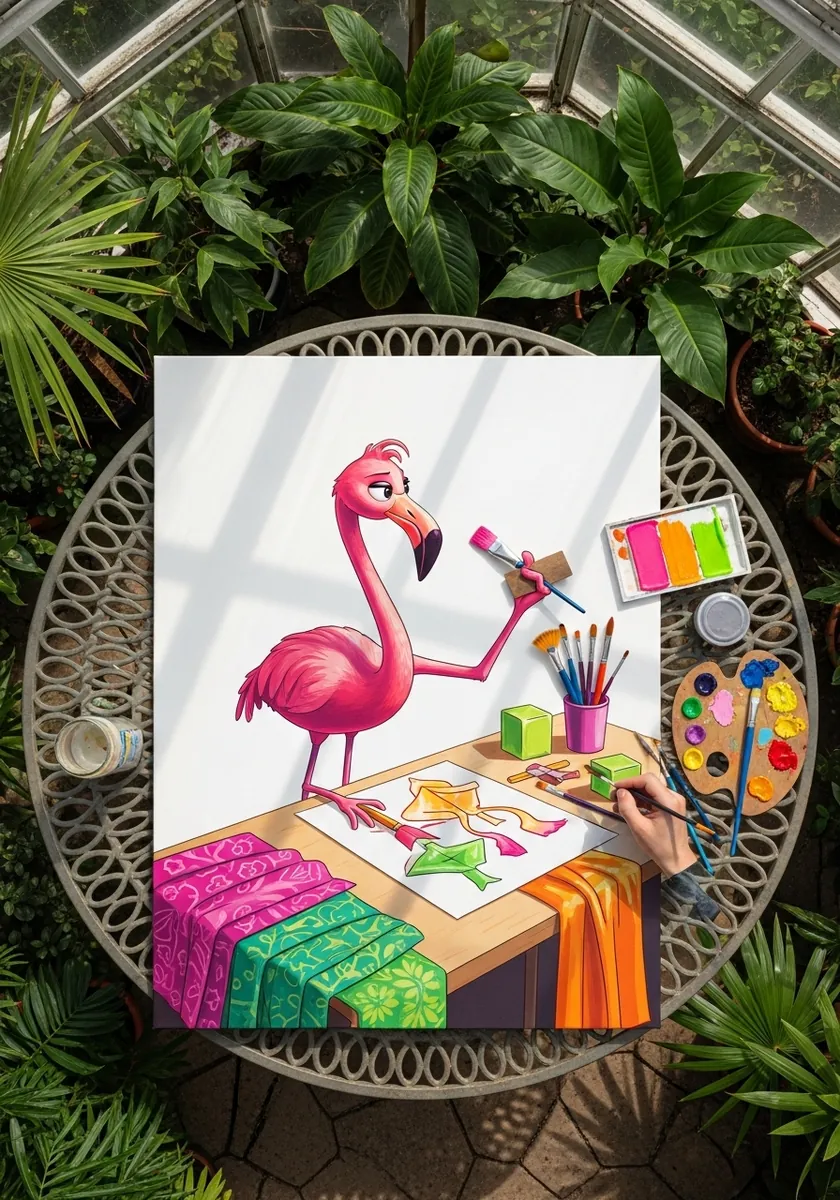
A long-necked character needs a strong line of action. Run one continuous curve from beak through neck to the standing leg, and let the neck bend at only one point. Two bends in a neck make any bird look broken.
12. Red Conte Lion With Cubs
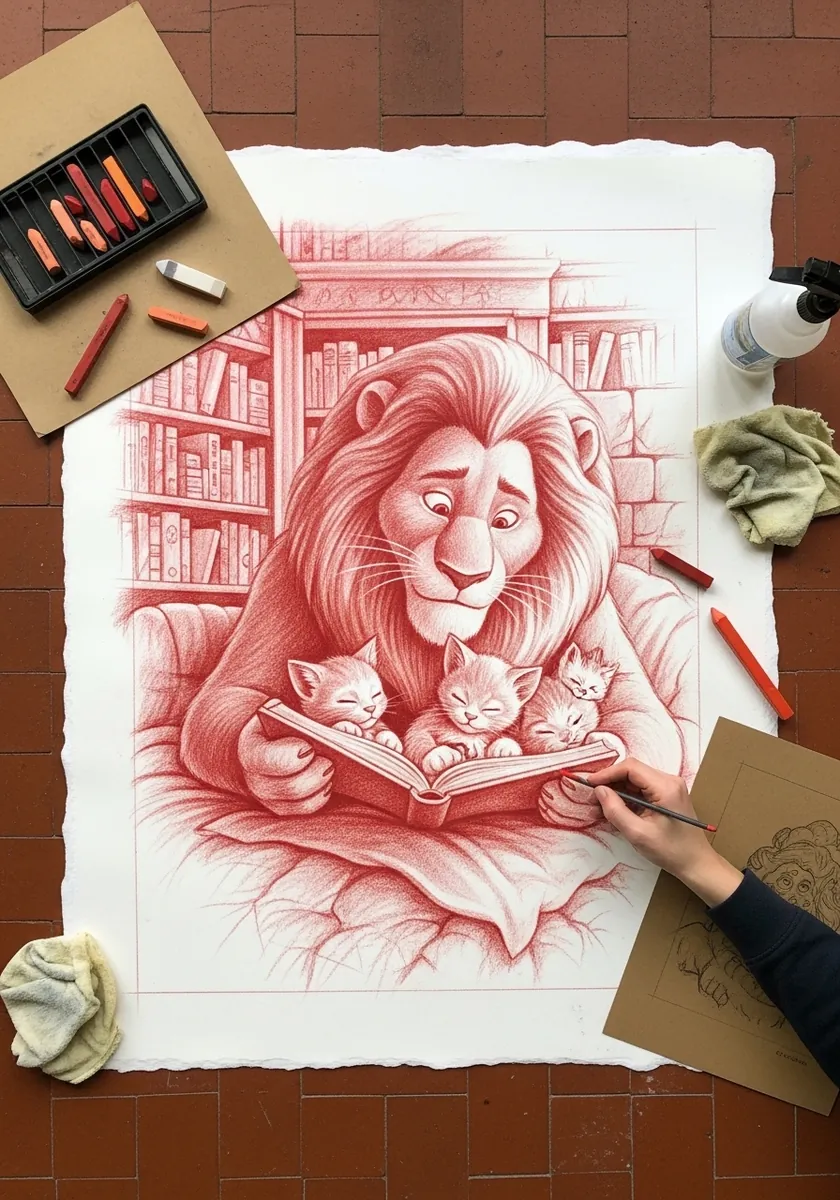
A single warm drawing medium suits this subject. Build the mane with directional strokes radiating from the face, keep the cubs softer and smoother throughout, and reserve the paper white for the page of the book they are reading. Cub eyes sit lower and wider in the skull than an adult lion’s, which is what reads as young.
13. Girl Surfing a Giant Wave
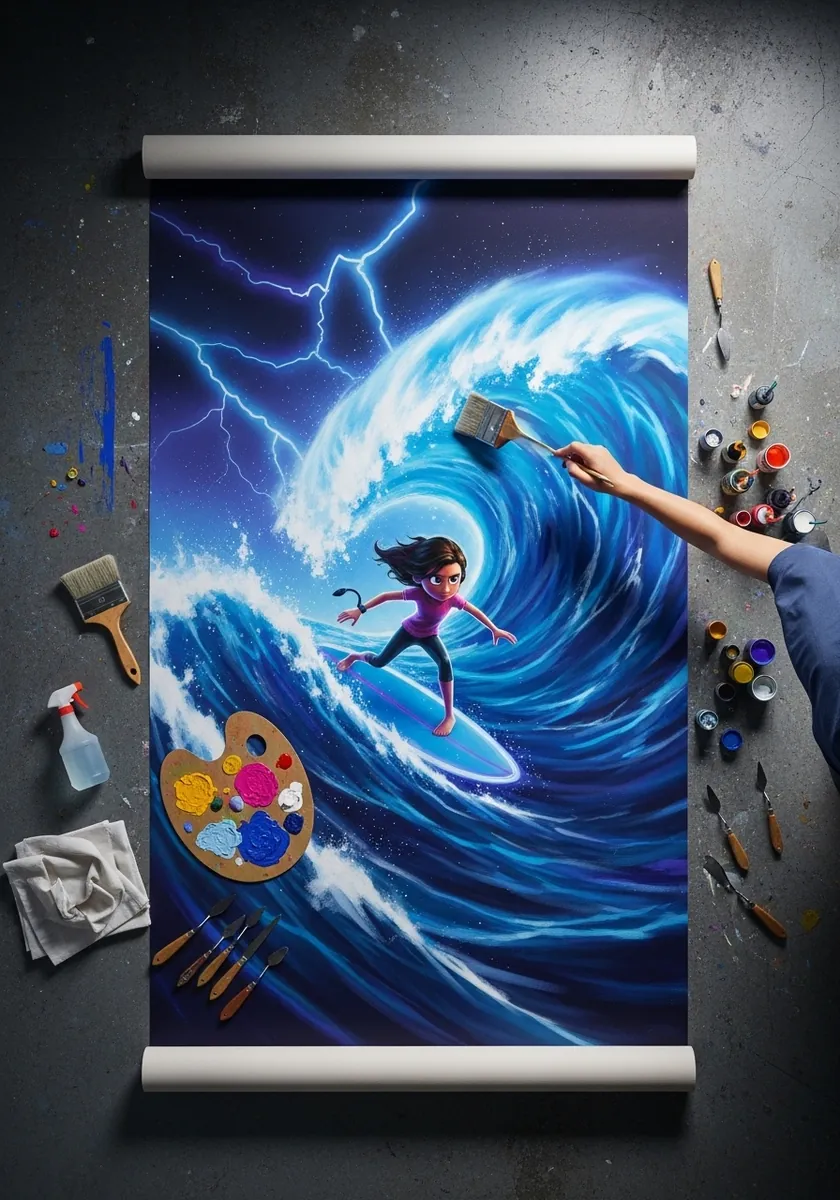
Scale comes from contrast between the figure and the wave. Keep the character small, place her low in the wave face, and let the crest tower above with foam catching the light. A large figure destroys the sense of a big wave.
14. Snail With a Pagoda Shell
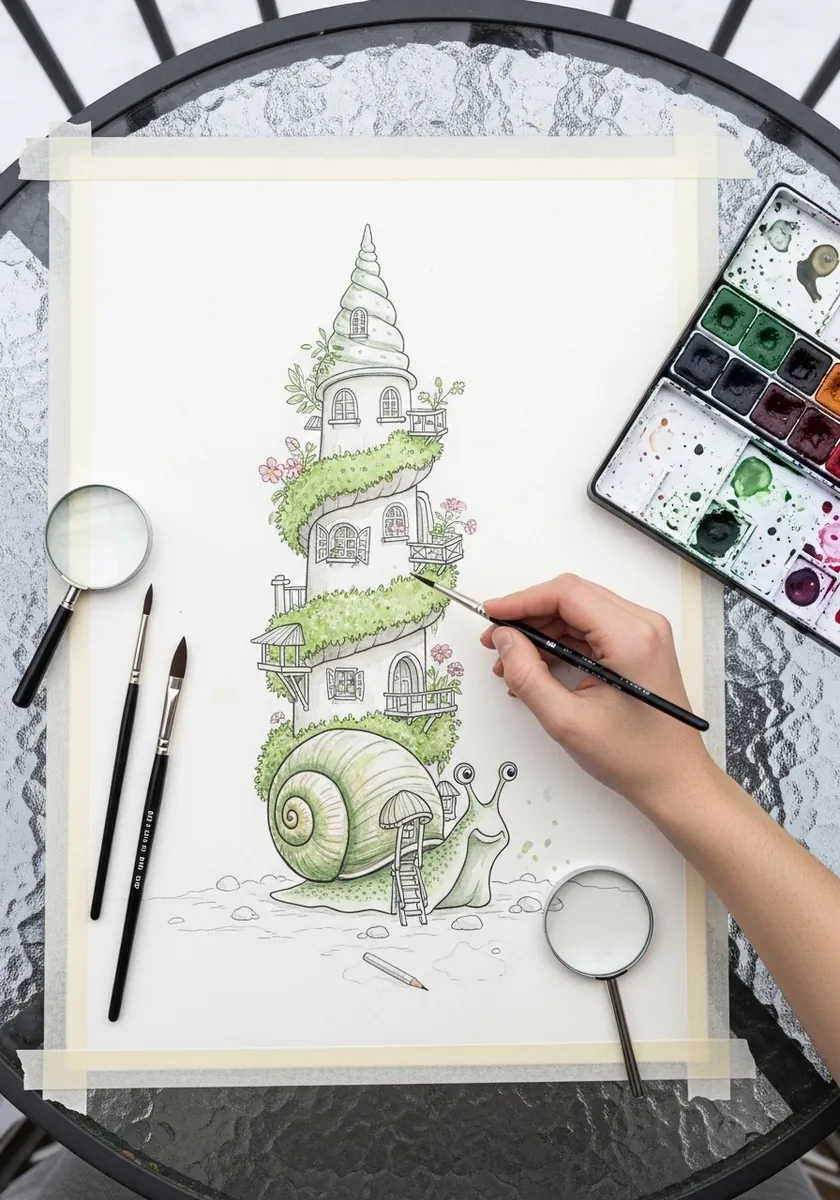
Architecture on an animal must follow the spiral. Build the pagoda tiers along the shell’s natural curve, shrinking each level as it rises, and let the topmost tier lean slightly with the coil. A straight tower on a curved shell looks glued on. Keep the hieroglyph-fine detail light, or the shell overwhelms the animal beneath it.
15. Egyptian Cat Pharaoh Scene
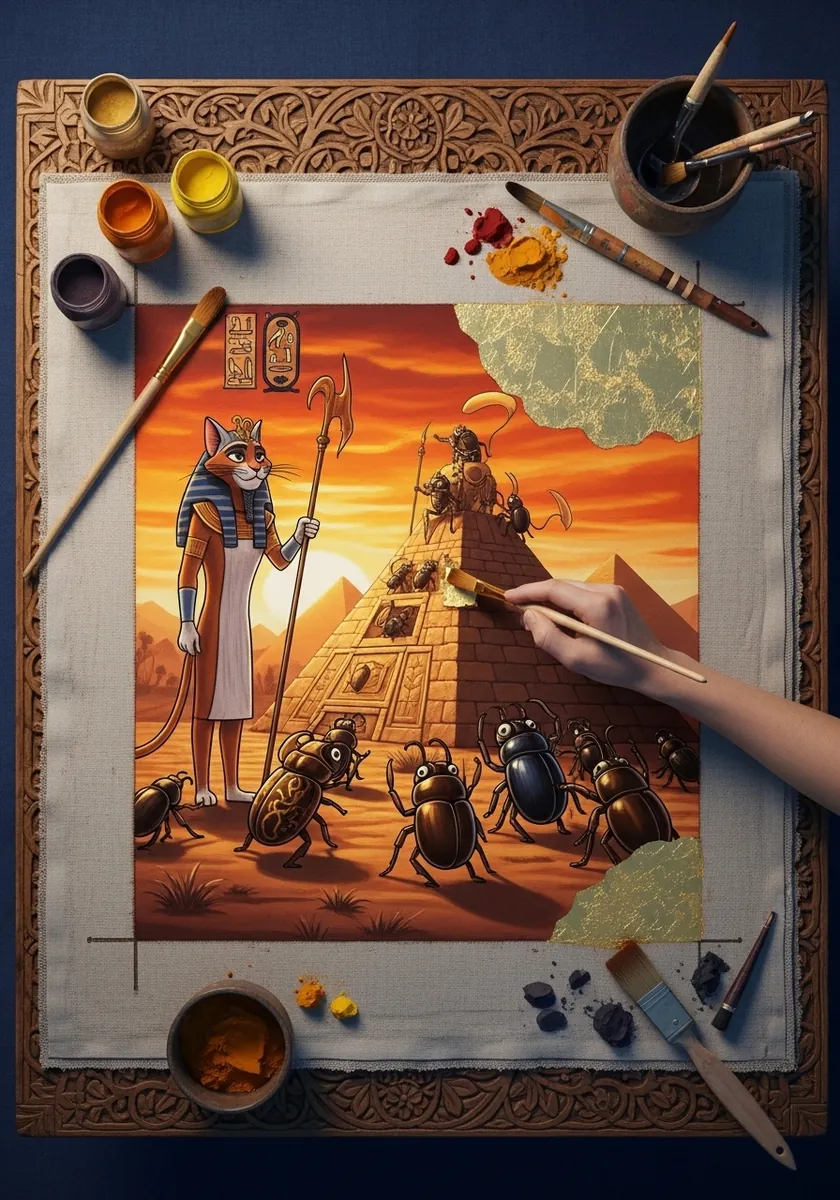
Historical settings still need modern lighting logic. Keep the desert sun low and hard, throw long cast shadows all in one direction, and let the sky gradient shift from warm at the horizon to cool overhead. Keep the hieroglyph panels flat and unshaded, so they behave as carved surface rather than depth.
16. Giraffe Cycling in Paris
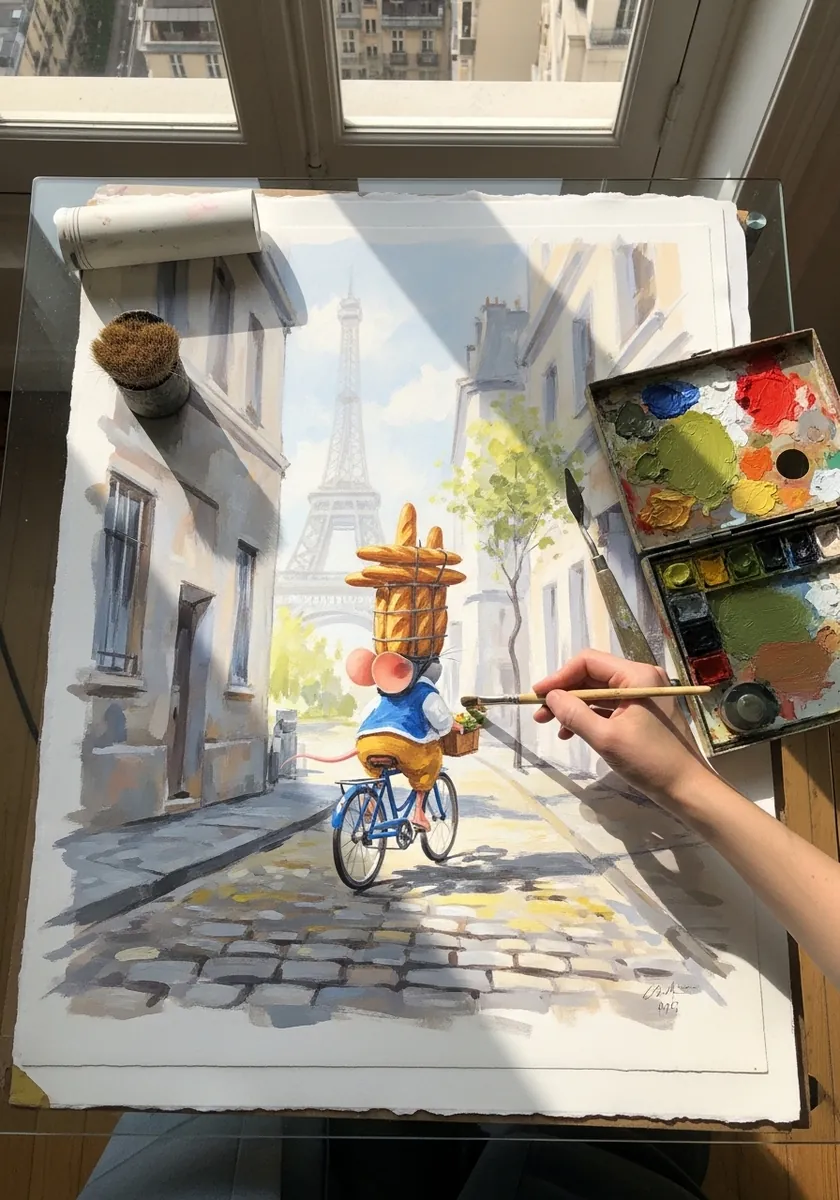
A tall animal on a small vehicle is a proportion joke worth committing to. Exaggerate the height difference deliberately, fold the legs comically around the pedals, and keep the street architecture accurate so the absurdity lands. Let the bicycle frame flex slightly under the load, which sells the weight of the joke.
17. Panda Under Cherry Blossom
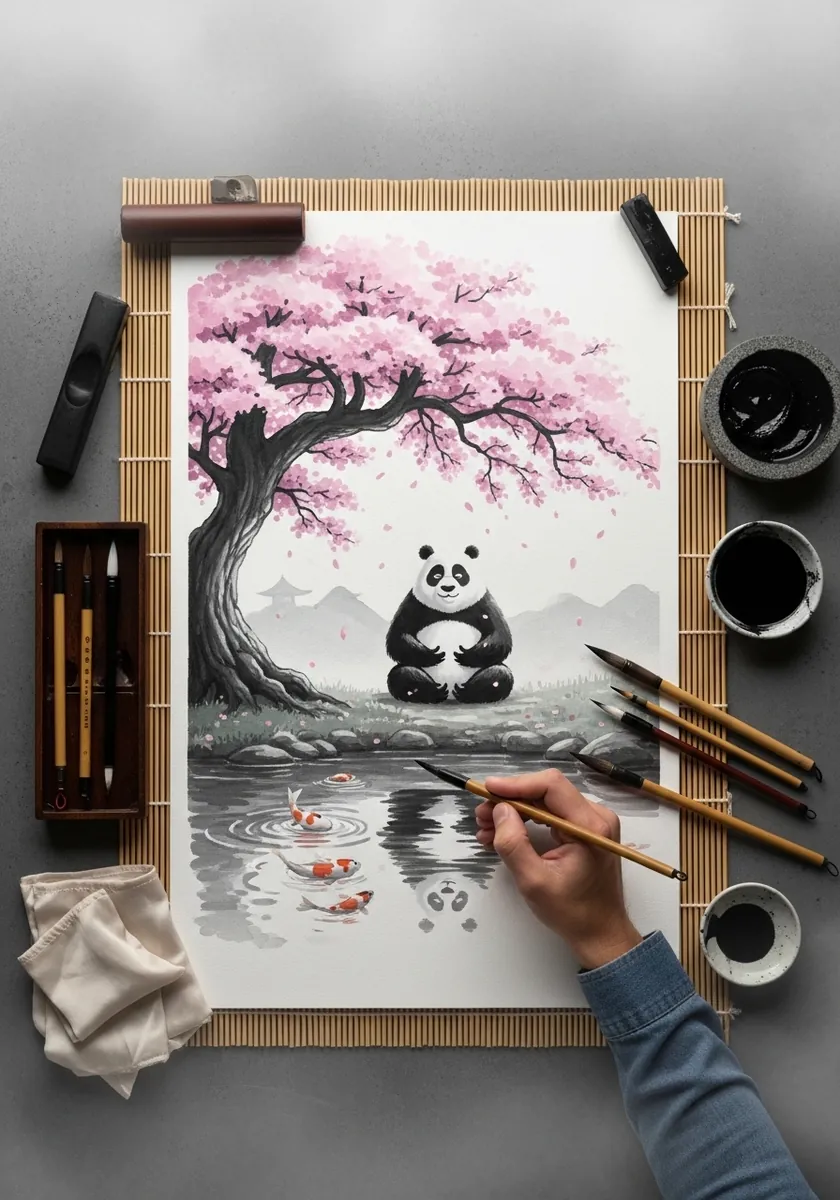
A monochrome animal against one accent color is a strong structure. Keep the panda in pure blacks and greys, let the blossom carry the only pink, and use the water reflection to repeat both. Nothing else needs color at all.
18. Glowing Library With a Potion
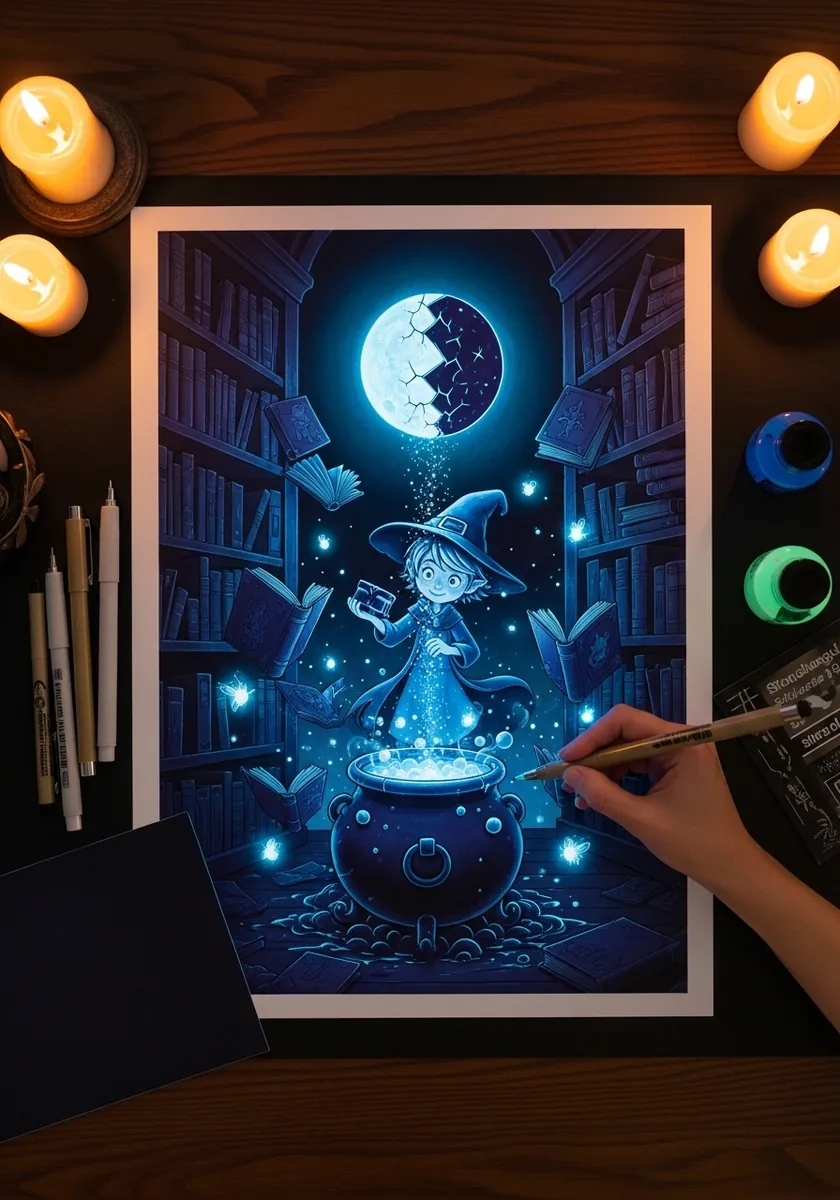
A single glowing object lights everything. Place it low and central, let the light fall off quickly into the shelves, and warm only the surfaces directly facing it. Every book spine beyond arm’s reach should be barely visible. Add a faint warm pool on the tabletop directly beneath the flask, since glass throws light downward.
19. Gorilla in a Flower Box
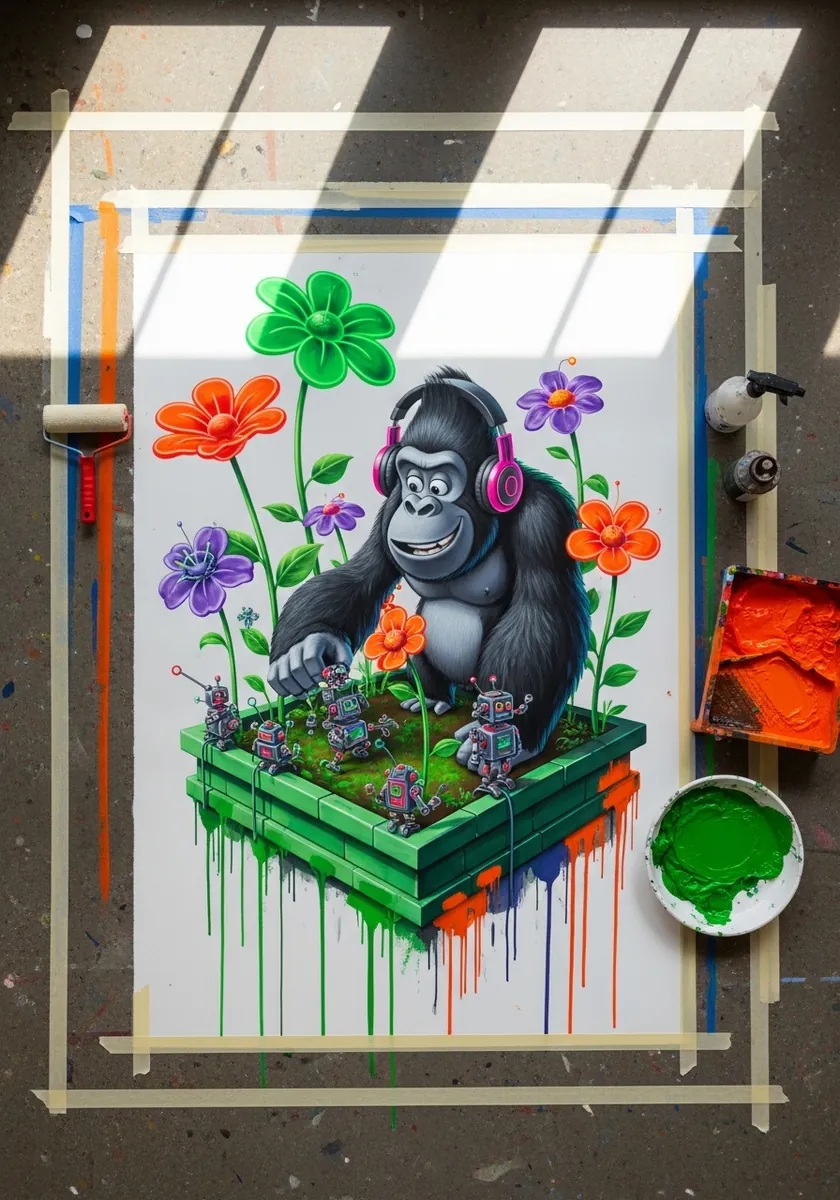
A dark subject surrounded by bright color needs edge control. Give the gorilla a strong cool rim light so the silhouette separates, and keep the flowers slightly desaturated where they touch him. Otherwise the figure sinks into the color. Keep the headphone cups matte, since a glossy surface there competes with the eyes.
20. Penguin Painting a Lighthouse
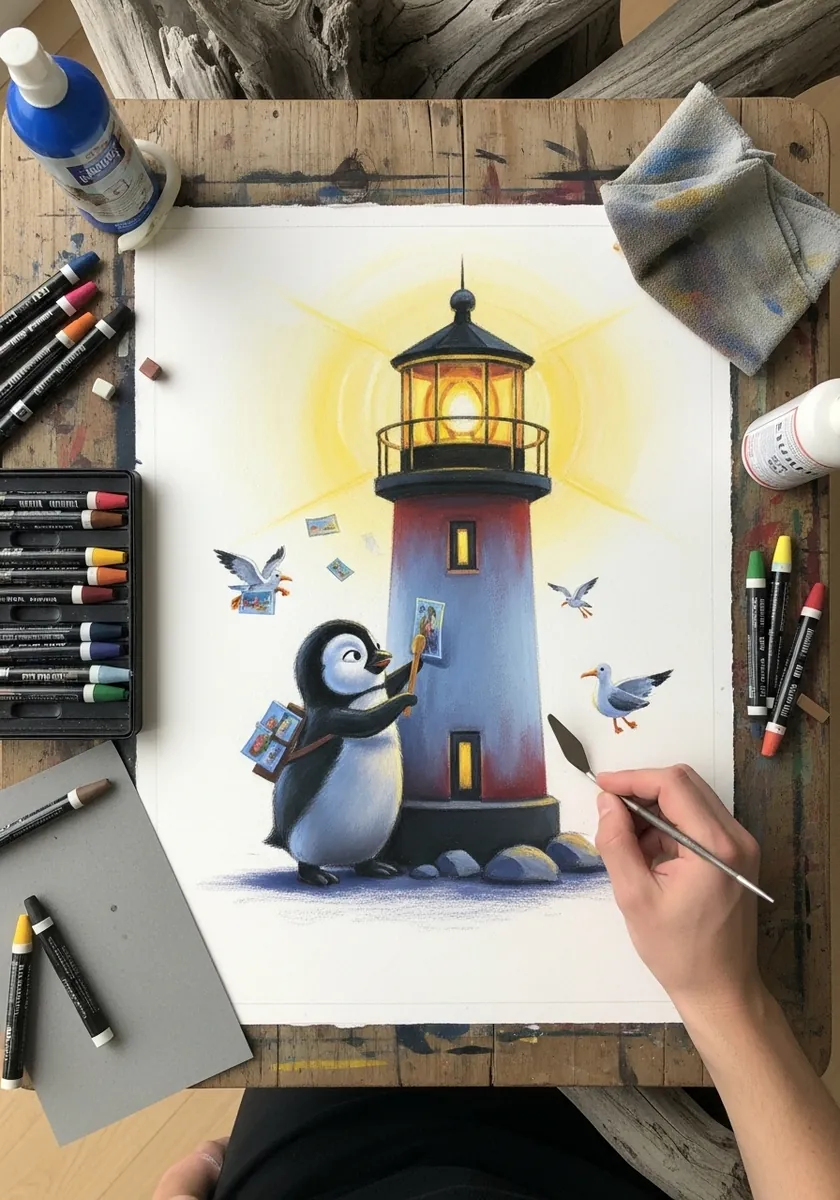
A picture within a picture needs consistent light. Match the lighting on the painted lighthouse to whatever falls on the penguin, keep the canvas surface slightly flatter than the real scene, and let the brush touch the wet paint. Let one gull overlap the lighthouse, which immediately establishes how far away the tower is.
21. Dragon Coiled Around a Column
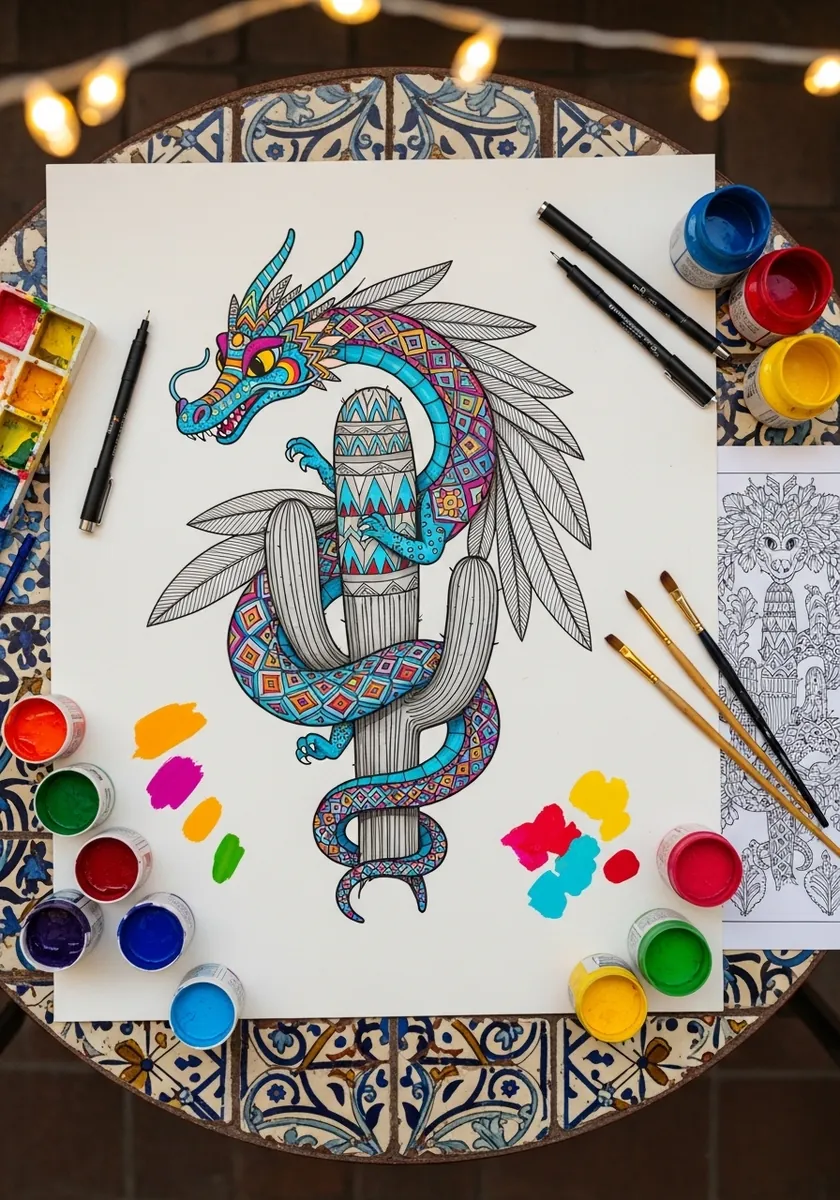
Wrapping a body around a cylinder is a perspective exercise. Draw the column first, then run the dragon behind and in front of it in alternating bands, keeping every scale row curving with the body. Consistent overlaps sell the coil.
22. Knight on a Snail in the Highlands
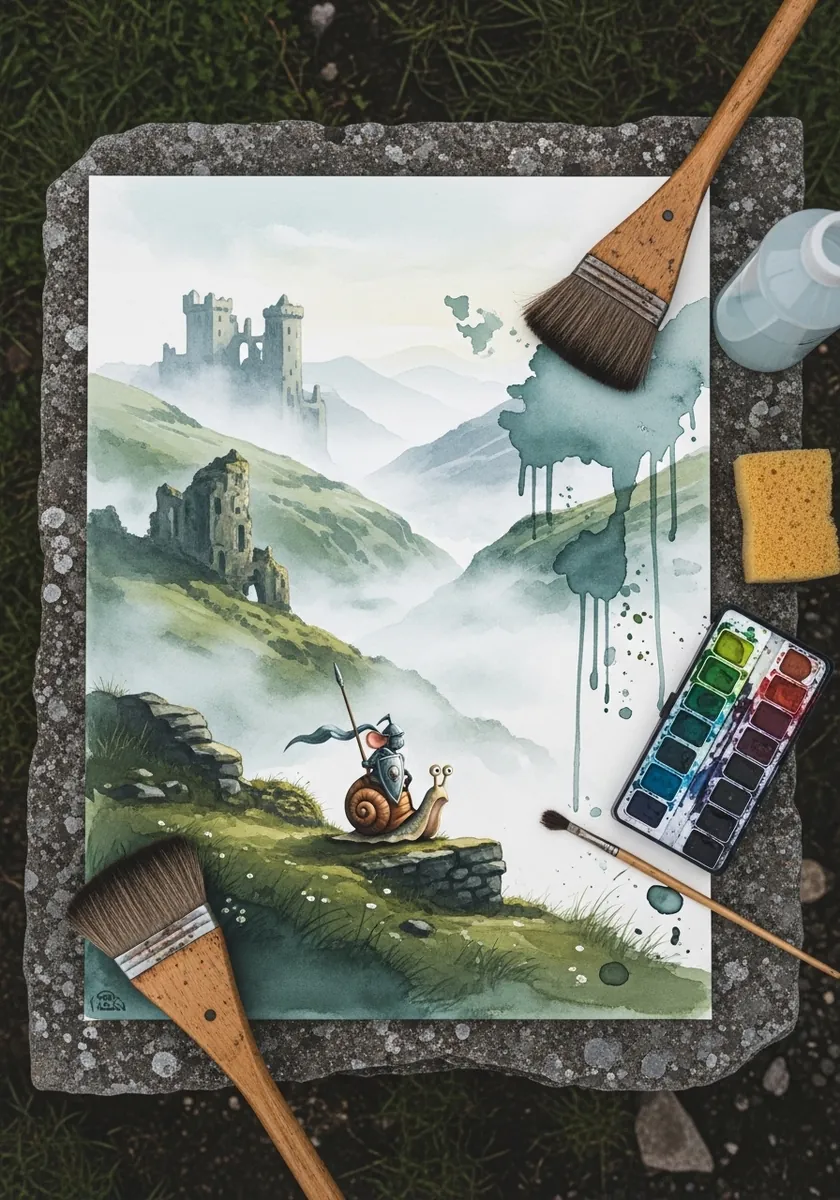
Atmospheric perspective does the storytelling here. Fade each successive ridge lighter and cooler, keep the tiny figures fully saturated in the foreground, and let mist erase all detail beyond the third layer. Give the snail a wet highlight along its back, or it reads as a rock the knight is sitting on.
23. Raccoon in a Detailed Workshop
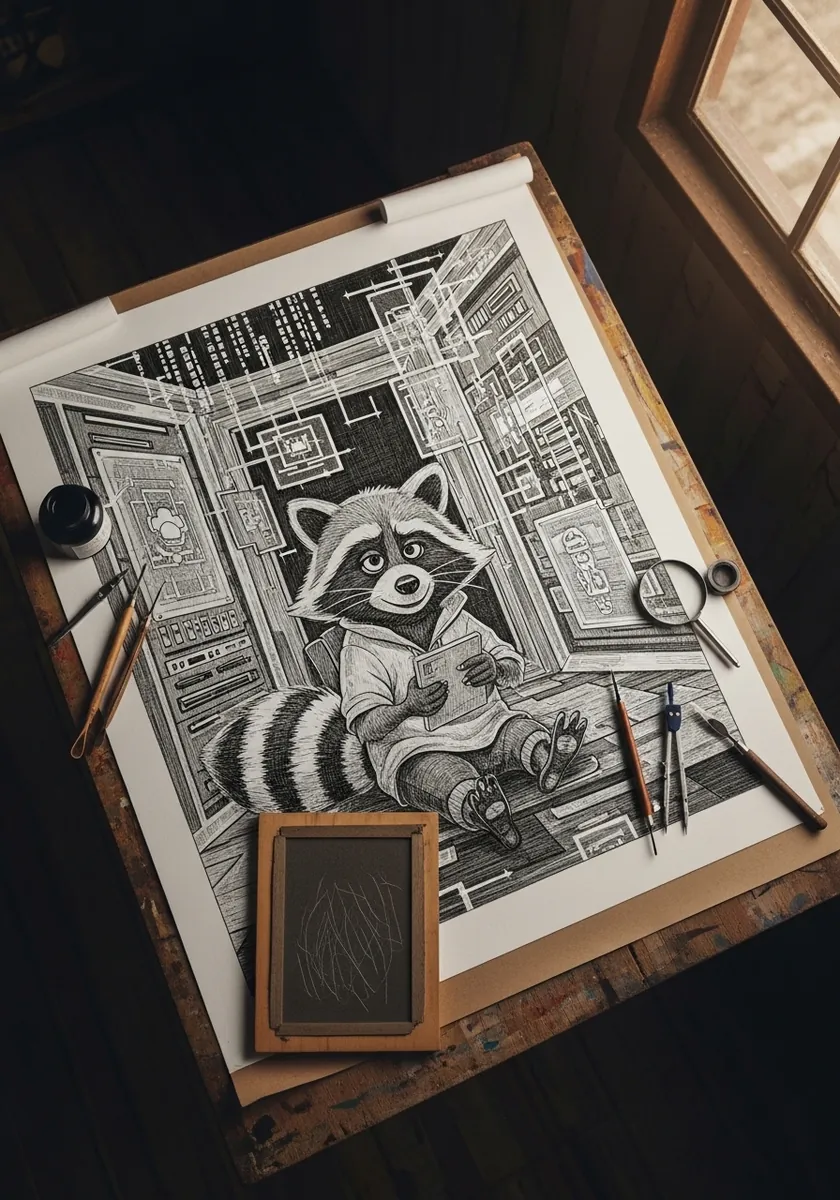
Dense environments benefit from one clear focal path. Lead the eye with a diagonal of lighter values from the corner to the character’s face, and let everything off that path stay in a narrow mid-tone range. Leave one area of the workshop almost empty, so the eye has somewhere to rest between details.
24. Orangutan in a Jungle Hammock
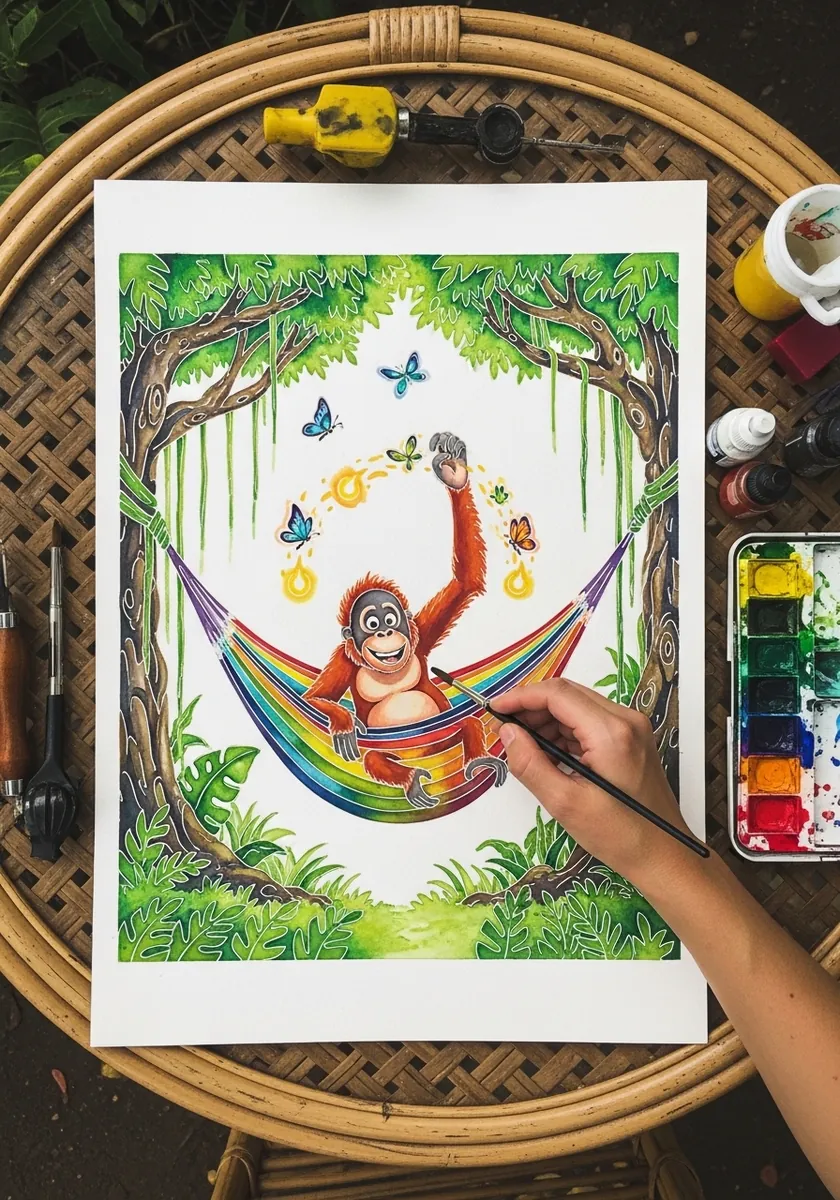
A hammock is a catenary curve, not a shallow arc. Let it sag deeply under the weight, hang the lowest point directly beneath the body’s mass, and pull the mesh tight at both anchor points. Loose fabric bunches at the sides.
25. Hedgehog on a Fashion Runway
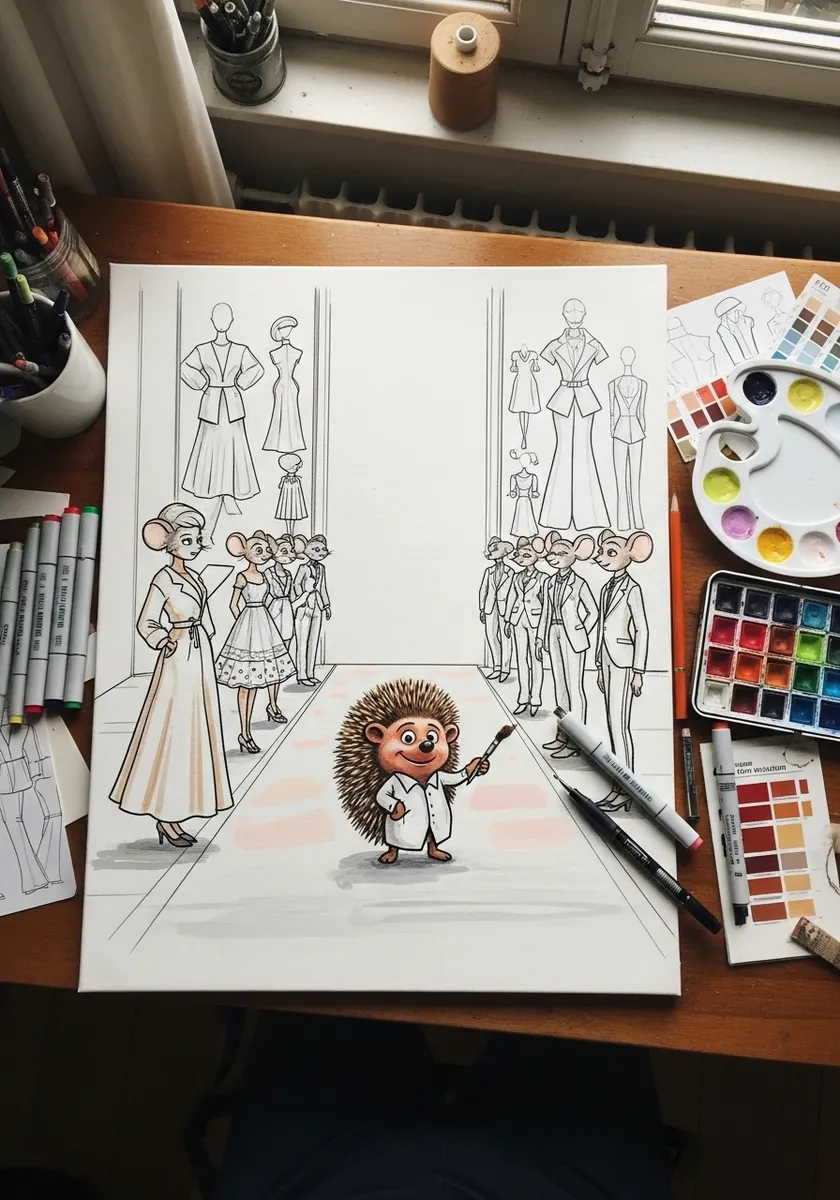
A crowd should read as one value. Keep every background figure at a single flat tone with no faces defined, then let the runway be your lightest surface. The character stays the only fully rendered thing on the page. Spines should follow the body curve and shorten toward the face rather than radiating evenly.
26. Fairy on a Crystal Moon
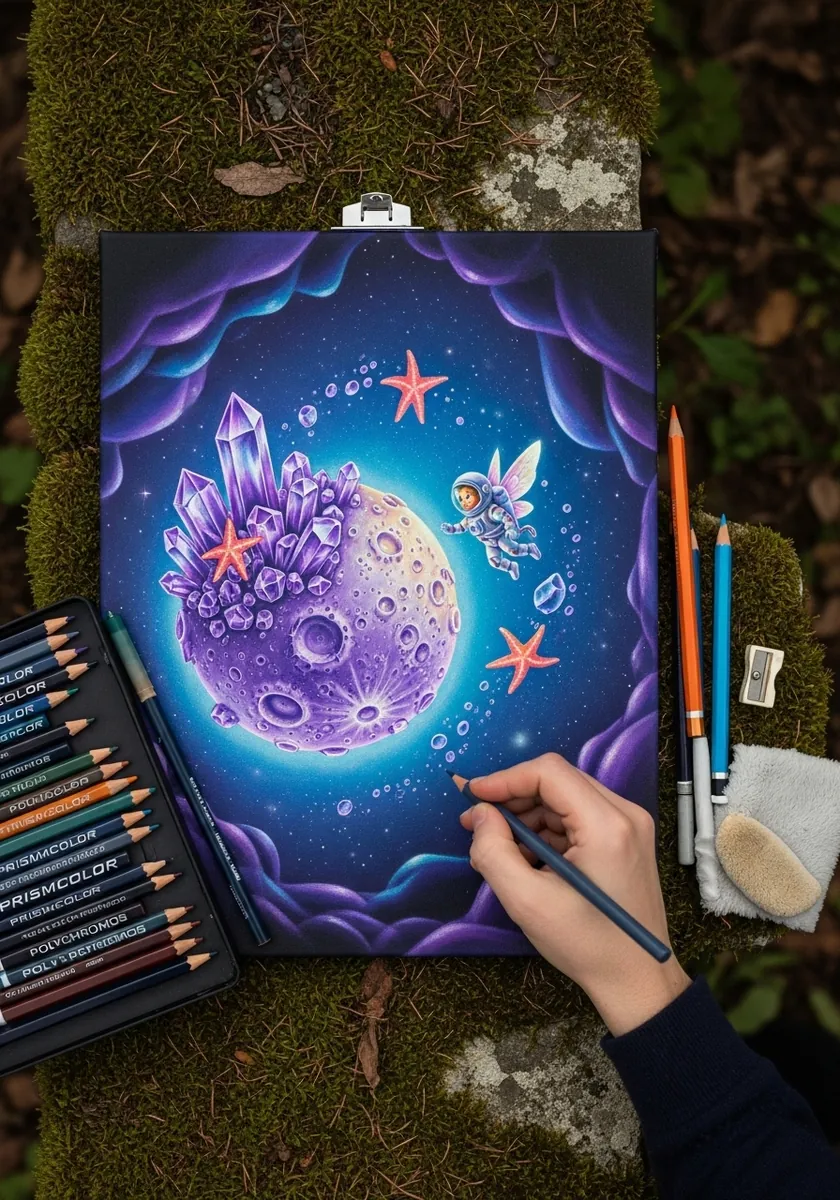
Crystals refract rather than reflect. Give each facet a slightly different value, let the light appear to travel through the mass and emerge brighter at the far edge, and add a soft halo in the surrounding dark. Keep the fairy small, because scale is what turns a crystal into a moon rather than a rock.
27. Tiger Chef With a Dragon
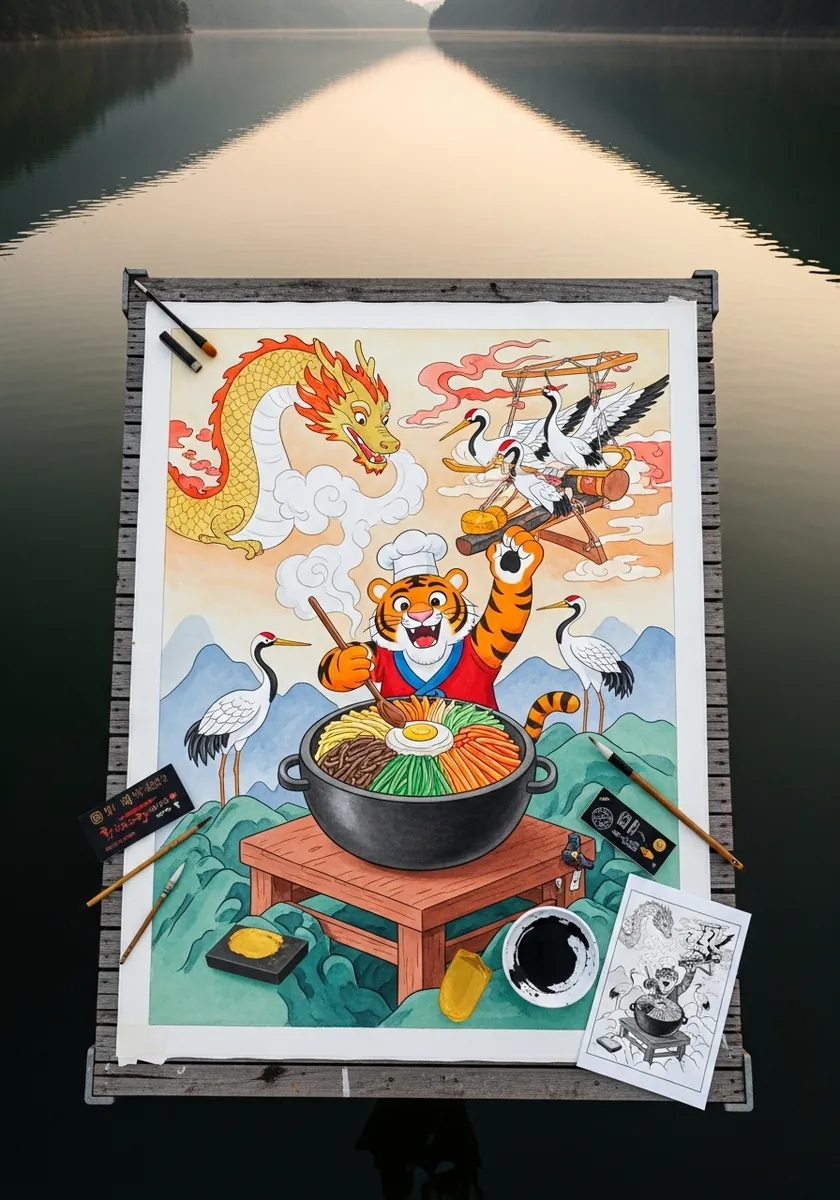
Multiple characters need a hierarchy of size and value. Make the chef largest and highest in contrast, the dragon secondary, and the crane smallest. Steam rising from the pot is a useful device for separating the three layers. Let the steam curl in one direction only, which quietly implies a draft across the whole scene.
28. Owl in a Boat in Pencil
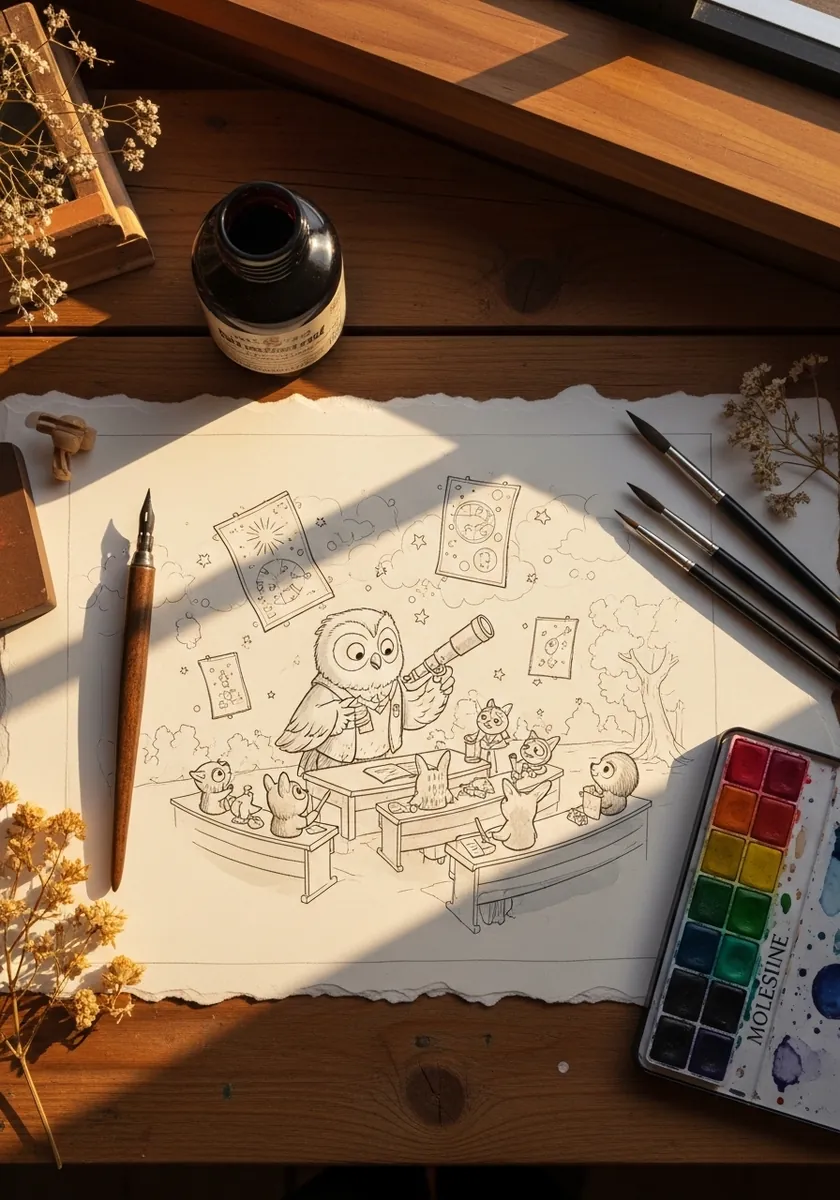
A boat sitting in water needs a visible waterline. Draw the hull cut cleanly by the surface, add a slight bulge of displaced water at the bow, and reflect the darkest part of the hull straight down. Boats drawn on the water float unconvincingly.
29. Polar Bear Cub Under Aurora
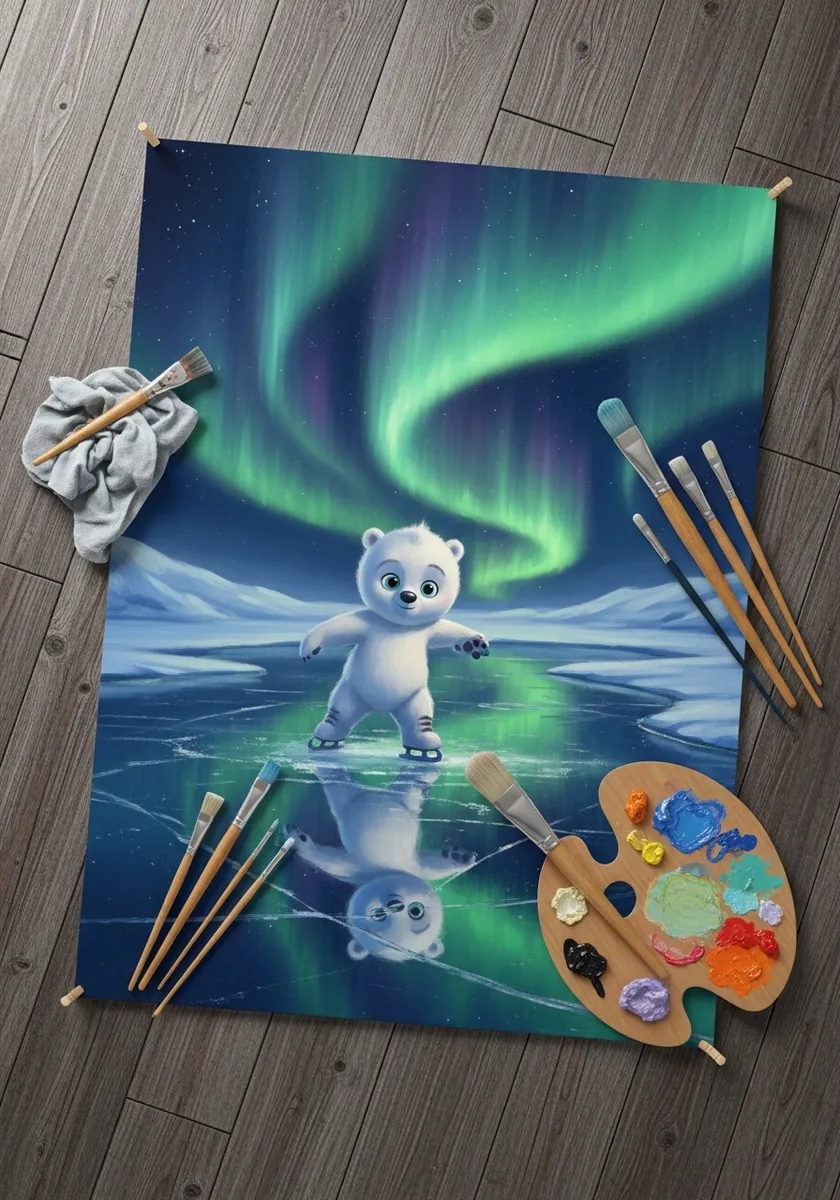
Aurora light comes from above and behind, which means rim lighting. Edge the cub’s fur in green, keep his front in cool shadow, and mirror the whole sky in the ice below with reduced contrast. White fur under colored light is never white.
30. Wolf Rockstar on a UFO
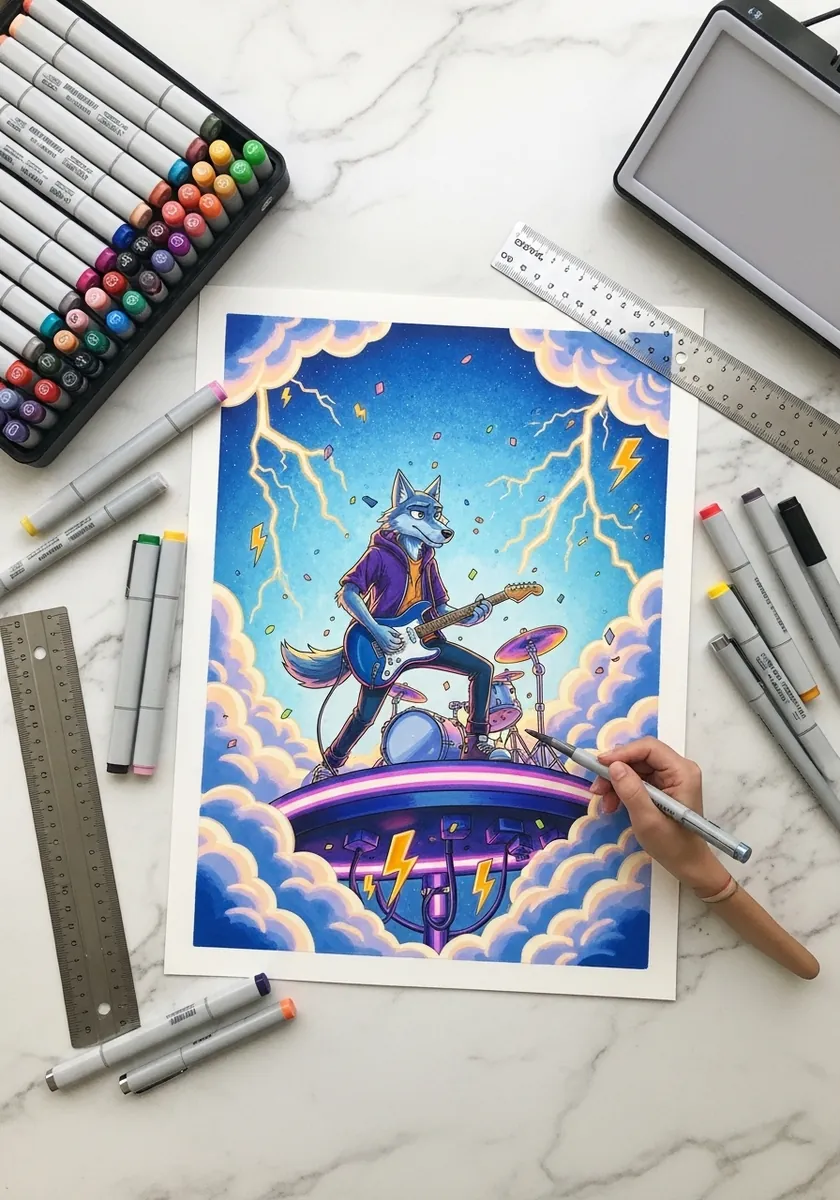
Lightning is an instantaneous flash, so everything it touches goes hard-edged and pale. Light the top surfaces of the saucer and the character sharply, drop the undersides almost to black, and keep the bolt itself a thin jagged white line.
31. Ornate Framed Deity Panel
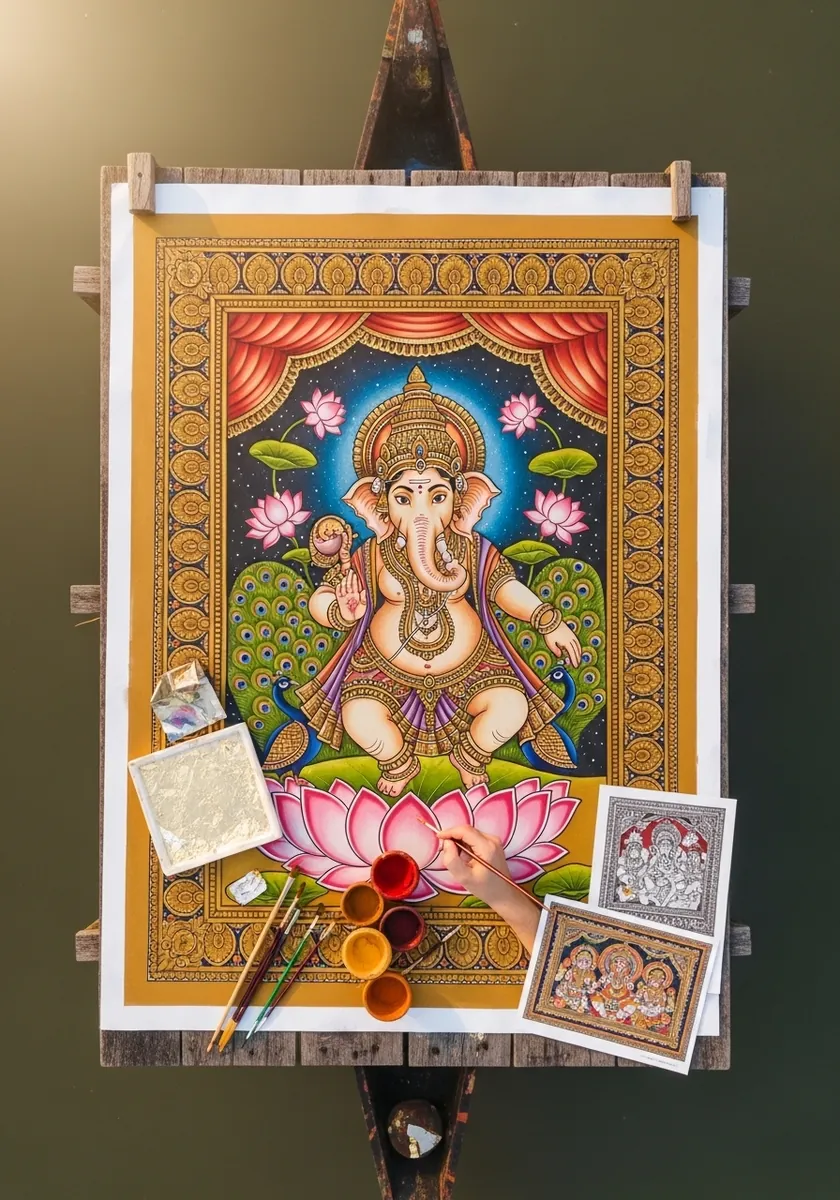
Devotional framing calls for symmetry and gold. Build the border from repeating units, center the figure exactly, and keep the lotus petals evenly counted on both sides. The rendered figure inside contrasts with the flat, patterned frame around it. Gold leaf or metallic ink goes on last, once every layer beneath it is completely dry.
Frequently Asked Questions
How do you draw eyes in the Pixar style?
Treat each eye as a sphere sitting inside a socket. The upper lid curves over the ball as a band with real thickness, the iris follows the sphere’s curve rather than staying flat, and two catchlights sit on the wet surface. Flat eyes drawn on the face never read as three-dimensional.
What lighting makes a drawing look like CG animation?
Three lights rather than one. Add a key from one side, a cool rim behind the character that separates it from the background, and a warm bounce coming up from whatever surface it stands on. That bounce light is the detail most drawings miss.
Why do the ears and fingers glow red?
Because light passes through thin skin. In thin areas the light scatters inside and comes back out warm, which is why ears, nose tips and fingers pick up red when lit from behind. A warm glaze over those areas fakes it convincingly.
Should this style have outlines?
No. The look has no black lines at all, and forms separate through value, color temperature and rim light instead. If you sketch in pencil first, lift or erase the construction lines before rendering, or the drawing keeps reading as an illustration.
What is squash and stretch?
It is one of the twelve principles of animation described in The Illusion of Life, published in 1981. A shape deforms as it moves but keeps its volume, so a bouncing ball flattens on impact and lengthens in the air without ever changing size.
References and Further Reading
- Computer animation, Wikipedia
- Twelve basic principles of animation, Wikipedia
- Subsurface scattering, Wikipedia