Gills radiate from the stem and crowd closer together toward the cap rim, and crucially not all of them reach the stem. Short gills sit interleaved between the long ones, which is the detail most drawings miss.
Key takeaways
- Gills radiate outward and grow more crowded near the rim, with short gills interleaved between long ones.
- Not every mushroom has gills; boletes such as porcini have a spongy pore surface instead.
- Chanterelles have false gills, which are blunt forking ridges running down the stem rather than blades.
- A ring on the stem is the remains of the partial veil, and a cup at the base is the universal veil.
- The white flecks on a fly agaric cap are veil remnants, and heavy rain washes them away.
One detail separates a real mushroom study from a generic toadstool, and it lives underneath the cap. Gills radiate from the stem and crowd closer together toward the rim, and not all of them reach the stem. Short gills sit interleaved between the long ones, which almost nobody draws.
The second thing worth knowing is that gills are not universal. Boletes such as porcini have a spongy layer of tiny pores instead, and chanterelles have false gills, blunt forking ridges running down the stem. Give a bolete gills and the drawing is wrong before you shade it.
Two more structures repay attention. A ring on the stem is the remains of the partial veil that protected the young gills, and a cup at the base is the universal veil. The white flecks on a fly agaric are veil fragments too, which is why rain washes them off.
The thirty studies below run through fine ink, watercolor, marker, charcoal, sumi-e and mixed media. For the wet-media approach specifically, watercolor mushroom ideas goes deeper, and nature watercolor studies cover the same observational habits.
Compiled by the GS Art Zone editorial team. Last updated August 2026. Each idea is paired with the specific step that produces the effect, so you can go from the reference straight to paper.
What You Need Before You Start
- A 0.05 fine liner for gill work, since anything thicker turns the blades into stripes
- Two browns, one warm and one cool, which covers most cap colors between them
- A kneaded eraser for lifting the pale bloom along the top of a cap
- Waterproof ink if you plan to wash over the linework, which several of these do
- Toned or black paper for the charcoal and glowing pieces further down the list
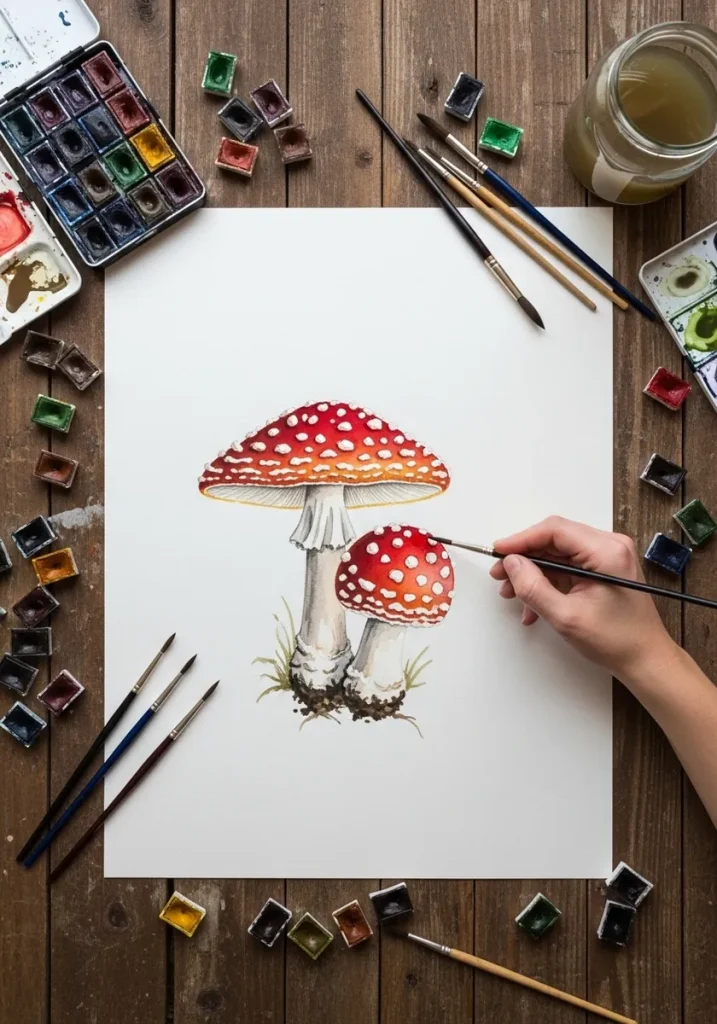
1. Fly Agaric Pair in Watercolor
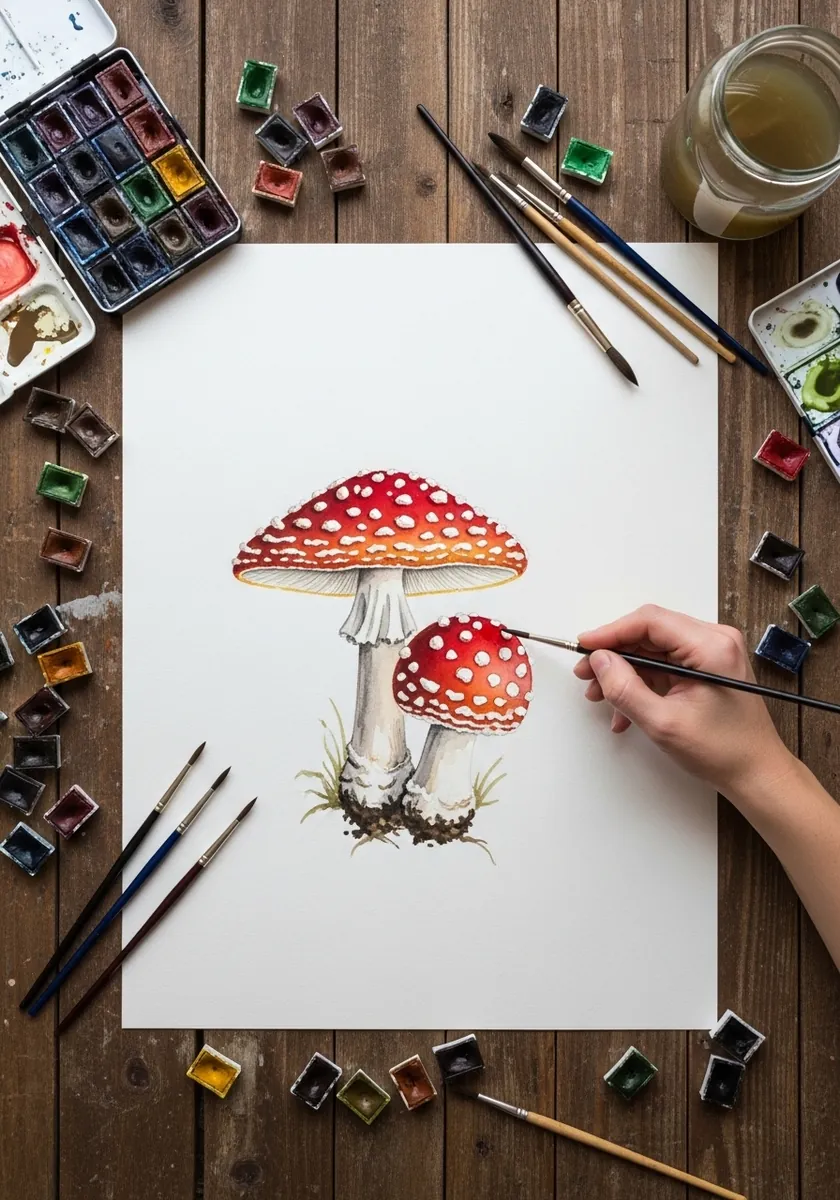
The spots are veil fragments, so scatter them unevenly and let a few sit half off the cap edge. Reserve them as bare paper rather than painting white on top, and keep them denser near the center where the veil tore last.
2. Ink Cluster of Oyster Mushrooms
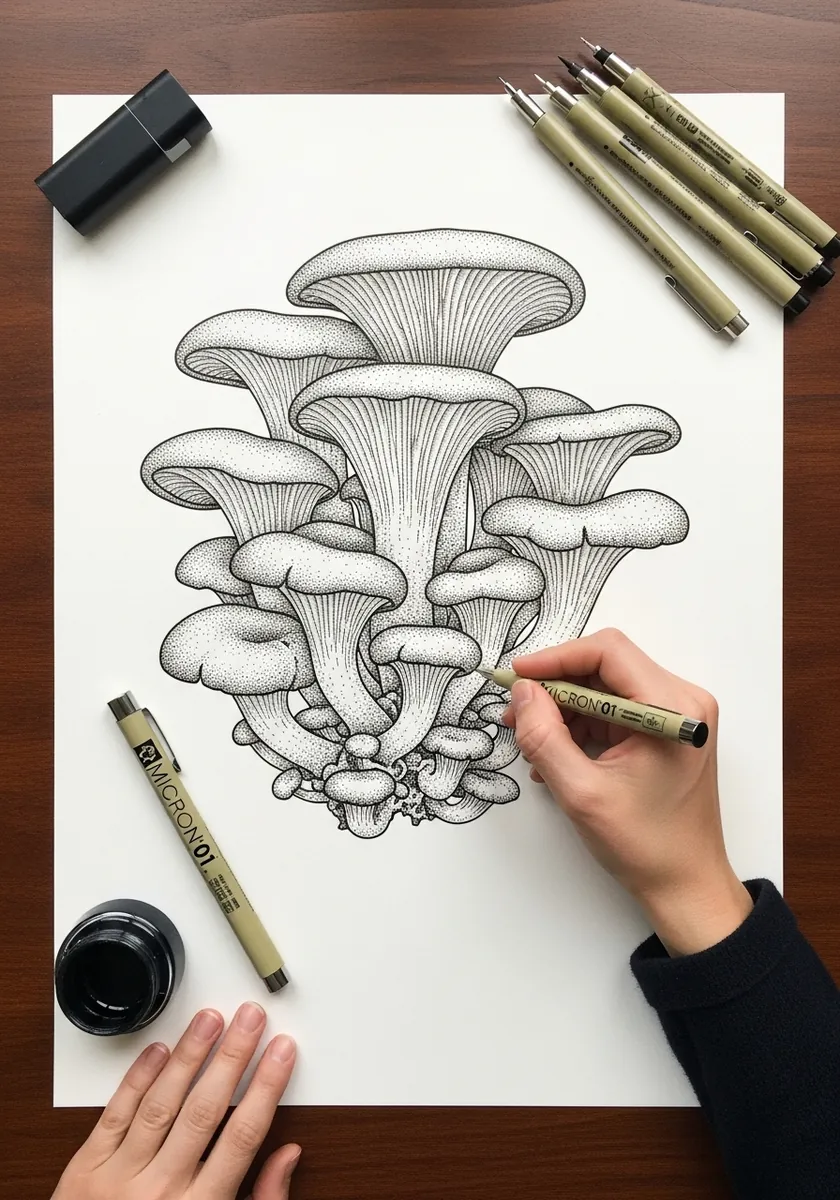
Oyster gills run right down onto the stem rather than stopping under the cap. Draw them as long converging lines that continue past the join, keep them closest together at the outer rim, and interleave a few short ones between.
3. Porcini in Thick Paint
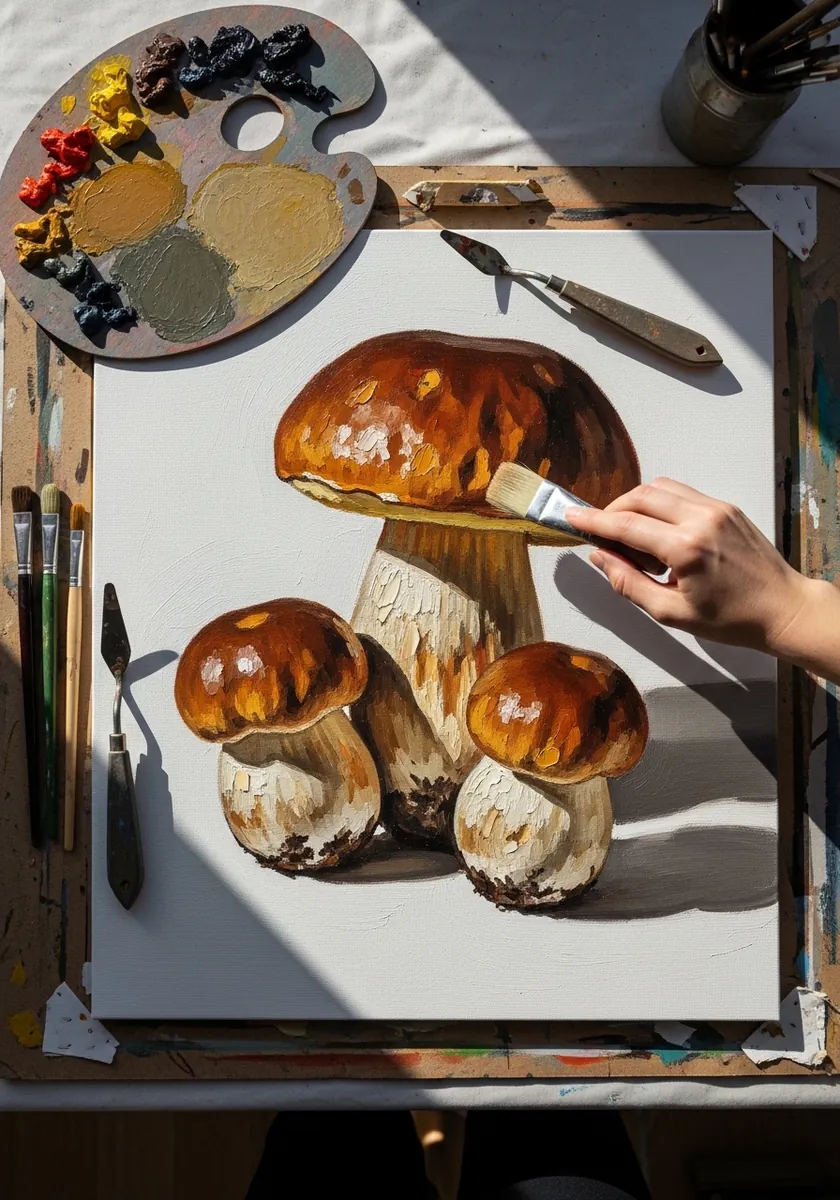
Boletes have pores, not gills, so the underside reads as a fine sponge rather than a set of blades. Suggest it with dense small stipple and keep the cap surface slightly greasy looking, with a soft sheen rather than a matte finish.
4. Graphite Amanita on Toned Paper
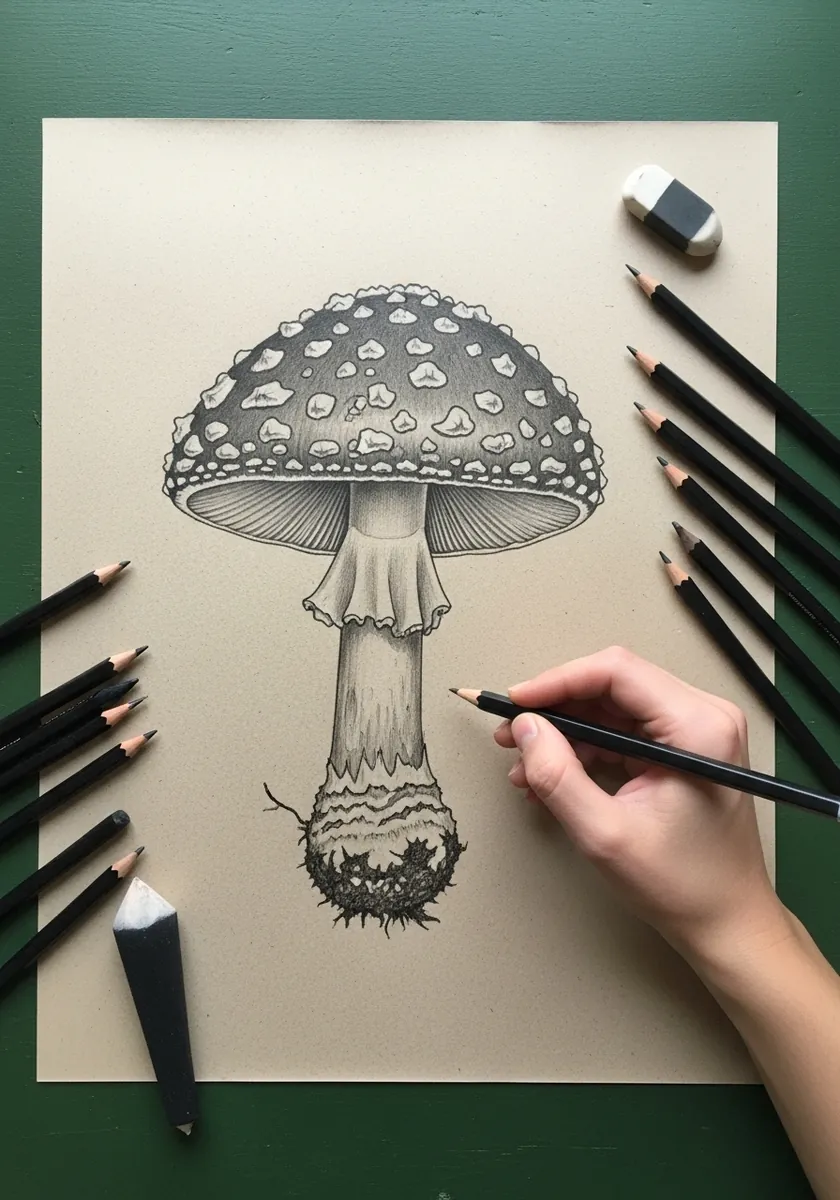
The bulbous base is the volva, the remains of the universal veil, and it is worth drawing properly. Give it a ragged collar of tissue rather than a smooth swelling, and let a few loose fragments cling to the soil around it.
5. Bold Marker Chanterelles
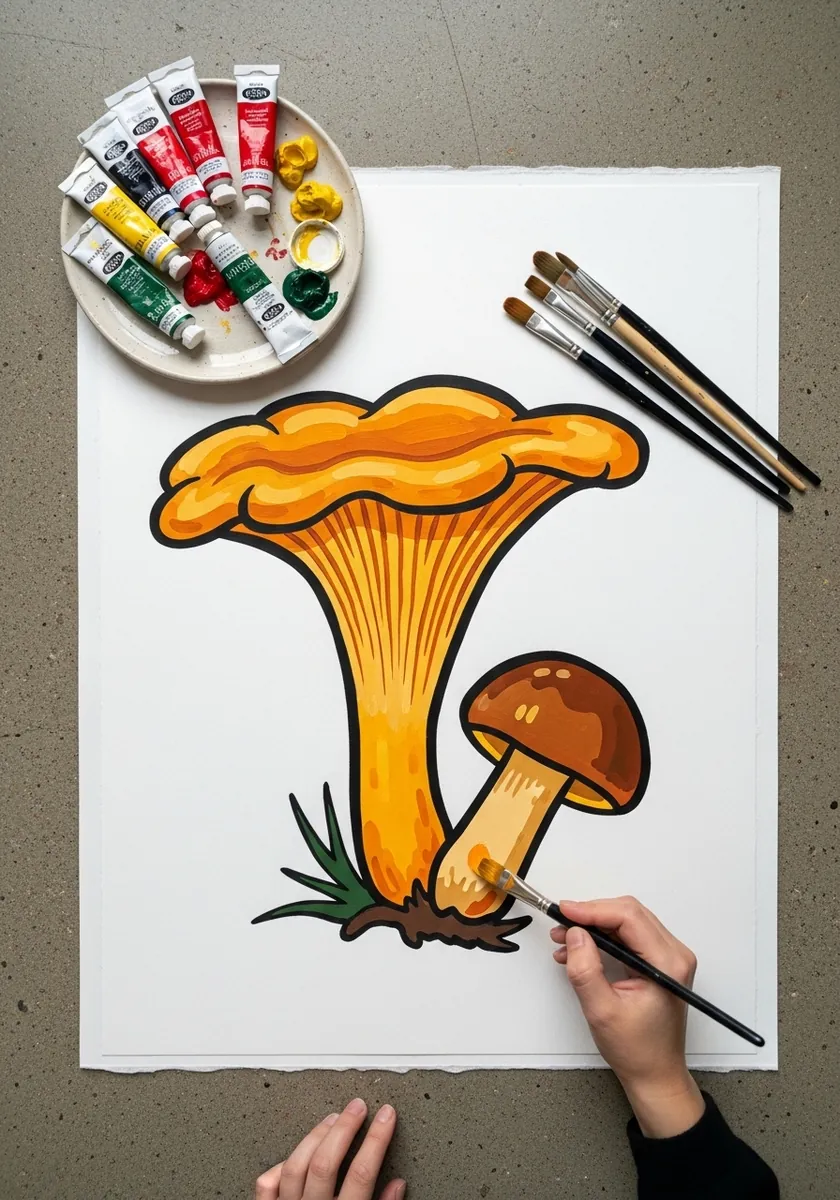
Chanterelles have false gills, meaning blunt ridges that fork and run down the stem. Draw them as soft rounded folds rather than thin blades, and let several split into two as they descend. That forking is the identifying feature. Keep the orange slightly uneven across the cap, since a flat fill reads as plastic here.
6. Morel in Colored Marker
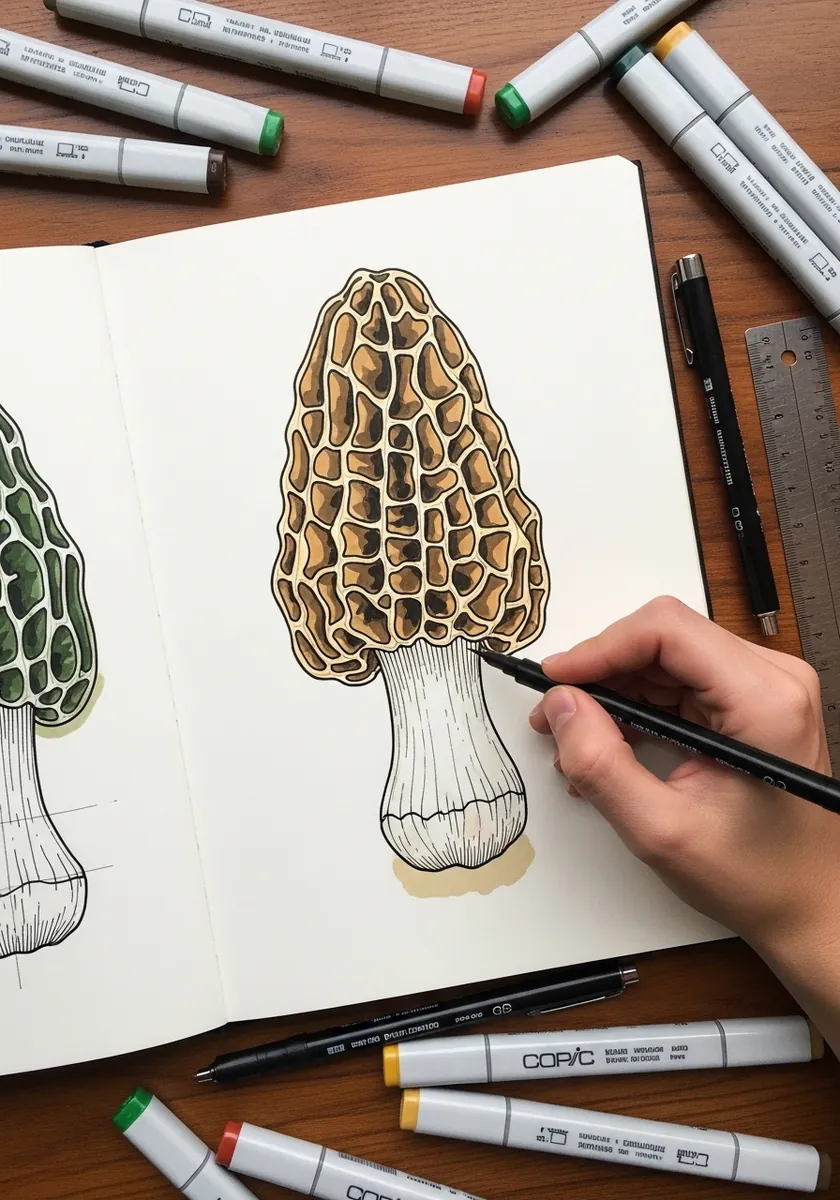
A morel cap is a network of pits and ridges, not a smooth dome with texture drawn on. Build the ridges first as a connected lattice, then darken the pits between them, and let the pattern compress toward the silhouette edges.
7. Pencil Amanita With a Green Wash
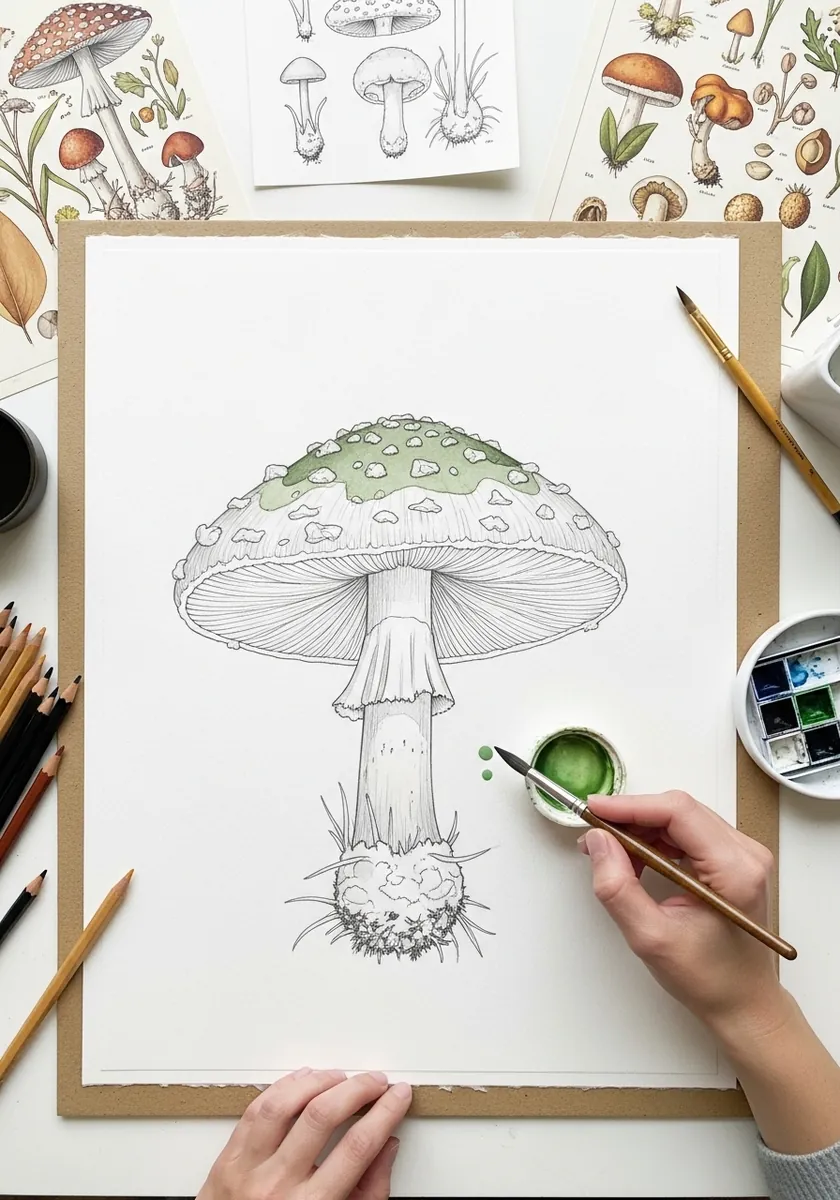
The ring on the stem is the annulus, left when the partial veil tore. Draw it as a skirt hanging slightly loose rather than a tight band, with a torn lower edge. That small detail immediately signals a real species.
8. Sumi-e Mushroom in a Brush Circle
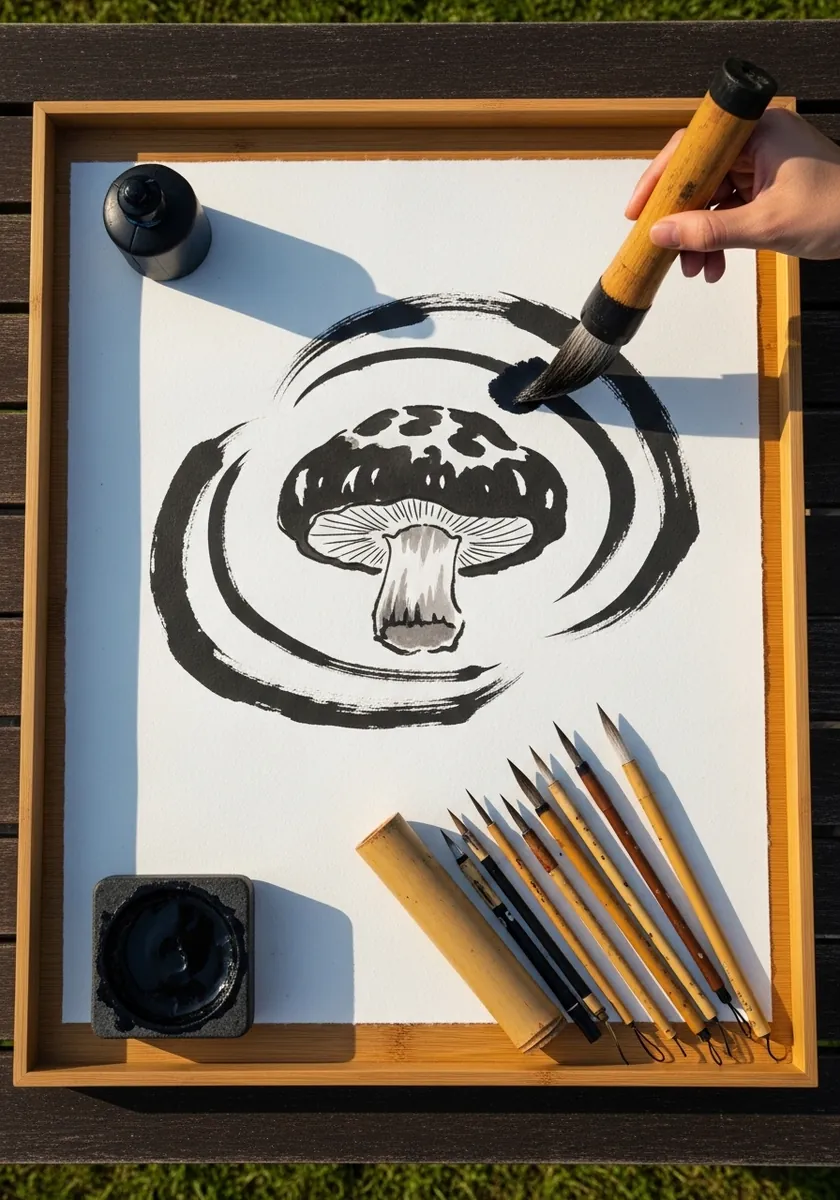
The circle is drawn in one breath and one stroke, so load the brush fully and commit. Place the mushroom slightly off center inside it, keep the whole thing to five or six marks, and accept whatever the brush gives you.
9. Sepia Enoki Cluster
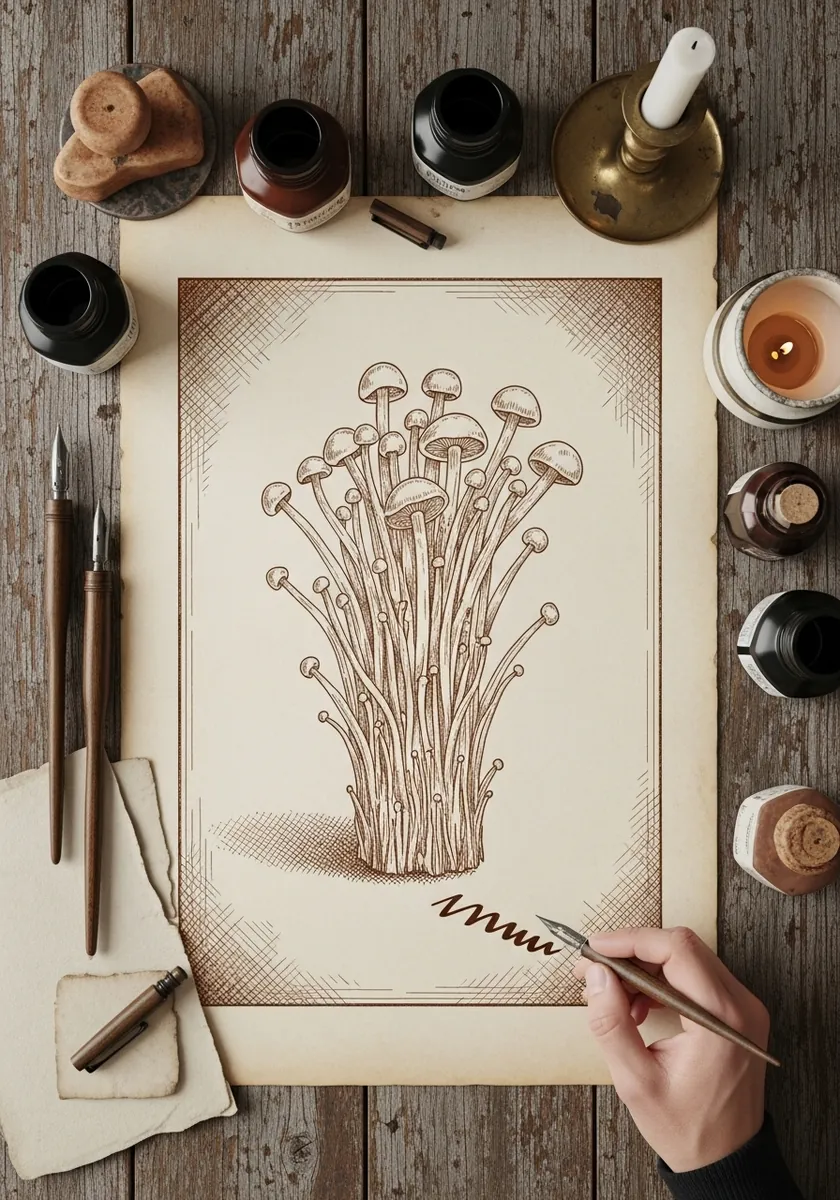
Enoki are almost all stem, which makes them a rhythm exercise. Draw the stalks as a bundle that splays outward toward the top, vary their heights, and keep the tiny caps as simple domes. Overlap is what stops it reading as a fence.
10. Fly Agarics in Meadow Grass
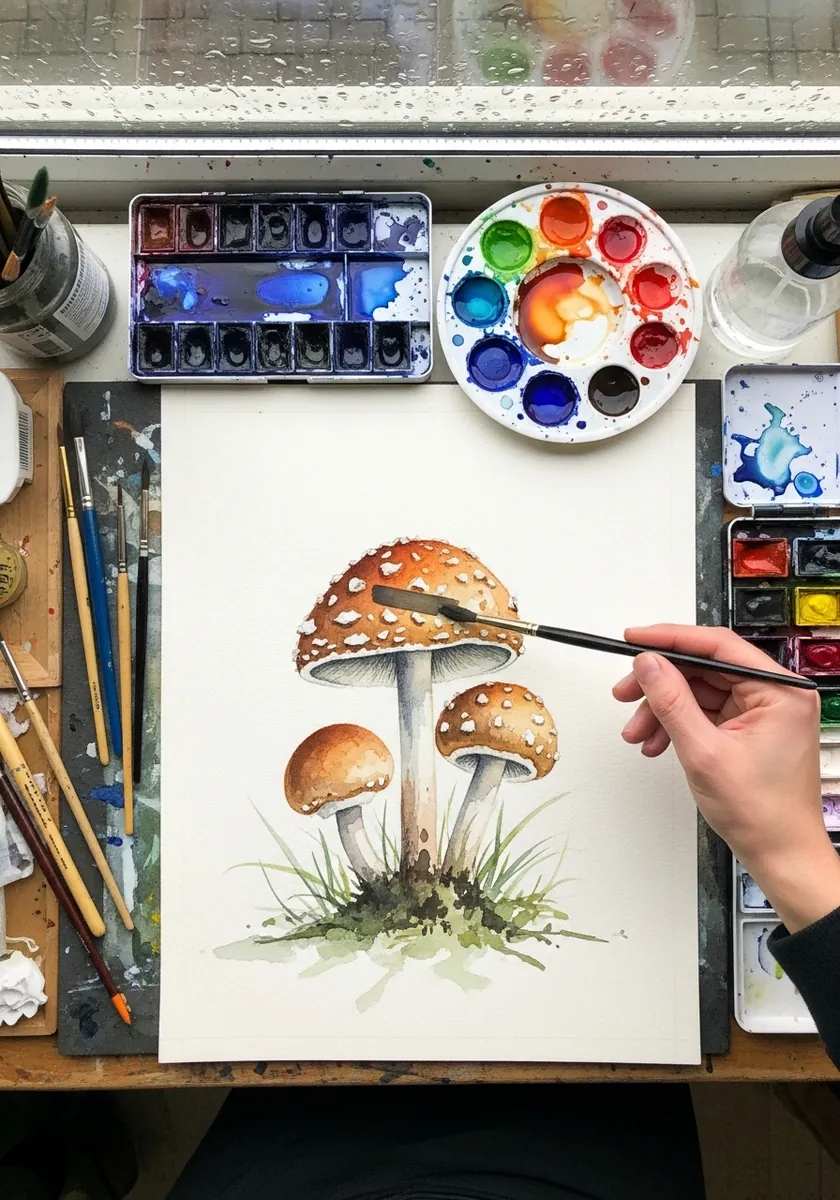
Grass around a subject should not compete. Paint the blades in one loose green, let them overlap the stems in two or three places, and keep them out of the cap area entirely. Contact shadows where the stems meet the ground do the seating.
11. Charcoal Shaggy Mushroom
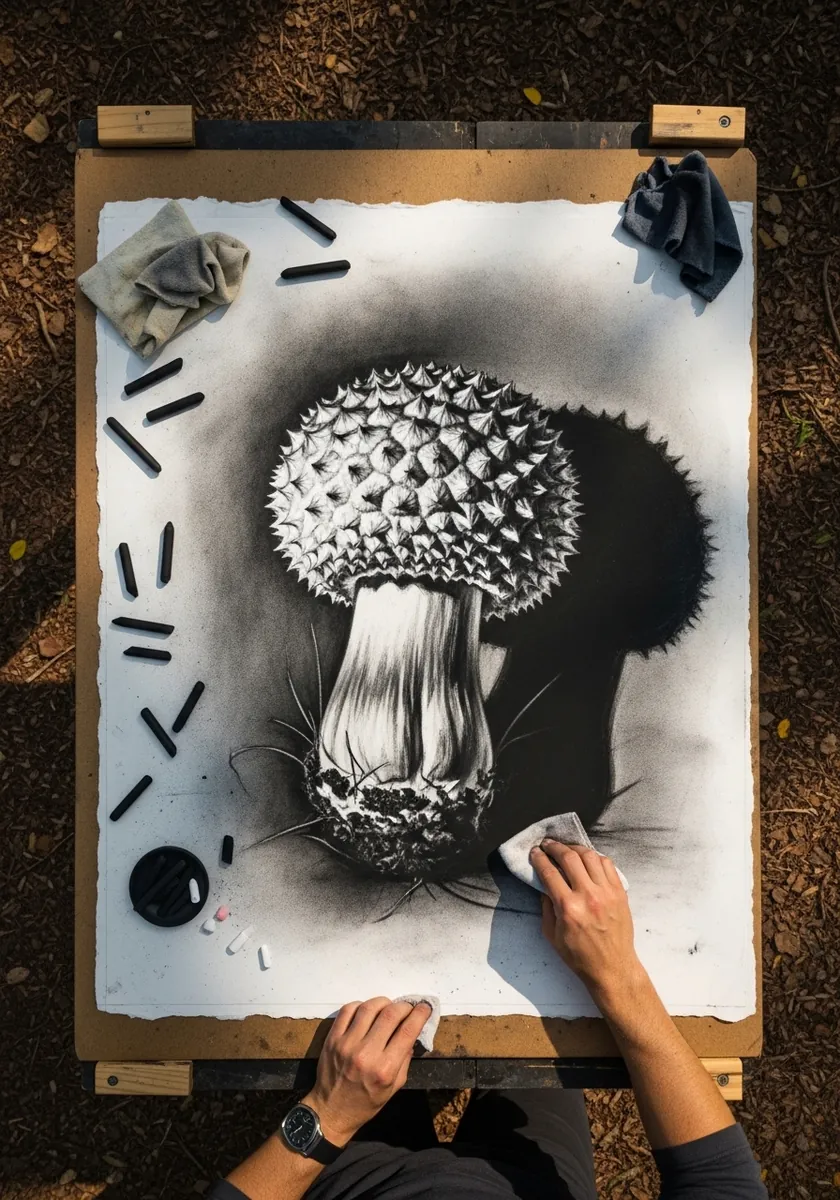
Shaggy caps are built from overlapping scales that point outward and upward. Draw each as a small lifted triangle with a dark gap beneath, keeping them largest at the center and smaller toward the rim, where they flatten against the surface.
12. Parasol With a Scaly Cap
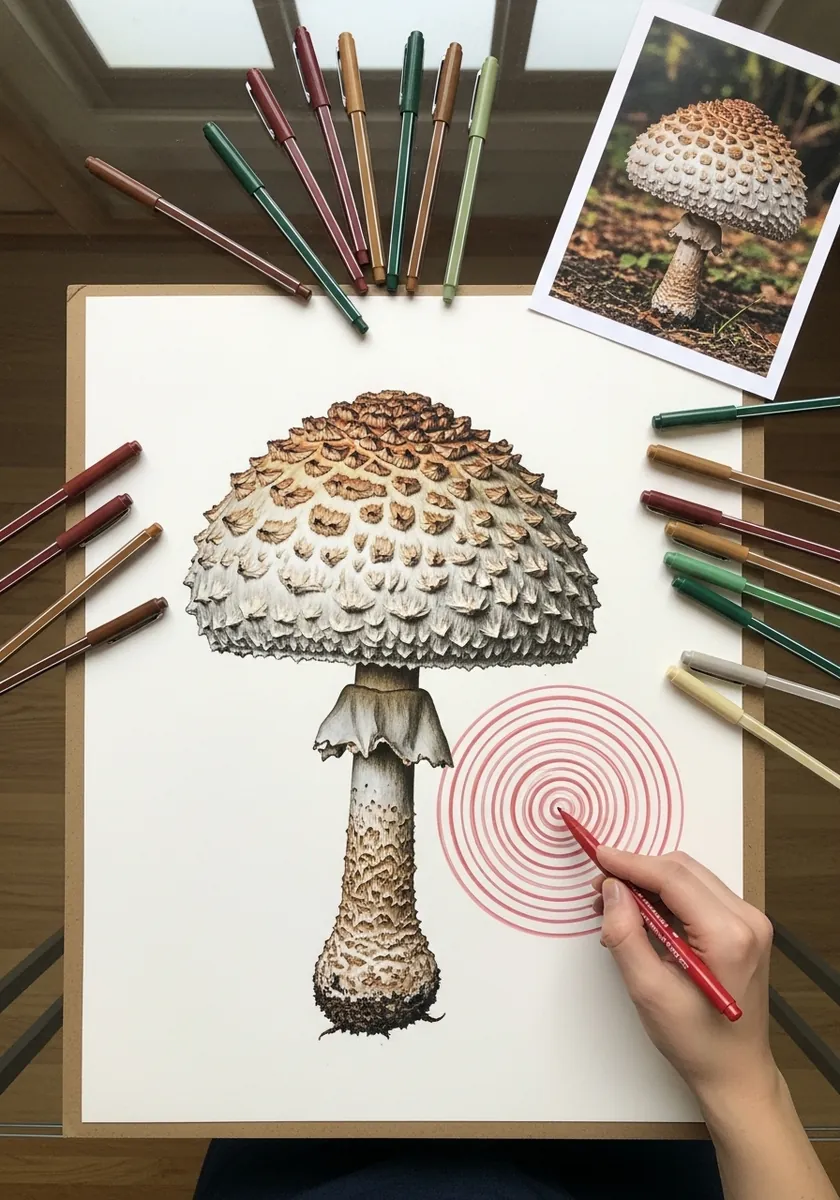
A parasol has a distinctive umbo, the raised bump at the very center of the cap. Keep that bump darker and smoother than the surrounding scales, and let the scale pattern radiate from it. Snakeskin banding on the stem completes the species.
13. Muted Green Cluster in Watercolor
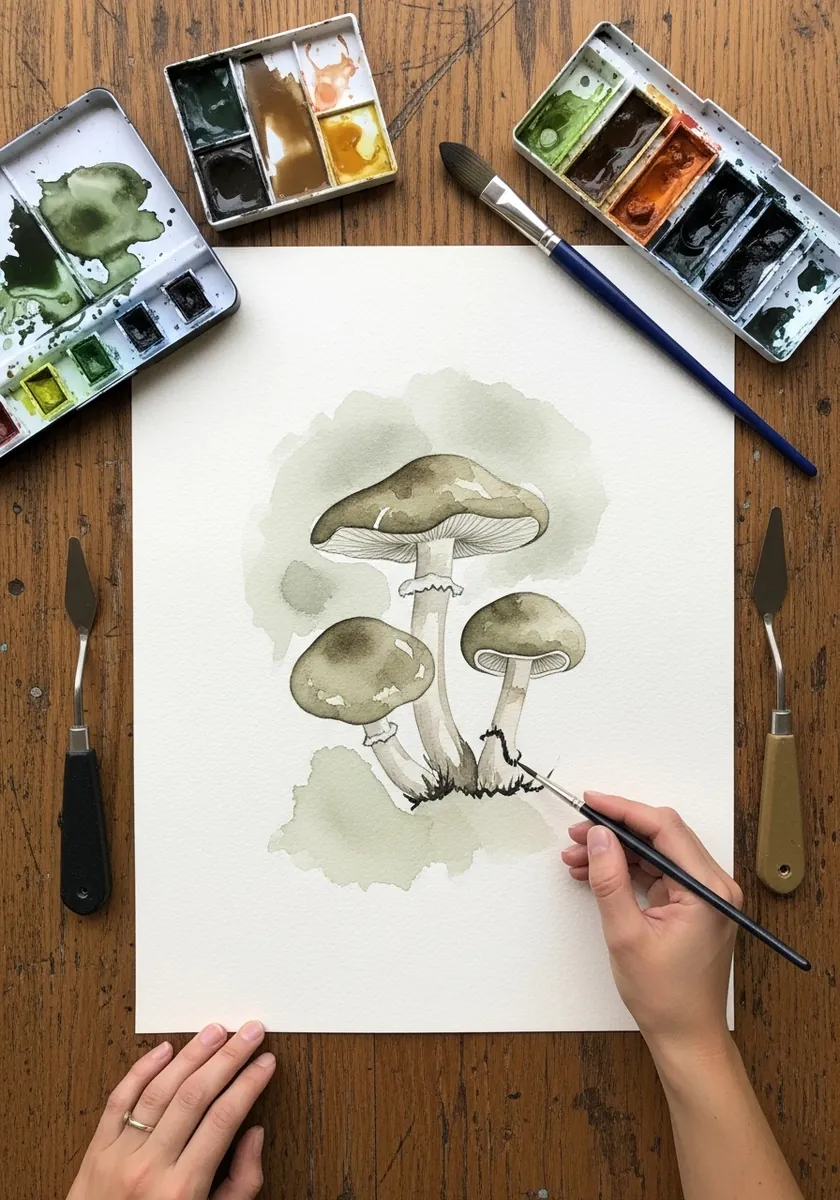
A narrow palette forces you to work in value. Mix three strengths of one gray-green before starting and assign them deliberately: cap tops lightest, stems next, deep shadow beneath the caps darkest. Adding a fourth color weakens the effect. Let one cap edge stay crisp while the rest soften, which gives the group a point of focus.
14. Psychedelic Rainbow Mushroom
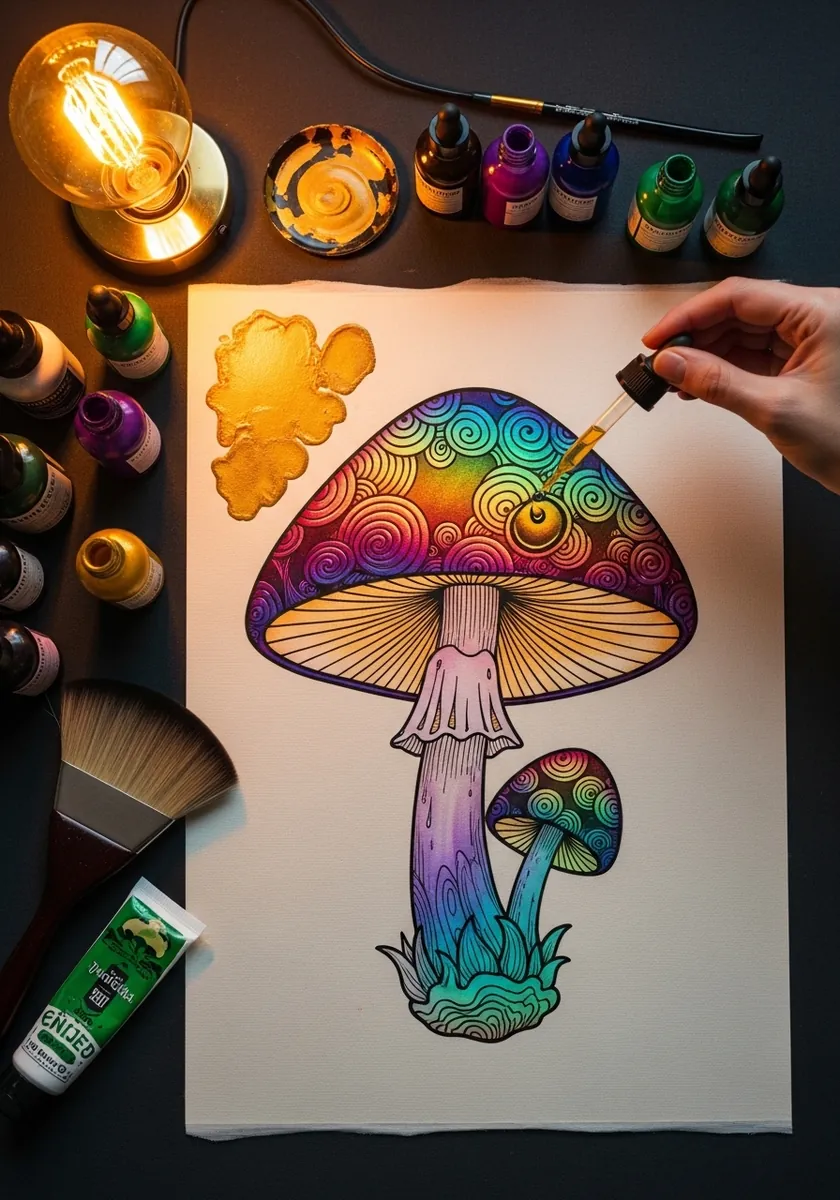
Pattern on a dome needs to curve with it. Run the swirls in concentric rings that compress toward the cap edge, and let the colors move around the wheel in order. Random hue jumps turn the whole thing muddy at every junction.
15. Button Mushroom Sketchbook Page
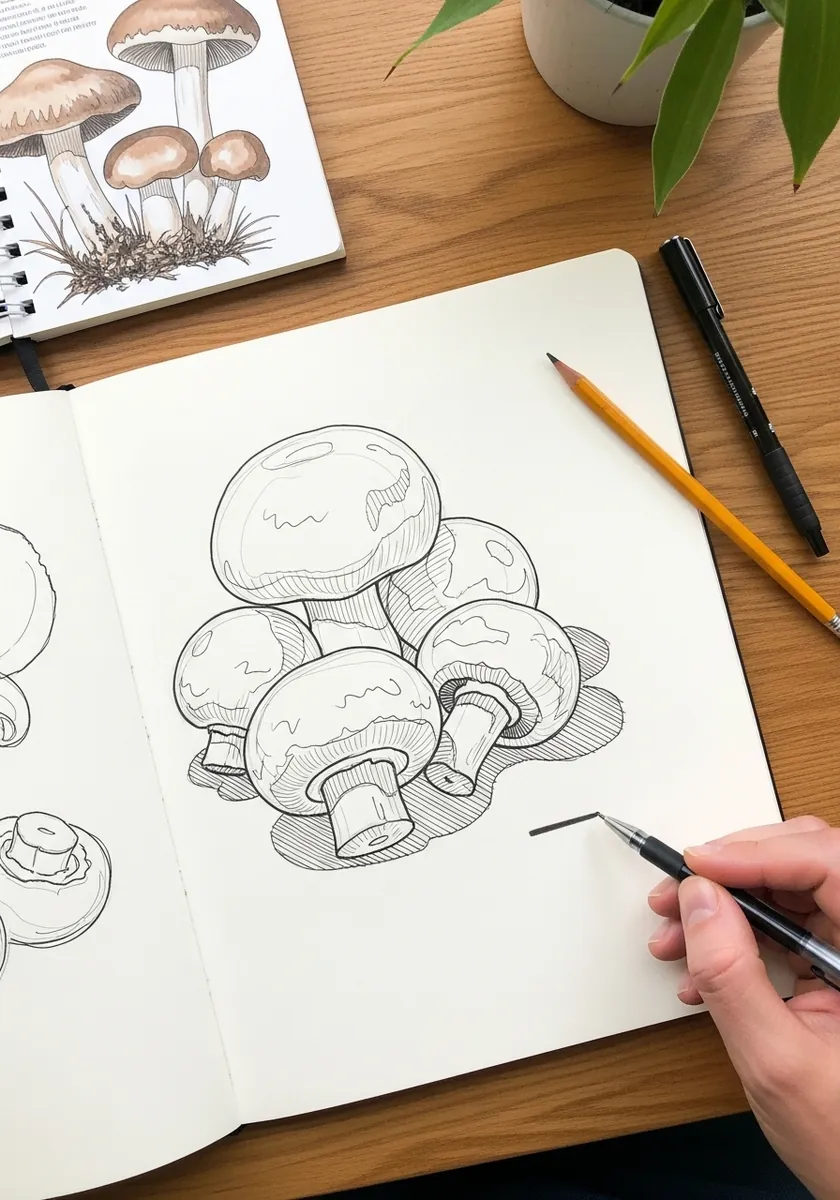
Working from real specimens teaches proportion faster than anything else. Buy a punnet, draw the same mushroom from three angles, and cut one in half to see how the stem joins the cap. That cross-section is worth a dozen reference photos.
16. Glowing Mushroom on Black Paper
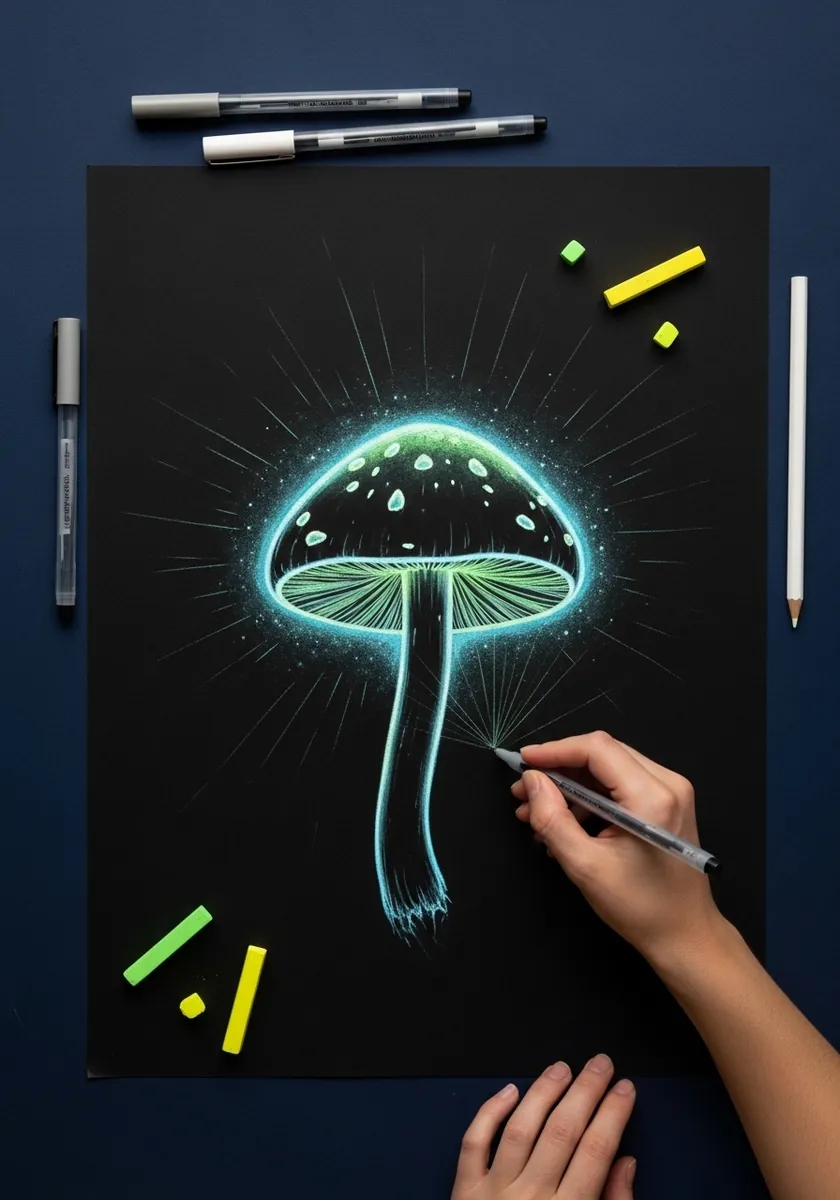
Bioluminescent fungi genuinely exist and glow a pale green, so the color choice here is defensible. Draw the light rather than the object: a bright core along the gills, a soft halo beyond, and untouched black everywhere else. Keep the stem almost invisible, so the glowing gills carry the entire image on their own.
17. Ink and Wash Cluster With Splatter
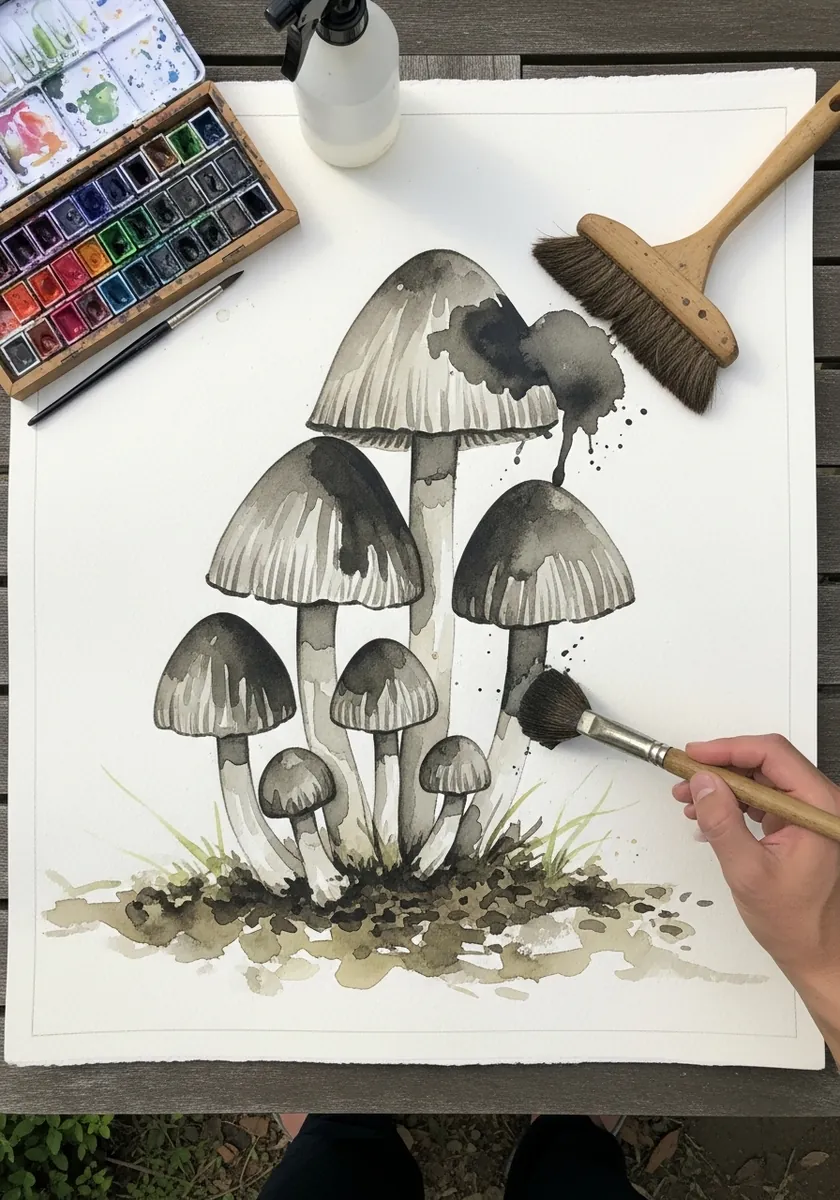
Splatter belongs at the base where the soil is. Flick from one direction so every mark travels the same way, keep the caps completely clean, and let a few droplets fall into the shadow area. Splatter across a cap loses the form.
18. Mixed Media Mushroom With Moss
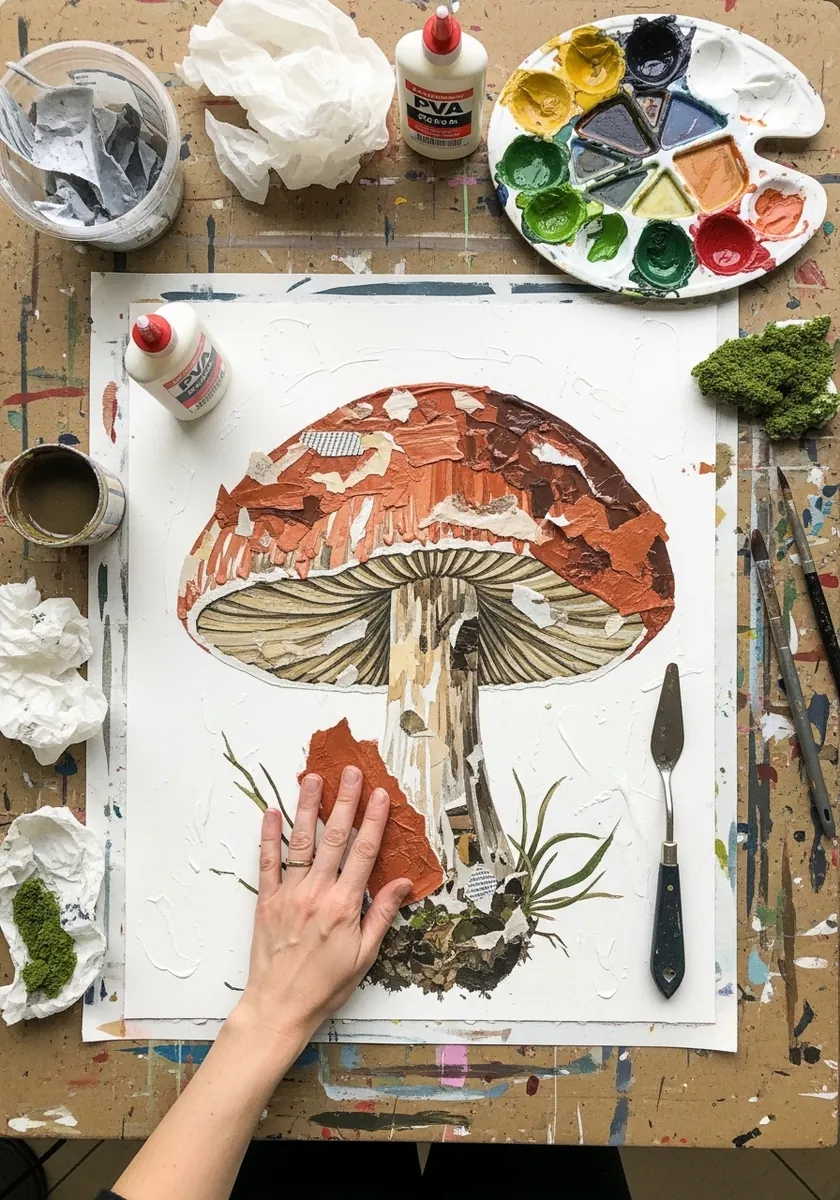
Real texture changes how you paint around it. Apply the paste and moss first, let it dry fully, then work the paint into and around the raised areas. Trying to add texture after painting always looks stuck on afterward. Seal the moss lightly first, or it lifts away once the surrounding paint starts to shrink.
19. Oyster Cluster in a Spiral Sketchbook
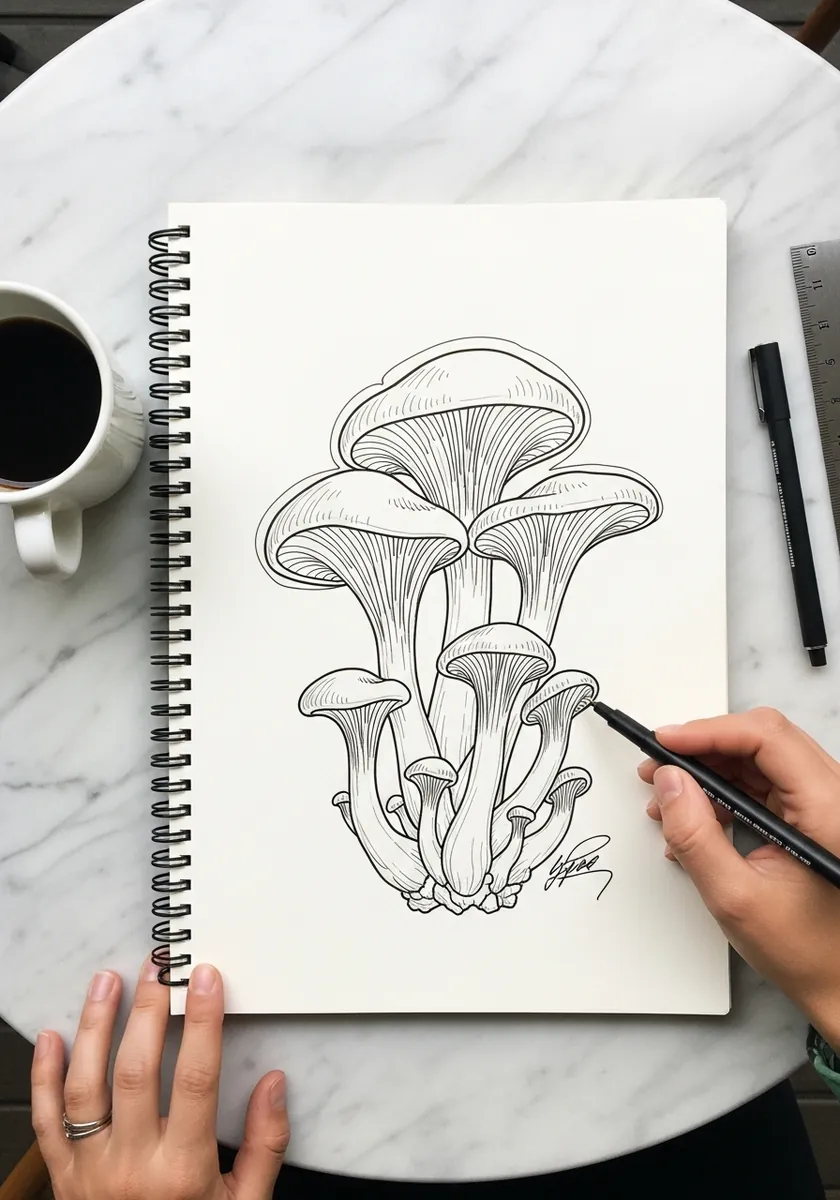
Overlapping caps need a clear front-to-back order. Decide which cap is nearest, draw it complete, then let every one behind be interrupted by it. Guessing at the layering mid-drawing produces a tangle that cannot be fixed in ink. Vary the cap angles too, since real clusters fan outward rather than facing one direction.
20. Pale Tea Toned Mushrooms
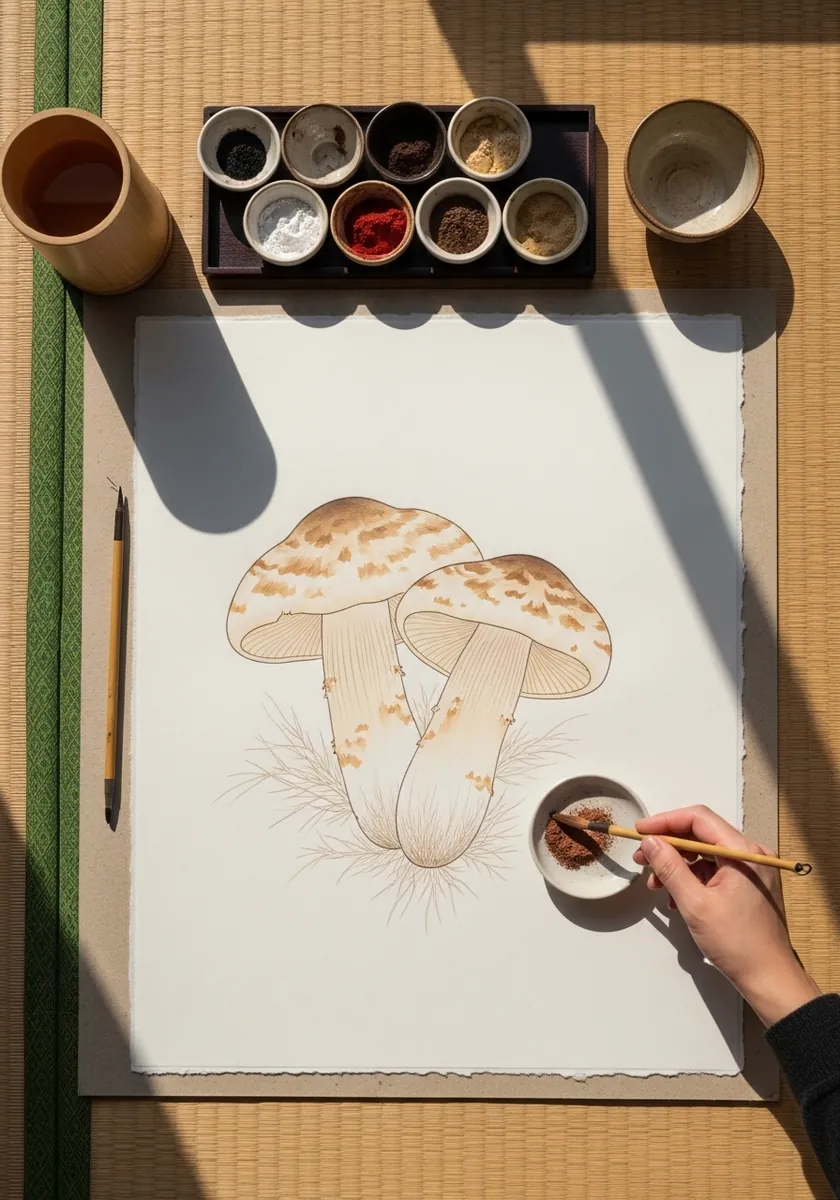
Very pale work relies on edges rather than value. Keep the cap rim slightly sharper than everything else, let the stems fade toward the base, and add one small dark accent under a cap. Restraint is the whole technique here.
21. Bolete With Soil in Colored Pencil
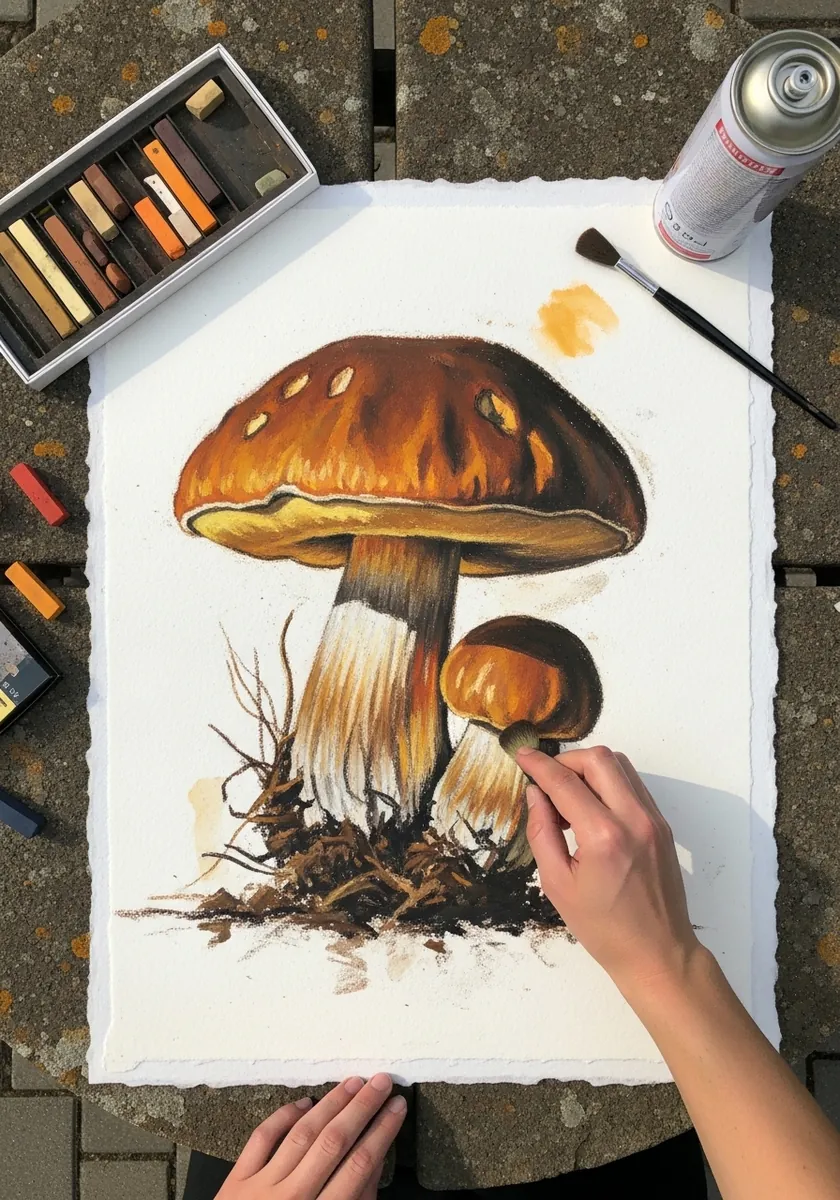
Soil is drawn as a value, not as individual particles. Establish a dark irregular mass at the base, then lift a few lighter crumbs from it and add two or three sharp small darks. Detailing every grain flattens the ground completely.
22. Three Mushrooms With Root Structures
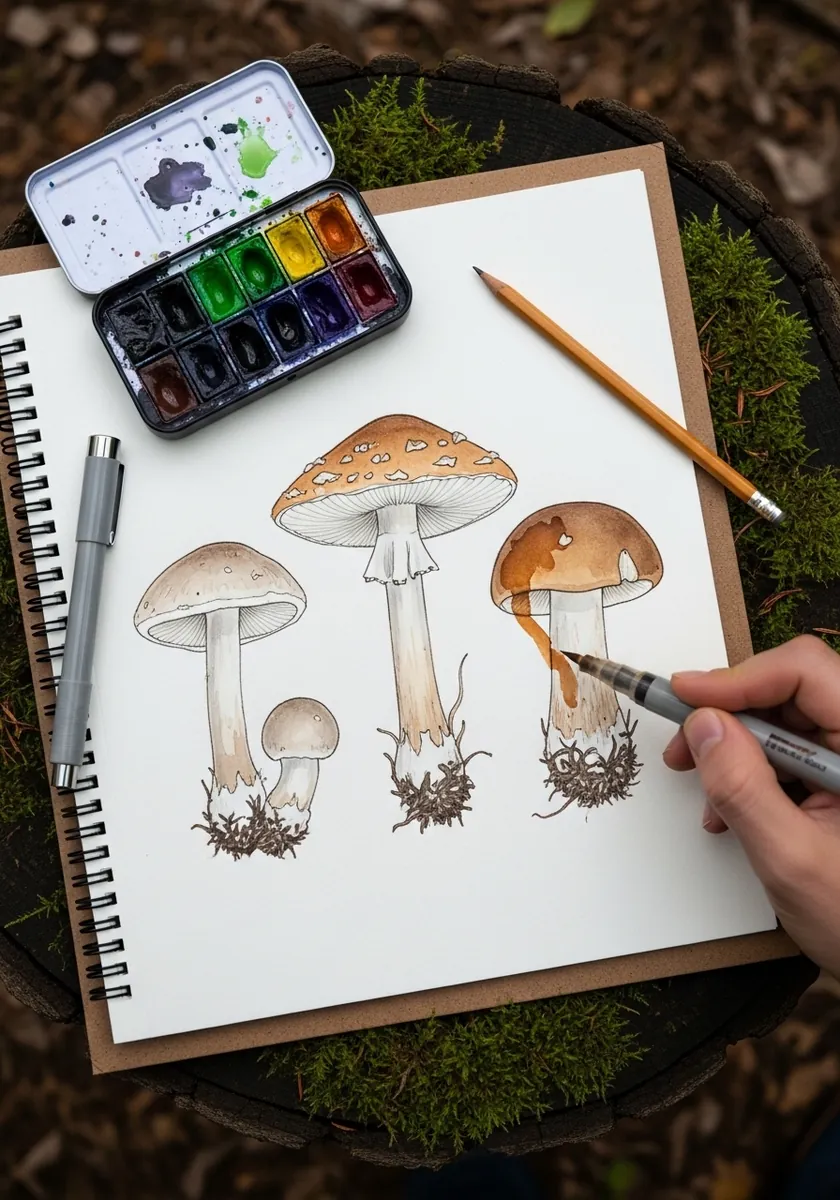
Mycelium is the fungus proper, and the mushroom is only its fruiting body. Draw those fine white threads spreading outward from each base as a loose web, keeping them lighter than everything above. It is accurate and visually useful. Label each species in small handwriting, which turns a sketch page into a usable reference.
23. Flat Poster Style Fly Agaric
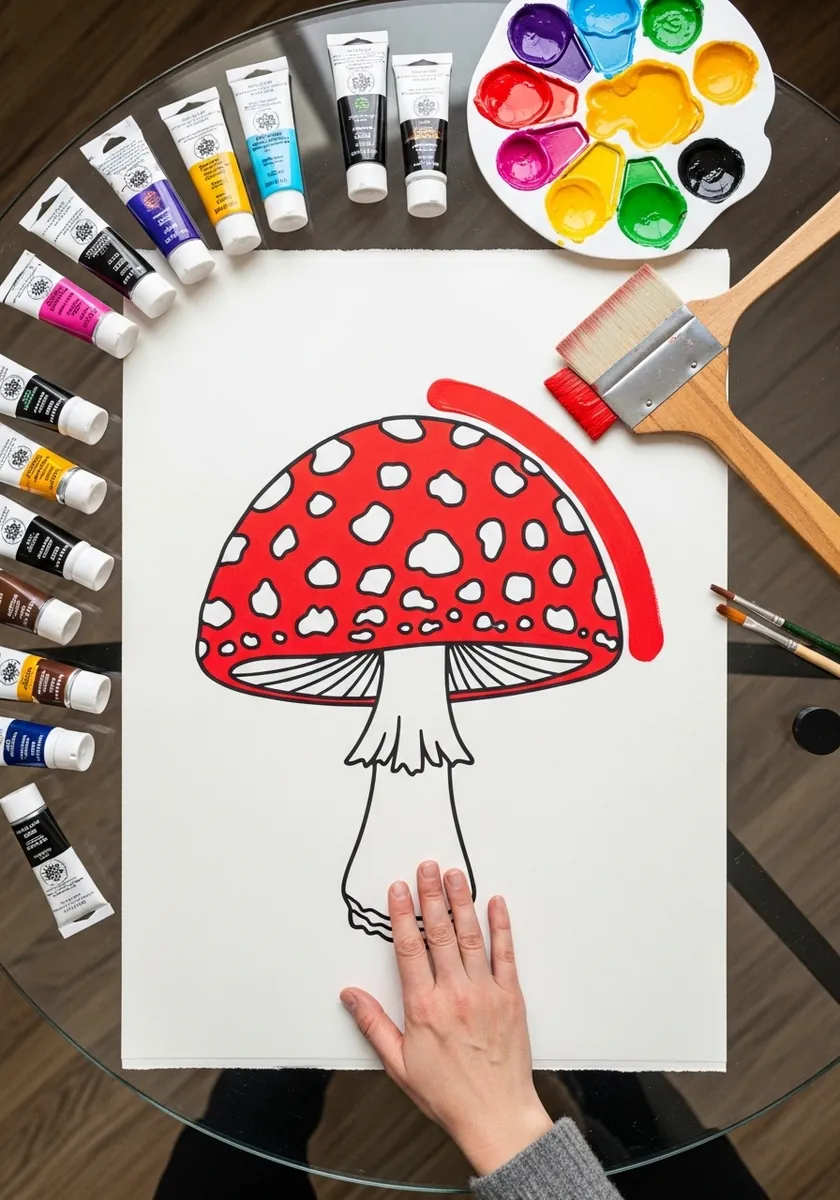
Poster styling means no shading at all, so the silhouette carries everything. Cut the cap as a clean dome, keep every spot a perfect circle, and let the stem be a simple tapered shape. Three flat colors are enough. Vary the spot sizes slightly, because identical circles make the cap look machine printed.
24. Golden Chanterelle in Colored Pencil
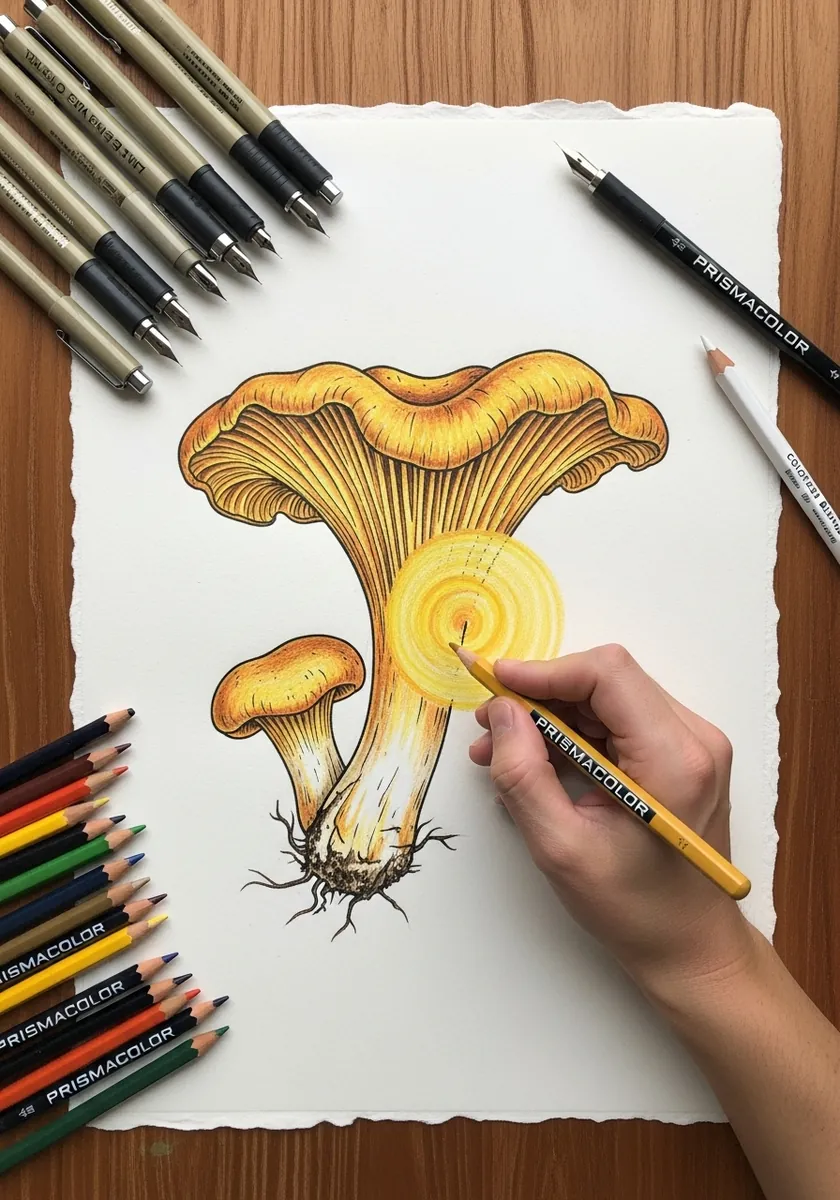
A chanterelle cap edge is wavy and irregular, more like a flower than a disc. Let it undulate unevenly around the circumference, curl one section upward, and run the false gill ridges down the stem beneath it. Burnish the cap at the end, since a real chanterelle has a soft waxy sheen rather than a matte one.
25. Fly Agaric on a Grey Ground
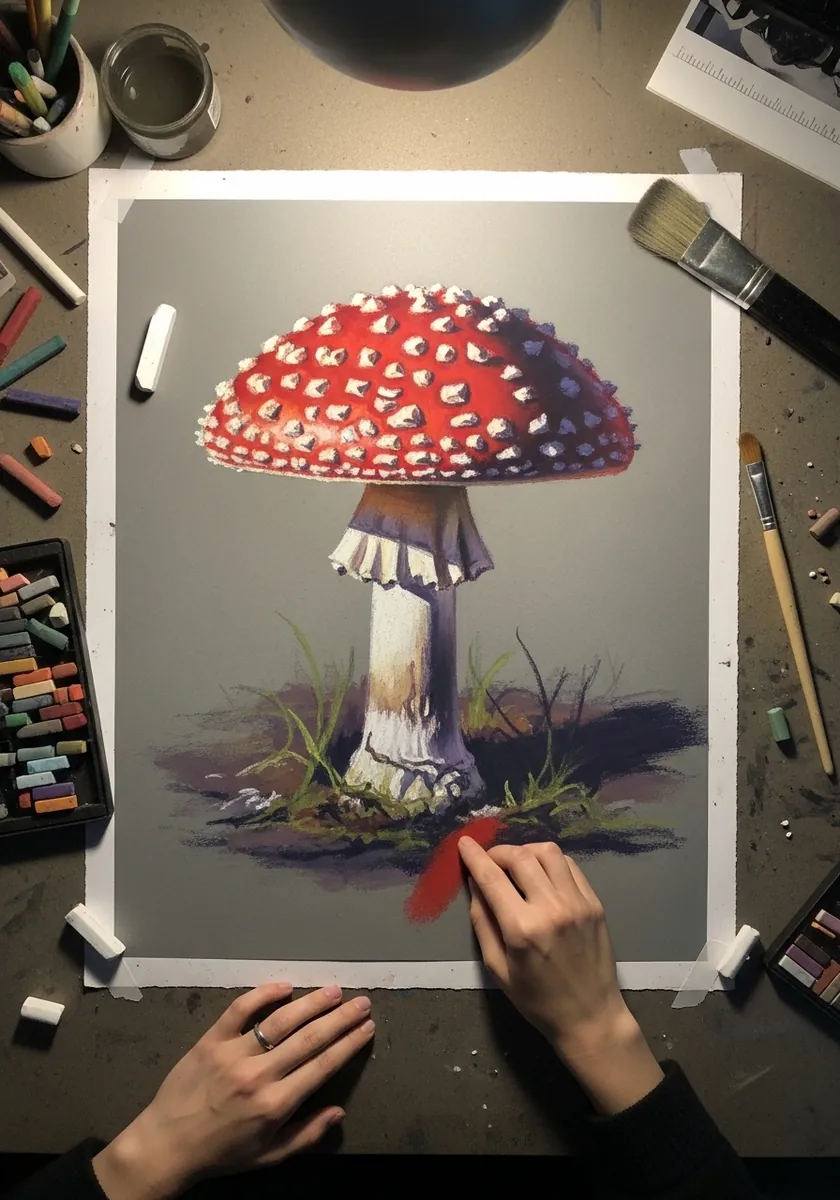
A saturated red against neutral gray is one of the strongest color relationships available. Keep the background completely desaturated, let the cap be the only chromatic note, and cool the shadow side toward violet rather than adding black. Keep the stem cool too, so the cap remains the only genuinely warm passage on the page.
26. Sumi-e Ink Mushroom Group
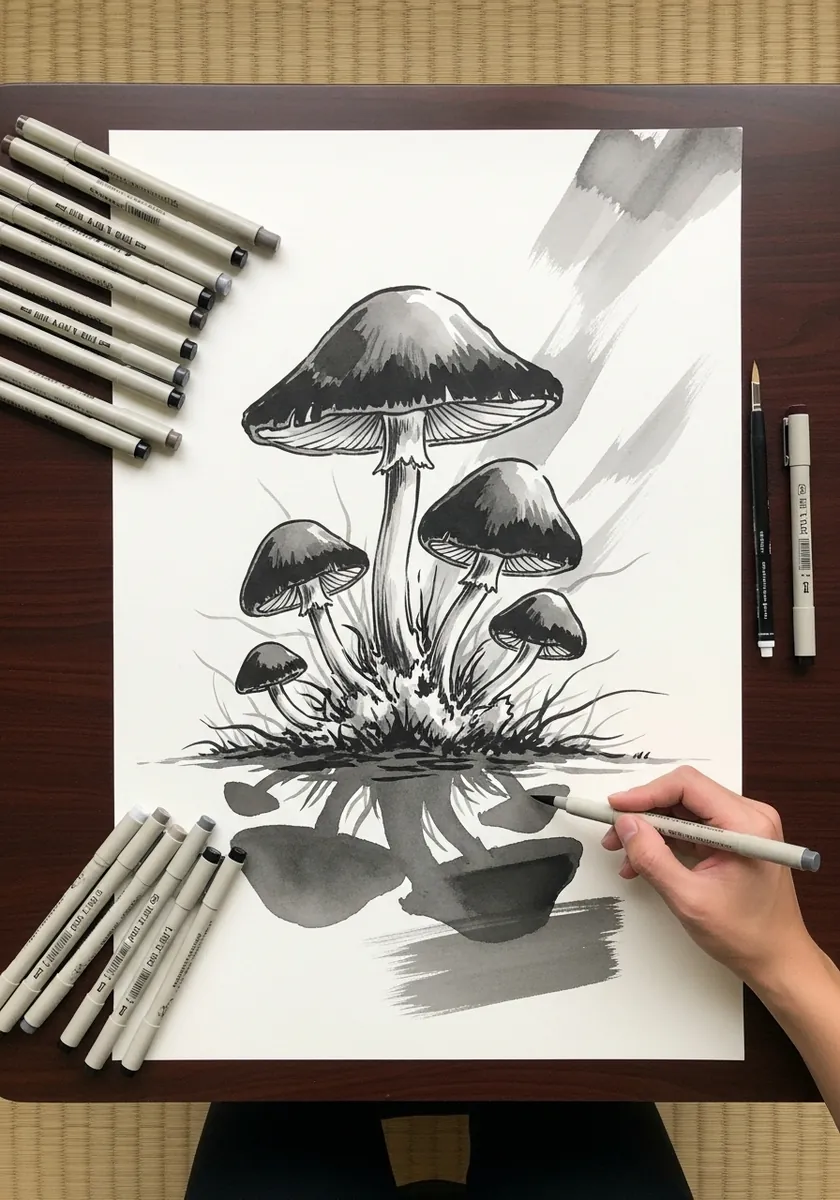
Brush painting rewards decisiveness over accuracy. Load once, place each cap in a single pressed stroke, and pull the stem down with the brush tip. A group of five reads better than four, and one should be noticeably smaller. Vary the ink strength between caps, since a uniform black flattens the group into one shape.
27. Ornate Gold Gilled Mushroom
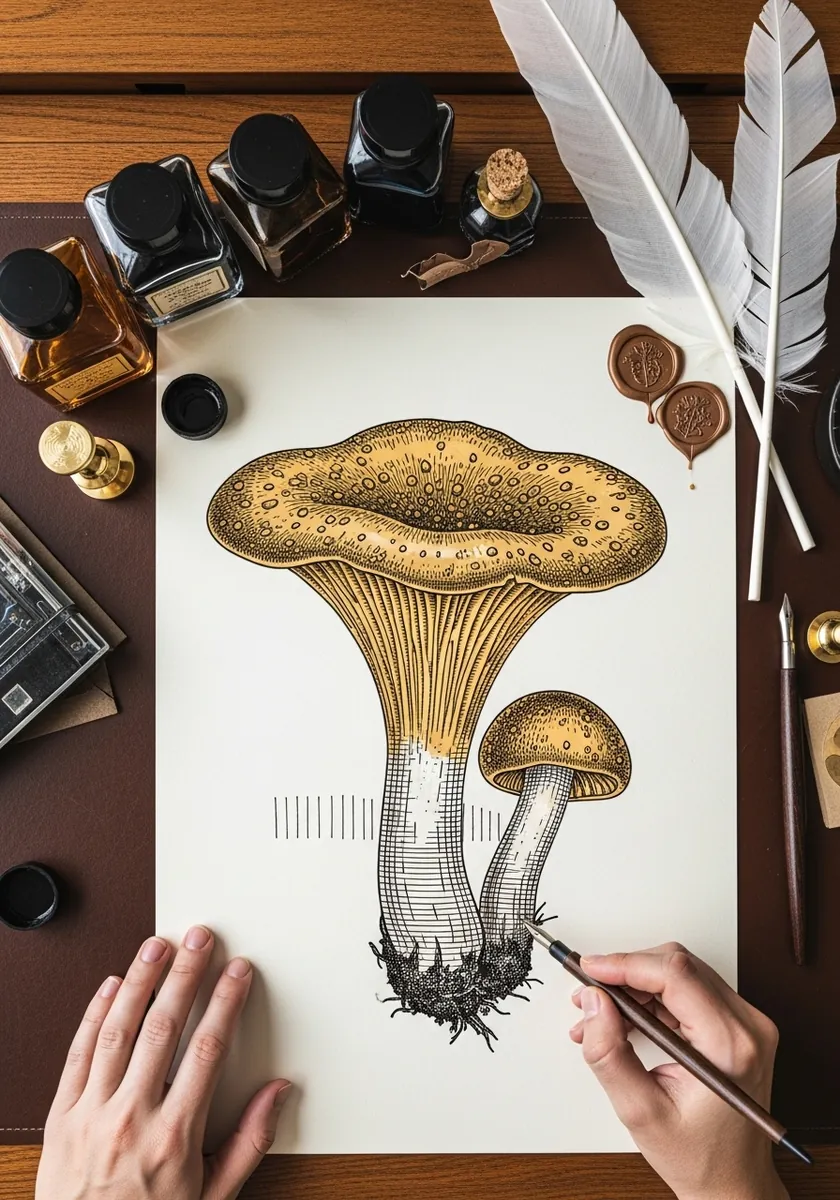
Gills are the perfect place for metallic accents, since they catch light in reality. Ink them fully first, then run gold only along the lower edge of each blade and let the rest stay black. Applying gold everywhere kills the depth.
28. Splatter Watercolor Mushroom
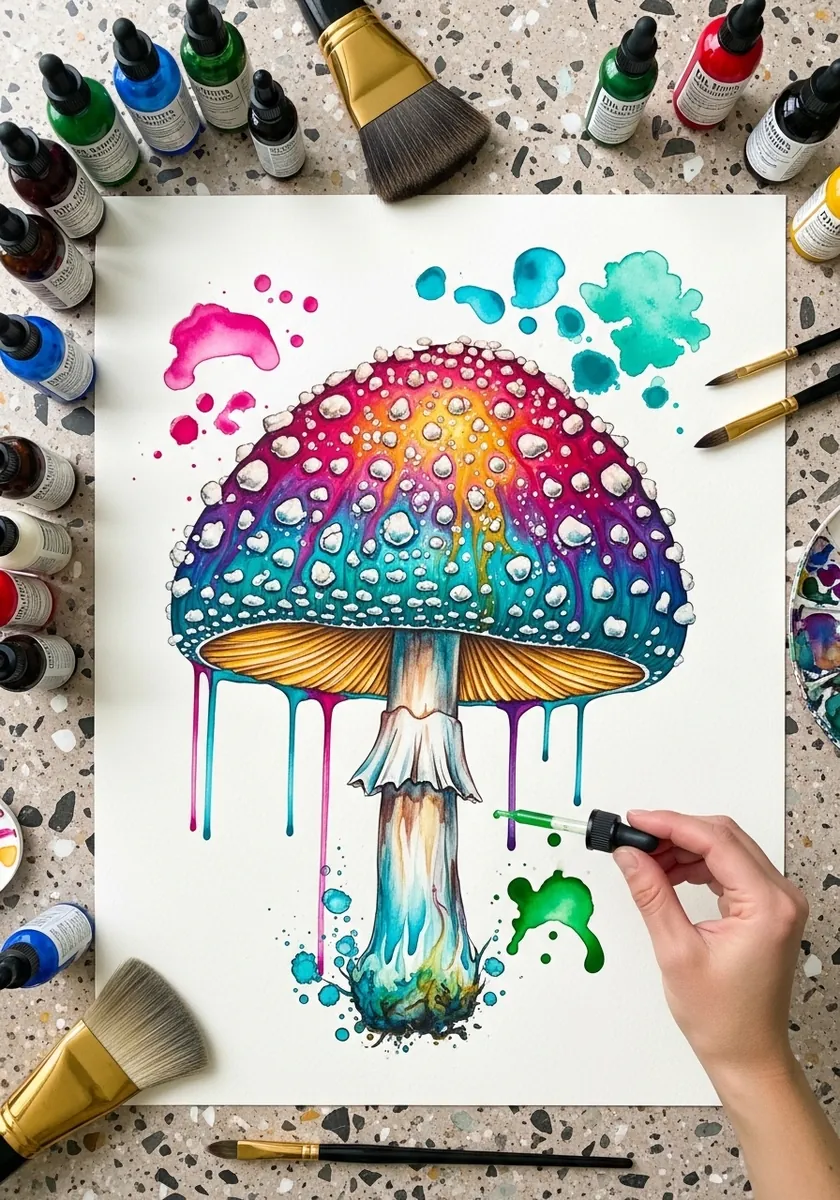
Wet splatter and a wet subject blend into mush unless timed properly. Paint the mushroom, wait until it loses its shine but is not fully dry, then flick. Marks land soft at that moment rather than sitting on top as hard dots.
29. Kawaii Mushroom With a Face
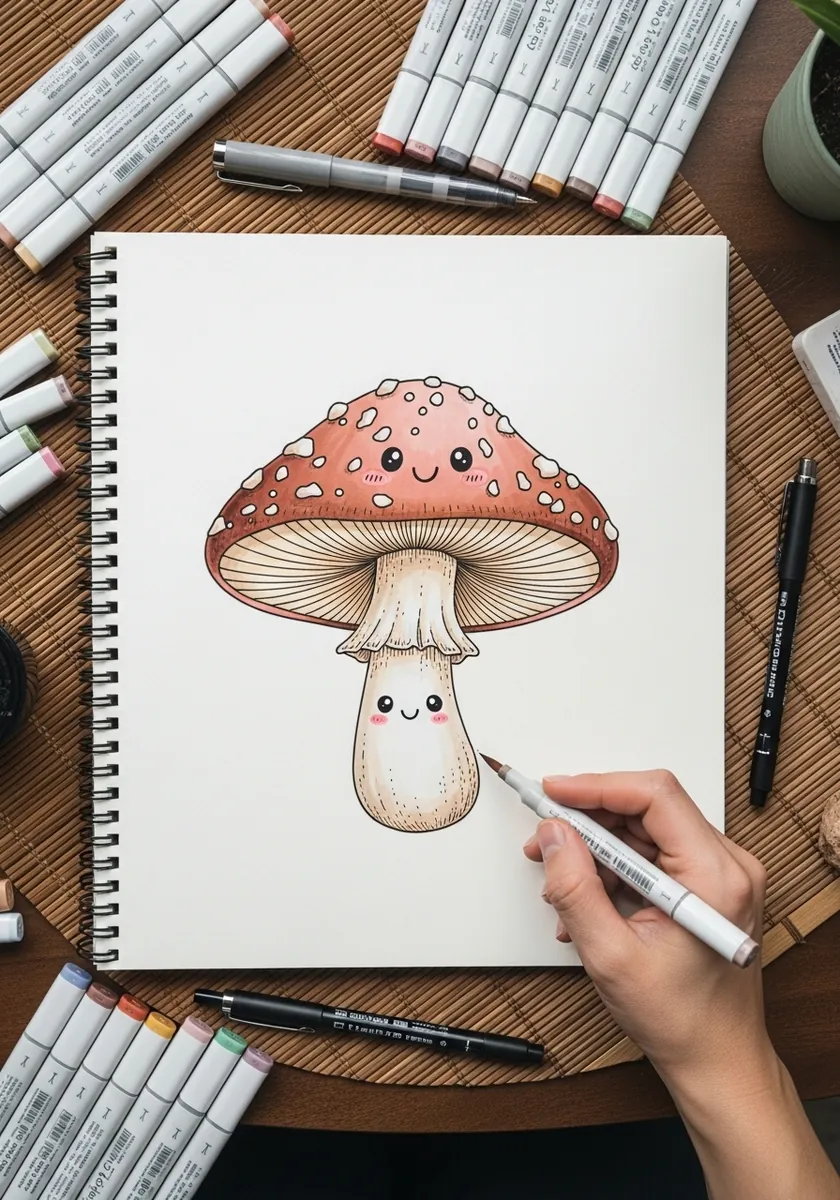
Cute versions still benefit from correct structure. Keep the gills, the ring and the flared base even while enlarging the eyes, because that accuracy is what makes a stylized mushroom feel designed rather than merely simplified. Place the face low on the stem, which leaves the cap silhouette completely intact.
30. Botanical Specimen Sheet
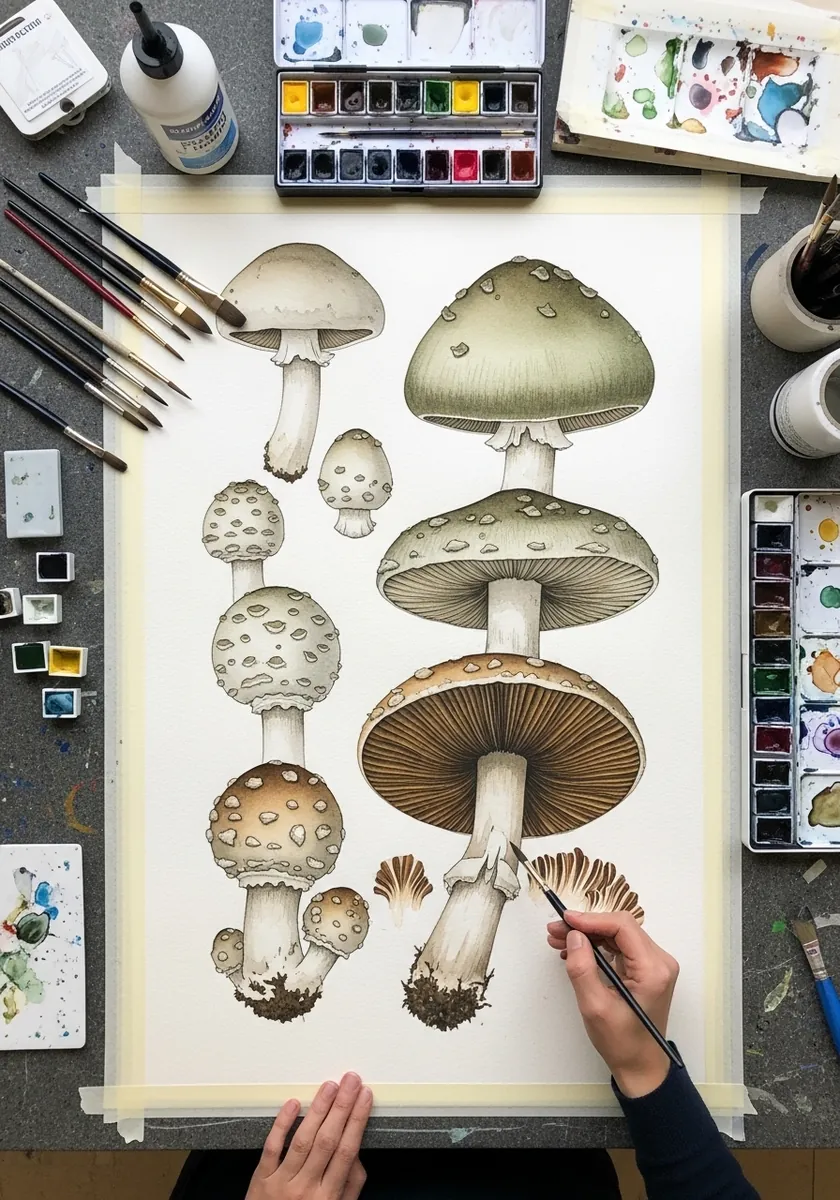
A specimen sheet is a comparison, so consistency matters more than individual polish. Draw every mushroom at the same scale, light them all from the same side, and align the bases to a shared baseline. Then the differences become the subject.
Frequently Asked Questions
How do you draw mushroom gills correctly?
Radiate them from the stem outward and crowd them together as they approach the rim. Then add short gills between the long ones, reaching only partway in from the edge. Drawing every gill the same length and running all the way to the stem is the commonest error.
Do all mushrooms have gills?
No. Boletes such as porcini carry a spongy layer of tiny pores instead, which reads as a fine dotted surface rather than blades. Some species have downward-pointing teeth. Drawing gills on a bolete is the fastest way to make a study look invented.
What is the ring on a mushroom stem?
It is the annulus, left behind when the partial veil that protected the young gills tears away. A cup-shaped structure at the base, called a volva, is the remains of a separate universal veil. Amanita species often show both.
Why do fly agaric caps have white spots?
Those flecks are fragments of the universal veil that covered the mushroom when it emerged. They are loosely attached, so a specimen caught in heavy rain often has very few left. Painting a wet fly agaric with perfect spots is subtly wrong.
What is the difference between a chanterelle and a true gilled mushroom?
Chanterelles have false gills: blunt, forking ridges that run down onto the stem rather than thin separate blades attached under the cap. Drawing them as sharp gills changes the species entirely, even if the color is right.
References and Further Reading