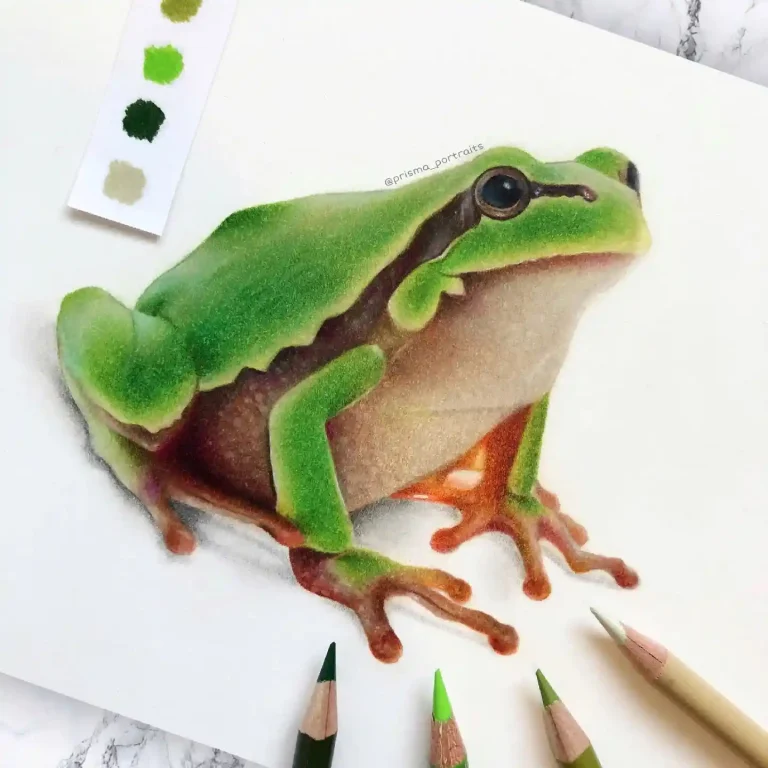
Frogs grow their back legs first and their front legs second. Almost every life cycle drawing shows front legs appearing first, which is backwards, because the forelimbs develop hidden inside the gill chamber and emerge later.
Key takeaways
- Hind legs emerge first; forelimbs develop inside the gill chamber and push out afterwards|The tail is absorbed, not shed, so it gets shorter and stubbier rather than thinner|Only newly hatched tadpoles show feathery external gills before a skin flap covers them|Frogs lay eggs in rounded clumps while toads lay them in long strings|A froglet keeps a tail stub while already having all four legs, and that overlap is worth drawing
There is one detail that gives away almost every frog life cycle drawing, and it is the legs. A tadpole grows its back legs first and its front legs second. Nearly every illustration shows it the other way around, because we picture arms before legs on a body.
The reason is genuinely interesting. The forelimbs form early but develop inside the gill chamber, hidden under the skin flap, and only push through to the outside once they are fully formed. So a tadpole with two back legs and no front legs is not an in-between mistake, it is the correct stage.
The tail is the second thing to get right. It is absorbed rather than shed, broken down and recycled into the growing body, which means it should shorten and thicken as it goes rather than tapering away like a thread. A froglet with all four legs and a short tail stub is a real animal, not a compromise.
The thirty ideas below run from botanical plates and sumi-e through gouache, oil pastel and pond mandalas. For the finished animal on its own, frog drawing ideas covers cartoon and realistic approaches, and watercolor lake ideas handles the water around it.
Compiled by the GS Art Zone editorial team. Last updated August 2026. Each idea is paired with the specific step that produces the effect, so you can go from the reference straight to paper.
What You Need Before You Start
- A round brush that holds a fine point, since a tadpole tail tapers to almost nothing
- Two greens, one warm and one cool, because pond water and frog skin are not the same green
- Masking fluid or a white gel pen for the pale highlight along a wet back
- A fine liner for the egg clusters, where each dot needs its own dark center
- Cold press paper if you want blooms, hot press if you want crisp anatomical detail
1. Frogspawn Cluster Study
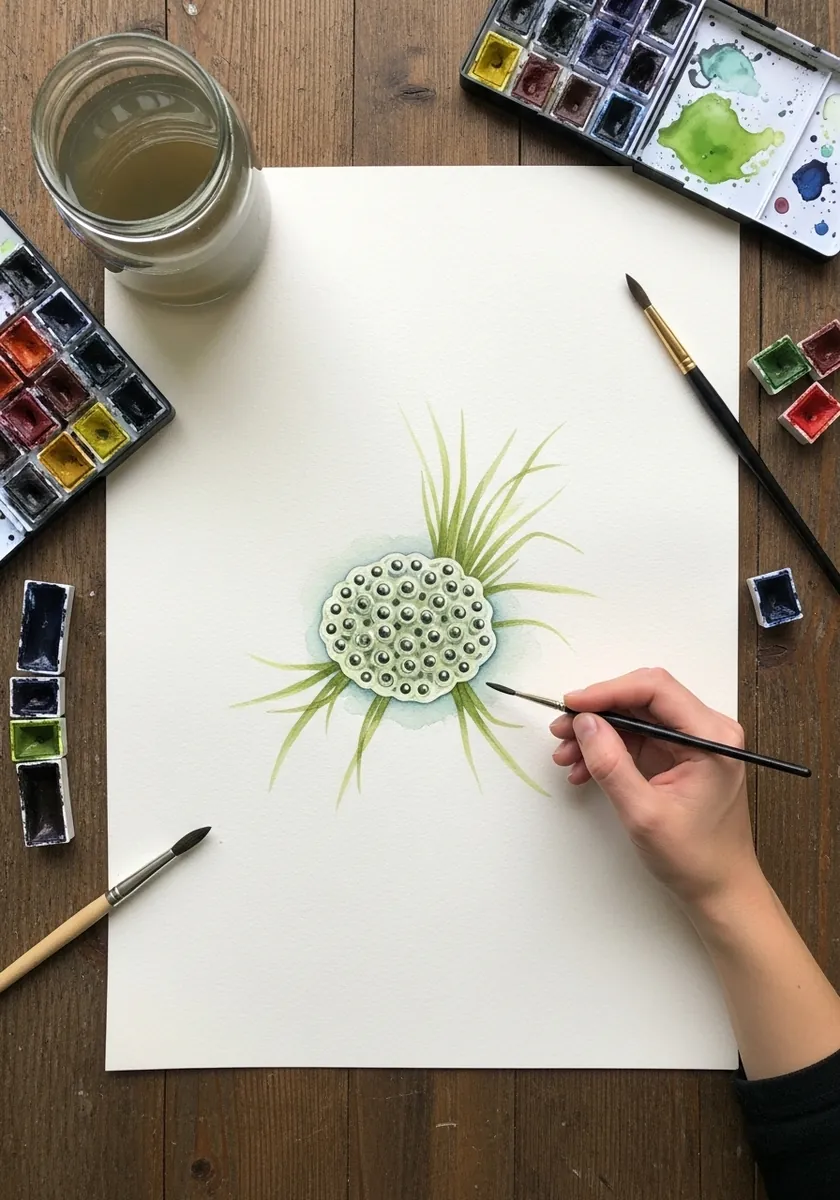
Spawn is the hardest stage to make convincing because it is mostly transparent. Paint the jelly as a very pale gray-green wash, leave the paper white where light passes through, and add each dark embryo as a separate dot with a soft halo. Frog spawn sits in a rounded clump, not a string.
2. Pencil Tadpole in Motion
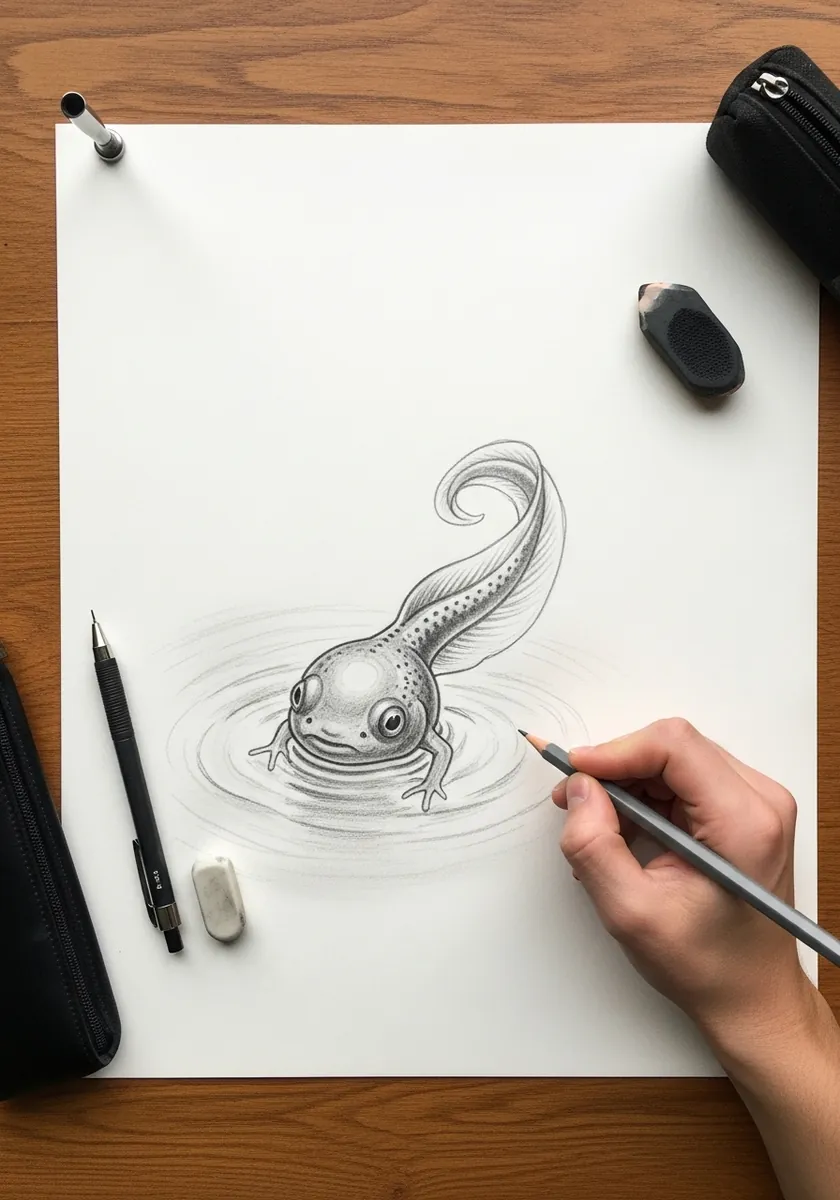
Showing movement in water needs the lines to come from the tail. Draw the body still and the tail in a shallow S, then let the swirl lines trail behind the tail tip rather than surrounding the whole animal. Motion always leaves a wake behind, never a halo around.
3. Pond Scene With Lily Pads
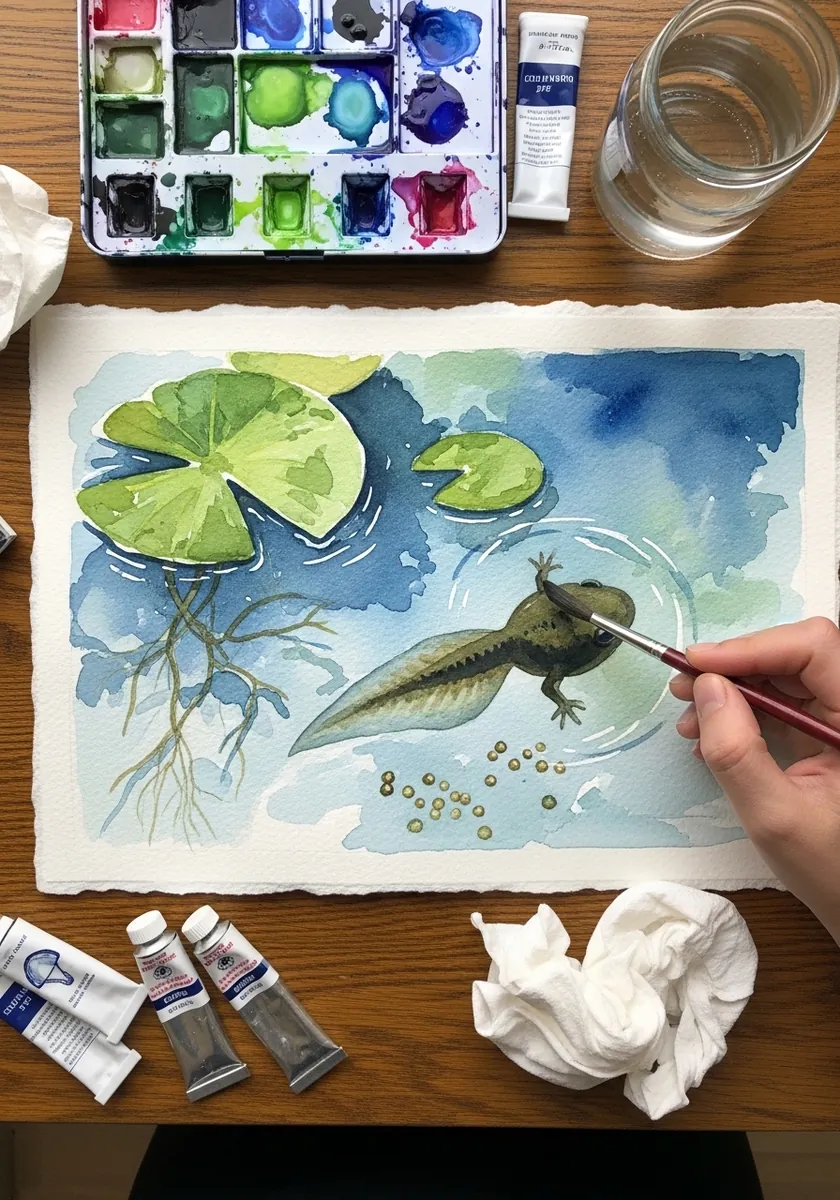
Splitting a painting at the waterline gives you two completely different jobs to do on one sheet. Keep everything above the line crisp and fully saturated and everything below it slightly desaturated with softer edges, because that single change reads as underwater without any other trick.
4. Ink Line Froglet
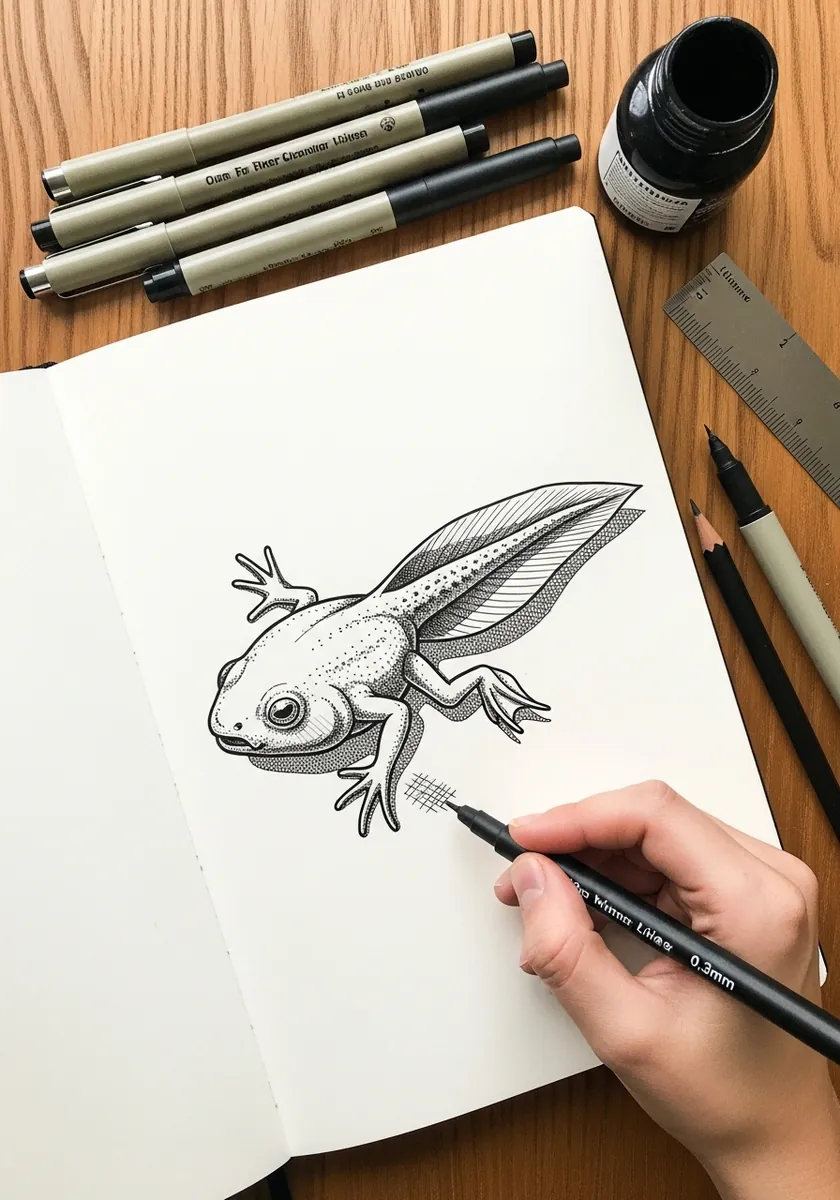
This is the stage worth drawing most carefully, because it proves you understand the sequence. Give it four working legs and a short thick tail stub rather than a long thin one, and keep the hind legs already much larger than the front pair, since they grew first and have had longer to develop.
5. Gouache Green Tree Frog
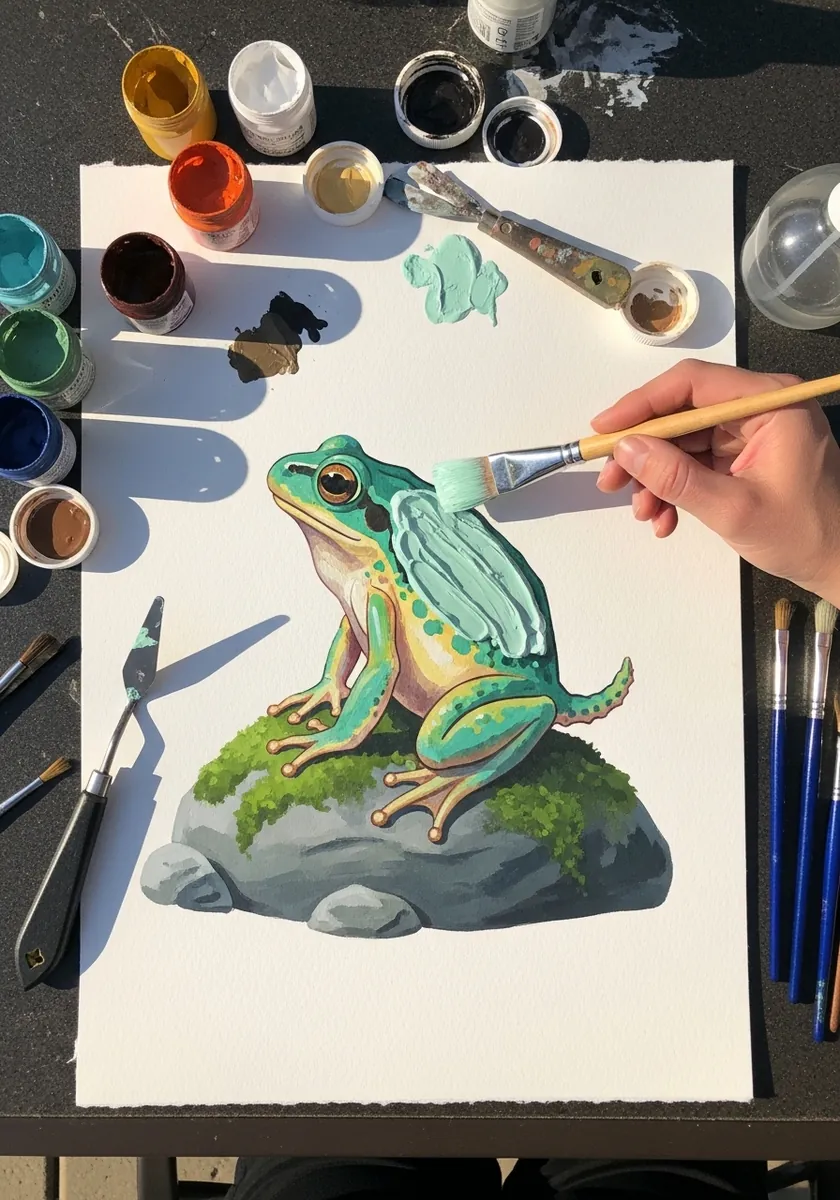
Tree frogs have adhesive toe discs, and drawing them changes the whole hand. Flatten and widen the tip of every toe into a small round pad, then let those pads splay slightly where they meet the surface. Without them the foot reads as a lizard’s.
6. Oil Pastel Pond at Dusk
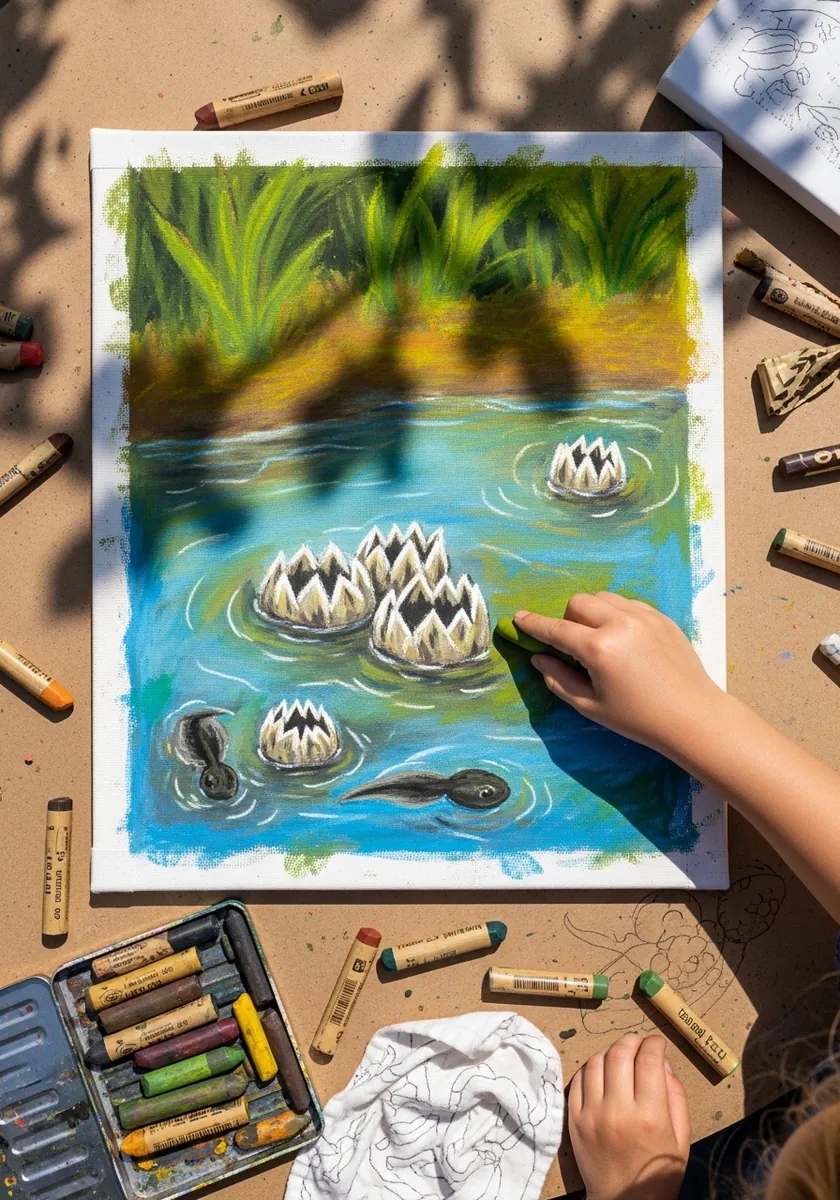
Oil pastel suits water because it refuses to blend into mush the way soft pastel does. Lay the reflections as separate horizontal strokes of distinct colors with small gaps of paper showing between them, and let the eye do the mixing rather than your finger.
7. Labelled Life Cycle Diagram
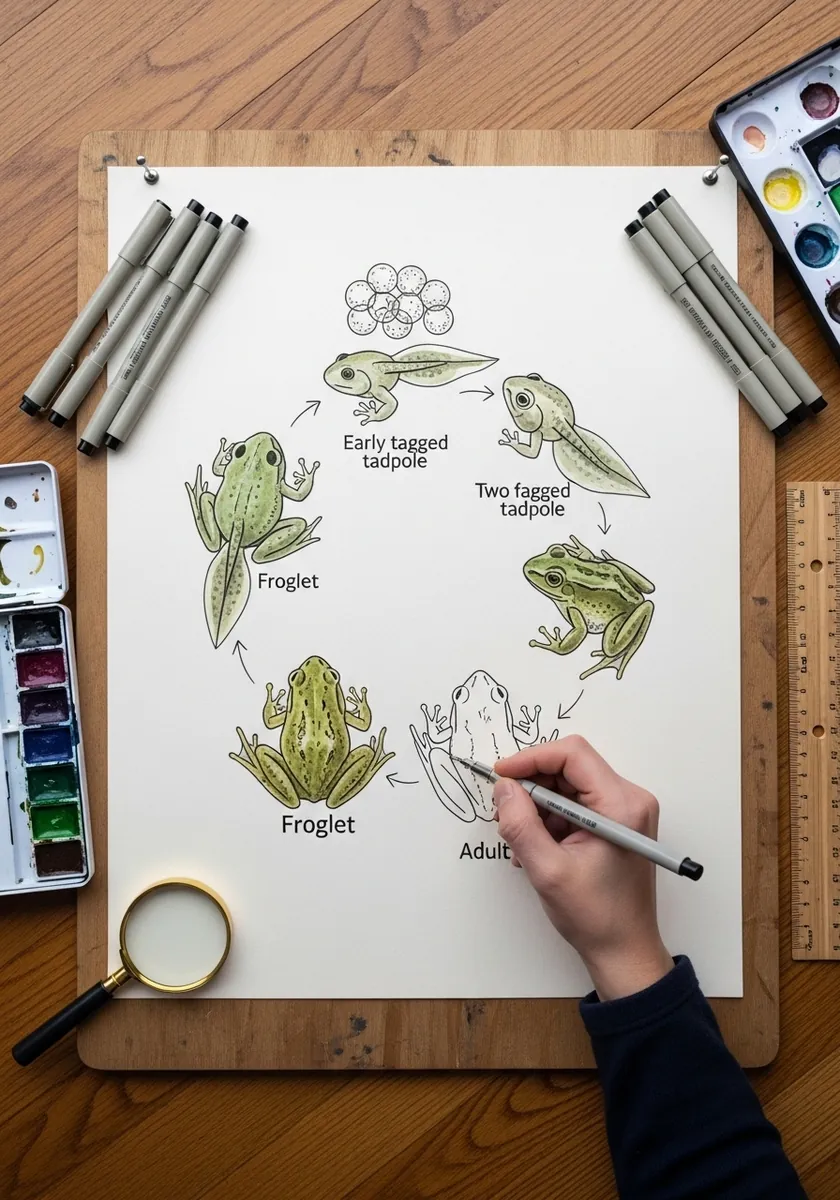
A diagram has to be accurate or it teaches the wrong thing. Run the sequence clockwise, put hind legs before front legs, and make the arrows equal length so no stage looks longer than another. Write the labels in a consistent hand outside the circle.
8. Sumi-e Tadpole Swirl
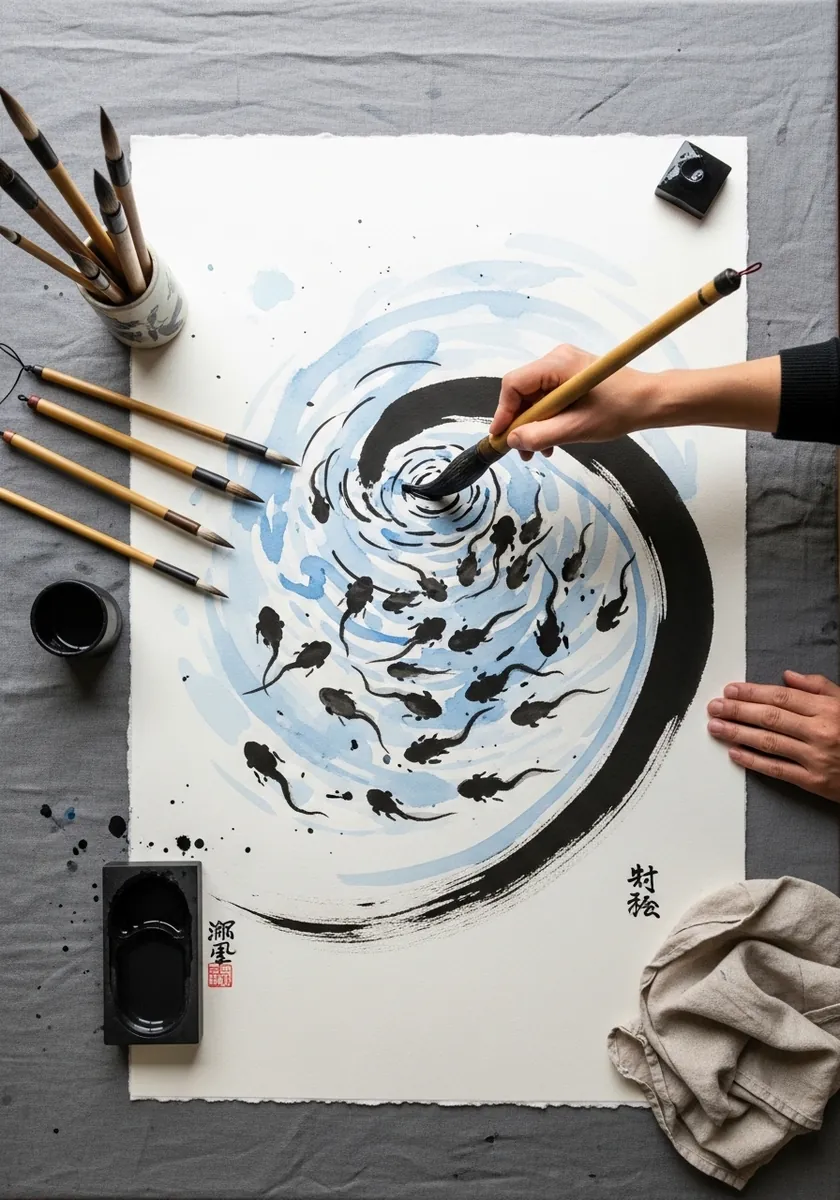
The circle is one loaded stroke and cannot be repaired, so make it first while the brush is richest. Add the tadpoles afterwards as small comma marks of varying size, more densely at one side than the other. Even spacing looks like decoration rather than a shoal.
9. Cute Colored Pencil Frog
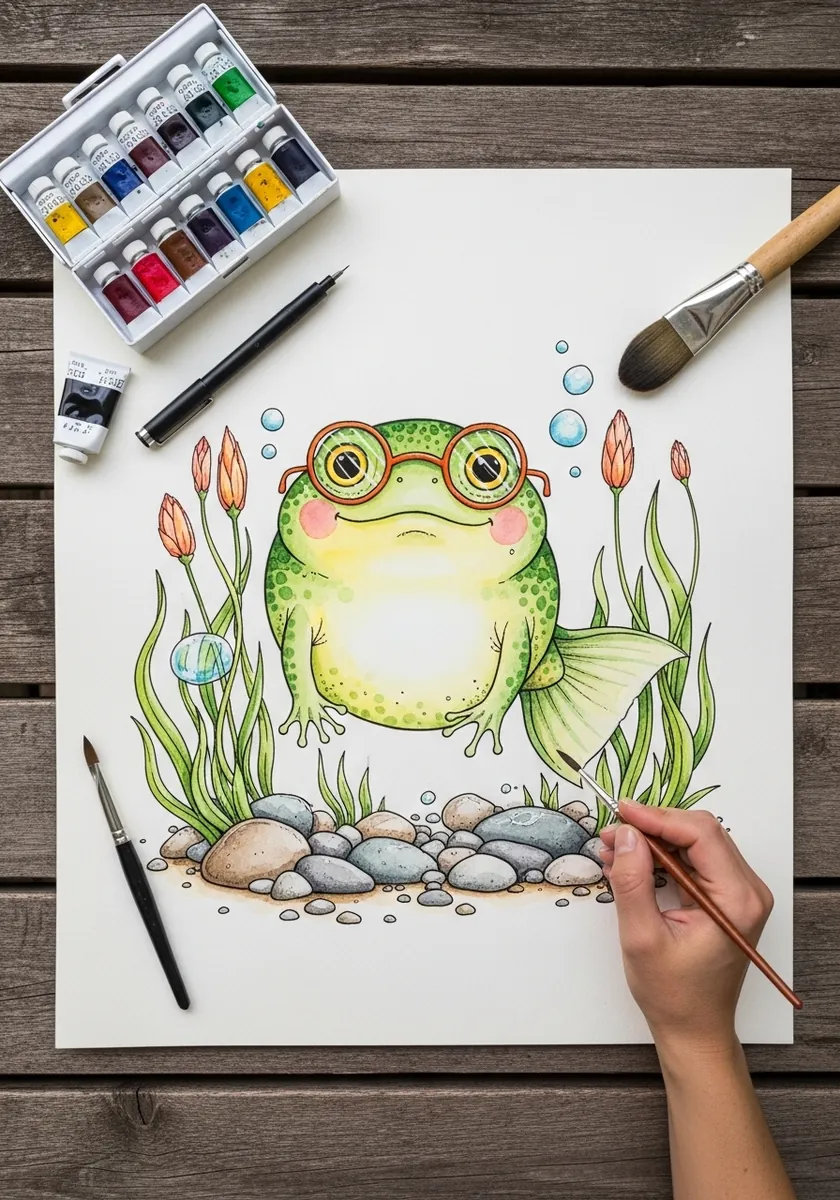
Stylizing a frog works because the real animal is already round. Enlarge the eyes and move them to the top of the head where they genuinely sit, widen the mouth line into a shallow curve, and keep the feet small. Very little needs changing.
10. Dramatic Charcoal Tadpole
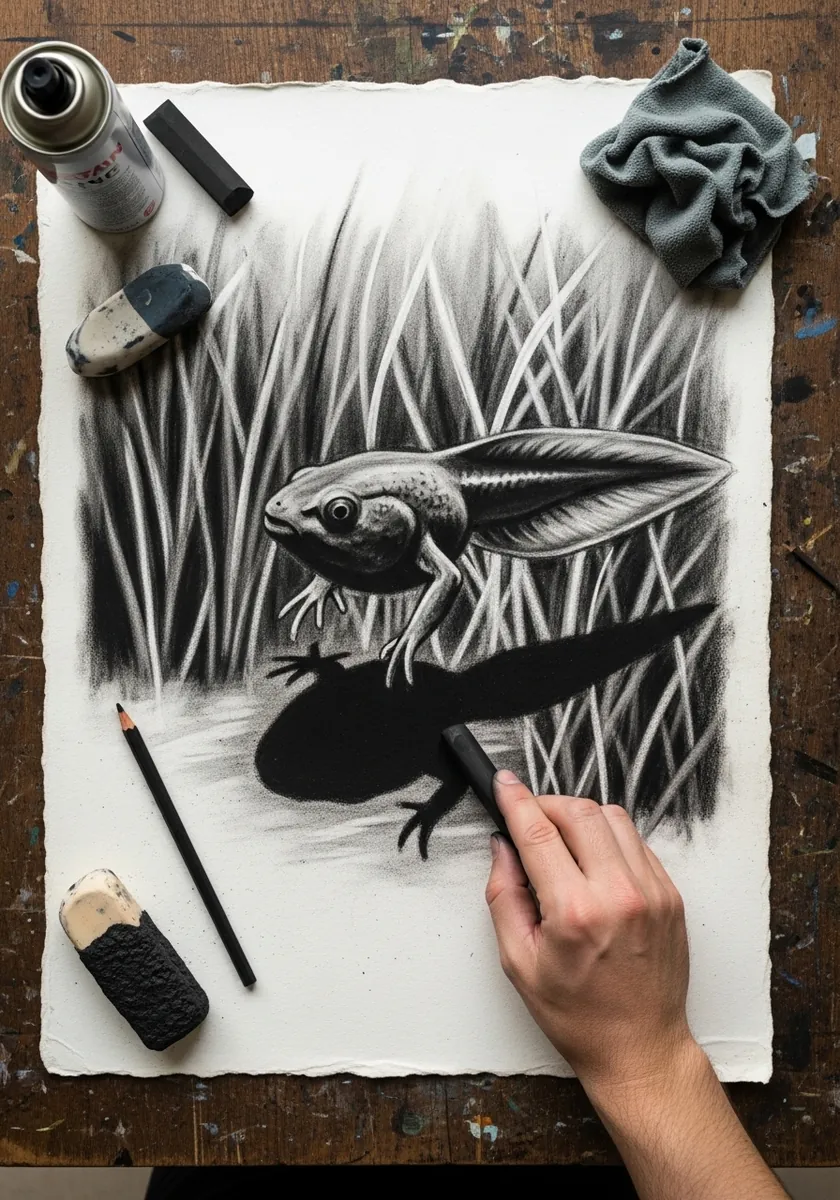
Charcoal wants a subject with a clear silhouette, which a tadpole has. Work the background grasses in mid gray, push the tadpole to near black, and lift a single bright highlight along the top of the body with a sharpened eraser. Nothing else on the page needs to be light at all.
11. Lily Pads and Lotus Flowers
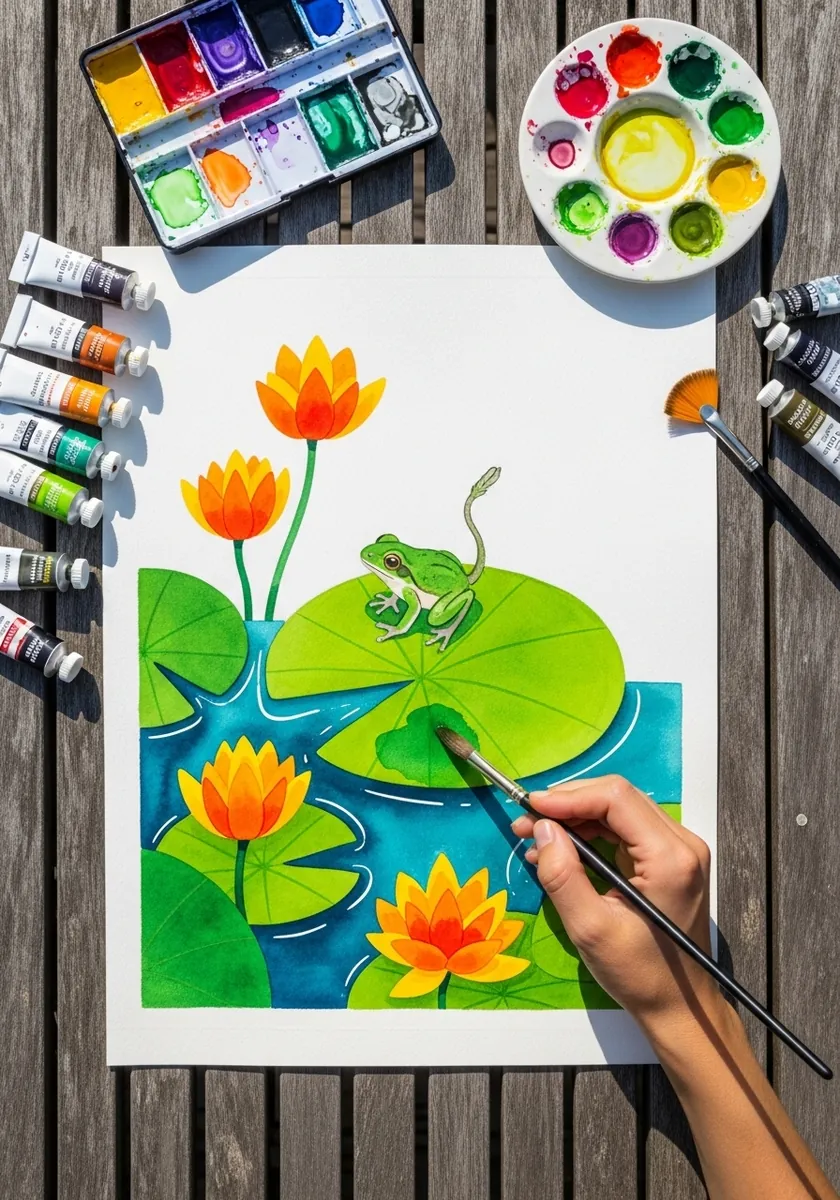
A lily pad is a flat disc seen at an angle, so it has to be drawn as an ellipse rather than a circle. Cut the notch toward the viewer, flatten the ellipses the further back they sit, and overlap one pad across another to establish the water surface.
12. Detailed Colored Pencil Froglet
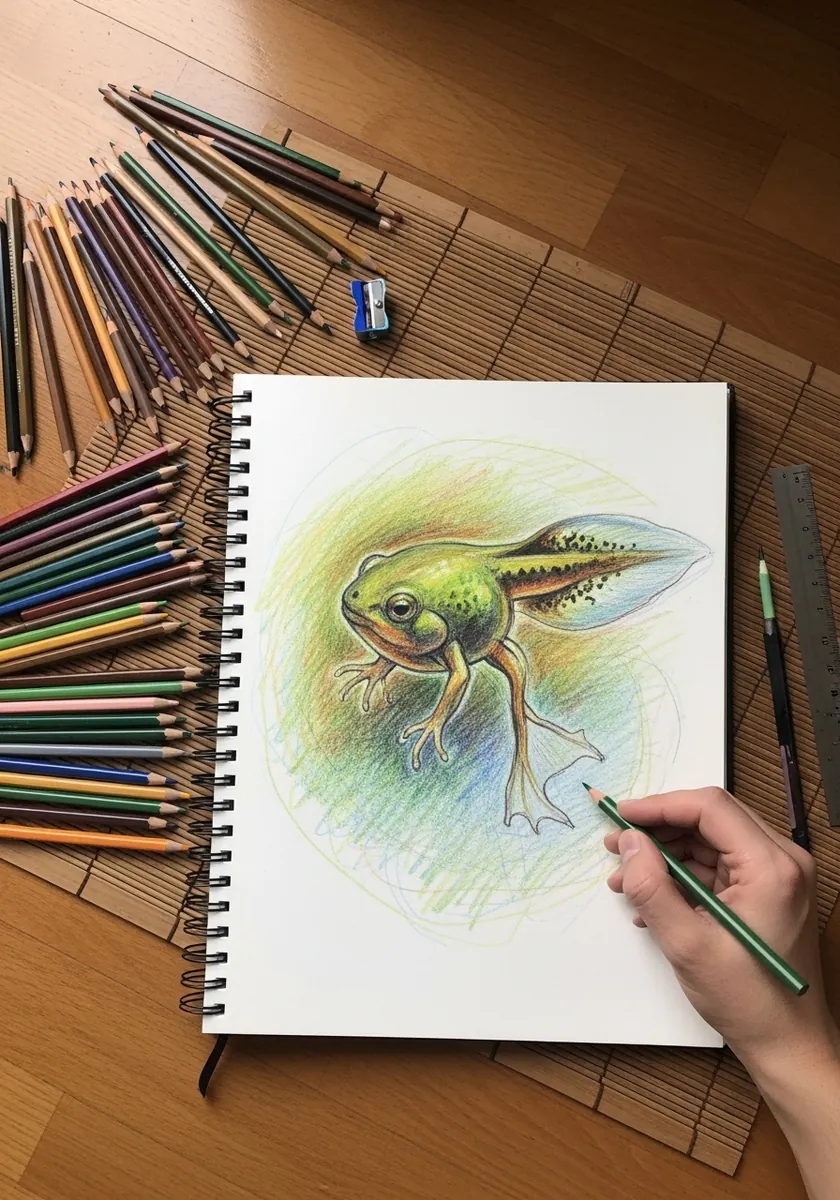
Speckles need a system or they look like noise. Cluster them more densely along the back and thin them toward the belly, vary the size across the body, and keep each mark slightly soft rather than a hard dot. Follow the curve of the form as you go.
13. Large Ink Stipple Frog
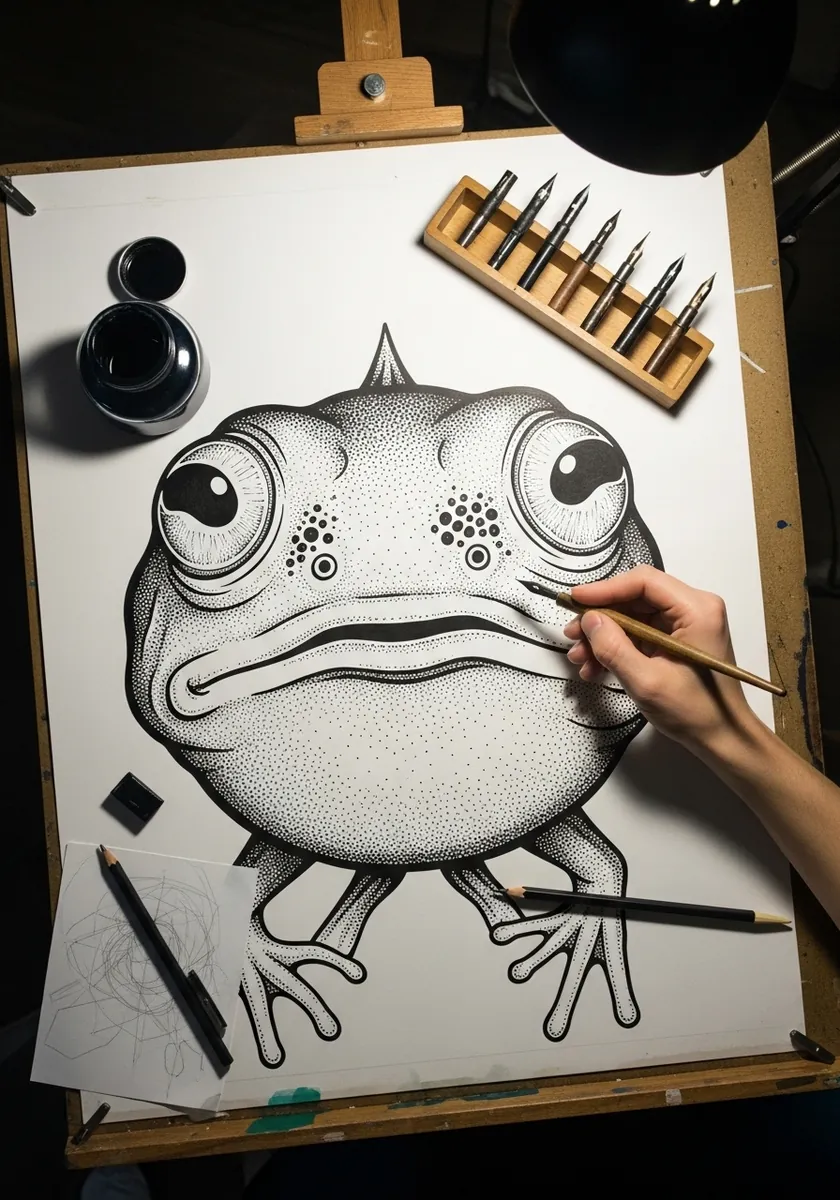
Stippling a large area is about density control, not patience alone. Build the dark areas with many overlapping passes rather than pressing harder, keep the dot size identical throughout, and leave the highlights completely bare from the very start. Work outward from the top so your hand never rests on finished dots and smudges them.
14. Frogspawn in Rippling Water
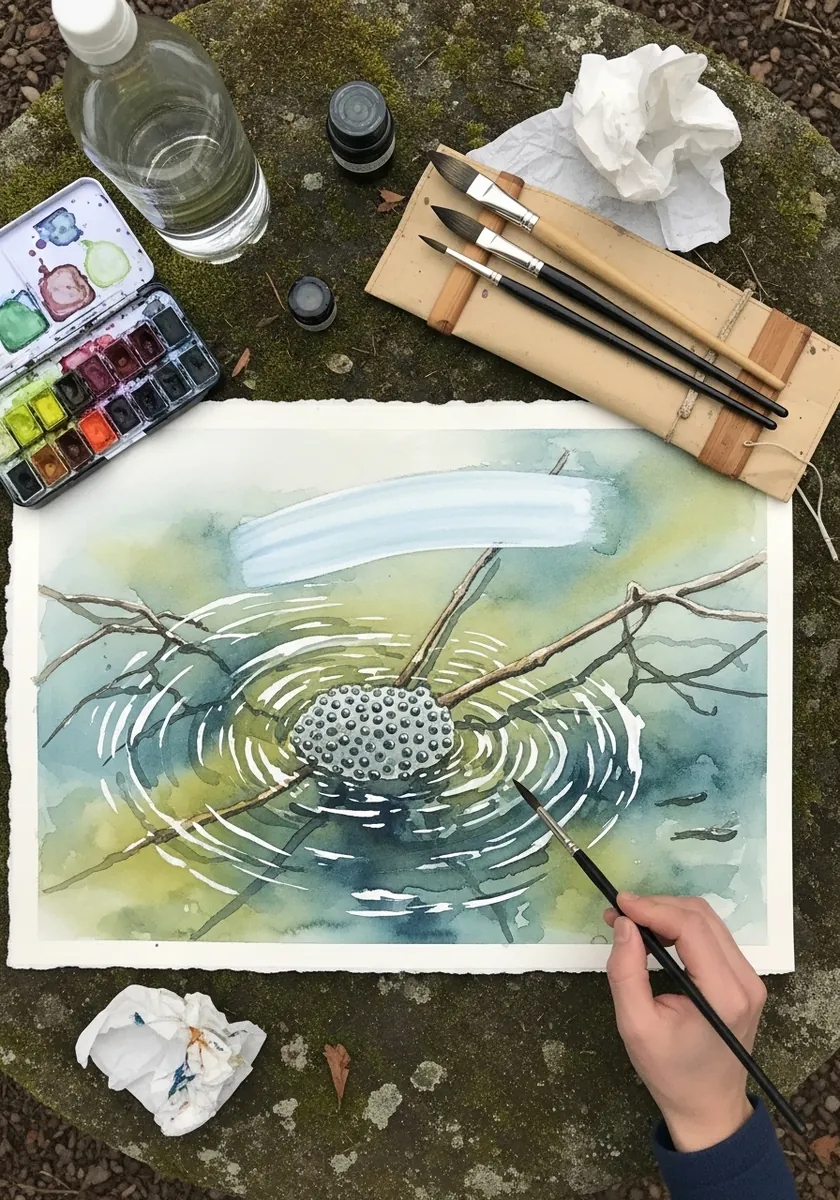
Ripples read as concentric ellipses that flatten as they recede from you. Draw them radiating from a single point, break the rings wherever the spawn floats on top, and keep the whole thing pale, because overworked ripples turn water into a target.
15. Botanical Plate With Fern
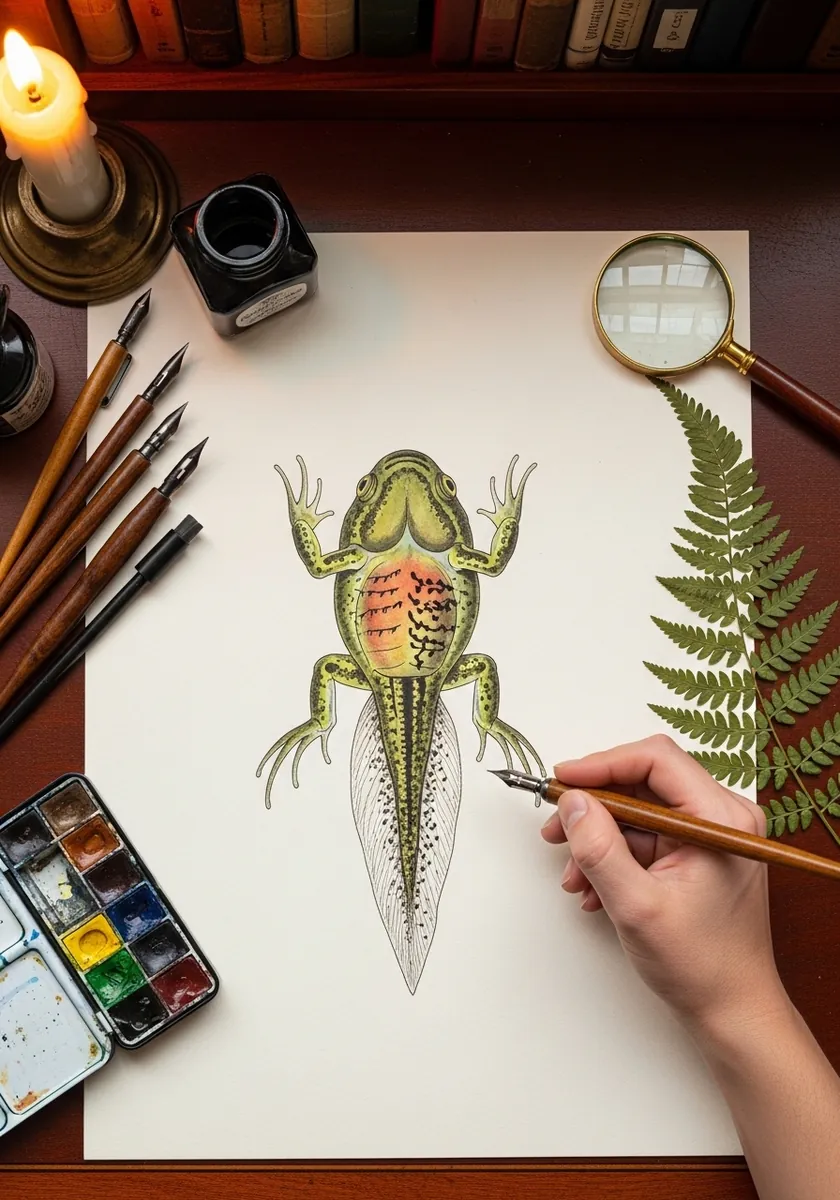
Botanical plates isolate the subject on clean paper with no scenery. Place the tadpole and the fern on the same vertical axis, leave generous white space around both, and keep every edge crisp. The discipline is what makes it read as a scientific plate.
16. Sumi-e Tadpole on a Lily Pad
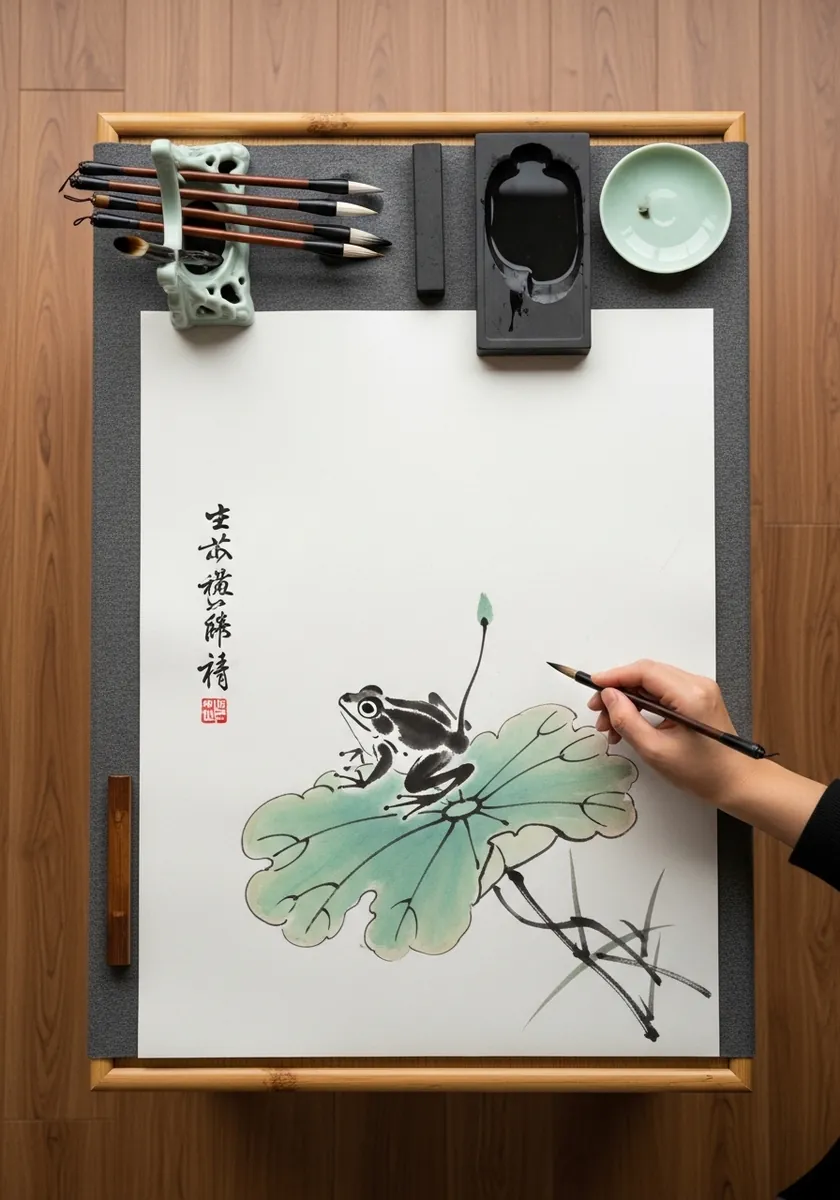
Restraint is the whole technique here. Paint the lily pad in one broad stroke and the tadpole in two small ones, then stop before the urge to add more takes over. Place the red seal small and off-center, and let the vast empty area of paper do the rest of the work.
17. Impasto Acrylic Frog on a Rock
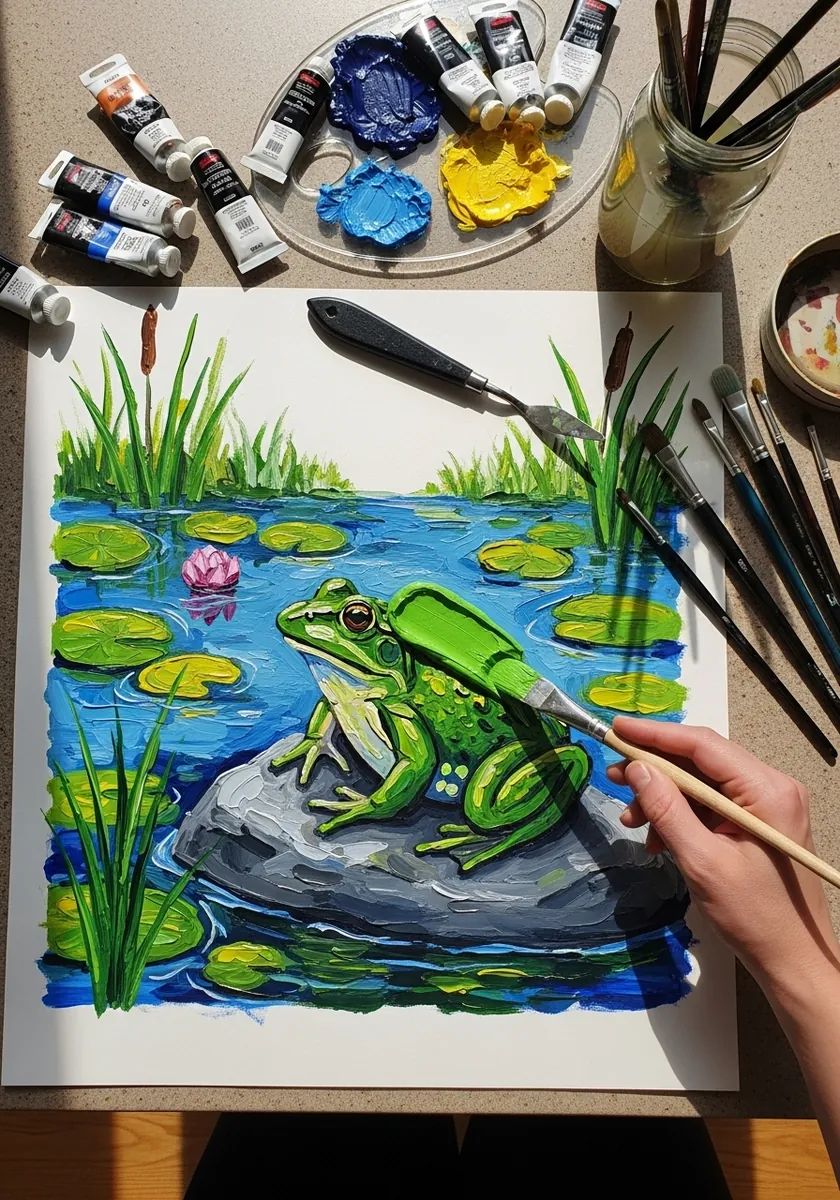
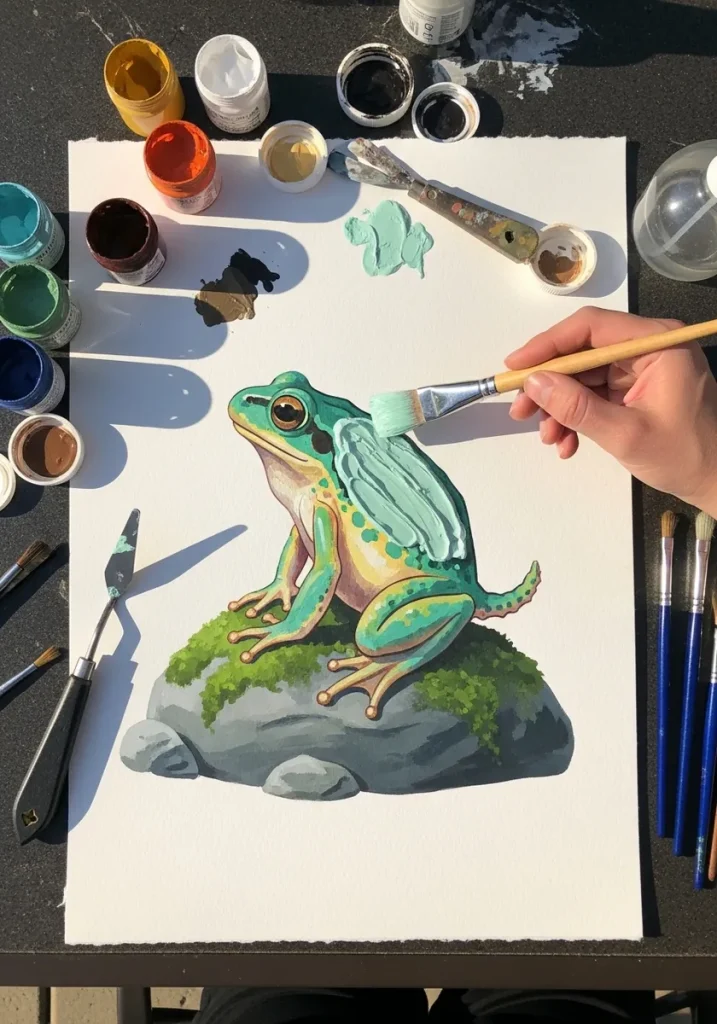
Thick paint suits wet skin surprisingly well. Load the brush and let the ridges catch real light along the frog’s back, keep the reeds as single confident upward strokes, and use a palette knife for the rock so its texture differs from everything else.
18. Pastel Life Cycle Mandala
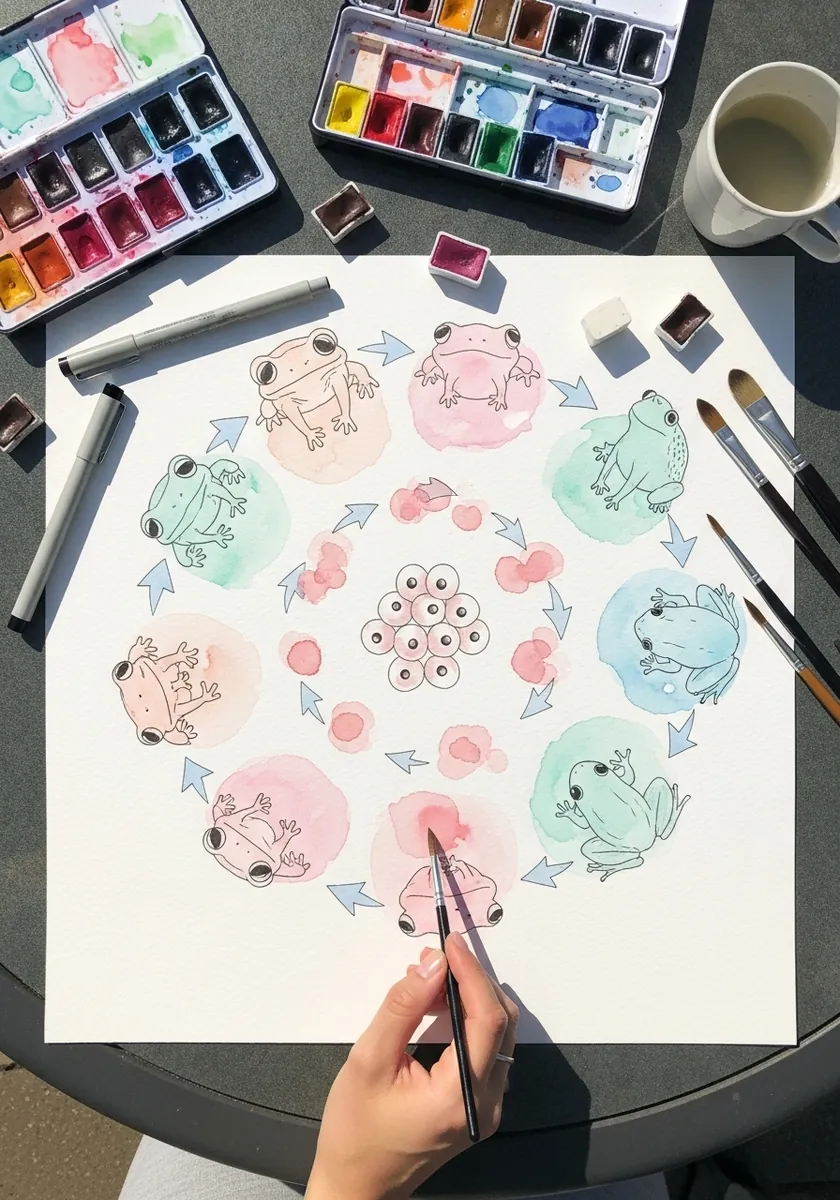
Arranging a sequence in a circle quietly makes the point that the whole thing repeats. Space the stages evenly, keep every figure the same size so none dominates, and start the egg mass at the top where the eye naturally enters the ring.
19. Splashy Blue Ink Tadpole
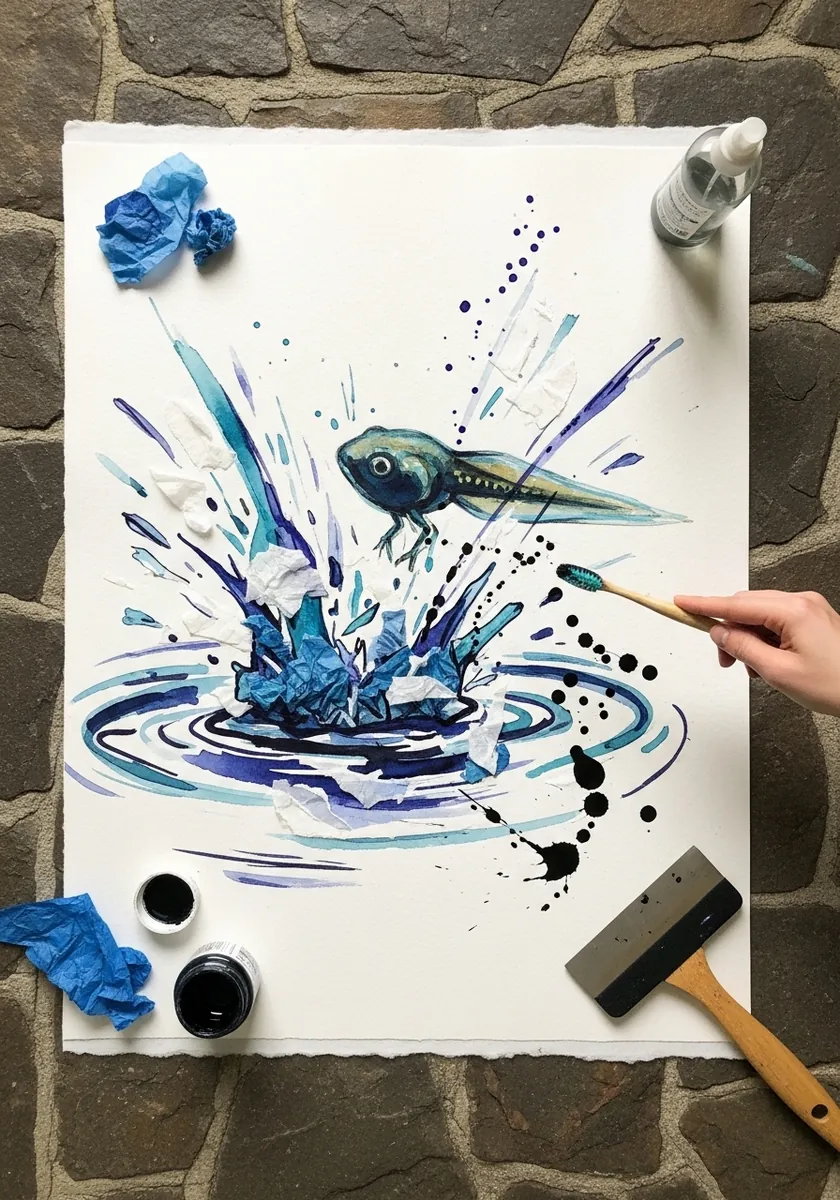
Splatter works when it comes from one direction and stays off the subject. Flick from the lower left, keep the tadpole itself completely clean, and let a few marks land well outside the water area. Even coverage reads as an accident, not a decision.
20. Gouache Wreath With Frogs
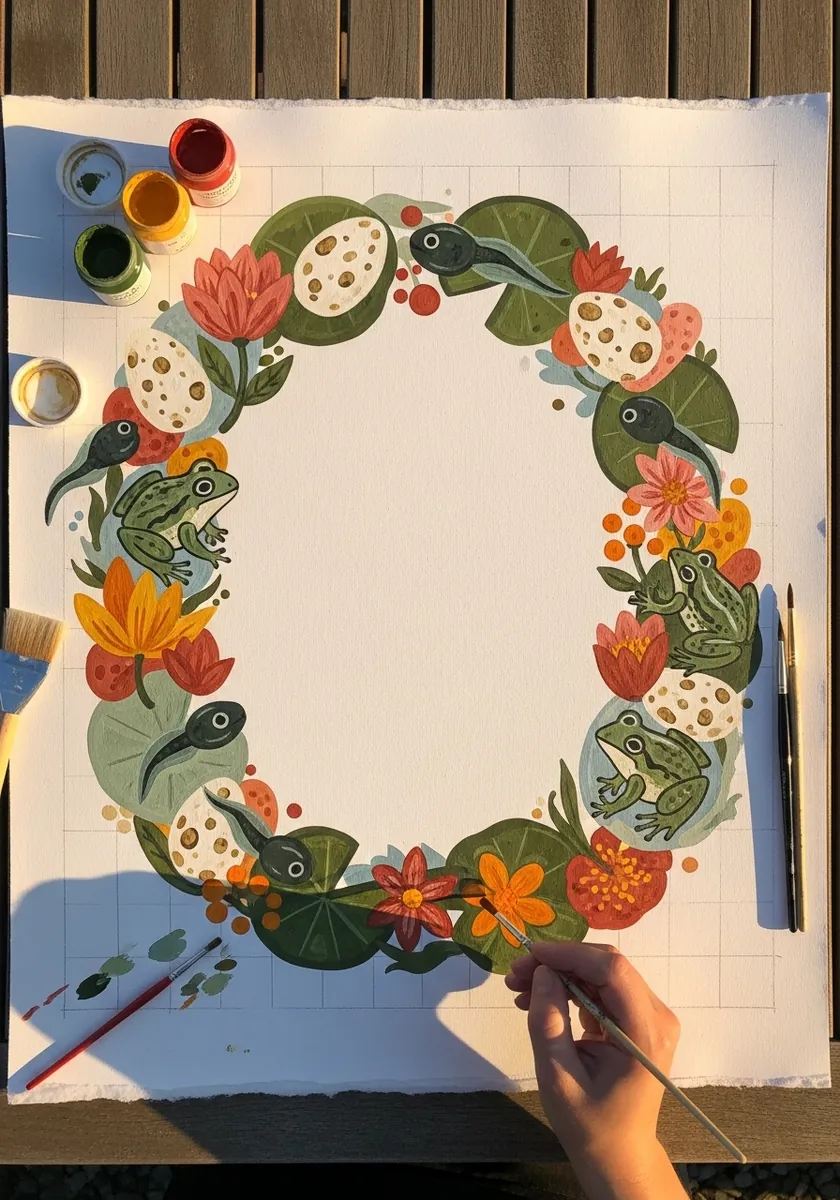
A wreath needs its weight distributed unevenly to avoid looking mechanical. Cluster the heavier elements at two opposite points, thin the ring between them, and keep the inner edge of the circle much cleaner than the outer one. Draw the guide circle in pencil first, because a wreath that drifts off round is very hard to rescue later.
21. Galaxy Tadpole on Black
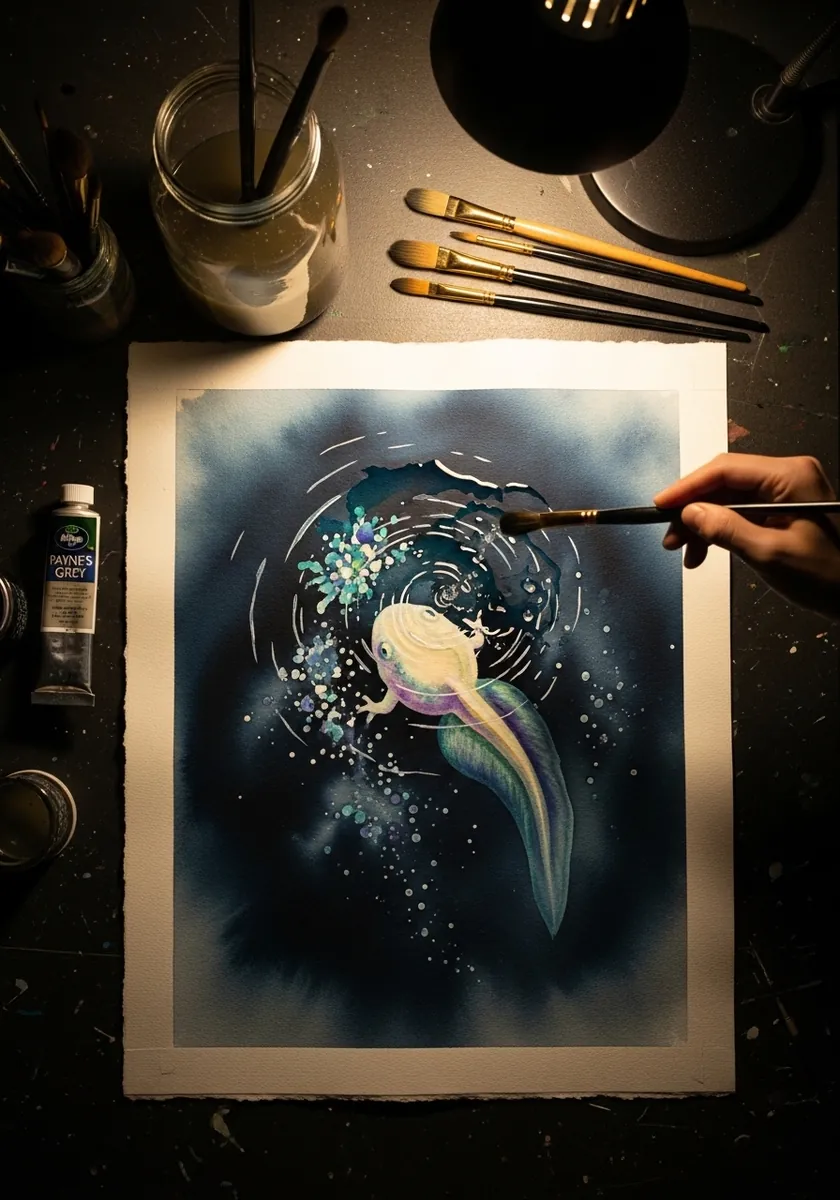
Light on a black ground is built from a gradient outward, never from a contour line. Work from a bright core along the body, fade it to nothing before the tail tip, and scatter a few pale specks in the surrounding dark to suggest depth.
22. Sketchbook Pond Bank Study
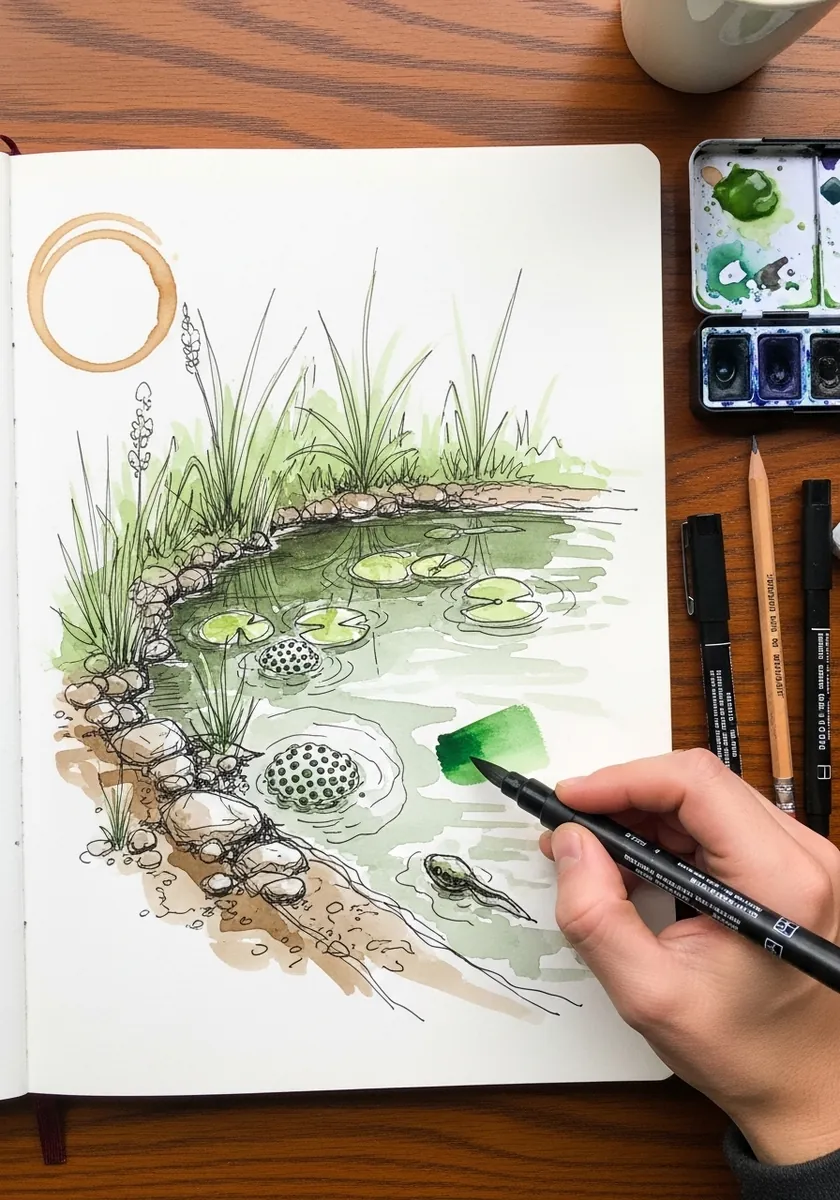
Leaving most of a study in line and coloring only one element directs the eye exactly where you want it. Ink the whole bank, then paint just the frog or a single leaf. The restraint is the technique, and adding a second color usually ruins it.
23. Flat Marker Stage Sequence
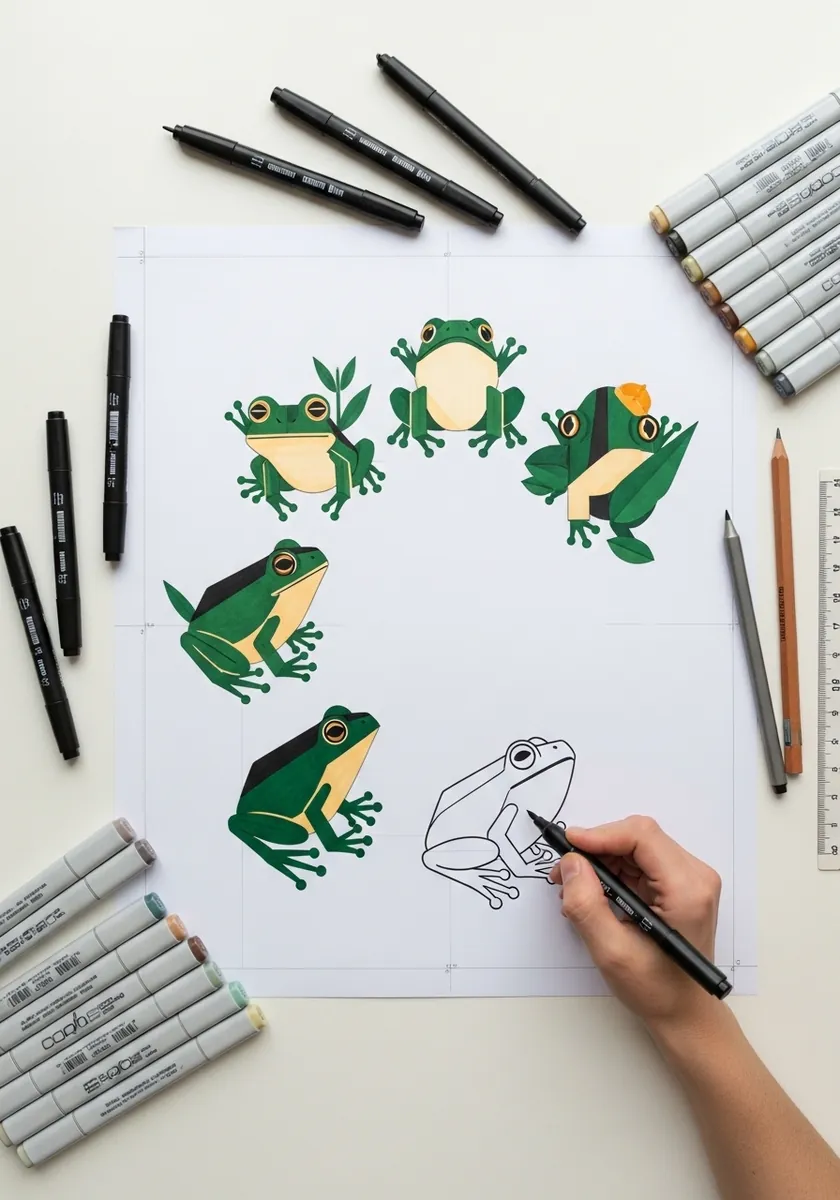
Flat color forces you to communicate through silhouette alone. Keep every figure the same height, change only the limbs and tail between stages, and use one green throughout so nothing distracts from the shape change. If the sequence still reads clearly without any shading at all, your silhouettes are doing their job.
24. Textured Swirl With Eggs
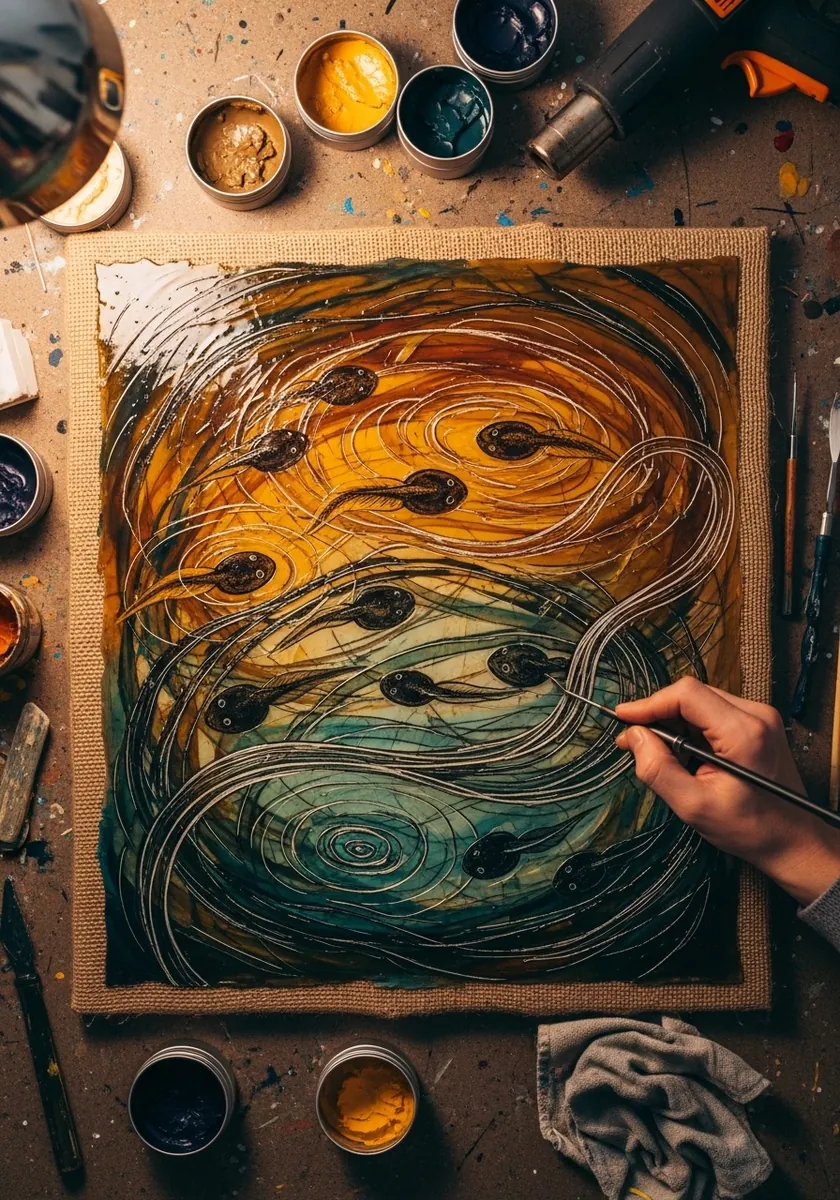
Abstracting a subject still needs one recognizable anchor or it stops being about anything. Let the swirls carry all the movement and energy, then place the dark egg shapes with real spacing discipline so the eye reads them as a cluster rather than random marks.
25. Vintage Naturalist Plate
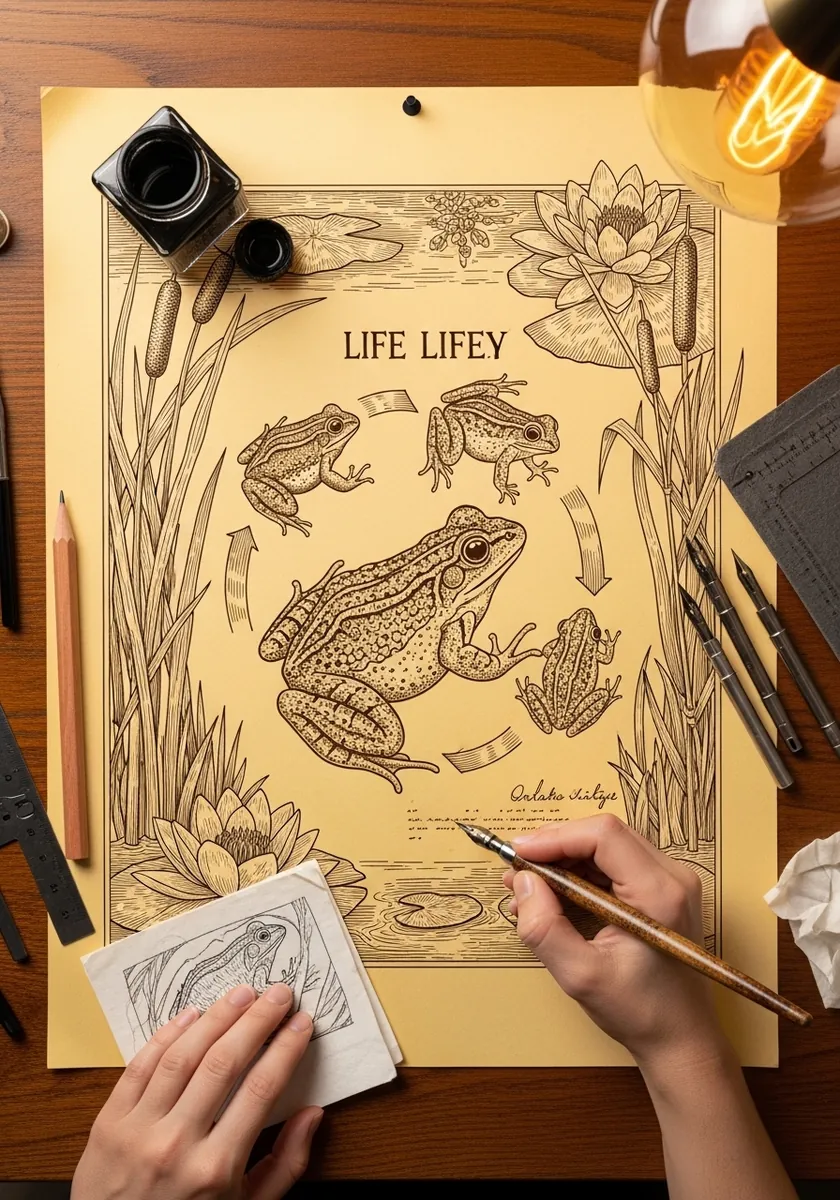
Old plates arrange specimens in a grid with the largest at the center. Keep the ink brown rather than black, tint the paper, and hand-letter the labels in a small consistent script. The layout does more for the period feel than the color does.
26. Soft Watercolor Tadpole
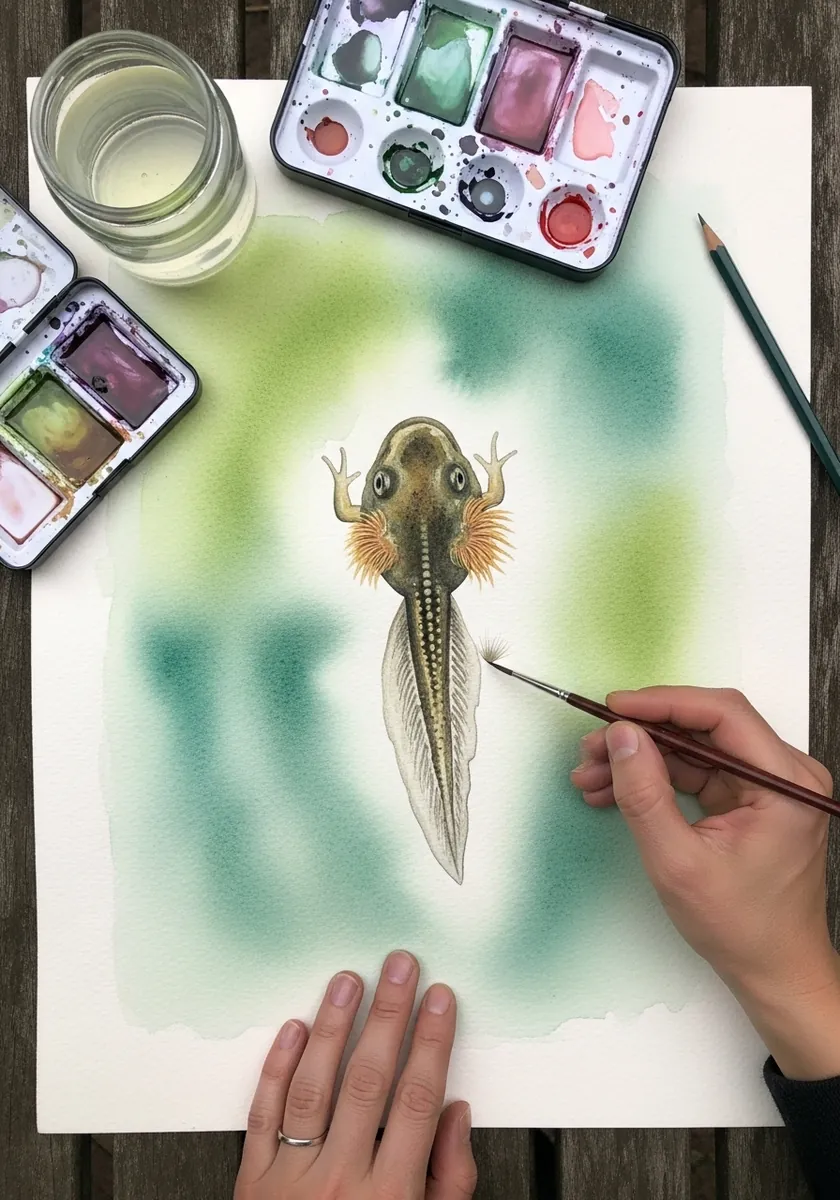
Wet-into-wet gives you a subject that appears genuinely suspended in water rather than sitting on it. Lay the green wash first, wait until the surface shine has just gone, then drop the tadpole in. Too wet and it spreads into nothing; too dry and it sits on top with a hard edge.
27. Bold Acrylic Pond Frog
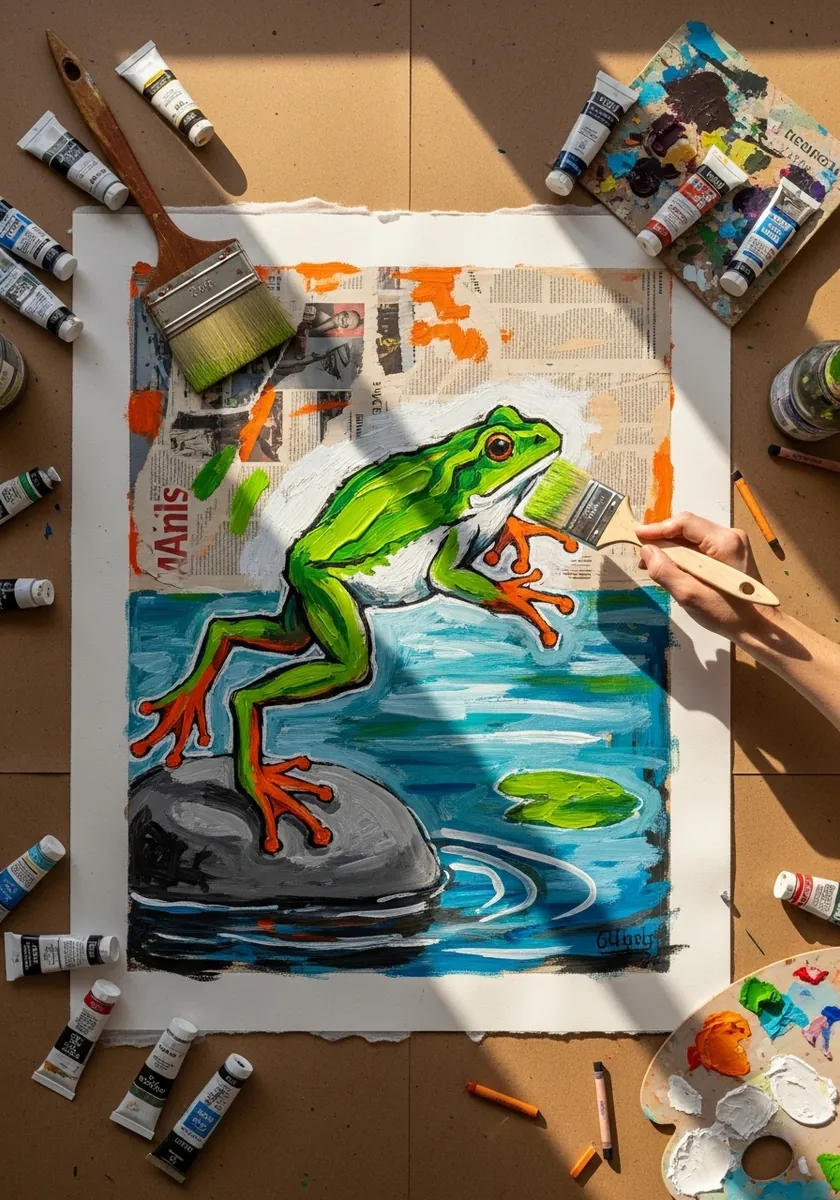
Complementary color gives a simple subject real punch. Put the orange only where it touches the green, keep the blues cool and in shadow, and resist spreading either color across the whole page. Contrast works at the boundary, not everywhere.
28. Anatomical Frog Study
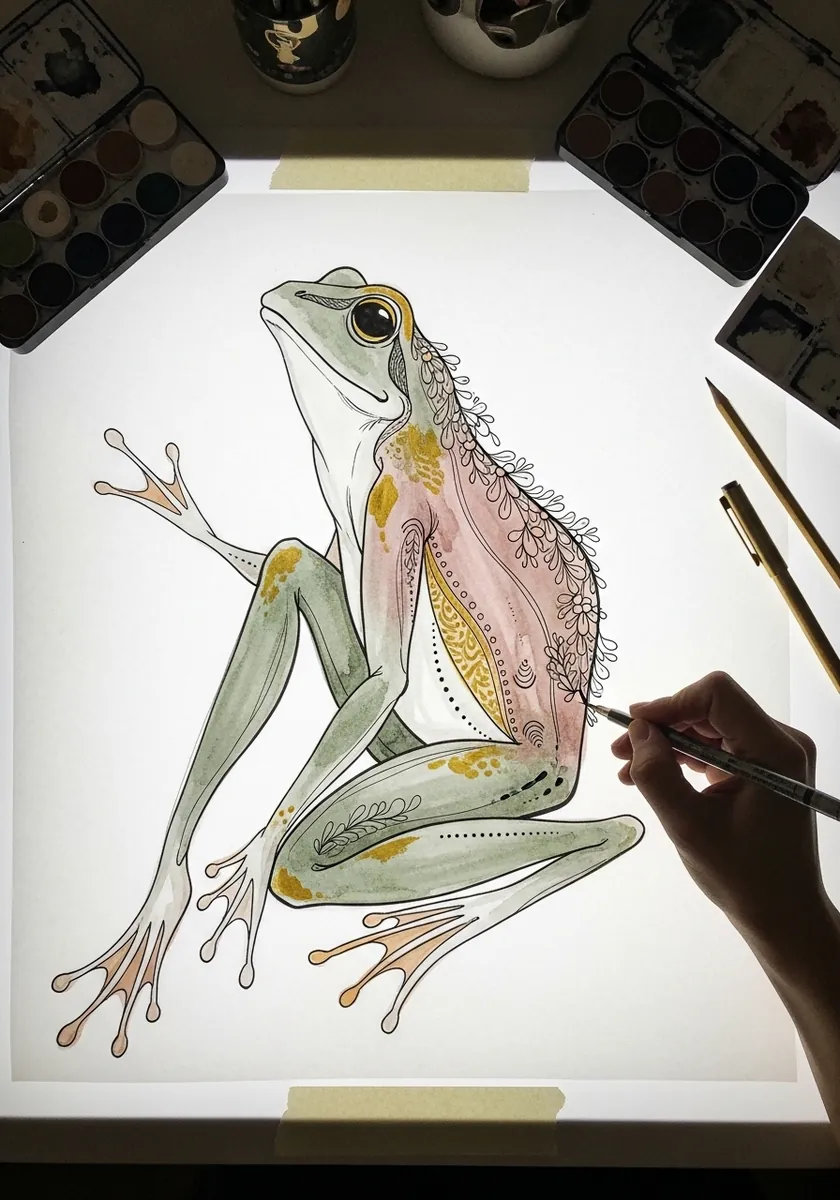
Drawing the structure underneath permanently changes how you draw the outside. Note that the long back foot is mostly elongated ankle bones rather than toes, and that the thigh folds forward against the body, which together explain the entire crouched shape.
29. Bright Pond Mandala
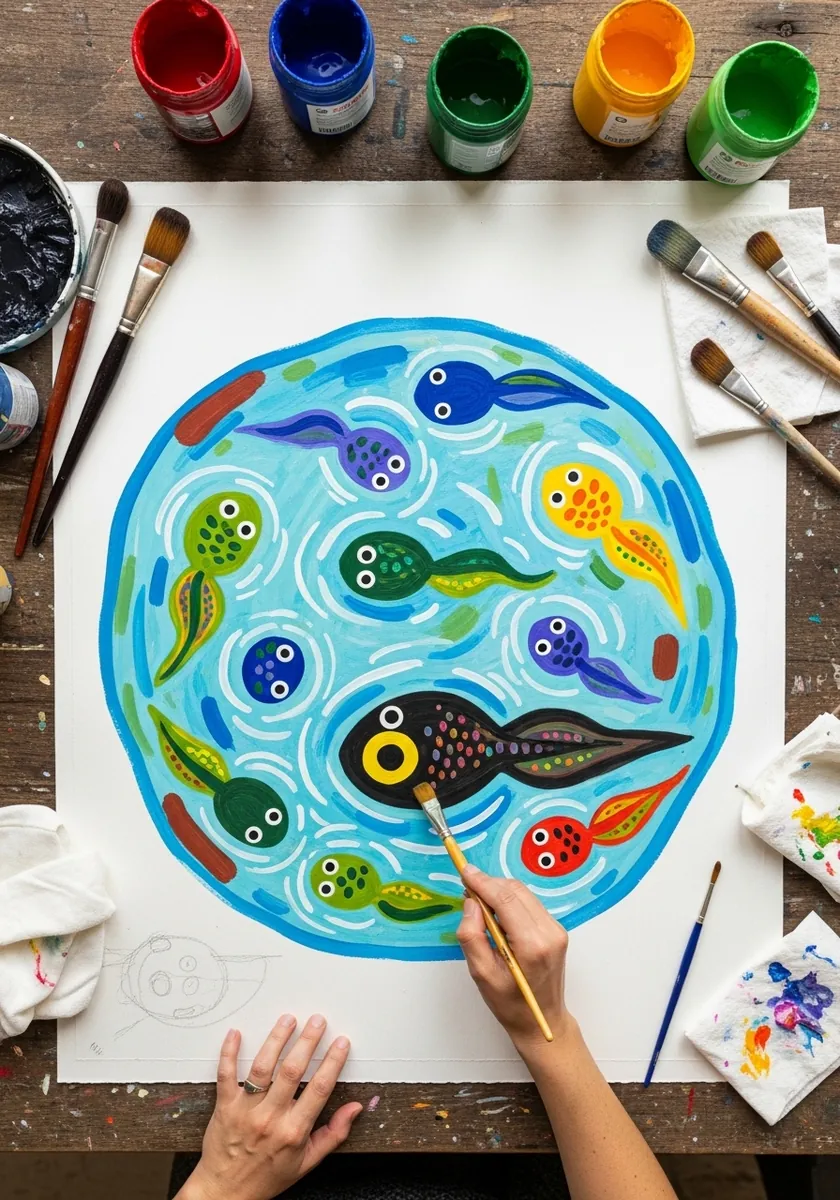
Radial designs need every ring counted rather than eyeballed. Divide the circle into equal segments in pencil first, place one tadpole per segment facing the same rotational direction, and let the color alternate around the ring. That shared direction is what makes the whole design appear to spin.
30. Realistic Graphite Frog
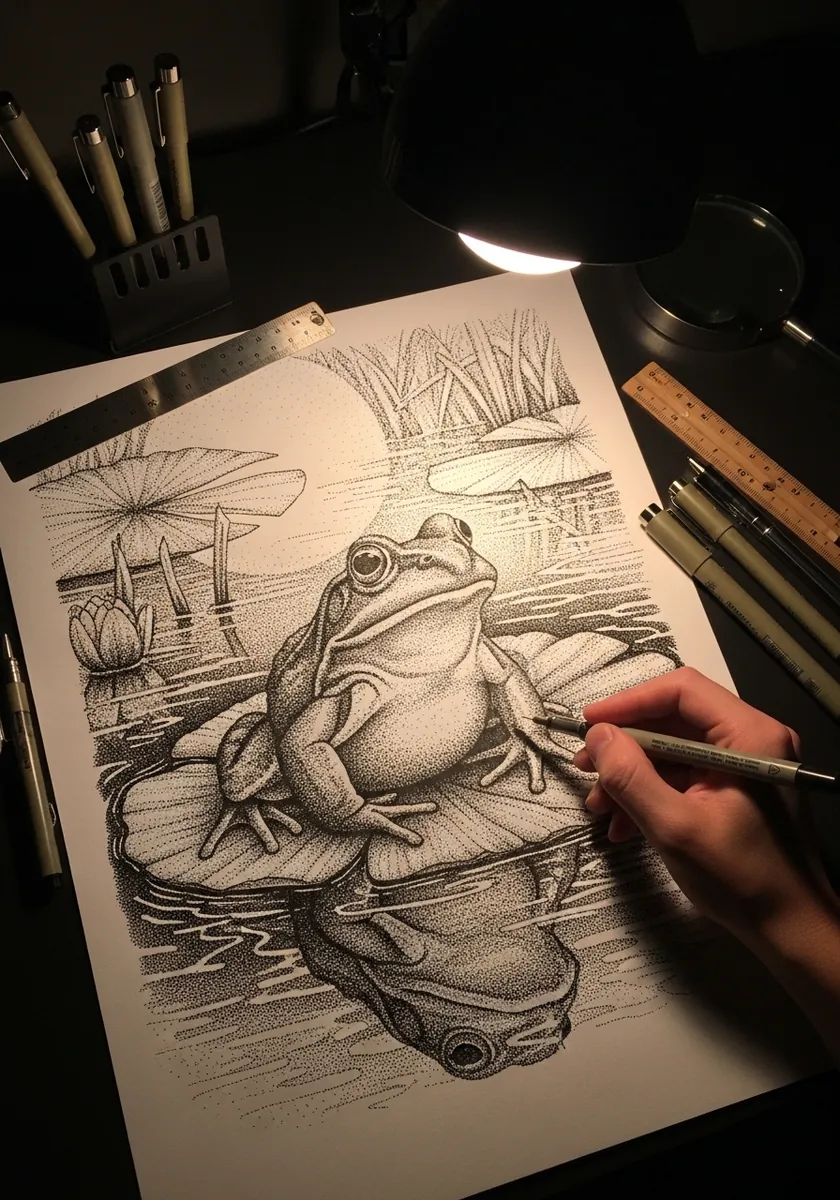
Realistic frog skin is a matter of edges rather than texture. Keep the back wet-looking with a hard highlight, let the belly edge stay soft where it meets the ground, and darken the crease where the thigh meets the body more than feels comfortable.
Frequently Asked Questions
Do frogs grow front or back legs first?
Back legs first. The hind limbs appear externally while the tadpole is still swimming, and the forelimbs develop hidden inside the gill chamber and only push through later. Drawing the front legs first is the most common error in life cycle illustrations.
Does the tadpole’s tail fall off?
No, it is absorbed. The tissue is broken down by a natural cell-death process and the material is recycled into the growing body, which is also why a froglet can go without feeding for a short period. Draw the tail shortening and thickening, not thinning away.
What are the stages of a frog life cycle?
Egg mass, then a hatchling with feathery external gills, then a tadpole once those gills are covered by a skin flap, then a tadpole with hind legs, then a froglet with four legs and a tail stub, and finally the adult frog.
How do I tell frog spawn from toad spawn?
By shape. Frogs lay their eggs in rounded floating clumps, and toads lay theirs in long strings usually wound around plant stems. It is a small detail that makes a pond drawing look properly observed.
Why do my tadpoles look like commas?
Because the head and body are drawn as one smooth oval. A real tadpole has a rounded body that narrows sharply where the tail begins, and the tail has a visible fin membrane above and below the muscular core. Draw those two parts separately.
References and Further Reading