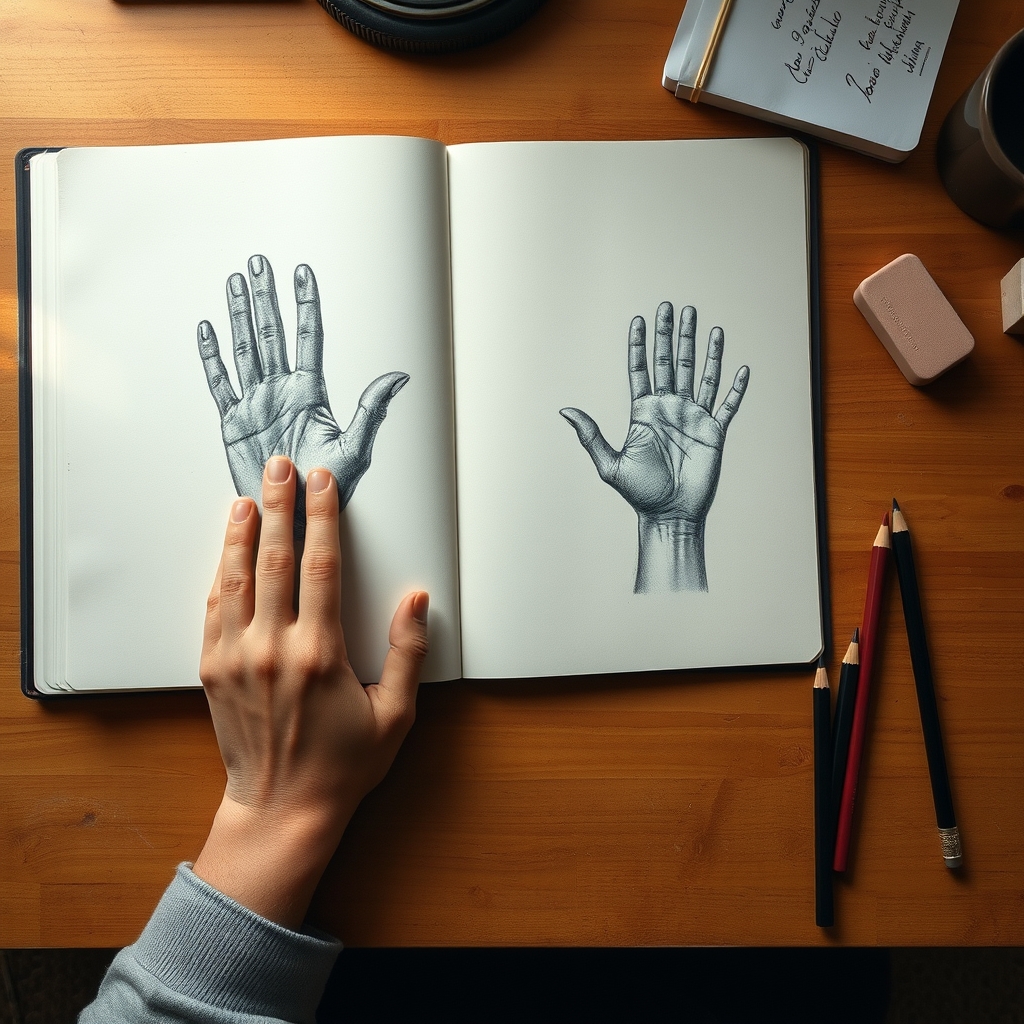
To draw a hand, block in the palm as a box that is taller than it is wide, join a narrow wrist rectangle below it, and curve a knuckle arc across the top. Hang four fingers off that arc as three shortening segments each, and add the thumb low near the wrist on its own rotated plane. Tighten it into one clean outline, check that the middle finger matches the palm length, then shade the palm as a shallow cup.
Key takeaways
- The palm is roughly half the total length of the hand, so draw it bigger than feels right.
- Knuckles sit on a curved arc that peaks at the middle finger, never on a straight line.
- Each finger is three segments and every segment is shorter than the one before it.
- The thumb attaches low near the wrist on a plane rotated about ninety degrees from the fingers.
- The middle finger is about the same length as the palm — use it as a quick proportion check.
- The palm is a shallow cup with raised pads, so a soft shadow sits across its center.
Hands are the subject most artists avoid for years, and the reason is not that they are complicated. It is that you have seen your own hands so many times that your brain has stored a shortcut for them, and the shortcut is wrong.
That stored shortcut is a flat mitten with five equal sausages coming off a straight line. A real hand is a boxy palm with a curved knuckle ridge, four fingers of different lengths built from tapering segments, and a thumb that starts down near the wrist on a completely different plane.
Build it in that order and hands stop being the hard subject. Four steps, one pencil, about twenty minutes. Each photograph below is the same drawing carried one stage further, so you can see exactly what should be on your page before you add the next thing.
What You Need Before You Start
- An HB pencil for construction and a 4B for the shadows
- A kneaded eraser, for lifting construction lines rather than scrubbing them
- Paper with some tooth so the palm shadow can build gradually
- Your own free hand as the reference, lit from one side by a window or lamp
Use your own hand rather than a photo for the first few attempts. You can rotate it, change the light, and check any angle you are unsure about, which no reference photo lets you do.
Step 1: Block In the Palm, Wrist and Knuckle Arc
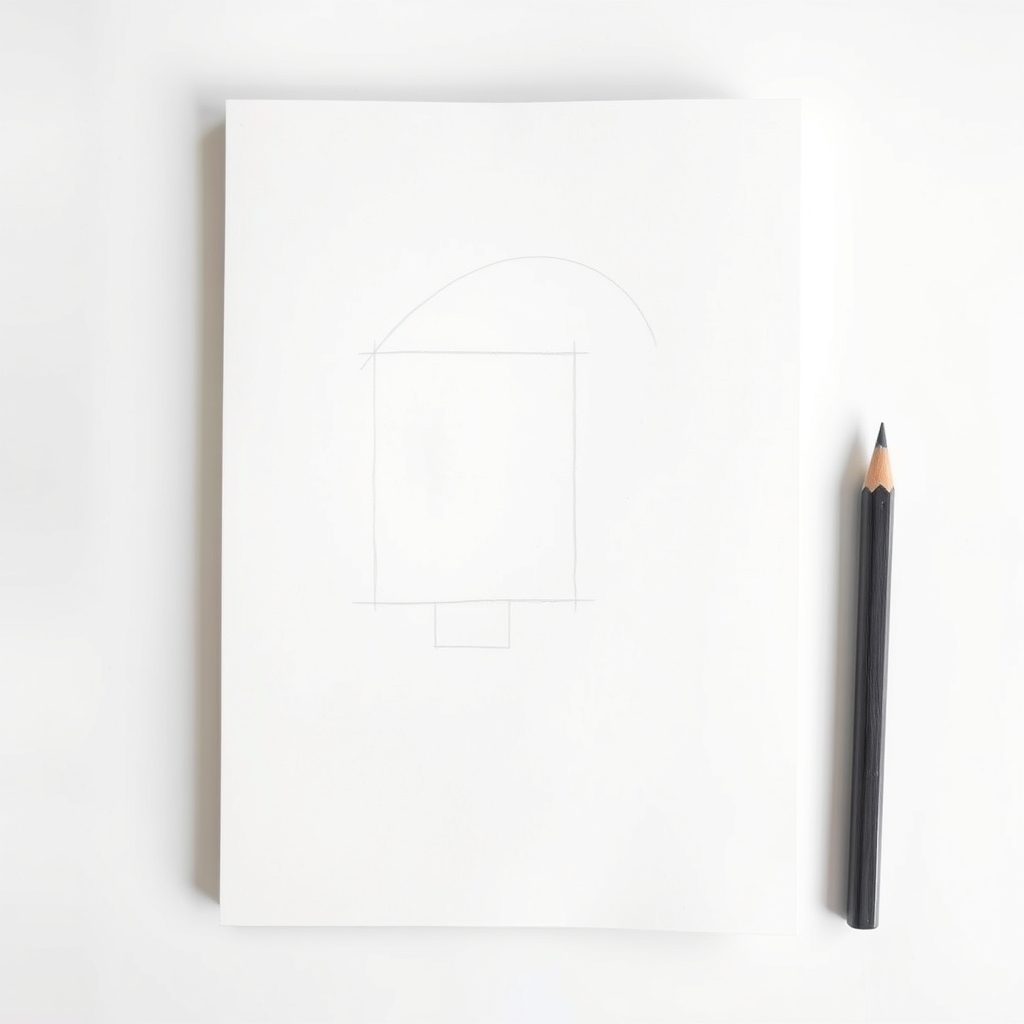
Three light shapes and nothing else. The palm is a four-sided block that is taller than it is wide, the wrist is a narrow rectangle joined to its bottom edge, and a shallow arc bows up across the top. Keep every line faint enough to lift out later, because all three are scaffolding rather than finished drawing.
The knuckles never sit on a straight line. They follow an arc that peaks at the middle finger and drops away toward the index and the little finger. Drawing that curve now, before any fingers exist, does more for a believable hand than any amount of finger detail added later.
Make the palm bigger than feels right. It takes up roughly half the total length of the hand, and drawing it too small is the fastest way to end up with spidery, alien fingers hanging off a stub.
Step 2: Hang the Fingers, and Start the Thumb Low
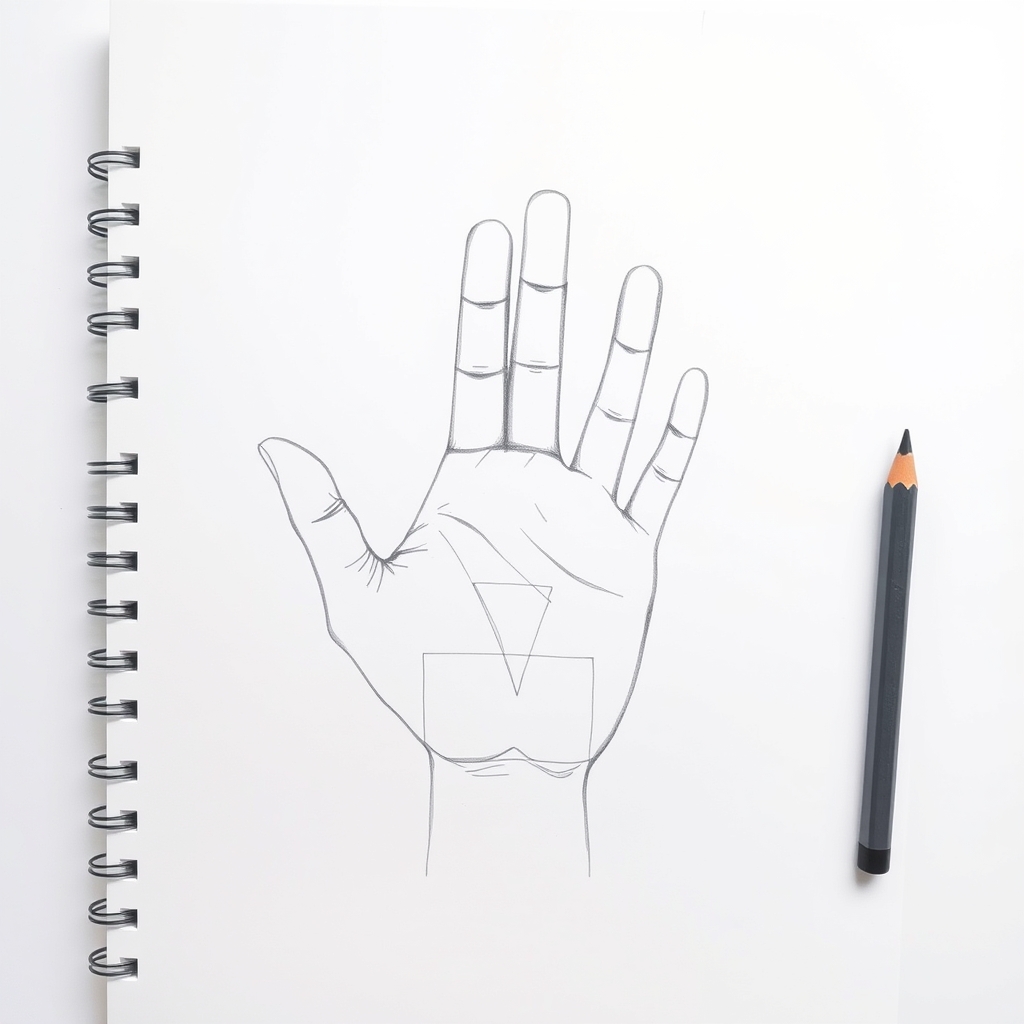
Now hang four fingers off that arc, and count them as you go: index, middle, ring and little. Each one is three segments, and each segment is shorter than the one before it. The segment nearest the palm is longest, the middle one noticeably shorter, the fingertip shortest of all. Three equal joints is what produces the sausage look.
The fingertips follow their own gentle arc, roughly parallel to the knuckle arc above the palm. Middle finger longest, ring and index close behind it, little finger clearly shorter and attaching lower down the side of the hand rather than level with the rest.
The thumb goes in during this same pass, but it is not a fifth finger. It attaches much lower, near the wrist, and sits on a plane rotated roughly ninety degrees to the other four, which is what lets it press against them. Drawing it level with the fingers is the single most recognizable beginner error.
Step 3: Tighten Into a Clean Outline and Check One Proportion
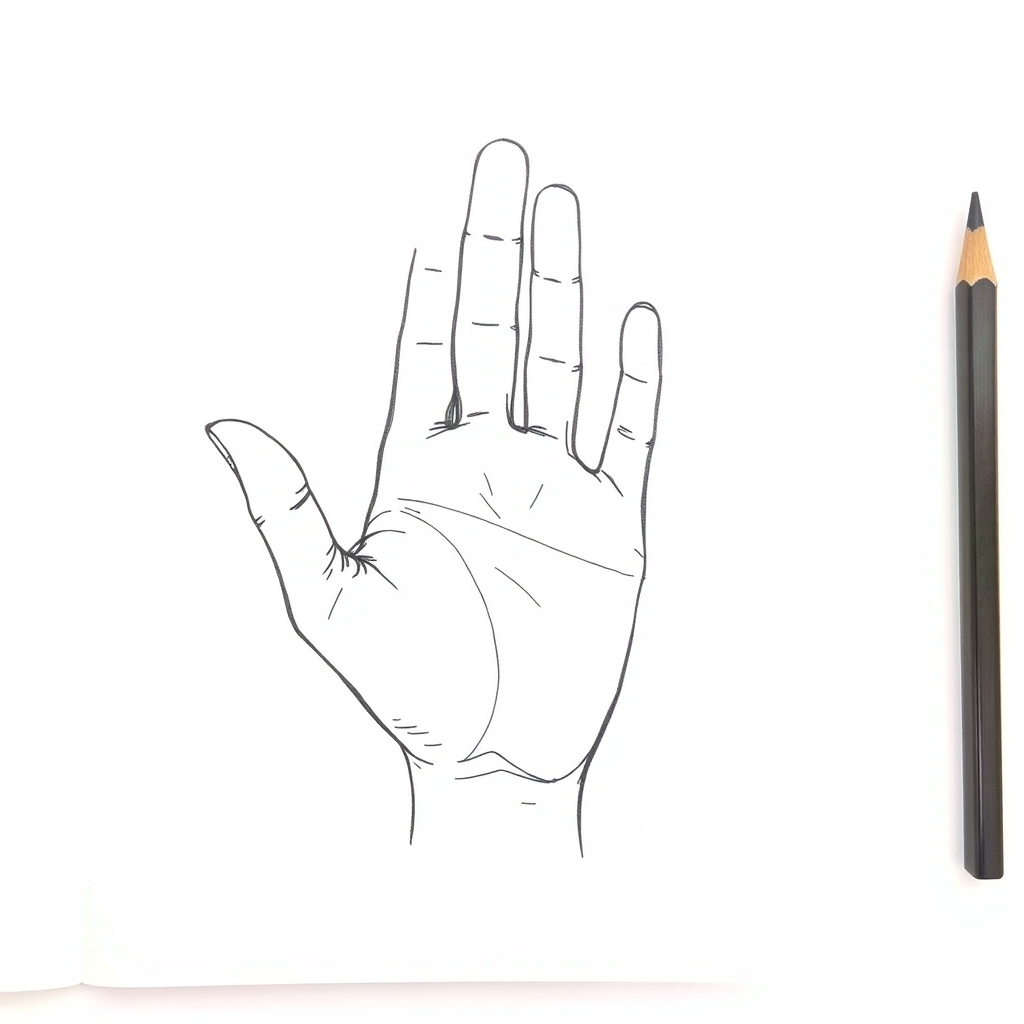
Draw one confident contour over the scaffolding, letting it swell gently at the knuckles and the base of the thumb and narrow at each joint. Leave the construction lines faintly visible for now. A single committed line reads as far more skilled than the same shape found through twenty tentative ones.
Before you commit to any detail, run one test: the middle finger is about the same length as the palm. Measure it on your own hand and you will find it holds. Almost every wrong-looking hand fails this, usually with fingers too long, and catching it here costs you two erased lines instead of a finished drawing.
Step 4: Shade the Palm as a Shallow Cup
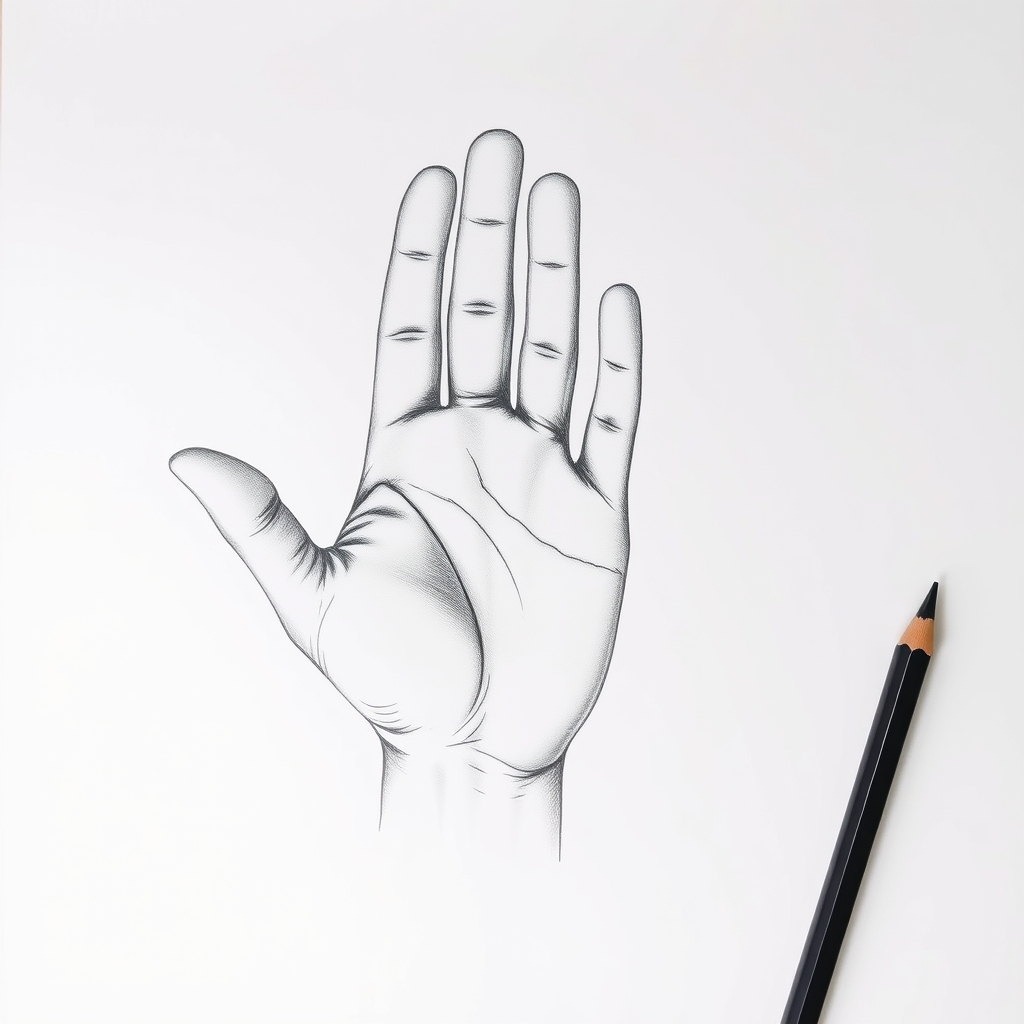
A palm is not flat. It is a shallow cup with raised pads at the base of the thumb and along the little finger side, so the center sits lower and holds a soft shadow. Put that shadow in with the 4B and the hand stops being an outline and starts being a solid object.
Then darken the narrow gaps between the fingers, and leave the tops of the knuckles and the upper surface of each finger lighter, since those are the planes facing your light source. Lift the remaining construction lines out with the kneaded eraser rather than rubbing them, which keeps the tooth of the paper intact for any further work.
The Four Faults That Make a Hand Look Like a Mitten
When a finished hand still looks wrong, it is almost always one of four structural faults rather than a rendering problem. Hold your drawing next to your own hand and check each in turn.
- A straight knuckle line. The four fingers spring from one flat horizontal edge instead of an arc peaking at the middle finger.
- Fingers of equal length. The little finger in particular should be clearly shorter and set lower on the side of the palm.
- Three equal segments per finger. Equal joints read as sausages. Each segment must shorten as it moves toward the tip.
- A thumb level with the fingers. It belongs low near the wrist, on its own rotated plane, not lined up with the other four.
None of these is a hand-skill problem. All four are structural decisions made in the first two minutes, which is exactly why the block-in stage above is worth the patience it takes.
Four Poses Worth Practicing Next
- Hand holding something. Draw the object first, then wrap the fingers around it. Trying to draw the grip first almost always produces a hand too small for what it holds.
- Hand on hip. The wrist bends back sharply, so the palm box is seen almost edge-on. This is the pose that proves whether you built a box or a flat shape.
- Peace sign. Two fingers extended, two folded down. The folded fingers still need all three segments, just compressed, which is where most attempts fall apart.
- Reaching toward the viewer. Heavy foreshortening: the palm looks huge and the fingers almost disappear. Draw what you actually see, not what you know the length should be.
For more finished examples across styles, our hand drawing ideas collection shows the same structure applied to gestures, poses and stylized versions.
Frequently Asked Questions
Why are hands so hard to draw?
Because you have a stored mental symbol for them from seeing your own hands constantly, and that symbol is a flat mitten with equal fingers. Familiarity is the obstacle, not complexity. Building from a palm box replaces the symbol with a structure.
How do you draw hands step by step for beginners?
Block in the palm as a box with a wrist rectangle and a curved knuckle arc, hang four fingers off that arc as three shortening segments each while adding the thumb low near the wrist, tighten everything into one clean outline and check that the middle finger matches the palm length, then shade the palm as a shallow cup.
How long should fingers be compared to the palm?
The middle finger is roughly equal to the length of the palm. The index and ring fingers are slightly shorter, and the little finger is noticeably shorter and attaches lower down the side of the hand.
How do you draw anime hands differently?
Anime simplifies the same structure rather than replacing it. Segments are smoothed into single tapering shapes and knuckle detail is dropped, but the curved knuckle arc and the low thumb attachment stay. Stylized hands built on this construction still read correctly; ones built on the mitten symbol do not.
Should I use my own hand as a reference?
Yes, and it is better than a photo for learning. You can rotate it, relight it and check any angle you are unsure about. Draw your non-dominant hand, since it is the one that stays still.
Where to Go Next
Hands and eyes fail for the same underlying reason, and fixing one usually makes the other easier. Our eye tutorial rebuilds the eye from a sphere the same way this rebuilds the hand from a box, and why do my drawings look bad explains the symbol problem that causes both.
The drawing guide sorts every subject by the skill it trains, and the art supplies guide covers the pencils and paper worth owning for this kind of work. When you move from hands back up to the head, drawing a nose asks for the opposite habit: less line, more shadow. Working downward instead, how to draw feet uses the same build-from-a-solid approach as this page.