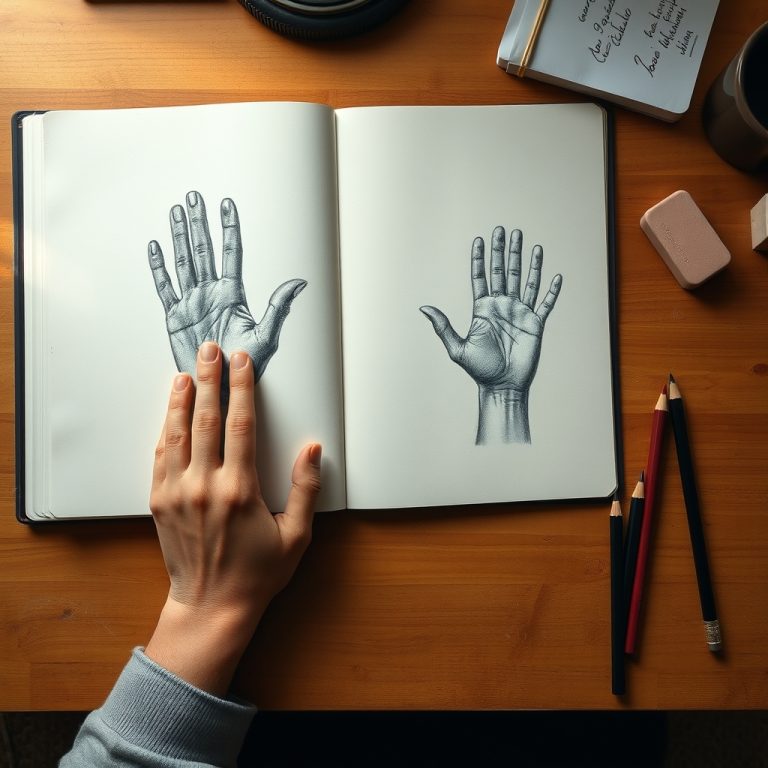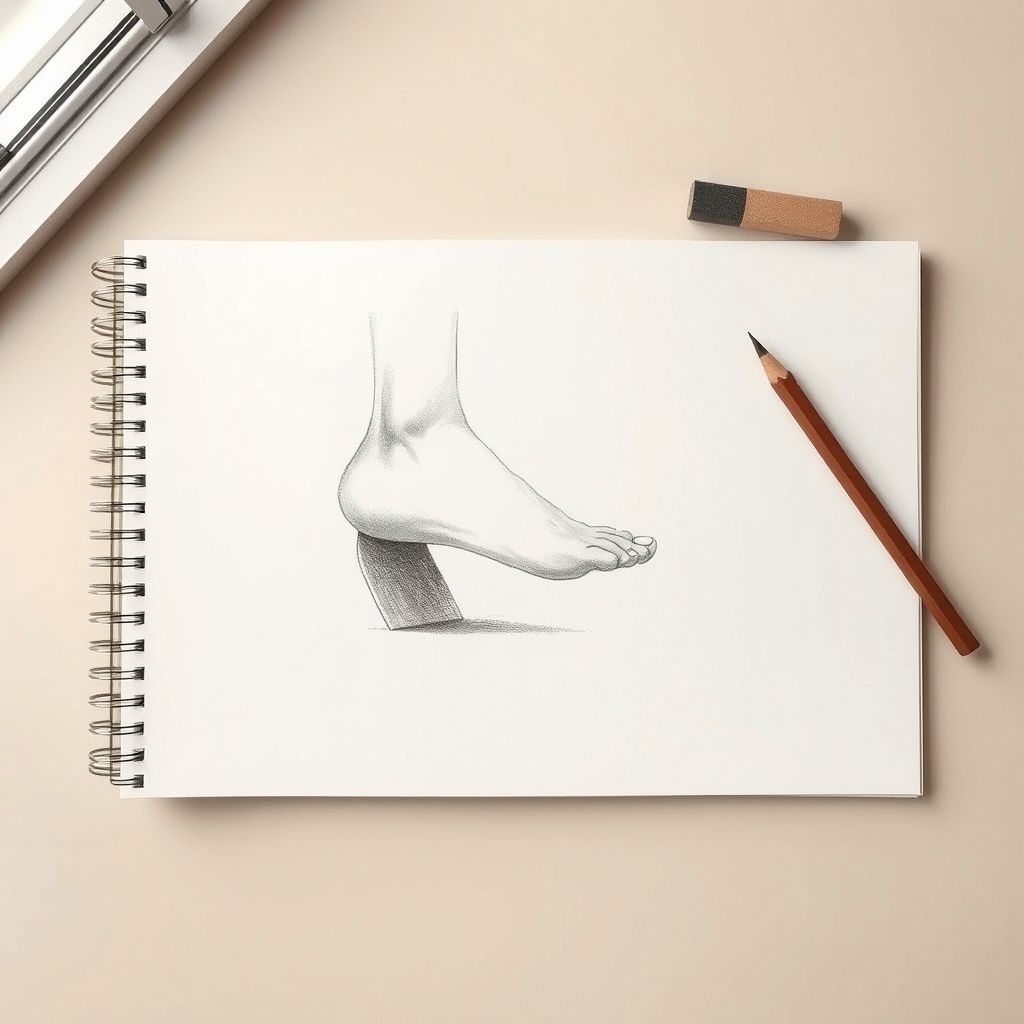
To draw a foot, start from the side and build it as a wedge that is tall at the ankle and slopes down toward the toes, with the arch lifted clear of the ground. Mark the three points where it touches the floor: the heel, the ball behind the big toe, and the outer edge near the little toe. Then add five toes of decreasing size along a curve, with the big toe wider and set slightly apart, and finish by shading the tunnel under the arch and the cast shadow at the contact points.
Key takeaways
- A foot is a wedge, tall at the ankle and sloping forward, resting on three contact points.
- The arch lifts clear of the ground between the heel and the ball; leaving it out produces a flat plank.
- The ankle bone on the inside of the leg sits higher than the one on the outside.
- Toes sit along a curve and shrink outward, and the second toe often reaches furthest forward.
- The big toe has two bones while the others have three, which is why it bends in fewer places.
- A foot is roughly as long as the forearm from wrist to elbow, and beginners draw it too short.
- The darkest value belongs in the tunnel under the arch.
Look at enough beginner figure drawings and you notice how much grass there is. Long grass, tall flowers, conveniently placed rocks, a lot of ankle-deep water. Anything to avoid drawing the feet.
The avoidance comes from the same place the hand avoidance does. You have a stored mental picture of a foot, and that picture is a flat oval with five little sausages stuck on the end. Draw that and it looks wrong, so you hide it, and hiding it means you never work out why it looked wrong.
A real foot is a wedge. Tall at the ankle, sloping down and forward to the toes, sitting on the ground at three points with an arch lifted between them. Get that wedge on the page and the toes stop being the hard part.
What You Need
- An HB for construction and a 4B for the shadow under the arch
- A kneaded eraser for lifting the scaffolding out at the end
- Paper with some tooth so the shading can build
- Your own bare foot, lit from one side. Put it on a chair and turn it as you go
Your own foot beats any reference photo here. You can rotate it, tilt it, point the toes and check the angle you keep getting wrong, which no photo lets you do.
Step 1: Draw the Side View First
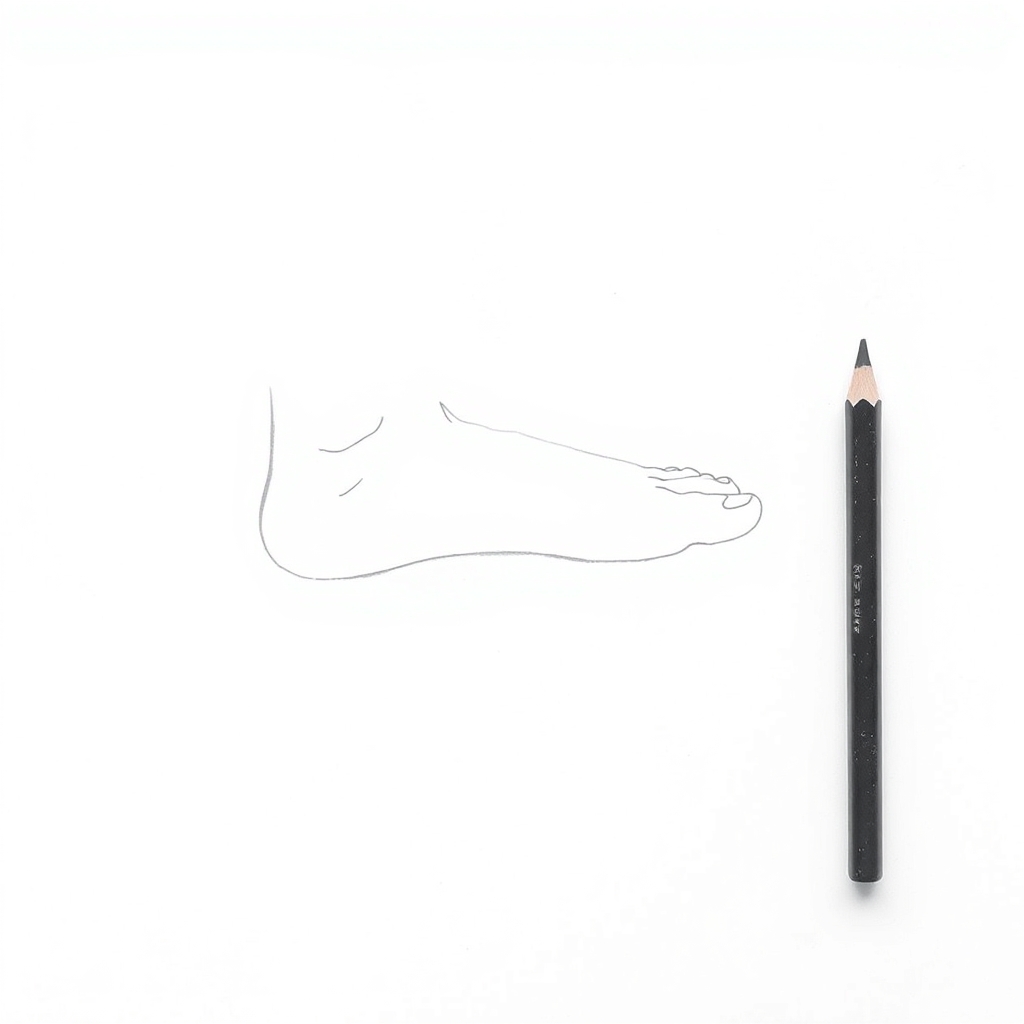
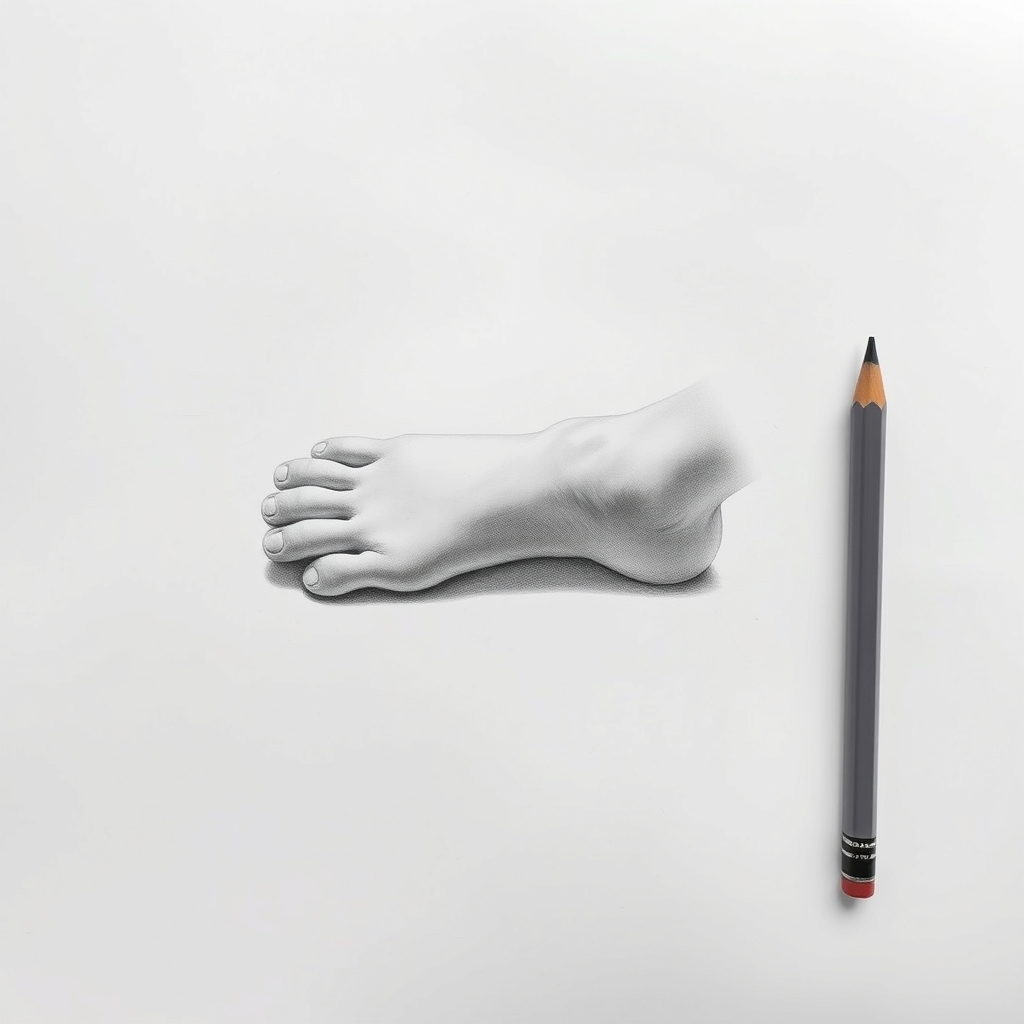
Start from the side, because it is the angle where the structure is obvious. The profile above is doing three things at once: it rises to a high point at the ankle, it slopes forward and down across the top of the foot, and it lifts away from the ground in the middle. That lift is the arch, and leaving it out is the quickest way to draw a flat slab.
Mark where the foot actually touches the ground while you are here. There are three contact points: the heel, the ball behind the big toe, and the outer edge back near the little toe. The inside of the foot between heel and ball stays off the ground. Draw those three points early and the foot sits on the floor instead of hovering above it.
One detail worth knowing before you go further. The ankle bone on the inside of the leg sits higher than the one on the outside. Draw them level and the ankle reads as a mechanical joint. Offsetting them by a small amount does more for realism than any amount of toe detail.
Step 2: The Toes Are Not All the Same
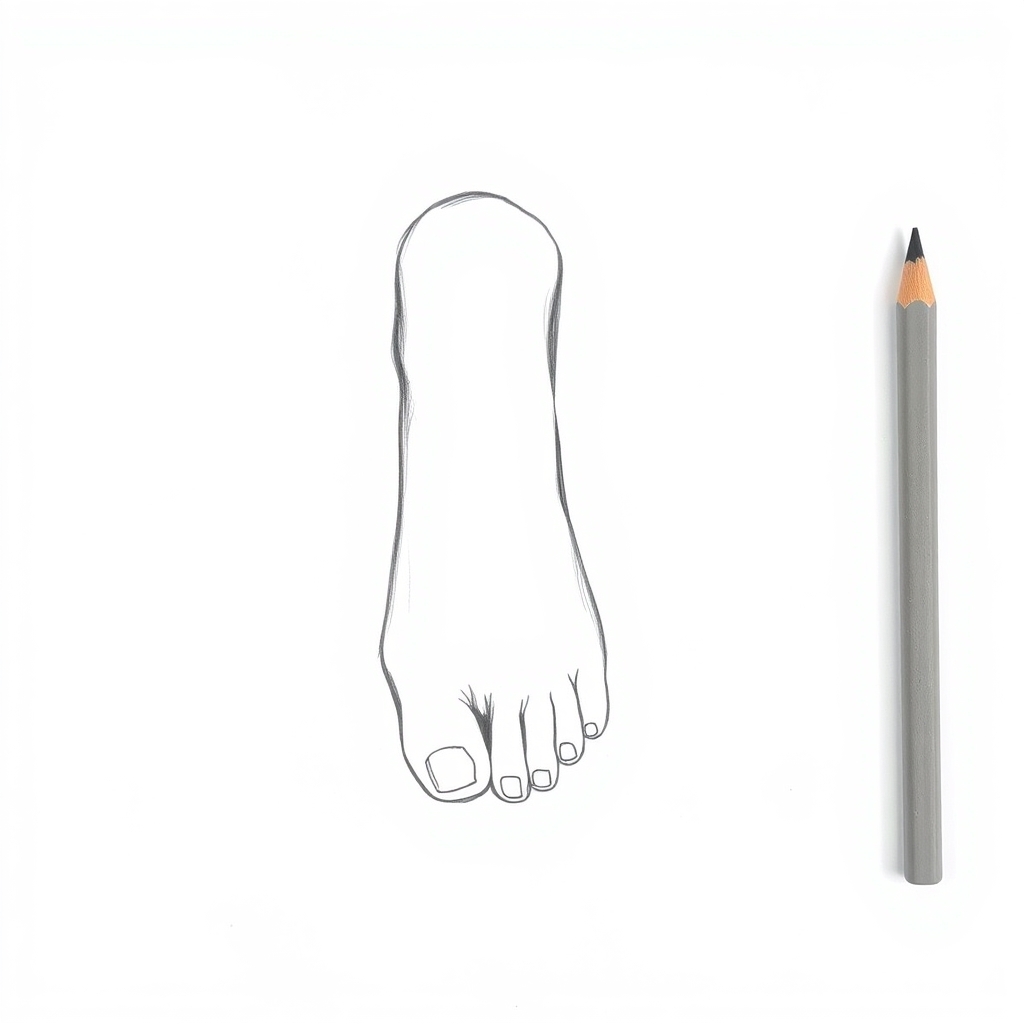
Here is where the sausage habit does the damage. On the page above the big toe is doing most of the work. It is wider, thicker and set slightly apart from the rest, and it carries a large flat nail. The other four shrink as they go outward, and the little toe often curls under a fraction so you see less of it than you expect.
They also sit along a curve. The second toe usually reaches furthest forward, sometimes past the big toe, and the line then drops away toward the outside edge. A straight row of five equal toes is the foot equivalent of the mitten hand.
There is an anatomical reason the big toe behaves differently. It has two bones inside it while each of the other four has three. That is why it bends in fewer places and looks blunter, and knowing it makes the shape easier to commit to.
Step 3: Shade the Arch and the Contact Shadow
Two shadows carry the whole drawing. The first sits underneath the arch, in the tunnel between the heel and the ball, and it should be the darkest value on the page. The second is the cast shadow where the three contact points meet the floor, darkest right at the join and softening as it spreads.
Across the top of the foot keep the tone gentle and let it wrap. The top surface is a broad, slightly domed plane running from ankle to toes, so your strokes should travel along that slope. The tendons show as faint raised lines fanning out toward the toes when the foot is flexed, and they disappear when it relaxes.
If shading is the part that keeps going grey on you, the method is covered properly in how to shade a drawing, which starts from the darkest point and works back.
Two Proportion Checks
Feet come out too small far more often than too large, because the stored symbol is smaller than the real thing. Two quick tests catch it.
- A foot is roughly as long as the forearm from wrist to elbow. Hold your own arm against your own foot and you will find it close.
- From the side, the foot is about as long as the head is tall on the same figure. On most beginner drawings it comes out at about two thirds of that.
Both take five seconds and both catch the error while it is still a light line.
Four Things That Make Feet Look Wrong
- No arch. The foot becomes a flat plank and the figure looks like it is standing on blocks.
- Five equal toes in a straight row. They differ in size, they sit on a curve, and the big toe is a different animal from the other four.
- Level ankle bones. The inner one is higher, and that small offset is what stops the ankle looking like a hinge.
- A foot drawn too short. This is the most common of the four, and the forearm test catches it immediately.
None of these is about a steady hand. They are structural choices made in the first two minutes, which is why the side view is worth drawing before anything else.
Frequently Asked Questions
How do you draw feet step by step for beginners?
Draw the side view first as a wedge that is tall at the ankle and slopes down to the toes, with the arch lifted off the ground. Mark the three contact points at the heel, the ball and the outer edge. Then add the toes as five shapes of decreasing size along a curve, with the big toe wider and set slightly apart, and finish by shading the tunnel under the arch and the cast shadow where the foot meets the floor.
Why are feet so hard to draw?
Because you have seen thousands of them and your brain has stored a simplified symbol, a flat oval with five equal toes. Familiarity is the obstacle. Building the foot as a wedge on three contact points replaces the symbol with a structure, which is the same fix that works for hands and faces.
How big should a foot be on a figure?
Roughly the length of the forearm from wrist to elbow, and about the height of the head on the same figure when seen from the side. Beginners routinely draw them a third too short, so check against one of those two before committing to any detail.
How do you draw feet in shoes?
Draw the bare foot underneath first, lightly, then build the shoe around it. A shoe follows the same wedge and sits on the same three contact points, with the sole adding thickness at the bottom. Drawing the shoe straight off usually produces something that could not contain a foot.
How do anime and cartoon feet differ?
Stylized feet simplify the wedge and often drop the toes entirely, or reduce them to one or two marks. What survives is the arch and the ankle offset, because those are what make the foot read as a foot. A simplified foot built on this structure still works; one built on the flat oval still looks wrong.
Where to Go Next
Feet and hands fail for identical reasons, so how to draw hands is the natural companion to this one, and it starts from a palm box in the same way this starts from a wedge.
The underlying problem behind both is explained in why you cannot draw what you see in your head. For a full figure to attach these to, try cute girl drawing ideas, and the drawing guide sets out which subject trains which skill.