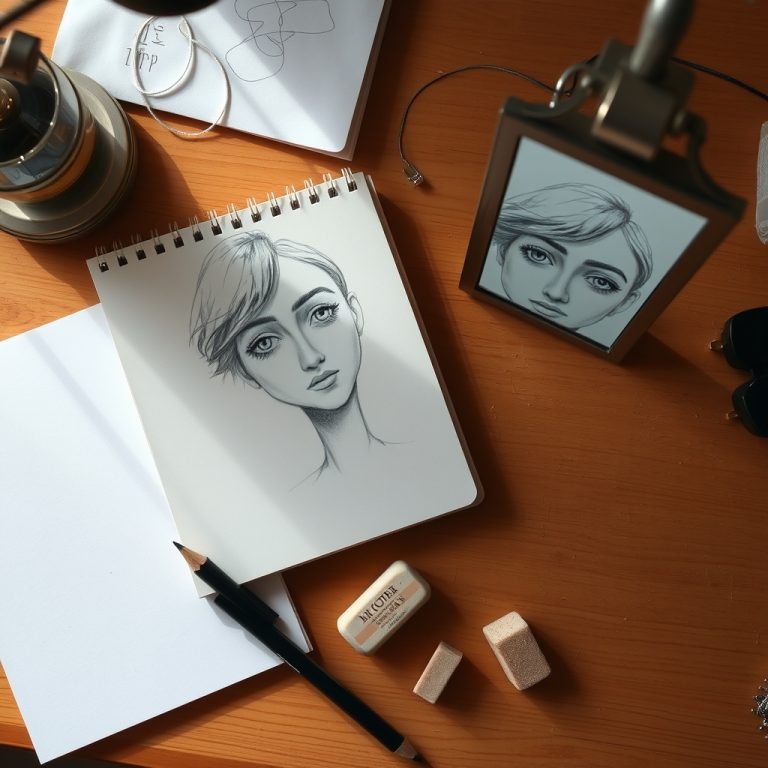
To shade a drawing, squint at your subject first so it reduces to simple light and dark shapes. Find the single darkest point and lay it in early with a soft 6B pencil, then build the middle tones in light repeated layers with an HB, keeping every stroke travelling along the curve of the surface. Leave the highlight as bare paper, add the lighter band of reflected light near the rim, and finish with the cast shadow.
Key takeaways
- Establish the darkest point early so every later value is a comparison instead of a guess.
- One pencil cannot reach both ends of the range, so use an HB and a 6B together.
- Leave the highlight as untouched paper, because graphite cannot be brighter than the page.
- The core shadow sits inside the form, not along the outer edge.
- Reflected light near the rim is what separates an object from its own shadow.
- A white object still has a dark side; leaving it blank turns it into a flat cut-out.
- Blend with a stump rather than a finger, since skin leaves oil that repels graphite.
You finish a drawing, step back, and the whole page has turned into one sheet of soft grey. Nothing is properly dark. Nothing is properly light. The object you spent an hour on looks like it was made out of fog.
The cause is easy to name. Most beginners shade in a narrow band around the middle of the range, because pressing hard feels like a decision you cannot take back. Every mark lands somewhere safe, and safe means grey.
The way out is to stop working outward from the middle. Find the single darkest point in what you are looking at, commit to it early with a soft pencil, and then fill in everything between that point and the bare paper. The whole drawing recalibrates around it.
What You Need
- An HB for the light and middle tones, and a 6B for the darks. One pencil cannot give you both ends of the range, which is the most common reason drawings stay grey
- A blending stump, or a tightly rolled corner of paper
- A kneaded eraser, used for lifting light back out instead of scrubbing
- Paper with some tooth, so the graphite has something to sit in
- One lamp, placed to one side of your subject
Use one light source and switch the room light off if you can. Two lights fill in the shadows from opposite directions and flatten the subject, which leaves you nothing to shade. Our art supplies guide covers the pencils and paper worth owning for this.
The Five Things Light Does to a Round Object
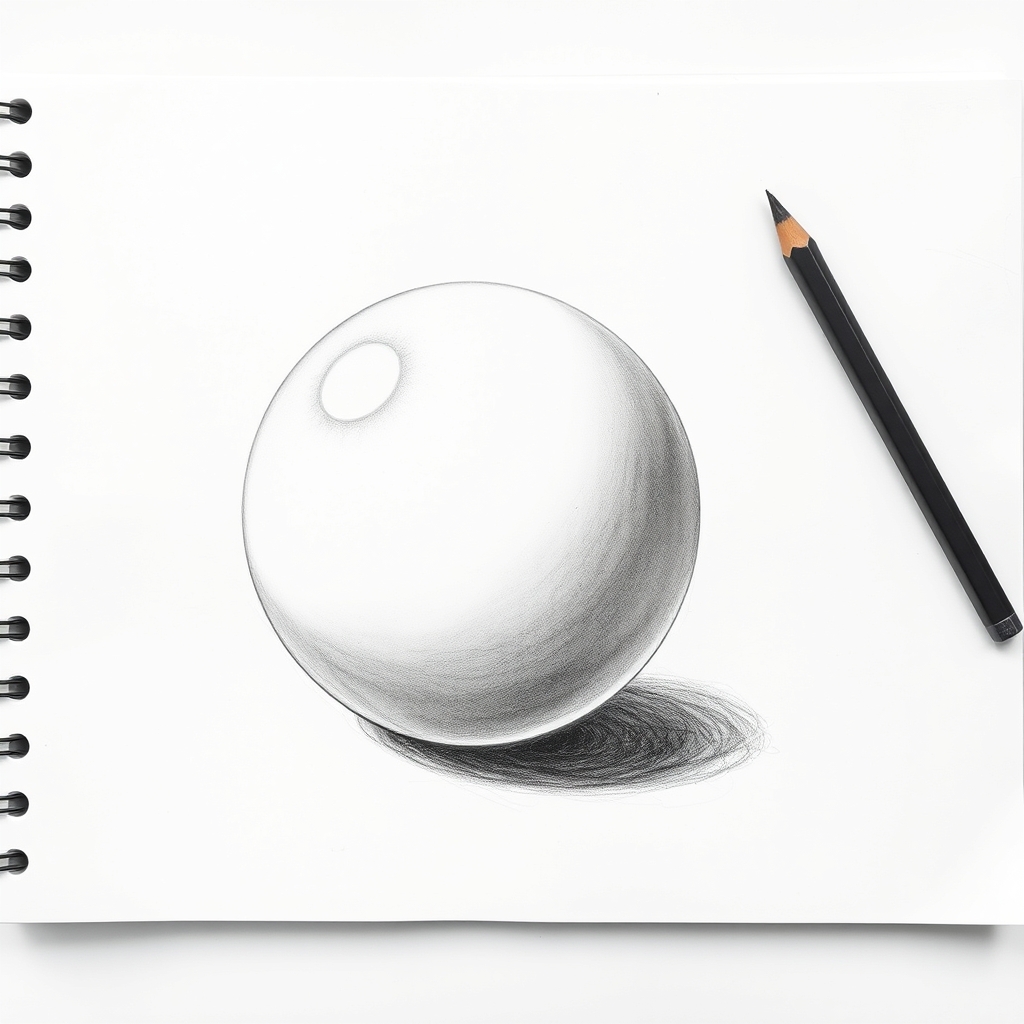
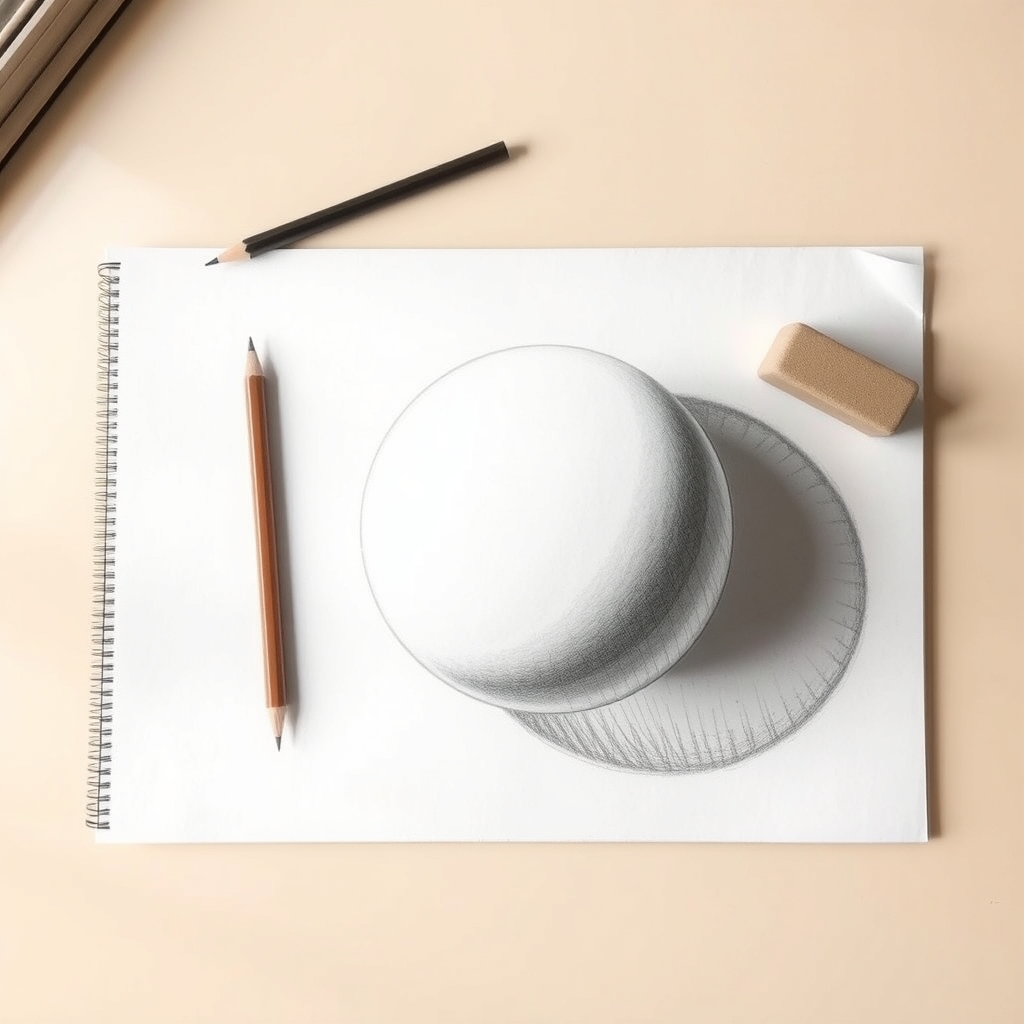
Every rounded object does the same five things, and the sphere above shows all of them at once. Learn them here and you can apply them to a face, a hand, a pear or a car, because the physics does not change when the subject does.
- Highlight. The small patch facing the light most directly. Leave it as bare paper. Graphite cannot be made brighter than the page, so this is the only true white you get.
- Midtone. The broad area between the highlight and the shadow, where the surface is turning away gradually. Most of the object lives here.
- Core shadow. The darkest band on the object itself, sitting where the surface turns fully away from the light. It runs as a crescent, and it does not sit at the outer edge.
- Reflected light. A lighter strip outside the core shadow, near the rim, where light bounces back up off the table. This is the one people leave out, and it is what separates the object from its own shadow.
- Cast shadow. The shape thrown onto the surface. Darkest and sharpest where it touches the object, softer and lighter the further it travels.
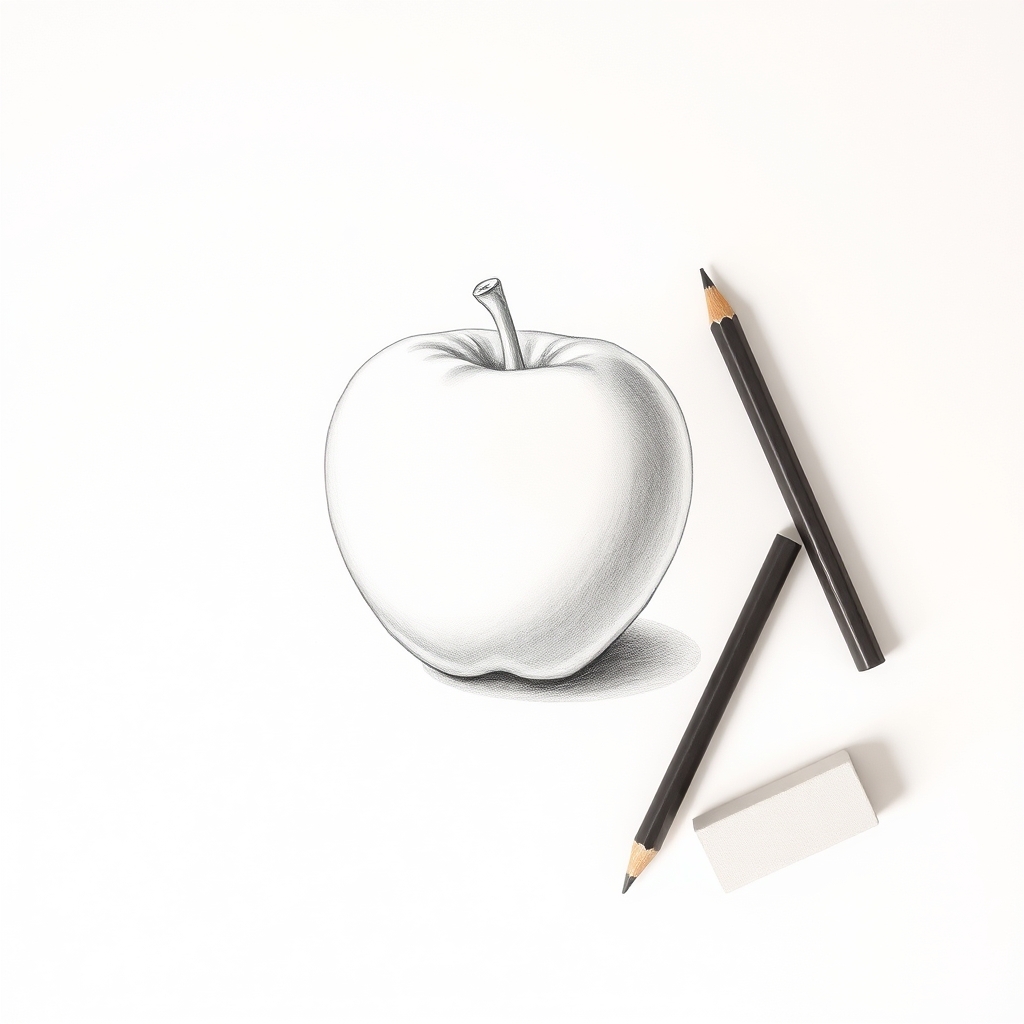
The apple underneath shows the same five stages on a real subject. Notice that its darkest point is where the fruit meets the table, in the gap between the object and its cast shadow. That contact point is almost always the darkest thing in any still life, and it is the place to start.
Step 1: Squint Before You Touch the Pencil
Half close your eyes and look at your subject. Detail falls away and what remains is a small number of light shapes and dark shapes. That simplified version is what you are about to draw, and seeing it first stops you shading object by object instead of shape by shape.
While squinting, pick out two things and remember where they are: the brightest point on the whole setup, and the darkest. Everything else you put down later gets measured against those two.
Step 2: Put the Darkest Dark In Early
Take the 6B and lay in that darkest point properly, as dark as the pencil will go. It will feel excessive against a white page. It is supposed to.
Doing this first gives you a fixed reference for the rest of the drawing. Every later decision becomes a comparison instead of a guess, because you can ask whether a given area is closer to that black or closer to the bare paper. Beginners who leave the darks until the end almost never go dark enough, since by then the whole page has drifted grey and the true black looks wrong.
Step 3: Build the Midtone in Layers
Now switch to the HB and work the middle of the range with light, repeated passes. Build tone up gradually instead of trying to reach the value you want in one heavy stroke, since a light layer can always be darkened and a heavy one is difficult to lift back out.
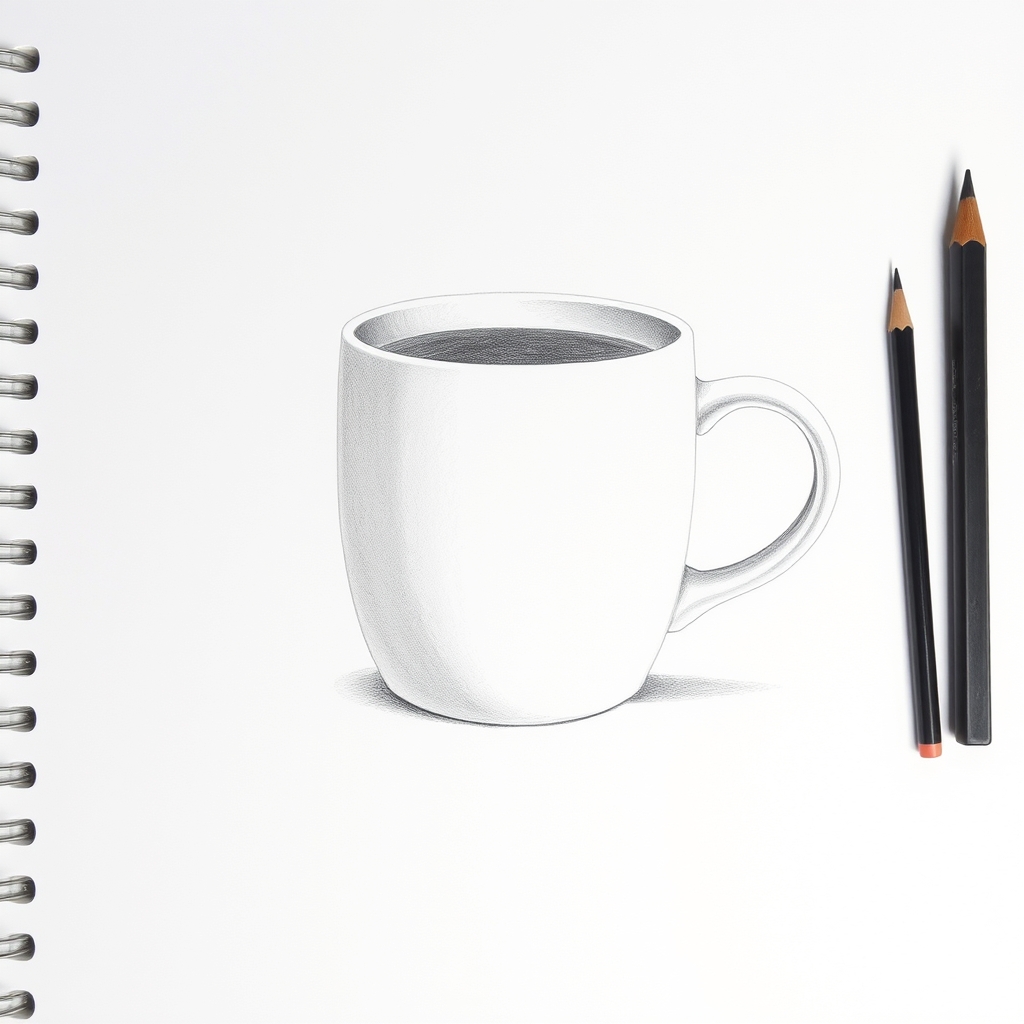
The white mug above is worth studying for one reason. It is a white object, and it still has a dark side. Beginners often refuse to shade white things at all, which turns them into flat cut-outs. What makes an object read as white is the contrast between its light side and its surroundings, along with the shape of its shadow, and none of that survives if you leave the whole thing blank.
Keep your strokes moving along the form. On a curved surface they should wrap around it, following the direction the surface travels. On a flat plane they can run straight. Strokes that ignore the form flatten it even when the values are correct.
Step 4: Protect the Highlight
Work around the highlight from the start and leave the paper untouched there. Graphite is a smudging medium, so highlights get eaten gradually as your hand passes over them, and a highlight recovered later with an eraser never looks as clean as one that was never covered.
Put a spare sheet of paper under your drawing hand while you work. It costs nothing and it prevents most accidental smudging, which is the other thing that turns a drawing grey.
Hatching or Blending?
Both work, and the choice changes the character of the drawing more than its accuracy.
- Hatching means parallel strokes laid side by side, darkened by adding more lines or pressing harder. Crosshatching lays a second set across the first. Both keep the surface lively and are the usual choice for pen work and for anything with texture.
- Blending means rubbing the graphite smooth with a stump until no stroke is visible. It suits skin, glass, polished metal and smooth ceramics. Blend with a stump instead of a finger, since skin leaves oil on the paper and that patch will never take graphite evenly again.
A useful exercise before either: draw a long rectangle, divide it into five boxes, and fill each one a clear step darker than the last, from a pale grey through to solid black. Getting five distinct, even steps is harder than it sounds and it teaches pressure control faster than any amount of finished drawing.
Five Things That Keep Shading Flat
- Working with one pencil. An HB cannot reach a real black and a 6B cannot hold a clean light grey.
- Shading up to the outline and stopping. The core shadow sits inside the form, and leaving the rim dark all the way round makes the object look like a sticker.
- Forgetting the cast shadow. Without it the object floats and nothing anchors it to the surface.
- Even pressure everywhere. If every area got the same treatment, the drawing has no focus and the eye has nowhere to land.
- Blending too early. Smoothing a drawing before the values are correct locks in the mistake and makes it harder to fix.
If your finished work still looks flat after all of this, the problem may sit further back than the shading. Why do my drawings look bad goes through the seven faults that cause it, with a test for each one.
Frequently Asked Questions
How do you shade a drawing for beginners?
Squint at your subject to reduce it to light and dark shapes, then find the single darkest point and put it in first with a soft 6B pencil. Build the middle tones up in light layers with an HB, keep your strokes following the curve of the surface, leave the highlight as bare paper, and finish with the cast shadow.
Why does my shading look patchy?
Usually because the tone was built in one heavy pass over paper with a pronounced grain. Work in several light layers, keep the pencil at a shallow angle so the side of the lead does the work instead of the point, and turn the paper as you go so your strokes are always comfortable to make.
Which pencils are best for shading?
Two are enough to start: an HB for light and middle values and a 6B for the darks. A 2B sits usefully between them once you want more control. Very hard pencils such as 2H dent the paper and make later layers uneven, so they are worth avoiding early on.
Should I blend with my finger?
Use a blending stump or a rolled piece of paper. Fingers leave oil behind, and any area you touch will resist graphite afterwards, which shows up as a pale patch you cannot shade over. Fingers also lift more graphite than they spread, so tone tends to disappear as you work.
How do I stop smudging my drawing?
Keep a spare sheet under your drawing hand, work from the top of the page downward, and from left to right if you are right-handed. Spraying finished work with a light coat of fixative protects it in storage, though it darkens the drawing slightly, so test it on a scrap first.
Where to Go Next
Shading is easiest to practise on one round object under one lamp, so apple drawing ideas is the obvious next exercise, and easy pencil drawing ideas drills pressure control on simple shapes.
For shading applied to a feature that lives or dies by it, see how to draw a nose, where almost nothing is described by line. Texture is the next problem after value, and tree drawing ideas is the standard exercise for it. If you want to push value as far as it goes, 3D pencil drawing depends on shading alone for the whole illusion.