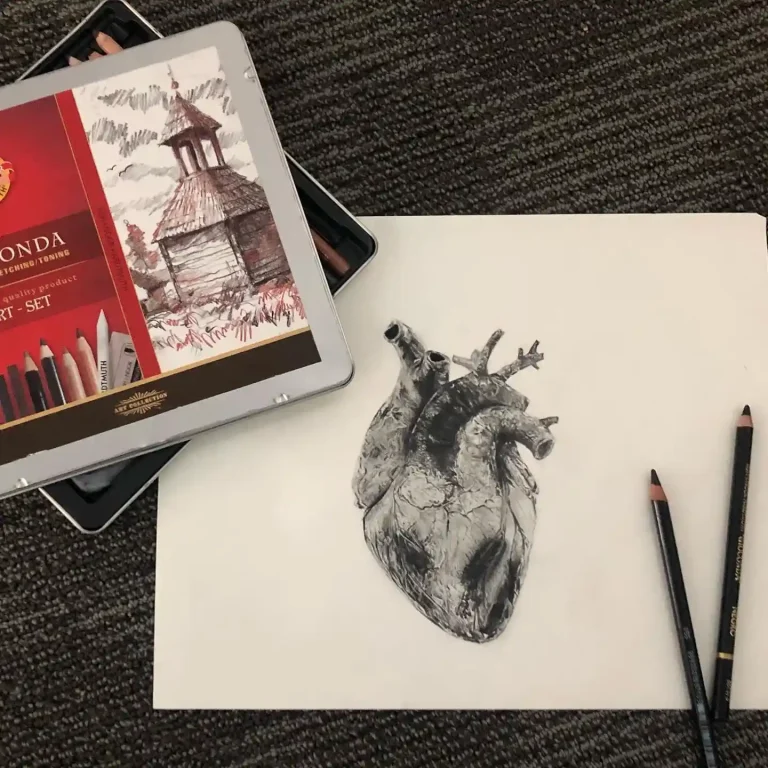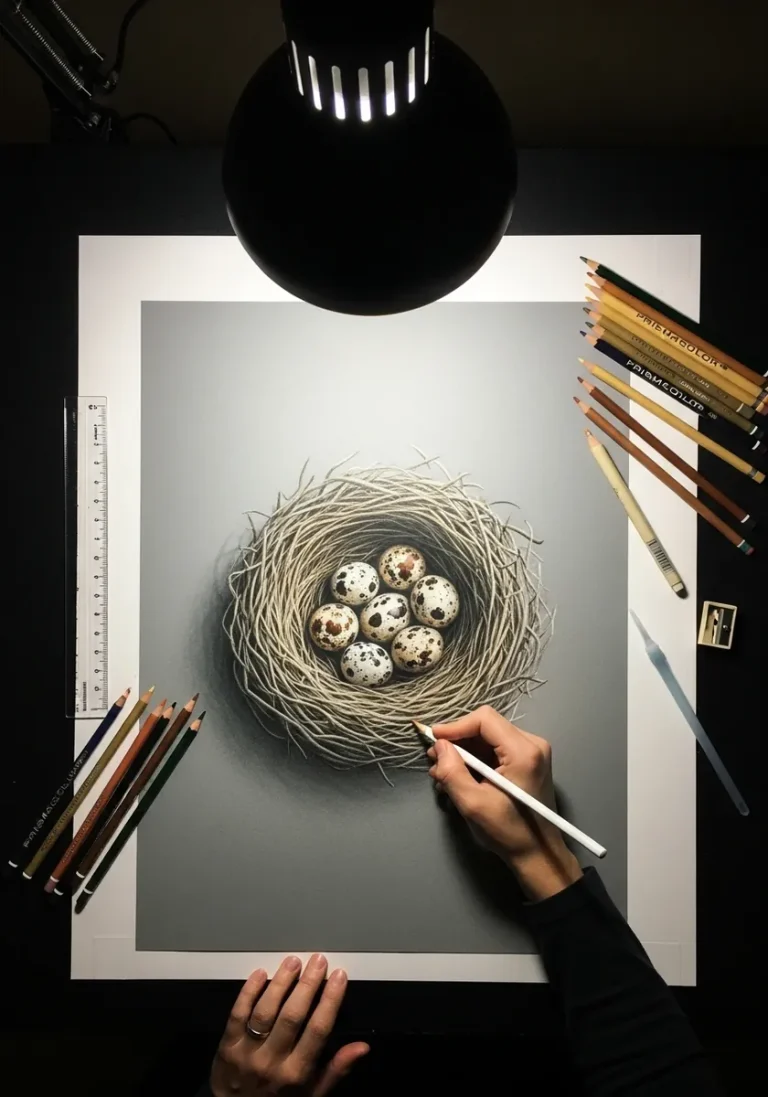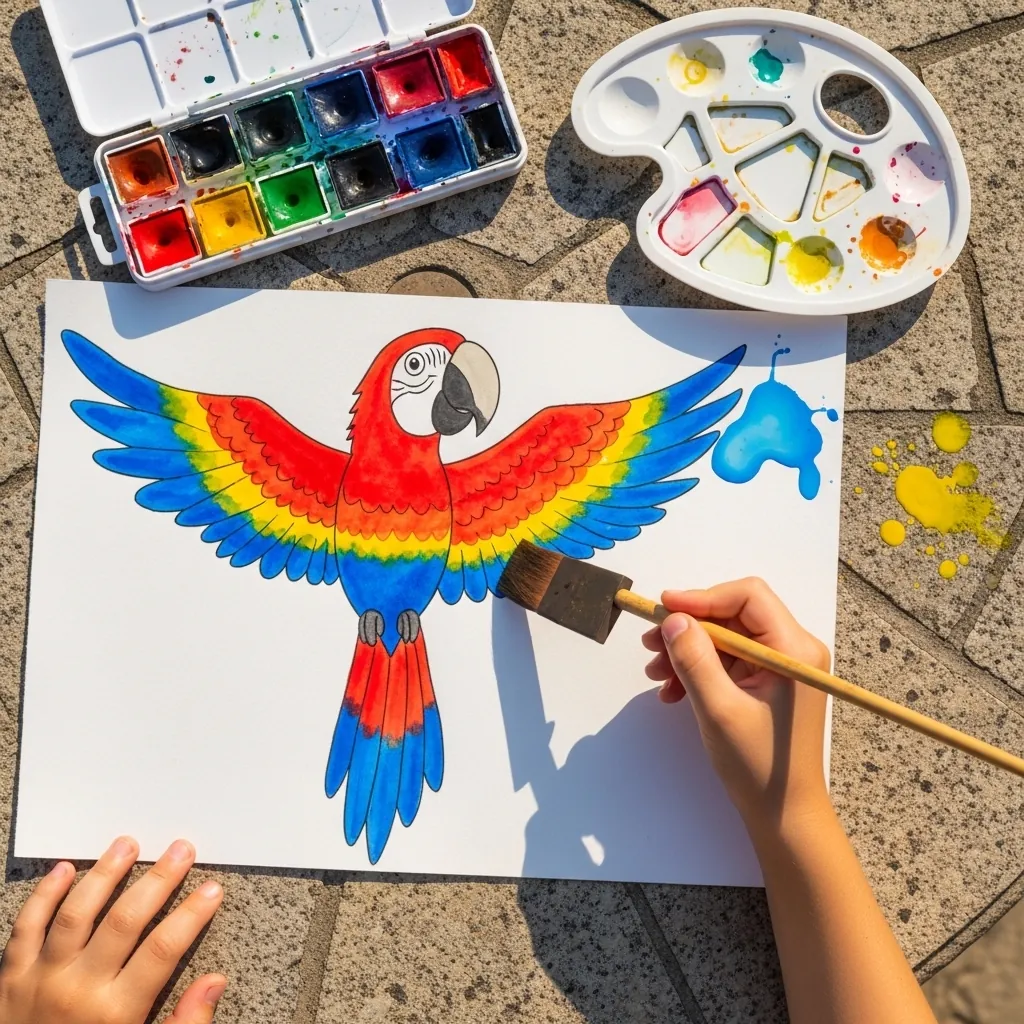
Start every bird with two shapes, an egg for the body and a circle for the head. Then remember that a bird's leg bends backwards at the ankle, not the knee, because the real knee is hidden up inside the feathers.
Key takeaways
- ["Build every bird from an egg body and a circle head before adding any detail", "The backwards bend in a bird's leg is the ankle, and the knee is hidden in the body", "Put the eye on the front third of the head, close to the beak, not in the middle", "Let the tail continue the line of the back instead of sticking on at an angle", "Color in one direction with crayon so small hands get an even, tidy fill"]
Almost every child draws a bird the same way, and one detail gives it away every time. A bird’s leg bends backwards at the ankle, not at the knee. The knee is hidden up inside the body feathers, so what looks like a backwards knee is really a heel lifted high off the ground.
Say that out loud while drawing and it sticks. Ask a child to stand on tiptoe and point out that a bird stands like that all day long. Once the joint has a name, bird legs stop looking bent the wrong way and start looking like they belong to the bird.
The second habit is a shape habit. Draw an egg for the body and a circle for the head first, and let the tail carry on the line of the back. Tails stuck on at an angle are the other thing that makes a child’s bird look off balance.
The forty ideas below run from crayon penguins and marker toucans to watercolor herons and glittery flamingos, sorted so the simplest come first. For a paint-only version see watercolor bird drawing ideas, and for younger children, watercolor art ideas for kids.
Compiled by the GS Art Zone editorial team. Last updated August 2026. Each idea is paired with the specific step that produces the effect, so you can go from the reference straight to paper.
What You Need Before You Start
- A soft pencil for the two starting shapes, because it erases cleanly under color
- Chunky crayons for younger children, since thin pencils tire small hands quickly
- A black felt tip for outlining, which hides wobbly pencil lines beautifully
- Paper heavier than printer paper, so watercolor does not buckle it
- A picture of a real bird, because invented birds usually end up with human legs
1. Big-Eyed Cartoon Owl
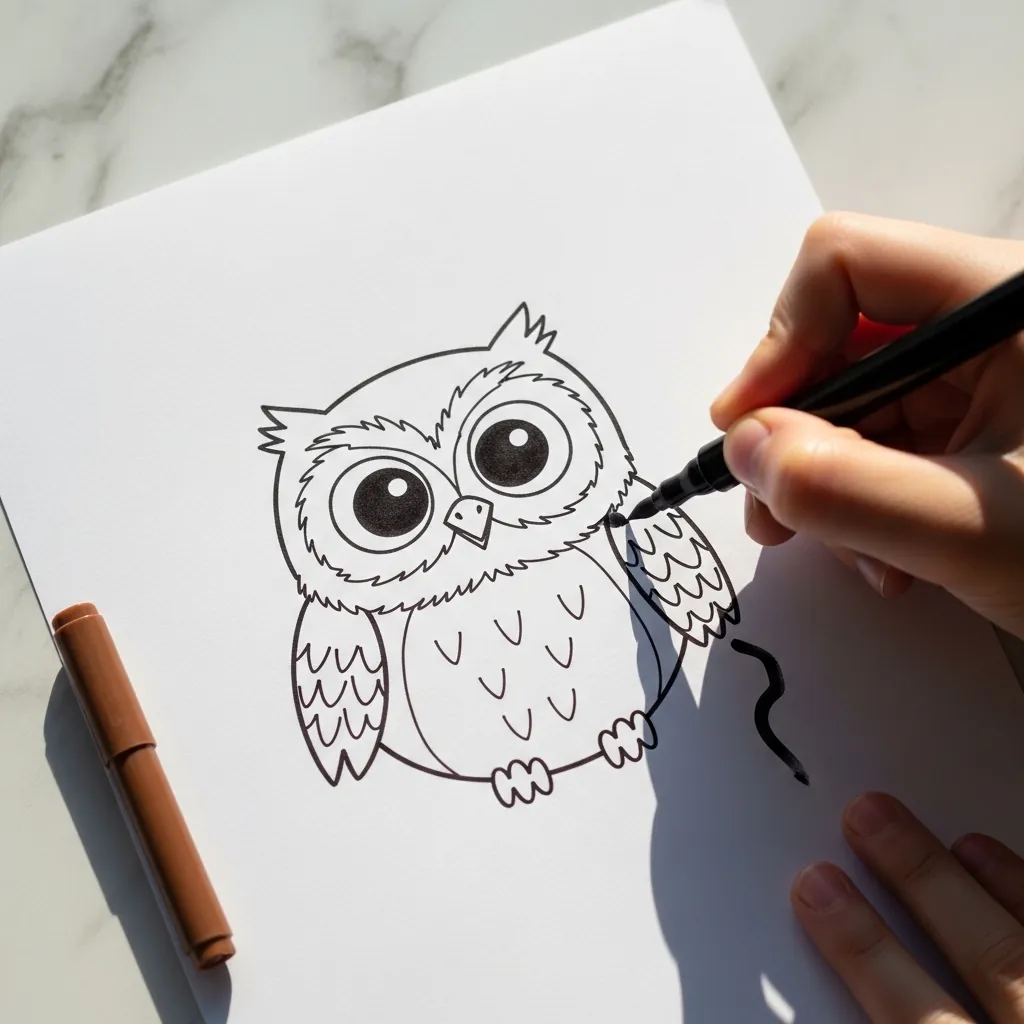
Owls are the friendliest first bird because the head and body are almost one shape. Draw a tall oval, put two enormous circles high up for the eyes, and add a small triangle beak between them. The little ear tufts go on last, poking out of the top corners.
2. Watercolor Blue Bird
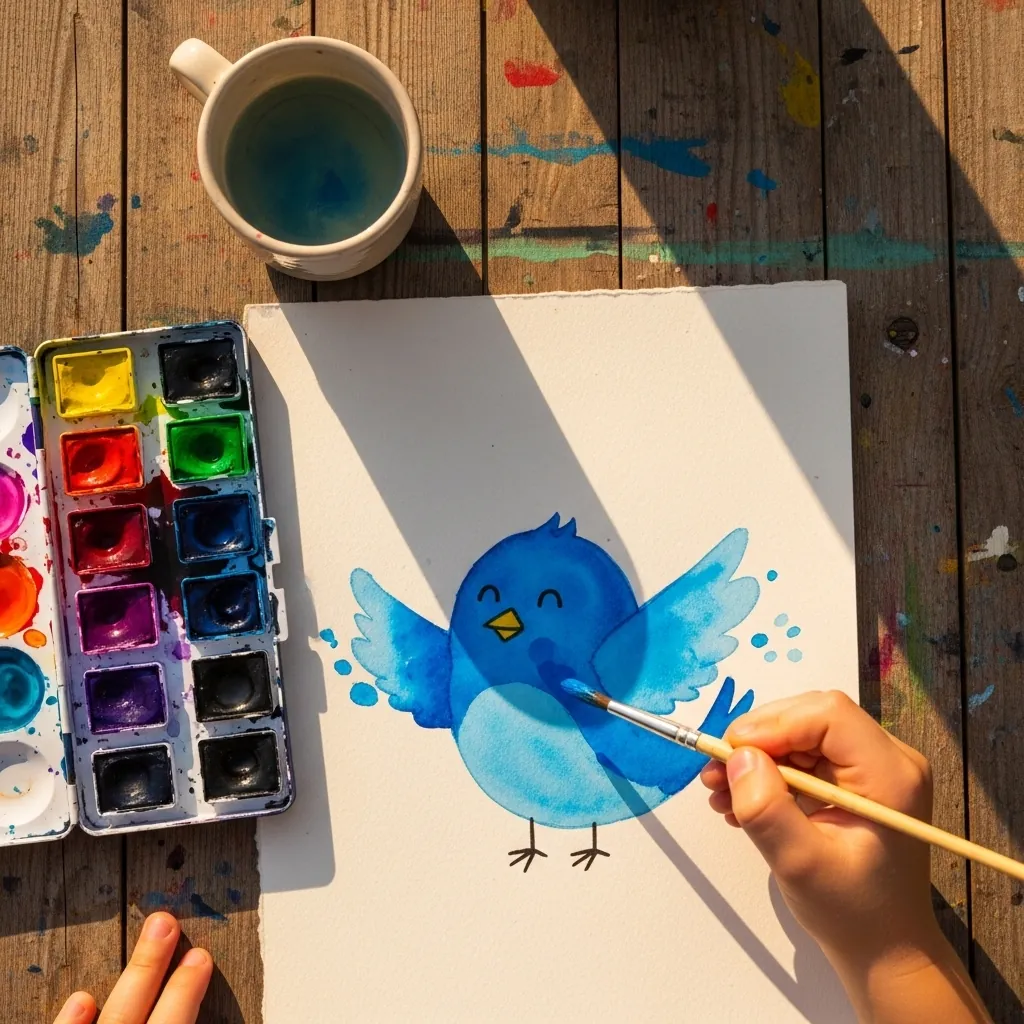
A round body and a wing shaped like a leaf is all a bluebird needs. Load the brush with blue, press once for the body and once for the wing, and let the two shapes touch while they are wet so they blend; tiny stick legs and a yellow beak finish it.
3. Bold Crayon Penguin
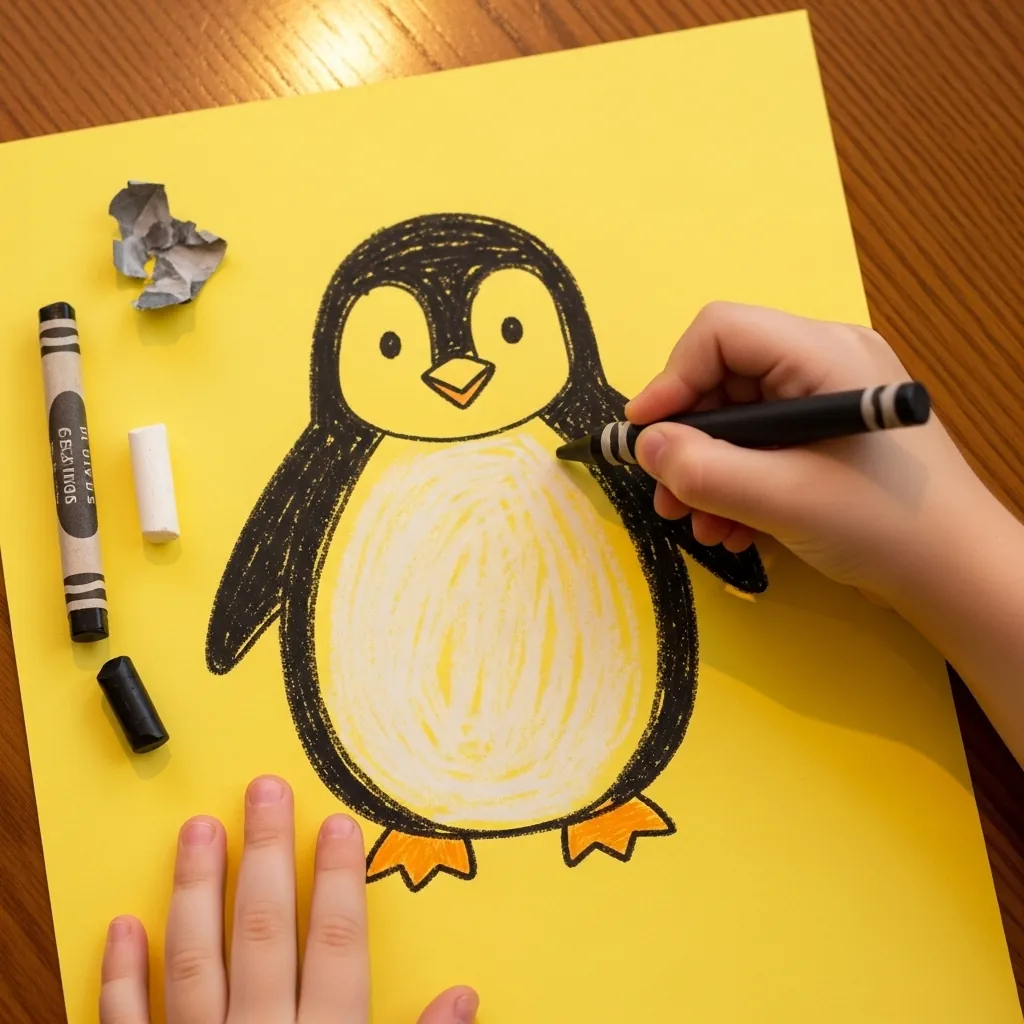
Penguins are the easiest bird of all, which makes them the best confidence builder. Draw one big oval for the body and a smaller oval inside it for the pale belly, then color everything outside that inner oval black. Two orange triangles at the bottom become the feet.
4. Pink Flamingo in Pencil
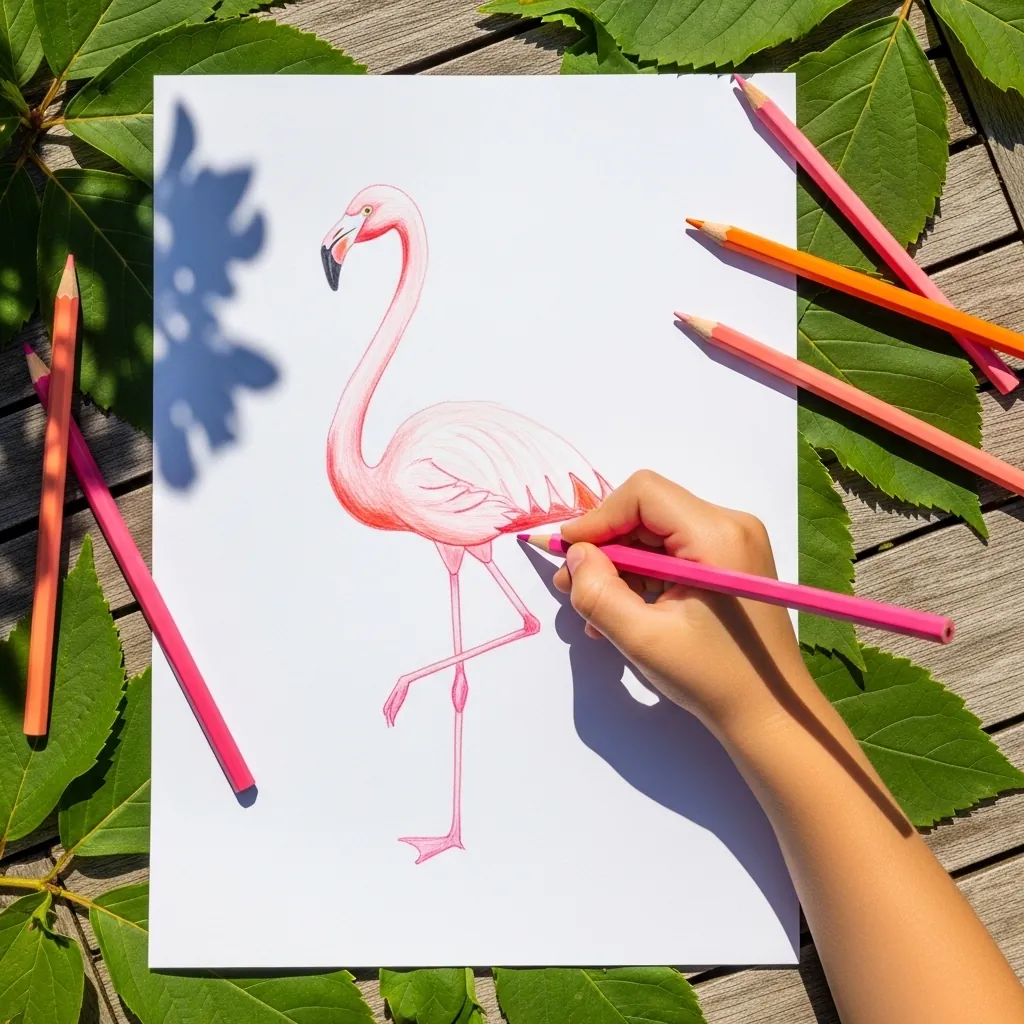
A flamingo is where the ankle rule pays off immediately. Draw the long leg with its backwards bend halfway down, remind the child that the bend is a heel, and the bird will stand instead of collapsing. Keep the neck as one long S curve rather than a straight line.
5. Green Ring-Neck Parrot
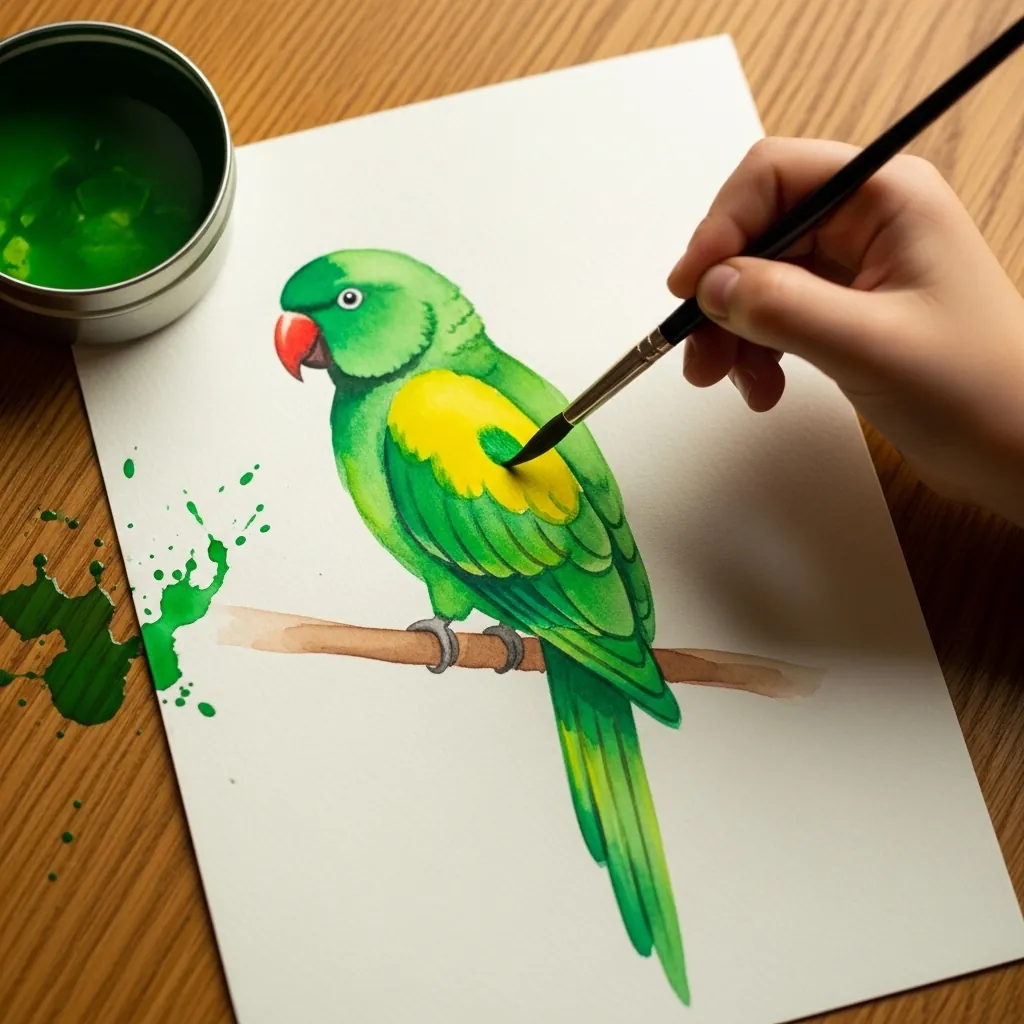
Parrots need a beak that curves down and back toward the chin, hooked like a hook. Paint the green body first, then add the red beak and the dark ring around the neck once the green is dry; the toes wrap right around the branch, two in front and two behind.
6. Orange Scribble Duck
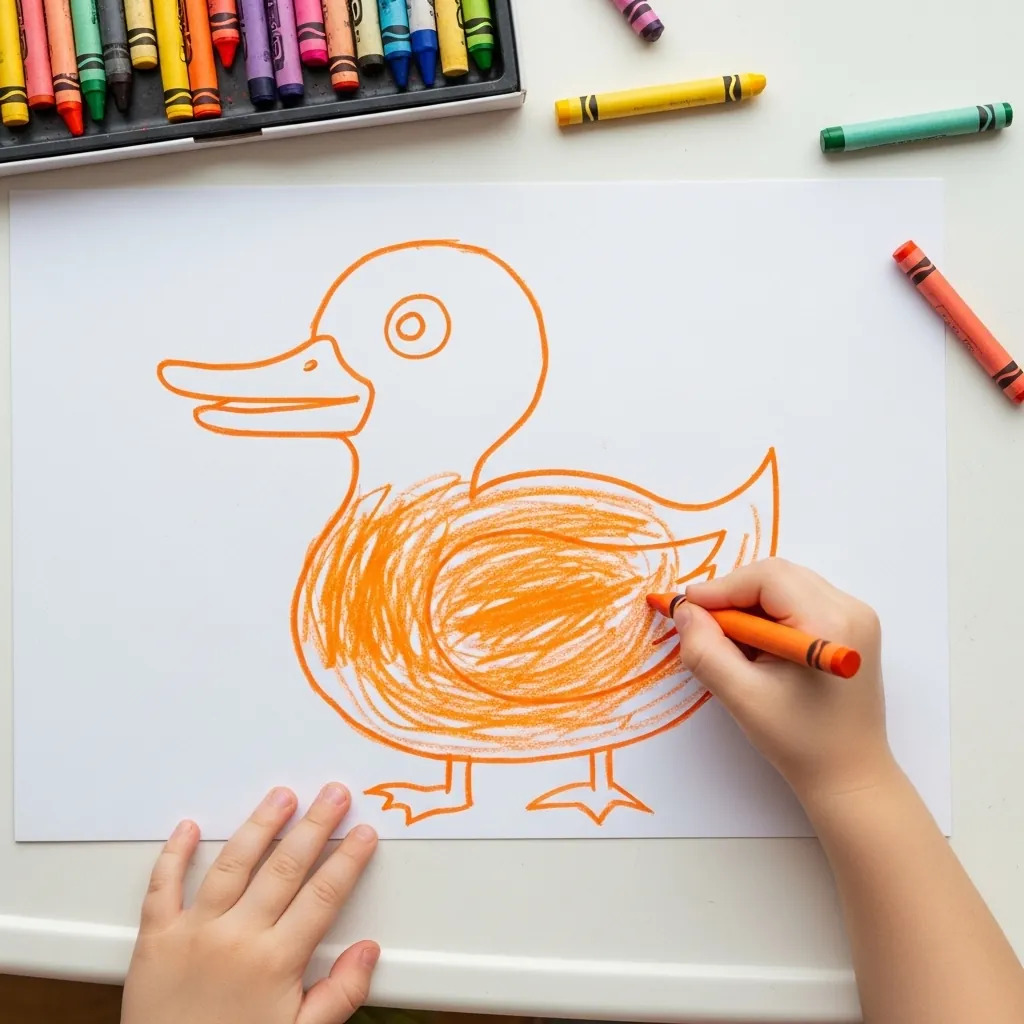
Scribble filling is a real technique, not a shortcut. Ask the child to scribble in one direction only, keeping every stroke going the same way, and the fill looks deliberate rather than messy. The duck itself is one oval body, one circle head and a flat spoon of a beak.
7. Step-by-Step Sparrow
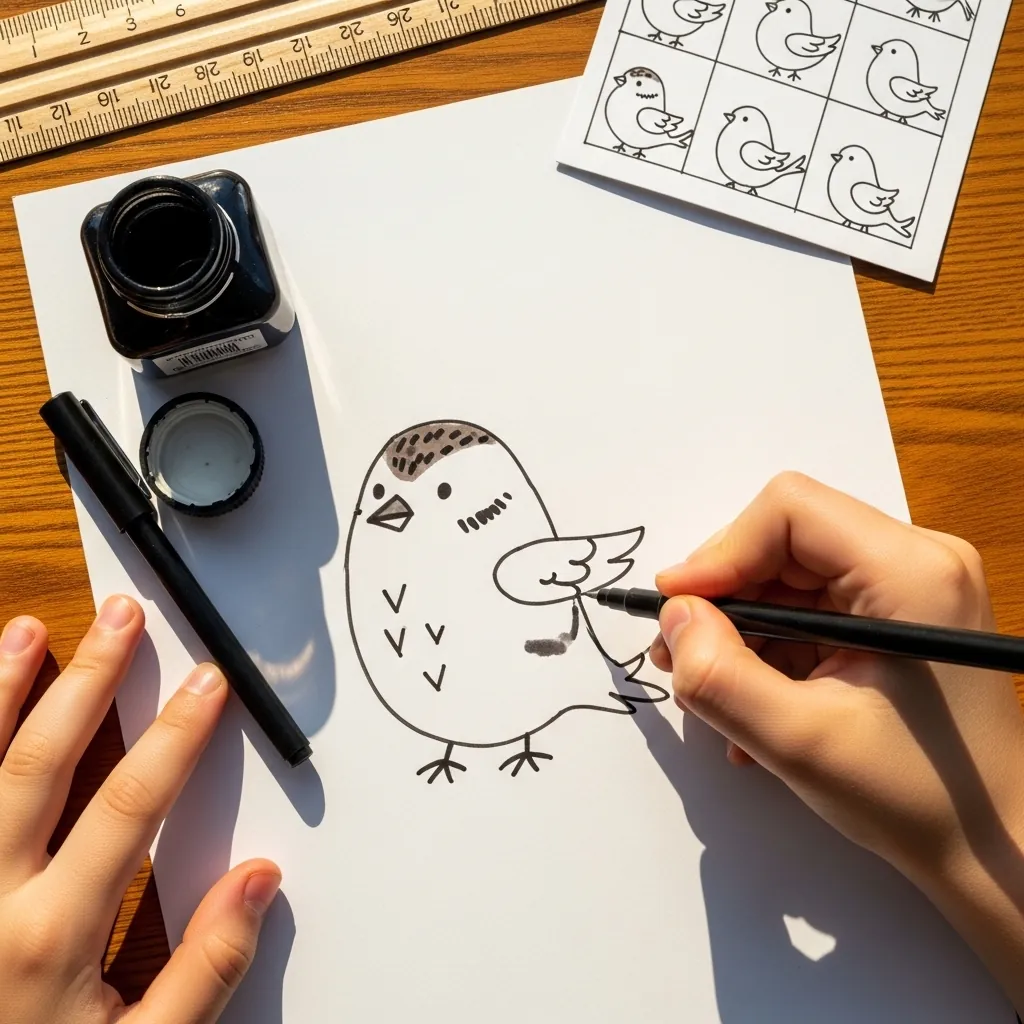
Working from a four-step sheet teaches the order rather than the picture. Shape one is the egg body, shape two the head circle, shape three the beak and tail, and only shape four adds the feather marks; children who learn the order can then draw any small bird.
8. Simple Blue Peacock
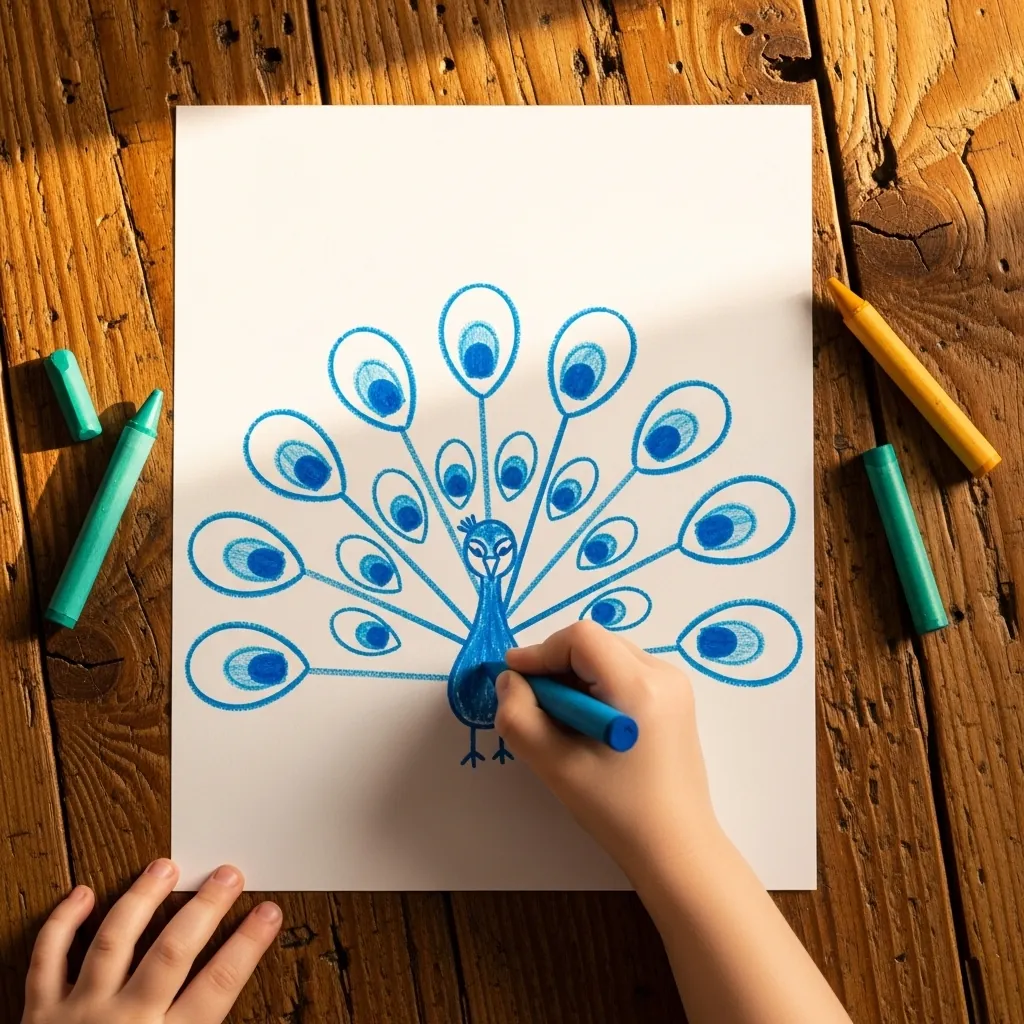
The tail is a fan of identical shapes, so draw the fan before the bird. Mark a curve for the top edge of the fan, space the feather stalks evenly along it, and put an eye shape at the end of each one. The small body goes in the middle at the bottom.
9. Red Cardinal Painting
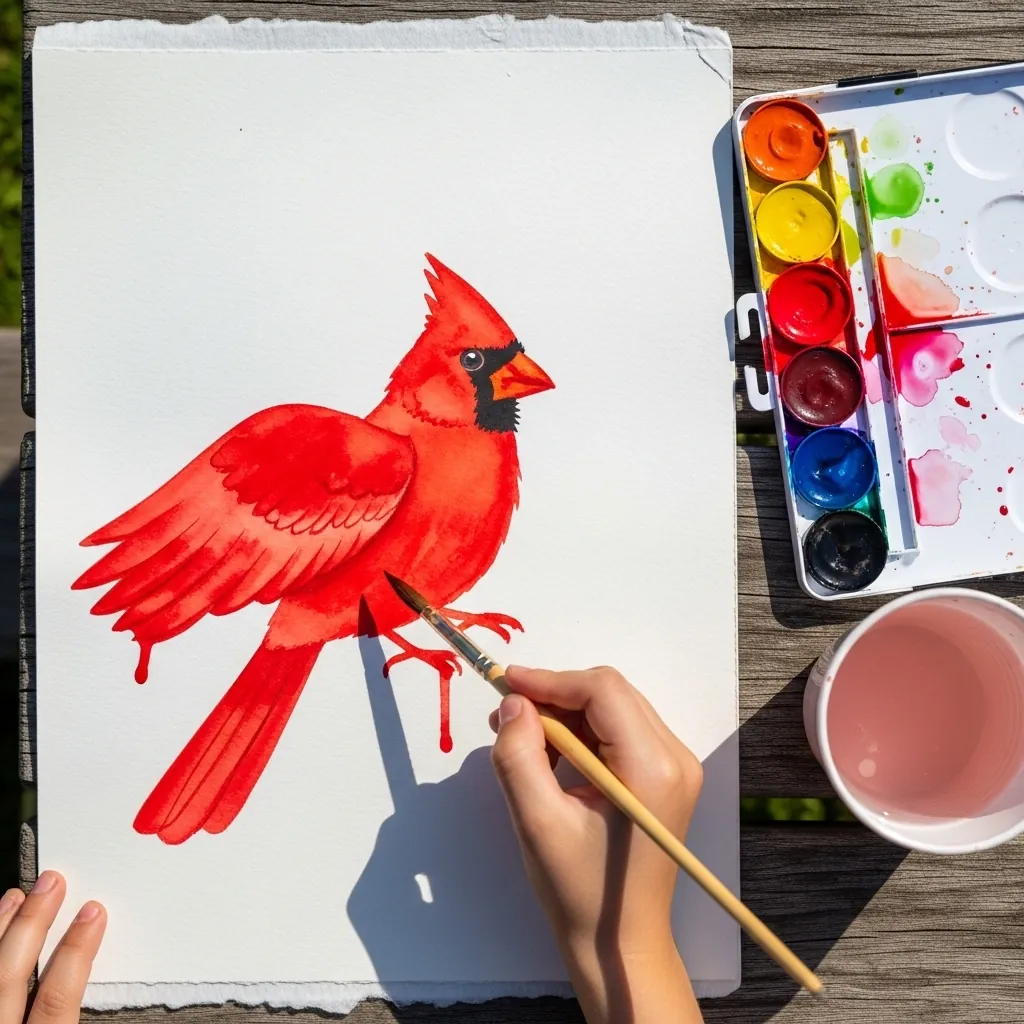
Cardinals are worth painting because the whole bird is one color. Wash red over the entire body in a single go, then drop a darker red into the wing while it is still wet. The black mask around the beak is the last thing to go on, and it must be small.
10. Yellow Chick and Egg
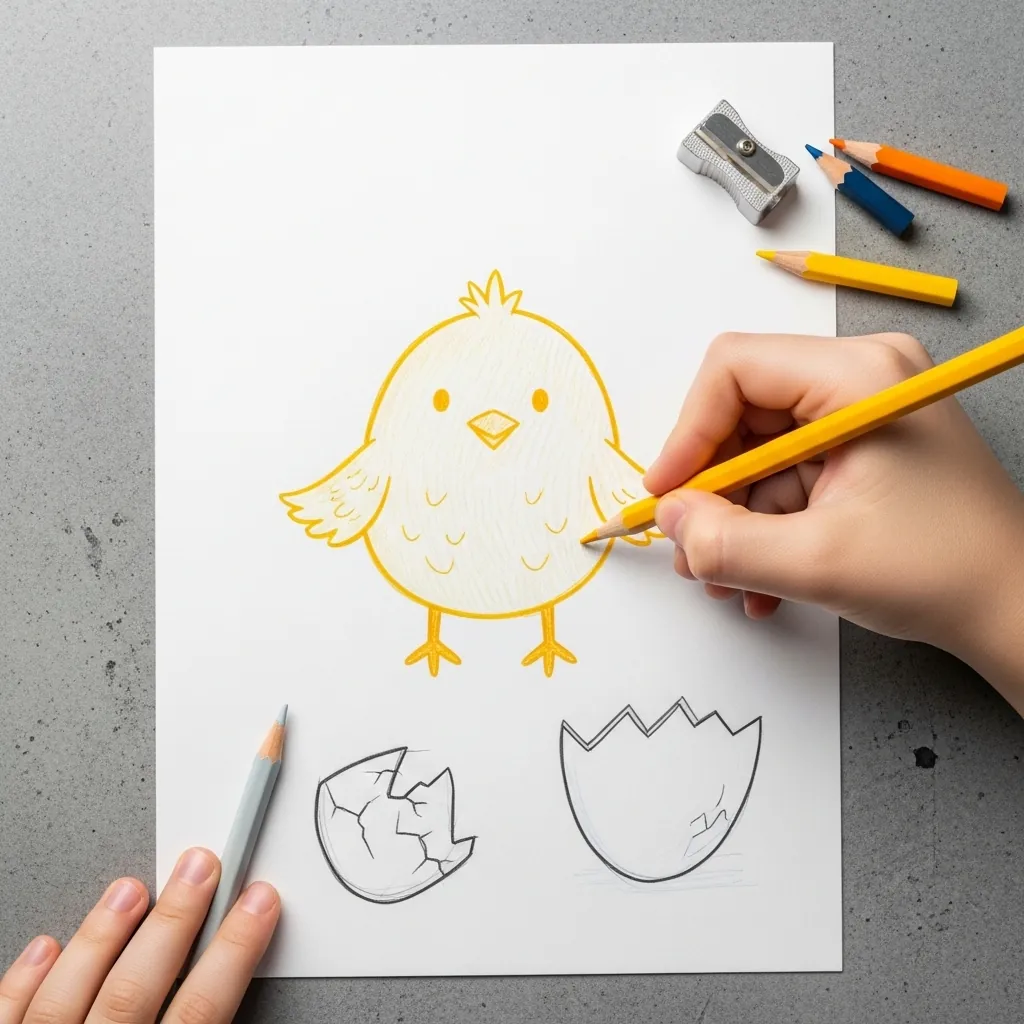
A chick is two circles that overlap, and nothing else. Make the head circle almost as big as the body circle, because baby birds have huge heads, and set the eye right at the front of the head; draw the broken eggshell as two zigzag halves beside it.
11. Bold Toucan Outline
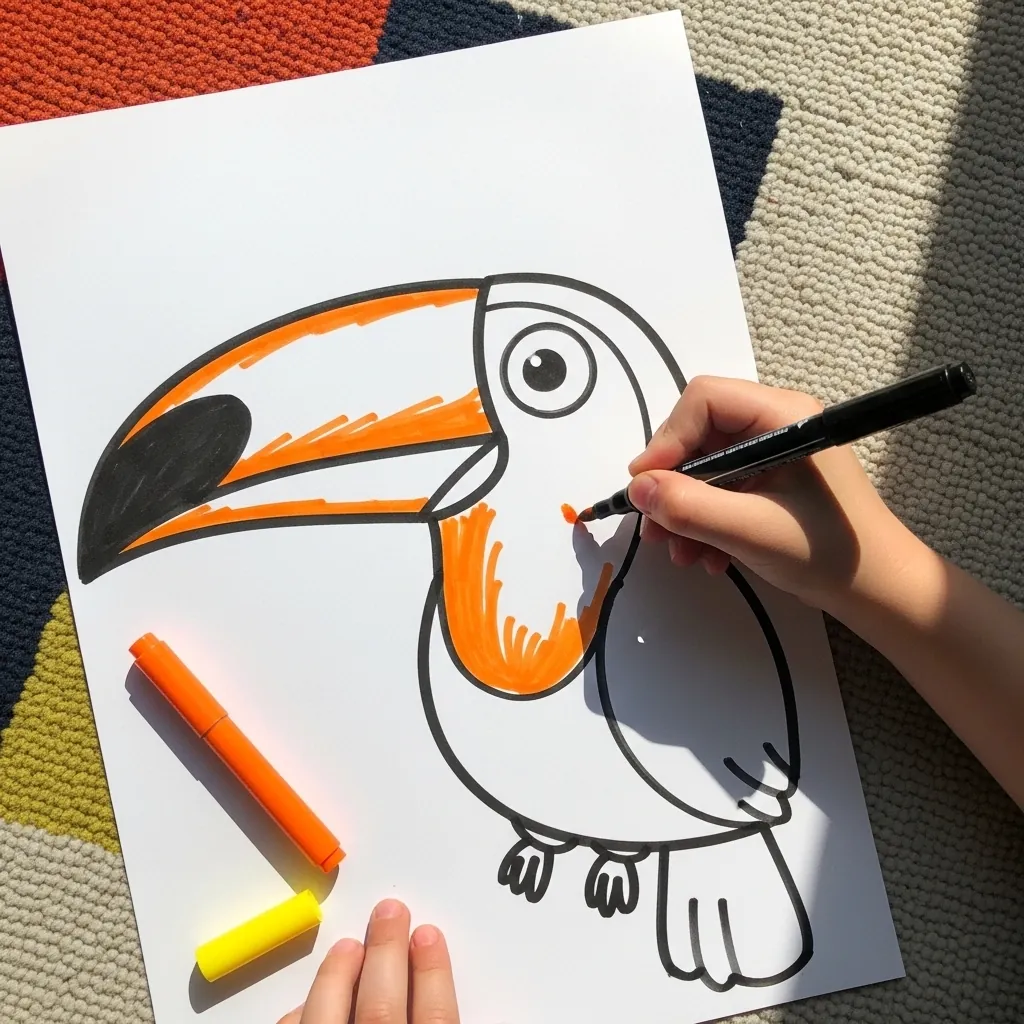
The beak is the whole drawing here, so start with it. Make the beak as long as the body and much fatter than feels sensible, because a real toucan’s bill genuinely looks that oversized. Outline in thick black marker, then fill only the beak with color.
12. Hummingbird at a Flower
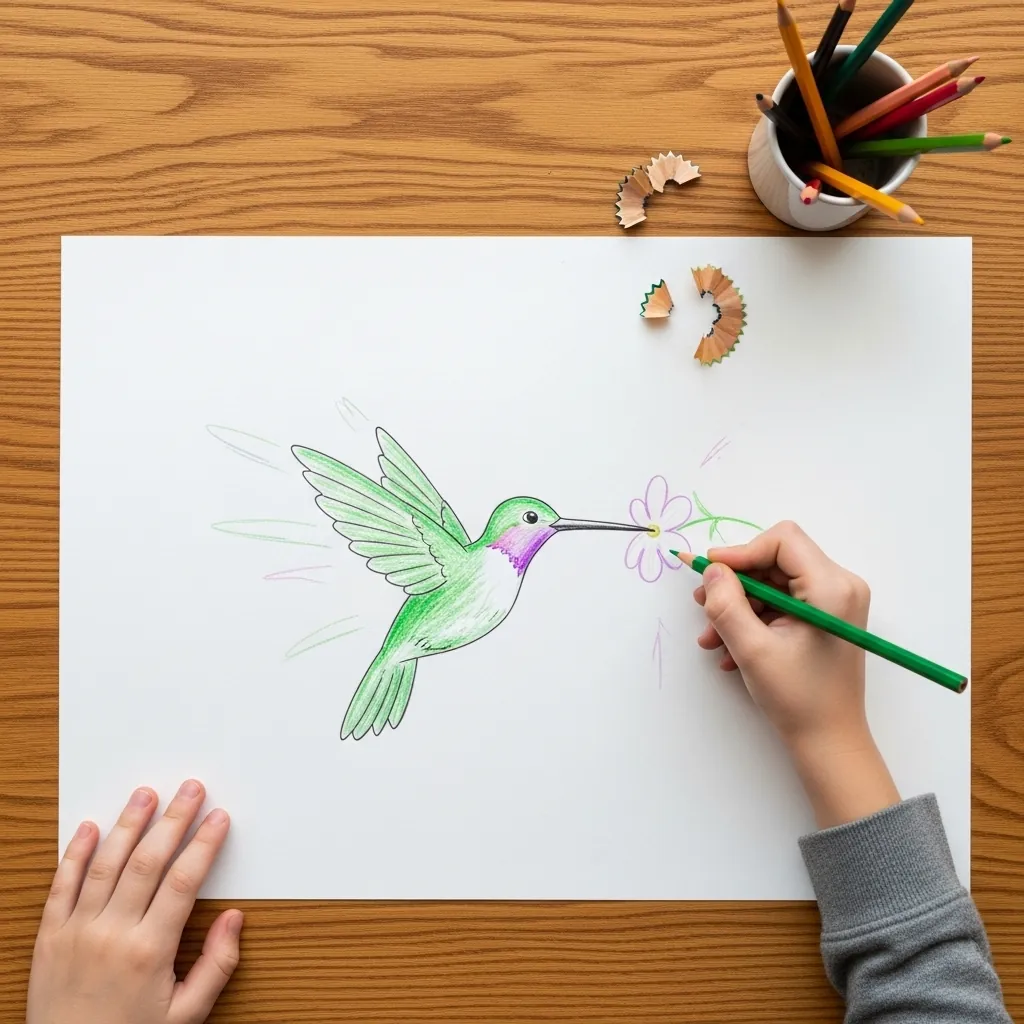
Hummingbirds hover, so the wings go above the body rather than out to the sides. Draw them as two blurred ovals angled upward, and let the long thin beak actually touch the flower. The body itself stays small, no bigger than a thumbnail.
13. Purple Puffin
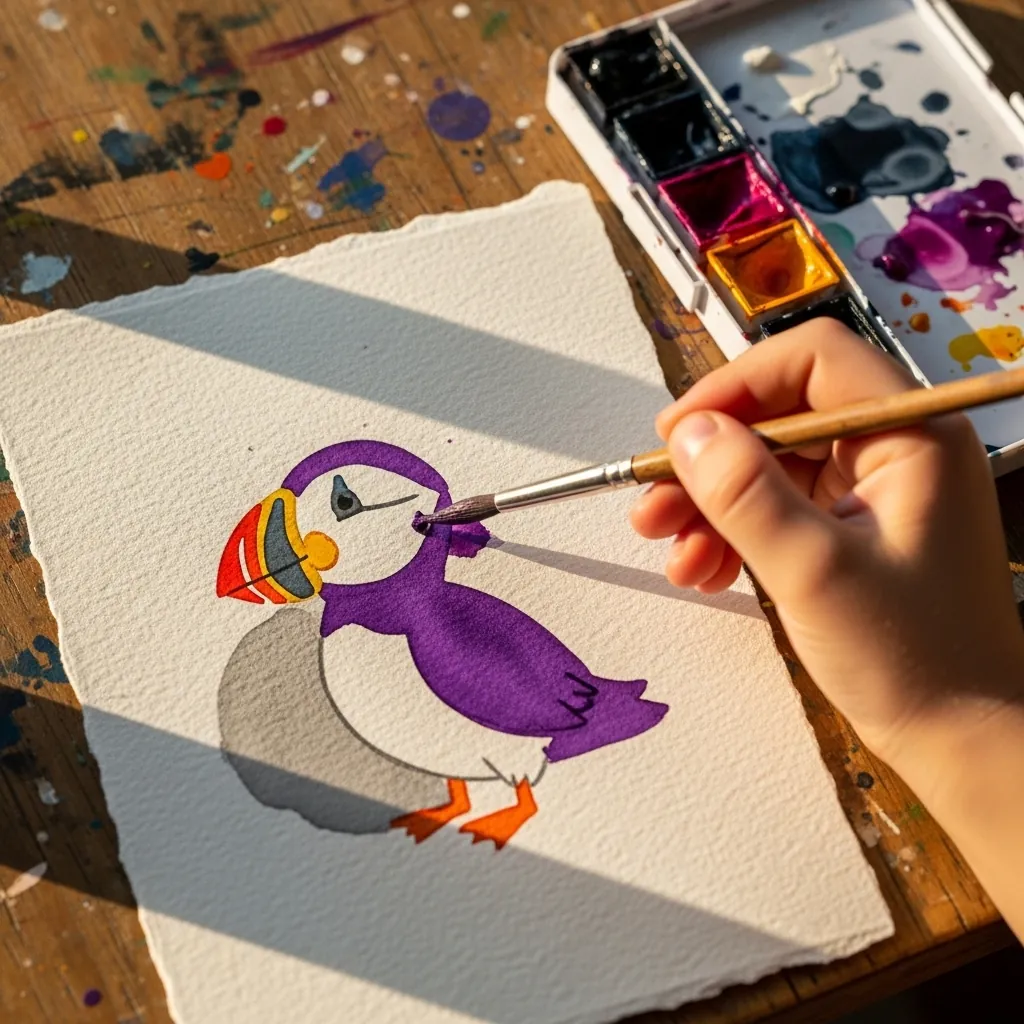
Puffins have a striped beak that children love getting right. Paint the dark body and white front first, then add the beak in three bands of color side by side once everything is dry; bright orange feet are what make the whole bird read as a puffin.
14. Crayon Robin on a Branch
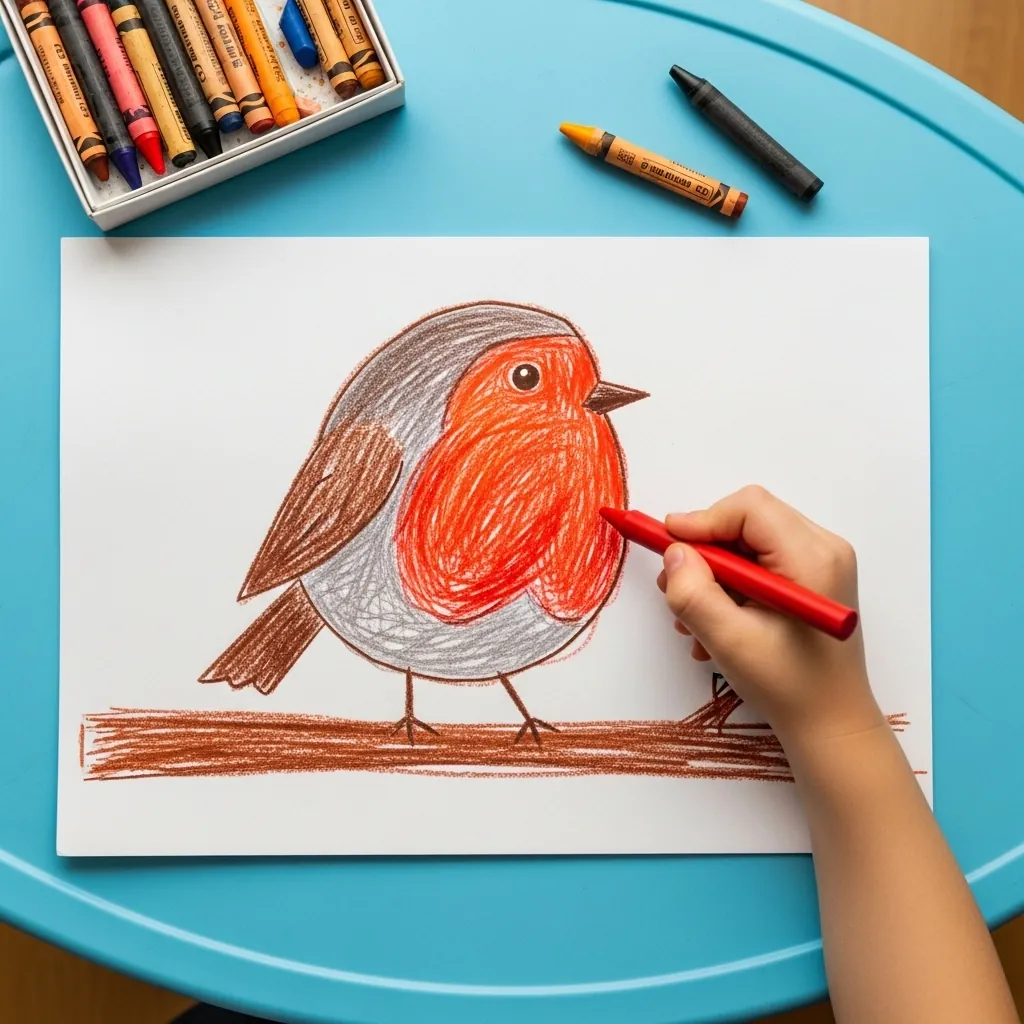
Robins sit rather than stand, so the legs barely show. Draw a plump oval leaning slightly forward, tuck the feet under it gripping the branch, and put the orange patch across the chest and up under the chin. The tail points down and back.
15. Line Drawing on Colored Paper
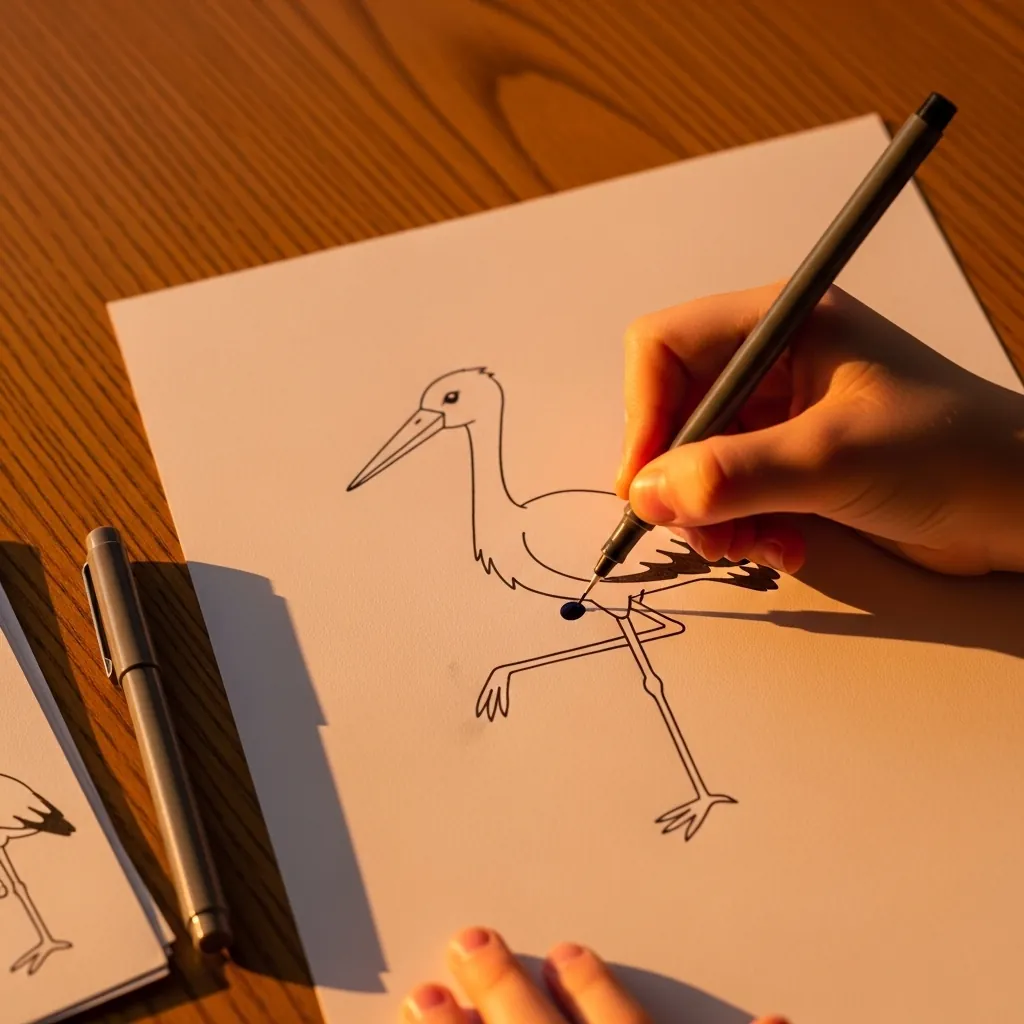
Colored paper does half the work for you. With a warm background already in place, the drawing only needs the line, so keep it thin and even and add no shading at all. Long-legged birds like herons suit this because they are mostly outline anyway.
16. Kingfisher Over Water
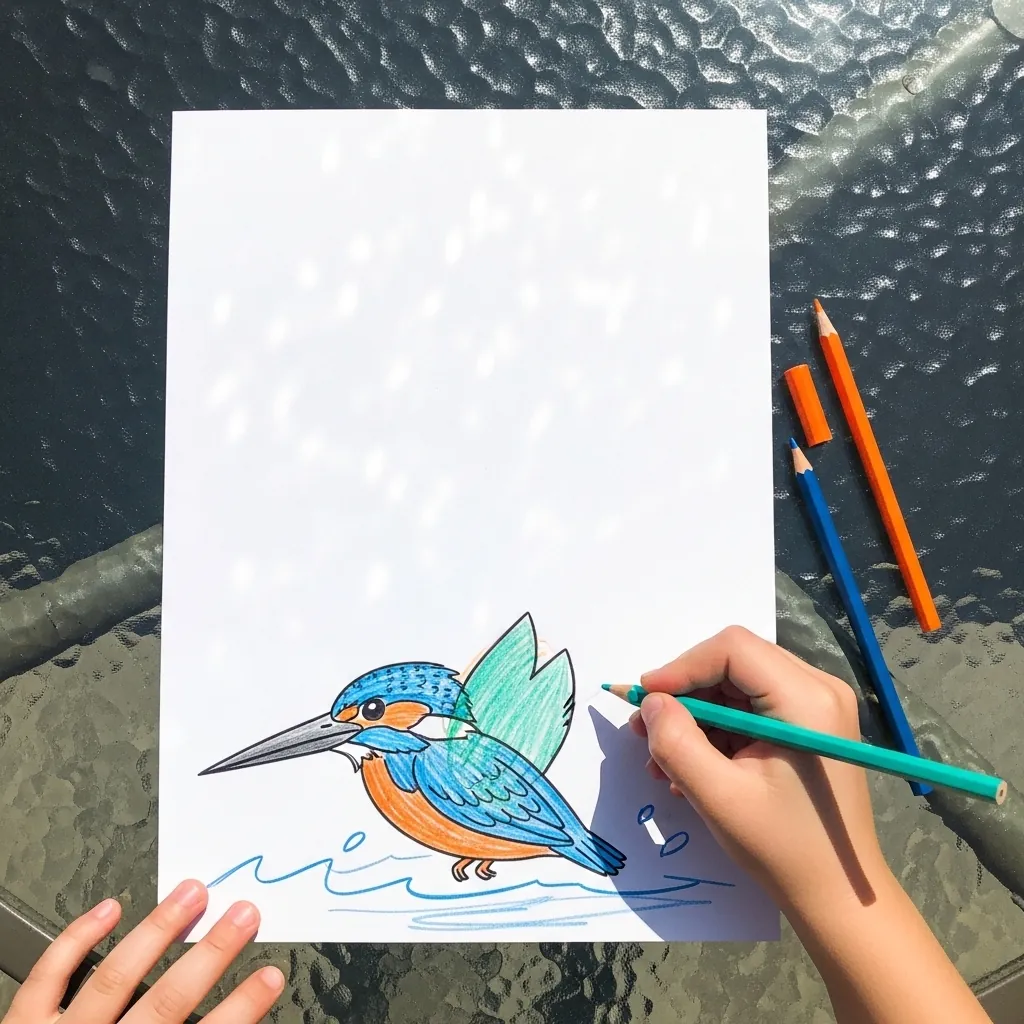
Kingfishers are a two-color bird, blue on top and orange underneath, split by a clean line. Color the back first, then the front, and keep the join sharp rather than blended; a few loose wavy lines below suggest the water without drawing any.
17. Watercolor Swan
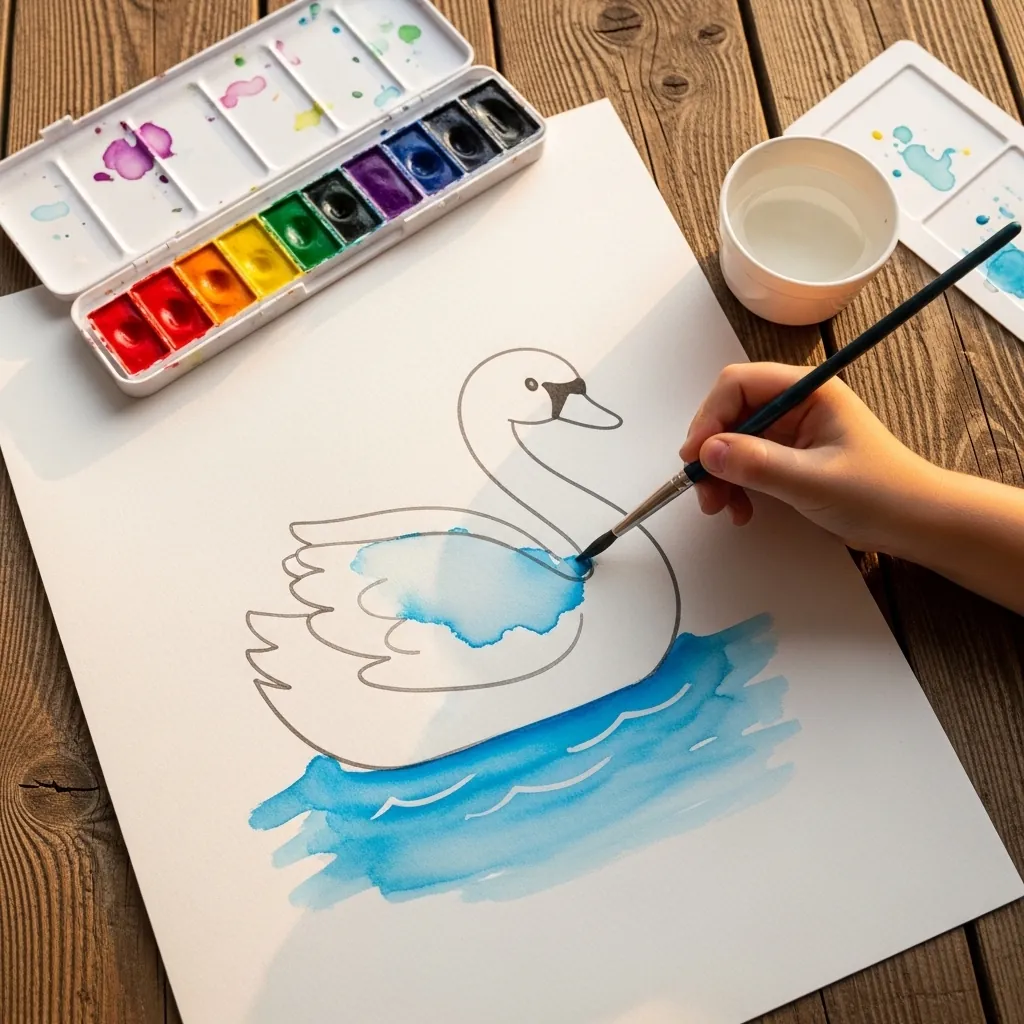
A swan is white, so the paper does the swan and the paint does the water. Outline the body and neck in pencil, leave every bit of it untouched, and wash blue only around and beneath it. The neck is a question mark shape lying on its side.
18. Eagle With Open Wings
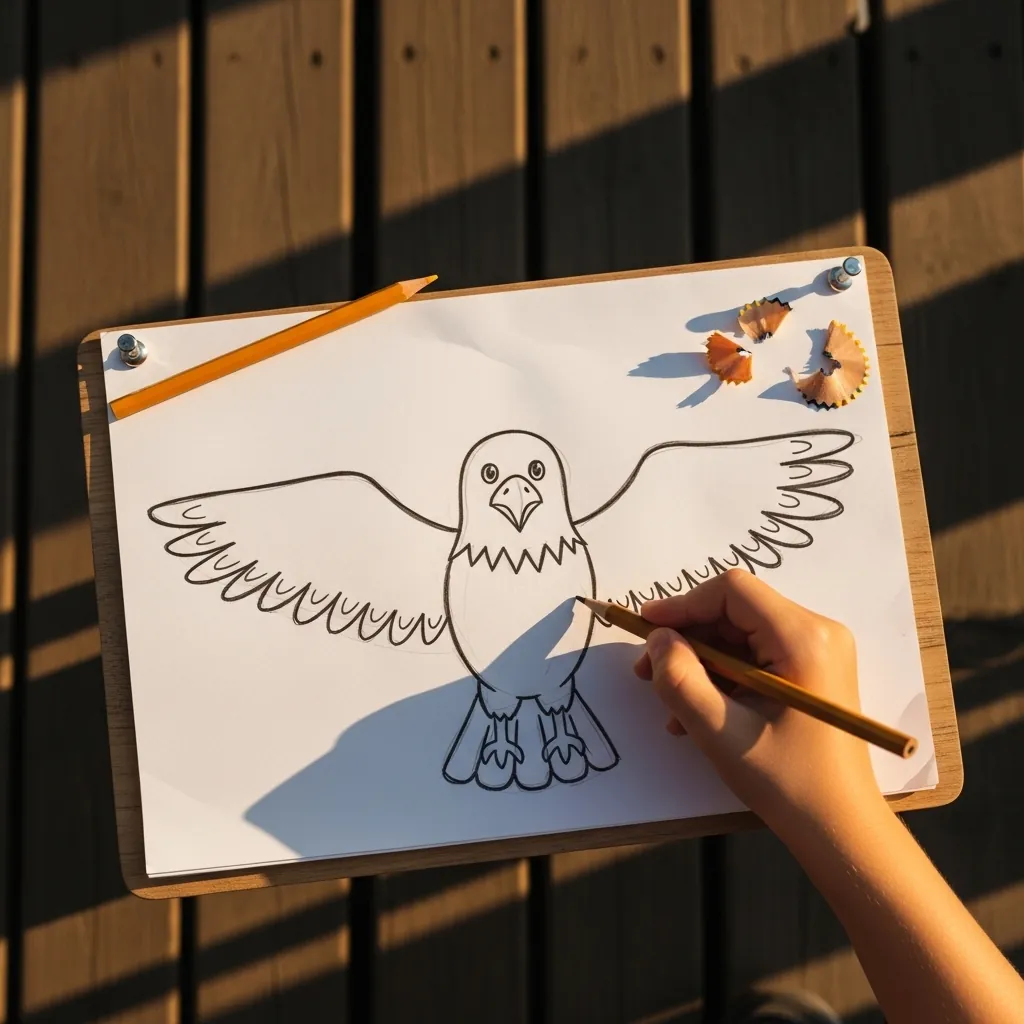
Open wings need to be the same length on both sides, which is harder than it sounds. Draw a light line straight across the page first, and build both wings along it so they match. The feathers at the wing tips spread apart like fingers.
19. Swirly Fantasy Bird
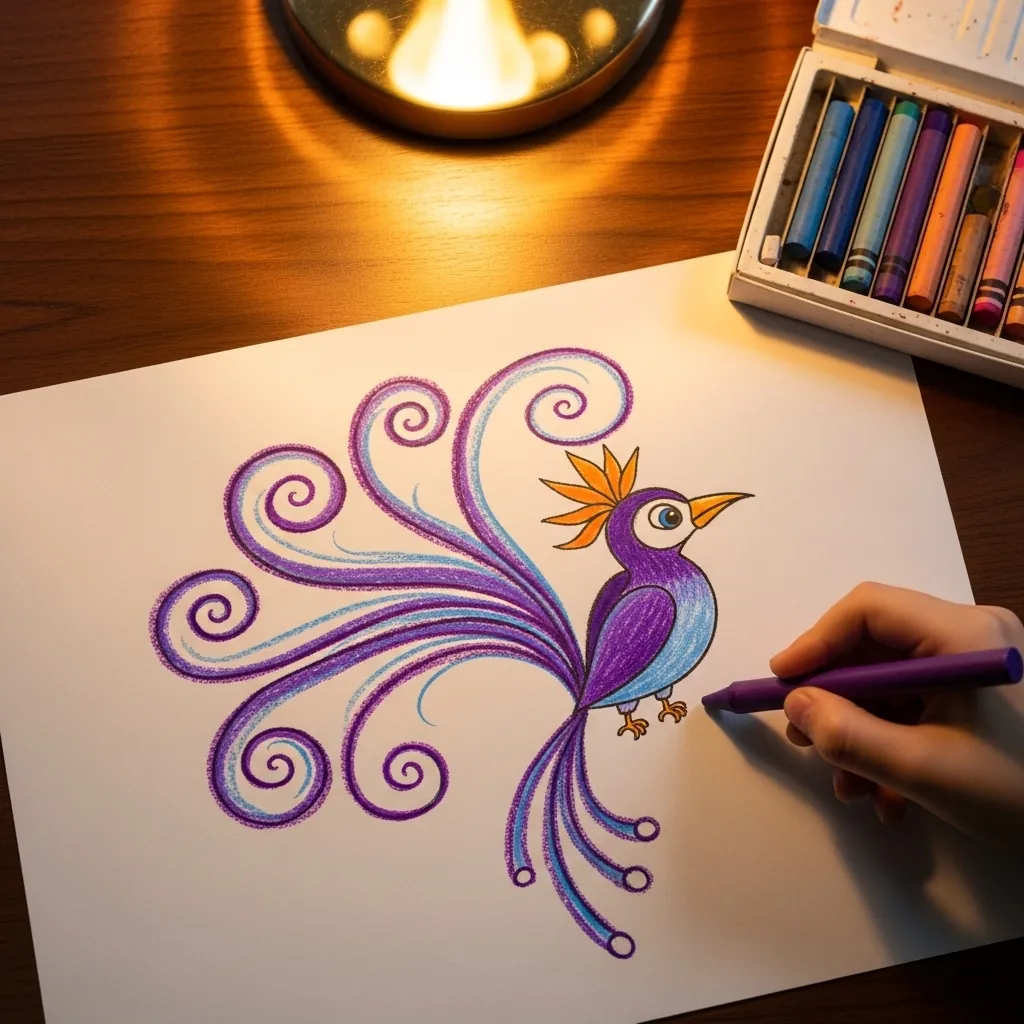
Invented birds still need the two-shape start, or they drift out of proportion. Once the egg and circle are down, the tail can do whatever it likes, curling into spirals and loops across the page, while the body stays small so the tail clearly wins.
20. Woodpecker on a Trunk
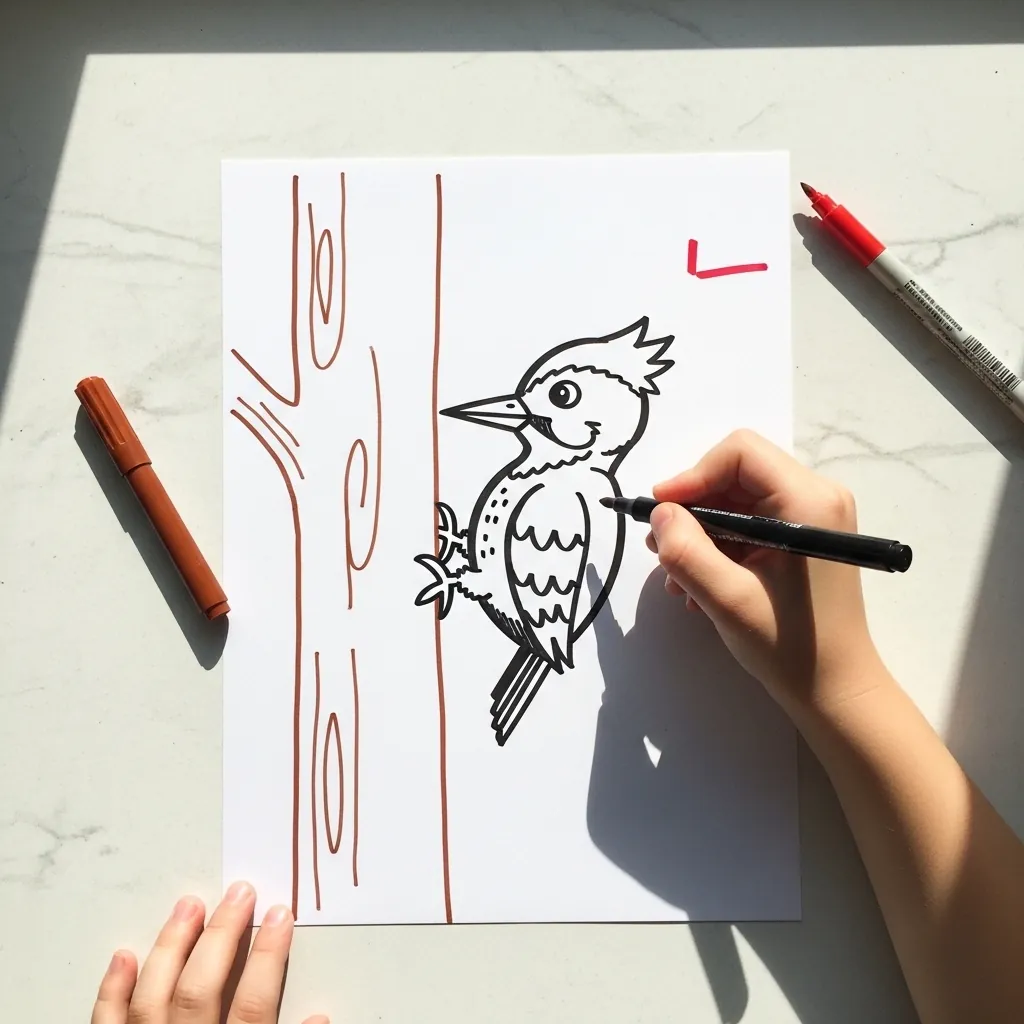
Woodpeckers cling vertically, which changes the whole pose. Draw the trunk as two straight lines up the page first, then set the bird against it head up and tail down, with the stiff tail pressed against the bark as a prop. The feet grip sideways.
21. Little Bird in a Nest
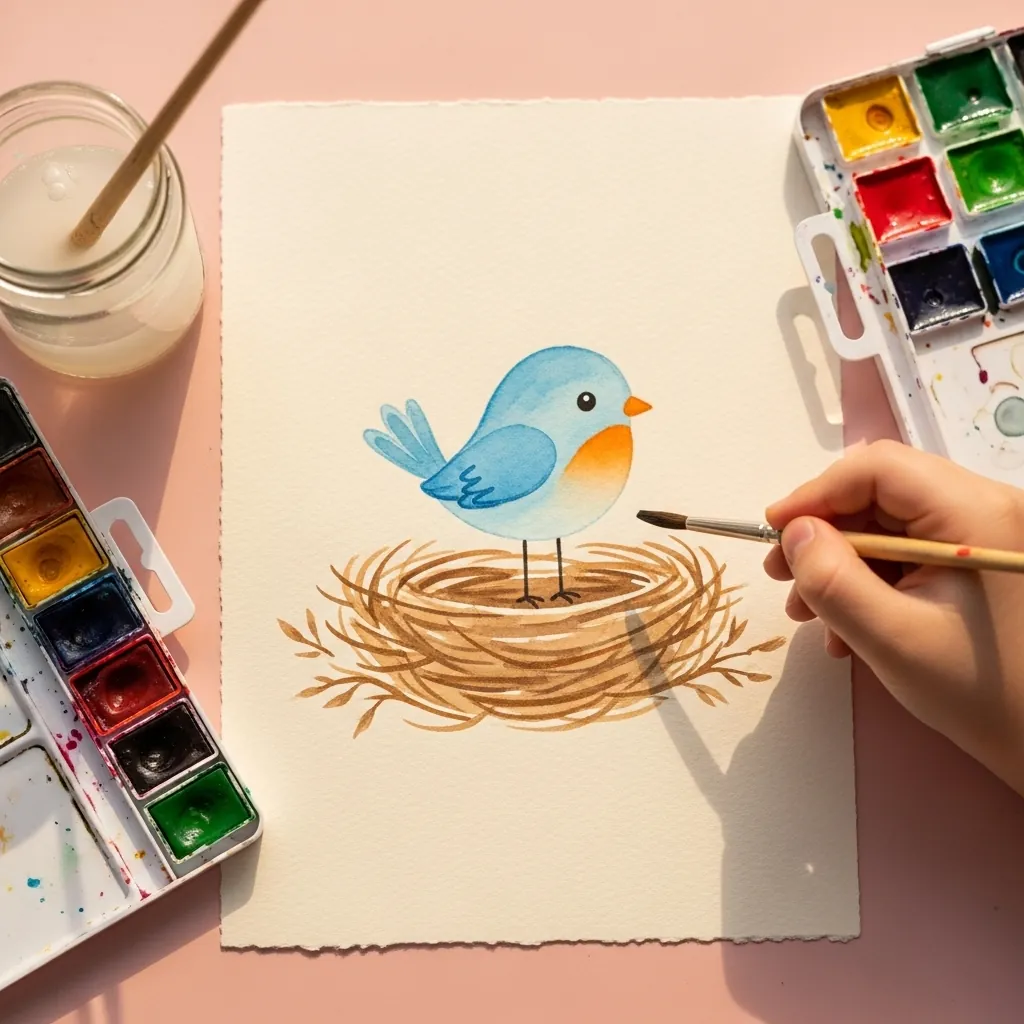
A nest is a bowl of scribbled lines, and scribble is exactly right here. Paint the bowl in overlapping brown strokes going in every direction, then sit the bird in it so the body is half hidden. Only the head, chest and tail show above the rim.
22. Toucan in Colored Pencil
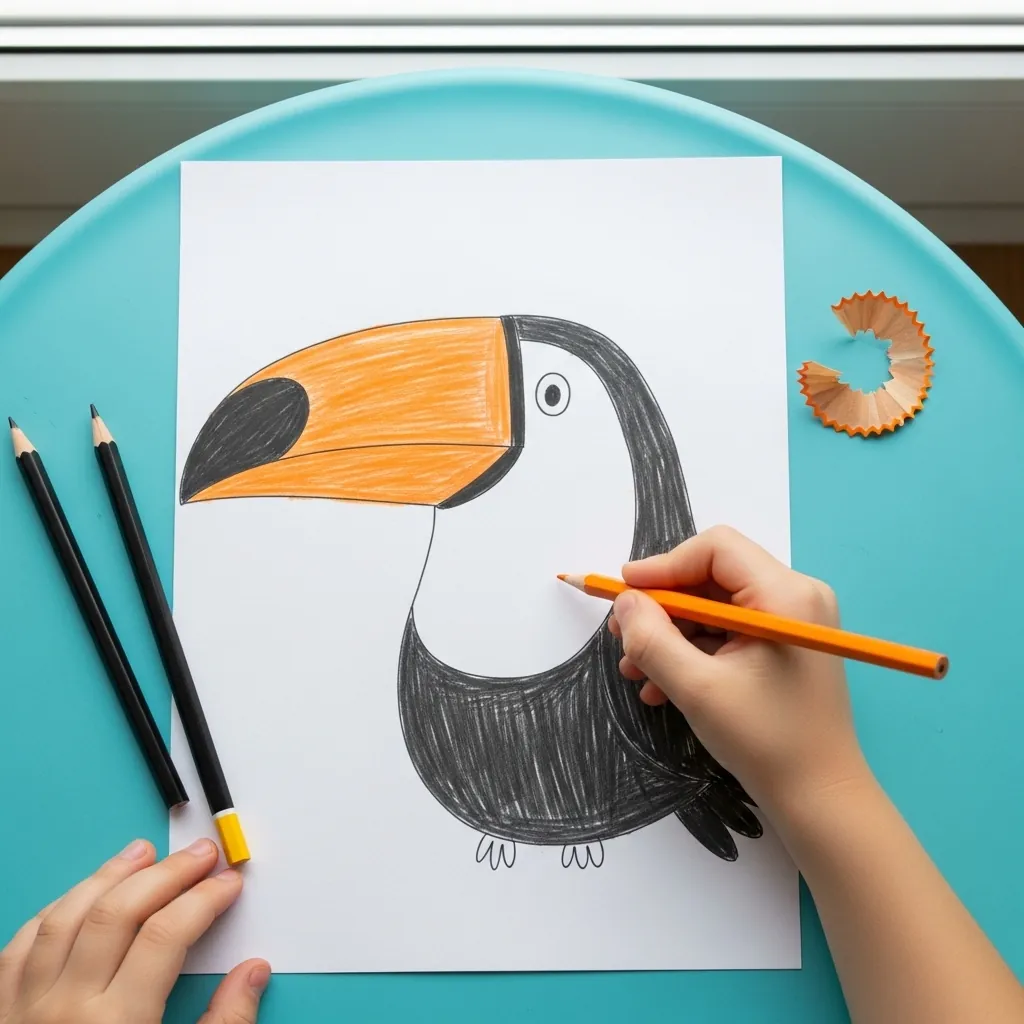
Colored pencil suits the toucan because the beak needs two tones. Lay orange over the whole beak, then press harder along the lower edge to darken it, and the bill turns from flat to rounded, while the black body stays evenly filled with light pressure.
23. Rainbow Macaw
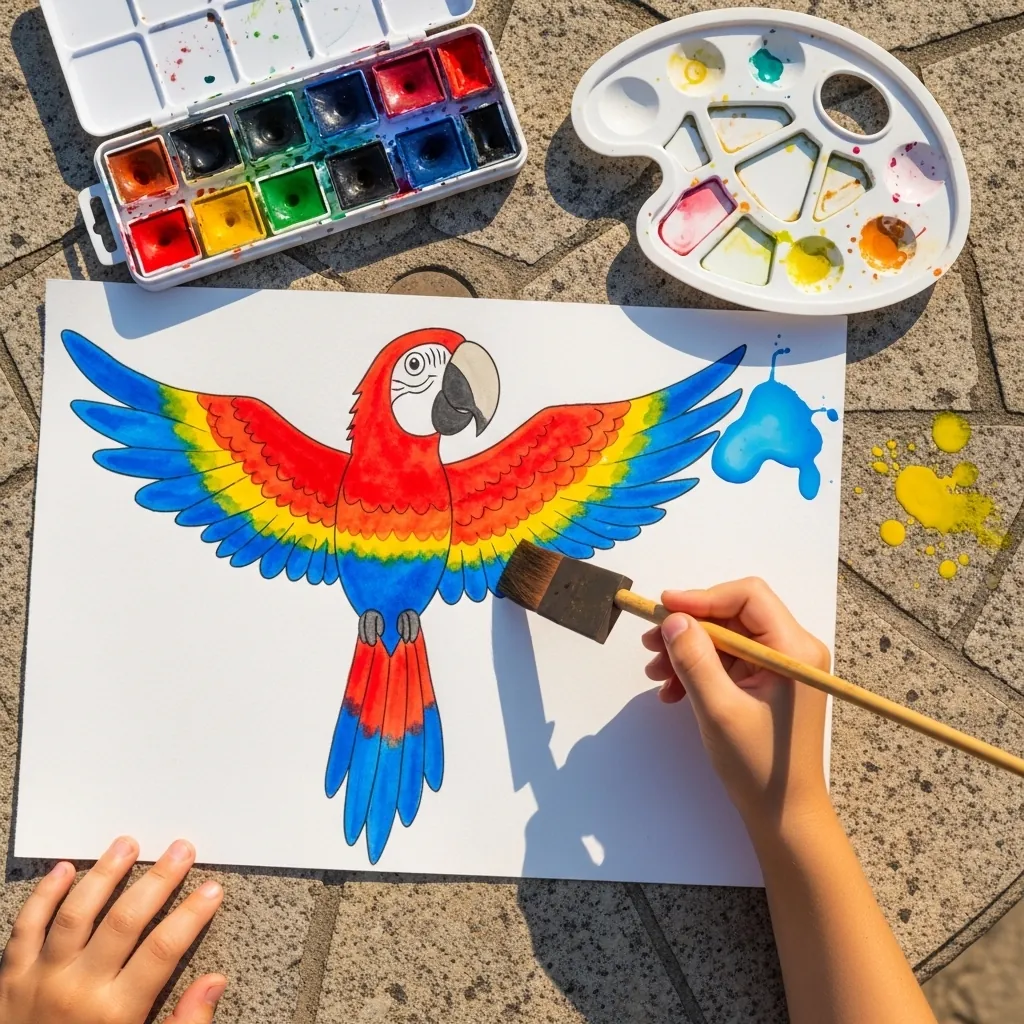
A macaw’s wing is a rainbow in stripes, so paint it in bands. Work from the shoulder outward, red then yellow then blue, letting each band dry a moment before the next so the colors stay clean. The long tail is two straight feathers, nothing more.
24. Singing Bird With Notes
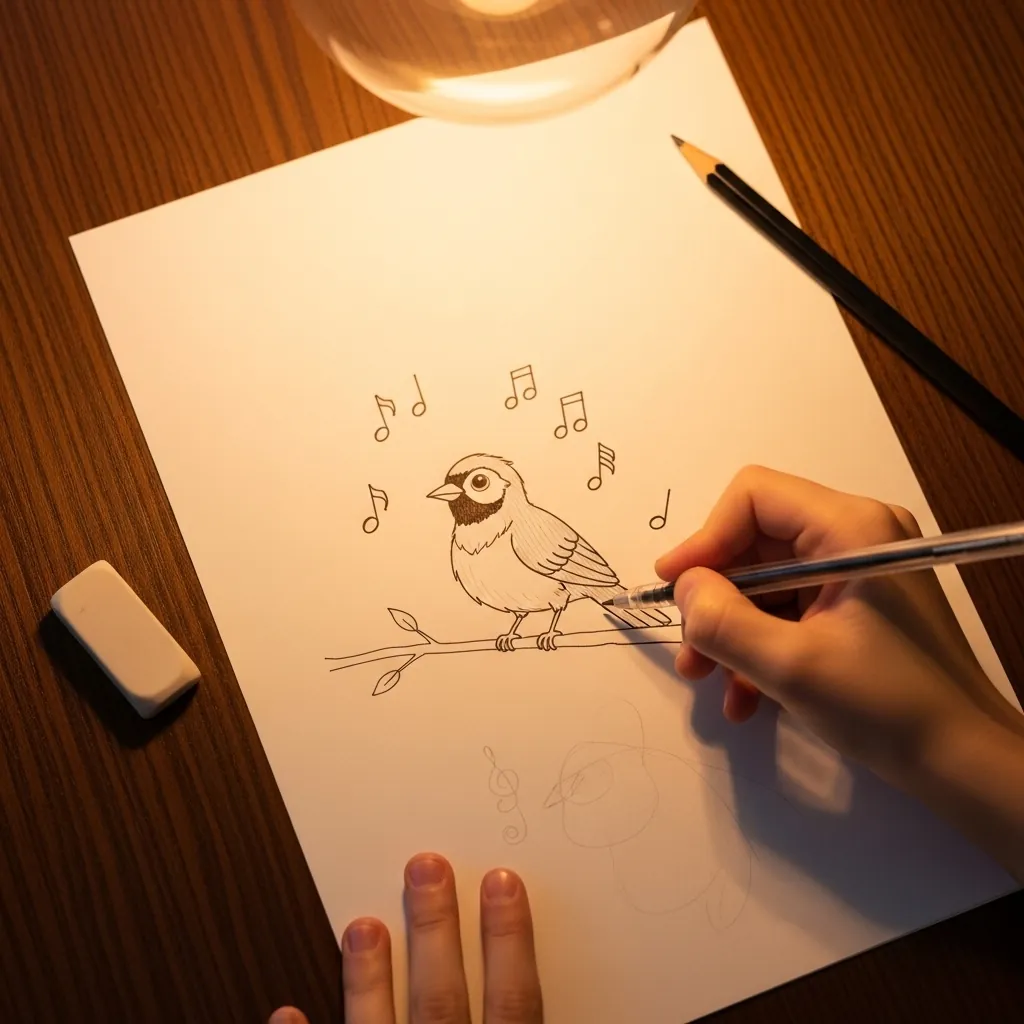
A wide open beak turns a bird into a singing bird. Draw the beak as two triangles hinged at the back, opened like a pair of scissors, and add three or four music notes rising away from it. The head tips back slightly as it sings.
25. Single-Color Parrot
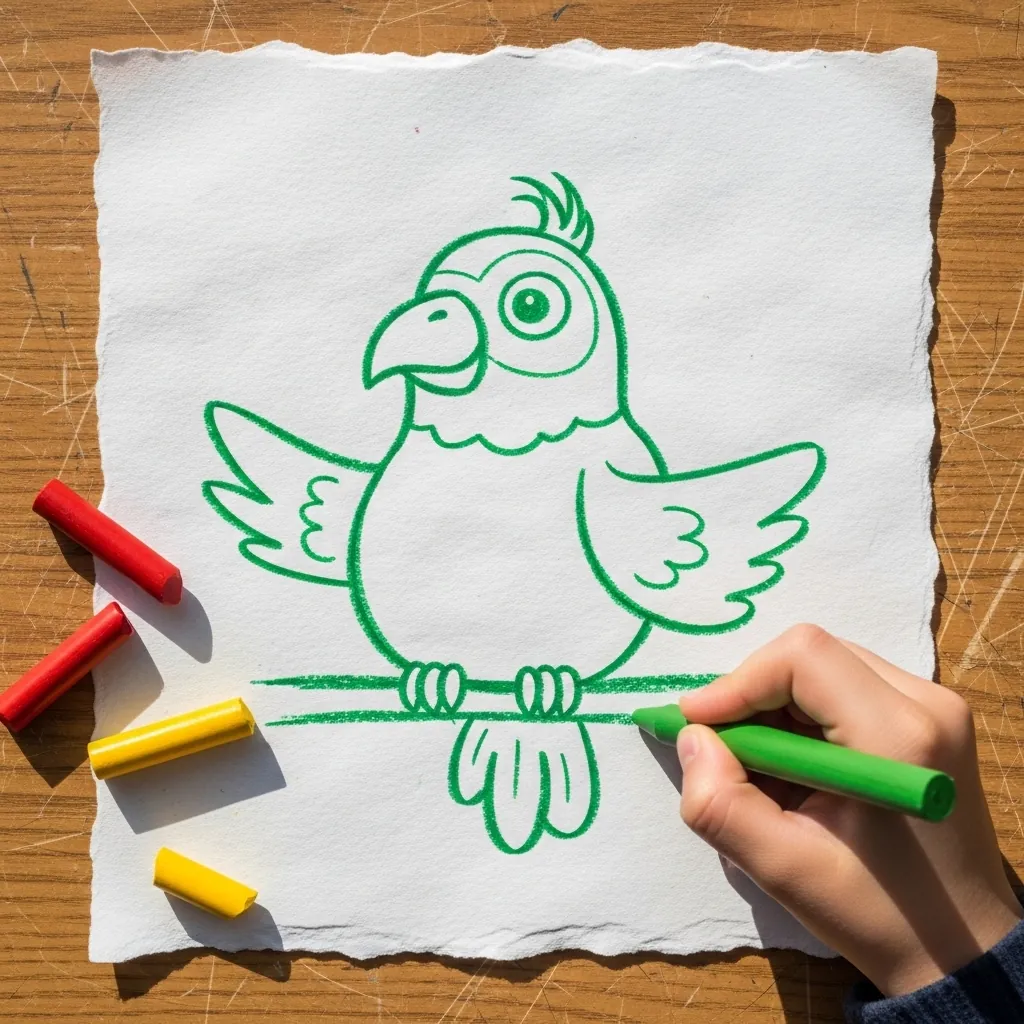
Drawing in one color forces the line to carry everything. Use a single green pencil for the outline, the wing feathers and the branch alike, varying only how hard you press; harder pressure reads as darker, which is enough to separate the wing from the body.
26. Penguin Family Line-Up
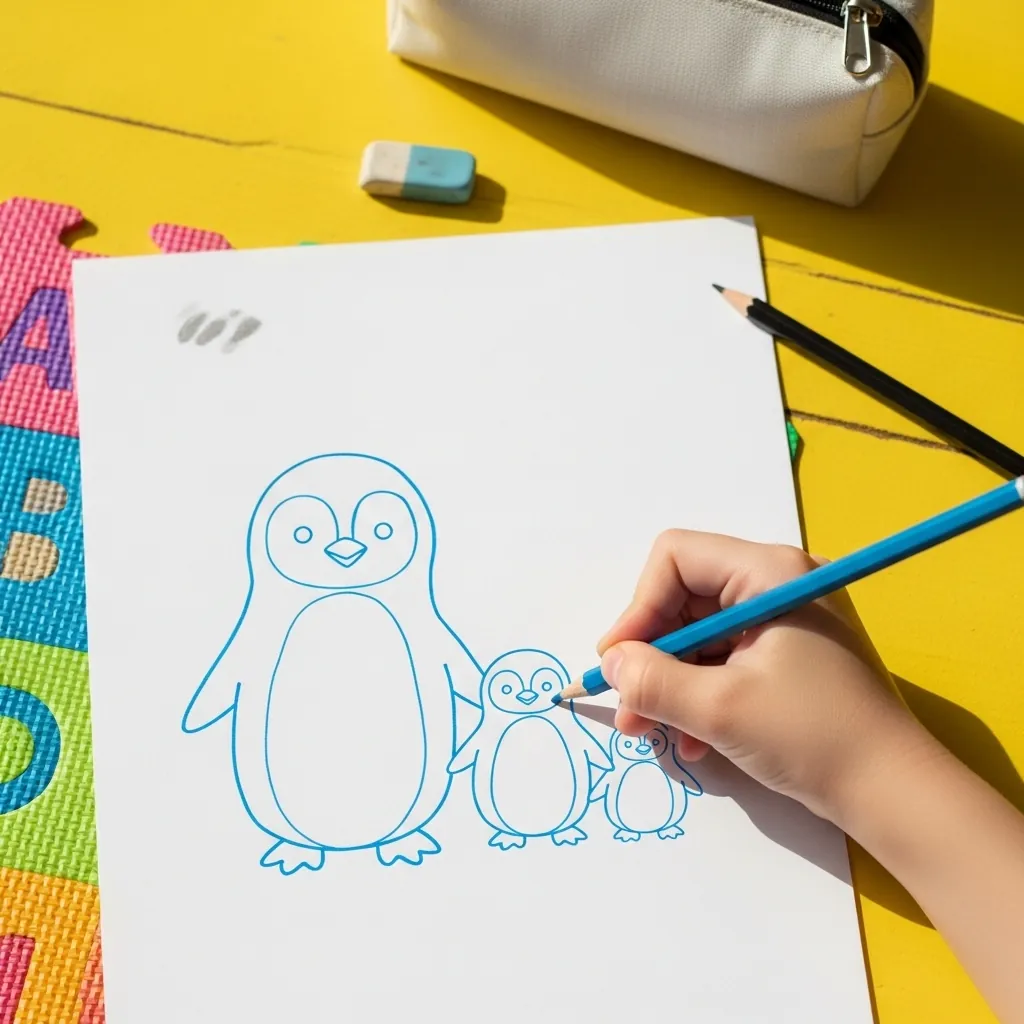
Three penguins in a row teaches size relationships painlessly. Draw the adult first, then a chick about half its height, then a smaller one again, keeping every body the same oval shape. Standing them on one shared line stops them floating apart.
27. Fluffy Orange Chick
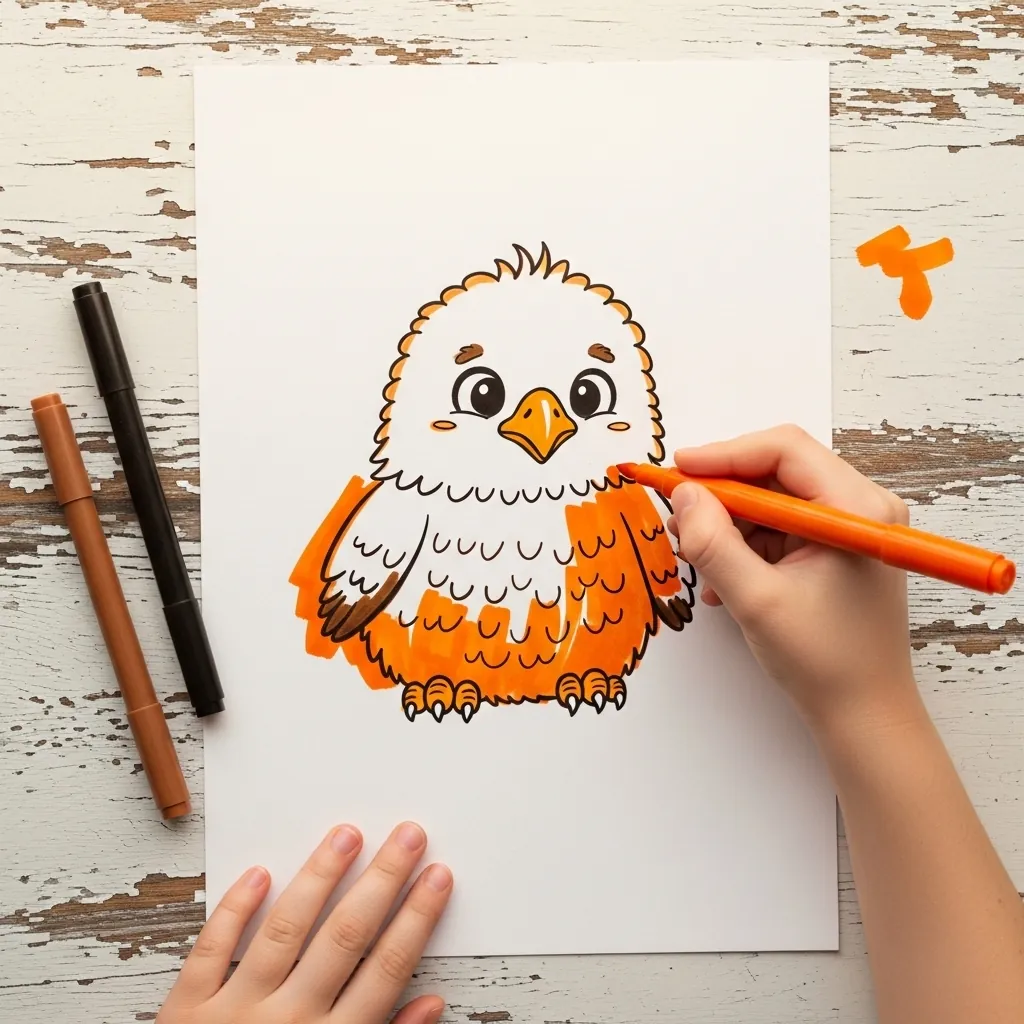
Fluffiness comes from the outline, not the filling. Draw the edge of the body as a wobbly, spiky line instead of a smooth curve, and the bird instantly looks downy. Big round eyes set close together finish the baby-bird look.
28. Gray Heron Wading
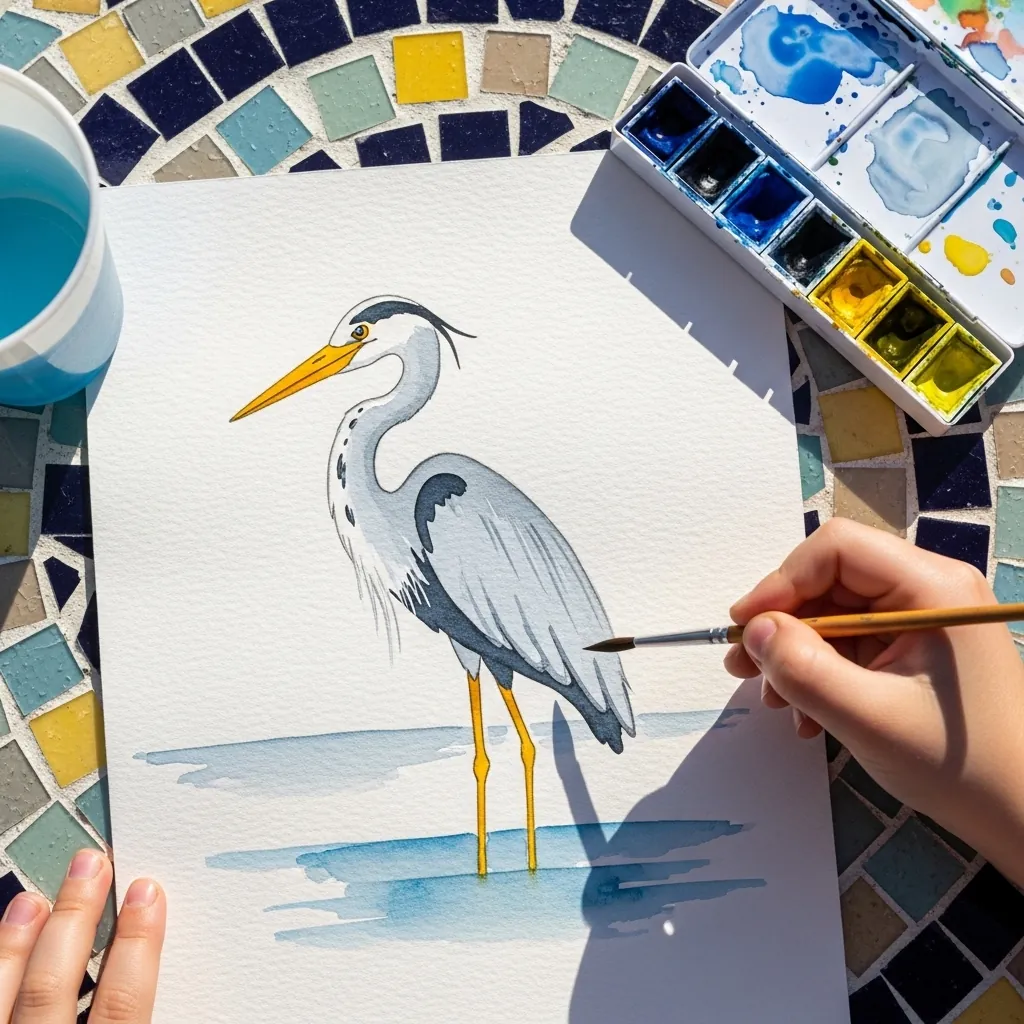
Herons are almost all neck and legs, so measure before painting. Make the legs as long as the body is tall, and the neck about the same again, then check it looks too long, because it probably is not; a pale wash under the feet becomes water.
29. Sparkly Pink Flamingo
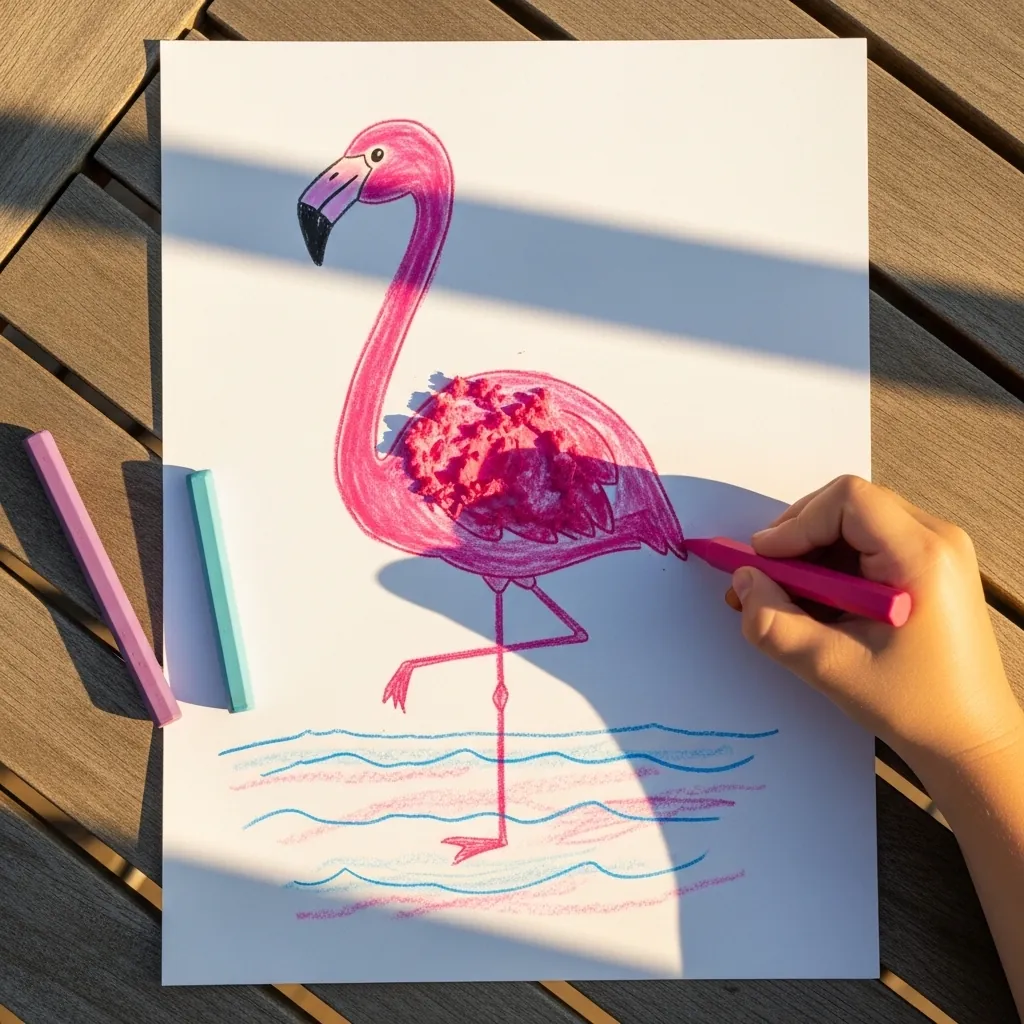
Adding sparkle works best in one place only. Color the flamingo normally in pink pastel, then put glitter on the body alone and leave the legs, neck and beak plain. Scattering it everywhere turns the whole drawing to mush. Shake the loose glitter off outdoors before the drawing comes back inside.
30. Bird Built From Circles
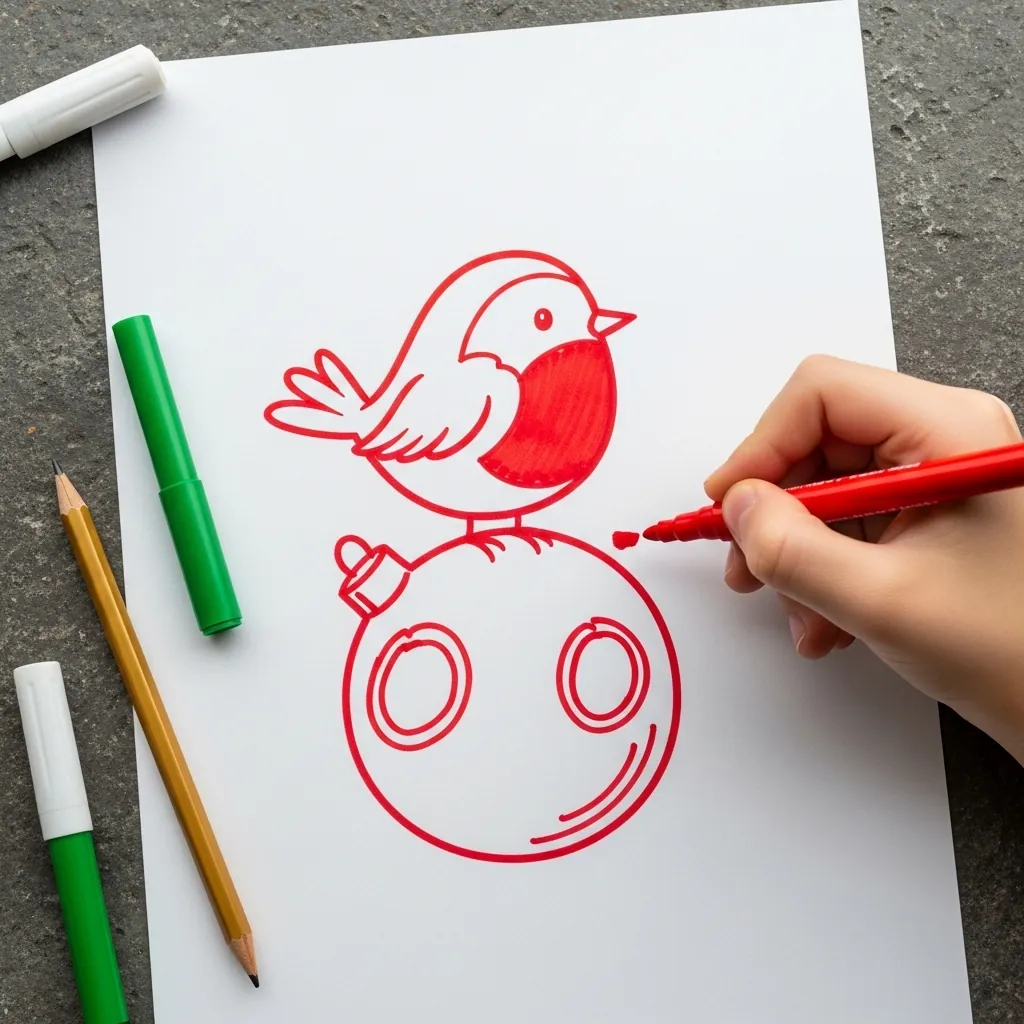
This one is pure shape practice. Draw a big circle, sit a small round bird on top of it, and let the child see that a bird really is just circles plus a beak and tail. It is the fastest way to prove the two-shape method works.
31. Owl in Flight
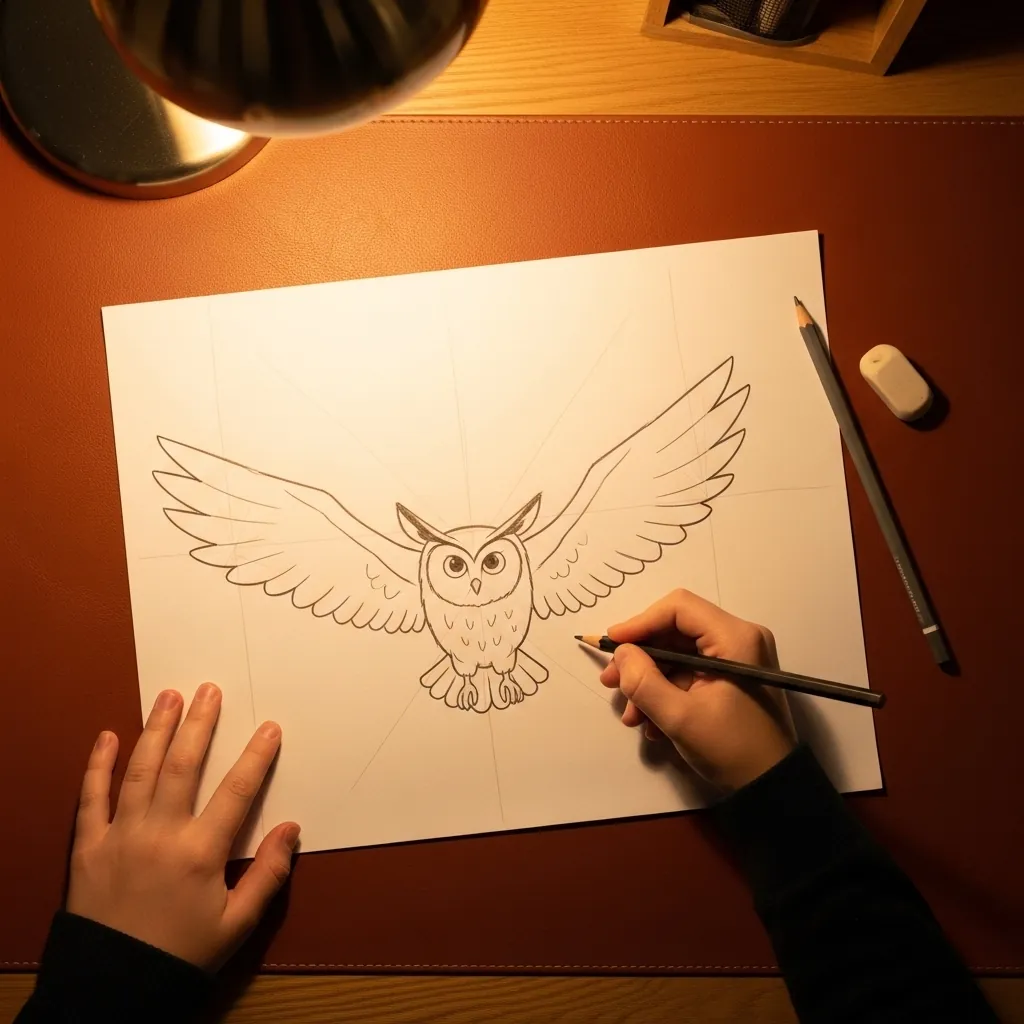
A flying owl is a wide letter M with a head in the middle. Sketch that M shape lightly, hang the body from the center of it, and then round off the wing edges into feathers; the legs tuck up underneath and barely show at all.
32. Bright Rooster
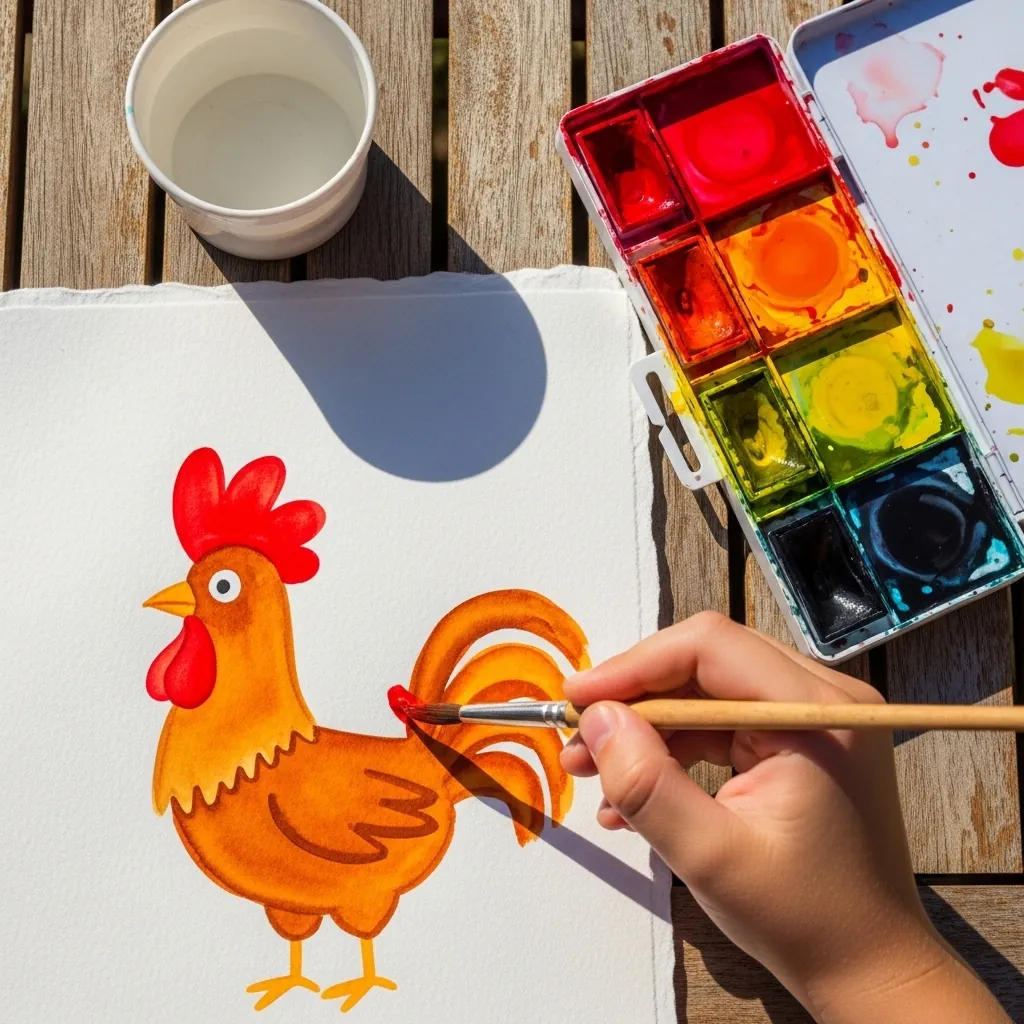
Roosters are built from a chest that puffs forward and a tail that arches back. Get that curve right first, then add the red comb along the top of the head and the wattle hanging under the beak. The tail feathers are long curved strokes, not a fan.
33. Peacock Fan in Marker
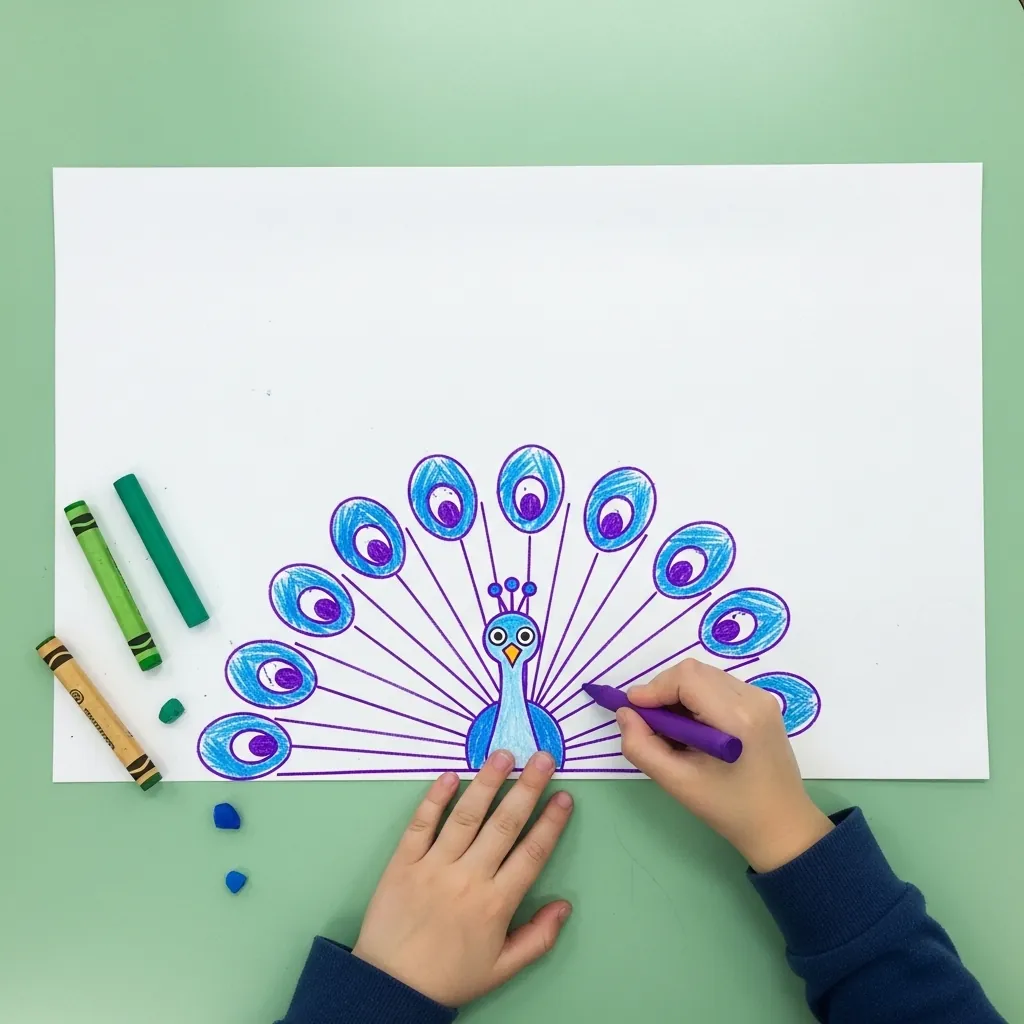
Spacing is the only difficult part of a peacock. Draw the middle feather first, then one at each outer edge, and fill the gaps in between afterwards, which keeps the fan even. Every feather gets the same eye shape at its tip.
34. Cheerful Yellow Chick
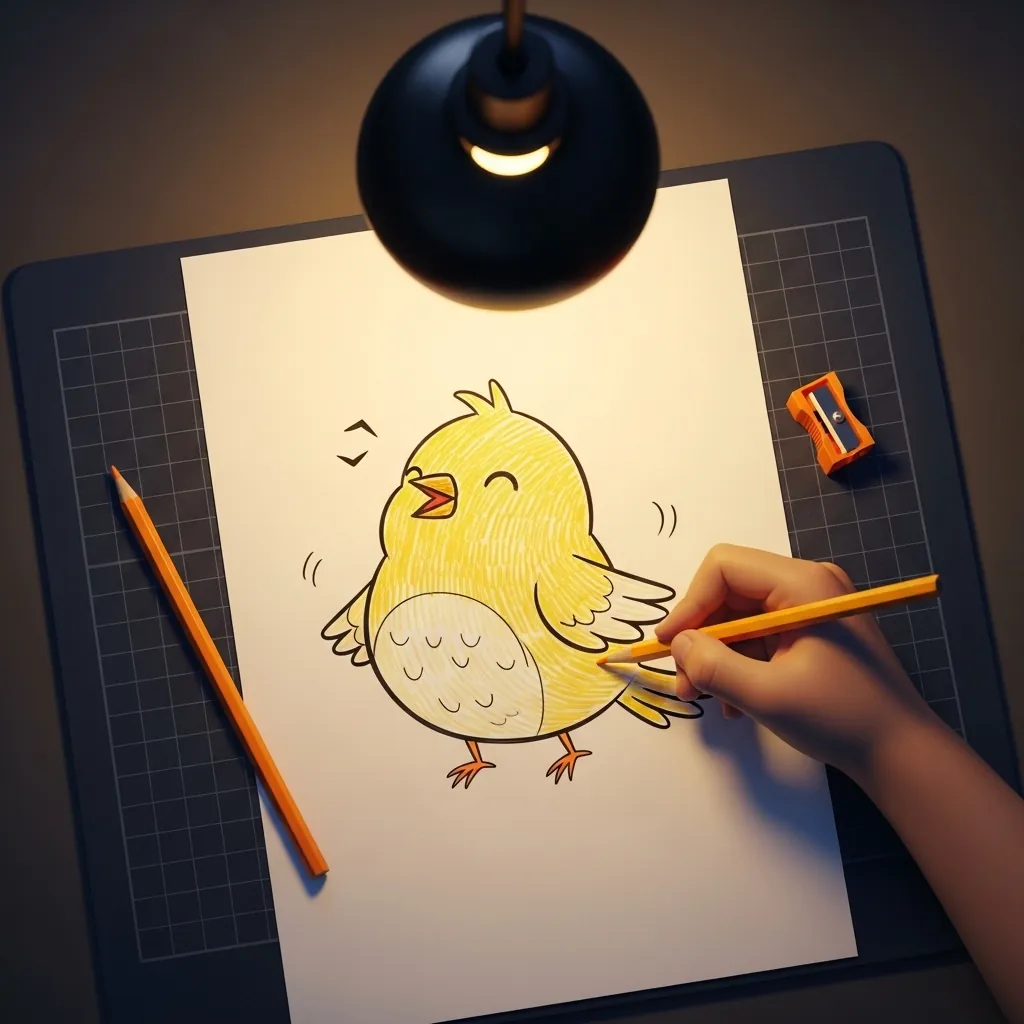
Closed curved eyes are the cheapest way to make a bird look happy. Draw two upward arcs instead of circles, add a small open beak, and tilt the whole head a few degrees to one side; nothing else needs to change.
35. Tiny Flying Bird
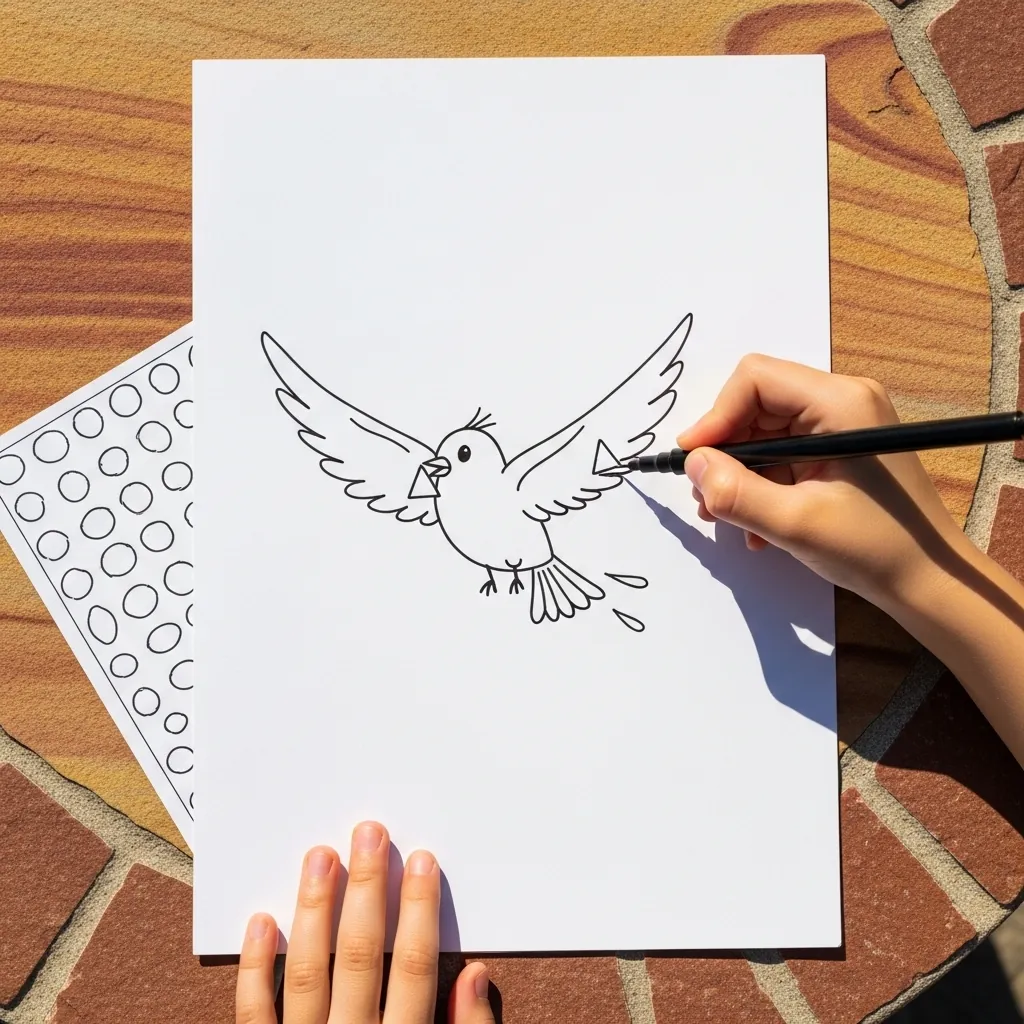
A bird seen from below is mostly wing. Keep the body small and simple, spread both wings wide and flat, and fan the tail out behind so the shape reads clearly against the sky. Detail on the wings would only confuse the silhouette.
36. Blue Jay Study
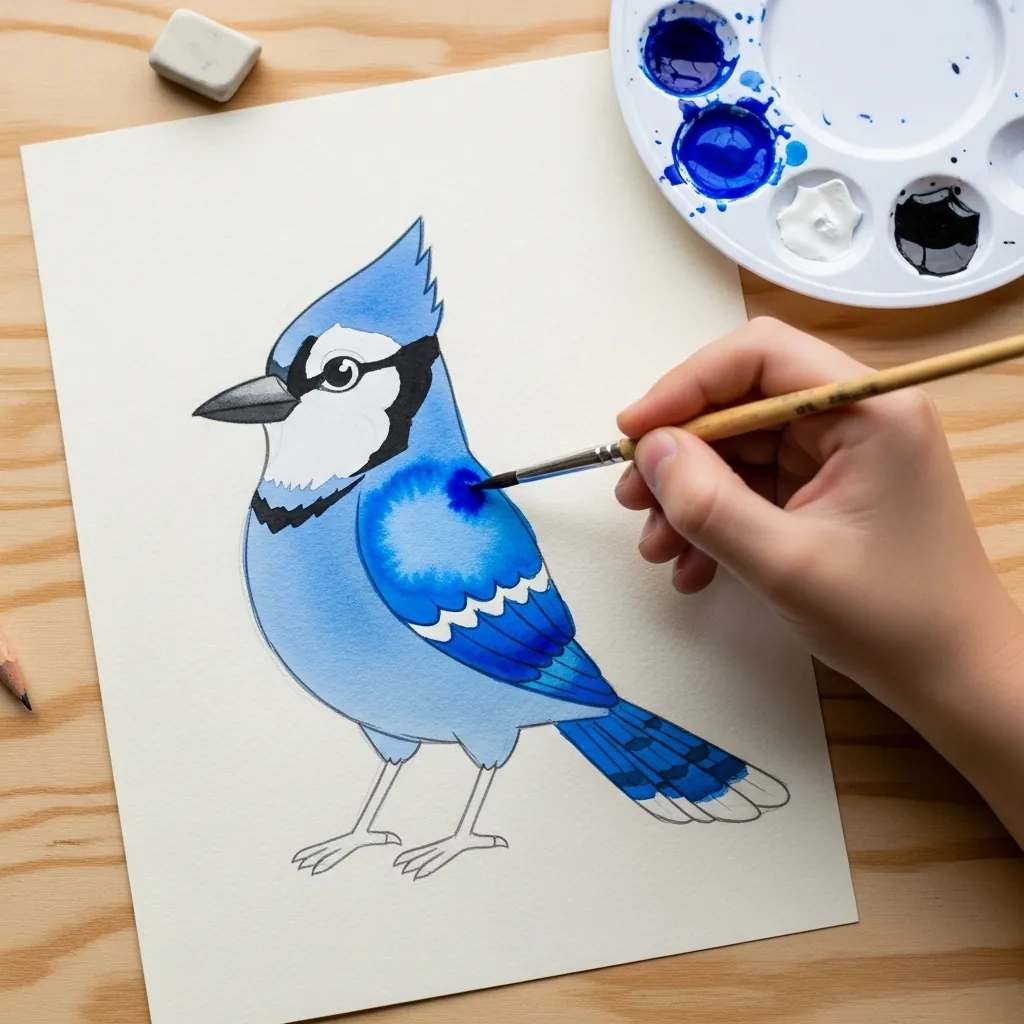
Blue jays have a crest, and the crest changes everything. Add a pointed peak on the top of the head, paint the body in two blues so the wing separates from the back, and put the black necklace line across the chest last.
37. Black Crow Silhouette
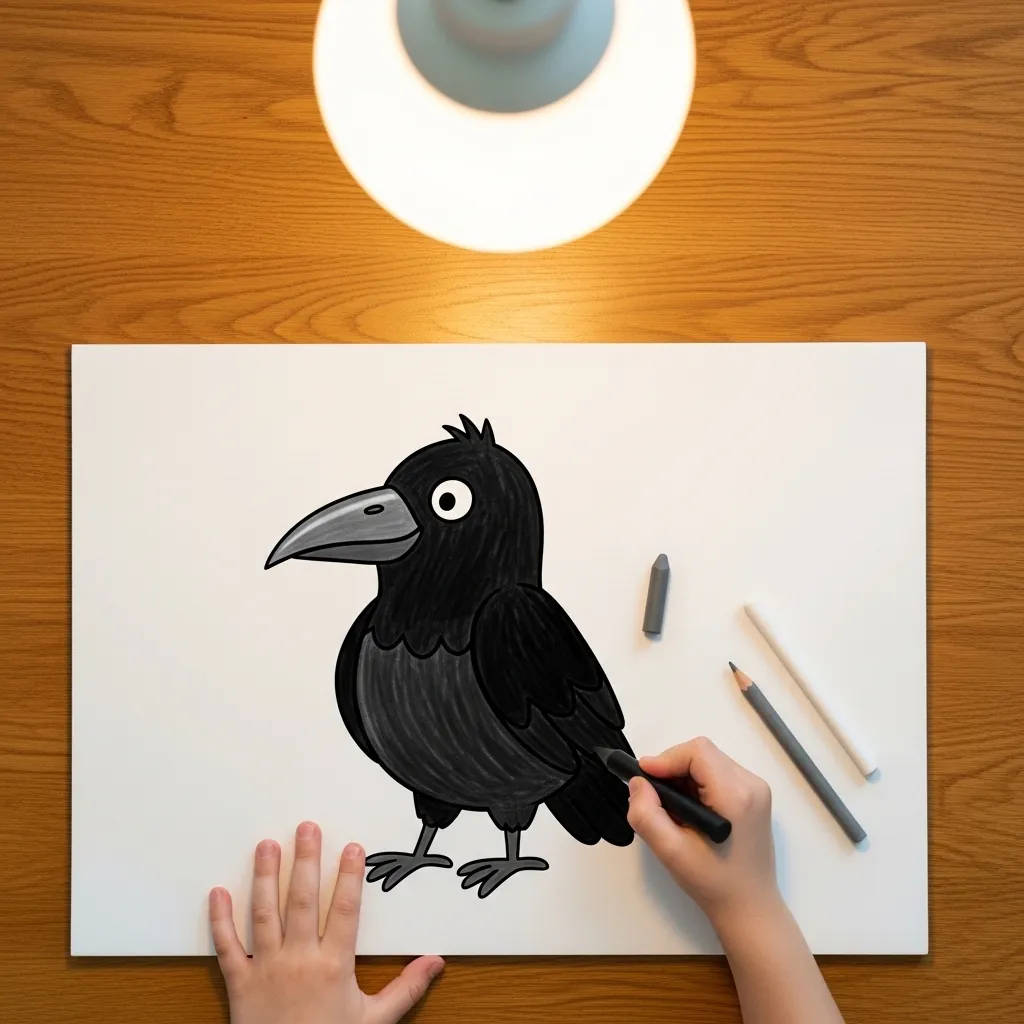
An all-black bird has to work as a shape alone. Get the outline exactly right before filling anything, because once it is black there is nothing left to fix it with. Leave a thin white line where the wing meets the body so it does not vanish.
38. Seagull Over Waves
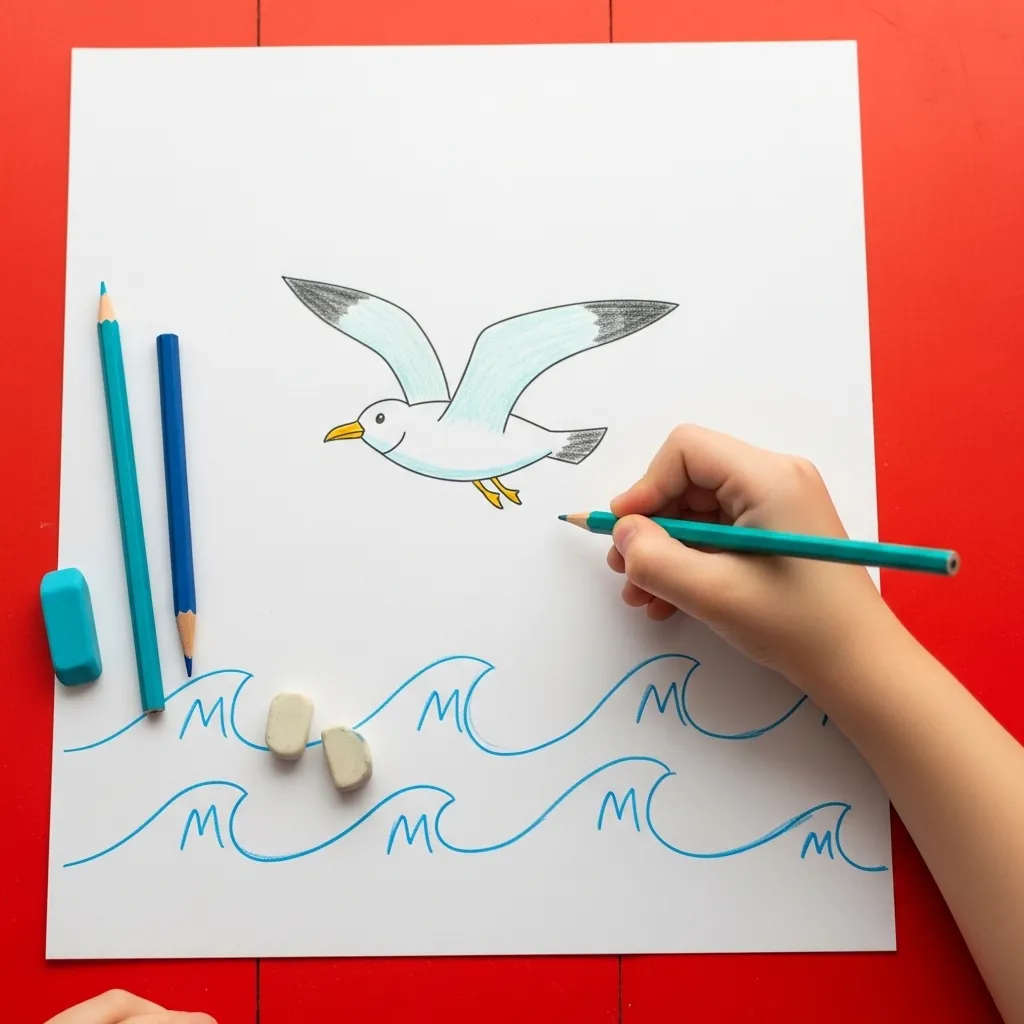
Gulls in the distance really are just two curves. Draw a shallow M for the wings, add a small body between them, and repeat the same shape smaller further back to create depth; the waves below are rows of the same curve upside down.
39. Sunny Yellow Parrot
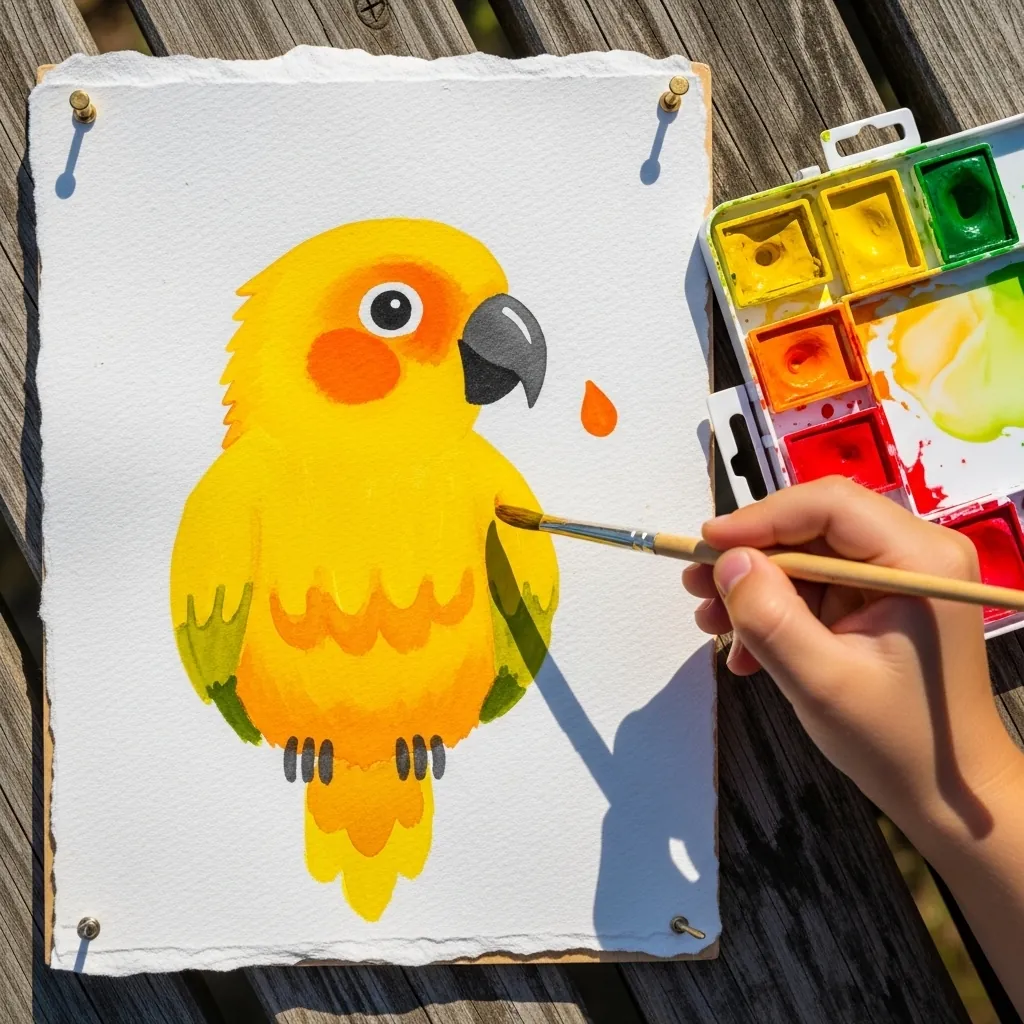
Yellow needs something warm beside it or it disappears. Paint the body yellow, then run orange around the face and across the chest while the yellow is still slightly damp so they melt together. The green wing tips and dark beak give the eye somewhere to land.
40. Robin With an Orange Breast
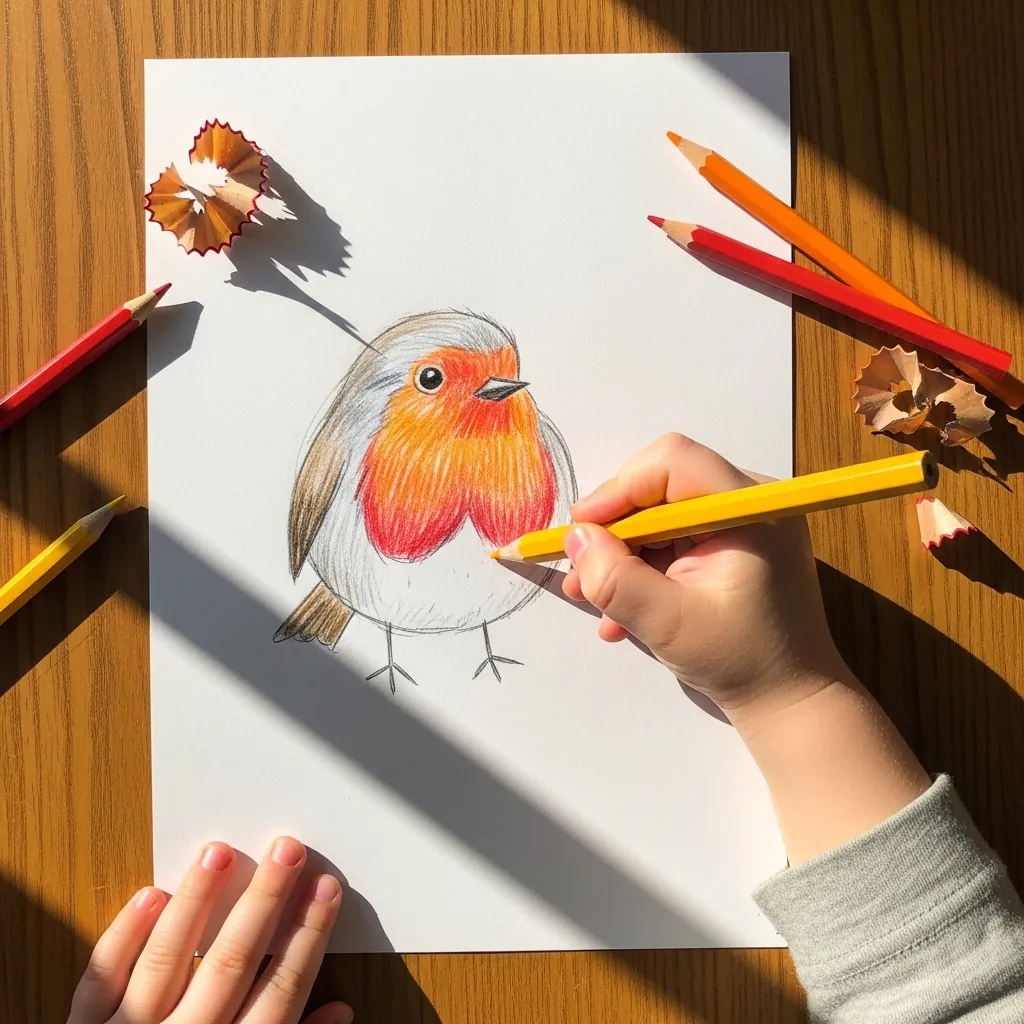
Finish where you started, with the bird every child recognizes. Layer the orange chest more heavily in the middle and lighter at the edges so it looks rounded, and keep the brown back plain by comparison; small feet gripping a thin branch complete it.
Frequently Asked Questions
Why do bird legs bend backwards?
They do not. What looks like a backwards knee is actually the ankle, and the bird is standing on its toes with its heel raised. The real knee sits higher up and is hidden under the body feathers, which is why it is so easy to draw a bird’s leg the wrong way round.
What is the easiest bird for a child to draw?
A penguin, because it is one big oval with a smaller oval inside it and two triangle feet. There are no wings to work out and no complicated legs, so a child gets a recognizable bird on the first try and wants to draw another.
Where should the eye go on a bird?
On the front third of the head, close to the beak, rather than in the middle. Birds have eyes set well forward on the skull, and moving the eye forward is the single fastest way to make a drawn bird look alive instead of blank.
How do I stop the tail looking stuck on?
Draw the back and the tail as one continuous line. The tail is an extension of the body, not a separate flap, so if the line of the back flows straight into the top of the tail the whole bird settles.
What age can children start drawing birds?
Around four, if you start with the two-shape method and thick crayons. Younger children manage circles and ovals long before they manage details, so a chick made of two circles is a genuine success at that age.
References and Further Reading