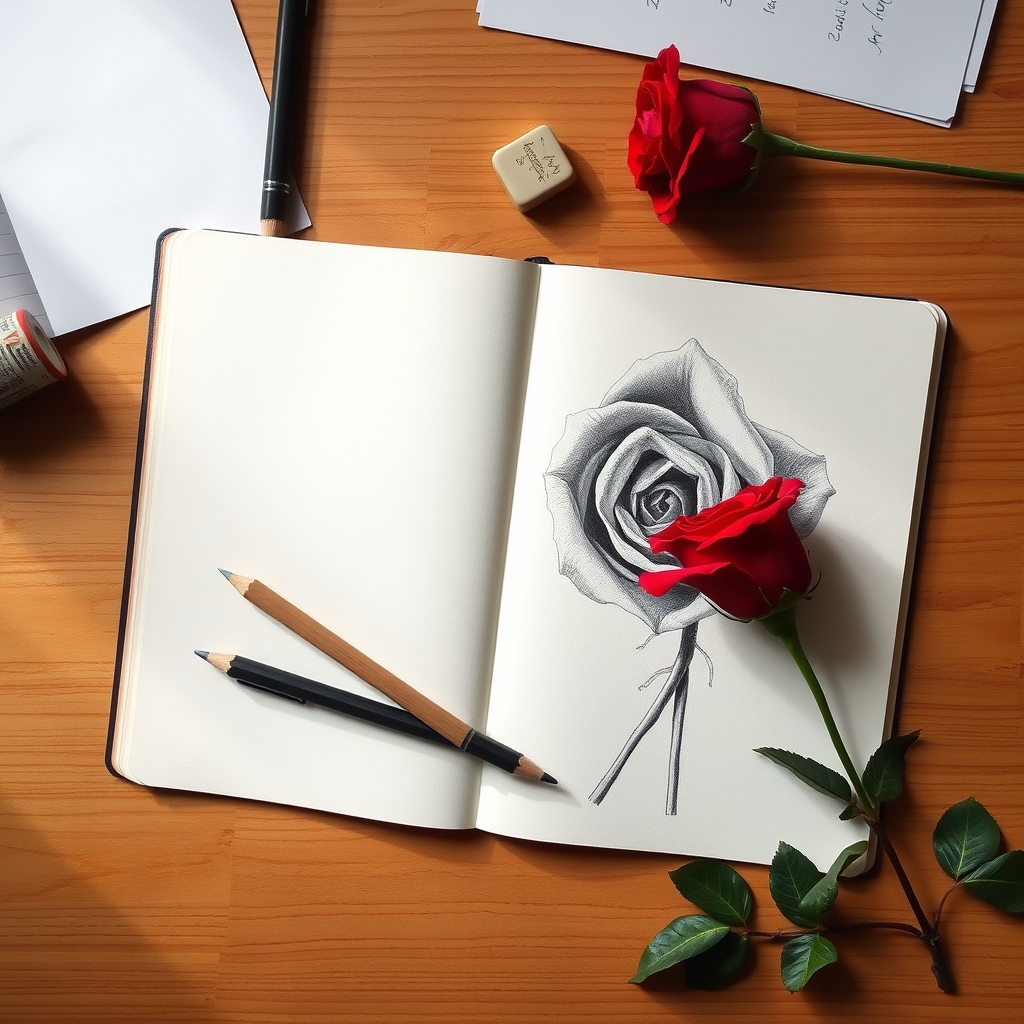
To draw a rose, start with a small loose spiral slightly off-center, wrap three curved petals around it, then add larger petals in rings with each one beginning behind the gap of the ring before it. Curl the outer edges, add sepals and a stem, then shade darkest at the center.
Key takeaways
- Draw a rose from the center outward, never the outer silhouette first.
- The spiral is the furled heart of the flower and sets every petal position.
- Each new petal must start behind the gap between two petals of the ring below.
- Only the outer petals curl outward, because they are the ones that opened first.
- Shade darkest deep in the center and leave the outer petal edges as bare paper.
A rose looks like a hard subject, but it is only hard if you start in the wrong place. Almost everyone begins by drawing the outer shape of the flower and then tries to fill petals into it. That is backwards, and it is why the result usually comes out looking like a flat pinwheel instead of a bloom.
A real rose grows from the center outward, and it should be drawn the same way. Start with a spiral, wrap petals around it in rings, and the depth appears on its own without you having to think about perspective at all.
The six steps below take about twenty minutes with a single pencil. Each one adds a ring, and no step asks you to draw anything harder than a curved line.
What You Need Before You Start
- One HB pencil for construction and one 4B for the shading at the end
- Paper with a little tooth, so the graphite has something to grip
- A kneaded eraser, used for lifting highlights rather than correcting mistakes
- A blending stump if you have one, though a rolled paper corner works
- A reference photo of a real rose viewed slightly from above
Step 1: Draw the Spiral, Not the Flower
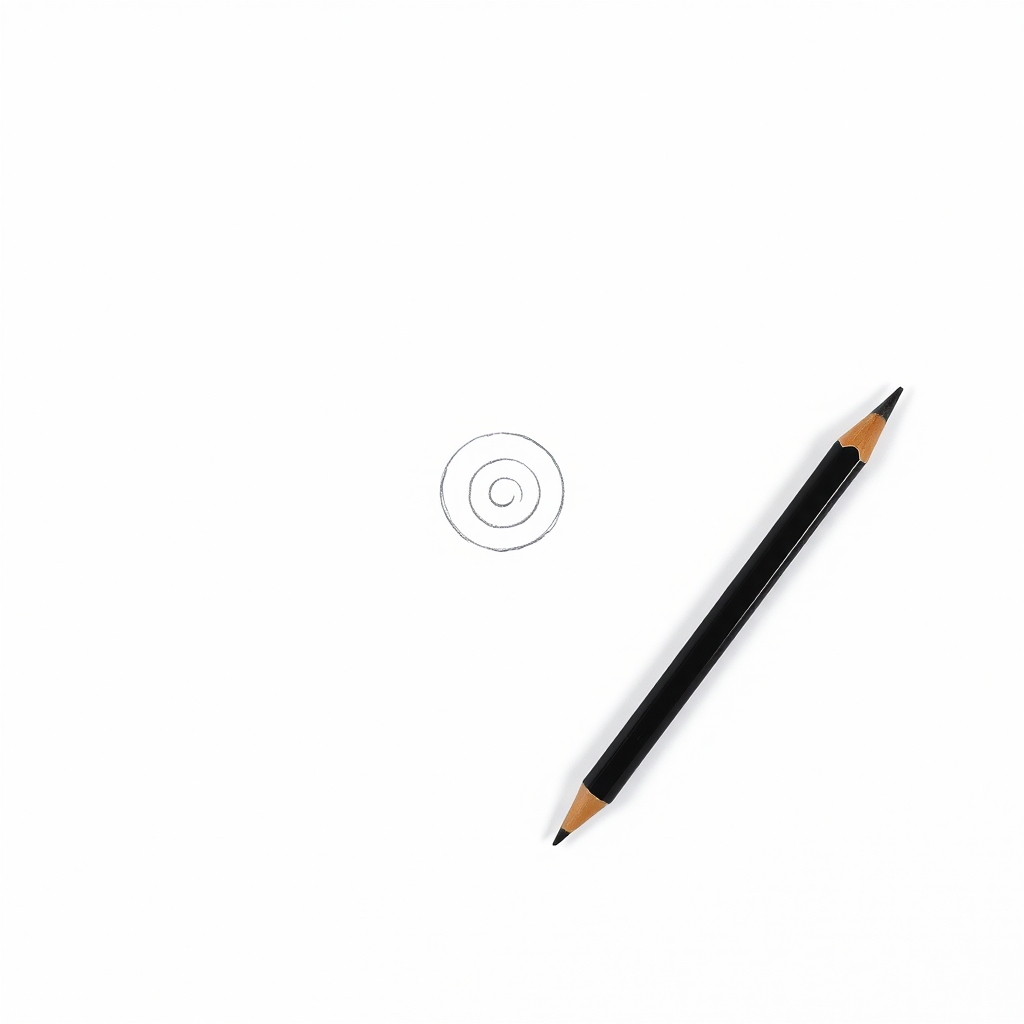
Draw a small loose spiral about the size of a coin, roughly in the middle of your page. It does not need to be neat and it should not be a perfect circle. This spiral is the tightly furled heart of the rose, the part that never opens, and every petal you add later will be positioned relative to it.
Place it slightly off-center rather than dead middle. A rose almost never faces you square on, and this one decision does more for realism than any amount of shading later.
Step 2: Wrap Three Petals Around the Spiral
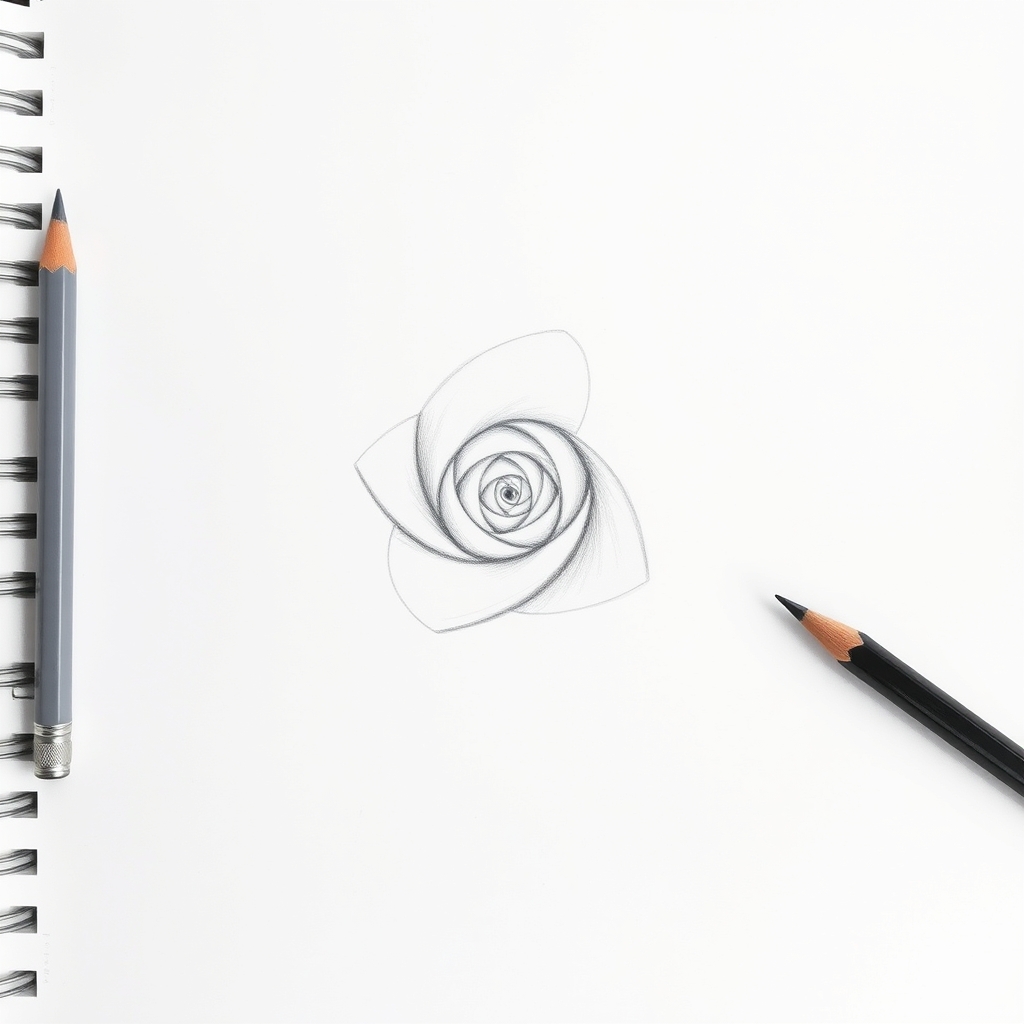
Draw three curved shapes that cup around the spiral, each one like a comma lying on its side. They should overlap each other, and each should start where the one before it ends. Keep them tight against the spiral so the center stays dense.
Do not make them the same size. The moment three petals are identical, the drawing starts looking mechanical. Vary each one slightly and the flower reads as grown rather than constructed.
Step 3: Add the Outer Rings, Offsetting Every Gap
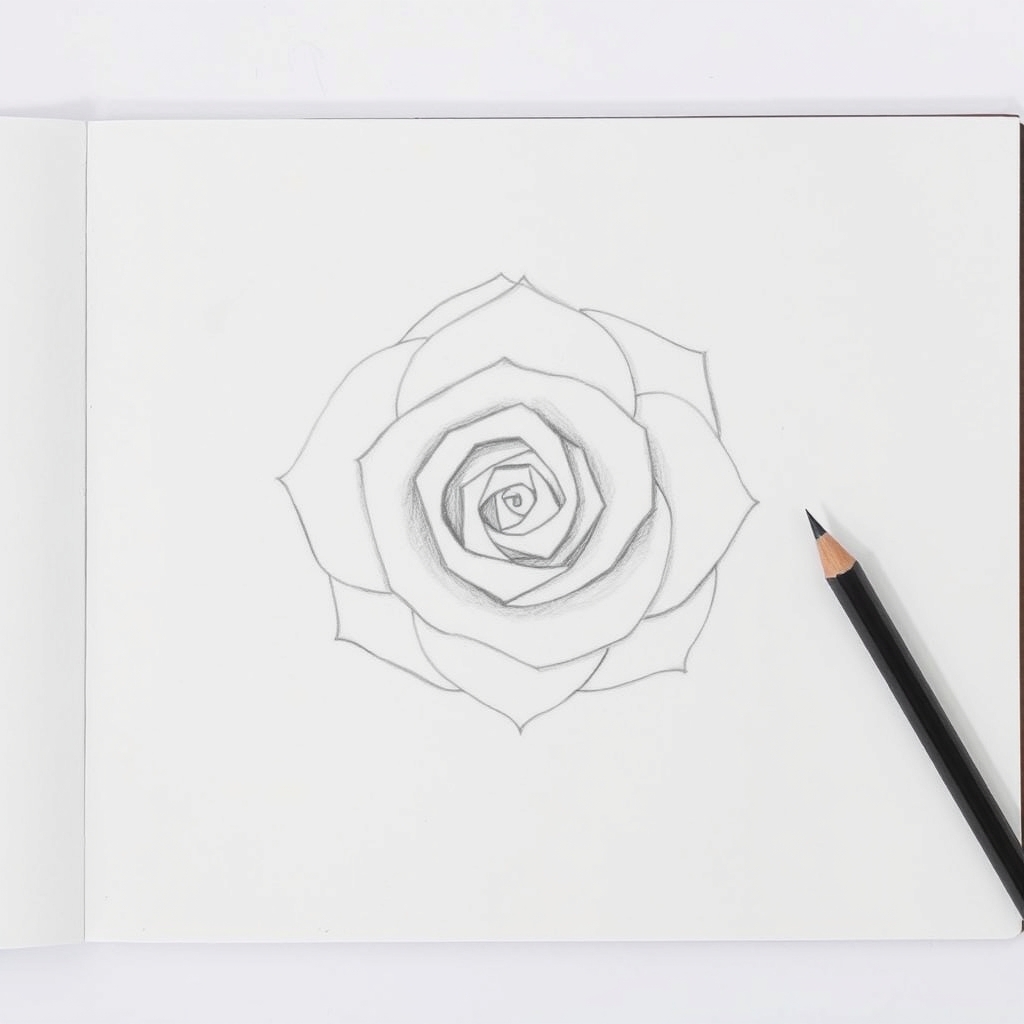
Now build outward in rings, each petal larger than the one before it. The rule that makes this work: every new petal begins behind the gap between two petals of the previous ring, never lined up with one. That offset is what creates the overlapping, layered look of a real rose.
Two or three rings is usually enough. Add more and the bloom starts to read as a peony or a cabbage rose, which is a different flower with a different feel.
Step 4: Turn the Petal Edges Outward
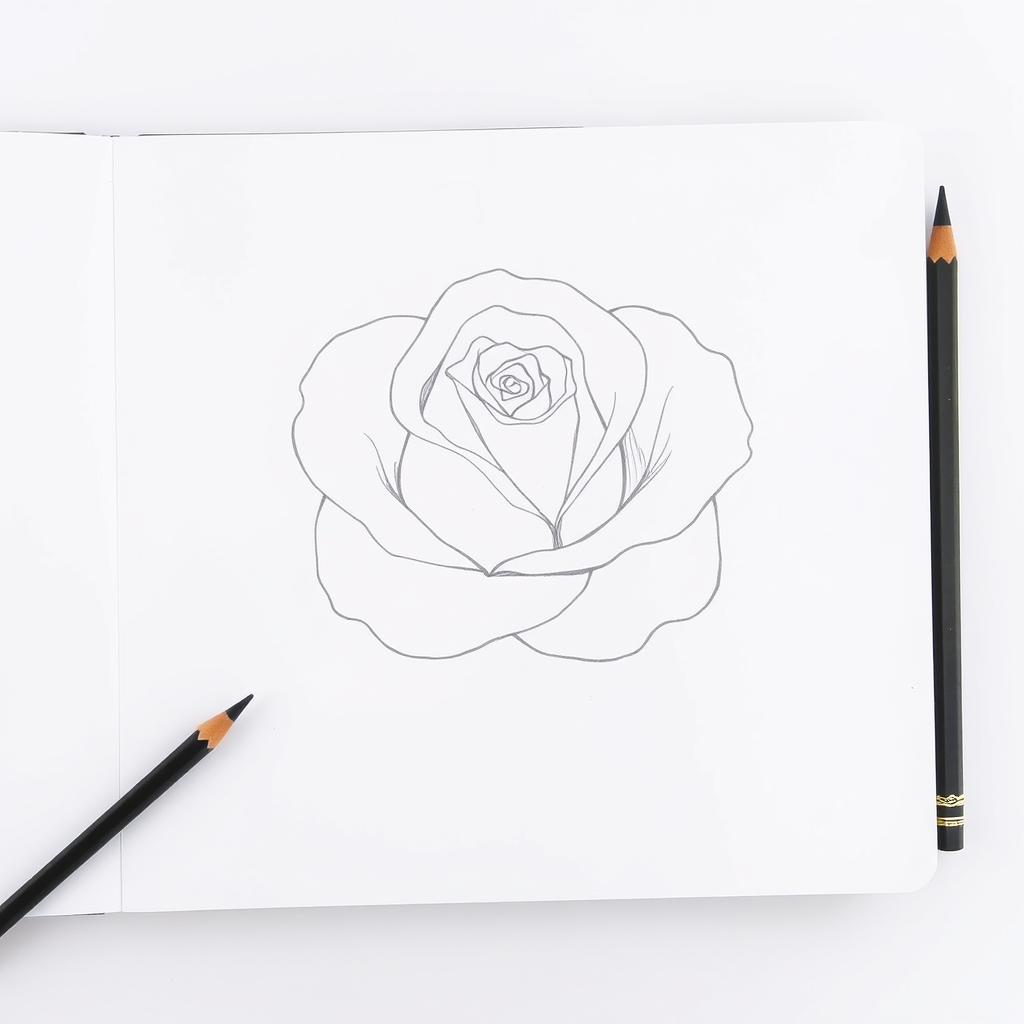
Go back over the outer edges and redraw them as soft wavy curls that turn outward and slightly back on themselves. A rose petal is never a clean arc; the edge folds away from the center as the flower opens.
This is the step that separates a rose from a generic flower. Keep the inner petals crisp and only curl the outer ones, because the outer petals are the older ones and they open first.
Step 5: Add Sepals, Stem and Leaves
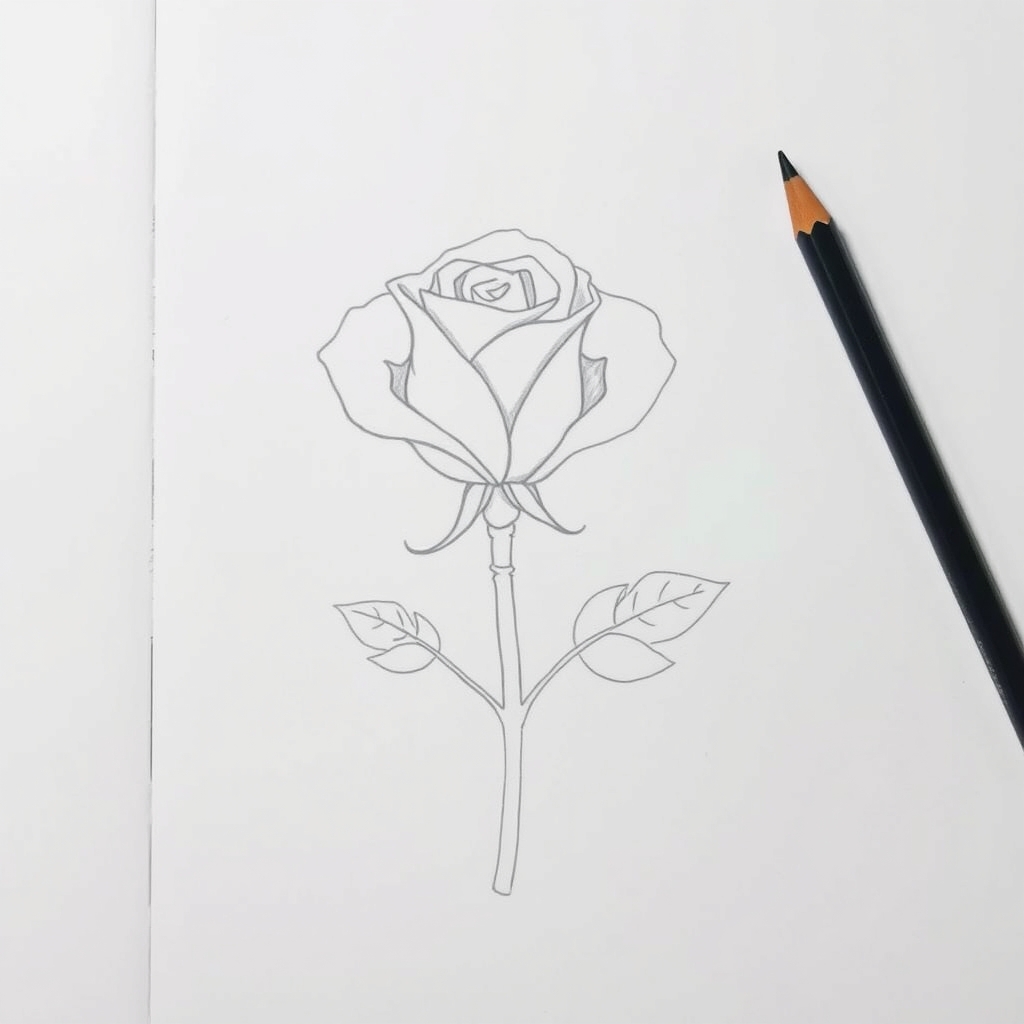
Tuck three or four pointed sepals under the bloom so the flower has something to sit on. Then draw the stem with a gentle curve rather than a straight line, and hang two leaves off it on opposite sides at different heights.
Rose leaves have serrated edges and a strong central vein with side veins branching off at an angle. Suggesting that structure on just one leaf is enough; render both in full detail and they compete with the flower.
Step 6: Shade From the Centre Outward
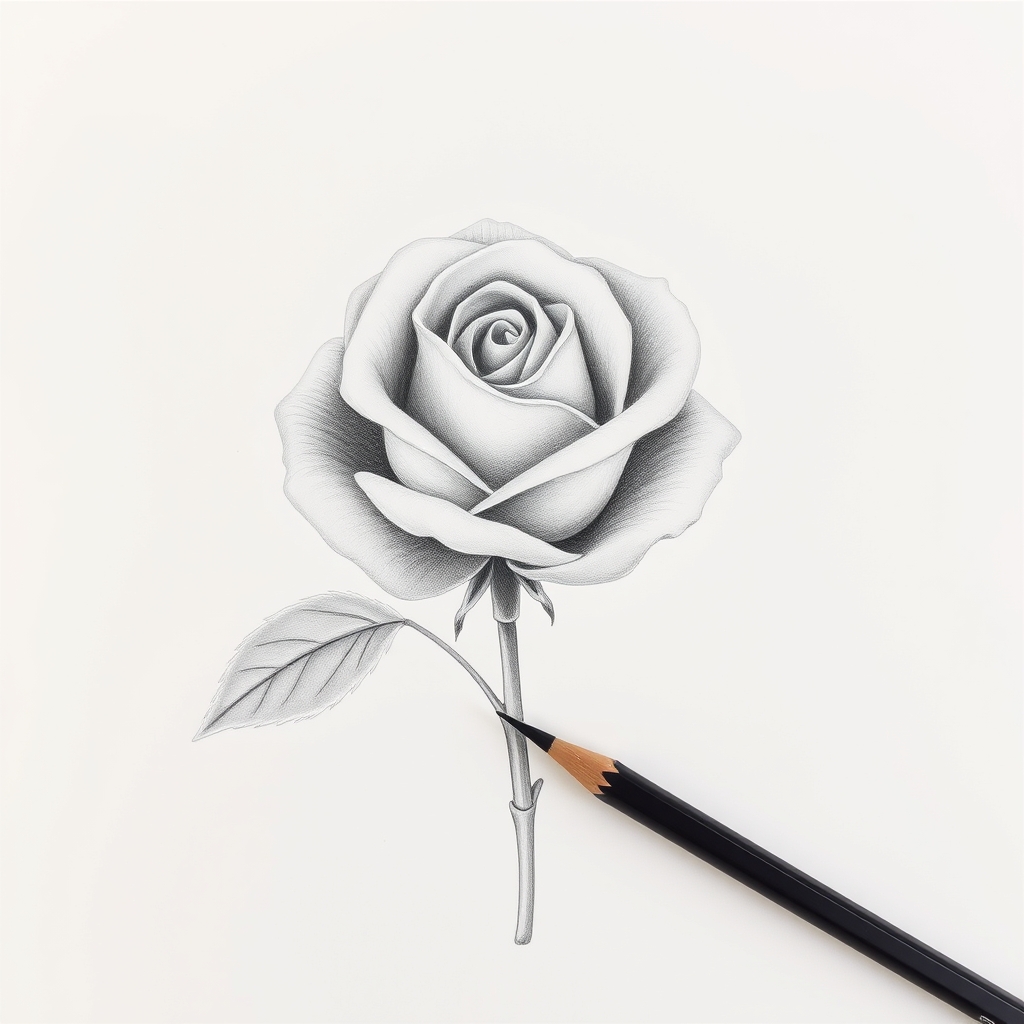
Switch to the 4B and put your darkest values deep in the center where the petals overlap and light cannot reach. Work outward, getting lighter with each ring, and leave the outermost petal edges as bare paper.
That single gradient, dark core to pale rim, is what makes a flat outline suddenly look three-dimensional. Blend the mid tones with a stump, then lift a few highlights back out with the kneaded eraser along the curled edges.
The Mistake Almost Everyone Makes
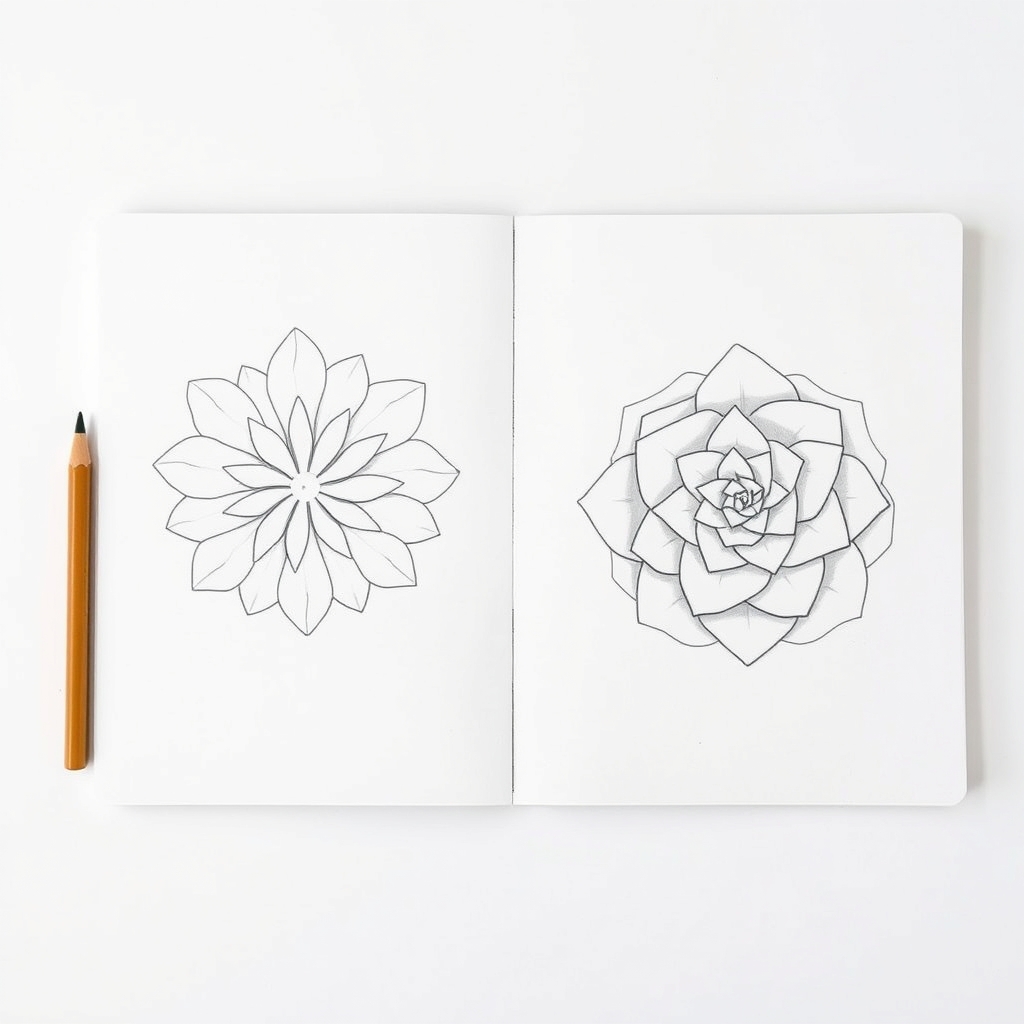
The drawing on the left is what happens when every petal is the same size and radiates evenly from the center. It is symmetrical, tidy, and completely wrong, because it reads as a pinwheel rather than a flower.
The one on the right breaks the symmetry in three small ways: the spiral sits off-center, the petals vary in size, and each ring is offset from the one beneath it. None of those is a drawing skill. They are decisions you make before the pencil moves.
Three Variations Once the Basic Rose Works
- The bud. Stop after step two and wrap the sepals right up around the petals. A bud is just the first half of this process.
- The side view. Draw the spiral as a narrow oval instead of a circle, and the same rings become a rose seen from the side rather than above.
- The fully open bloom. Add a fourth and fifth ring and curl every outer edge hard. The center spiral almost disappears, which is exactly what happens to a rose at the end of its life.
If you want to take the same flower into color, our watercolor rose drawing ideas pick up where this pencil drawing stops, and the layering order there follows the same center-outward logic.
Frequently Asked Questions
How do you draw a rose step by step for beginners?
Draw a small spiral first, wrap three petals around it, then add larger petals in rings with each one offset from the gap below. Curl the outer edges, add sepals and a stem, and shade darkest at the center.
Why does my rose drawing look flat?
Almost always because the values are too even. A rose is dark deep in the center and pale at the outer edges, and without that gradient the petals have nothing to sit in front of. Push the center darker than feels comfortable.
How many petals should a drawn rose have?
Between nine and fifteen reads as a rose. Three in the inner ring, four or five in the second, and five or six in the third is a reliable arrangement. Counting matters less than making sure no two are identical.
Should I draw the outline of the rose first?
No, and this is the single most common mistake. Drawing the outer silhouette first forces you to fit petals into a fixed shape, which is what produces the flat pinwheel look. Build outward from the spiral and let the silhouette happen by itself.
What pencil is best for drawing a rose?
An HB for construction and a 4B for the dark center. One pencil cannot give you both a crisp light petal edge and a deep core shadow, which is why single-pencil drawings tend to sit in a narrow grey band.
Where to Go Next
The spiral method transfers directly to peonies, ranunculus and camellias, which are all built the same way. Our flower drawing ideas collect the other shapes worth practicing, and the drawing guide explains which subject trains which skill so you can pick the next one deliberately. If portraits are where you are heading, how to draw eyes uses the same build-from-the-inside method.
If your pencil work keeps coming out grey and muddy, the problem is often the light on your desk rather than your technique, which our guide to art studio lighting covers. For pencils, paper and everything else in the right buying order, see the art supplies guide.