A seahorse tail always curls forward, toward its own belly, and the body has no scales at all. What looks like scaling is a set of bony rings encircling the body, so draw those rings across the form rather than drawing fish scales.
Key takeaways
- ["The tail curls forward toward the belly, never backward like a monkey's", "Seahorses have no scales; the body is armored in rings of bony plates", "Draw the ring lines across the body, following its curve, not down it", "The whole animal is one long S from the snout to the tip of the tail", "Only the tiny dorsal fin and the two cheek fins actually move it"]
One detail separates a seahorse that looks right from one that does not. The tail curls forward, toward the animal’s own belly. Almost every invented seahorse curls it backward like a monkey’s tail, and a real one grips seagrass by wrapping the tip inward beneath itself.
The surface is the second thing people get wrong. Seahorses have no scales whatsoever; the body is encased in rings of bony plates. Those rings run across the body rather than along it, and drawing them as fish scales is what makes a seahorse look like a decorated eel.
Everything else follows from one shape. The whole animal is a single long S, from the tip of the snout down through the chest and out along the tail. Get that curve right in one confident line and every ring and fin can be added afterwards without the proportions drifting.
The thirty pieces below run from pale washes and splatter to neon, zentangle and geometric fragmentation, all in watercolor and mixed media. For another tall wading subject see watercolor flamingo drawing ideas, and for a single-pigment approach, the clay red watercolor palette.
Compiled by the GS Art Zone editorial team. Last updated August 2026. Each idea is paired with the specific step that produces the effect, so you can go from the reference straight to paper.
What You Need Before You Start
- A fine liner or rigger for the ring lines, which are the whole texture
- Masking fluid if you want the pale ridges to survive a dark background
- Two blues and one warm yellow, since most seahorses sit between the two
- Cold pressed paper, because the rings look better with a little texture
- A reference photo, as invented seahorses almost always curl the wrong way
1. Pale Peach Pair
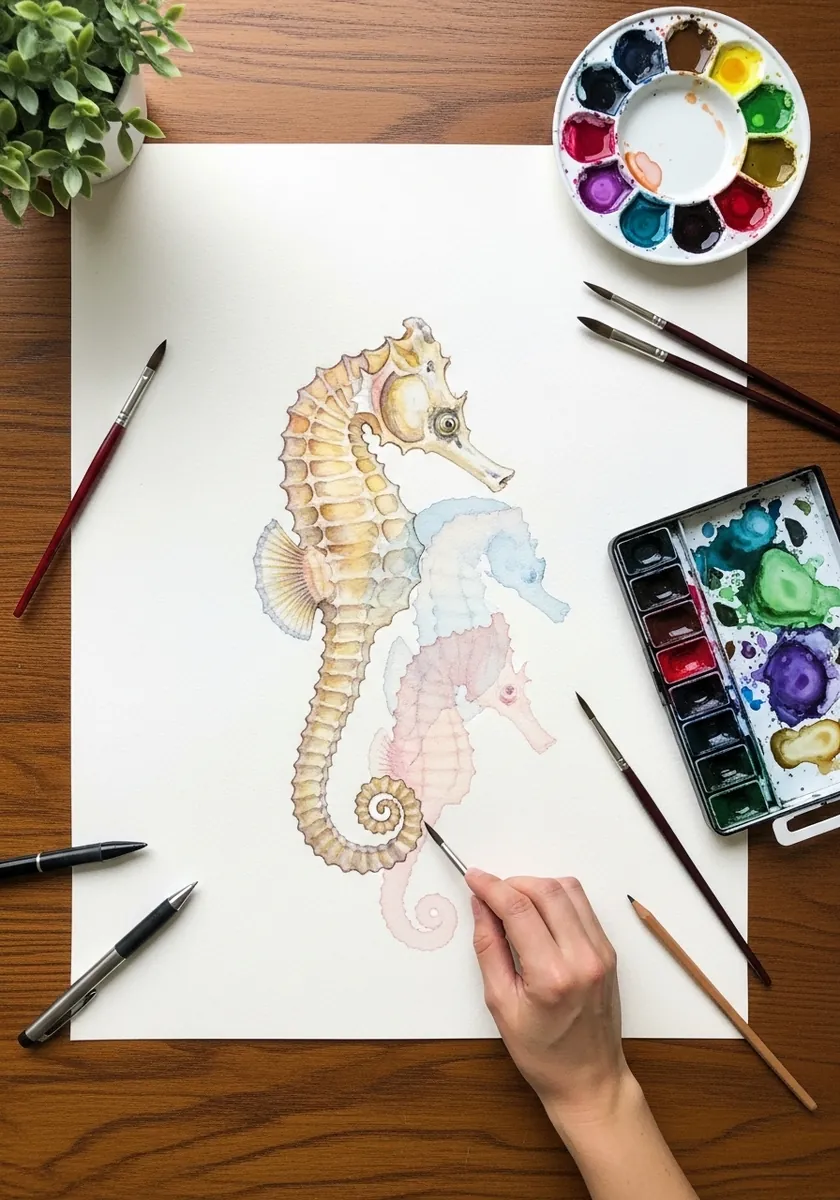
Two of the same animal need to differ. Turn one head slightly away, curl the two tails at different tightnesses, and paint the further one paler throughout. Identical twins side by side read as a repeated stamp rather than a pair.
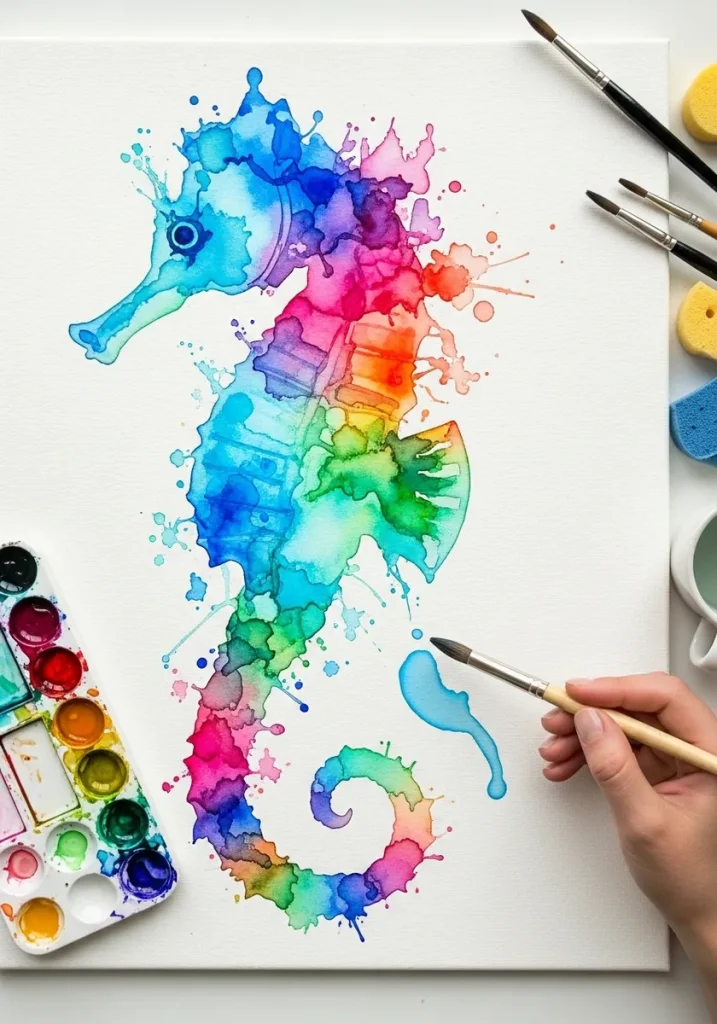
2. Rainbow Splash Seahorse
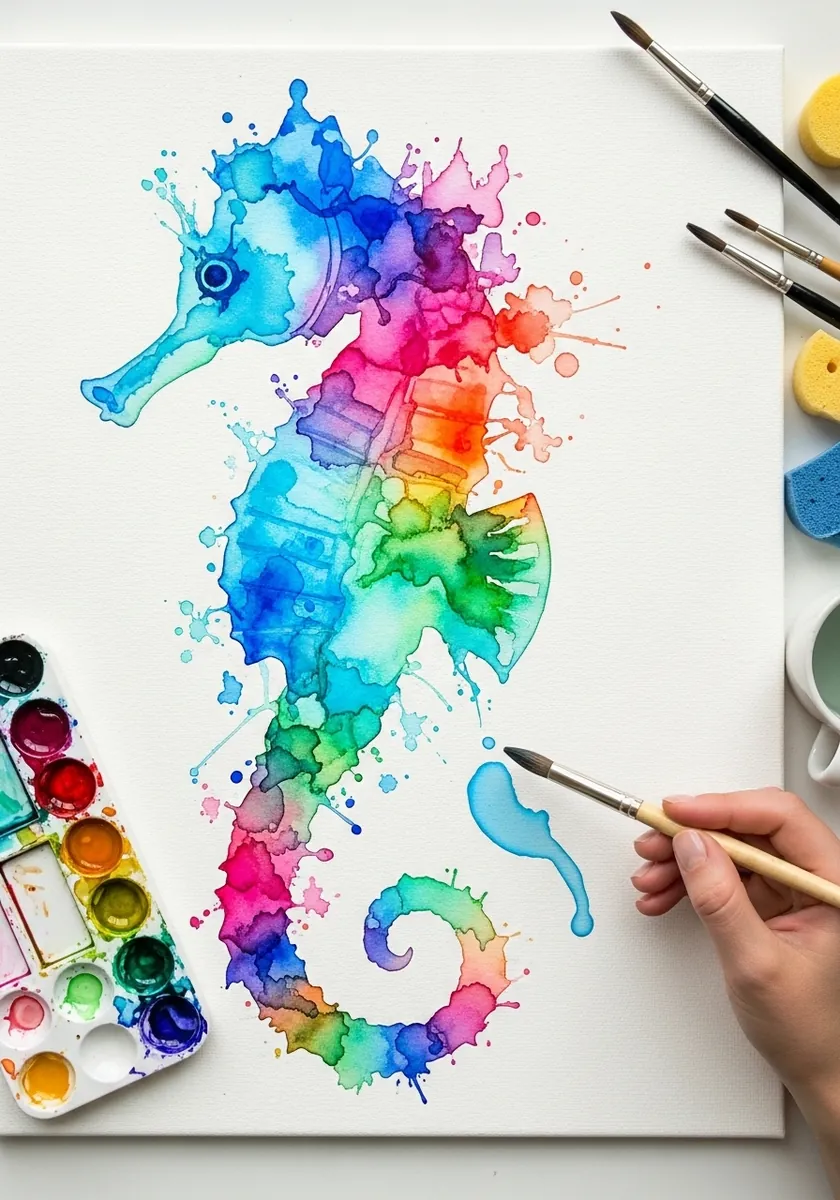
Rainbow color works when it follows the form. Run the hues along the body from head to tail rather than banding them across it, let each one bleed into the next while wet, and keep the ring lines visible on top once everything is dry.
3. Olive and Gold Study
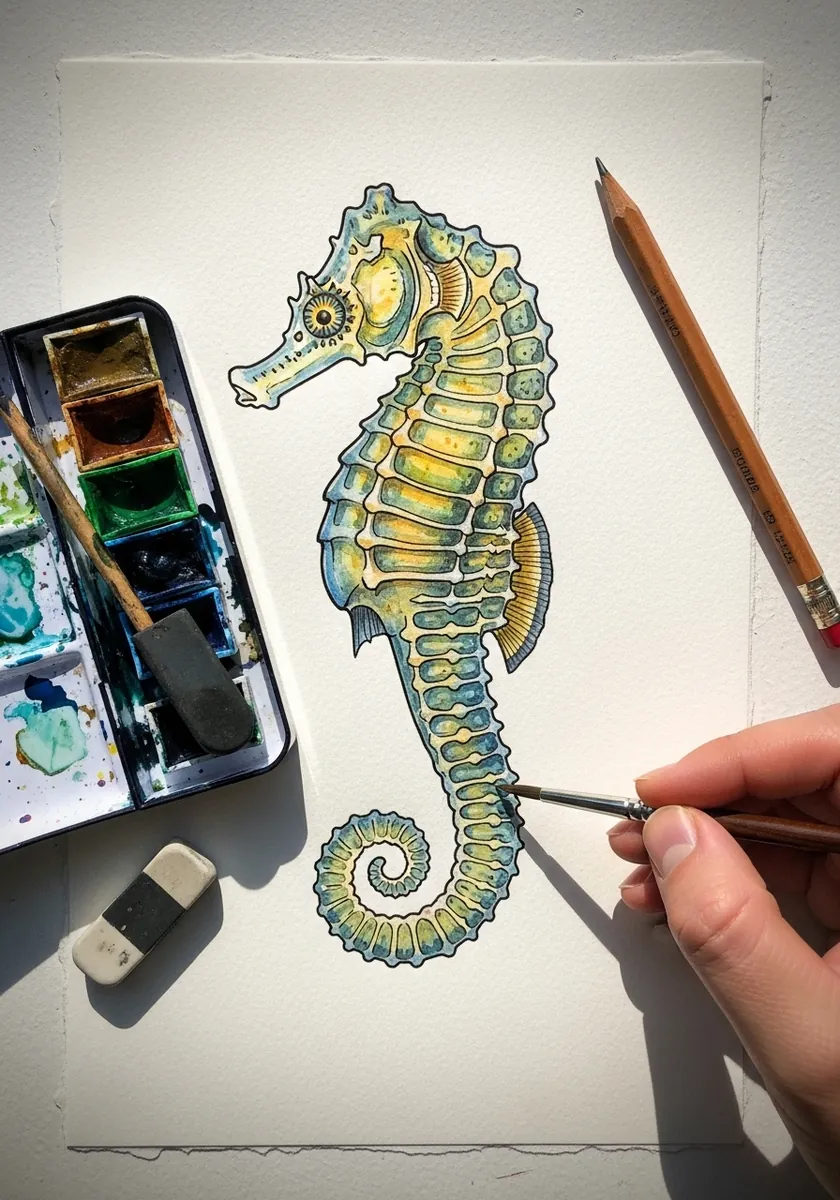
This is the closest to a real specimen in the set. Keep the palette to two earth colors, put the darkest tone in the recess between every ring, and let the ridges stay pale. The texture comes entirely from that repetition.
4. Splattered Color Seahorse
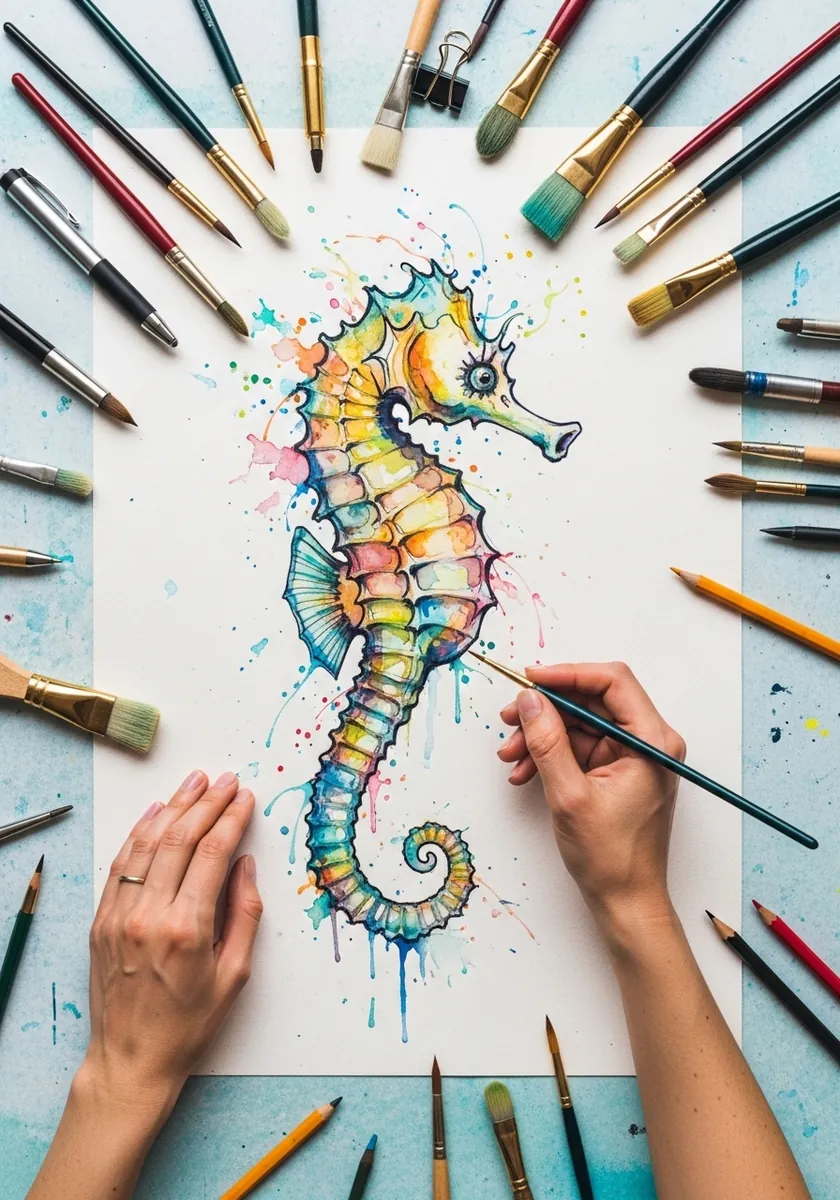
Splatter should surround the subject, not land on it. Cover the seahorse with a scrap of paper, flick the brush from a distance, then lift the scrap; the animal stays crisp and the energy sits around it. Work over newspaper, because the flicks travel further than you expect.
5. Patchwork Panels
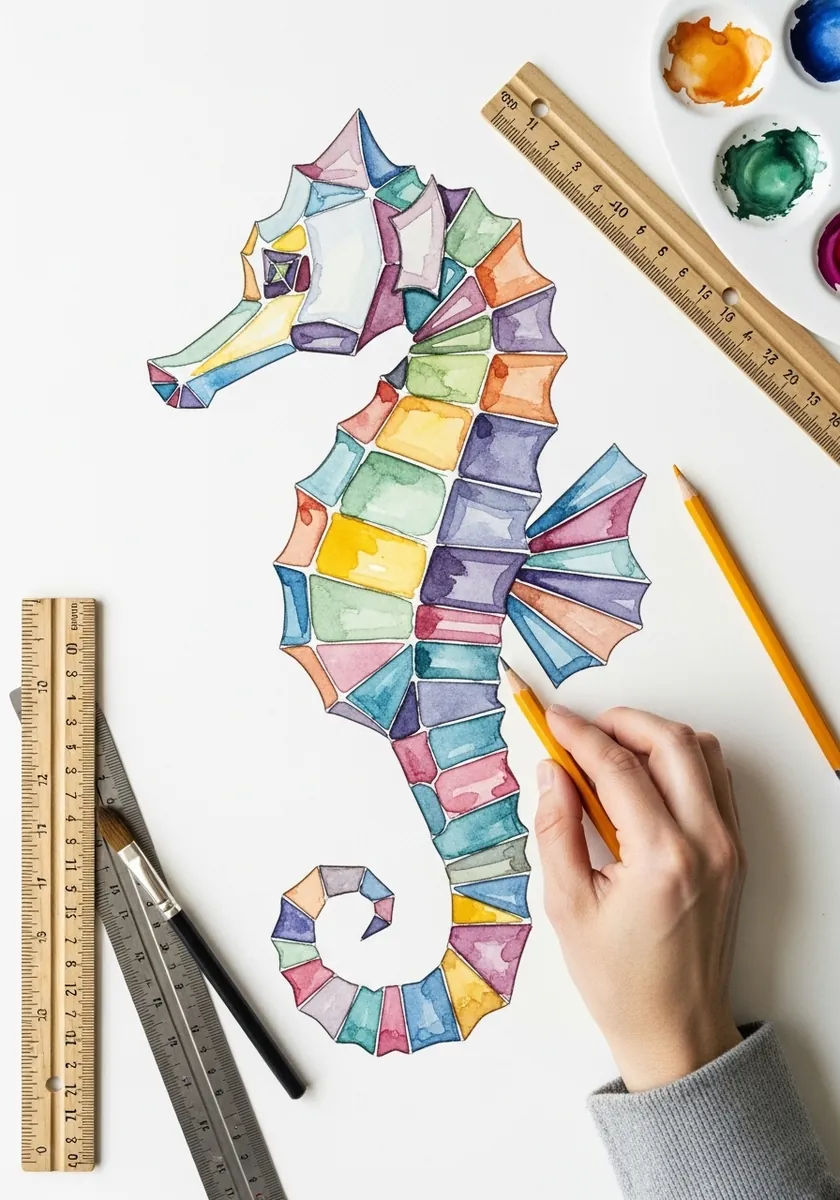
Dividing a subject into panels needs the drawing to come first. Draw the seahorse accurately in light pencil, then cut it into irregular panels with straight lines, and fill each one with a flat unmixed color. Keep two neighboring panels the same color so the eye reads the animal first.
6. Winged Fantasy Seahorse
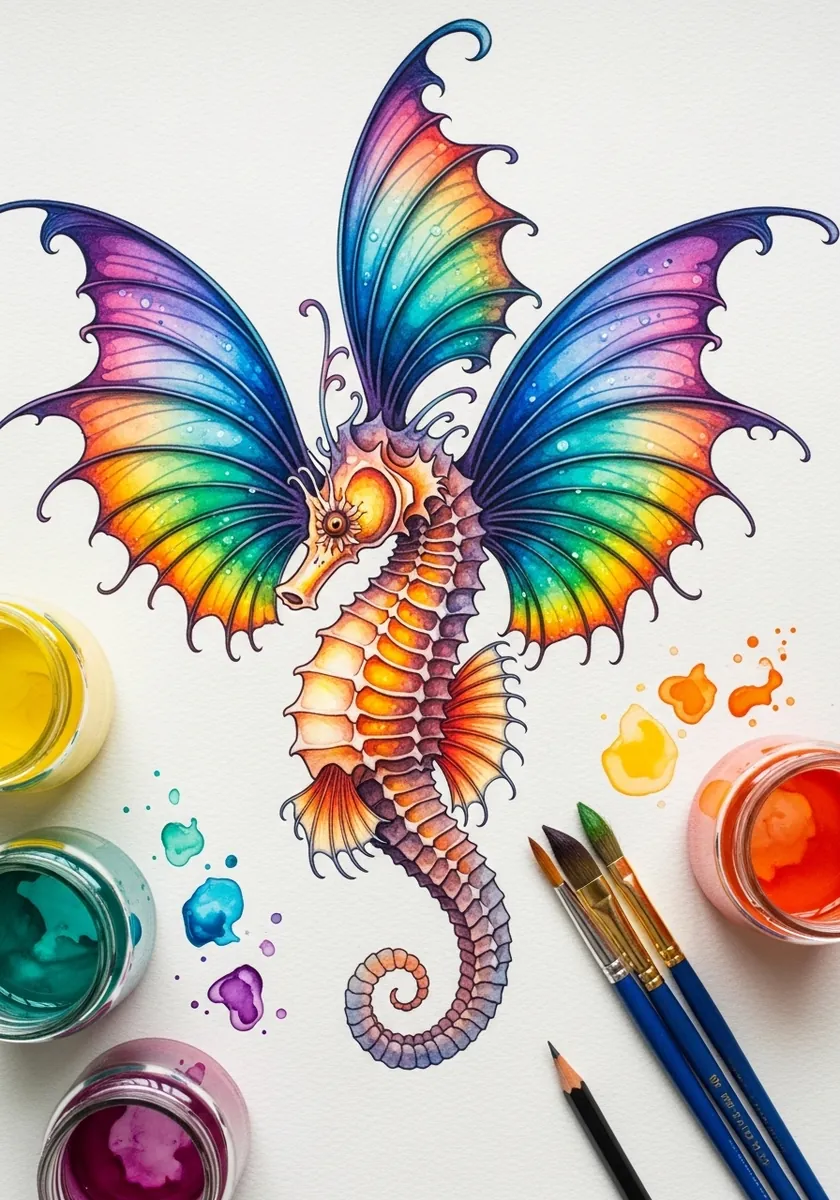
Adding wings to a real animal only works if the joins are believable. Attach them where a fish’s pectoral fins actually sit, keep them slightly translucent, and let one wing overlap the body so it is clearly behind the shoulder.
7. Fine Ink Line Study
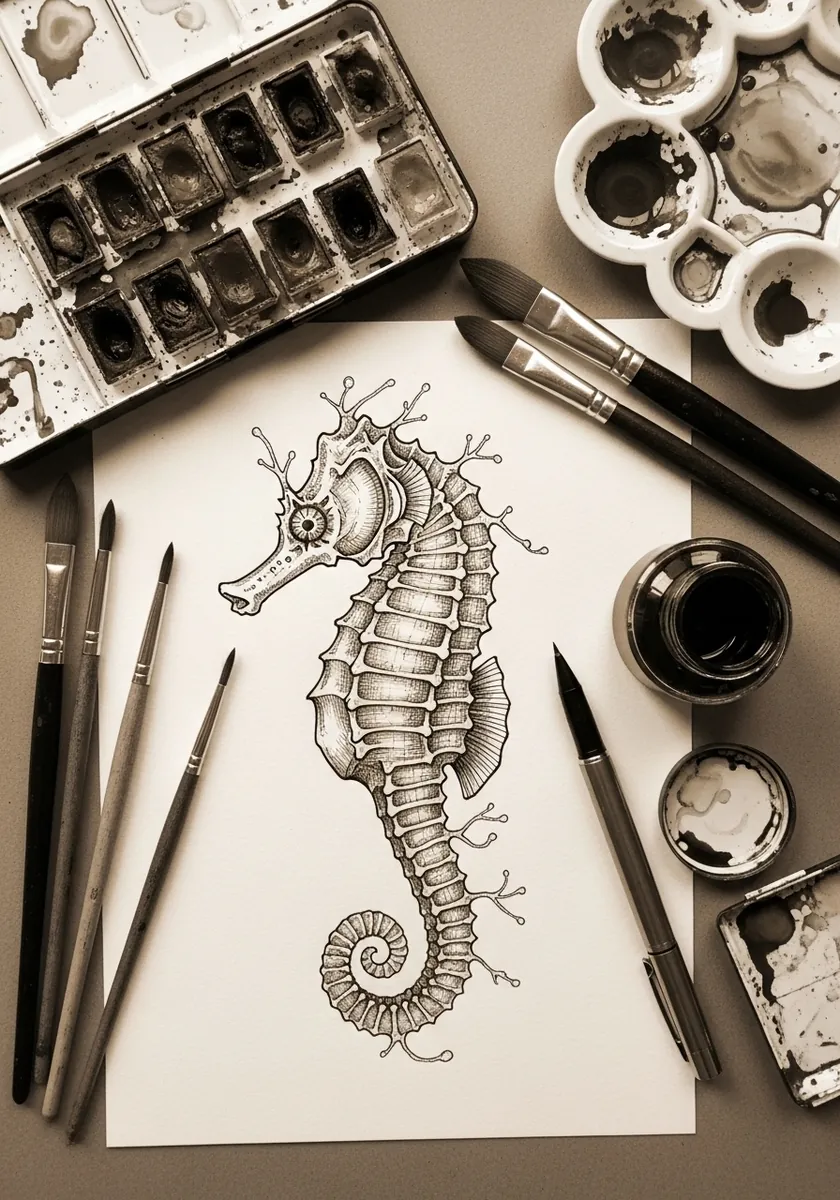
Line work has to carry both structure and tone. Draw each ring as a single confident line, then add hatching only in the hollows between rings, and leave the ridges as bare paper. No wash is needed at all. Rest your hand on a spare sheet, since ink smudges long after it looks dry.
8. Pale Seahorse on Sea Wash
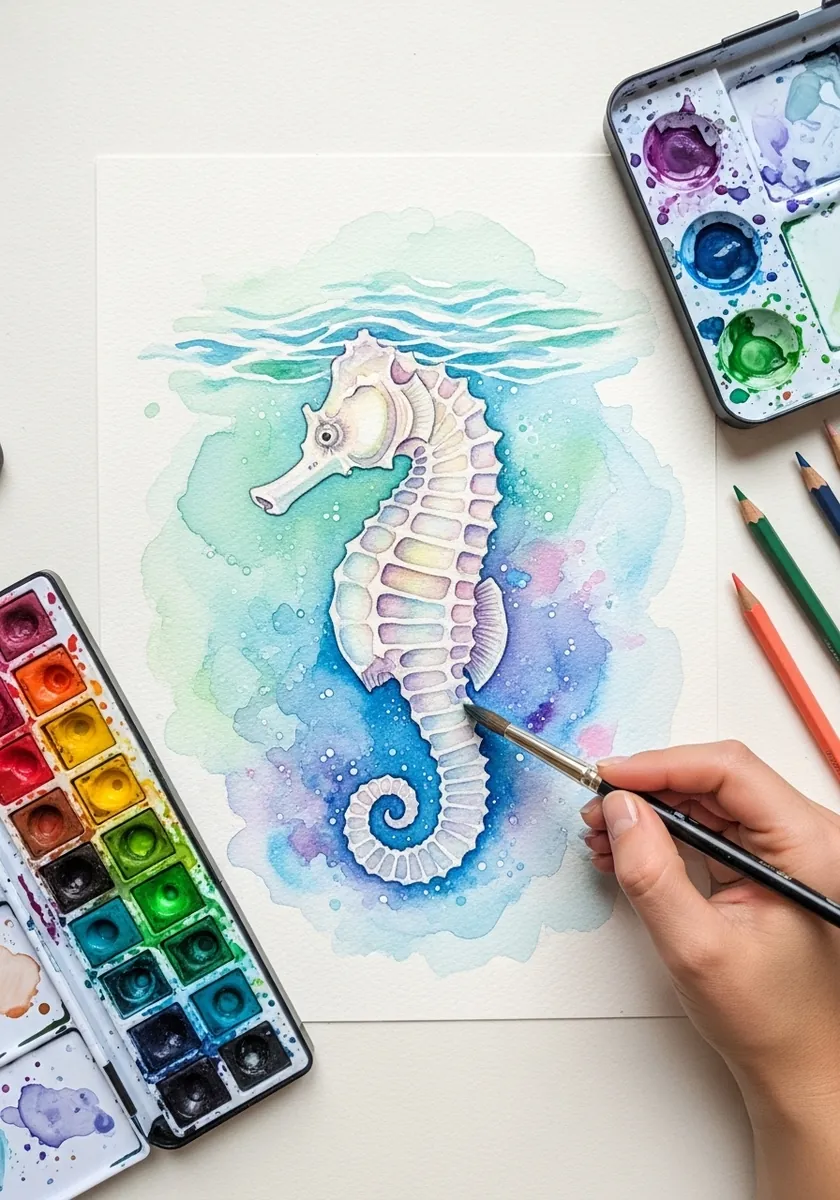
Painting light against dark means reserving the subject. Mask or carefully avoid the seahorse, flood the background wet into wet with blues and greens, and only add the animal’s own detail once that background is completely dry. Rub the masking fluid off gently with a finger rather than an eraser.
9. Seahorse on Color Blocks
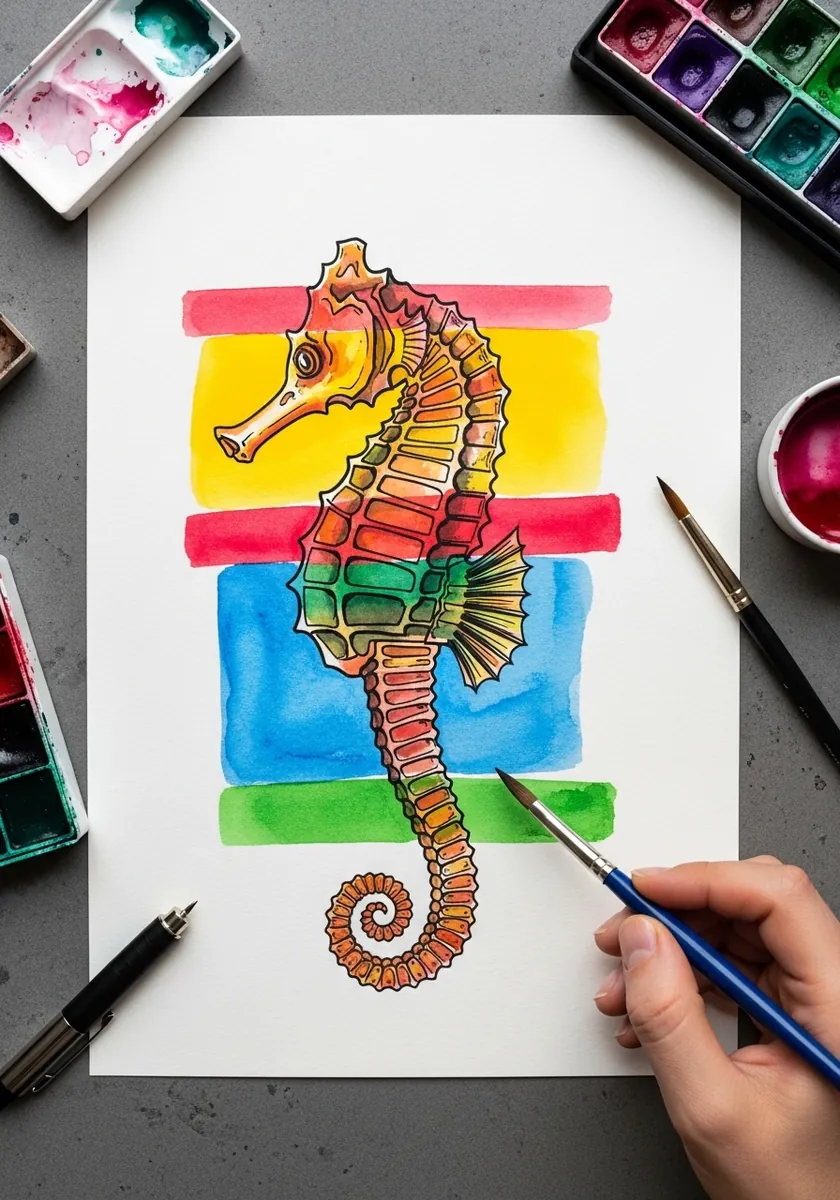
Flat blocks behind a detailed subject create instant contrast. Lay three or four rectangles of unmixed color, let them dry hard, then paint the seahorse straight across them so it crosses two or three blocks at once. Leave a thin strip of white paper between two of the blocks for breathing space.
10. Soft Blue-Gray Seahorse
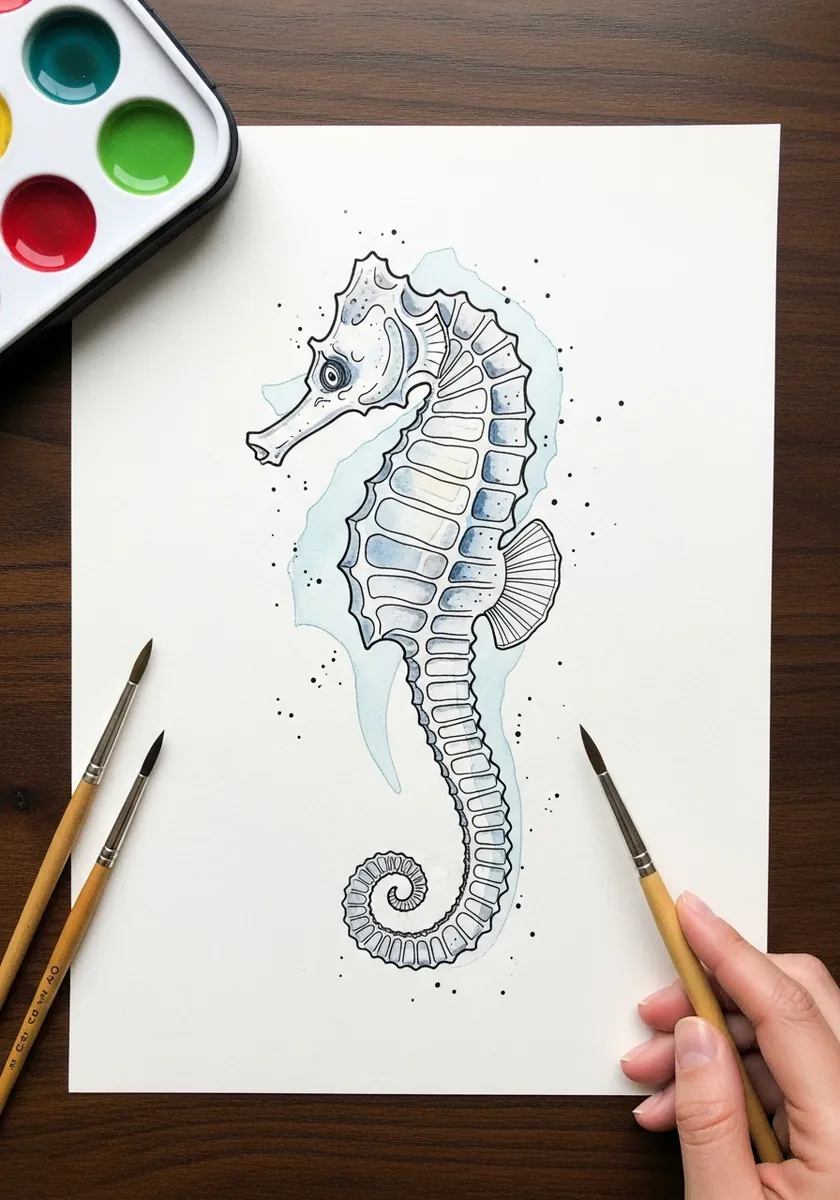
A pale painting still needs one real dark. Keep the whole animal in the lightest two values, then put a genuinely deep tone in the eye and in the deepest tail curl, and the picture gains structure without losing its softness.
11. Bold Cartoon Seahorse
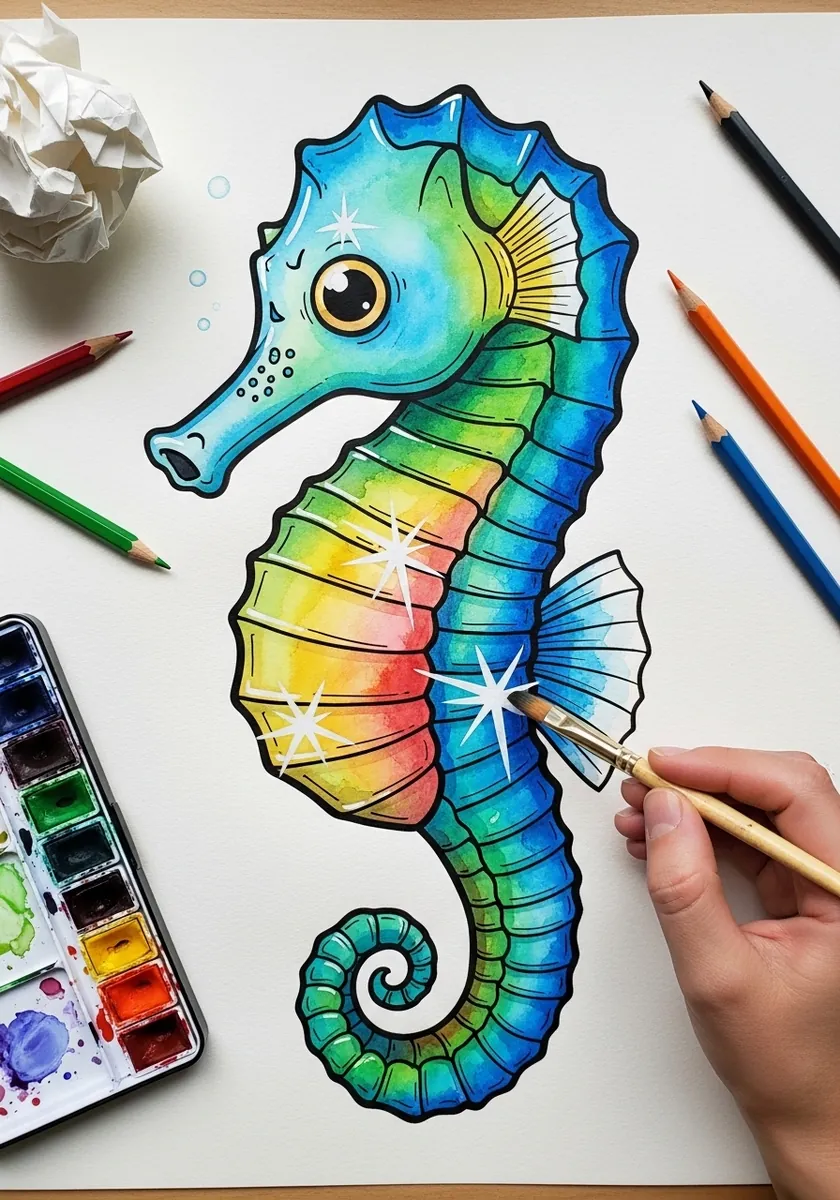
Cartoon style is about consistent line weight. Outline the whole animal at one thickness, fill with flat saturated color, and add a single white sparkle to the eye. Keep the rings simplified to five or six across the body. Give the tail one full turn only, because more curls clutter a cartoon shape.
12. Muted Seahorse With Spatter
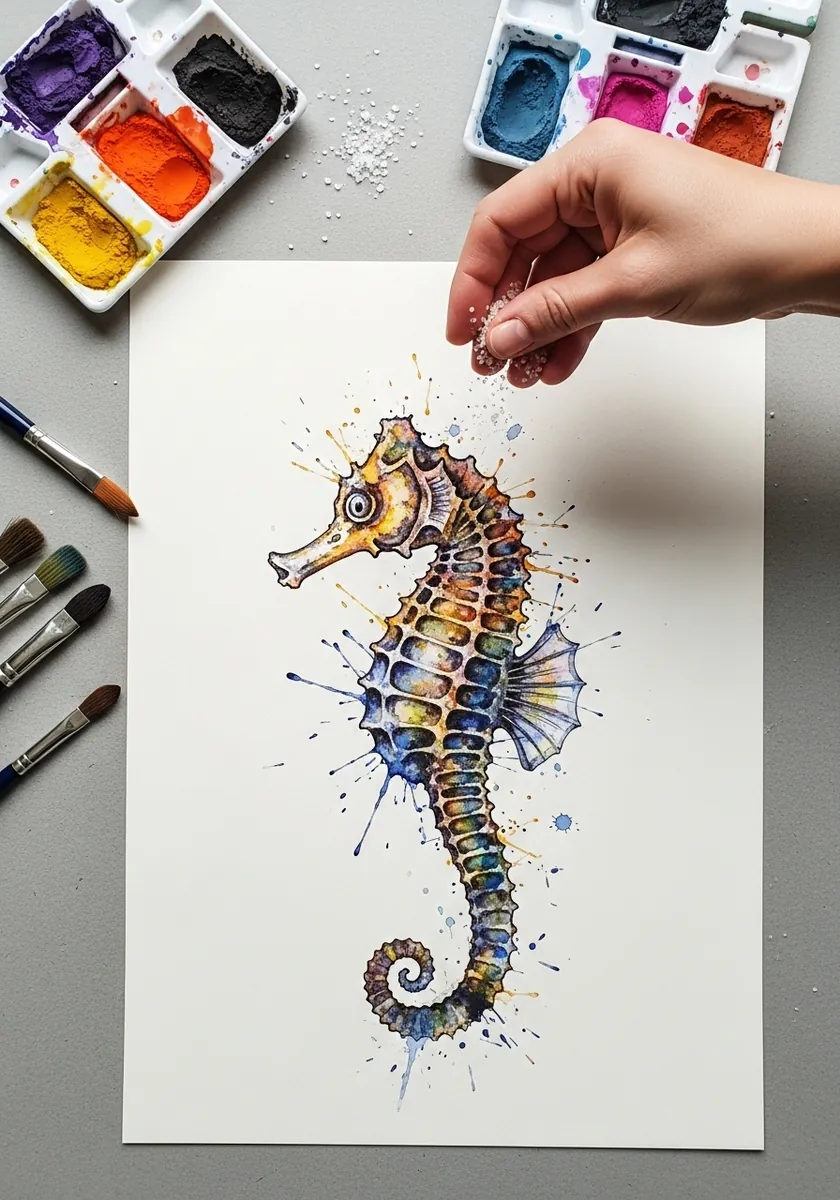
Muted work depends on gray mixed from color, not from black. Mix your grays from the blue and the orange already on the palette, keep the whole thing low in saturation, and let the spatter be the only saturated marks.
13. Patterned Silhouette
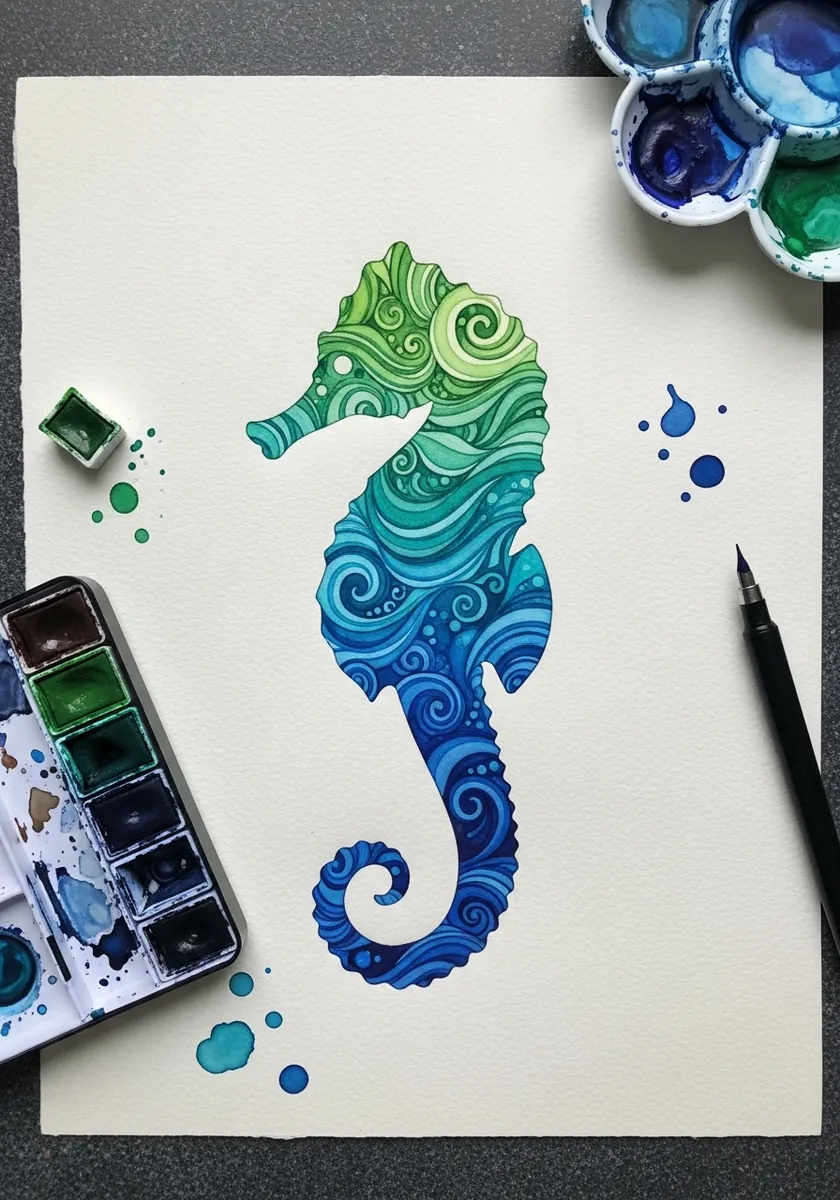
A filled silhouette turns the animal into a shape. Get the outline exactly right, since nothing inside will help it, then fill the body with swirls and spirals that follow the curve of the form rather than sitting flat. Keep the pattern densest near the head so the eye starts in the right place.
14. Seahorse in the Reef
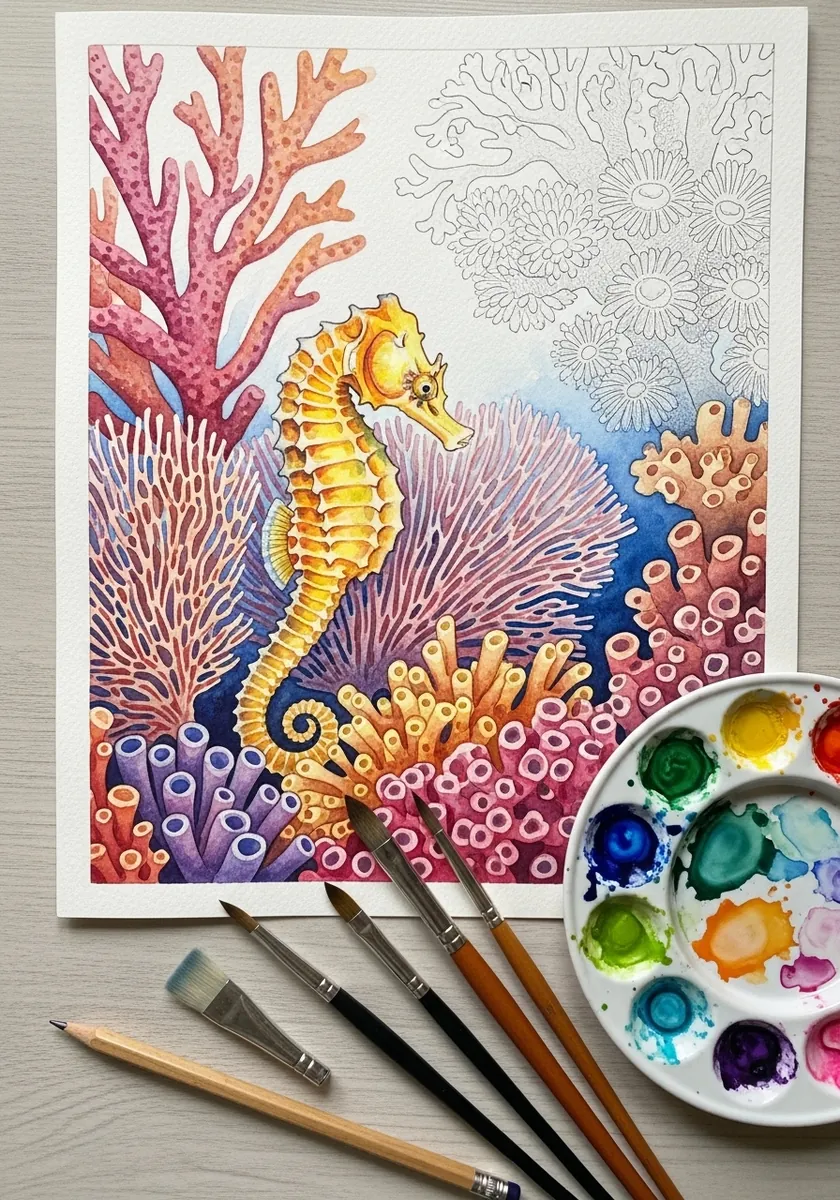
A busy background needs the subject to stay simplest. Paint the coral in broken texture and many colors, keep the seahorse itself smooth and in one hue, and let it be the only thing with a hard clean edge. Darken the water directly behind the animal so the silhouette separates cleanly.
15. Seahorse on a Rainbow Sweep
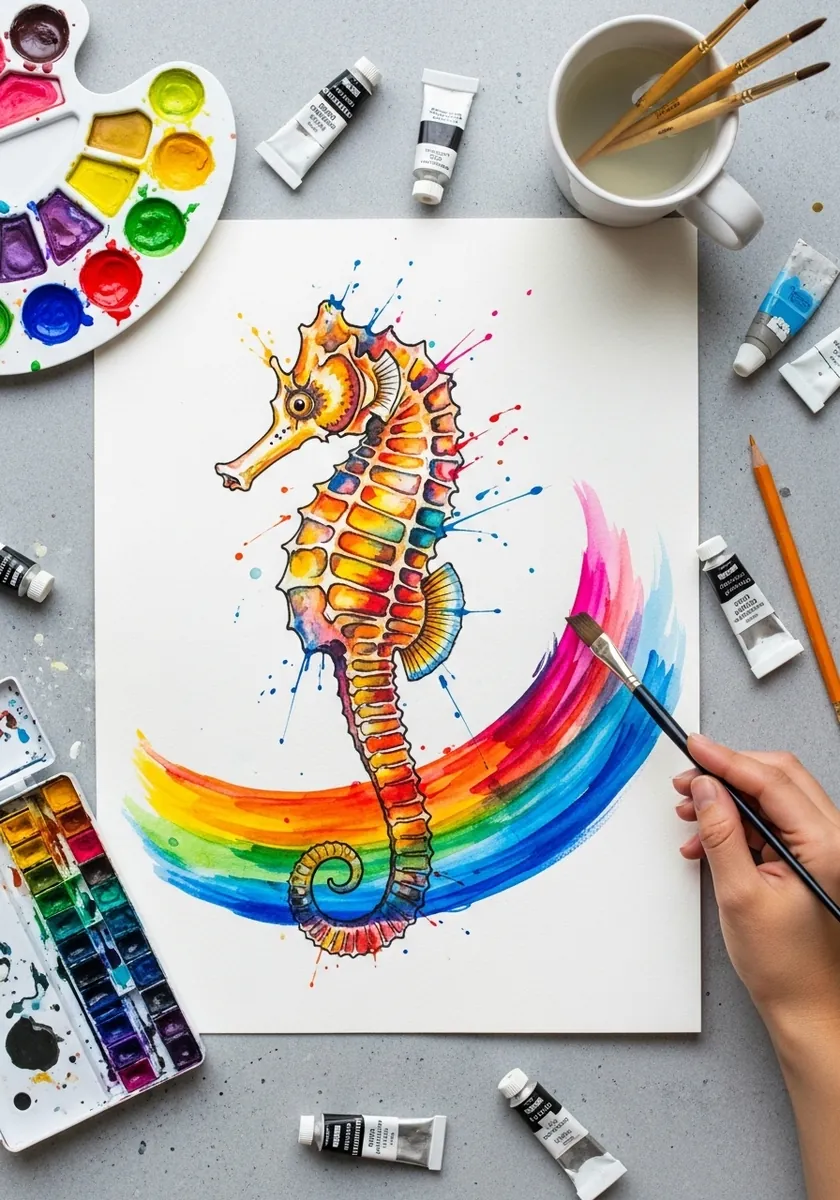
One gesture behind a careful subject is a strong contrast. Load a wide brush and pull the rainbow across in a single arc, let it dry completely, then paint the seahorse over the top so the arc passes behind the tail.
16. Sepia Seahorse With Mane
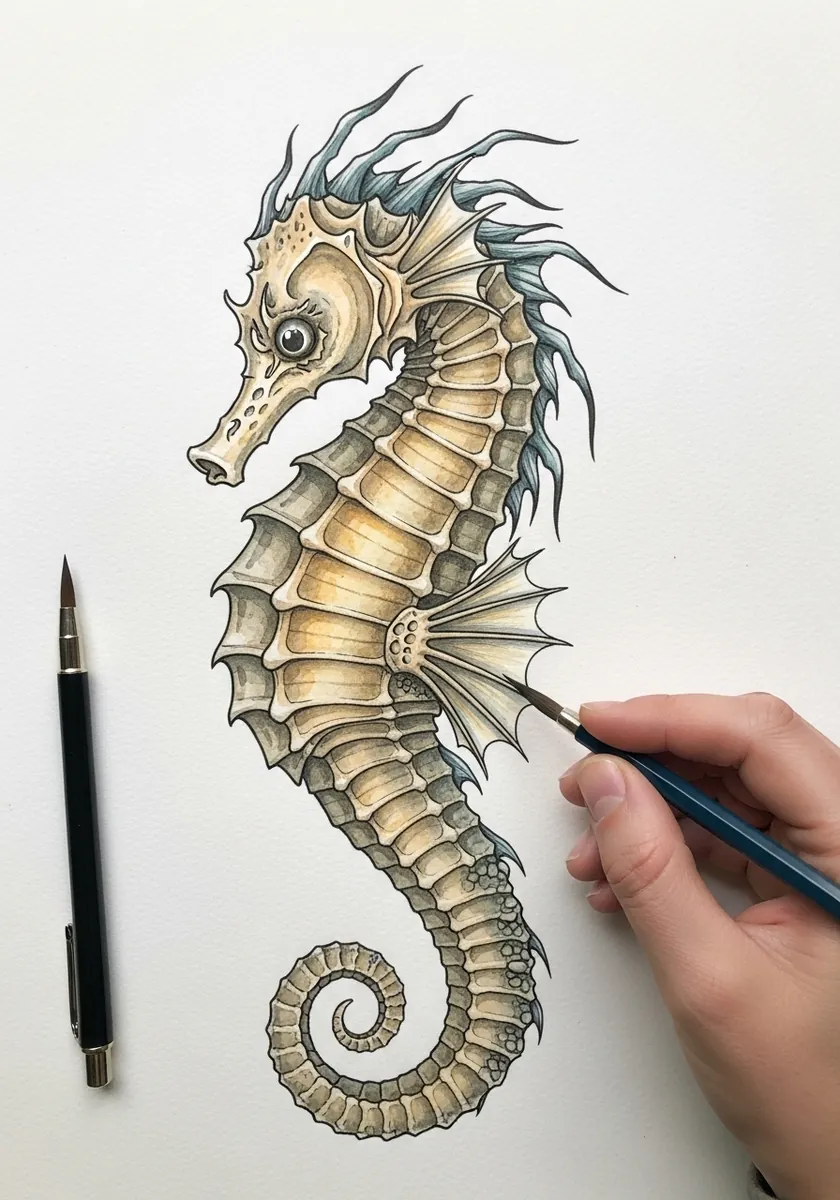
Some seahorse species carry long skin filaments that look like a mane. Draw them as fine curved spines growing from the ridges along the back, vary their lengths, and keep them the same color as the body. Keep the filaments sparse, since a solid fringe reads as fur rather than skin.
17. Pastel Gradient Wash
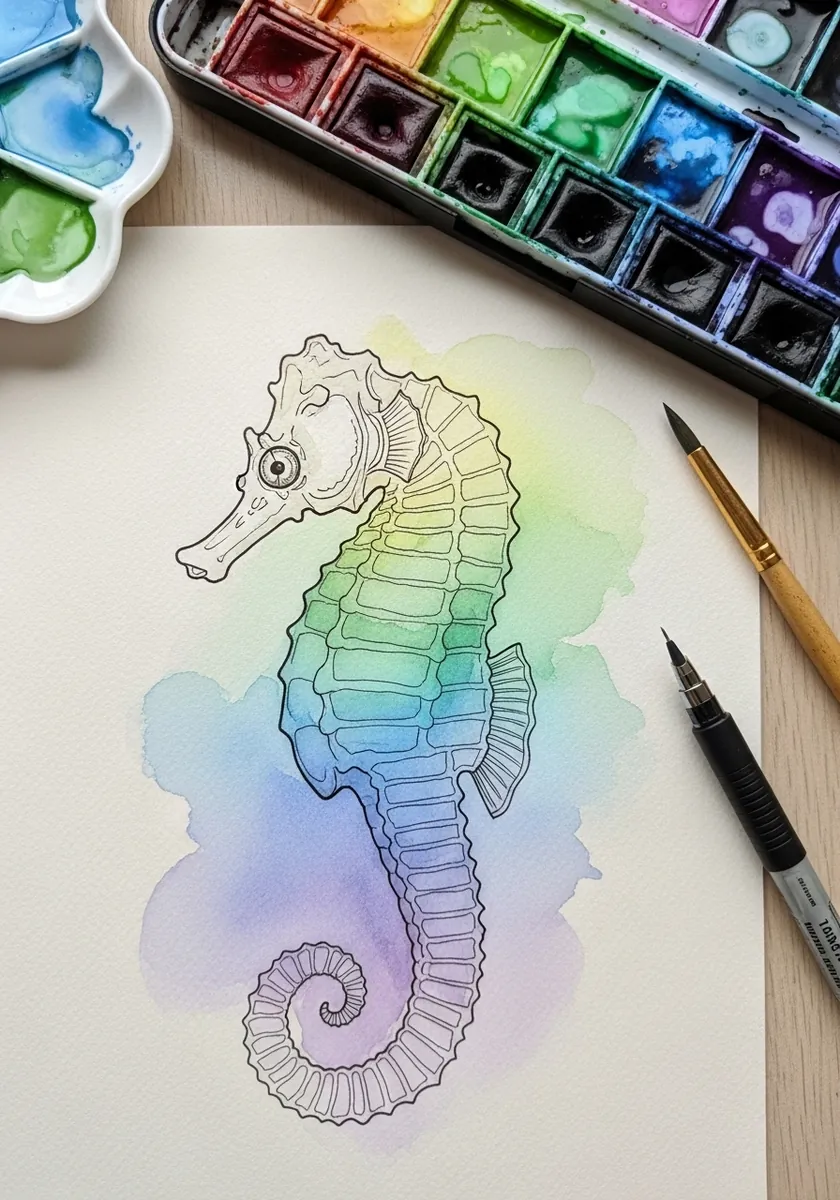
A gradient behind a pale subject must not overpower it. Keep the wash weakest immediately around the animal and strongest at the corners, work it wet into wet, and leave a halo of near-white paper against the outline. Tilt the board while the wash is wet so the colors drift rather than pool.
18. Pure Outline Before Paint
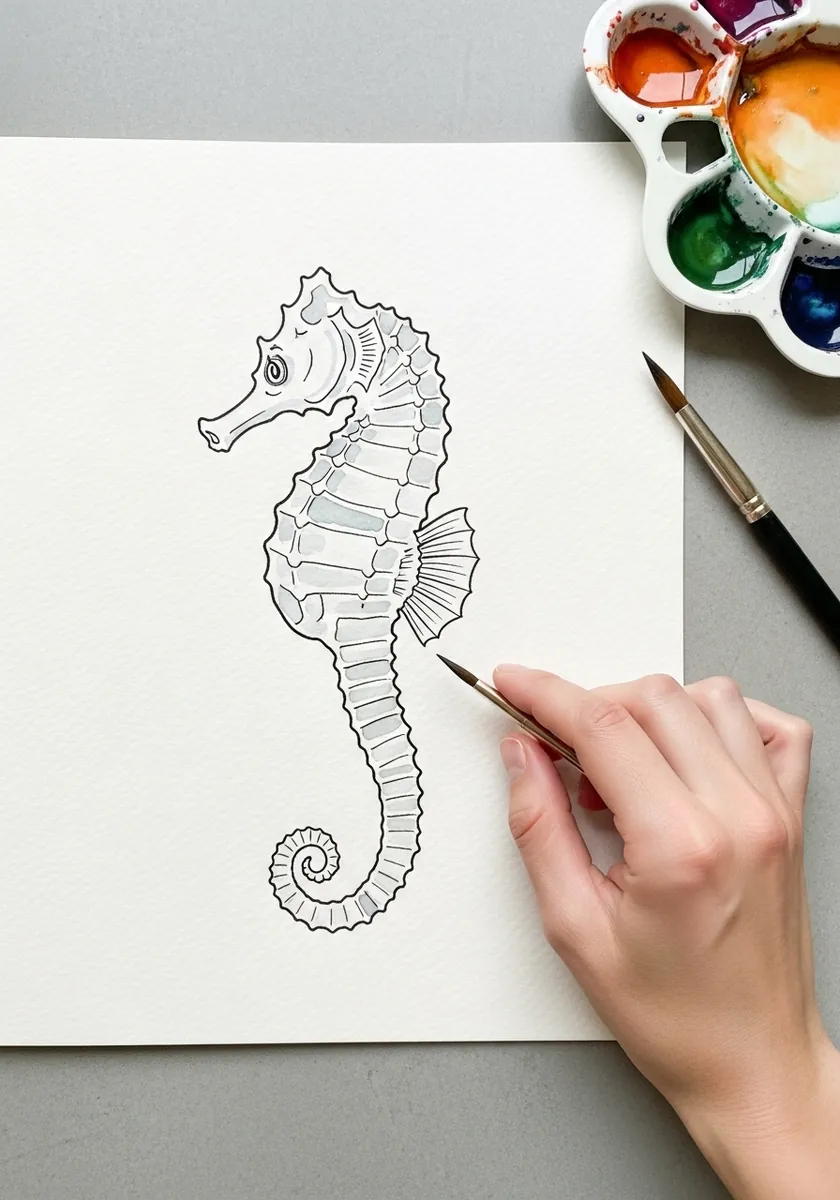
The drawing stage decides everything that follows. Get the single S curve down first, then the snout, the crown and the tail spiral, and check the tail curls forward before a single ring goes in. Paint cannot fix a wrong curl.
19. Seahorse on Aged Paper
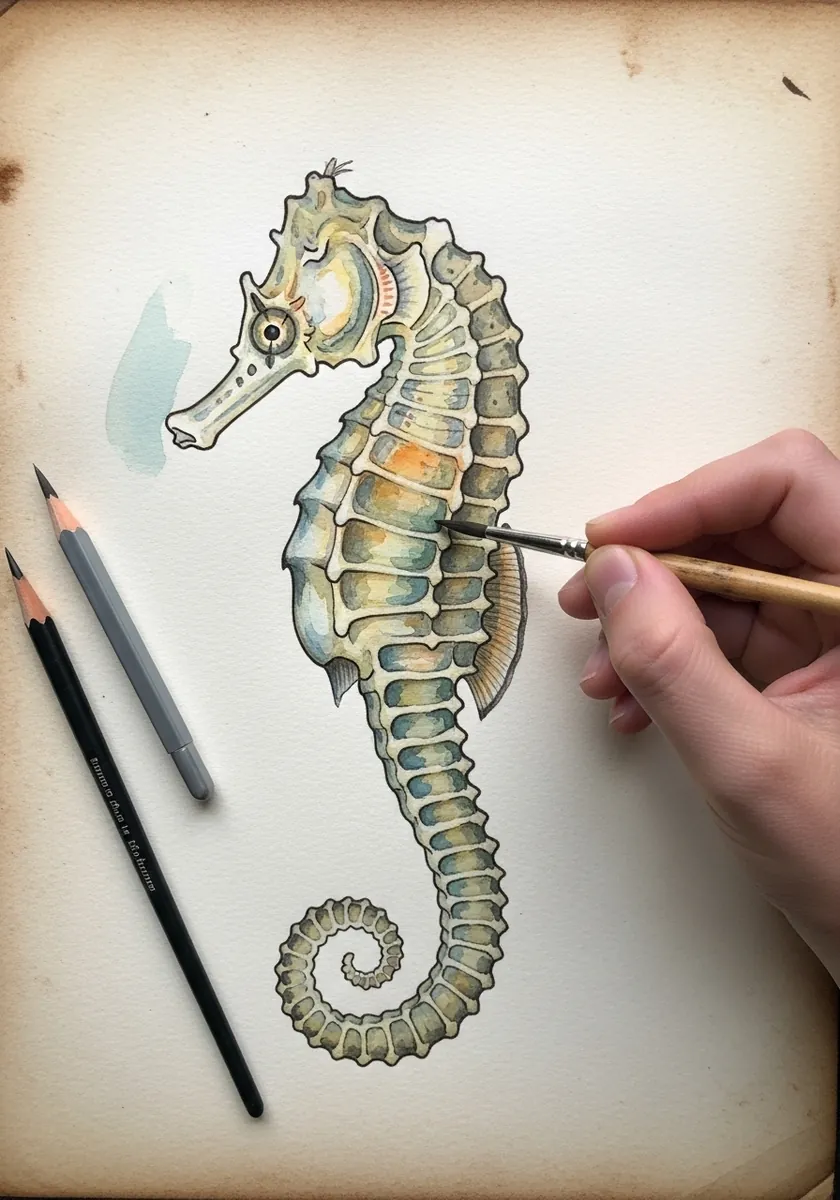
Toned or aged paper removes the white, which changes every value judgement. Keep the whole animal close to the paper tone and add opaque white only on the topmost ridges, so the highlights genuinely read as light. Tea-stain a sheet yourself if you have no toned paper to hand.
20. Indigo Splash Seahorse
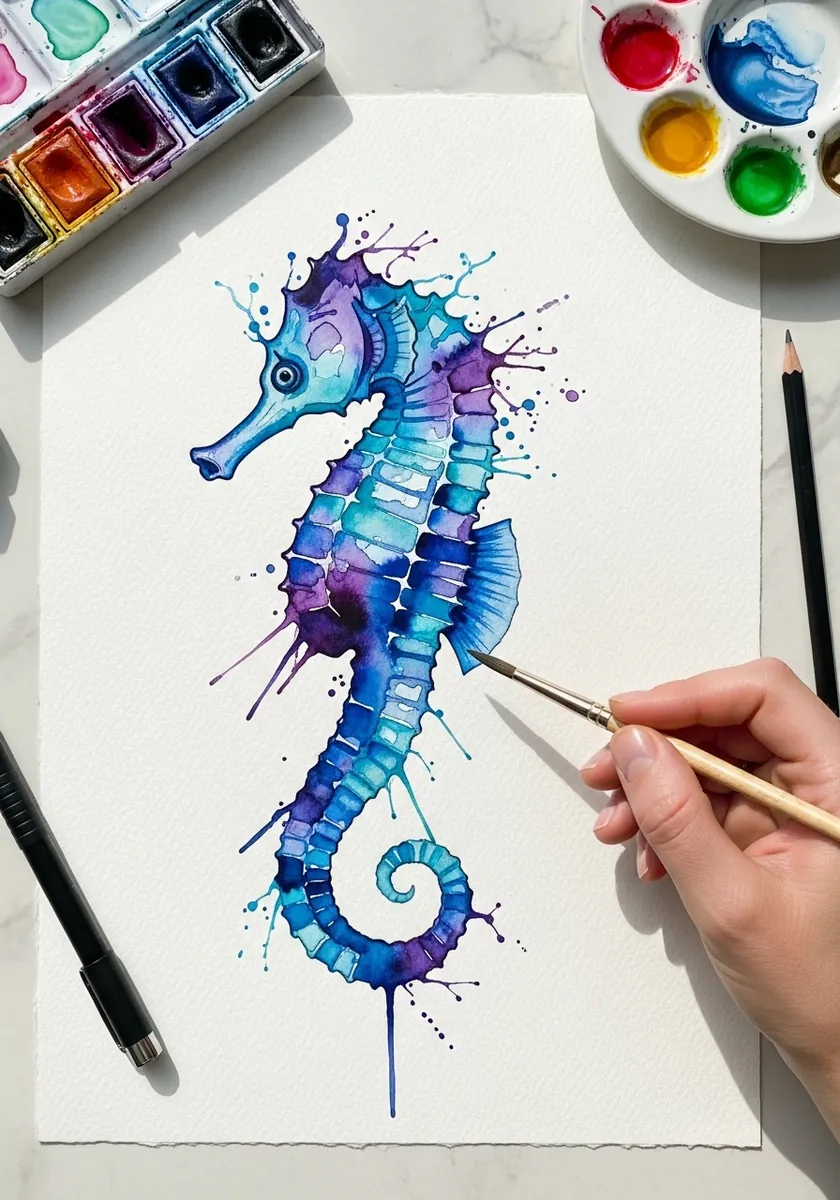
A near-monochrome splash piece lives on value range. Use one pigment at three strengths, drop the strongest into the wet body so it blooms, and let the splashes around it be the palest dilution of the same color. Let one splash run off the edge of the paper so the piece feels unbounded.
21. Neon Glow on Black
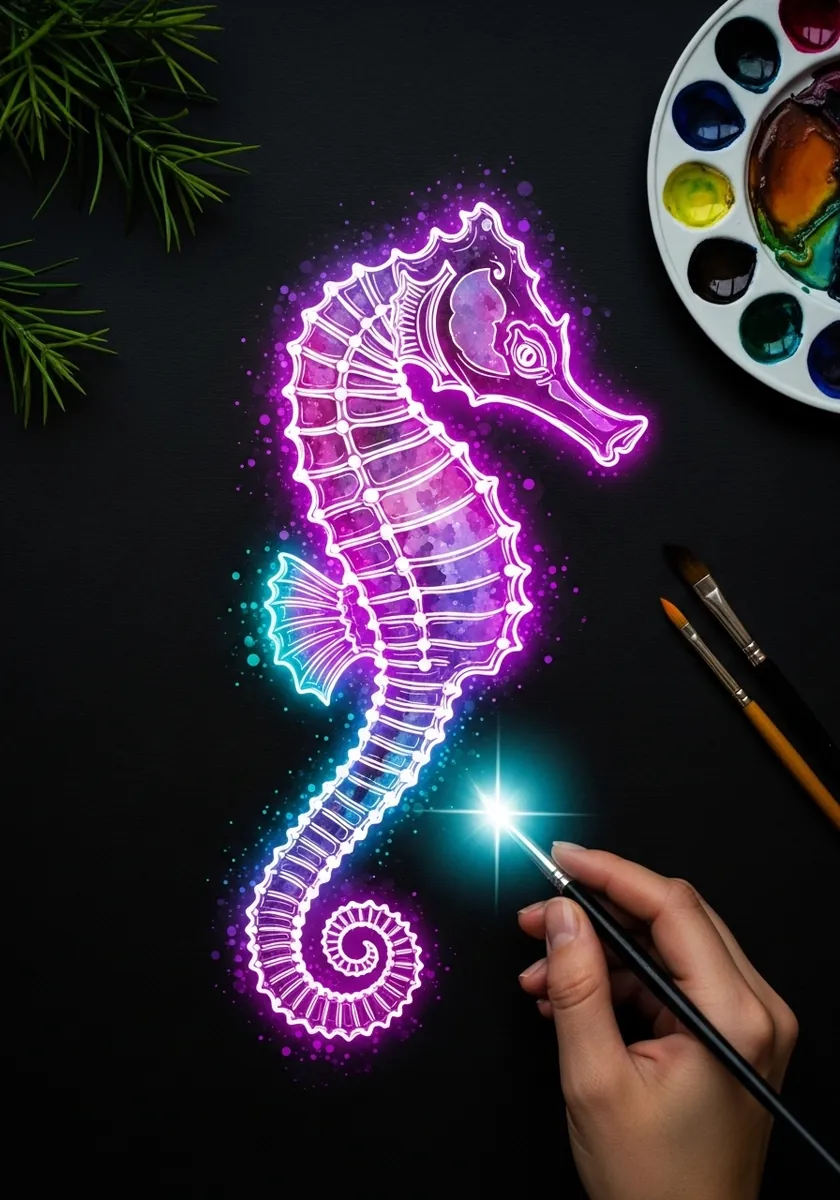
A glow is built outward from the brightest point. Paint the core lines in near-white, halo them with saturated color, and let that halo fade into the black paper. Nothing in the picture should be a flat mid tone. Build the halo in two or three passes, letting each dry before the next.
22. Kawaii Sticker Seahorse
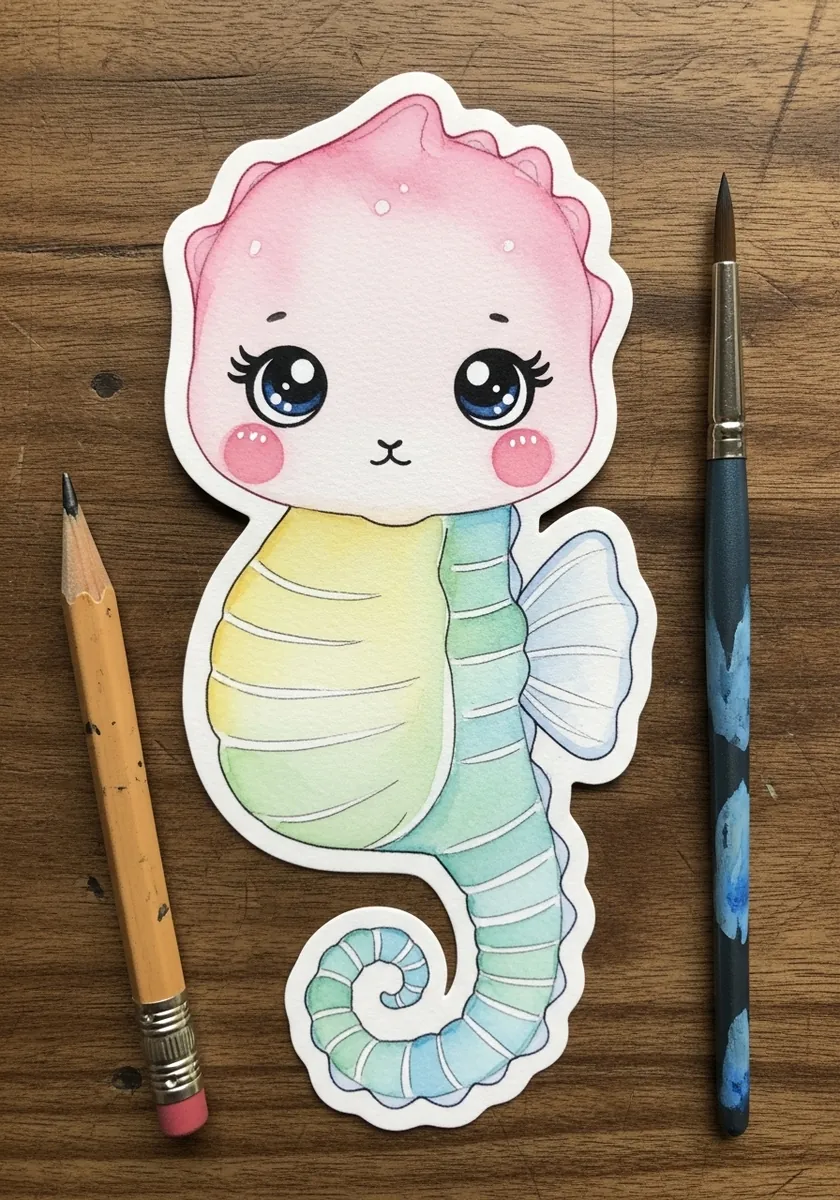
Sticker style needs a hard outer edge. Draw the character simply with oversized eyes and a tiny mouth, then add a thick even white border all the way round the silhouette, and keep every internal color flat. Round every corner, because a sharp point breaks the soft character.
23. Seahorse Among Seagrass
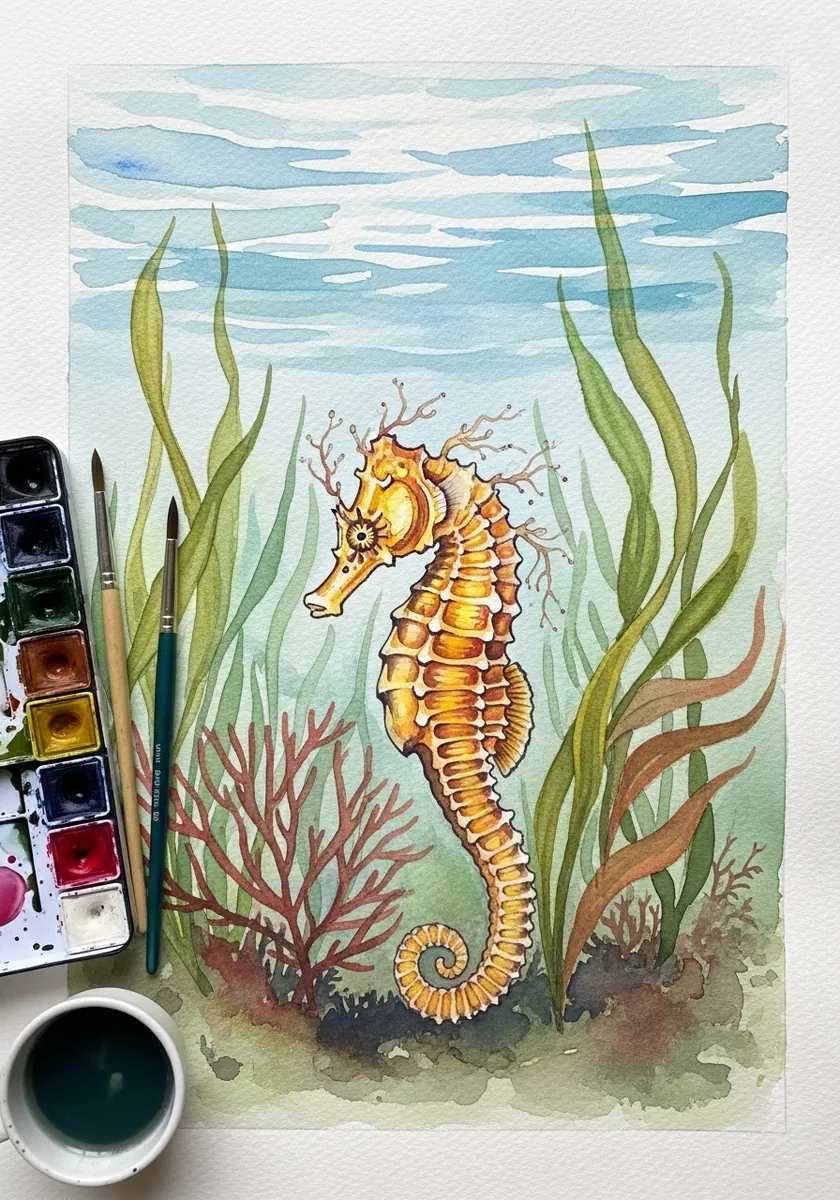
This is the one composition that shows the tail doing its job. Wrap the tail forward around a grass stem so the tip disappears behind it, and let the grass bend slightly where the animal grips it. Angle a few grass blades across the body to lock the animal into the scene.
24. Mandala Frame Seahorse
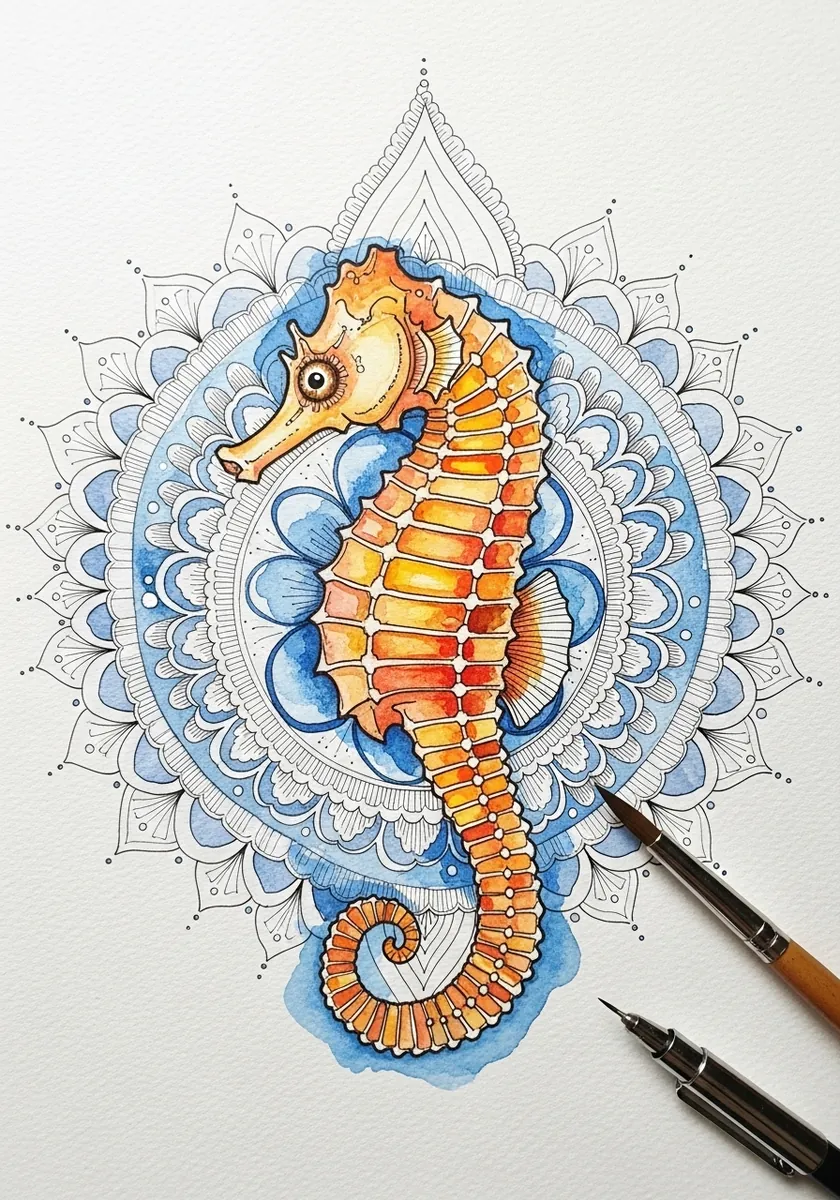
Combining a symmetrical frame with an asymmetrical animal needs a clear center. Build the mandala around the midpoint of the body, keep the frame in one cool palette, and let the seahorse be the only warm thing in the picture.
25. Ink Seahorse on a Green Burst
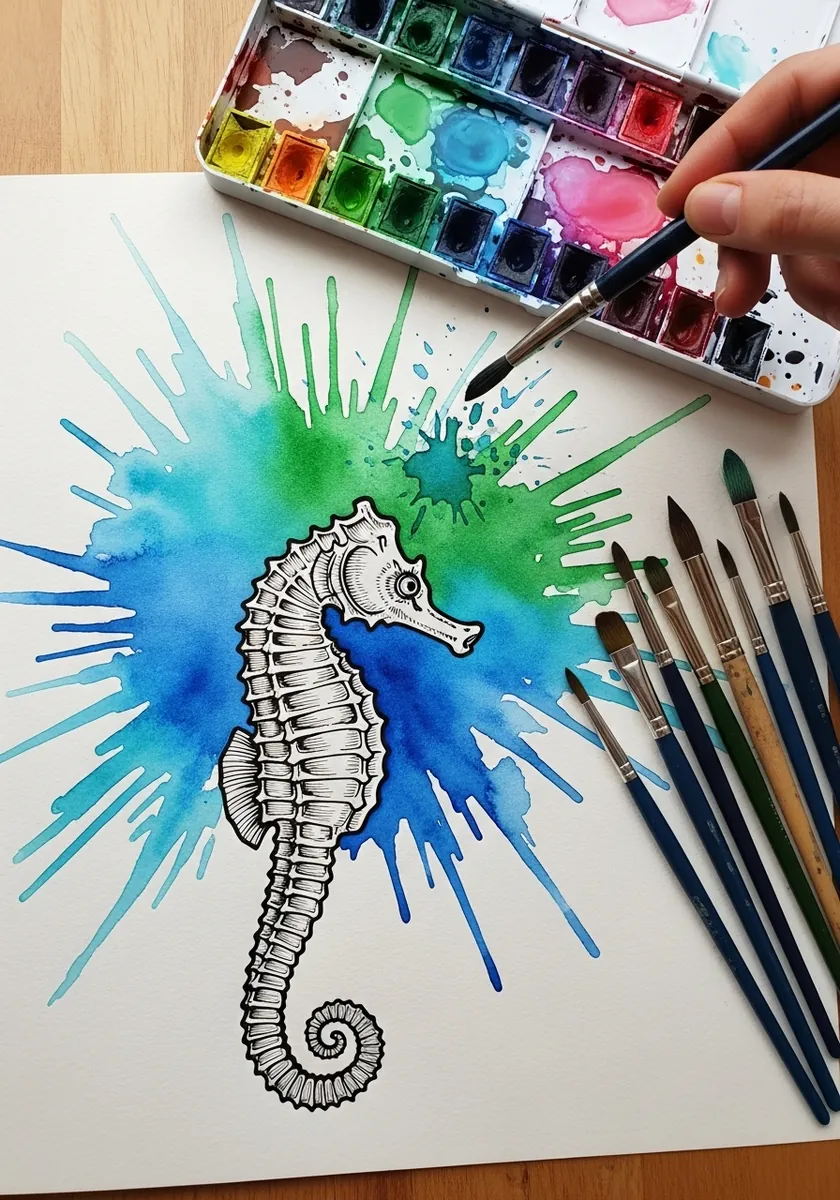
Hard ink over a soft burst is a deliberate clash. Throw the background down fast with a loaded brush, let it dry, then draw the seahorse in fine ink straight across it without adjusting for what is underneath. Let the burst run off two edges so it reads as bigger than the page.
26. Galaxy Seahorse
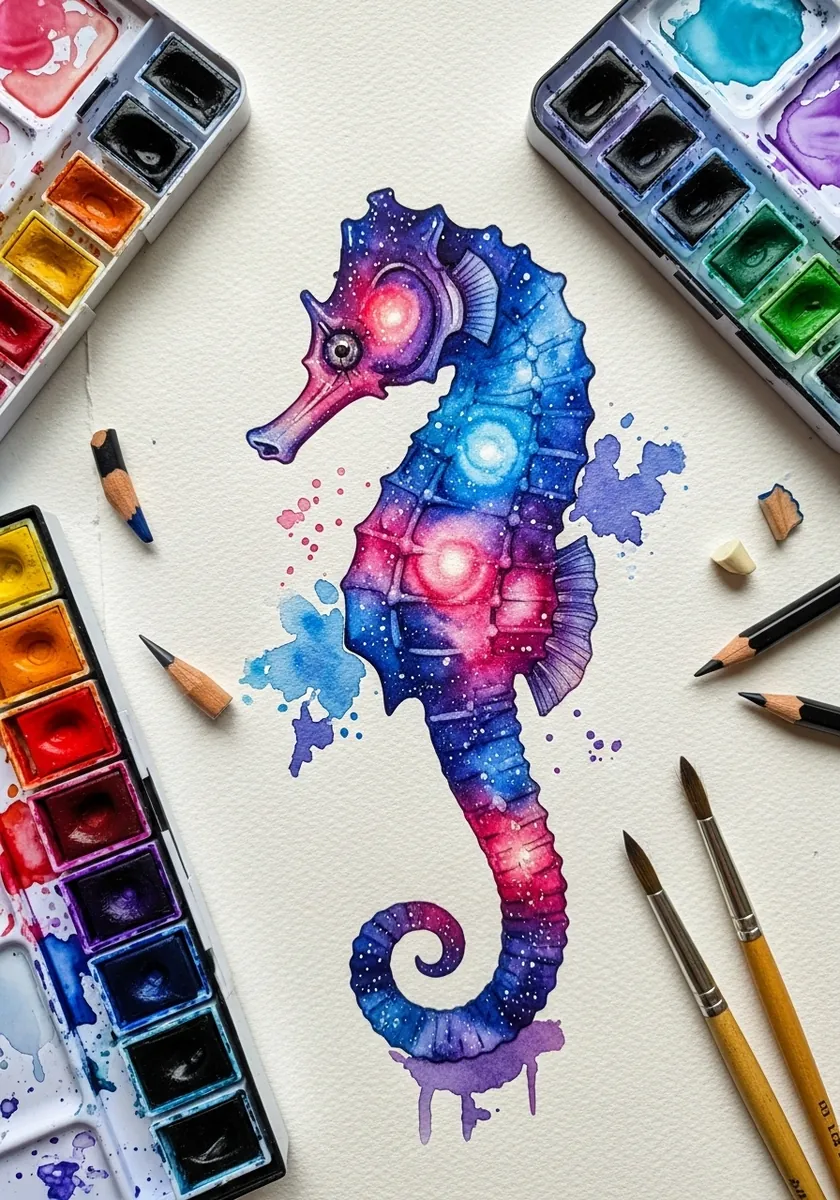
A galaxy inside a silhouette is layered wet into wet. Wet the body shape only, drop indigo and magenta into it separately, and let them mingle inside the outline; the white specks go on last with a stiff brush. Keep the background pure black so the body is the only thing glowing.
27. Golden Seahorse in Detail
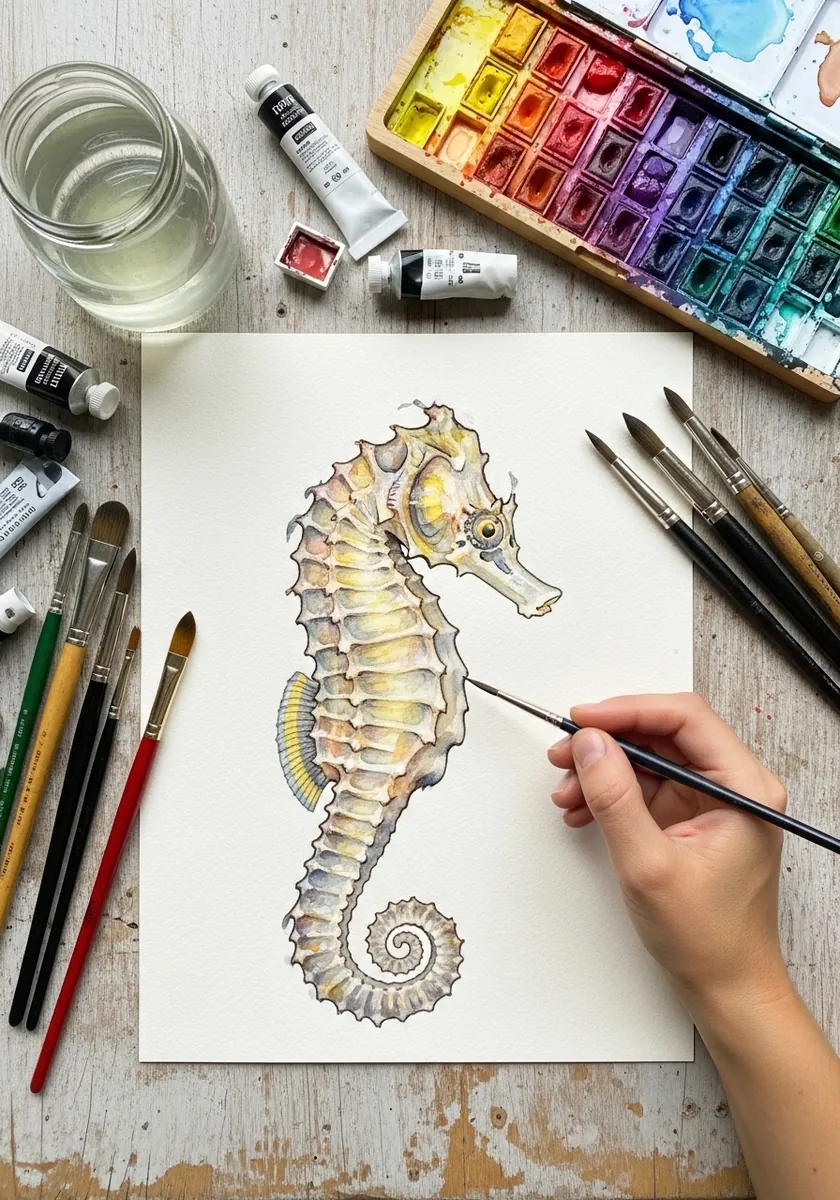
Pencil over dry watercolor sharpens everything. Paint the body in warm yellows and let it dry completely, then draw the ring lines and the crown detail in colored pencil over the top; the two media should stay distinguishable. Sharpen the pencil often, since a blunt point buries the ring lines.
28. Lifting Back the Highlights
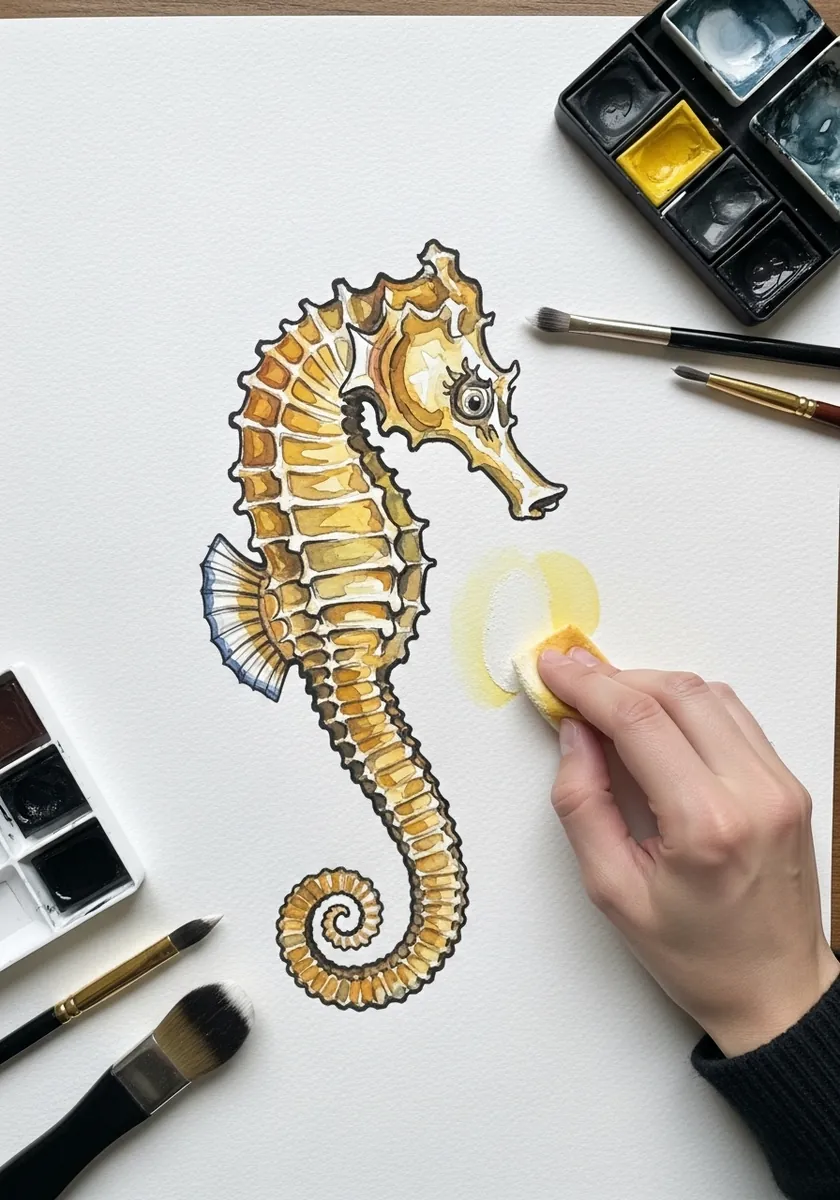
Lifting is easier than reserving if the pigment allows it. Paint the whole body evenly, wait until it is dry, then press a damp sponge along the ridges to pull the color back. Test the pigment on a scrap first.
29. Zentangle Seahorse
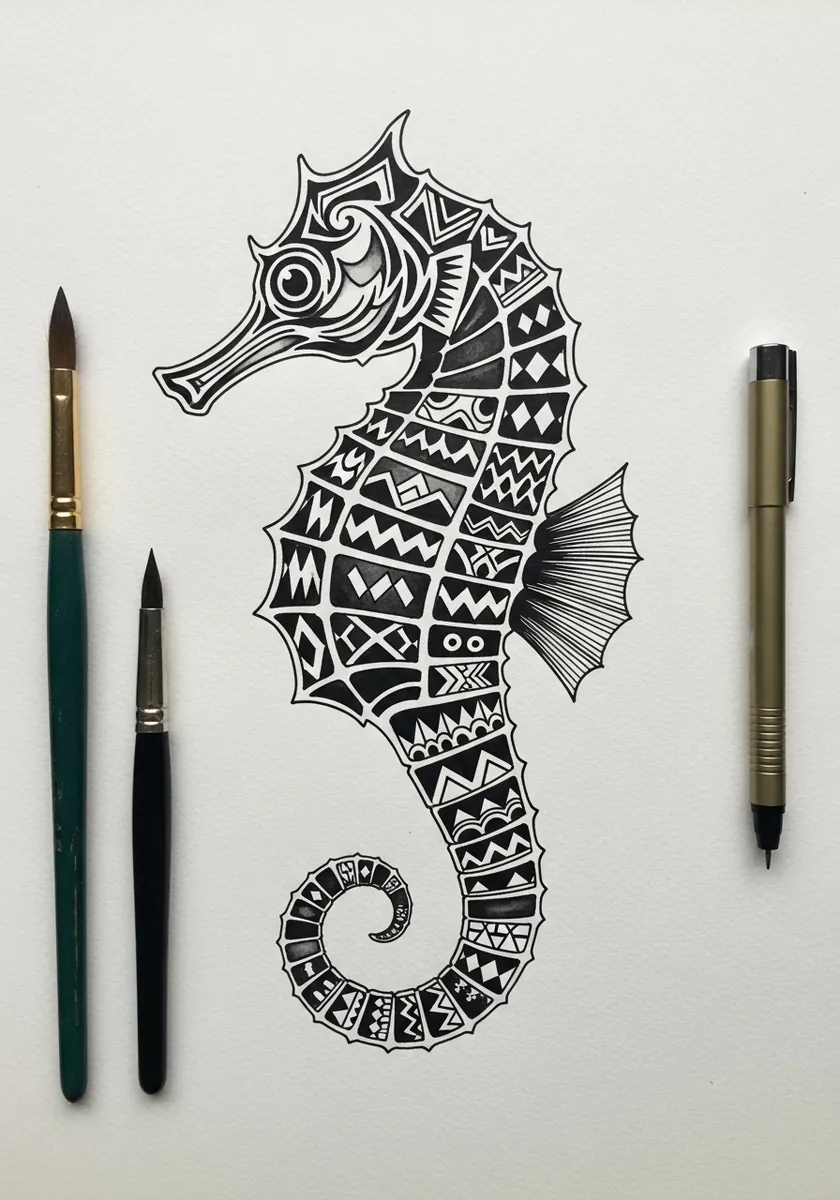
Pattern work needs the shape divided before any pattern begins. Draw the outline, split it into eight or nine compartments, then fill each with a different repeating motif and keep the borders between them sharp and black. Fill the smallest compartments last, when your hand has found the rhythm.
30. Fragmented Geometric Seahorse
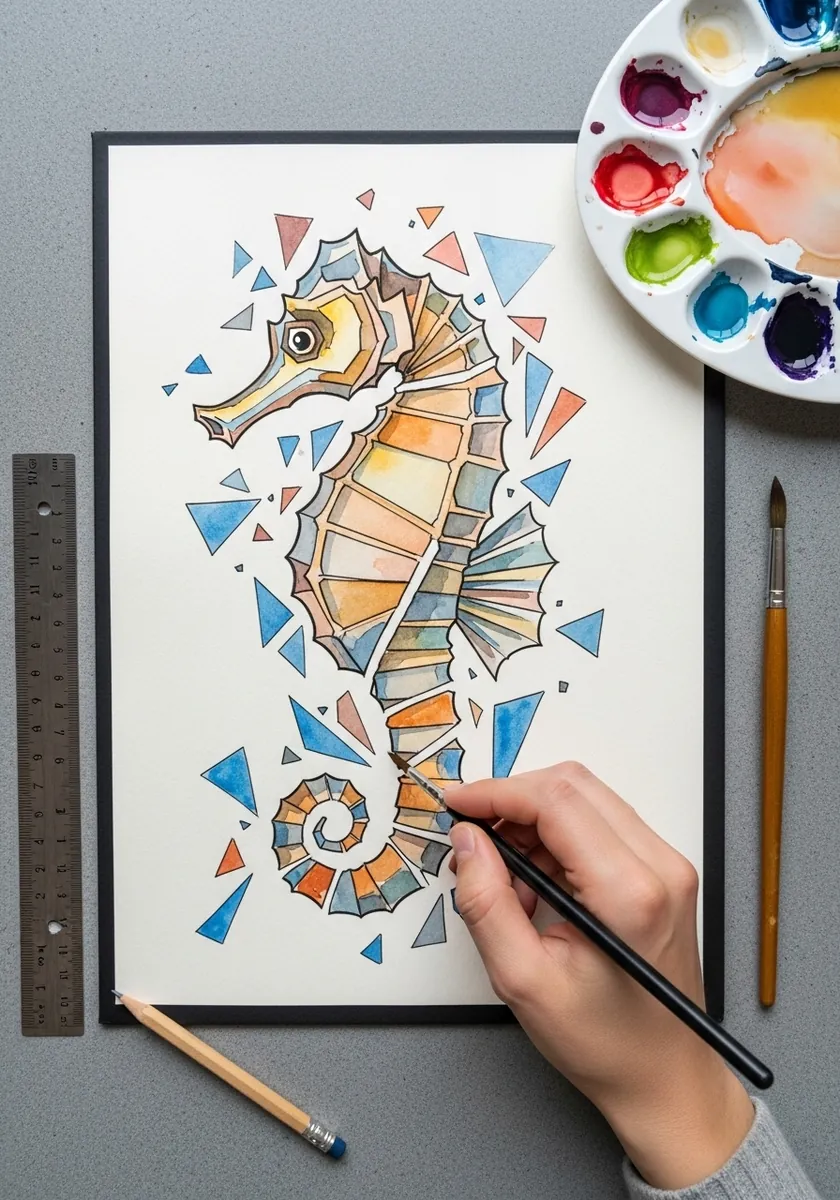
Finish by breaking the animal apart. Paint the seahorse in warm tones, then scatter blue triangles across and beyond it, letting a few sit where a piece of the body should be. The gaps are what make it read as fragmented.
Frequently Asked Questions
Which way does a seahorse tail curl?
Forward, toward its own belly. The tip wraps inward underneath the body so the animal can grip seagrass and coral. A tail curled backward is the single most common mistake in drawn seahorses and it reads as wrong immediately.
Do seahorses have scales?
No. Their bodies are covered in rings of bony plates rather than scales, which is why the surface looks segmented and armored rather than layered. Drawing those rings correctly is what gives a seahorse its distinctive texture.
How do I draw the rings?
As lines running across the body, following its curve rather than traveling down its length. They are closer together near the head and tail and further apart across the middle of the body, and each one steps slightly outward at the ridge.
Which fins does a seahorse actually use?
The small dorsal fin on its back does the propelling and the two little fins behind the cheeks do the steering. There is no tail fin at all, because the tail is a gripping limb rather than a swimming one.
What colors suit a seahorse?
Almost anything, since real seahorses range from yellow and orange through red to near black, and they change color to match their surroundings. That gives you unusual freedom for a real animal, so a rainbow one is not as fanciful as it looks.
References and Further Reading