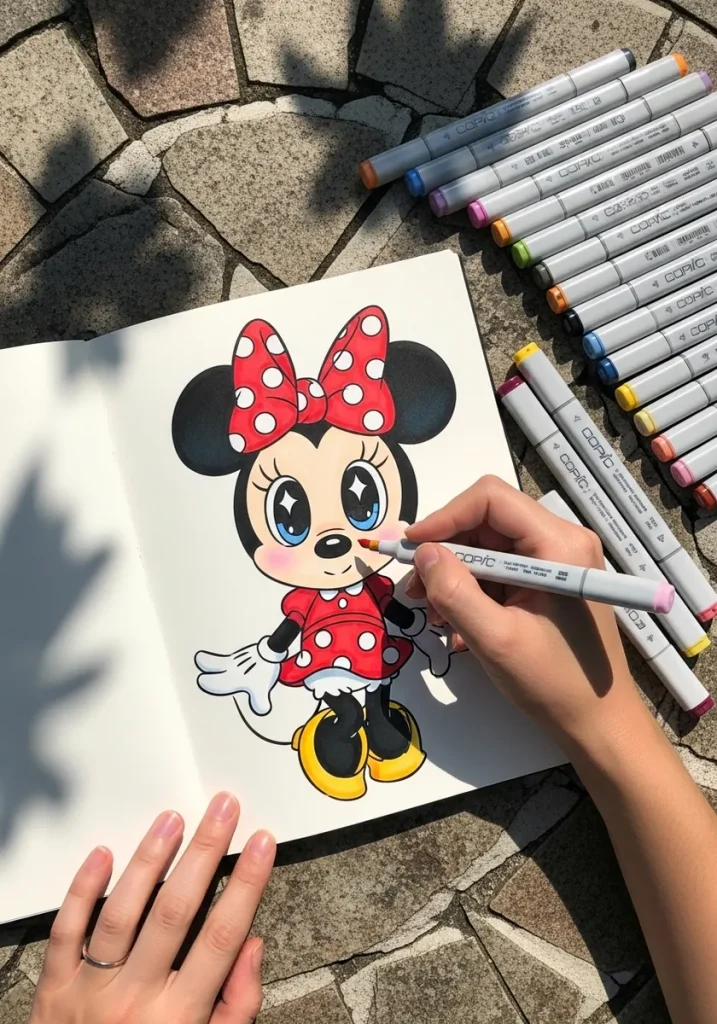
Minnie's head is three circles: one large one for the face and two smaller ones for the ears. In the classic style those ears stay perfectly round at every head angle, which is what keeps the silhouette recognizable from any distance.
Key takeaways
- Build the head from three circles, one large and two small, before drawing a single feature.
- In classic animation the ears read as flat circles at every angle rather than turning in perspective.
- The polka-dot bow is what separates Minnie from Mickey, so tilt it and give it a visible knot.
- Limbs use rubber-hose construction with no elbows or knees, and each glove has four fingers.
- Minnie first appeared in Steamboat Willie in 1928, so a period-correct version uses simple pie-cut eyes.
Everything about this character starts with circles. One large circle for the face and two smaller ones for the ears, placed high and wide before any feature is drawn. Get those three shapes right and the rest of the drawing becomes a matter of filling in.
The ears carry a rule worth knowing. In the classic style they stay perfectly round at every head angle, never turning in perspective, because that flat silhouette is what makes the character readable in shadow or at thumbnail size. It was a deliberate design decision, not a shortcut.
Minnie first appeared in Steamboat Willie in 1928, and the original design uses rubber-hose limbs with no elbows or knees, plus four-fingered gloves. For related construction practice, 3D cartoon character ideas covers the same stacked-volume thinking.
One honest note before you start. She is a copyrighted and trademarked Disney character, so these make excellent practice and study pieces but cannot be sold. The nineteen approaches below run from light pencil construction through crayon, art nouveau, folk pattern and white-on-black work.
Compiled by the GS Art Zone editorial team. Last updated August 2026. Each idea is paired with the specific step that produces the effect, so you can go from the reference straight to paper.
What You Need Before You Start
- A compass or circle template, because the ears really do need to be true circles
- A red and a soft pink, since the classic dress and the bow rarely sit at the same value
- A brush pen for the bold outline styles, where line weight has to vary along a curve
- A white pencil or gel pen for the two pieces drawn on black paper
- Waterproof ink if you plan to wash over your linework, which several of these do
1. Pencil Head Study With a Bow
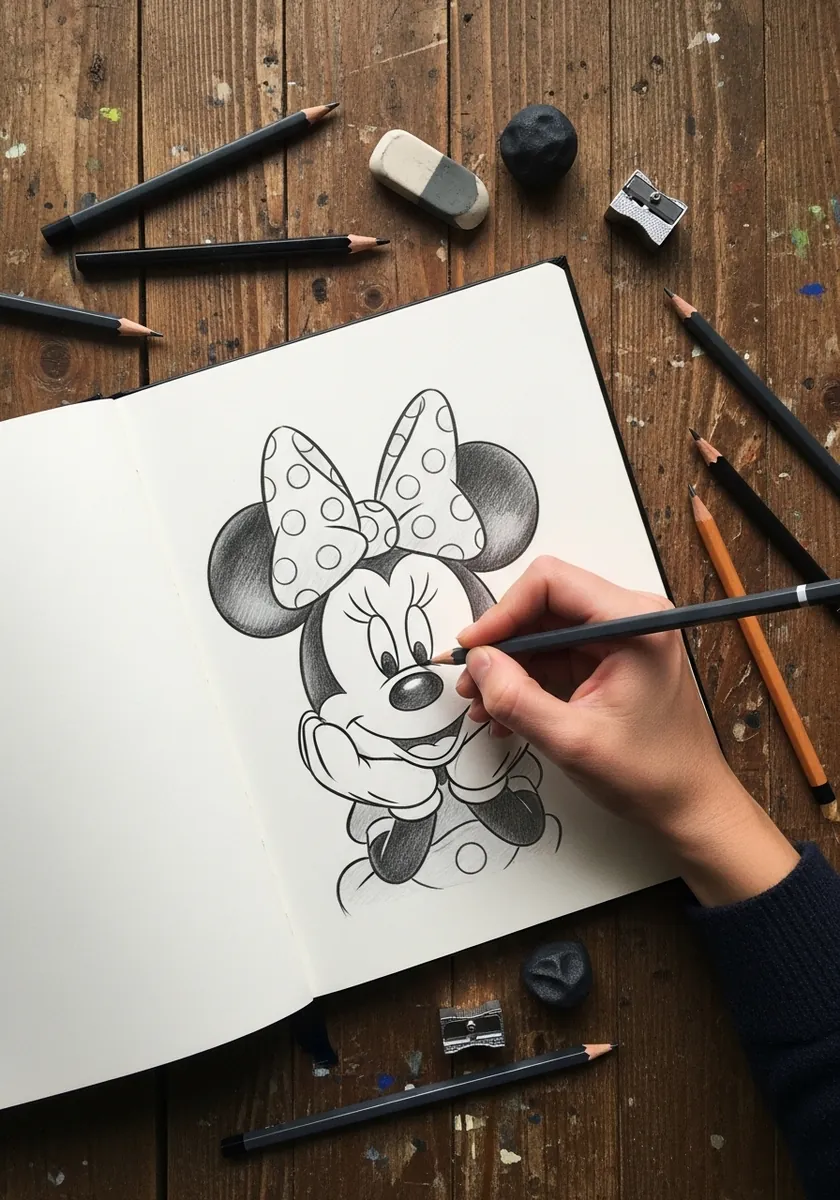
Head studies are where the circle discipline pays off. Draw all three circles with a template first, then find the muzzle low on the face and set the eyes just above it. Erase nothing until the bow is placed, since the bow position depends on both ears.
2. Watercolor Head With a Pink Bow
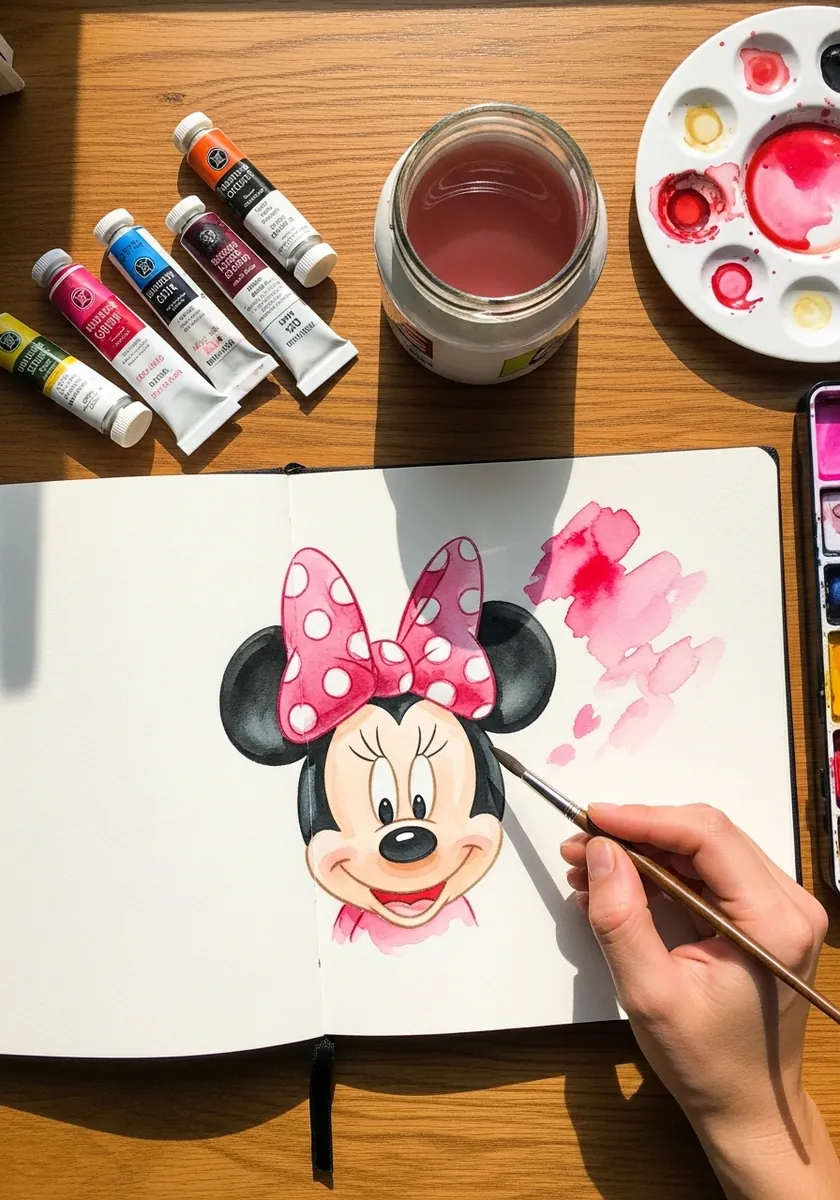
Loose washes behind a tightly drawn character give you contrast for free, so paint the pink background first and let it bloom freely, then wait for full drying before the crisp head goes on top. Reversing that order softens exactly the edges you need sharp.
3. Full Body Ink on a Grid
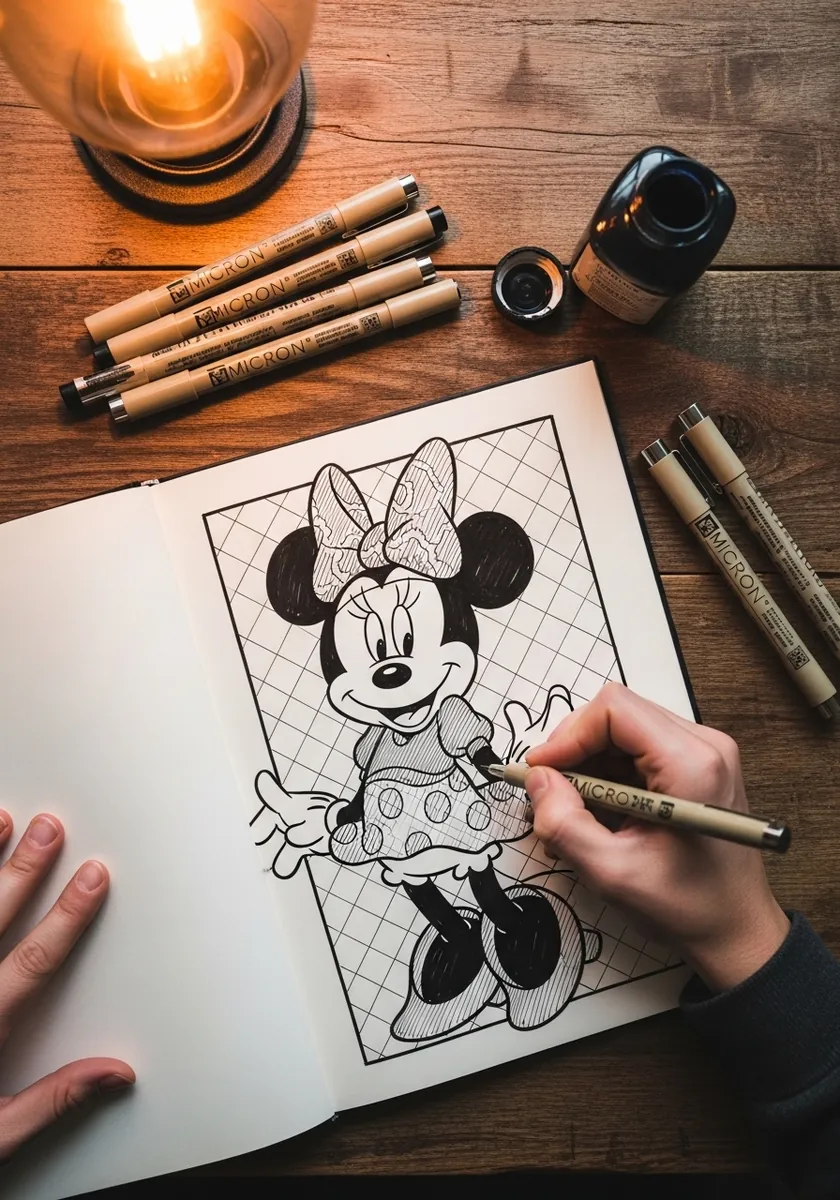
A visible grid behind a character is a scale reference rather than decoration. Rule it lightly in one direction first, then the other, and let the figure sit clearly in front. Keep the grid line weight well below the character outline weight.
4. Marker Head With an Oversized Bow
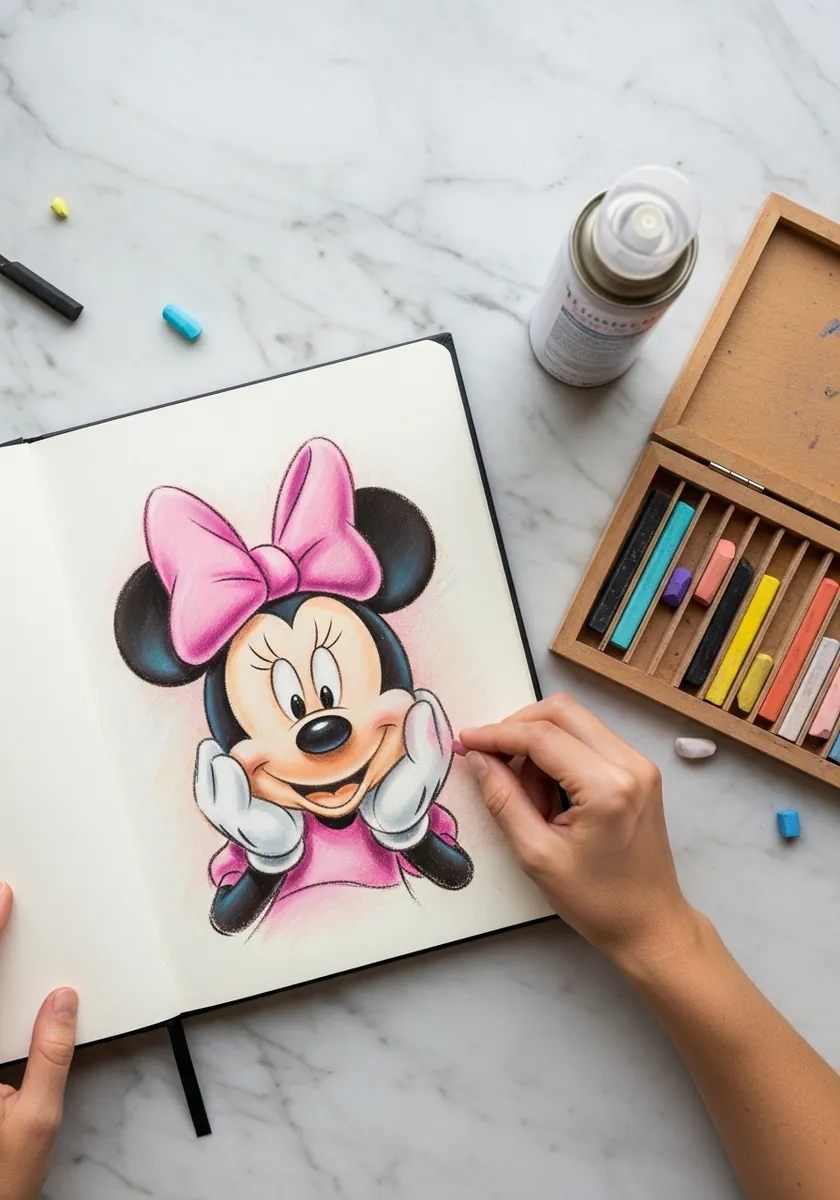
Enlarging one element is a legitimate stylistic choice. Push the bow to nearly the width of the head. Shrink the features slightly to compensate, so the whole design still balances on the page. Exaggeration only works when everything around it adjusts to make room.
5. Classic Full Figure in Marker
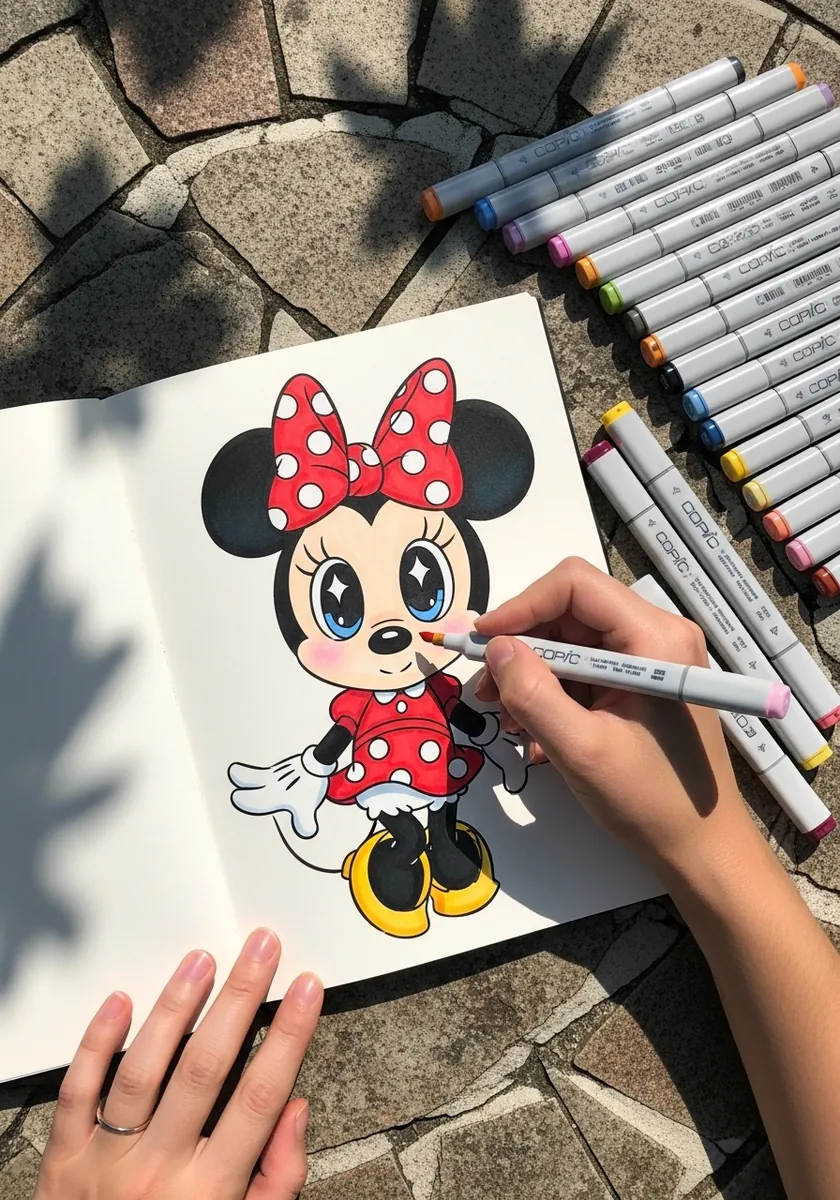
The classic color scheme has a value structure worth respecting. Red dress, yellow shoes and white gloves give you dark, mid and light in three clear zones. Keep the black of the head and limbs solid so the figure holds together as one silhouette.
6. Expressive Splattered Ink Figure
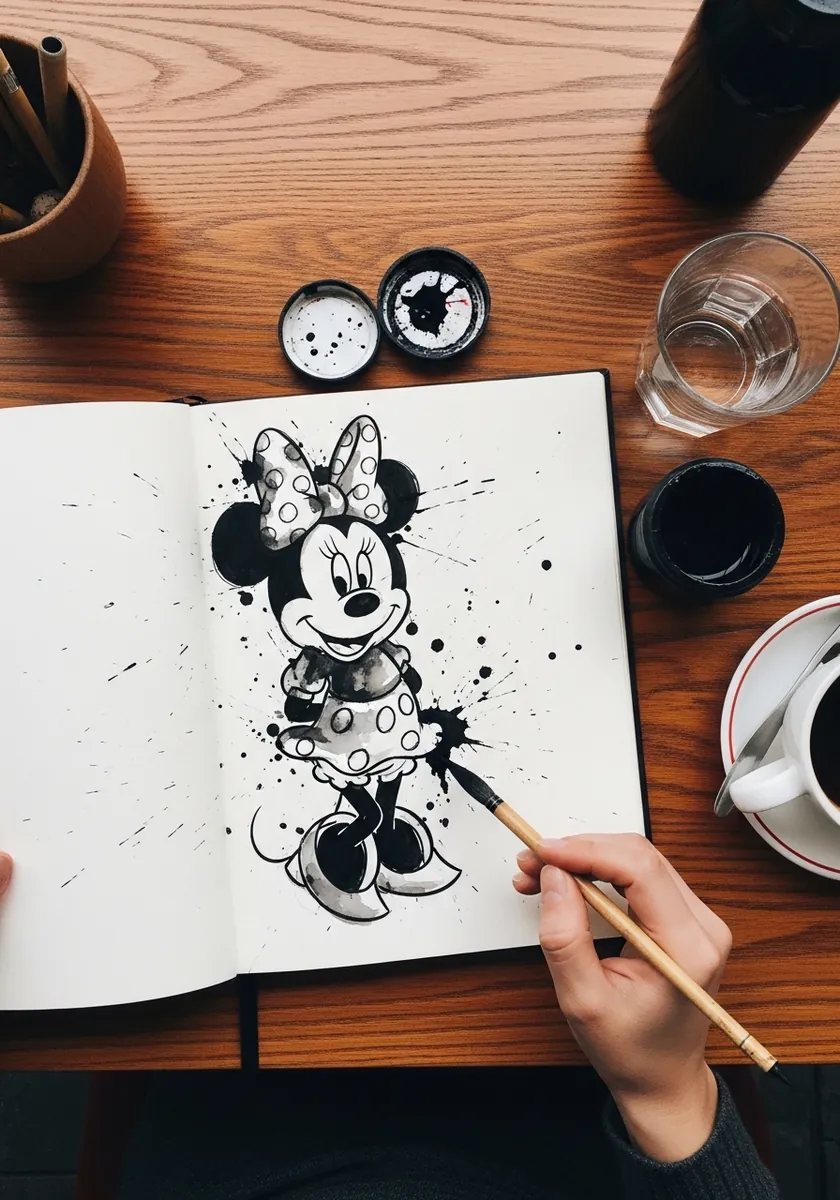
Splatter belongs on one side of a figure rather than scattered evenly around it. Flick the ink from a single direction. Keep every mark travelling the same way, and ink the character cleanly by comparison. Even distribution reads as an accident, not as energy.
7. Line Art With Botanical Framing
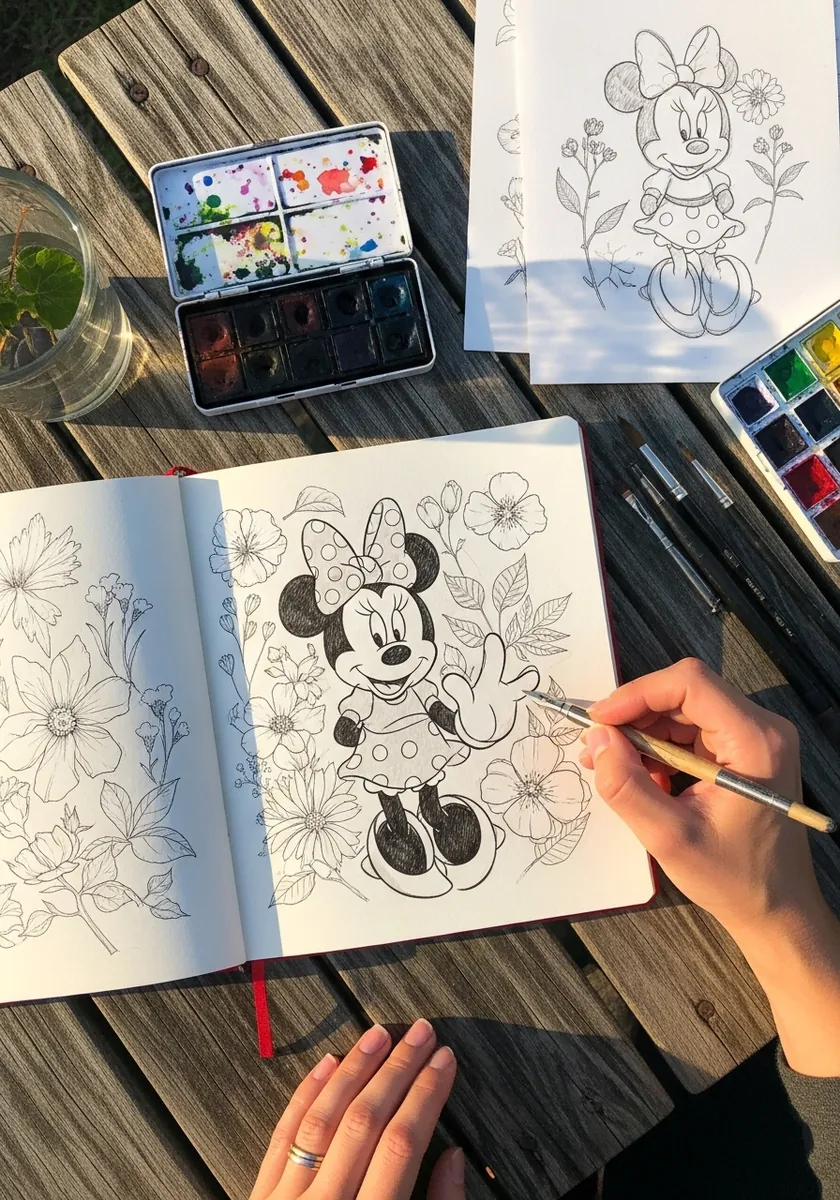
Surrounding a character with botanicals needs a clear weight difference, so draw the figure at full line weight and the flowers noticeably lighter, keeping them entirely in outline. Let them grow from behind her rather than overlapping the silhouette anywhere.
8. Rainbow Splatter Pop Portrait
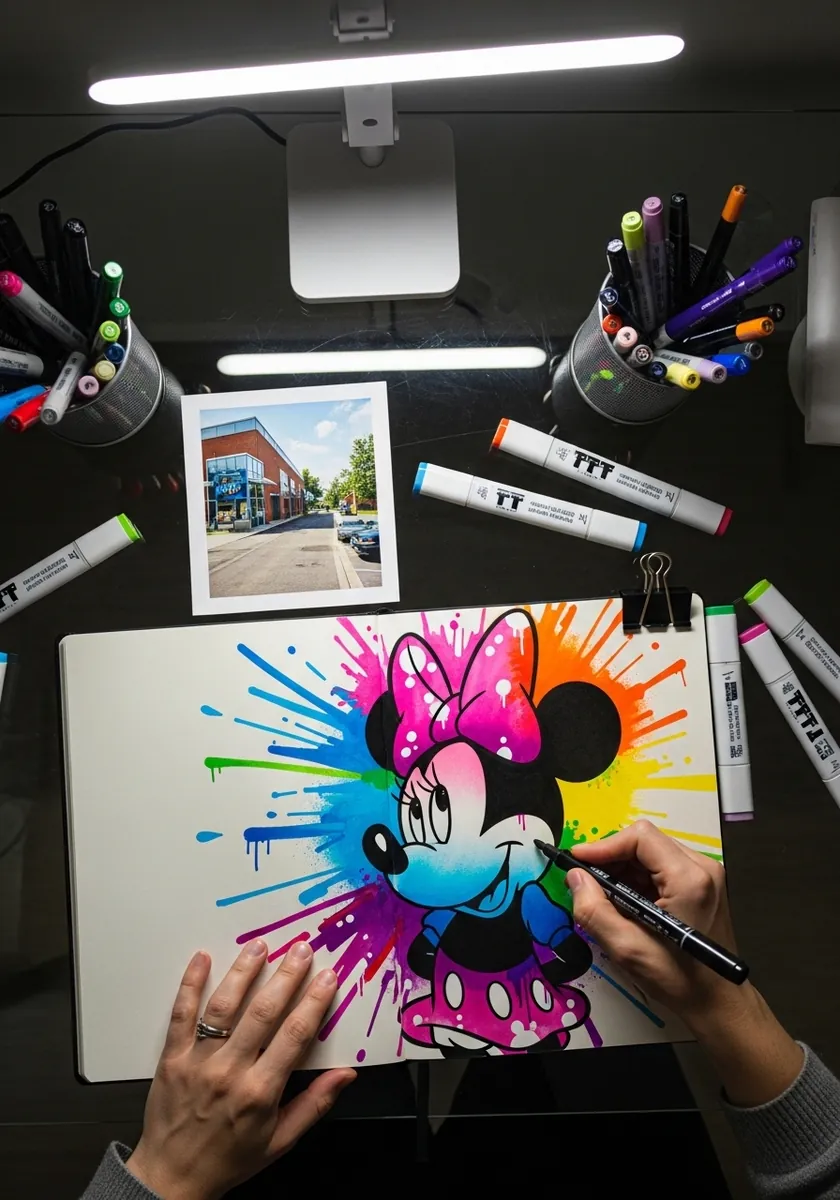
Color radiating from behind a subject needs a single origin. Work outward from directly behind the head, moving around the wheel in order so neighboring hues stay related. Keep the character’s own colors comparatively simple or the piece becomes noise.
9. Art Nouveau Framed Panel
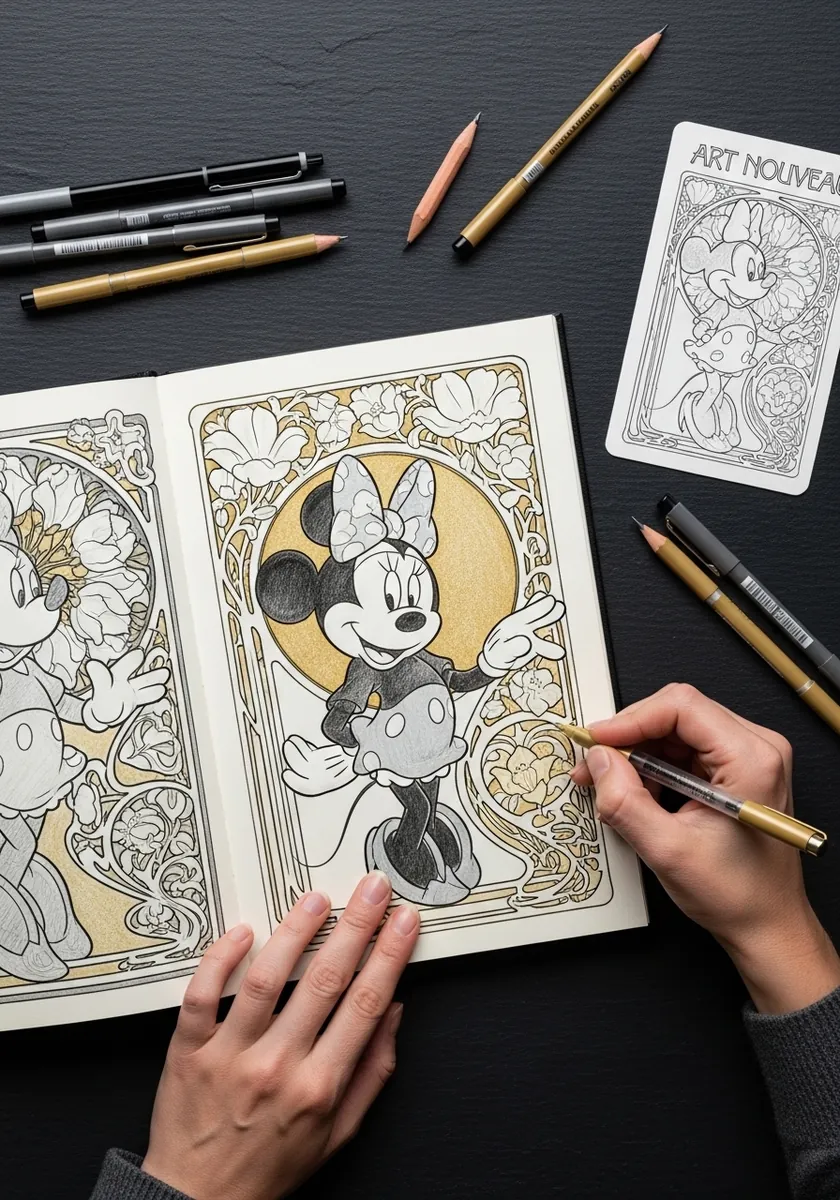
Nouveau panels split the work between figure and frame, so keep the character flat and calm, then load all the detail into the surrounding whiplash curves and floral margin. A brush pen with varying pressure gives that border its characteristic swelling line.
10. Soft Colored Pencil Portrait
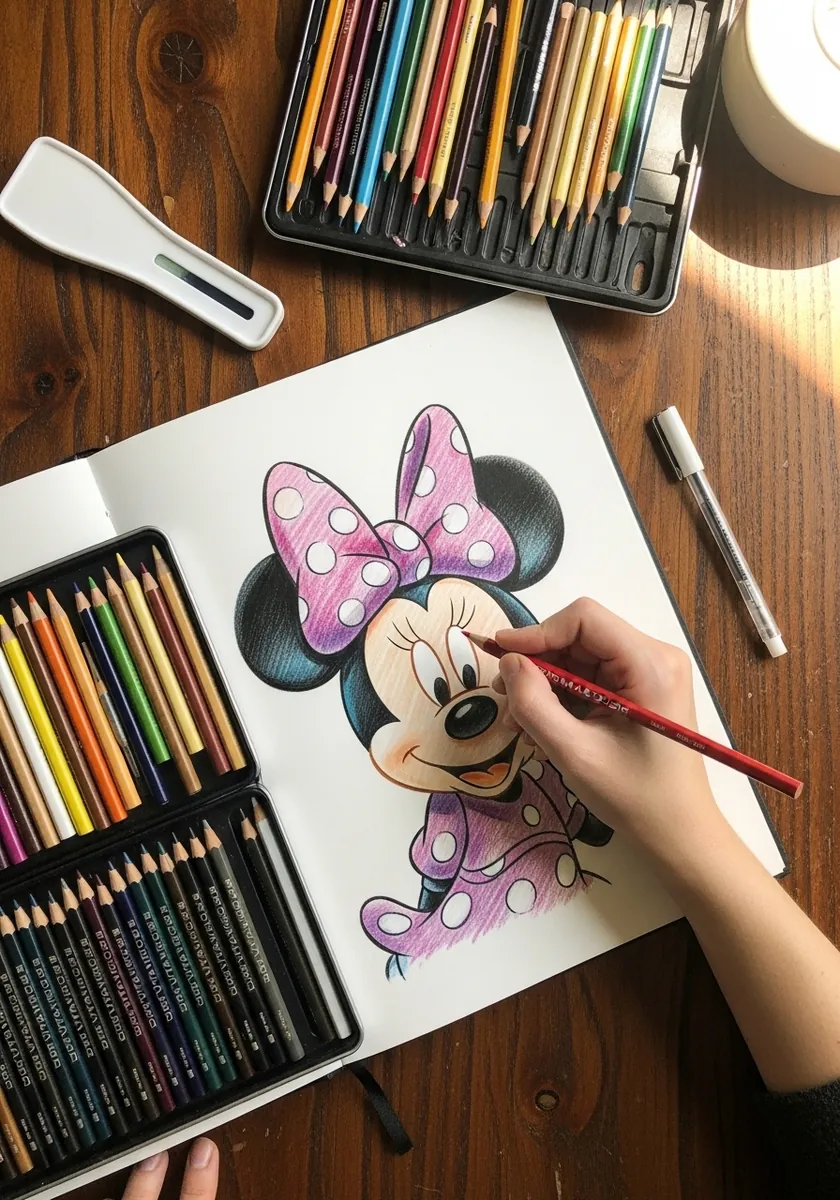
Colored pencil on a black-and-white character means the black has to stay rich. Build it in several directional layers rather than pressing hard once, and let the pink bow carry the only real color. Burnishing the black at the end gives it depth.
11. Folk Art Figure With Flowers
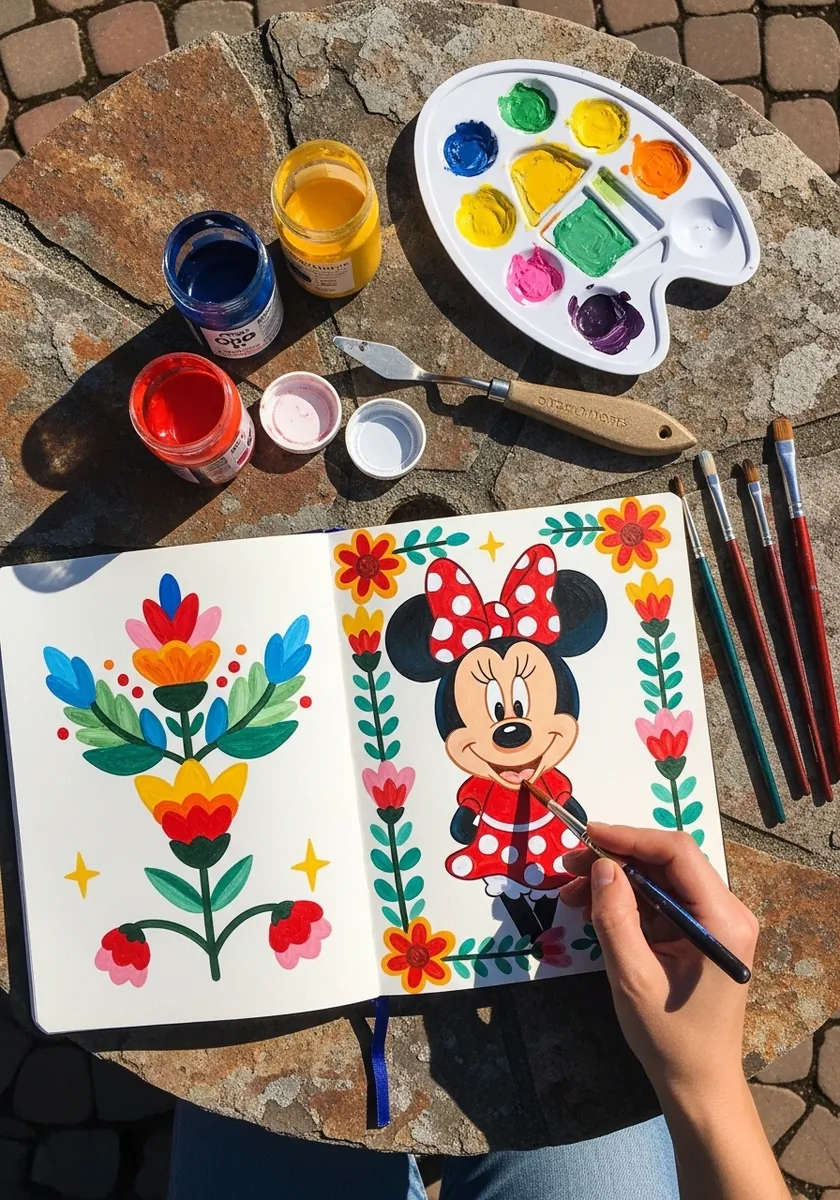
Folk styling uses flat color and strict repetition. Paint the character with no shading at all. Build the surrounding flowers from one motif repeated in mirror image on both sides. Improvised asymmetry breaks exactly the tradition that makes this style work.
12. Light Full Body Construction
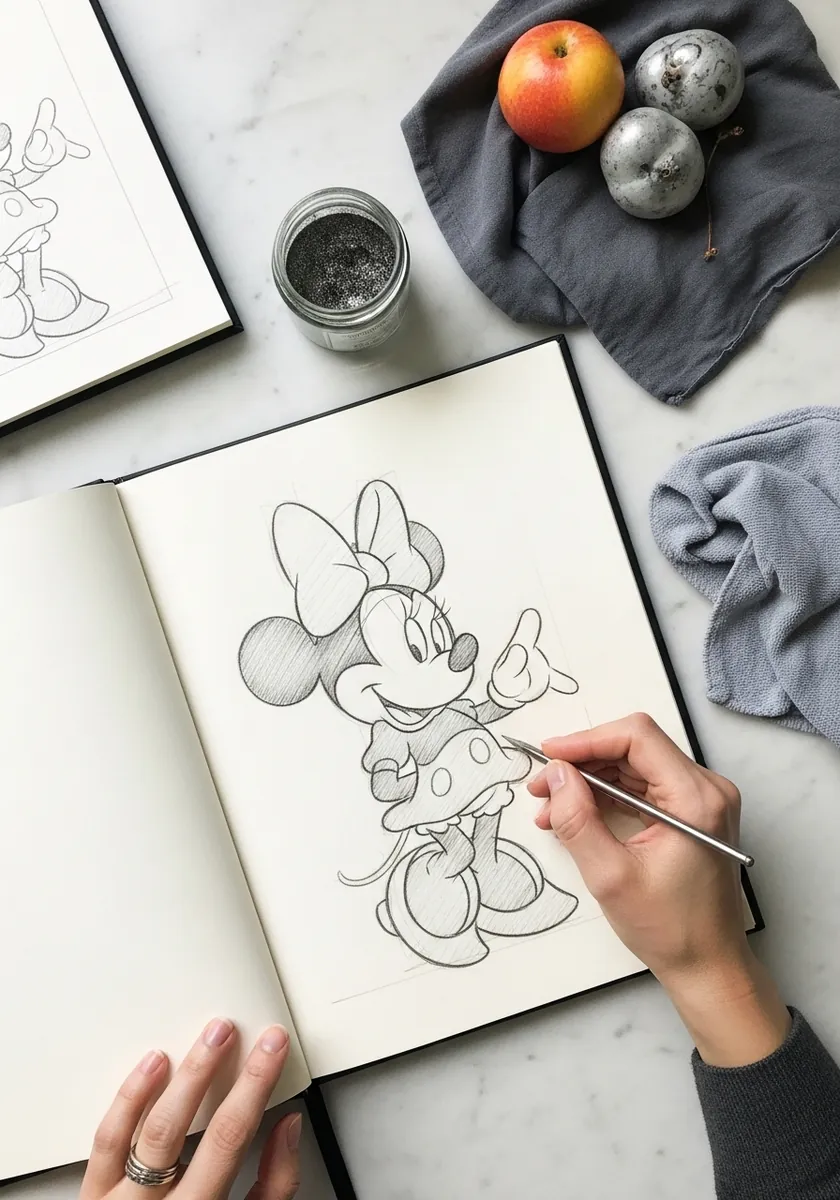
Construction stage is the right place to fix proportion. Check that her head is close to the height of her body, that the limbs curve without joints, and that both feet sit on the same ground line. Everything after this is refinement.
13. Pencil Sketch With Loose Line
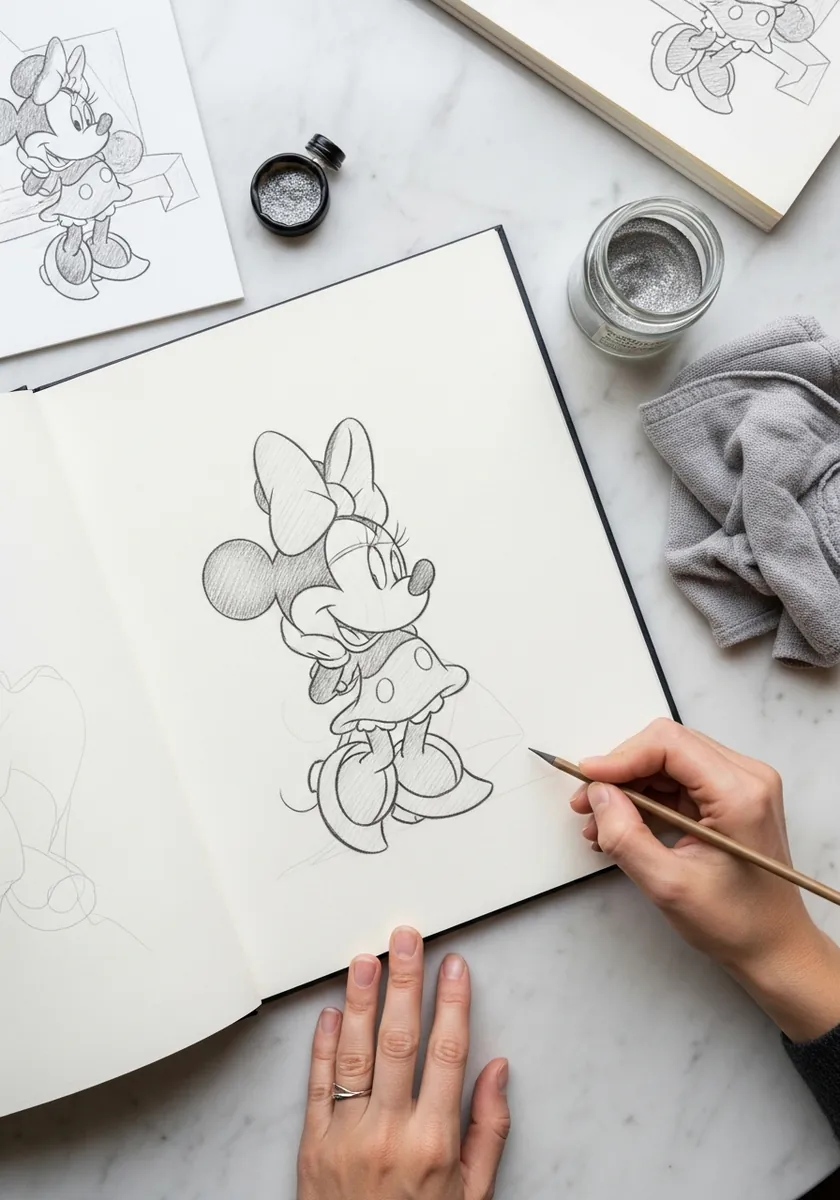
Searching lines are worth keeping visible. Draw lightly and repeatedly. Let several attempts at each curve stay on the page, then darken only the one you actually want. Those rejected lines give the drawing an energy that a single clean contour never has.
14. Bold Crayon Figure for Kids
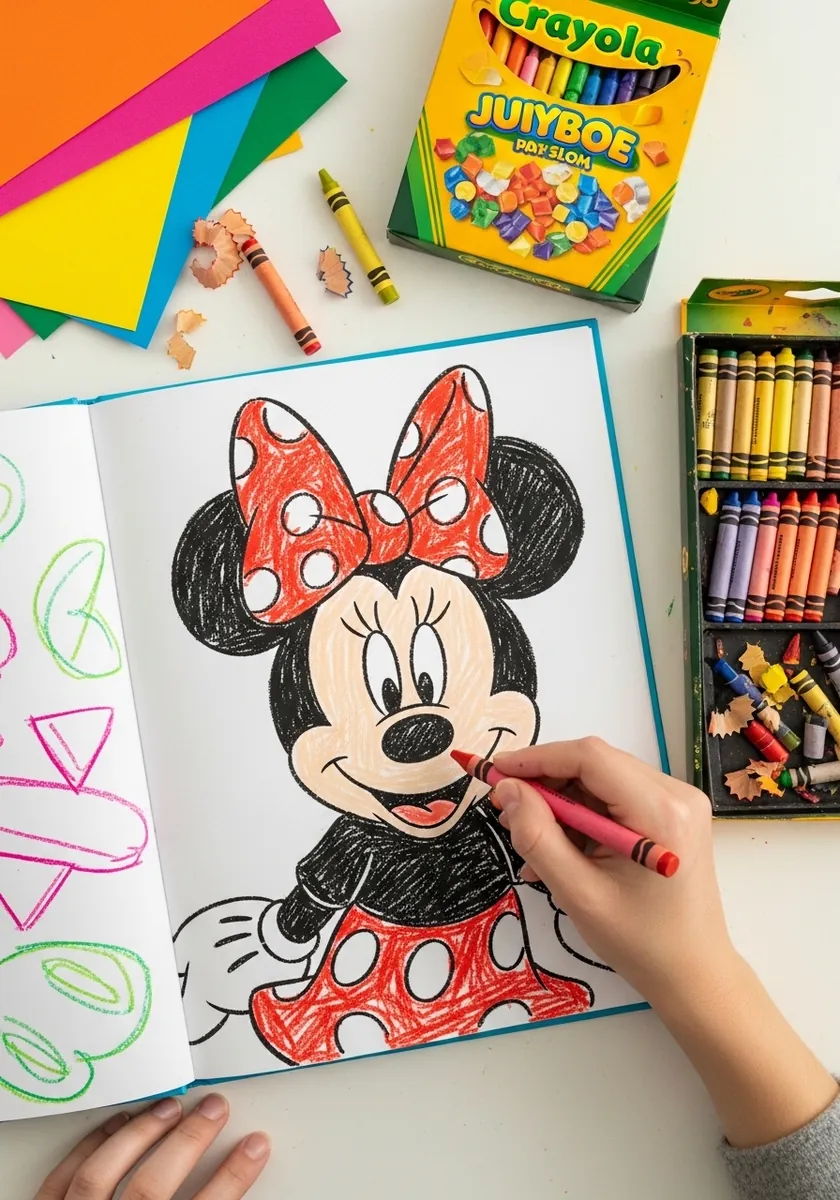
Crayon cannot hold a fine edge, so simplify before you start. Reduce the figure to eight or nine shapes, press hard for saturated color, and outline last with a black crayon to tidy the boundaries. The visible wax texture is part of the appeal.
15. Loose Watercolor With Pink Wash
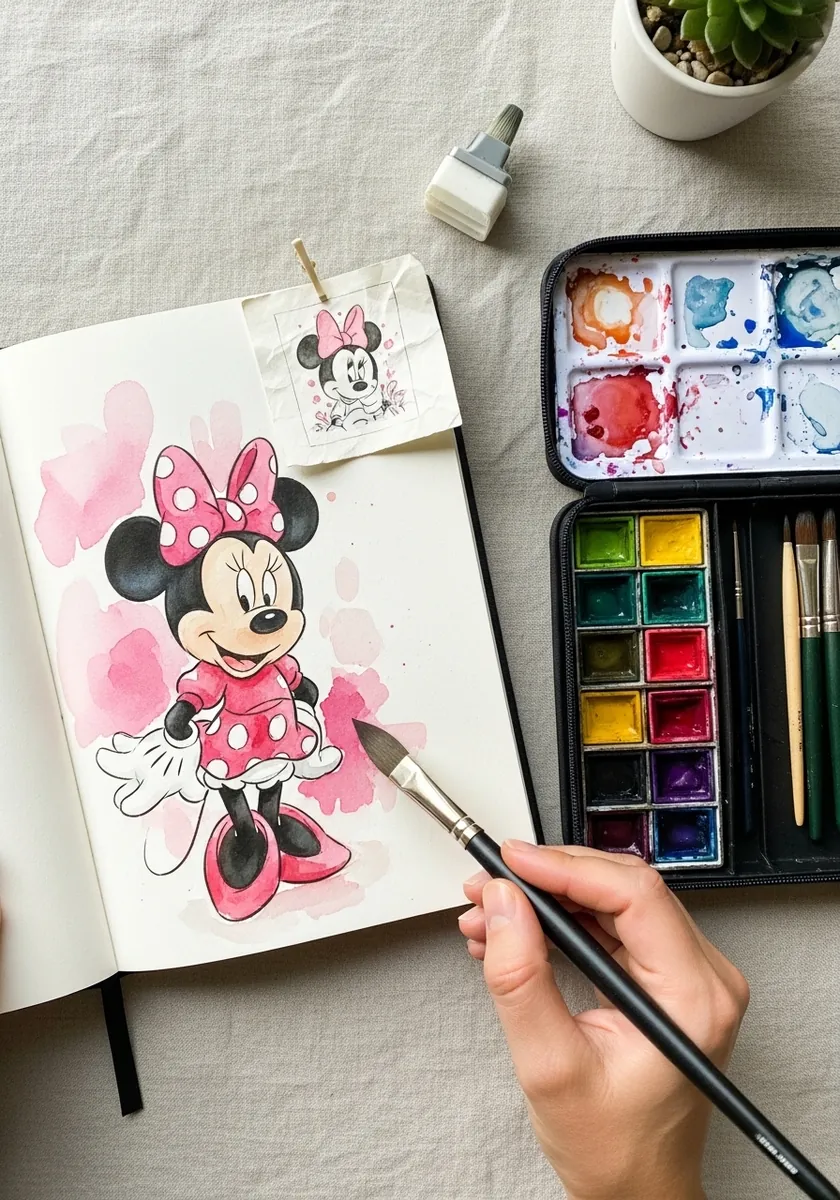
A single background wash can set the whole mood. Choose one dilute color, lay it in a rough halo around the figure, and let it fade out toward the paper edges. Anything more elaborate competes with a character who is already high contrast.
16. Single Continuous Contour
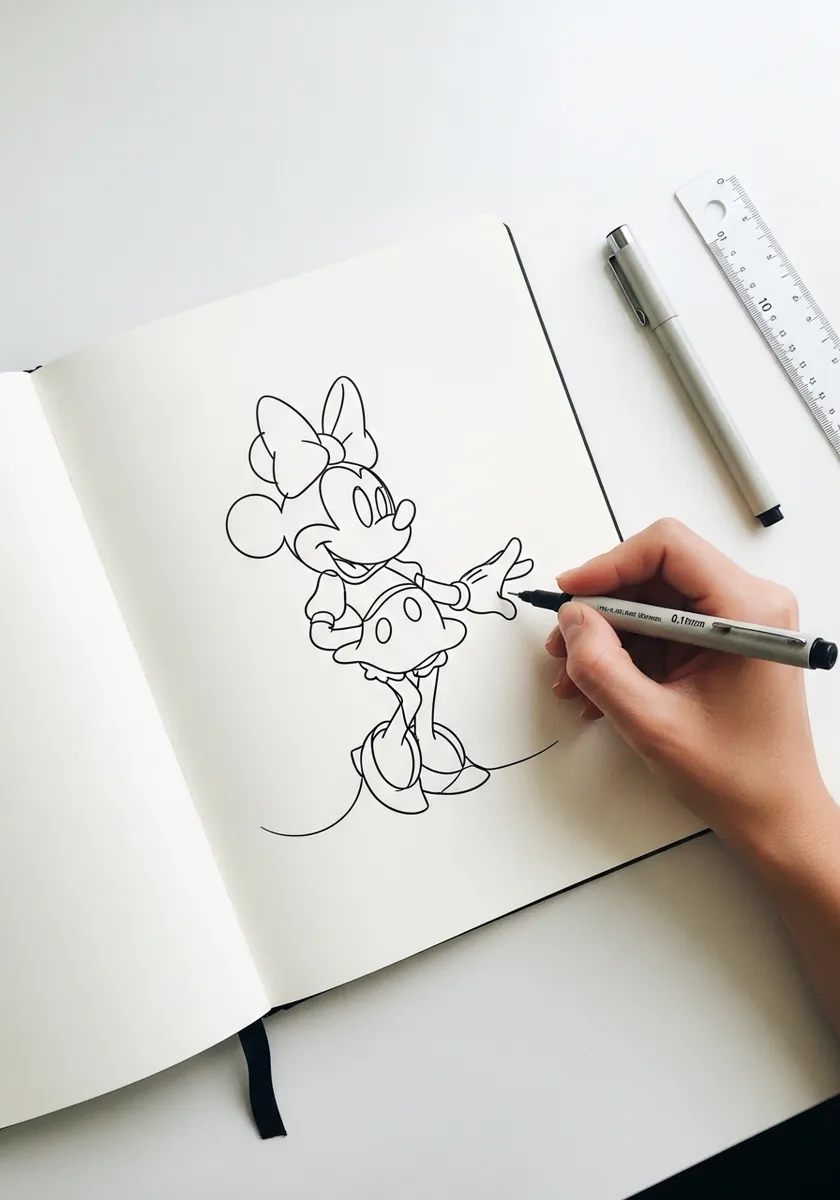
One unbroken line forces you to plan the route in advance, so work out where the ears connect to the head and where the bow crosses before the pen touches paper, because you cannot lift it once you start. The gloves are usually the hardest passage to solve.
17. White Pencil on Black Paper
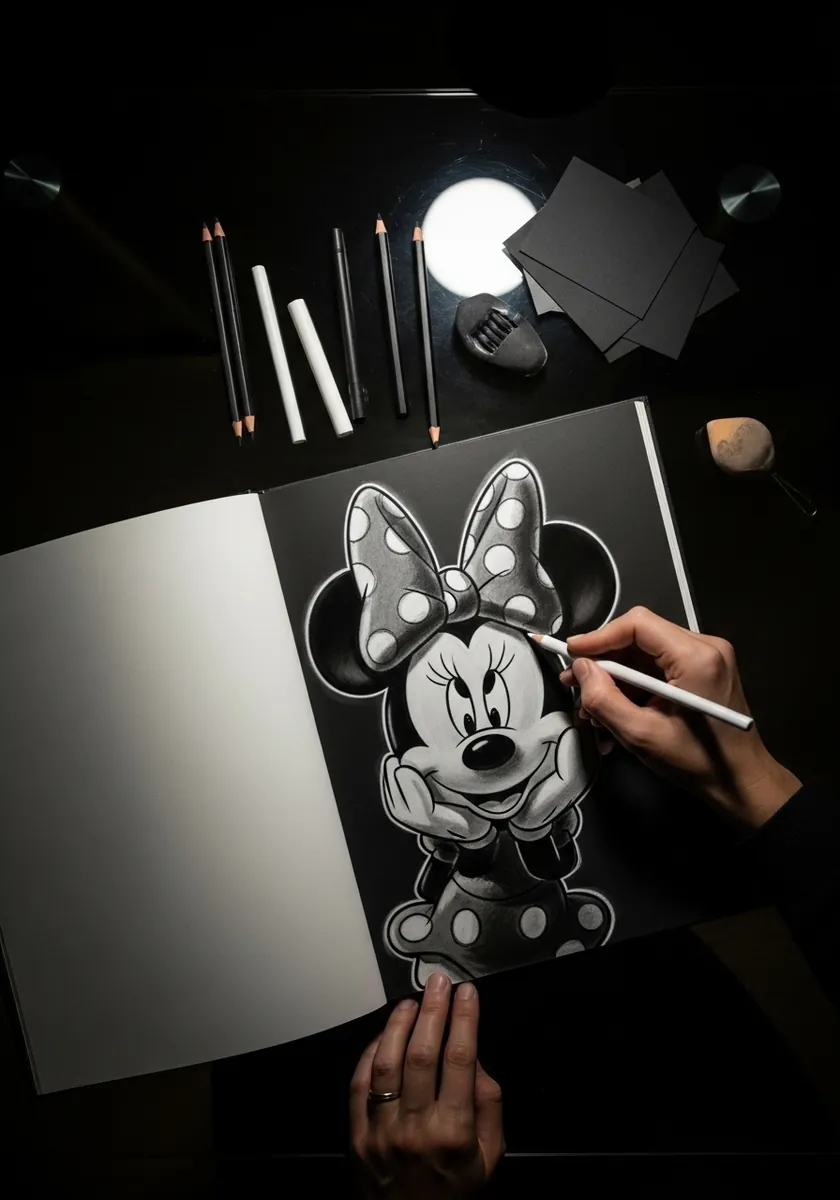
On black paper a mostly black character becomes an exercise in edges. Draw only the boundaries and the lit surfaces, letting the paper stand in for her head and limbs entirely. The white dress dots and gloves end up carrying the whole image.
18. Whimsical Watercolor Garden Scene
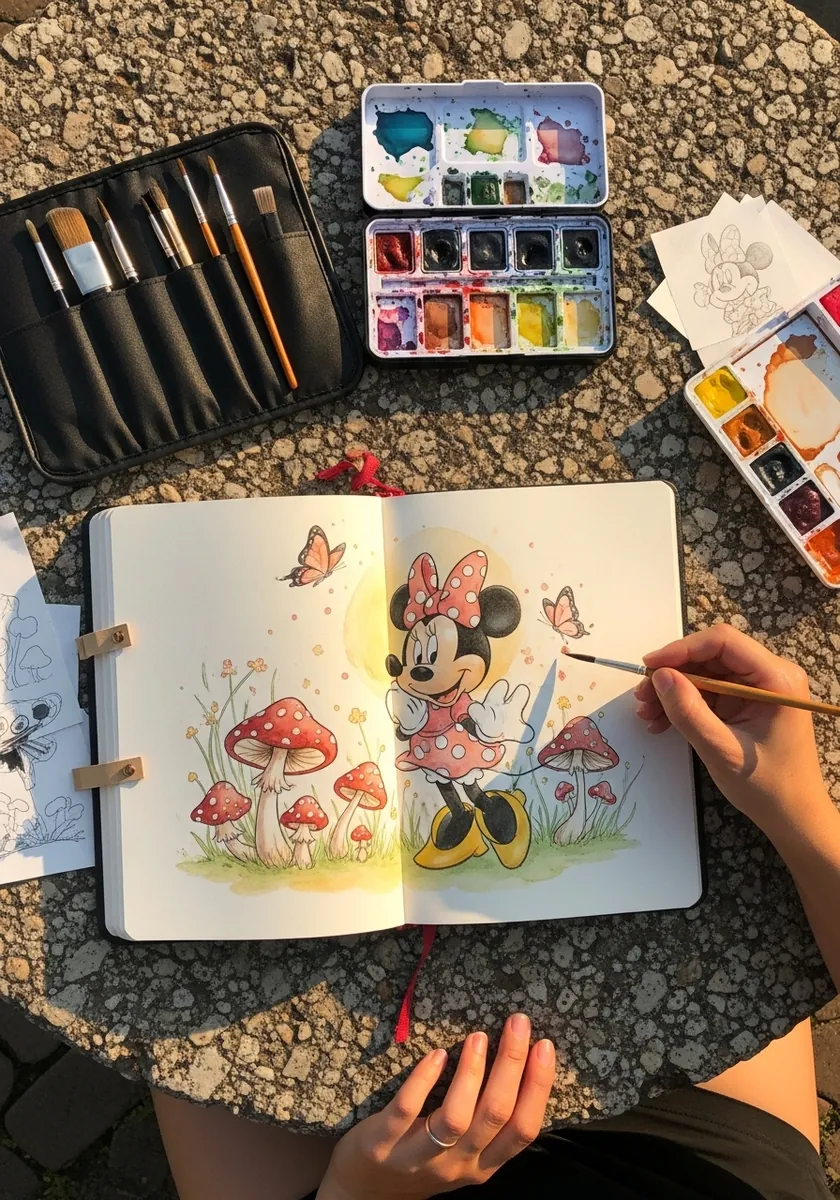
Placing a character in a scene needs a color bridge between them. Echo her pink into two or three mushroom caps and bring a background green into her shadow side. Without that exchange the figure sits on the scene like a sticker.
19. White Charcoal on Black Board
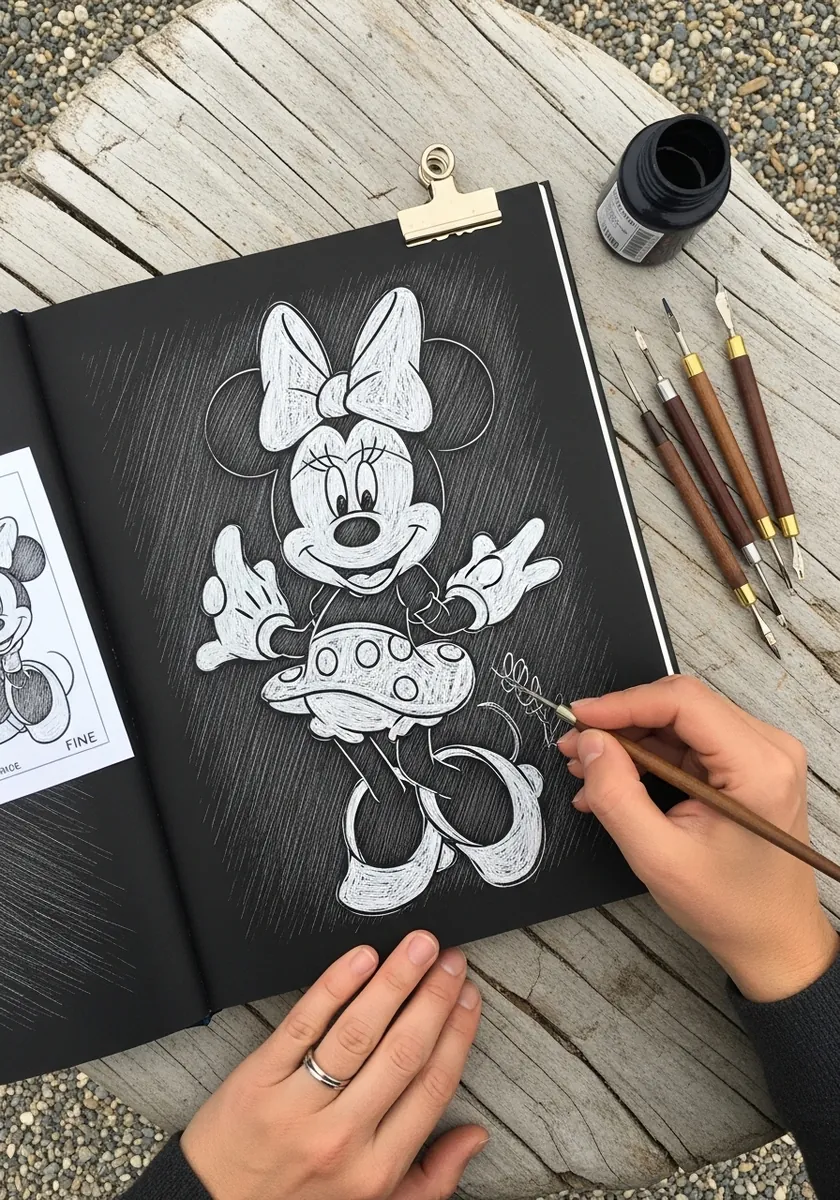
Charcoal on a rough black ground gives a broken, grainy line that suits a vintage look. Work in short strokes rather than long confident ones. Let the tooth of the paper break each mark, and leave the darkest areas completely untouched throughout.
Frequently Asked Questions
How do you draw Minnie Mouse’s head?
Start with one large circle for the face and add two smaller circles for the ears, set high and wide. Keep the ears fully round rather than turning them in perspective, then place the muzzle as an oval low on the face and the bow above and slightly to one side.
Why do the ears look flat instead of three-dimensional?
That was a deliberate choice in classic animation. Keeping the ears as flat circles at every head angle preserves the silhouette, which is why the character is recognizable in shadow. Later three-dimensional versions abandoned this, and they read very differently as a result.
How do you draw the bow correctly?
As two rounded triangles either side of a small knot, tilted rather than sitting level. The polka dots should follow the curve of each loop, shrinking toward the outer edges, and the bow needs to overlap one ear slightly so it sits on the head rather than floating.
What is rubber hose animation style?
It is the early cartoon convention of drawing arms and legs as smooth curving tubes with no elbows or knees. Minnie’s original design uses it throughout, which is why her limbs bend in continuous arcs and her hands are simple four-fingered gloves.
Can I sell drawings of Minnie Mouse?
No. Minnie Mouse is a copyrighted and trademarked Disney character, so fan drawings are fine for practice, study and personal use, but selling them or using them commercially is not permitted. Study her construction, then apply the same rules to your own character.
References and Further Reading