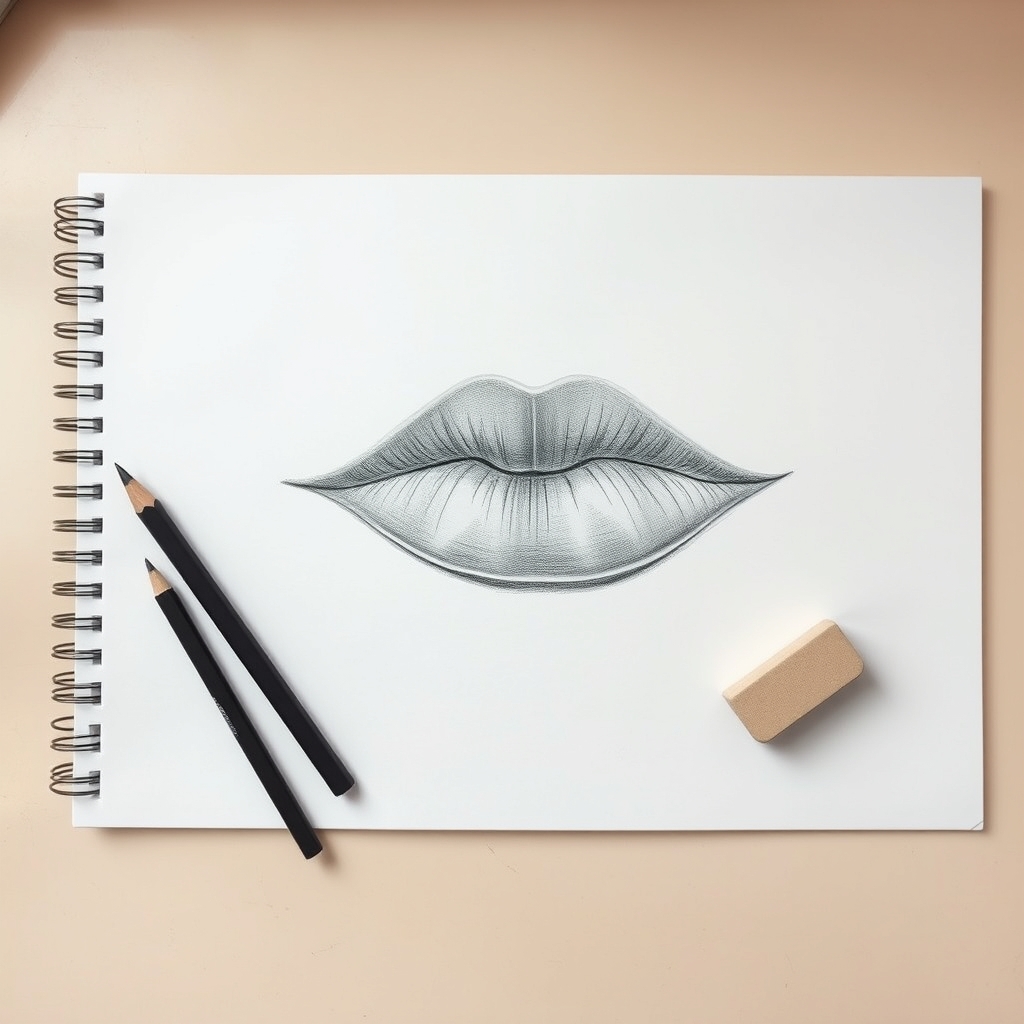
To draw lips, sketch the wavy seam where the two lips meet before anything else, then draw the outer silhouette loosely around it. Commit to a firm outline, cutting the cupid's bow as two soft peaks with a dip between them and tapering both corners to fine points. Shade with short vertical strokes that follow each lip's curve, keep the upper lip darker than the lower, lift a highlight out of the lower lip, and add the shadow beneath it.
Key takeaways
- The darkest line on a mouth is the seam between the lips, and it waves rather than running straight.
- A hard dark border all the way around the lips reads as lipstick and flattens the drawing.
- The upper lip is normally thinner and sits back; the lower lip is fuller and takes the highlight.
- Texture strokes must follow each lip's curve and lean outward toward the corners.
- The shadow under the lower lip is what pushes the mouth forward off the face.
- On a relaxed front view the mouth corners sit roughly below the centres of the eyes.
Lips go wrong early. You draw the outline, you fill it in, and what looks back at you is a shape stuck onto the face like a sticker. It happens to almost everyone, and it usually has nothing to do with how steady your hand is.
The problem is which line you made darkest. Most beginners press hardest on the outer border of the mouth. On a real face that border is soft, and the darkest thing by a long way is the seam where the two lips press together. It also wanders. It dips, rises slightly, then dips again toward each corner.
Get that one line convincing and the rest is shading. Below are three stages for the front view, then the profile, which fails for a completely different reason.
What You Need
- An HB for the light stage and a 4B or 6B for the seam and the corners
- A blending stump, since lip shading has to stay soft
- A kneaded eraser to lift the highlight out of the lower lip at the end
- A mirror, lit from one side. Your own mouth is the cheapest reference you will ever have
Light the reference from one side. A mouth lit flat from the front loses the shadow under the lower lip, which is the shadow doing most of the work.
Step 1: Lay It In Faintly, Seam First
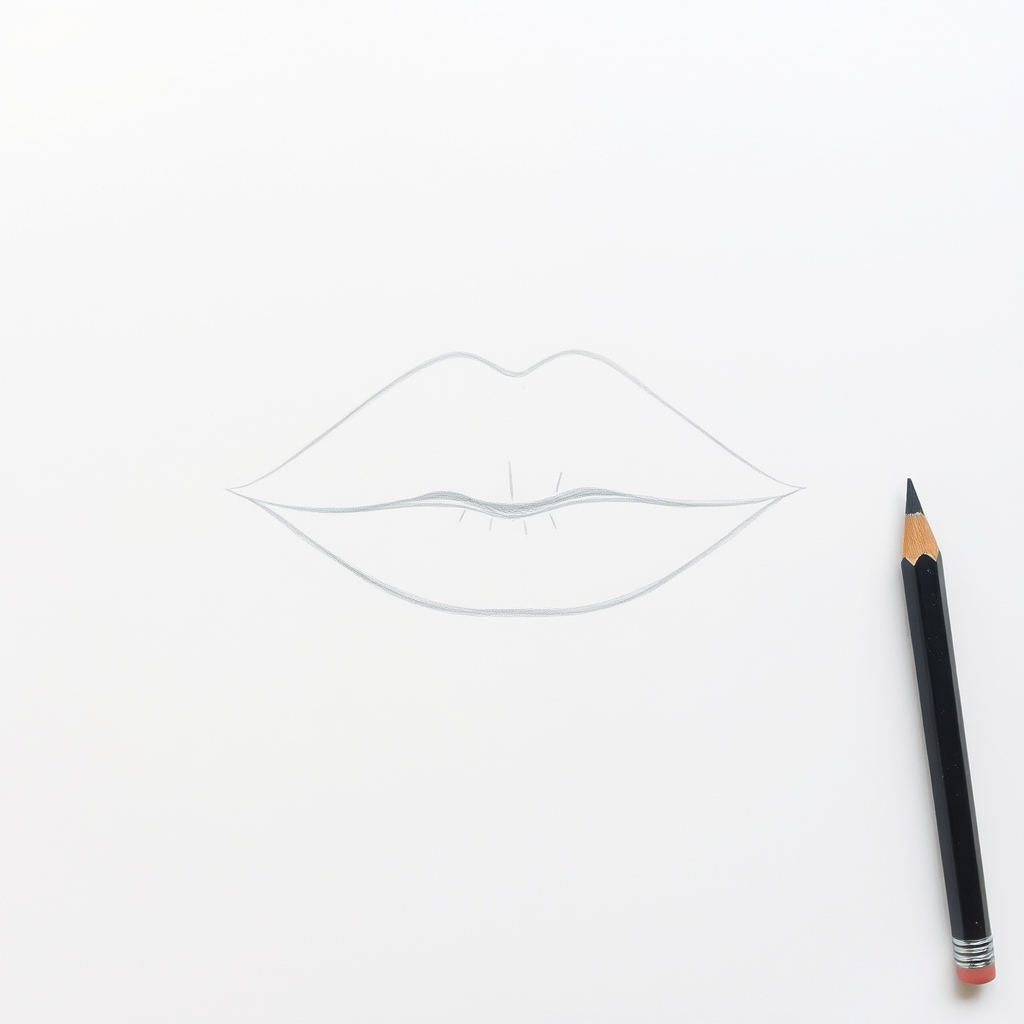
Start with the wavy line where the lips meet, drawn faintly, running the full width of the mouth. Then sketch the outer silhouette loosely around it. Keep everything light enough to lift off with an eraser, because you will almost certainly move the corners once you can see the whole shape.
Draw the mouth wider than feels comfortable. Beginners consistently draw lips too narrow and too tall, which reads as a pout on a face that was meant to be relaxed. A useful check on a front-facing head: the corners of the mouth sit roughly below the centres of the eyes.
Step 2: Commit the Outline and Cut the Cupid’s Bow
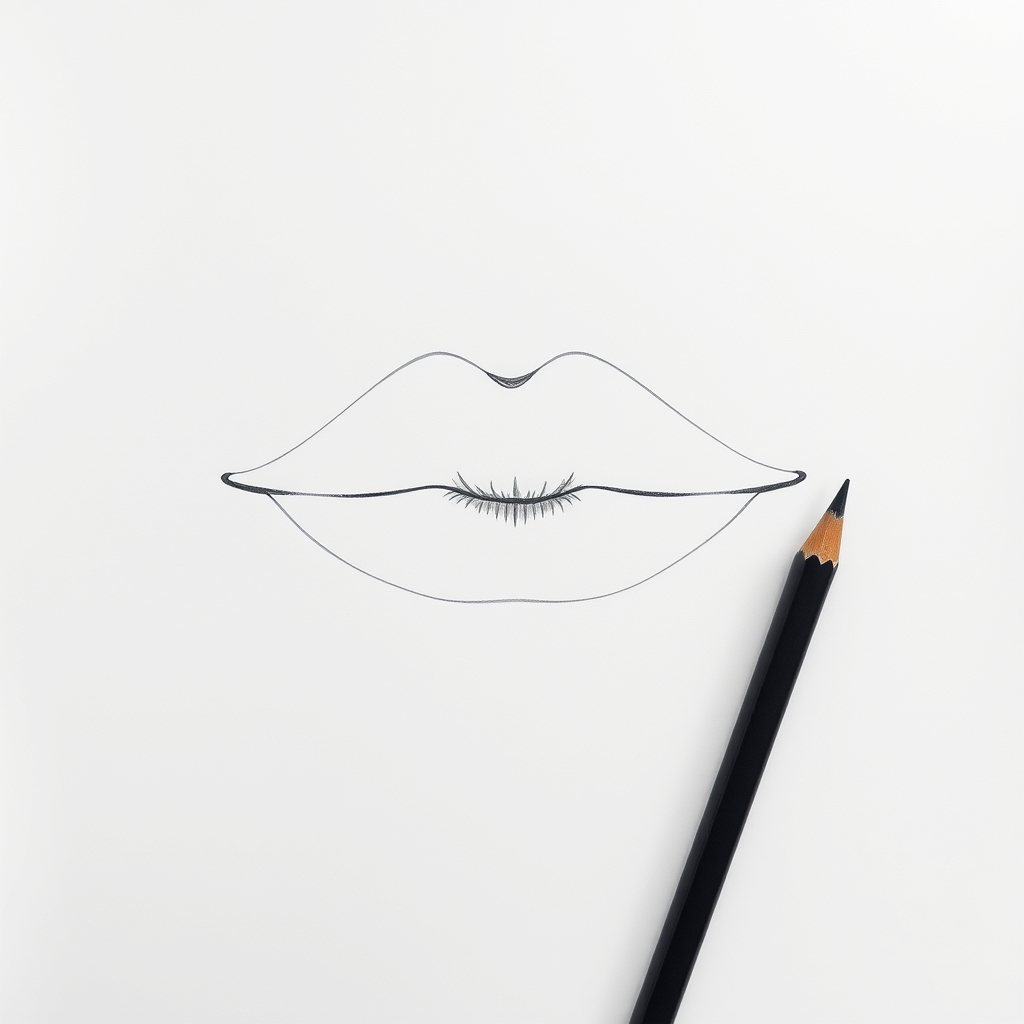
Now go over it with a committed line. The top of the upper lip carries the cupid’s bow, which is two rounded peaks with a small dip between them, sitting directly under the groove that runs down from the nose. Two soft peaks and a dip, nothing sharper than that.
The upper lip is usually the thinner of the two, and it sits back slightly. The lower lip is fuller and rounder. Both corners should taper away to fine points and turn very slightly downward, since a corner drawn as a blunt end makes the whole mouth look stiff.
Darken the seam properly at this stage while the outer edge stays light. That contrast is the single thing that stops the drawing looking flat, and it costs nothing.
Step 3: Shade Across the Curve, Then Lift the Highlight
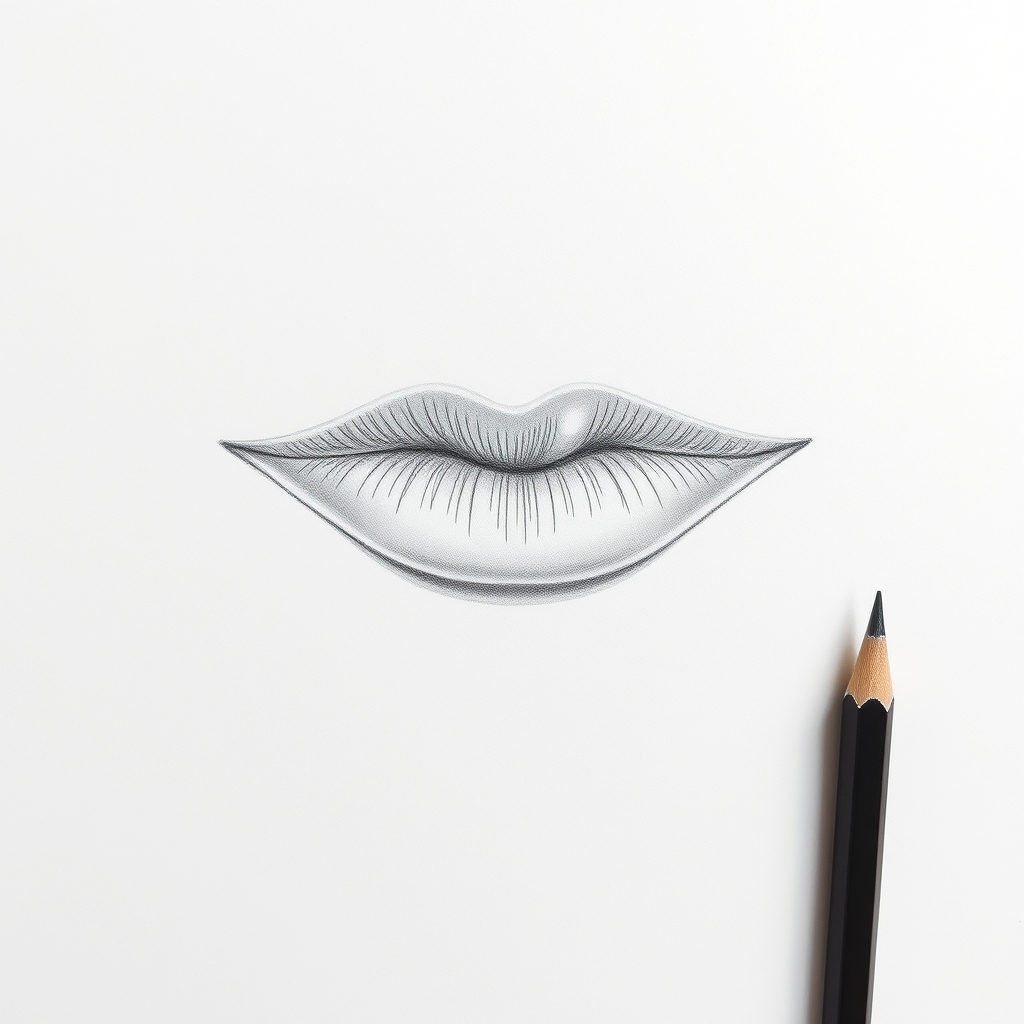
Lip texture runs in short vertical strokes, and those strokes have to follow the curve of each lip. On the outer thirds they lean outward with the shape. Drawing them all straight up and down flattens the mouth instantly, which is one of the quicker ways to spot a beginner’s portrait.
Keep the upper lip darker overall, since it faces slightly downward and catches less light. The lower lip faces up and out, so it takes the highlight. Leave a soft patch of untouched paper across the middle of it, then blend the edges of that patch so it fades instead of ending in a hard line.
Finish with the shadow underneath the lower lip where it meets the chin. That small dark band is what pushes the mouth forward off the face. Skip it and the drawing stays pinned to the paper no matter how good the texture is.
The Side View
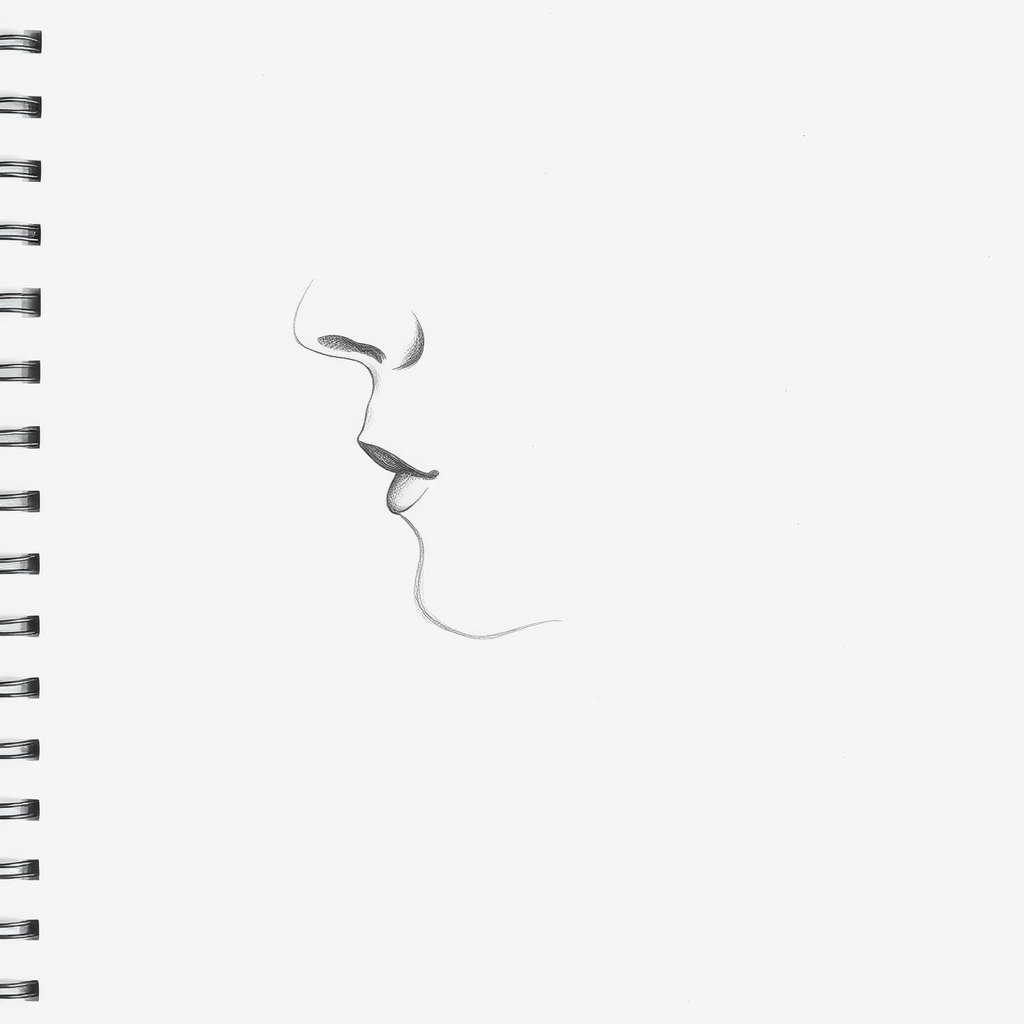
In profile the mouth stops being a shape and becomes a sequence of events along one line. Coming down from the nose you get a shallow groove, then the upper lip pushing forward further than anything else, then the seam, then the lower lip sitting a little further back. Below that the line hollows in before the chin comes forward again.
That hollow under the lower lip is the part people leave out. Without it the chin and the mouth merge into one lump and the profile reads as a cartoon. The other frequent slip is drawing the lower lip further forward than the upper one, which happens on very few faces.
Four Things That Make Lips Look Wrong
- A hard dark line all the way around the mouth. The outer edge of a lip fades into the skin over a millimetre or two, so a continuous border reads as lipstick.
- A straight seam. It waves, and the wave is most of what makes a mouth look like a mouth.
- Texture strokes running straight up and down across the whole width, ignoring the curve.
- Two identical halves. Real mouths are slightly uneven, and forcing perfect symmetry is what gives portraits that mannequin quality.
None of those is about drawing skill. They are decisions you make in the first two minutes, which is why the faint stage at the start is worth taking slowly.
Frequently Asked Questions
How do you draw lips step by step for beginners?
Sketch the wavy seam line first and the outer silhouette loosely around it. Go over the outline with a committed line, adding the cupid’s bow at the top of the upper lip and tapering both corners to points. Then shade with short vertical strokes that follow each lip’s curve, keep the upper lip darker, and lift a highlight out of the lower lip.
Why do my lips look flat or stuck on?
Usually because the outer border is the darkest line in the drawing. Soften that edge, put your darkest value in the seam between the lips, and add the shadow under the lower lip. The same mouth will read as three-dimensional straight away.
How wide should the mouth be on a face?
On a relaxed front-facing head the corners of the mouth line up roughly under the centres of the eyes. The seam sits about a third of the way down from the base of the nose to the bottom of the chin. Checking both takes seconds and catches most placement errors.
How do you draw lips with teeth showing?
Treat the teeth as one pale shape first and only suggest the divisions between them very faintly. Outlining each tooth separately is what produces the unsettling grin you see in a lot of beginner portraits. Teeth also sit in shadow from the upper lip, so they are never pure white paper.
How do anime and cartoon lips differ?
Stylized mouths usually keep the seam and throw away everything else. In a lot of anime the entire mouth is one line with a slight wave in it, placed correctly relative to the nose and chin. The placement is doing the work, so the same proportion checks still apply.
Where to Go Next
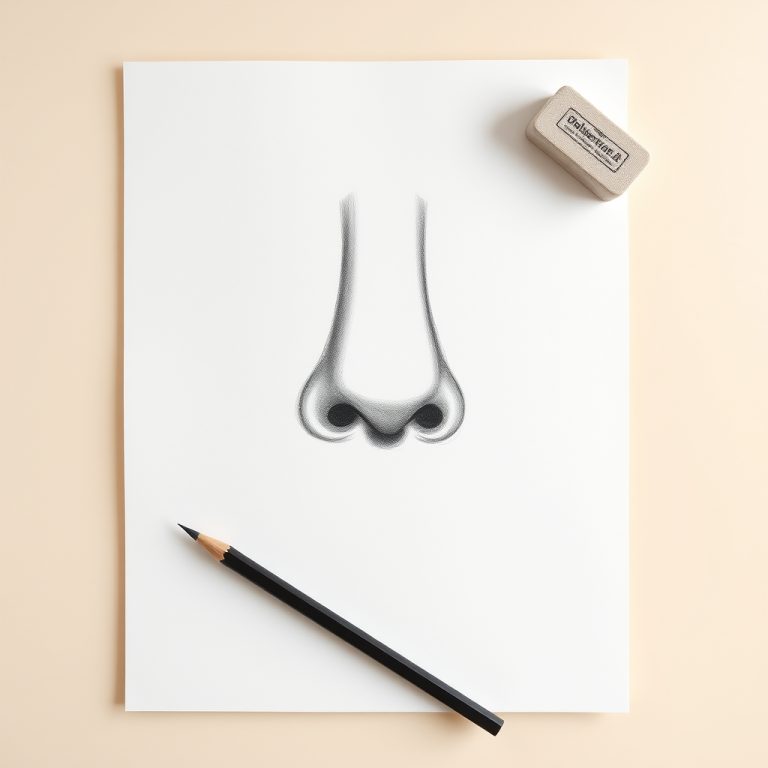
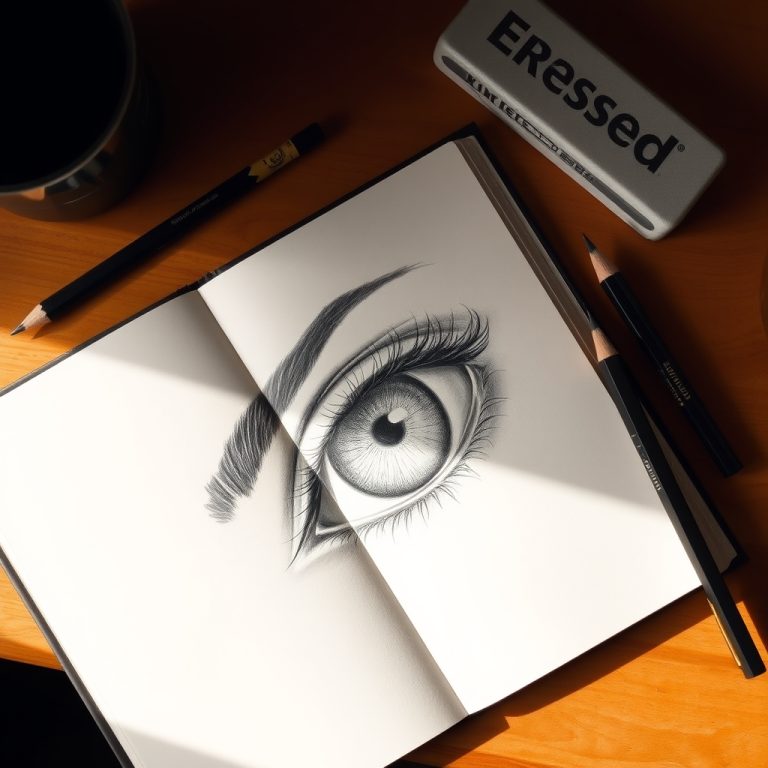
Lips are the third feature on the centre line of a face, so this pairs directly with our nose tutorial and the eye tutorial. Once all three behave on their own, the face drawing tutorial covers where each one actually sits.
For a softer, stylized face to practise the same placement on, try our cute girl drawing ideas. If your portraits keep coming out flat across the board, why do my drawings look bad covers the value problem that causes it, and the drawing guide lays out which subject trains which skill.