The joint halfway down a deer's back leg bends backward, not forward. It is the hock, equivalent to a human ankle, and getting it the wrong way round is the single error that makes most deer drawings look broken.
Key takeaways
- The backward-bending joint on a deer's hind leg is the hock, an ankle rather than a knee.
- Fawn spots sit in rough rows along the back and fade toward the belly, never scattered evenly.
- Antlers branch from two pedicles on the skull and grow in matching pairs left and right.
- A fawn's legs are almost adult length at birth, which is why they look so disproportionately long.
- Deer eyes sit on the sides of the head, giving a wide field of view and a very narrow face front-on.
One anatomical fact fixes most deer drawings. The joint halfway down the hind leg bends backward, because it is the hock and corresponds to a human ankle, not a knee. The real knee sits much higher and stays tucked against the body. Draw that joint forward and the animal looks broken no matter how good the fur is.
Two more details matter. Fawn spots run in rough rows along the spine and fade toward the belly rather than scattering evenly, and antlers branch in matching pairs from two pedicles on the skull. Draw one antler fully, then mirror it.
The thirty studies below cover fawns curled in grass, stags in mist, folk pattern panels, alcohol ink and gold leaf, worked in graphite, stipple, watercolor, charcoal and oil pastel. For related subjects, watercolor deer drawing ideas and animal drawing ideas are the closest companions on the site.
Several pieces set the animal in woodland, so tree drawing ideas and nature watercolor ideas are useful groundwork, while the ornamental antler pieces borrow their symmetry from mandala construction.
Compiled by the GS Art Zone editorial team. Last updated August 2026. Each idea is paired with the specific step that produces the effect, so you can go from the reference straight to paper.
What You Need Before You Start
- A 2B and 6B for the graphite studies, since deer coats need a wide value range
- Fine liners in 0.05 and 0.1 for the stippled and botanical plate pieces later in the list
- Warm browns, raw sienna and one cool gray, which covers almost every natural coat color
- A kneaded eraser sharpened to a point for lifting the pale spots out of a dark coat
- Toned kraft or black paper with white pencil for the reversed and misty forest studies
1. Fawn Curled in Long Grass
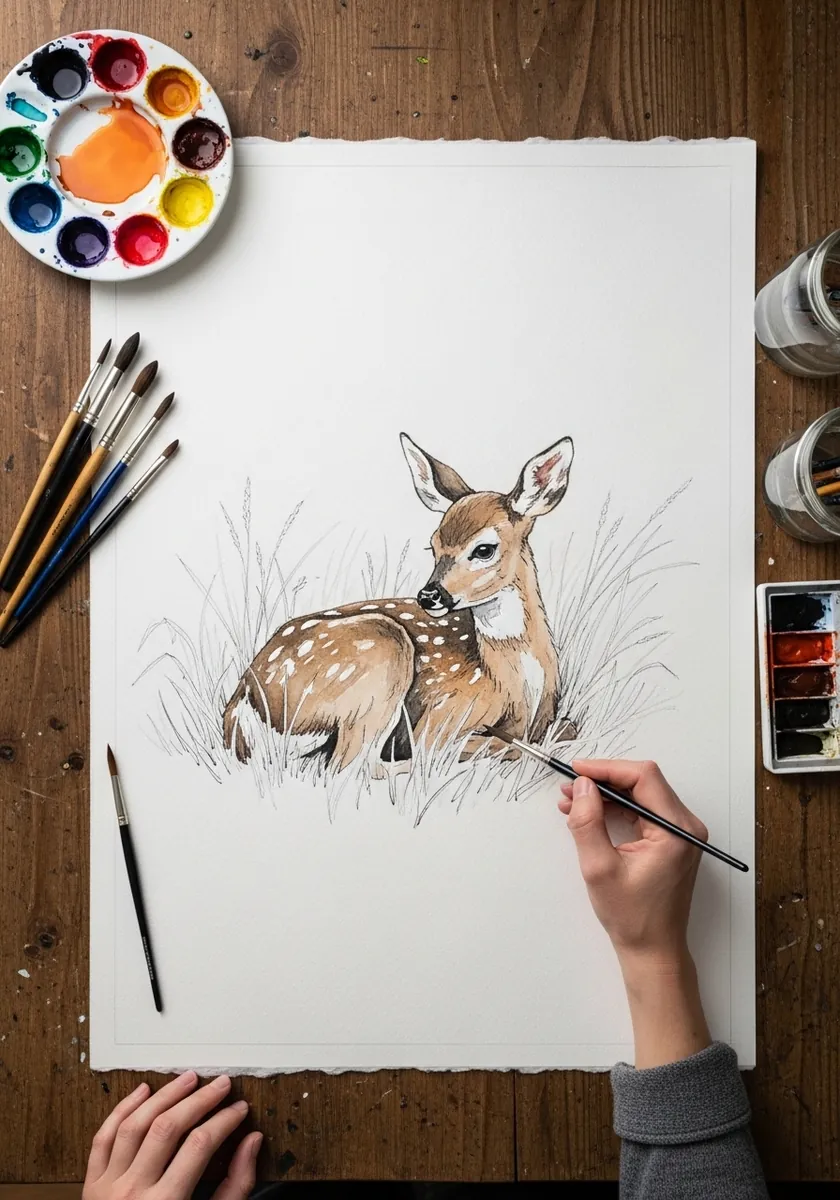
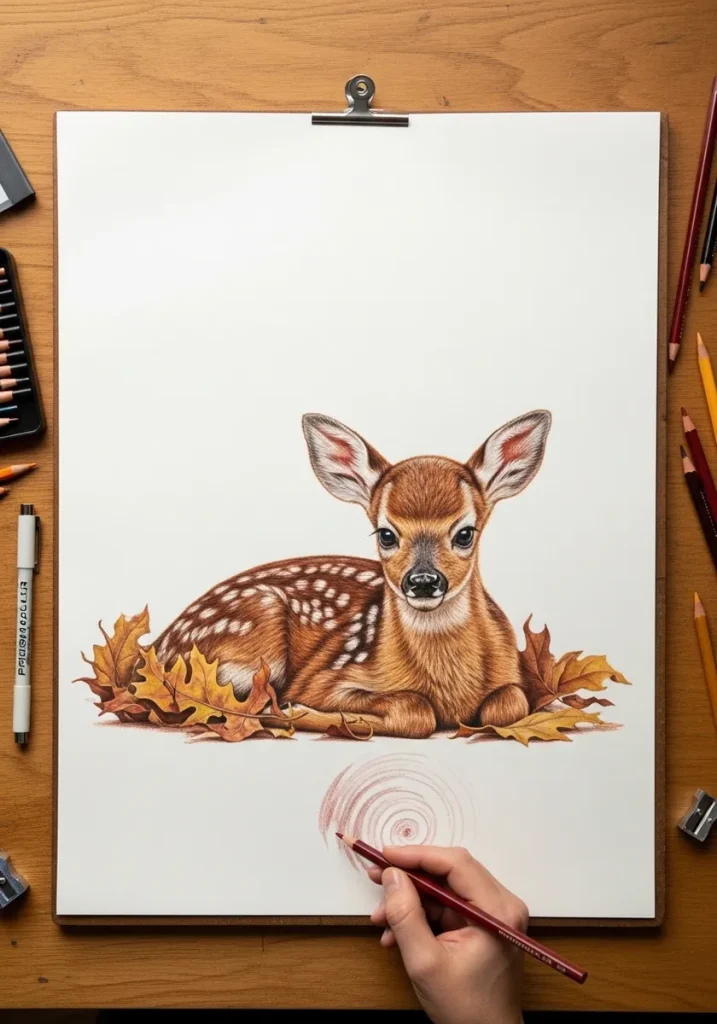
Begin with a lying pose because it hides the legs entirely, which removes the hardest problem in deer drawing. Concentrate on the spot rows following the curve of the spine, and let the grass blades cross in front of the body to settle the animal into its setting.
2. Graphite Doe Beside a Rock
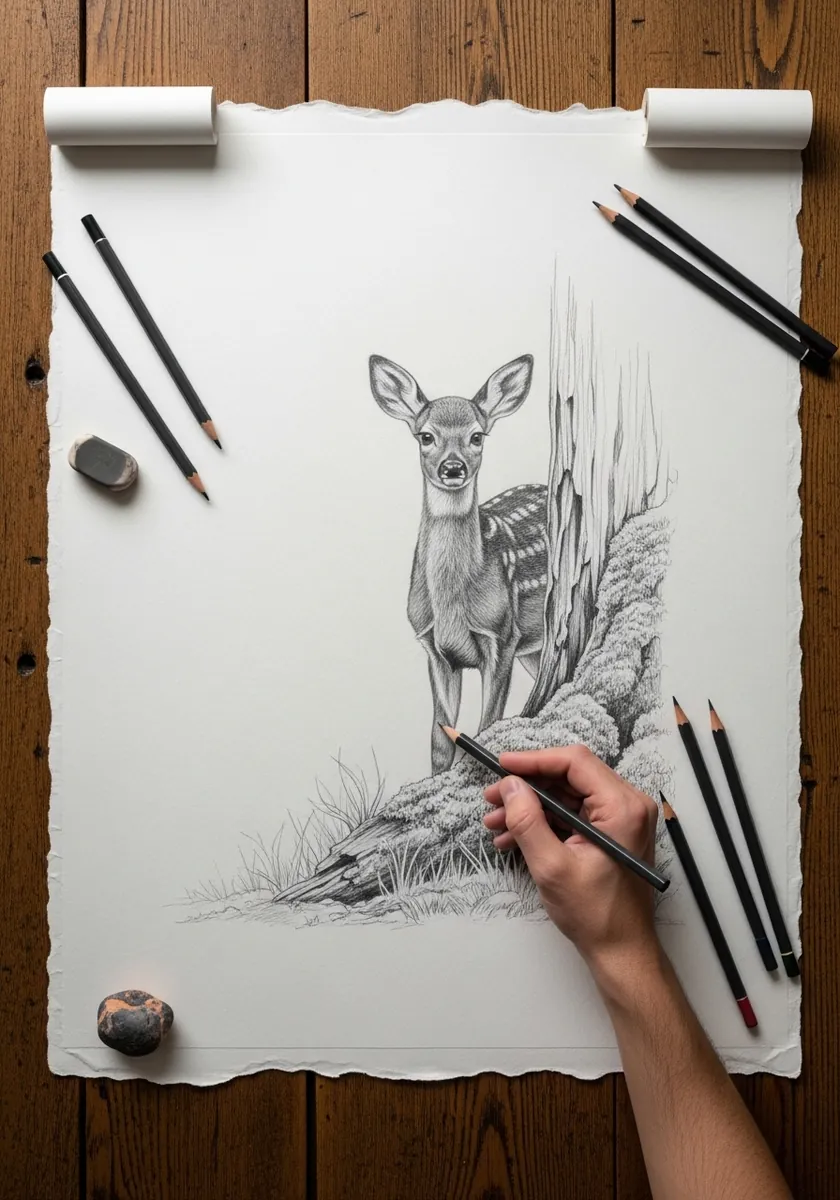
An alert pose means the head is up and the ears face forward. Draw the ears first as two large cupped shapes, since they sit higher and wider than most people expect, and let them set the scale for the whole head beneath.
3. Golden Stag in Thick Oil Paint
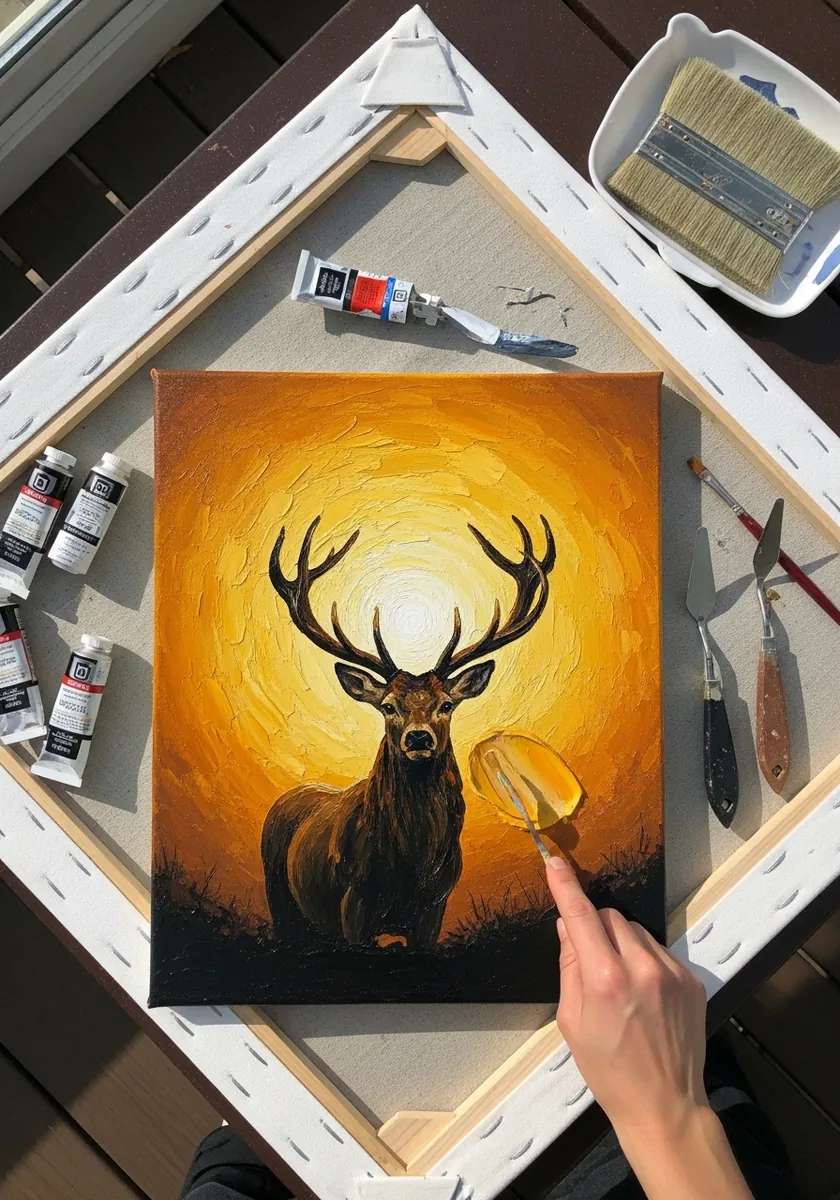
Backlighting turns the animal into a near silhouette, which is a gift. The body needs almost no interior detail, so put all your effort into the antler shape against the sky and let the loaded knife strokes build the glow behind.
4. Minimal Ink Fawn Outline
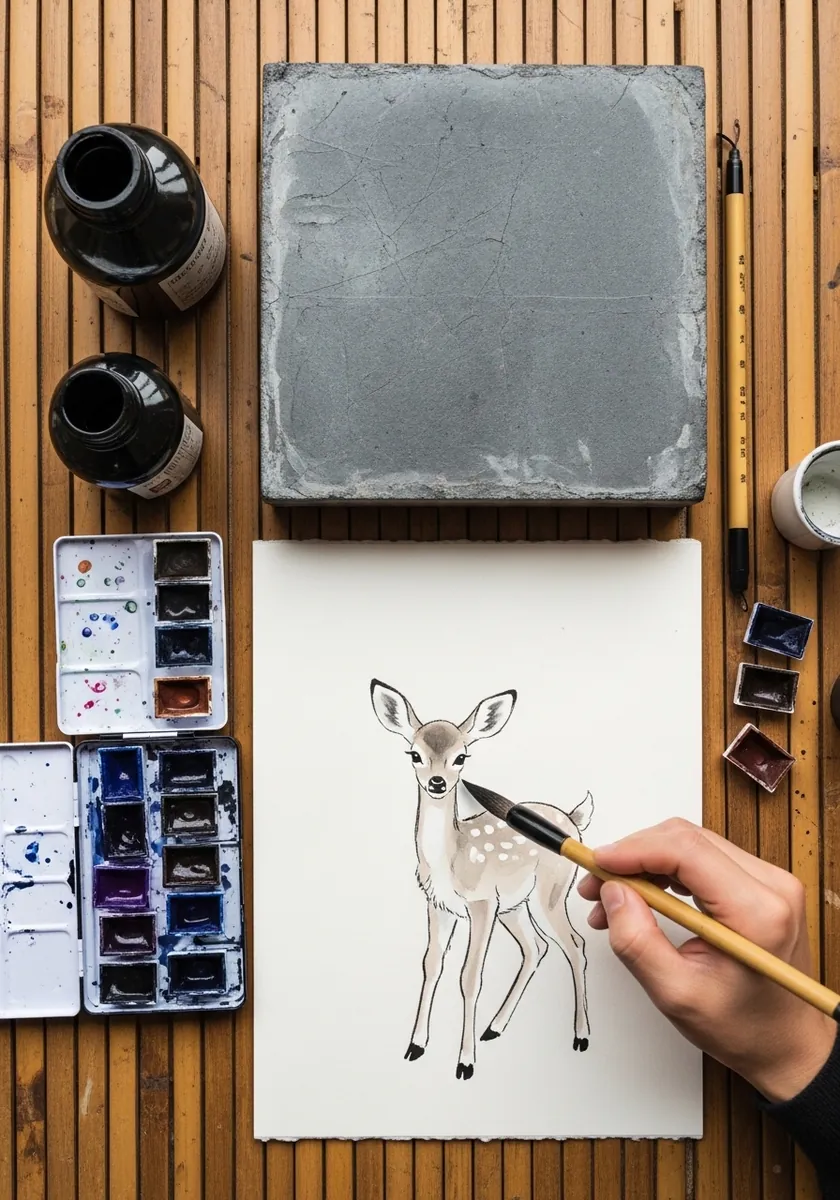
Stripping everything back exposes the structure. With no shading to hide behind, the leg lengths and that backward hock joint have to be correct, which makes this a far better test of your understanding than a fully rendered drawing. Draw the hooves as small wedges rather than points, since a deer stands on two toes per foot.
5. Fawn Resting in Autumn Leaves
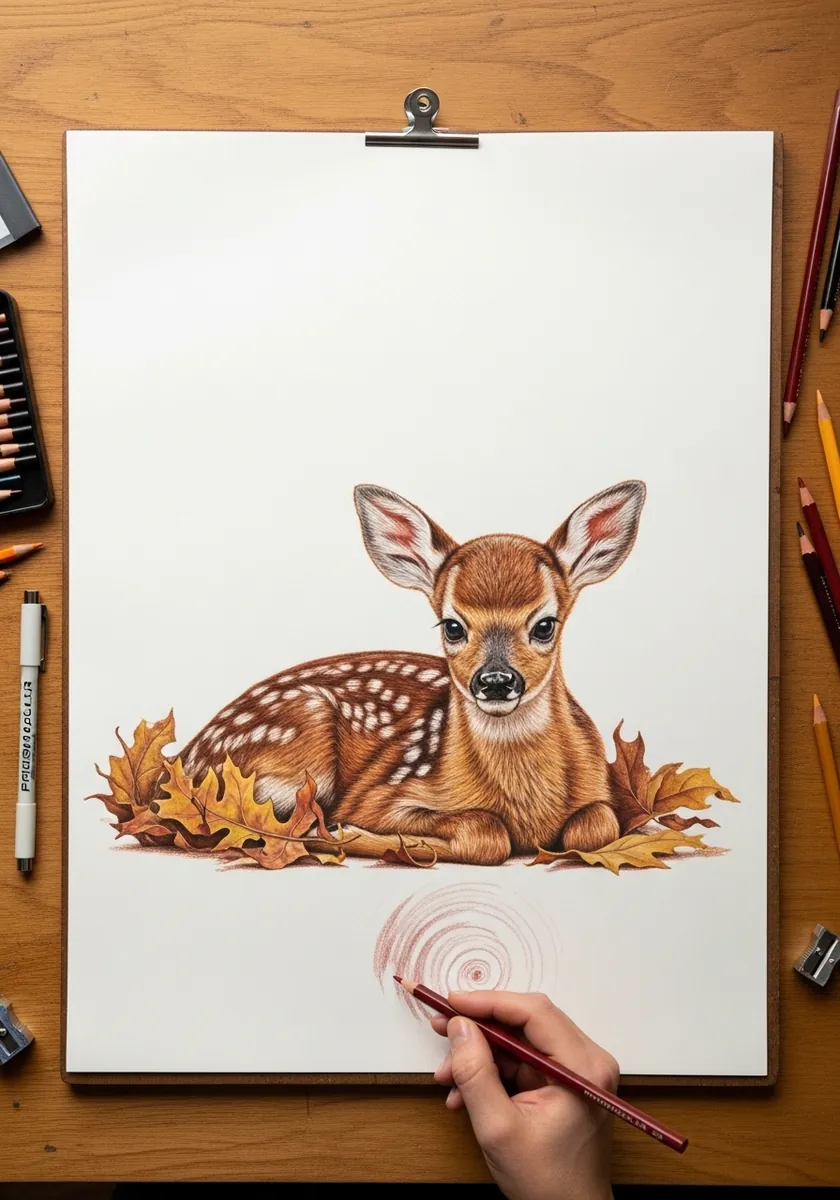
Warm leaves around a warm coat risks everything merging. Separate them by value rather than hue, keeping the fawn lighter than the leaf bed beneath it, and add a few cool blue-gray shadows under the body to push it forward.
6. Misty Forest Doe in Charcoal
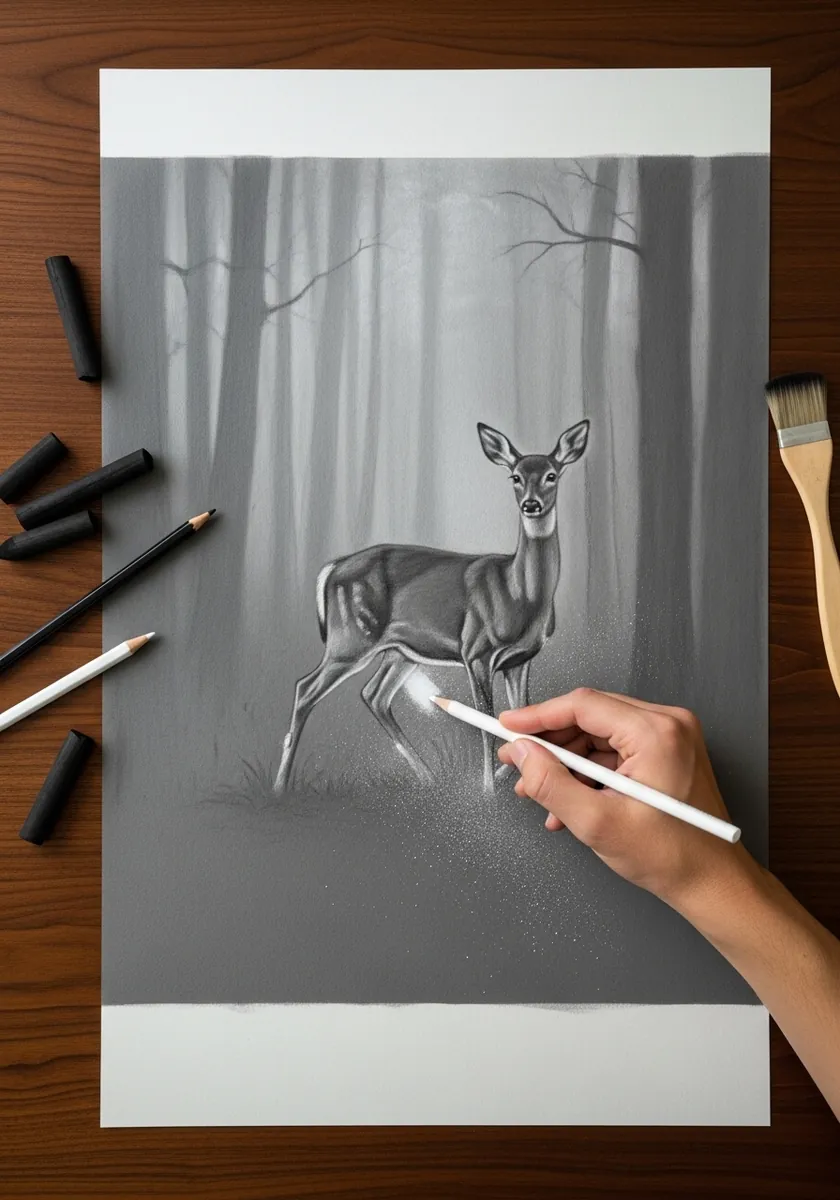
Atmospheric depth comes from value alone. Keep the deer as the darkest thing on the page, fade each row of trunks progressively lighter as they recede, and blend the far background almost to the paper tone with a cloth. Leave the mist as bare paper wherever possible, because charcoal added and then erased goes gray.
7. Stippled Fawn Portrait
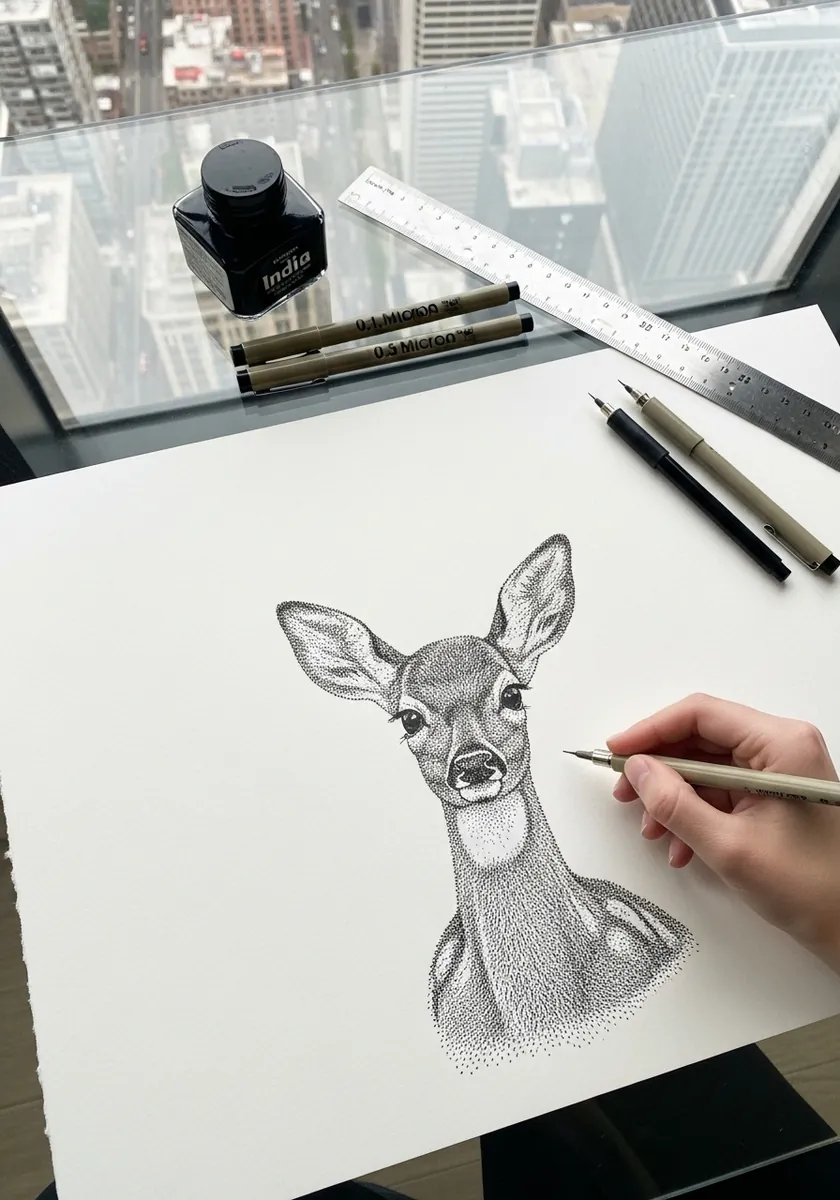
A front-facing deer has a surprisingly narrow face, because the eyes sit on the sides of the head rather than the front. Keep the muzzle slim and the ears wide, and build the coat tone entirely from dot density. The dark nose pad is the single darkest value here, so save it until every other tone is settled.
8. Folk Pattern Deer on Kraft
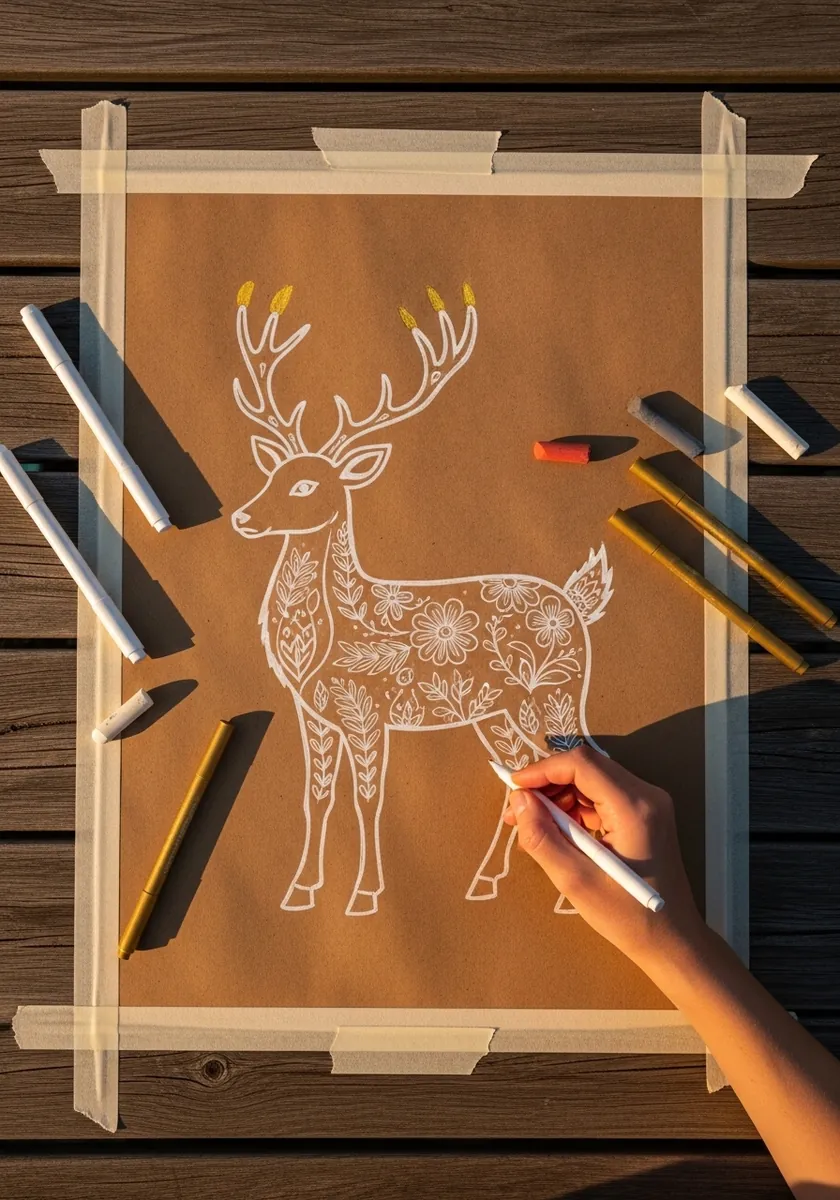
Decoration should follow the animal’s own form. Run each pattern band along the direction the muscle would travel, so the flowers curve around the shoulder and haunch instead of sitting flat across them like wallpaper. Kraft paper supplies the mid tone, meaning white ink alone can carry the whole design.
9. Fawn Framed by Wildflowers
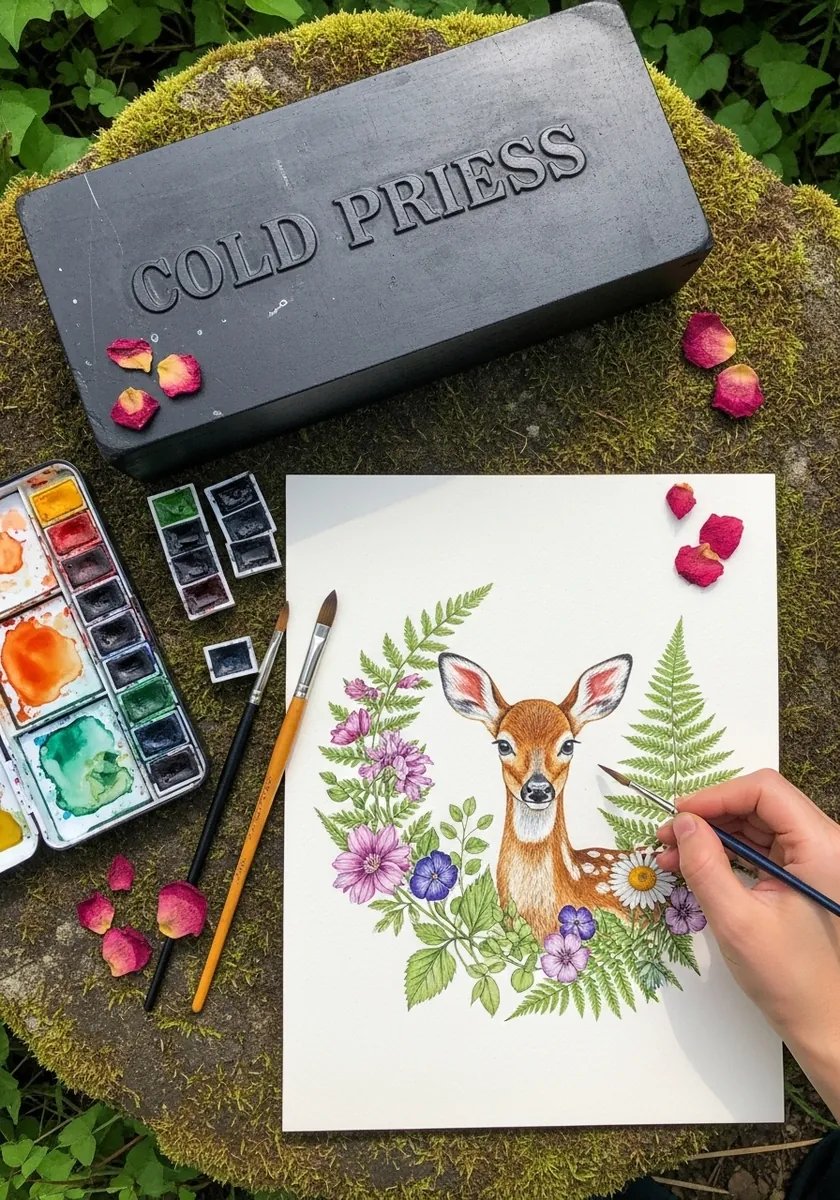
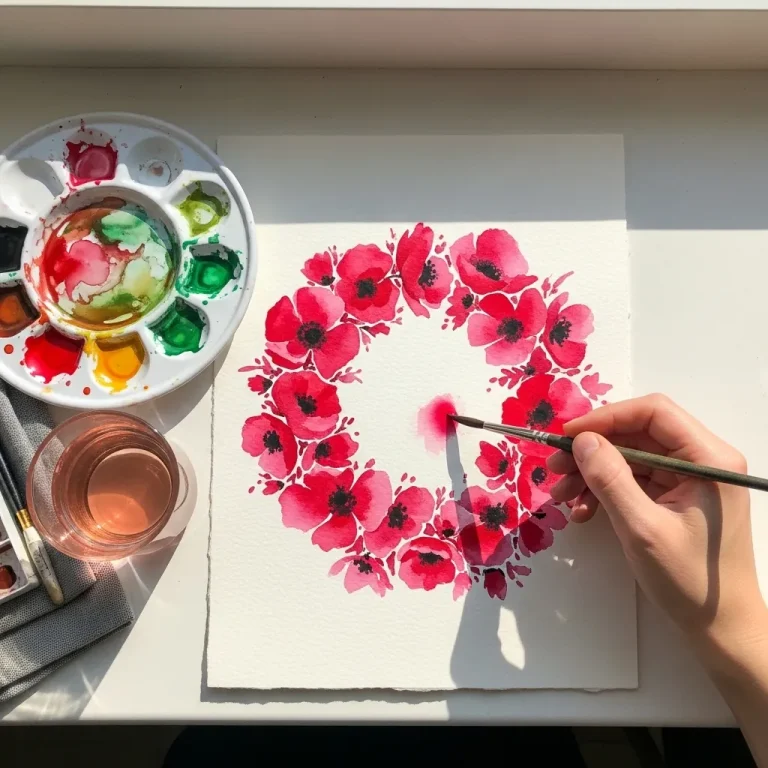
A wreath composition needs clear spacing. Place your largest blooms at four points around the circle first, fill between them with smaller shapes, and leave a clean gap of white paper immediately around the fawn’s face. Paint the wreath before the face, as it is far easier to fit a portrait into a gap than the reverse. Work outside in.
10. Pink Deer with Cherry Blossom
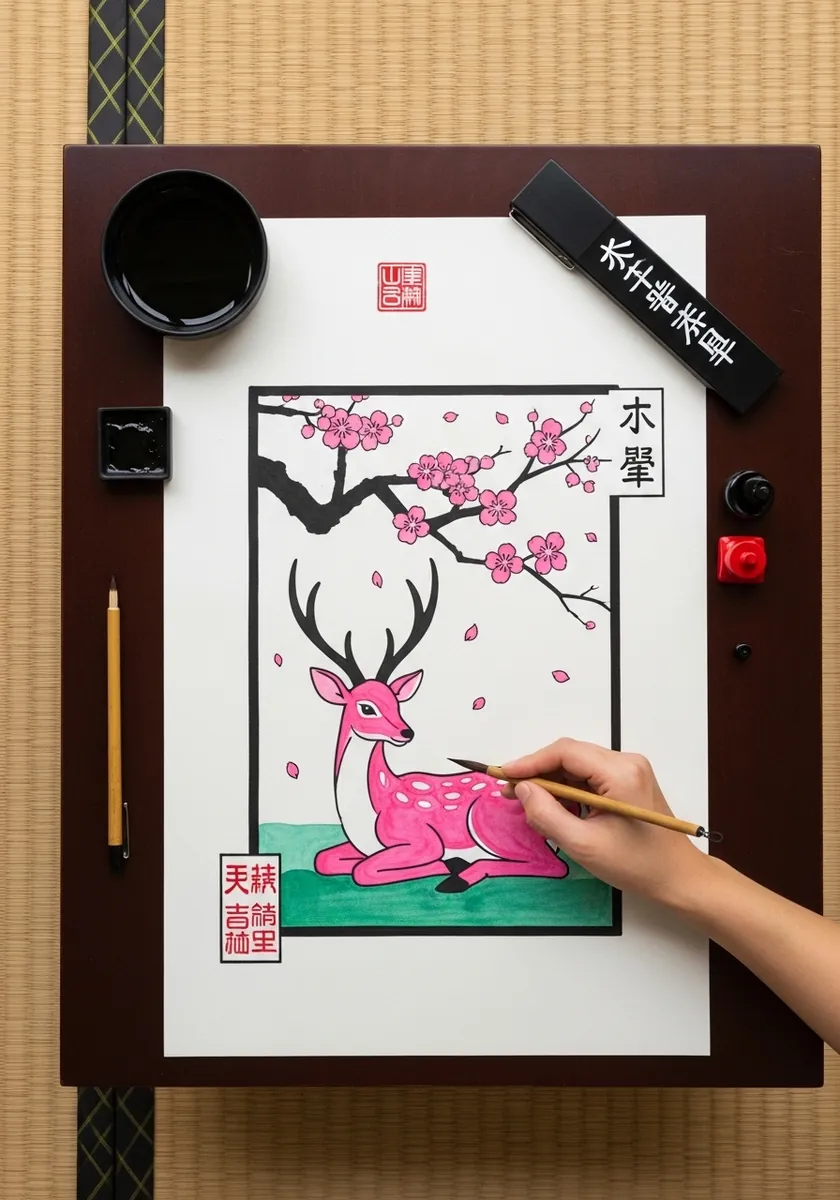
Invented color still needs truthful value. The pink coat reads correctly because the darks sit exactly where they would on a real animal, under the belly and along the far side of the neck. Keep the blossom branch crossing behind the antlers, which instantly separates the two layers.
11. Fawn Walking Through Puddles
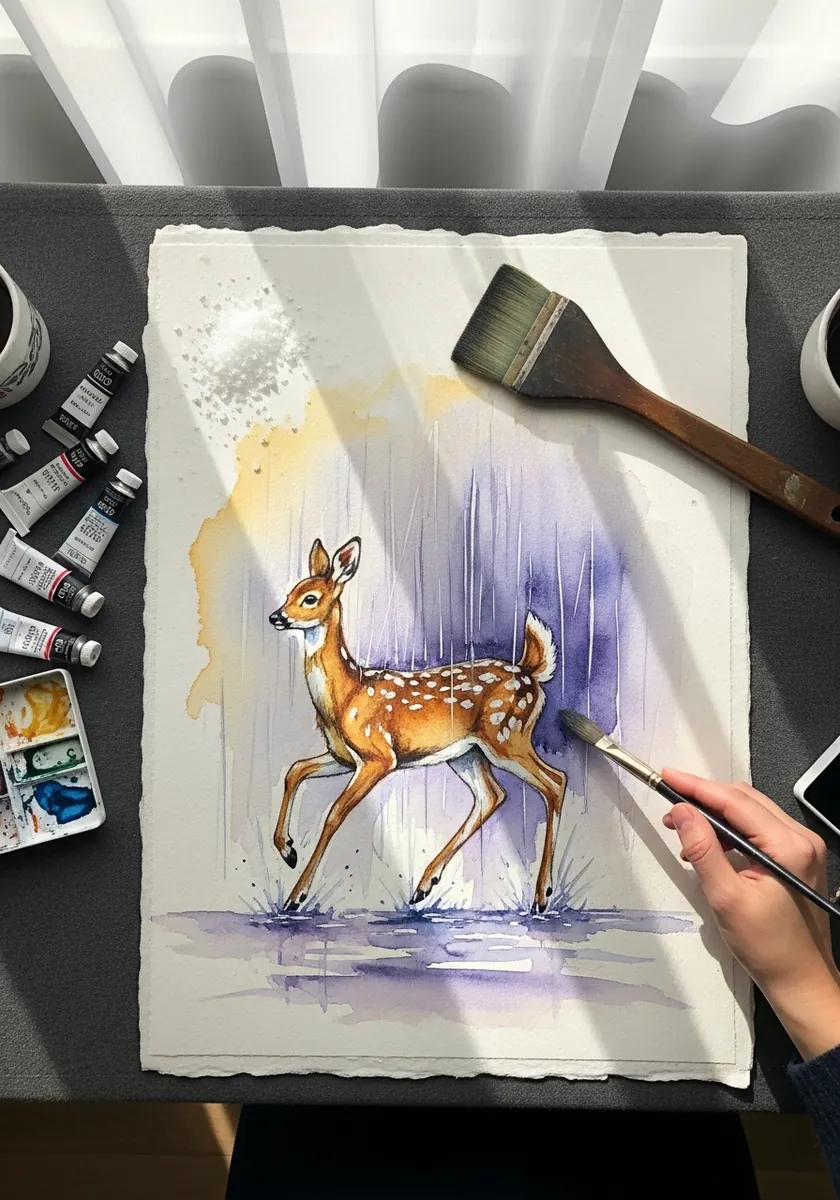
Walking means diagonal legs move together, front left with back right. Get that pairing correct and the animal moves; get it wrong and it looks like it is falling. The loose wash forgives everything else. Let the puddle reflections sit directly beneath each hoof rather than drifting sideways. Misplaced reflections break the ground plane.
12. Low Poly Geometric Stag
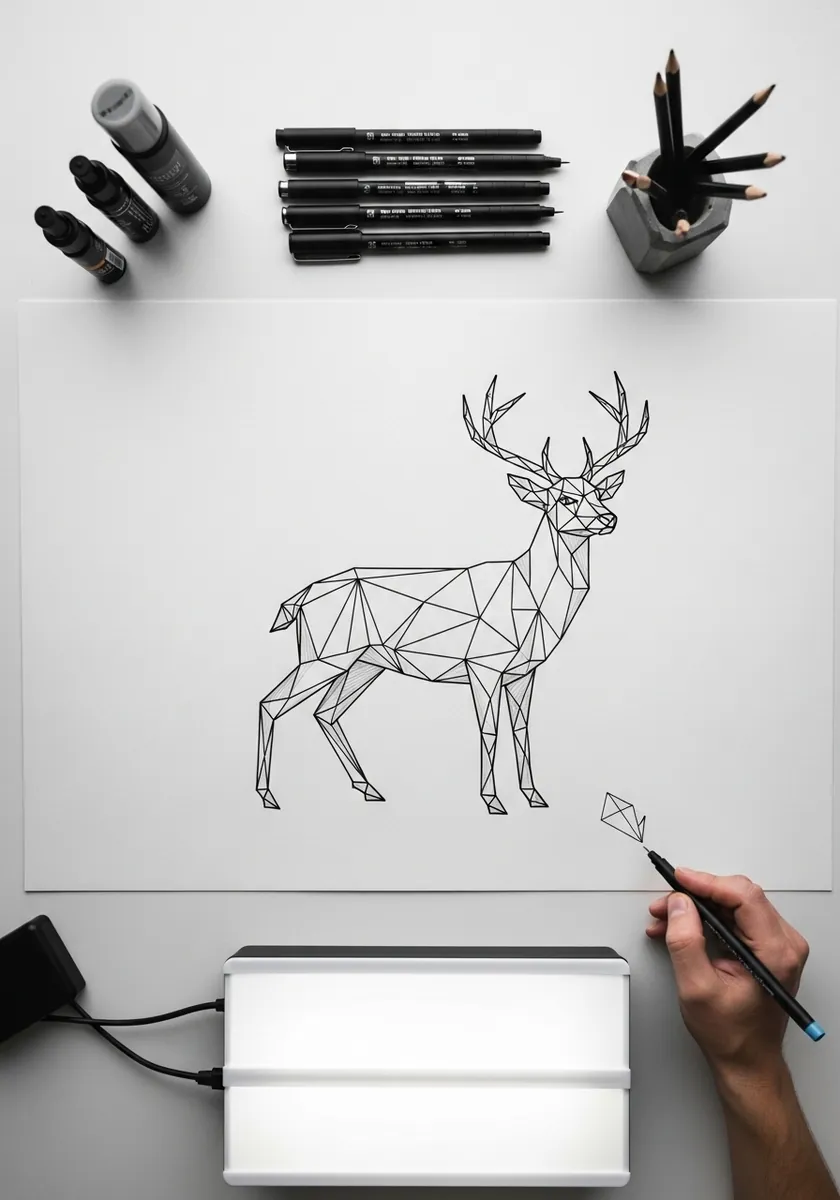
Faceting is easier on an angular animal. Draw the stag normally in light pencil, then break it into triangles, keeping the facets smallest at the antler tips and the muzzle where the form changes direction fastest. Rule every facet line rather than drawing it freehand, since a wobbly triangle ruins the effect.
13. Annotated Fawn Field Study
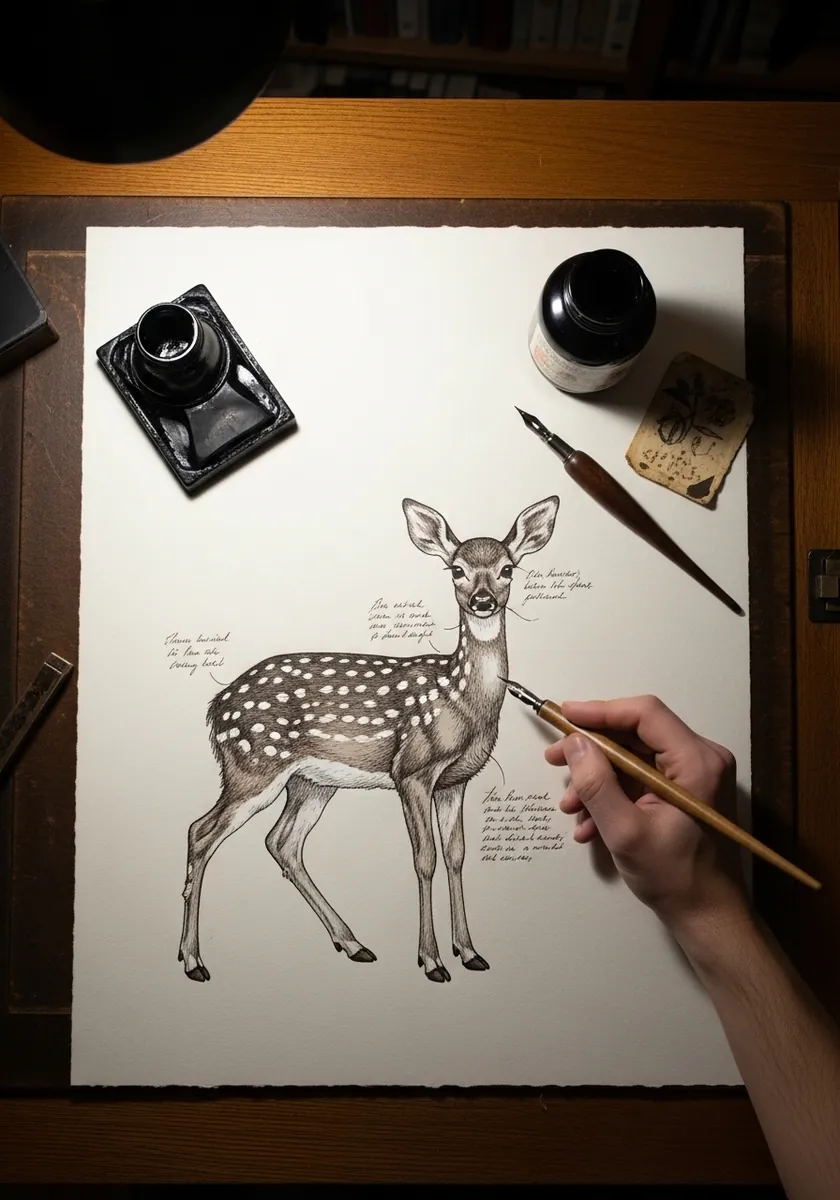
Writing notes forces you to actually look. Label the hock, the dewclaws above the hoof and the spot rows along the spine, and the act of naming those parts fixes them in memory far better than drawing alone does. Keep the handwriting small and consistent, because uneven lettering makes a study page look untidy.
14. Deer in a Sunlit Clearing
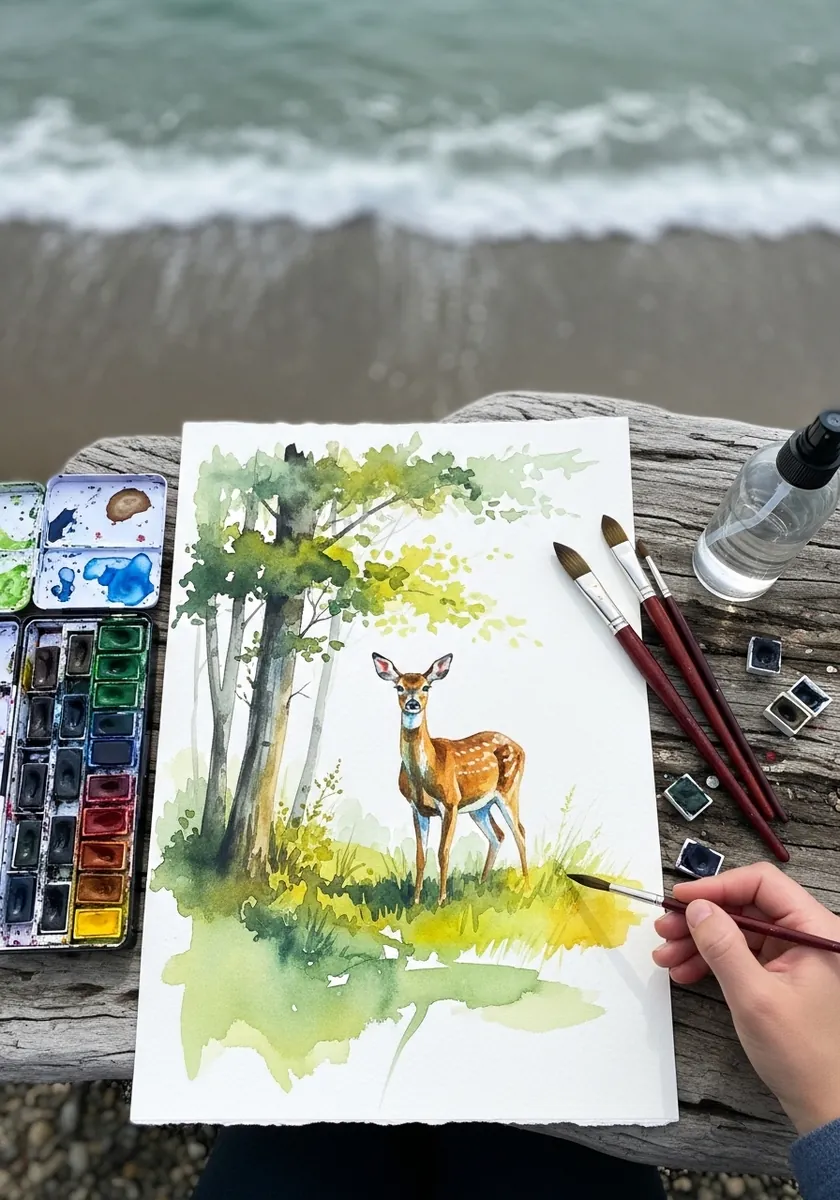
Dappled light is the whole subject. Reserve irregular patches of white paper across the deer’s back and the ground before laying any wash, because those gaps are impossible to recover once the paper is covered. Green is easy to overmix into mud, so limit yourself to two greens and one yellow throughout.
15. Abstract Stag in Bold Color Blocks
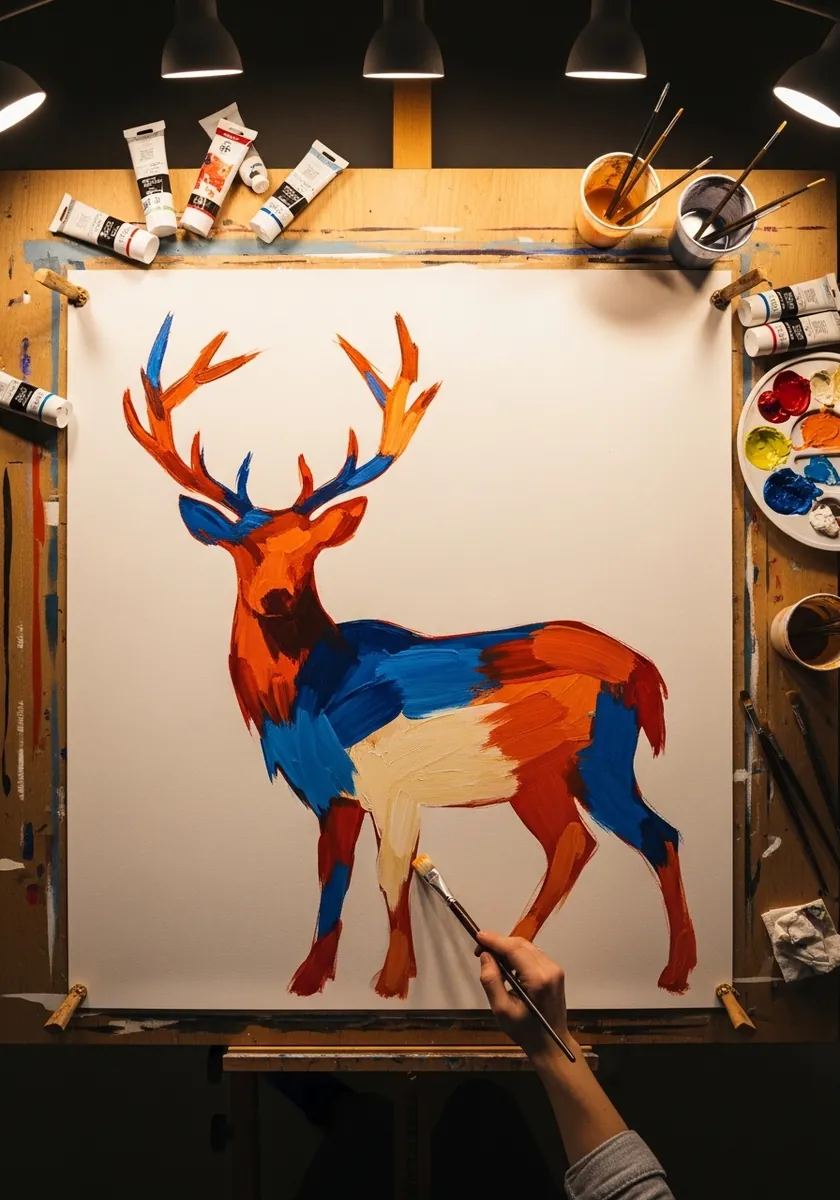
Blocking an animal into flat color patches teaches you to see planes. Divide the body where the form genuinely turns, at the shoulder, the ribcage and the haunch, and give each region one unmixed color. Leave visible brush marks in each block, as the texture is what stops flat color looking digital.
16. Light Pencil Fawn Construction
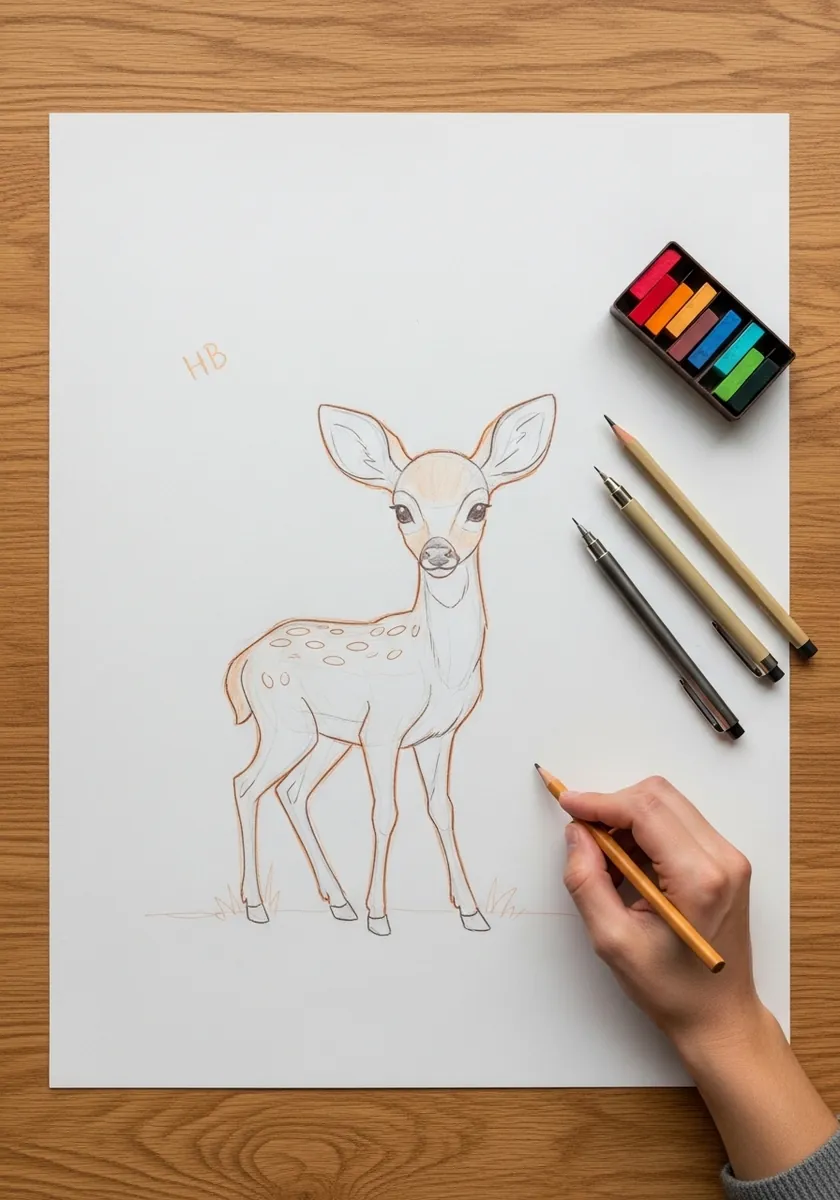
This is the stage most people rush. Build the body from two ovals, mark the hock and knee positions on both hind legs, and check the leg length against the body depth before committing to a single dark line. Work these guide lines light enough to erase cleanly, since heavy construction shows through paint.
17. Brush Ink Stag with Splatter
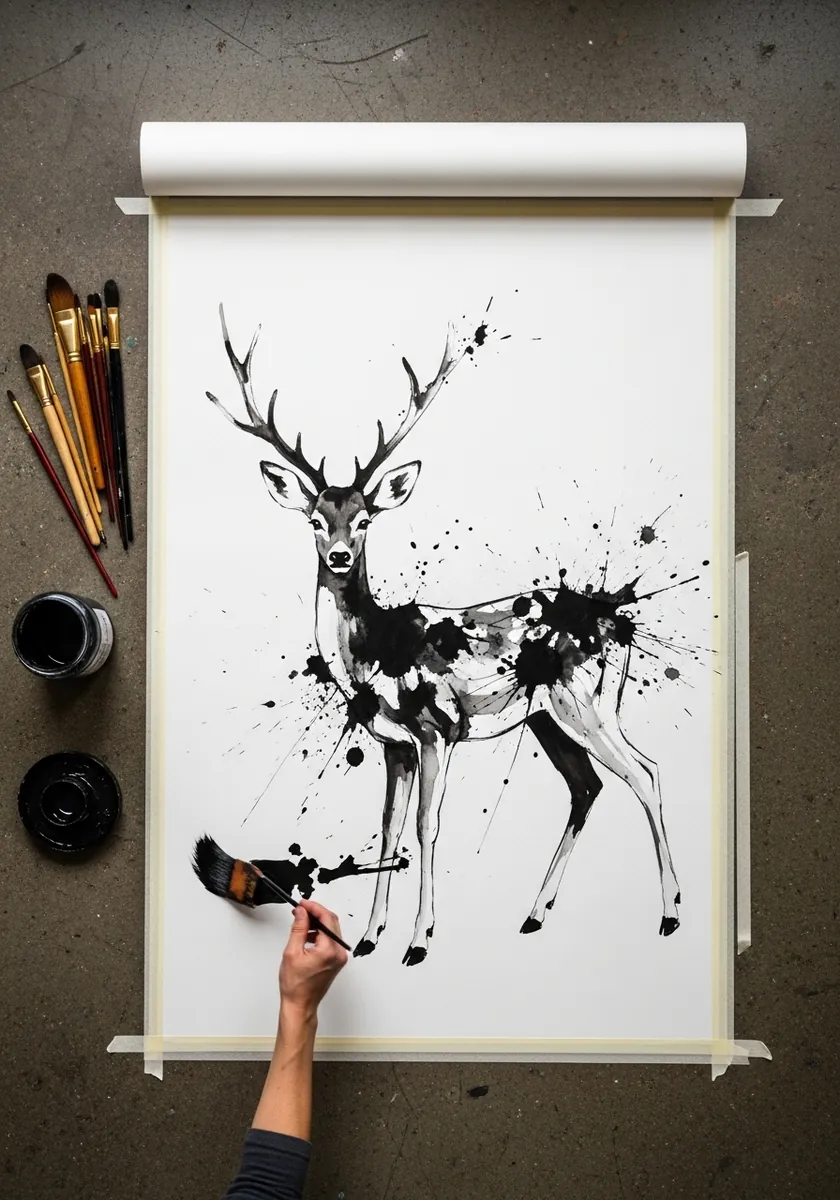
Controlled and uncontrolled marks need clear separation. Paint the head and antlers with real precision, then attack the hindquarters with splatter, and the contrast reads as energy rather than as an accident. Load the brush once for each stroke and accept the taper, because reloading mid-stroke shows badly. Commit and move on.
18. Big Eyed Cartoon Fawn
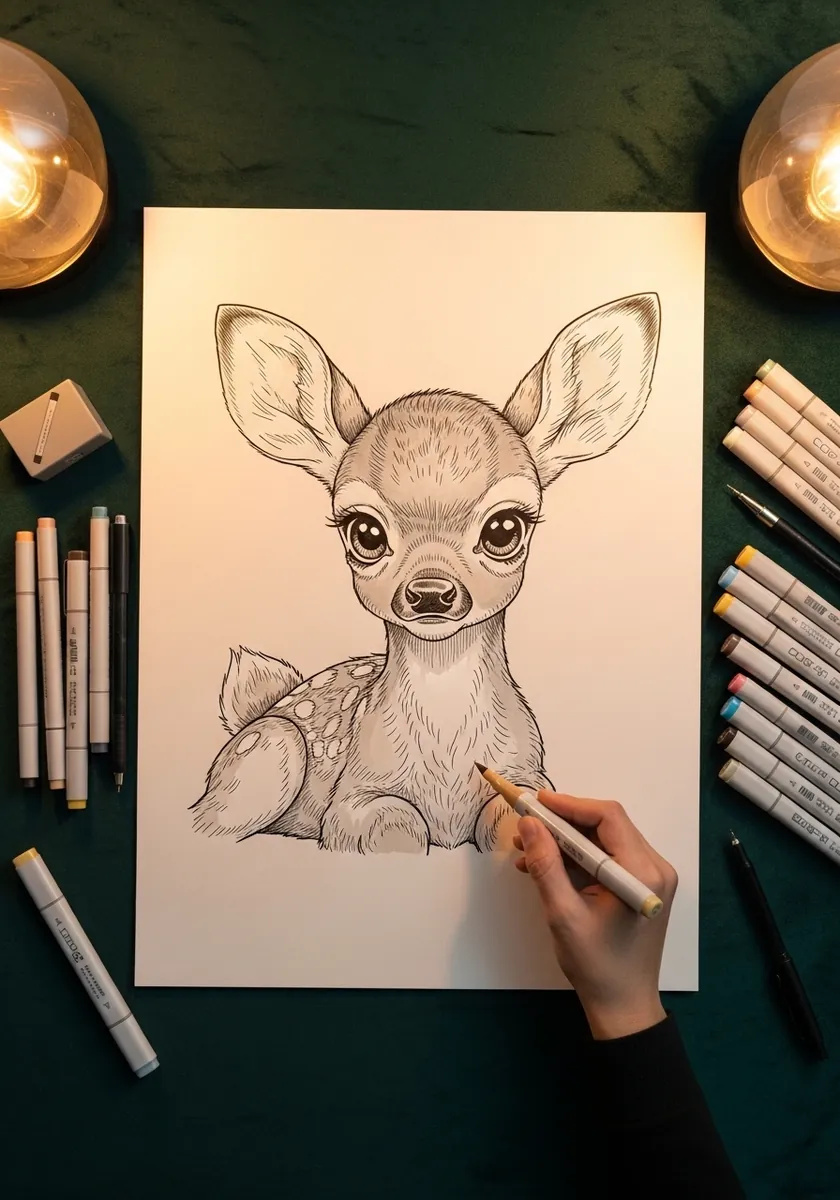
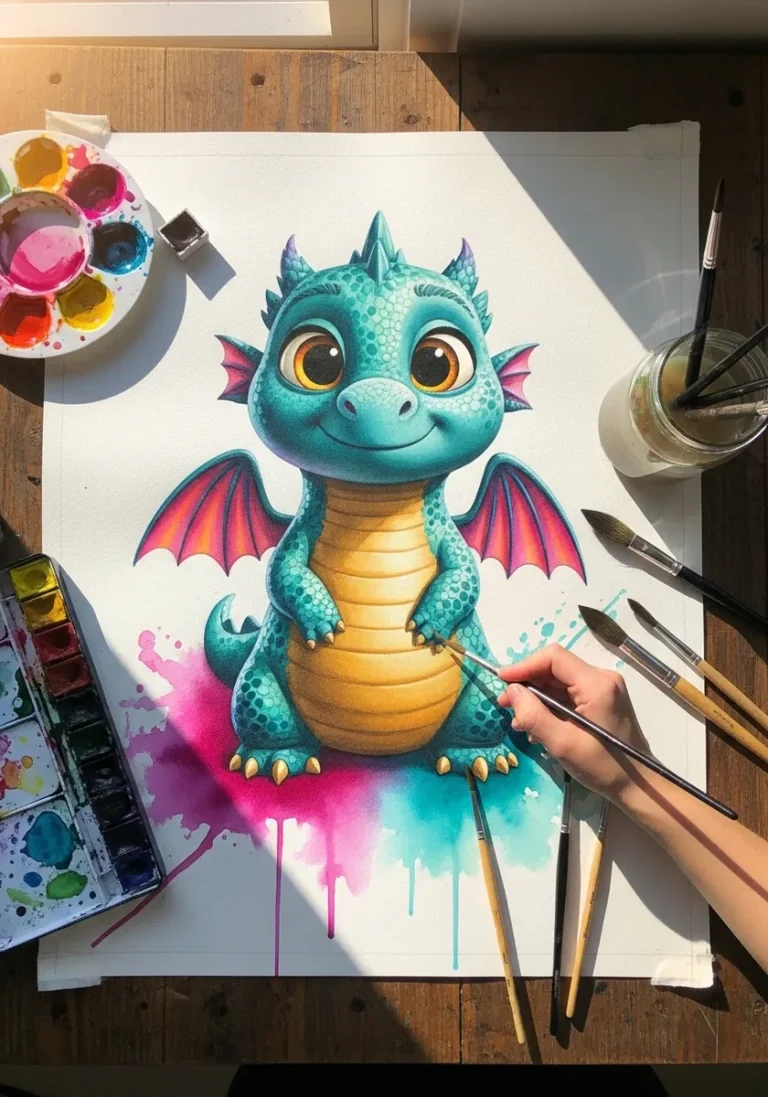
Cute design is proportion work. Enlarge the eyes and the head, shorten the muzzle almost to nothing, and keep the legs stubby. Realistic deer proportions do the opposite, which is exactly why the exaggeration reads as young. Place the eyes lower on the head than feels correct, which is what reads as babyish rather than adult.
19. Symmetrical Folk Deer Panel
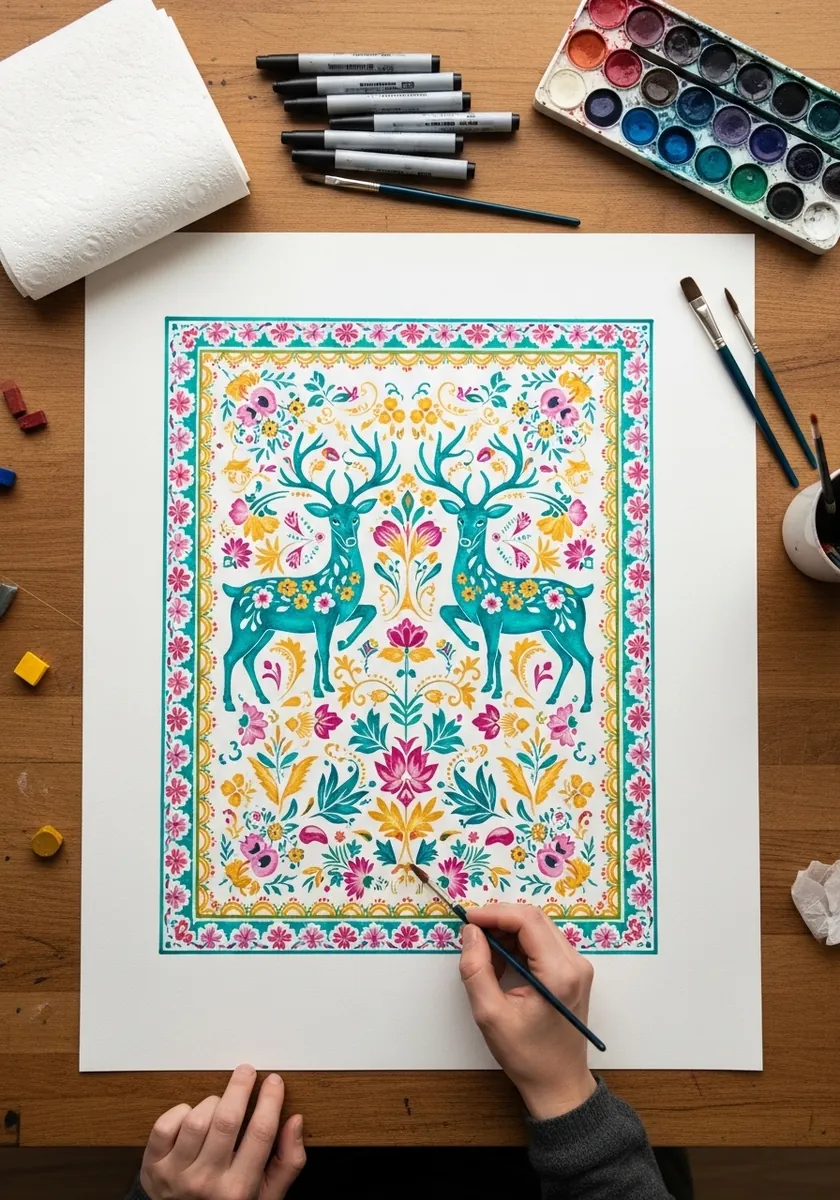
Mirrored compositions live on accuracy. Draw one deer completely, trace it, flip it, and only then add the flowers between them. Freehanding the second animal always produces a visible mismatch. Rule a light center line first, as folk symmetry falls apart quickly without a fixed axis to work from. Everything mirrors across it.
20. Stag in a Dark Winter Forest
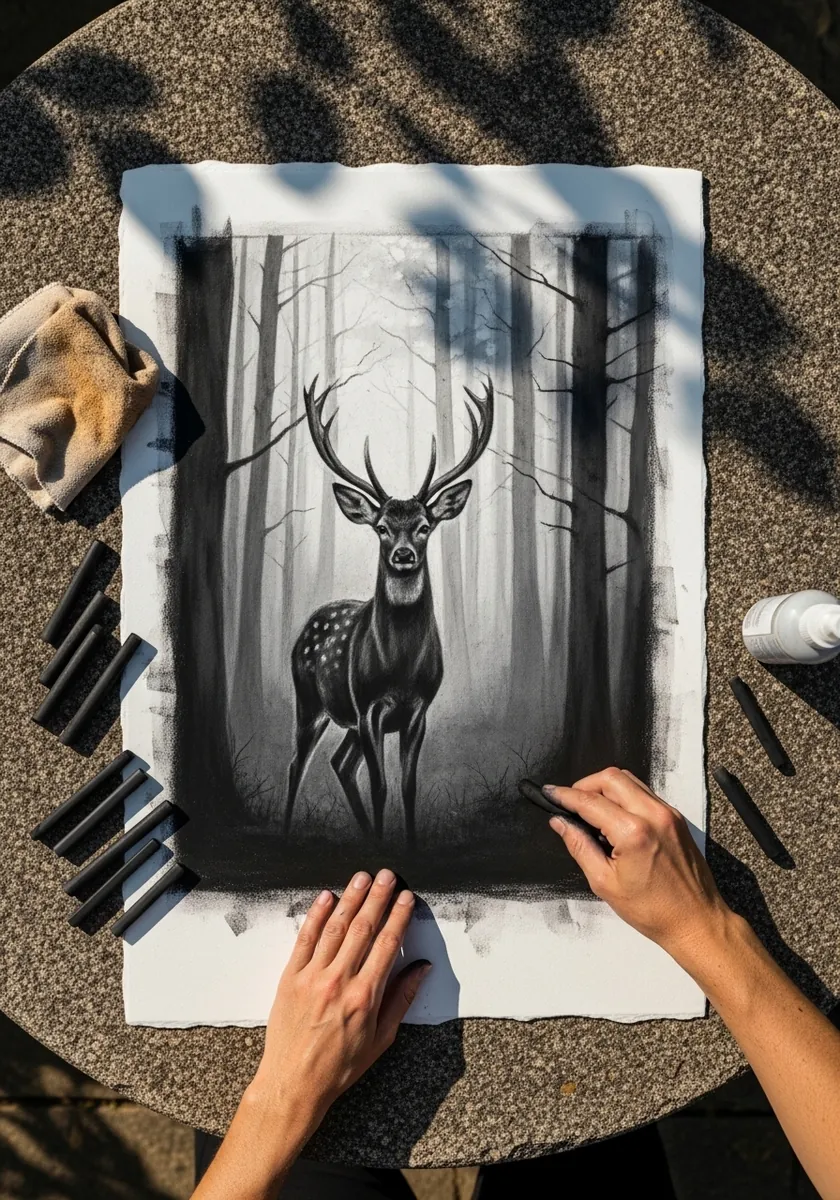
Bare trees give you strong verticals to compose against. Place the stag so its antlers overlap two trunks, which locks the animal into the space rather than leaving it floating in front of a backdrop. Vary the trunk spacing irregularly, since evenly spaced trees read as a fence rather than a wood.
21. Fawn on a Warm Ochre Wash
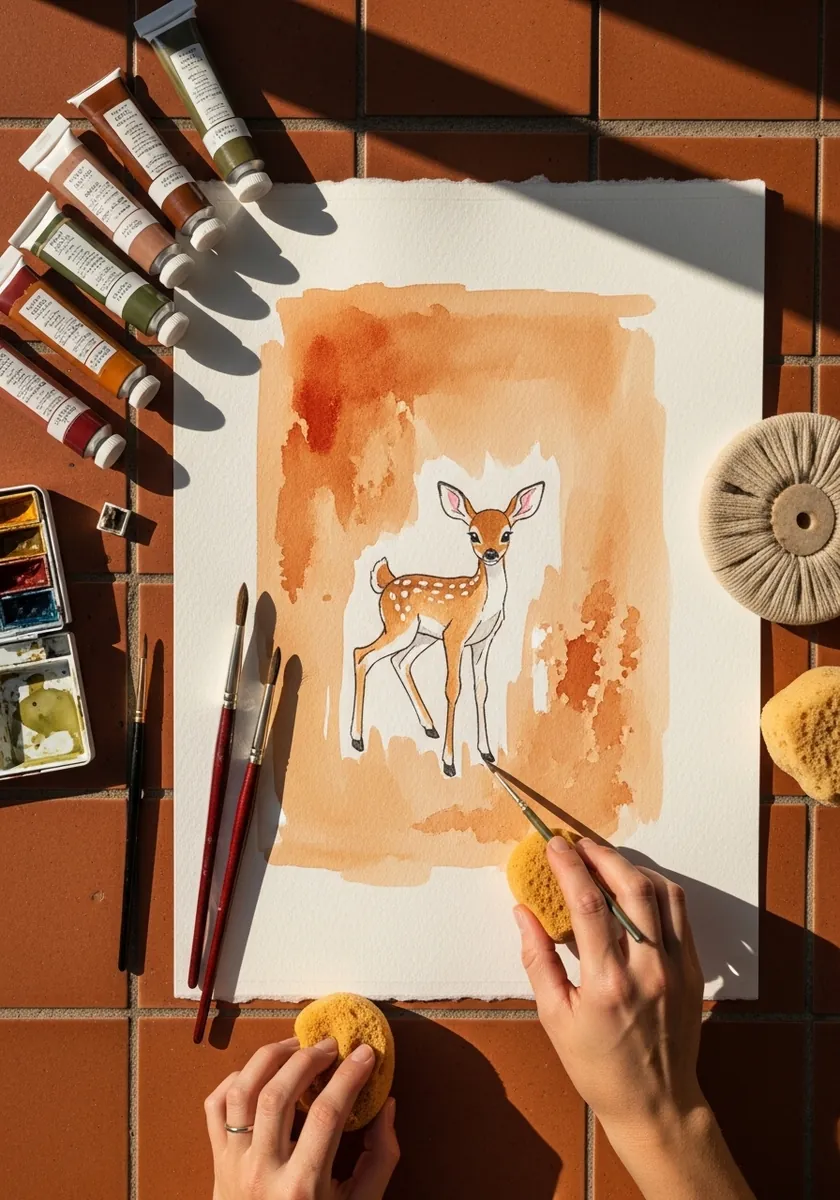
A colored ground changes every decision. Because the paper is no longer white, your lightest values now have to be painted in rather than reserved, so plan where the highlights sit before the first wash goes down. Test your lightest opaque mix on a scrap of the same ground first, as it will dry noticeably darker.
22. Urban Sketchbook Deer
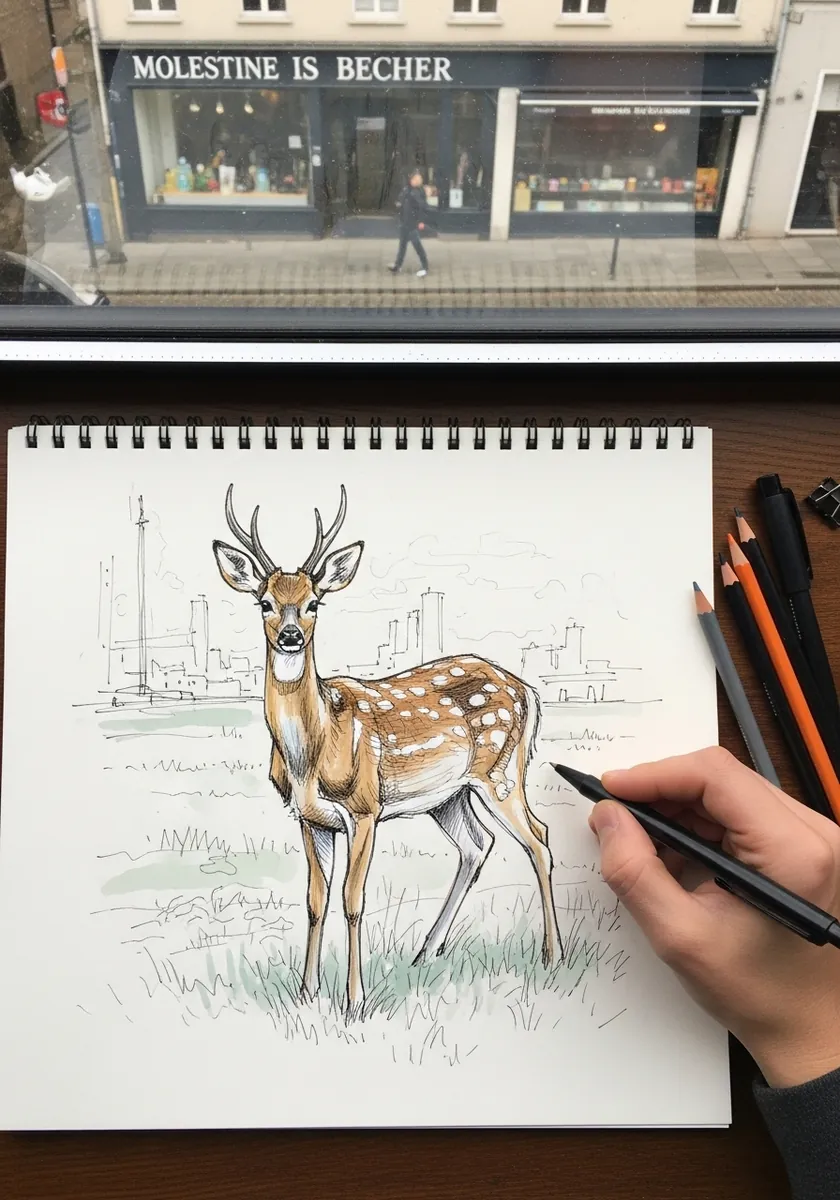
Speed is the point in a sketchbook. Capture the stance and the head angle in the first thirty seconds, add the spots and grass afterward, and leave the background as a few suggested lines rather than resolving it. Keep the skyline as a single unbroken line, so it stays clearly secondary to the animal in front.
23. Glowing Deer on Black Paper
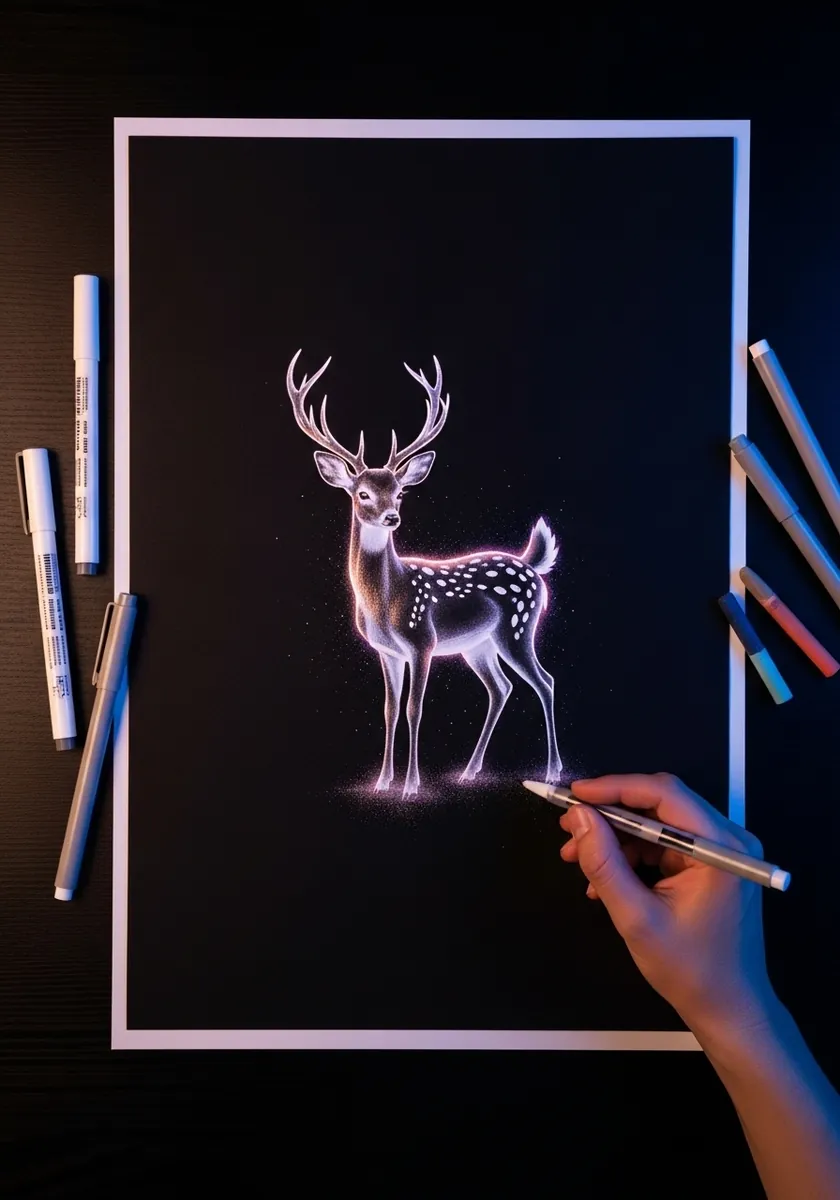
Working on black means adding light rather than shadow. Choose only the edges that would catch a rim light, the top of the back, the muzzle and the antler tips, and leave everything else as untouched darkness. Build the glow in two passes, a wide soft halo first and then a tighter bright core along each edge.
24. Wireframe Deer with Contour Lines
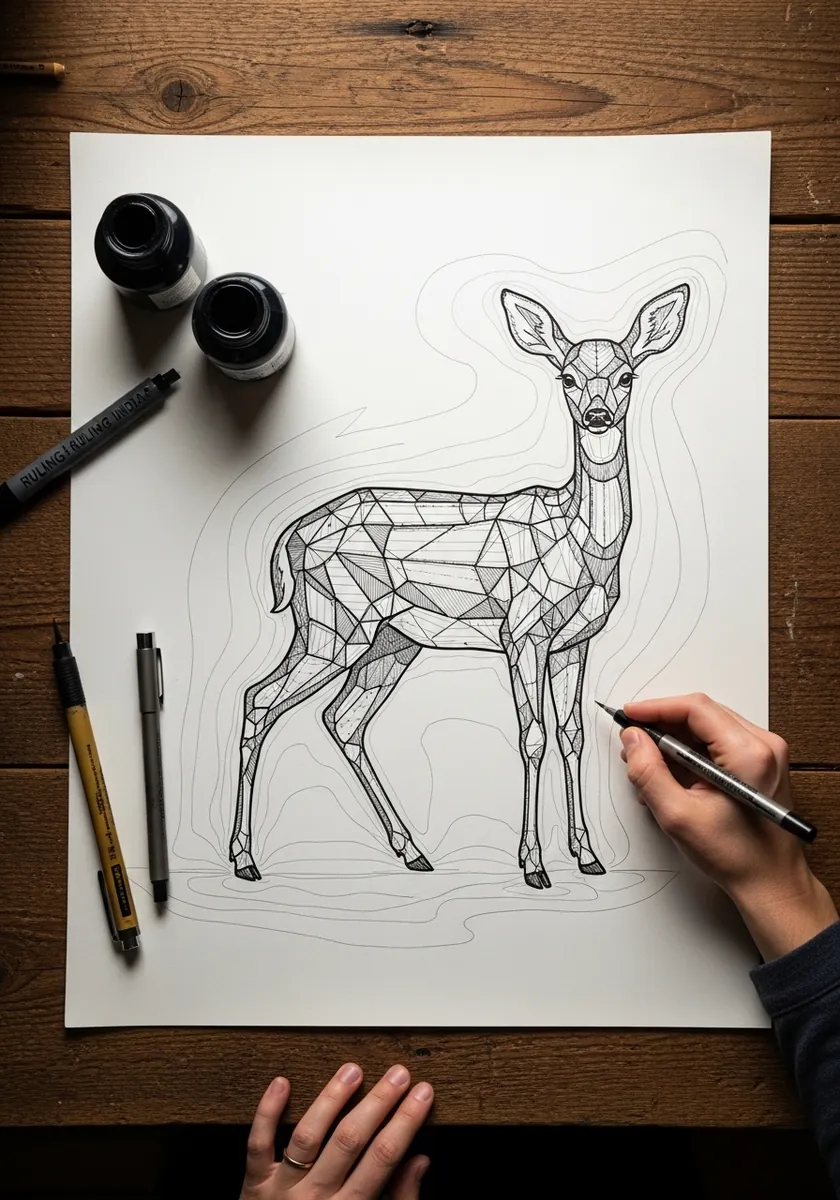
Contour lines describe form the way a map describes terrain. Run each line around the body rather than along it, and let the spacing tighten wherever the surface curves away fastest from the viewer. Keep the line weight completely uniform, because varying it would introduce shading and defeat the whole purpose of a wireframe study.
25. Alcohol Ink Rainbow Fawn
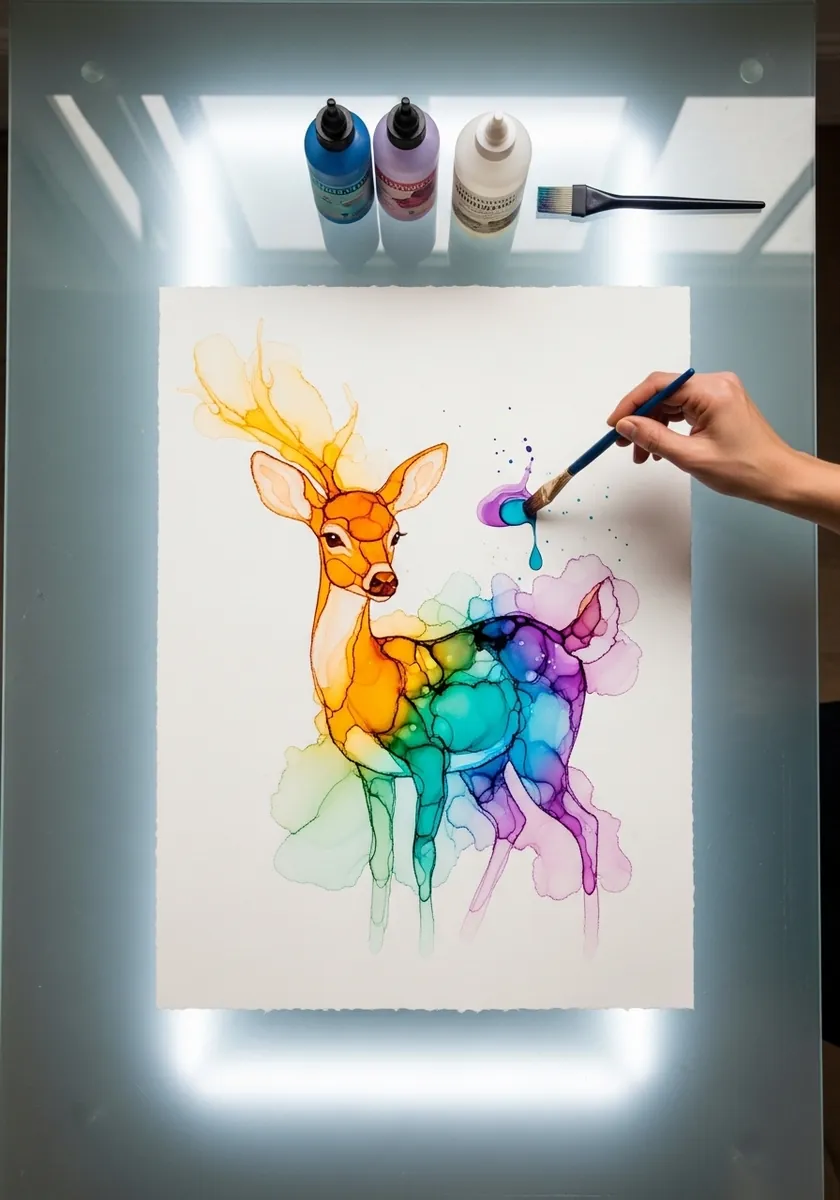
Alcohol ink moves on its own and cannot be controlled precisely. Ink the outline first with a waterproof pen, then drop color inside and let it find its own edges. The unpredictability is the appeal. Tilt the paper while the ink is still wet to steer the bleed, since you cannot correct it afterward.
26. Ornate Stag with Gold Leaf
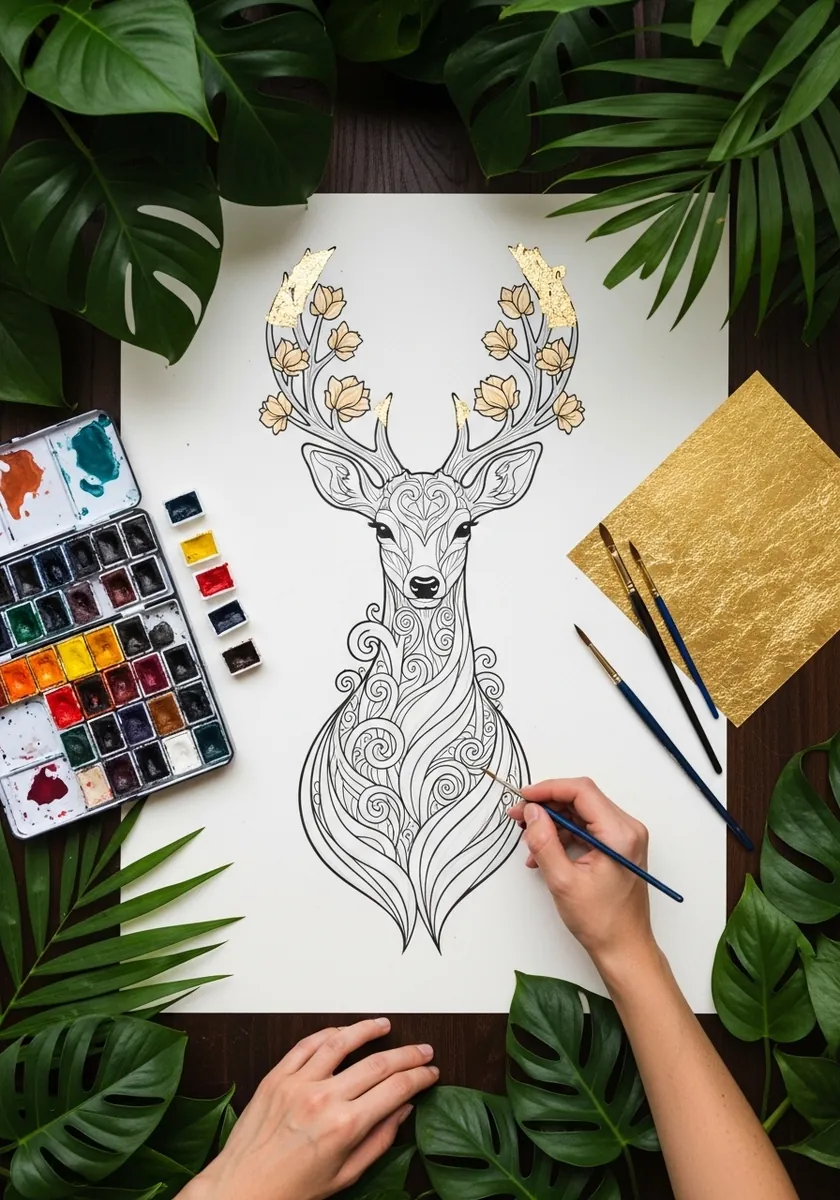
Gold works best when it is scarce. Draw the whole animal in fine consistent line, then apply metallic only to the antler tips and two or three flowers, leaving the rest to breathe. Burnish the gold gently once dry, as unpolished metallic leaf looks dull rather than precious.
27. Stag in a Blazing Autumn Wood
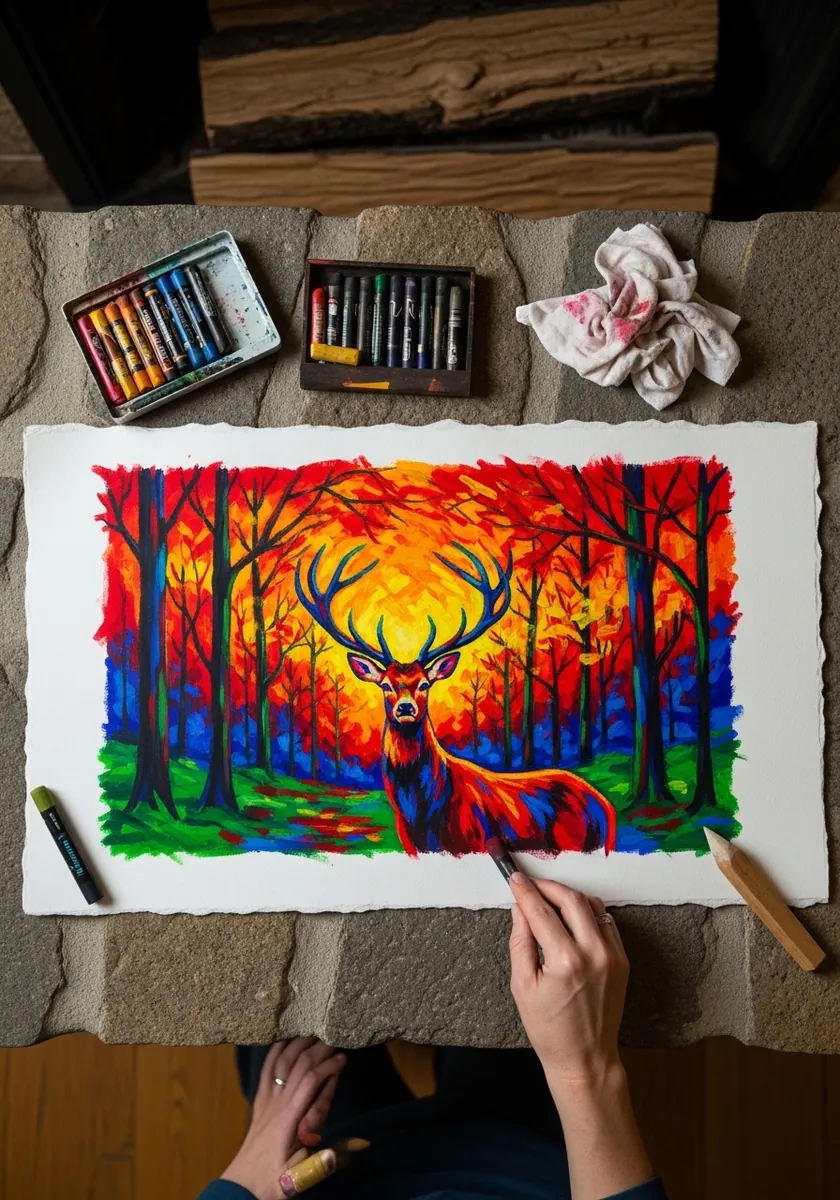
Saturated color needs one calm area to rest against. Keep the stag itself in deeper, less intense tones than the trees around it, and it will still hold the eye despite being the quietest thing on the page. Layer the pastel light over dark rather than the reverse, which keeps the top colors clean and bright.
28. Simple Standing Fawn Study
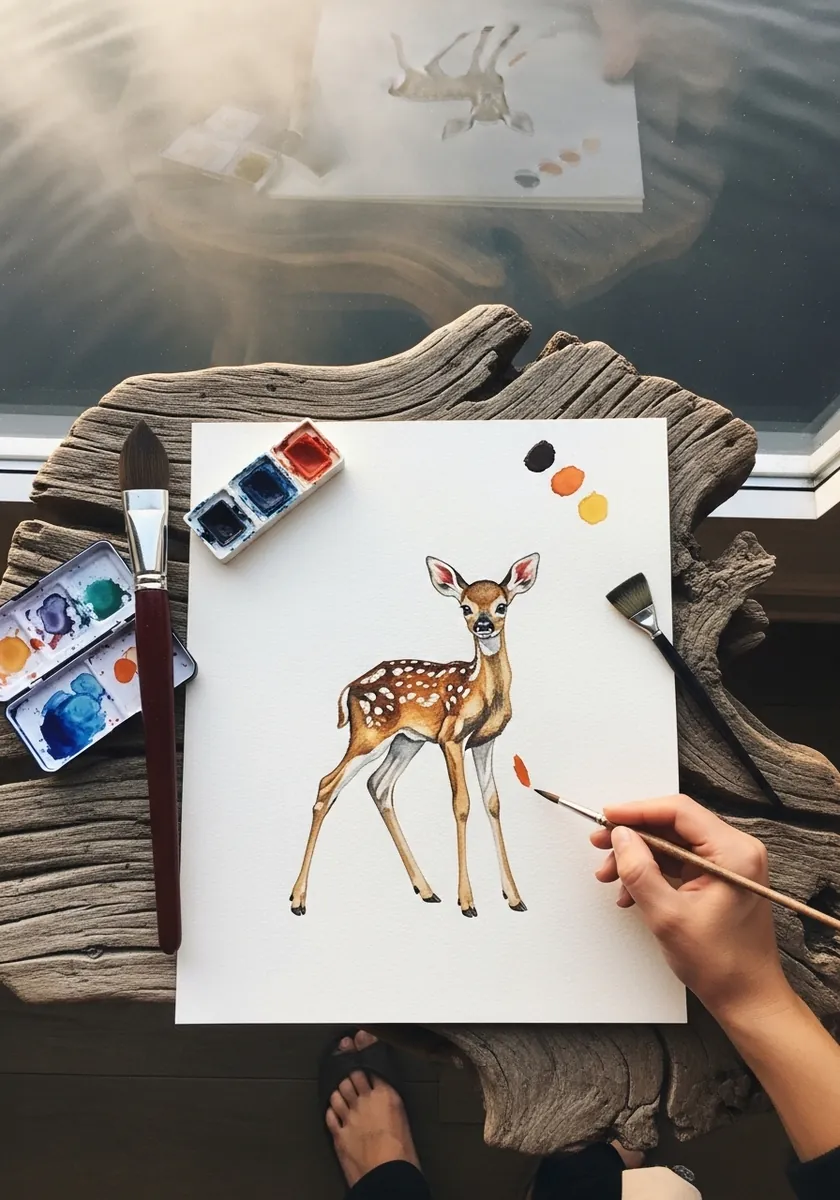
With no background at all, the silhouette carries everything. Check the outline against a mirror or by flipping the paper, since asymmetry in the leg placement shows immediately when there is nothing else to look at. Add one soft contact shadow under the hooves, or the fawn will appear to hover above the page.
29. Loose Ink Wash Stag
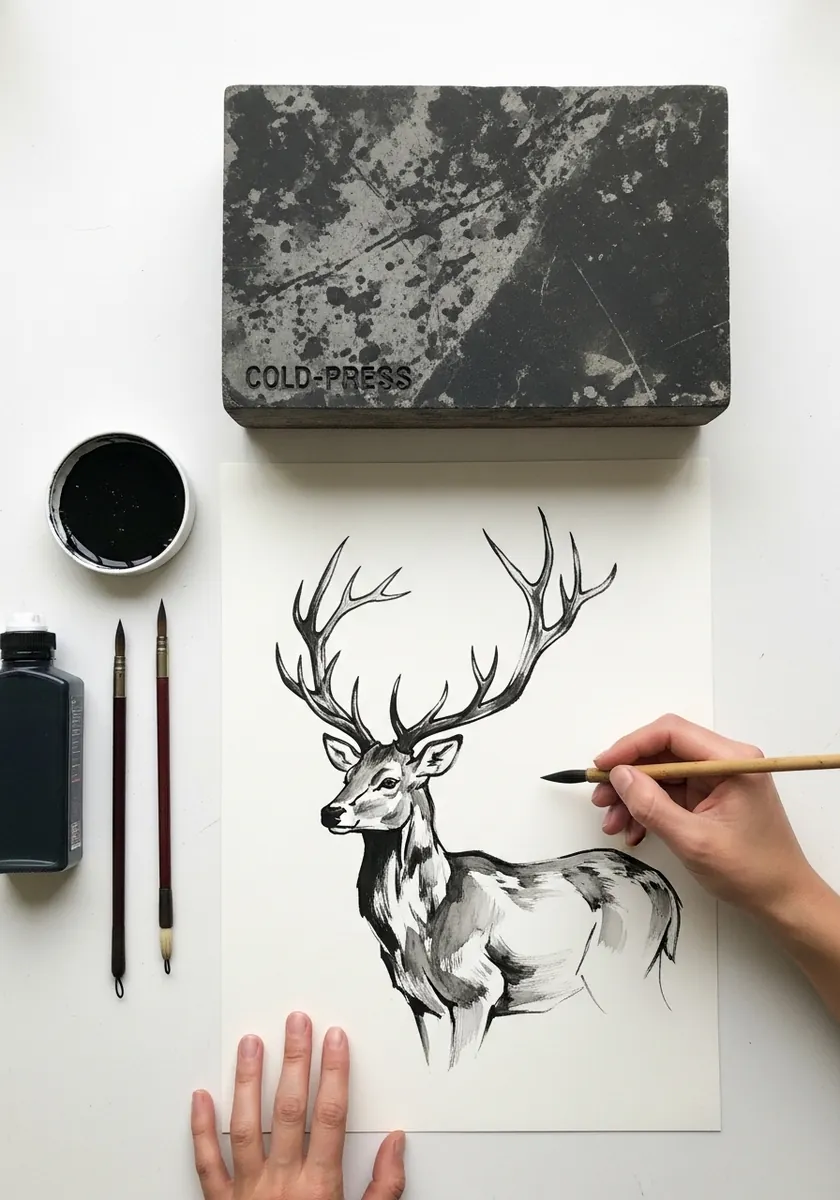
A loaded brush gives strokes that swell and taper naturally. Paint the neck and body in three or four confident sweeps, then switch to a fine brush for the antlers alone so they stay sharp against all that looseness. Let the body washes dry before the antlers go on, or the two will bleed into each other and lose every edge.
30. Realistic Fawn in Soft Pastel
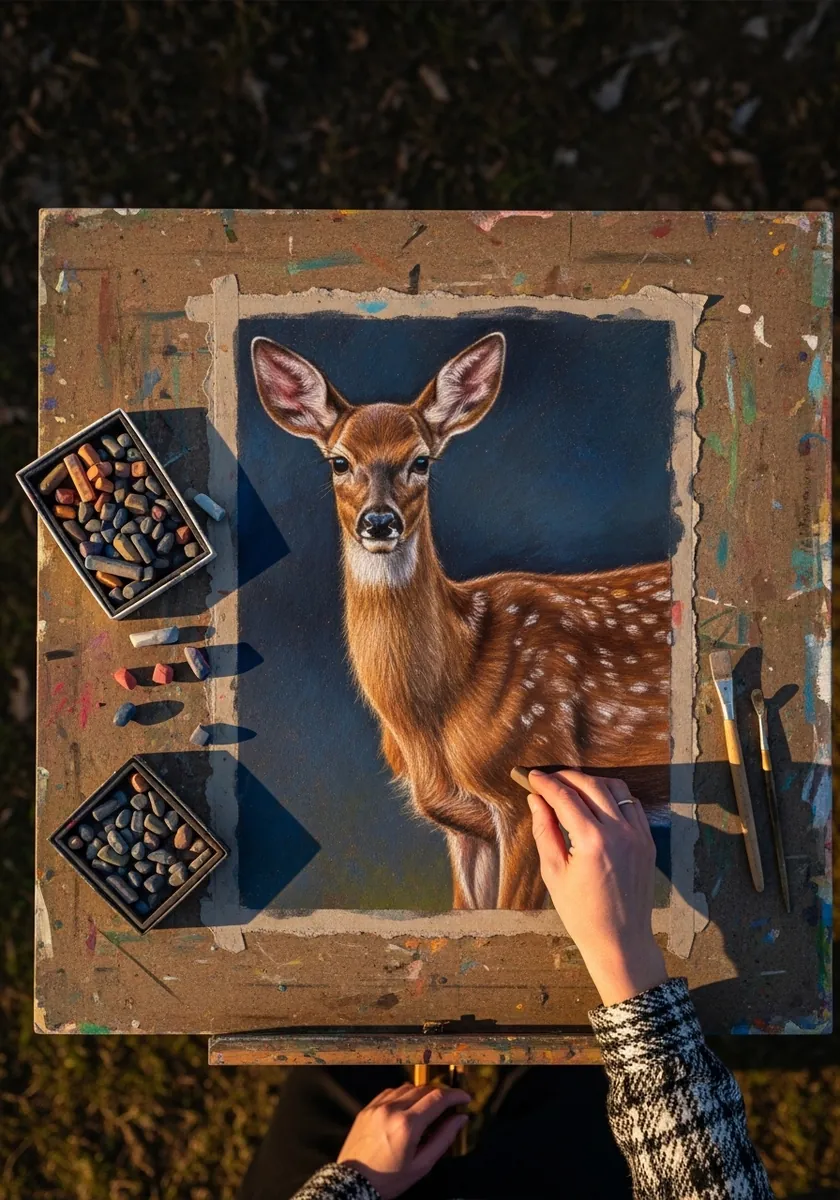
Fur direction changes across the body. Stroke downward on the neck, backward along the flank and outward around the muzzle, following the real growth pattern, and the coat will read as fur rather than as texture. Sharpen the pastel to a point for the whiskers and lash line, which are the only crisp edges needed.
Frequently Asked Questions
Which way does a deer’s back leg bend?
Backward at the joint halfway down, because that joint is the hock and corresponds to a human ankle rather than a knee. The actual knee sits much higher, tucked close to the body. Drawing it bending forward is the commonest deer drawing error.
How do you draw fawn spots correctly?
Place them in rough rows that follow the line of the spine, densest along the back and fading out toward the belly and legs. Evenly scattered spots look painted on. Vary the size slightly and let a few overlap where the coat folds.
How do antlers grow and branch?
Antlers grow from two bony pedicles on the skull and branch into matching tines on each side. Draw one antler completely, then mirror its structure rather than inventing the second, since real pairs are near symmetrical though rarely identical.
Why do fawns look so leggy?
A fawn’s legs are close to adult length at birth so it can stand and run within hours. The body and head then grow to catch up. Exaggerating that leg length slightly is what makes a fawn read as young rather than as a small adult.
What is the easiest deer sketch for a beginner?
A standing fawn in simple outline with no shading. The pose is stable, the spots give you an easy pattern to place, and you only have to get the hock joint and the leg length right for the whole drawing to work.
References and Further Reading