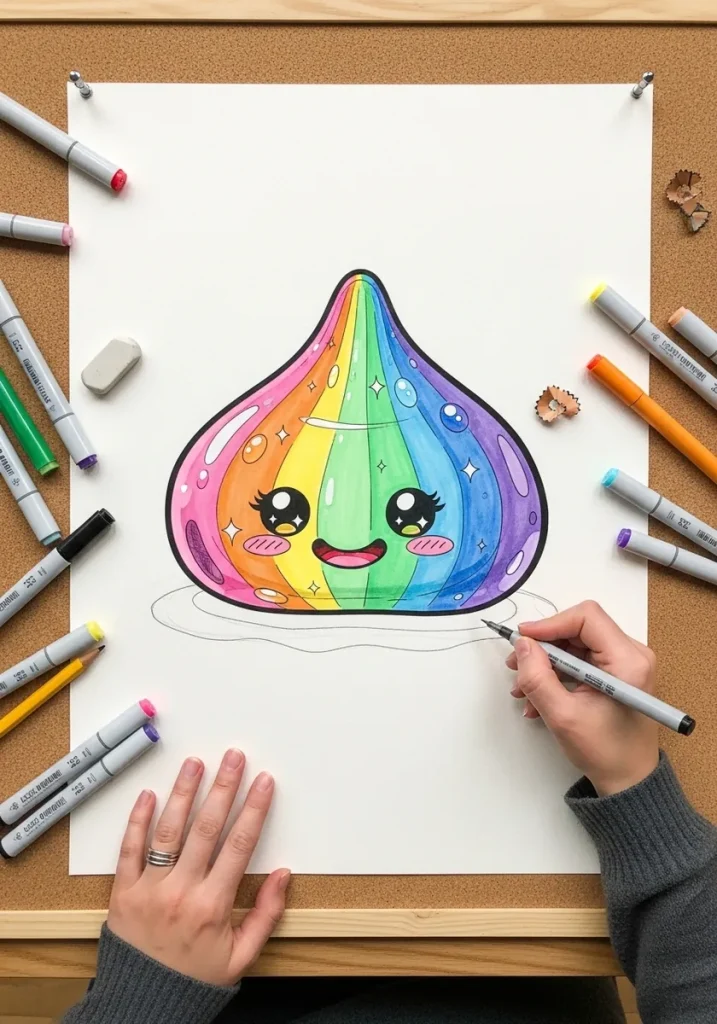
A slime reads as goo through its bottom edge. Let the base spread wider than the top and bulge slightly where it meets the surface, the way a real viscous fluid does, and keep the whole outline free of corners.
Key takeaways
- The base should spread wider than the peak and bulge slightly where it touches the ground.
- Keep the entire silhouette free of corners, since one straight edge makes the whole thing look solid.
- Thick fluid gives short fat drips with rounded ends; thin fluid gives long narrow ones. Pick one.
- Float the eyes inside the mass and let a little color pass in front, or they read as stickers on top.
- Slime is a non-Newtonian fluid, which is why it can puddle slowly yet still hold a raised peak.
The bottom edge decides whether a slime looks like goo or like a colored blob. Let the base spread wider than the peak and bulge slightly where it meets the surface, the way a real viscous fluid does, and keep the entire outline free of corners. One straight edge makes it solid.
Drips carry the second half of the illusion. Thick fluid produces short, fat drips with rounded ends, while thin fluid produces long narrow ones, so pick one behavior and hold it throughout. Mixing both on the same character immediately looks wrong.
There is real physics behind the shape. Slime is a non-Newtonian fluid, meaning its resistance changes with the force applied, which is exactly why it can hold a raised tip and still spread into a puddle. For the same translucency problem on a different subject, see gummy bear characters.
The thirty-one designs below run through kawaii faces, low poly facets, pixel art, art nouveau framing, pointillism and one genuinely monstrous grin. If you want more character construction practice, 3D cartoon character ideas and mandala patterning both feed into these.
Compiled by the GS Art Zone editorial team. Last updated August 2026. Each idea is paired with the specific step that produces the effect, so you can go from the reference straight to paper.
What You Need Before You Start
- A white gel pen or gouache, because every one of these needs a hard reserved highlight
- Alcohol markers in a full spectrum, which give the cleanest rainbow transitions
- A brush pen for the outline, since the contour needs to swell and taper around the curves
- Watercolor plus a rigger brush for the long drips, which cannot be drawn with a normal round
- Black or toned paper for the neon and chalk pieces later in the list
1. Splatter Rainbow Slime in Watercolor
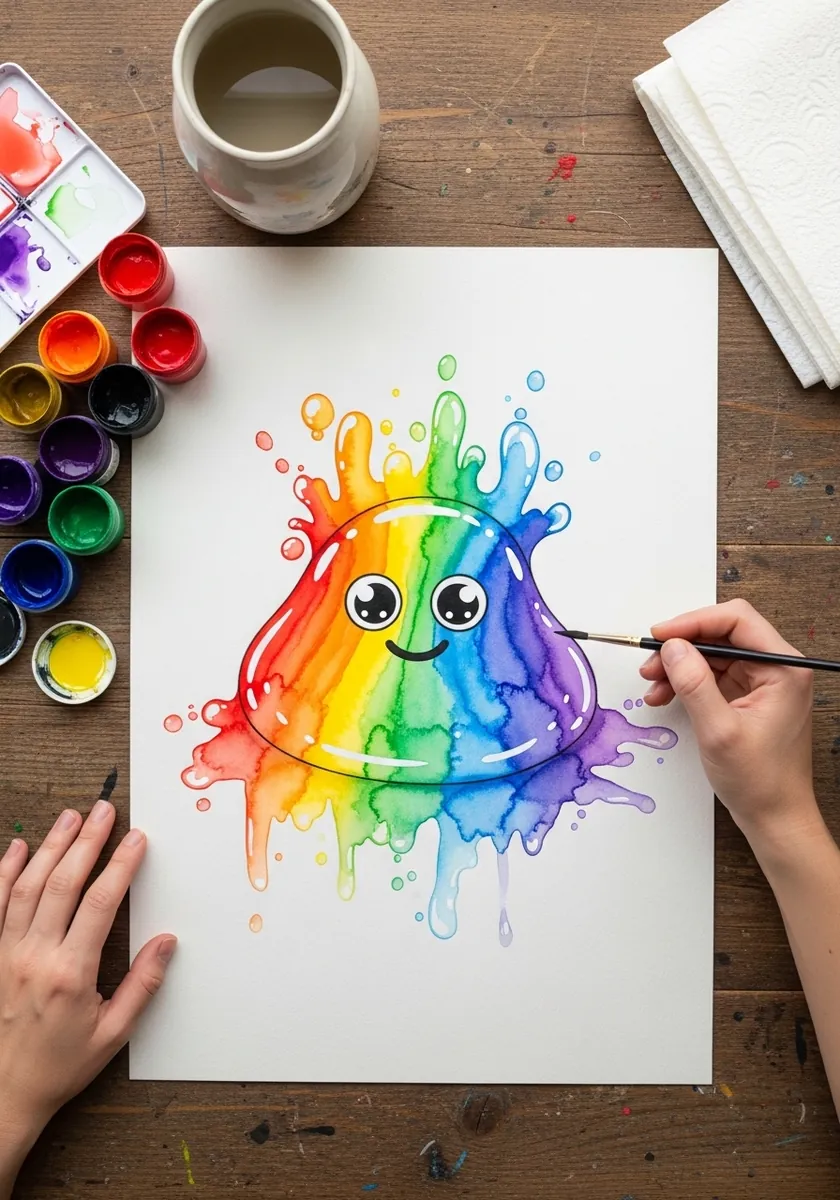
Splatter around a wet subject should happen while the paint is still moving. Flick from one direction only, let a few marks land on the body itself, and keep the eyes clean and dry. Uncontrolled droplets across the face lose the character entirely.
2. Kawaii Peaked Slime With Blush
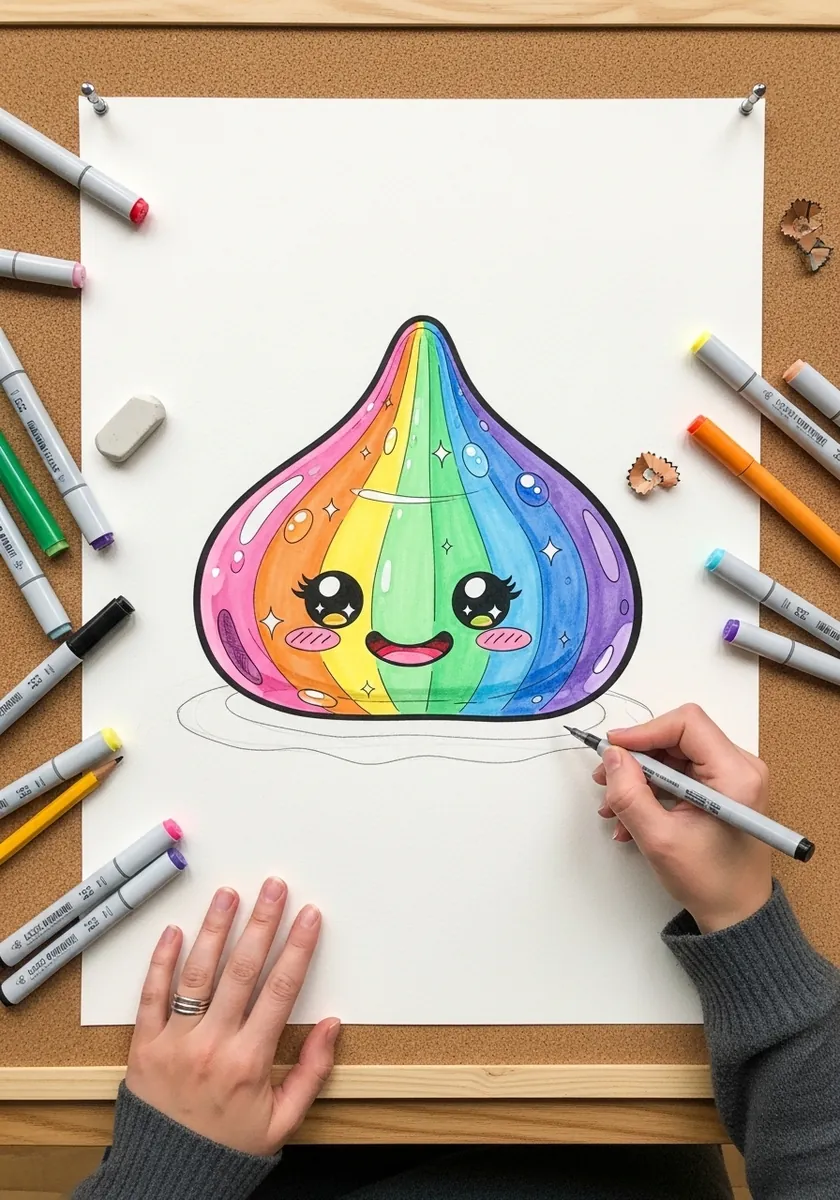
Cute design puts everything low. Set the eyes in the bottom third of the mass, add blush just below them, and keep the mouth tiny. The pointed peak above all that empty space is what gives the character its silhouette.
3. Heavy Drip Slime in Marker
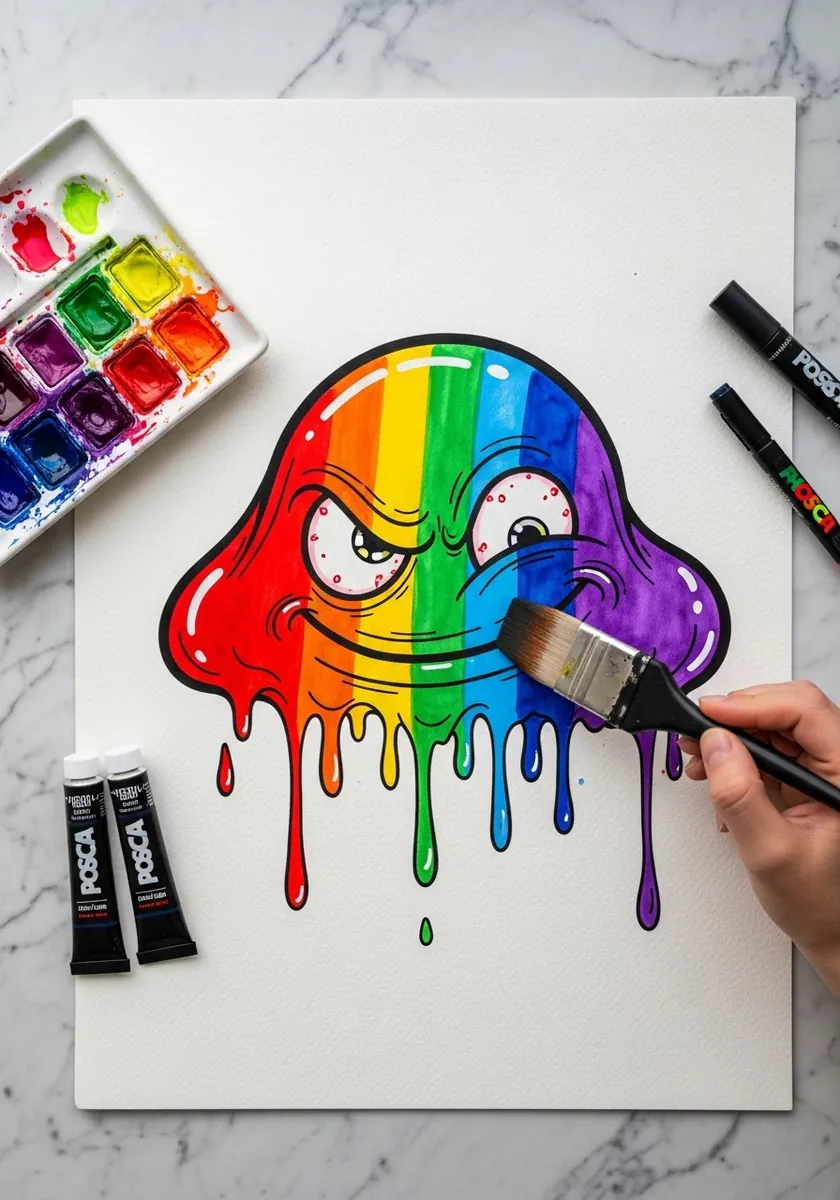
Drips need a single starting line. Let every run begin exactly where the body ends, keep them all true vertical, and vary their lengths without varying their width. Short fat drips signal thick goo more convincingly than long thin ones.
4. Colored Pencil Sketchbook Slime
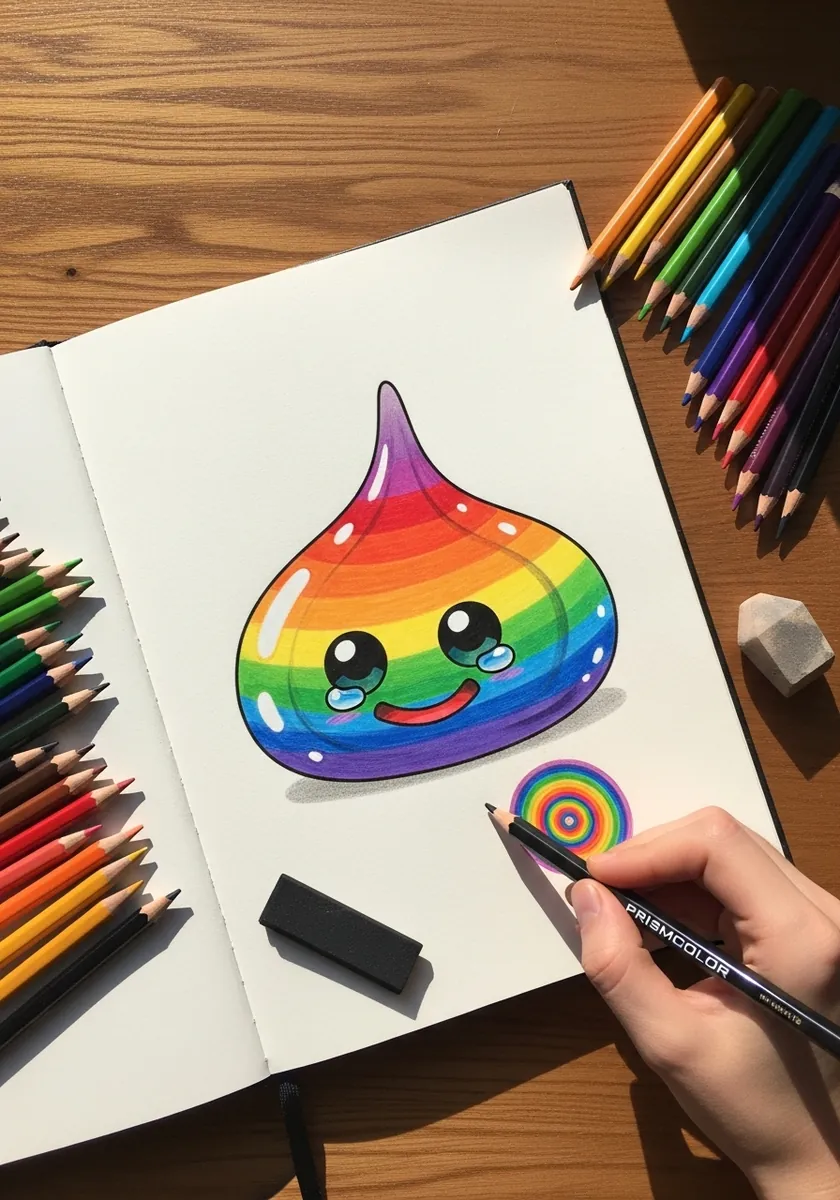
Colored pencil rainbows blend best with a light touch. Lay each hue at half pressure, overlap the neighbors slightly in the transition zones, then burnish the whole band at the end. Pressing hard on the first pass locks the color and stops any blending.
5. Neon Slime on Black Paper
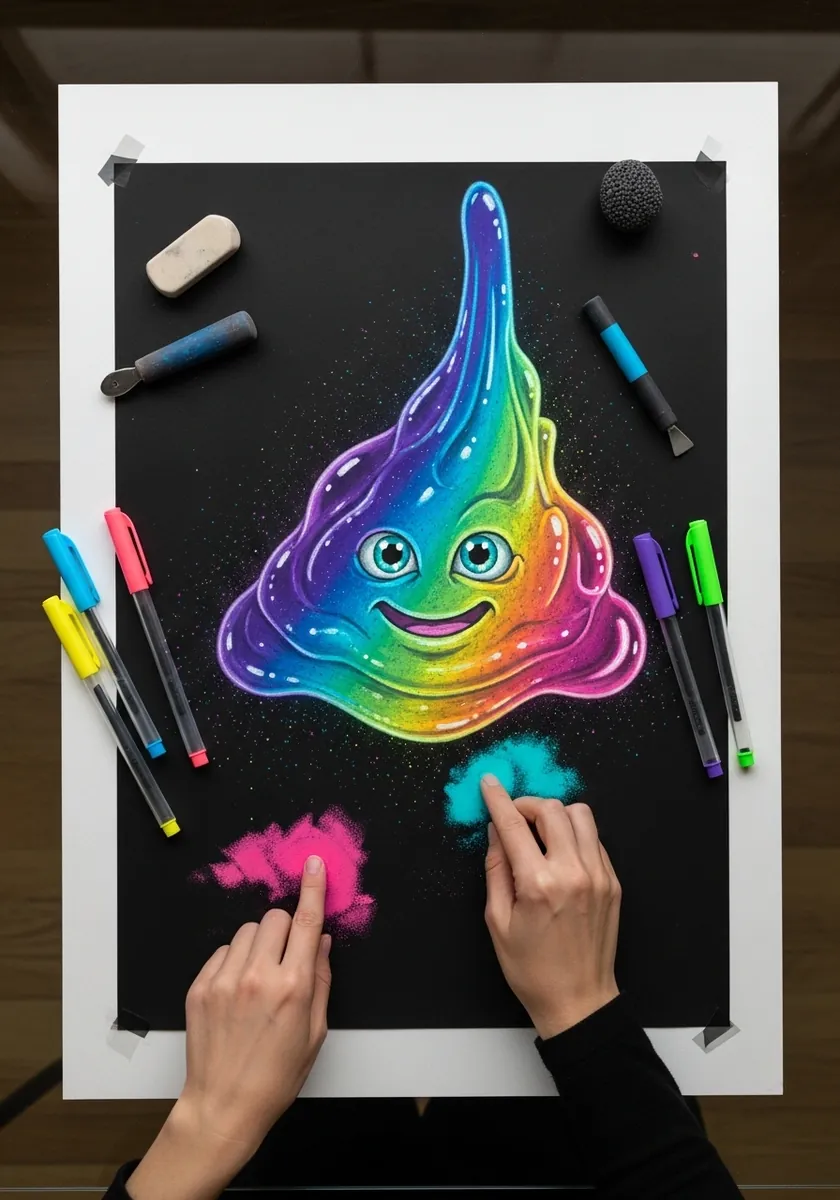
Neon on black needs a halo to glow. Lay the saturated color first, then smudge a faint version of the same hue just outside the edge with a finger. That second soft ring is doing all the work of making it appear lit.
6. Pale Watercolor Smiling Slime
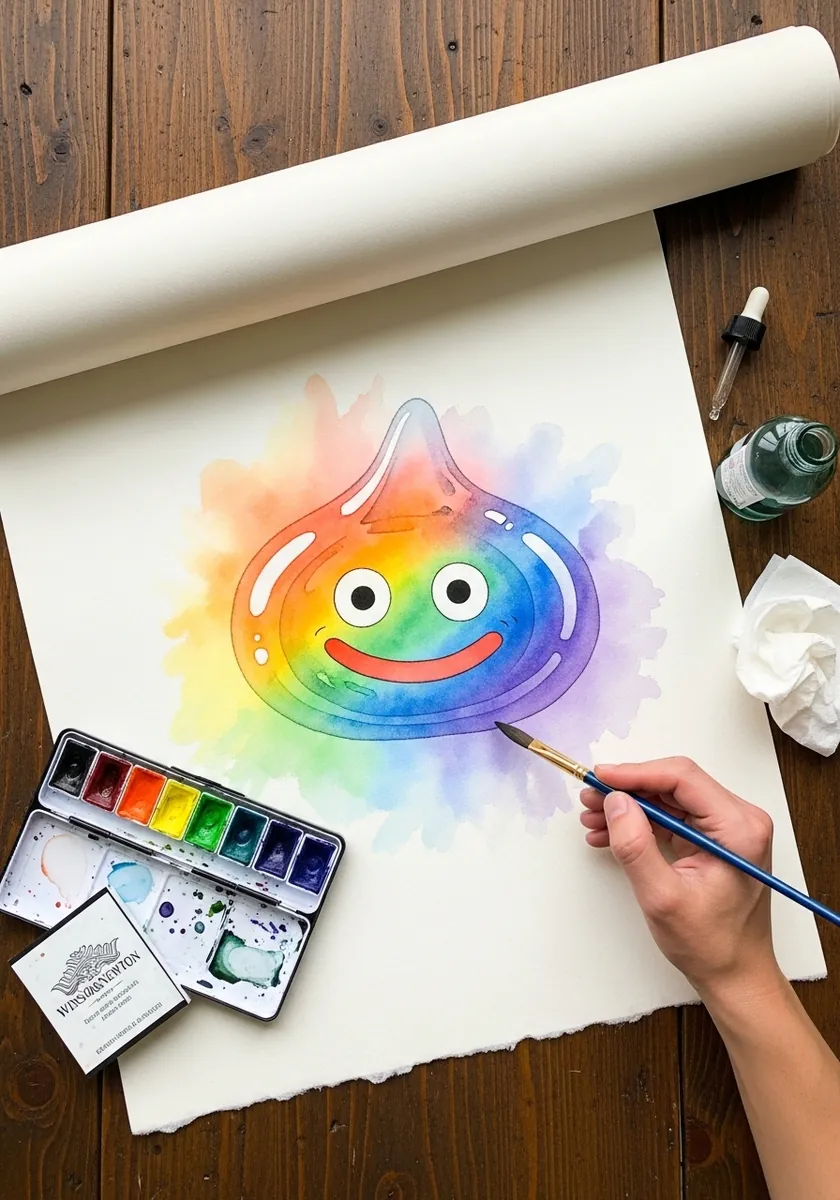
Very dilute washes need the drawing to carry itself. Keep the outline in a slightly stronger tone. Let the interior stay almost transparent throughout, and place one small dark accent at the pupils. Everything else on the page can stay a whisper without weakening it.
7. Low Poly Faceted Slime
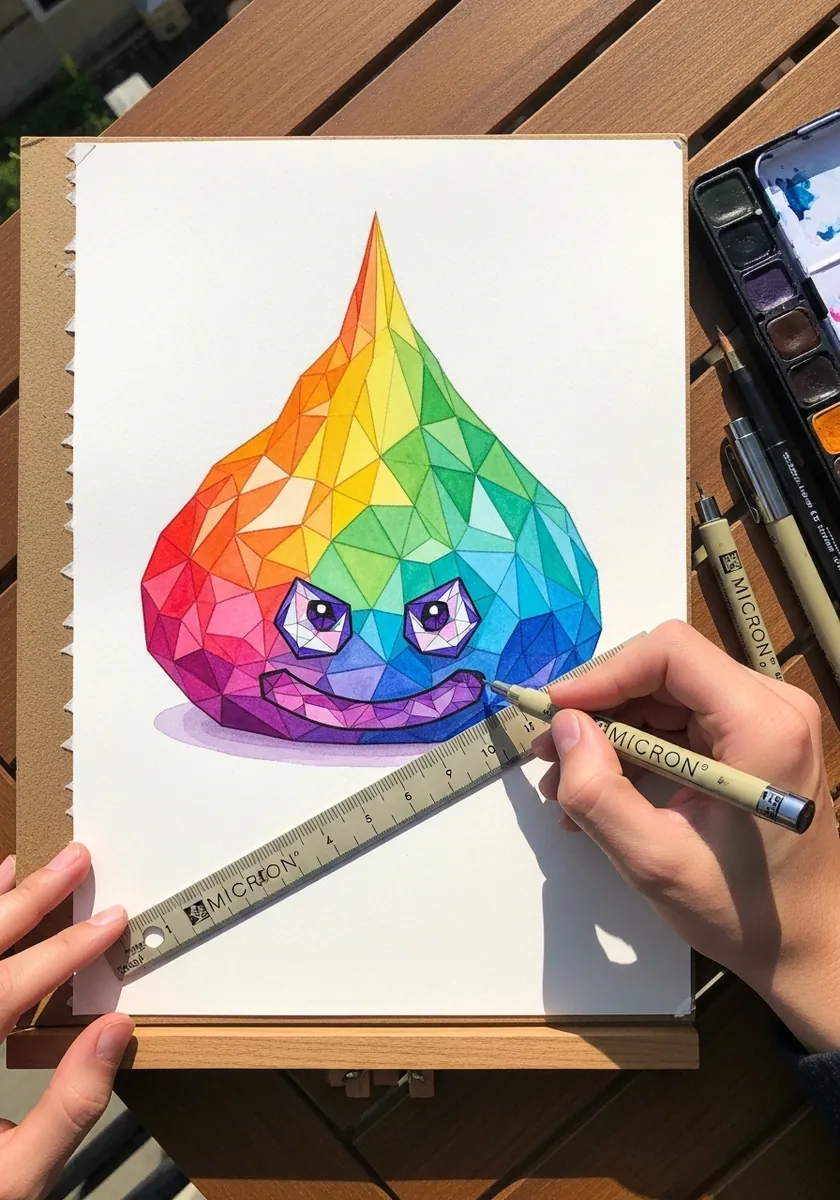
Faceting a liquid creates useful tension. Keep the facets larger across the body and smaller near the peak and the base, and give each one a flat value with no gradient. The contradiction between hard planes and a soft subject is the point.
8. Concentric Pattern Slime
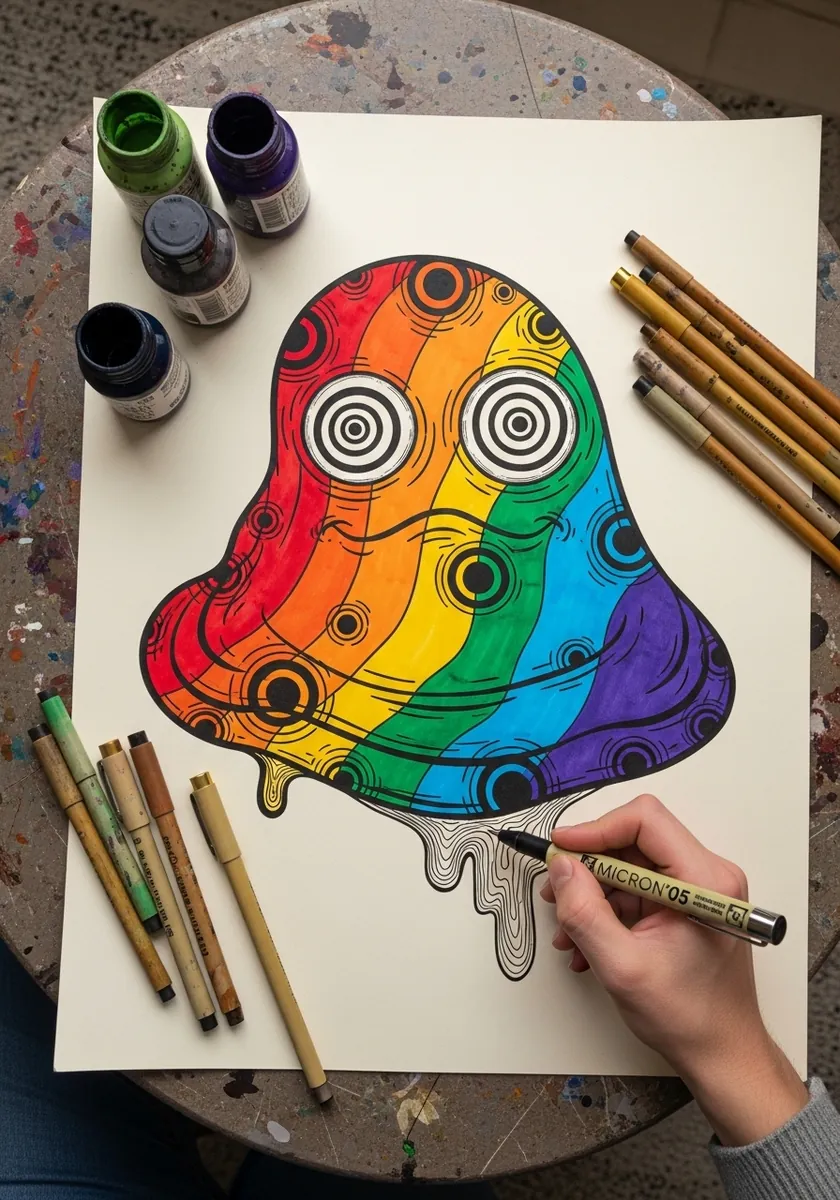
Pattern inside a curved body must bend with it. Compress the circles toward the outer edges and keep them widest at the center, so the surface reads as rounded. Motifs of even size across the whole shape flatten it immediately.
9. Glossy Slime With a Red Nose
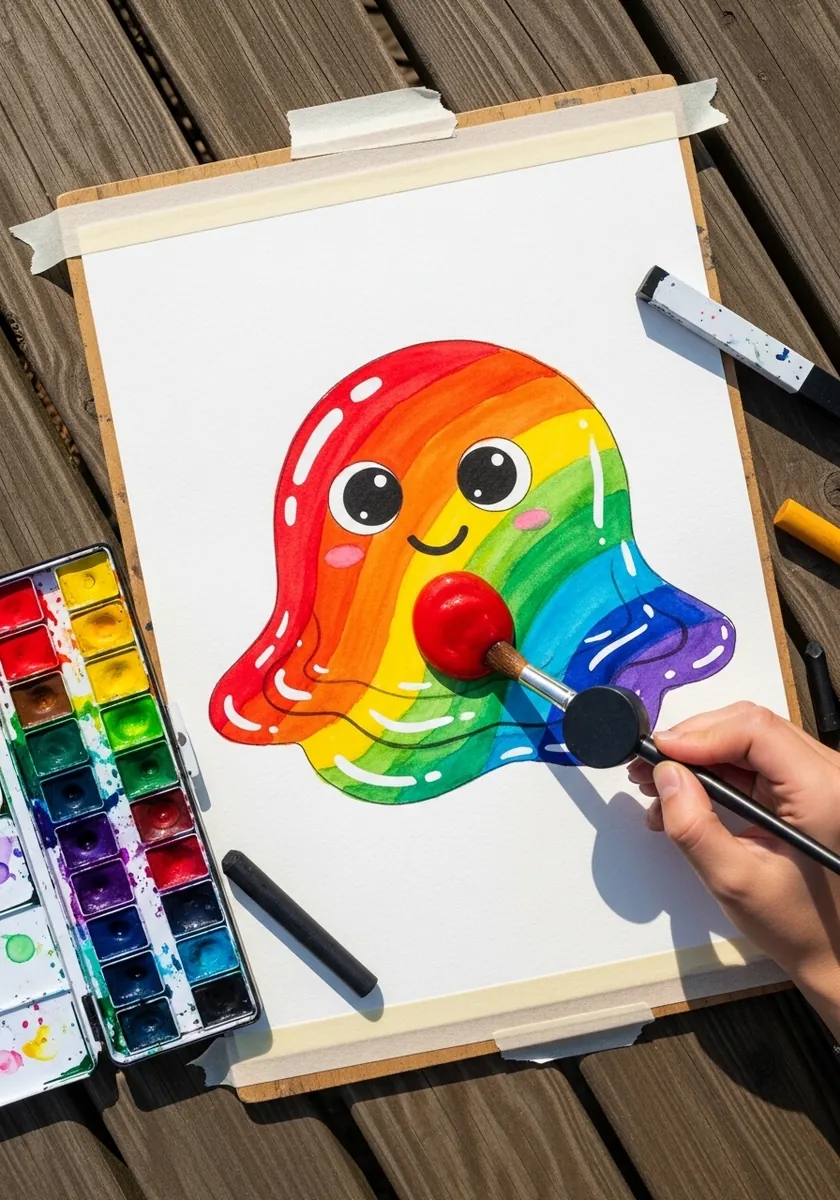
One saturated accent gives a rainbow character a focal point, so put the red exactly where you want the eye to land, keep every other hue slightly less intense than it, and hold the black outline at a uniform weight all the way around the body.
10. Minimal Pale Slime Study
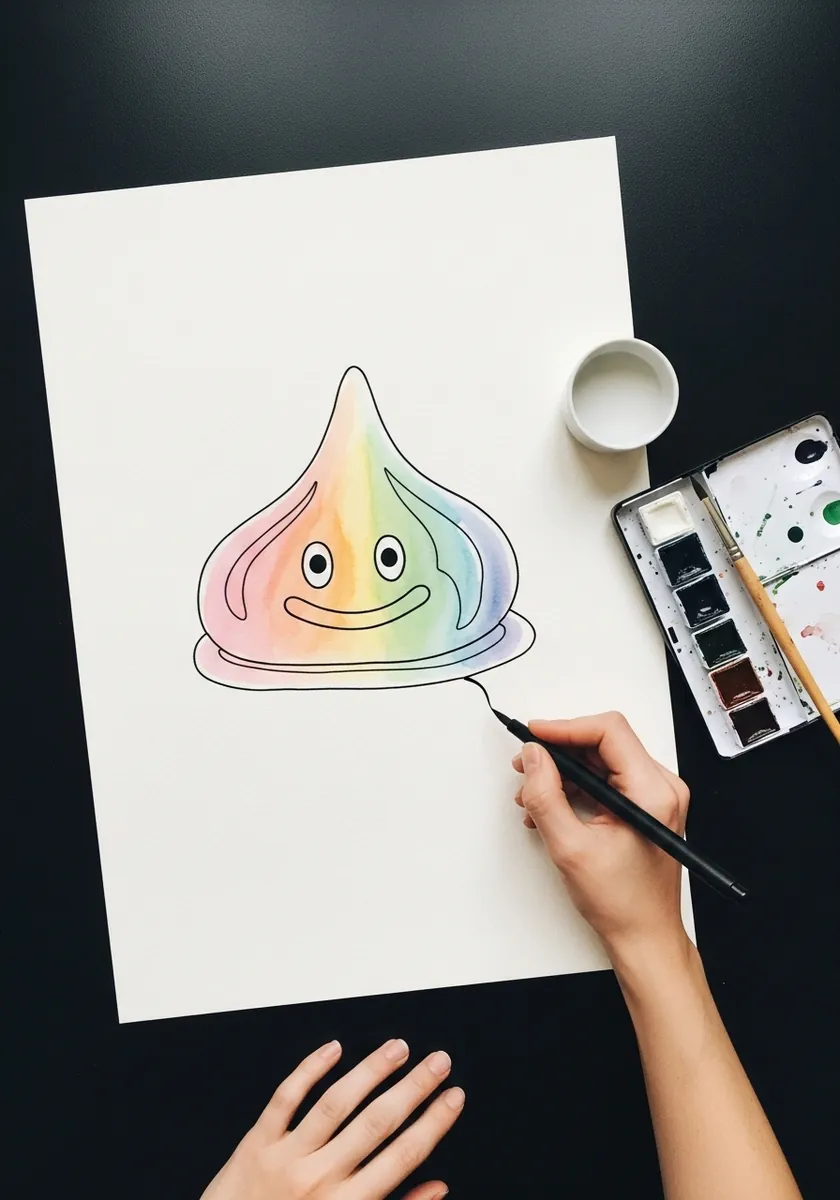
Restraint is a skill worth practicing deliberately. Draw the silhouette once. Tint it barely, then stop before you are ready to. A subject this simple exposes any wobble in the contour, which makes it excellent practice for controlling a single continuous line.
11. Melting Rainbow Face
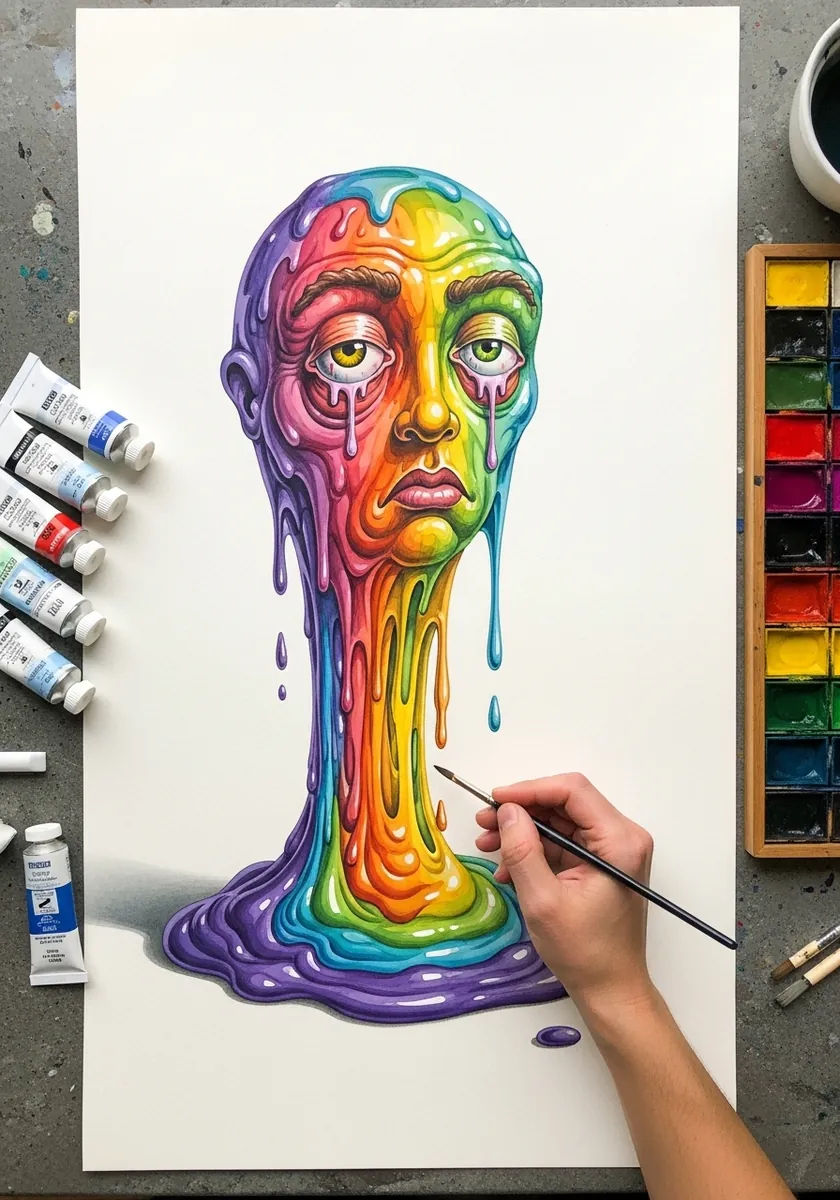
Melting a face means deciding what dissolves first, so keep the eyes and brow intact at the top and let the jaw and chin stretch downward into long runs while the color bands stay continuous through the transition. The features should sink rather than smear.
12. Angry Slime With Speed Lines
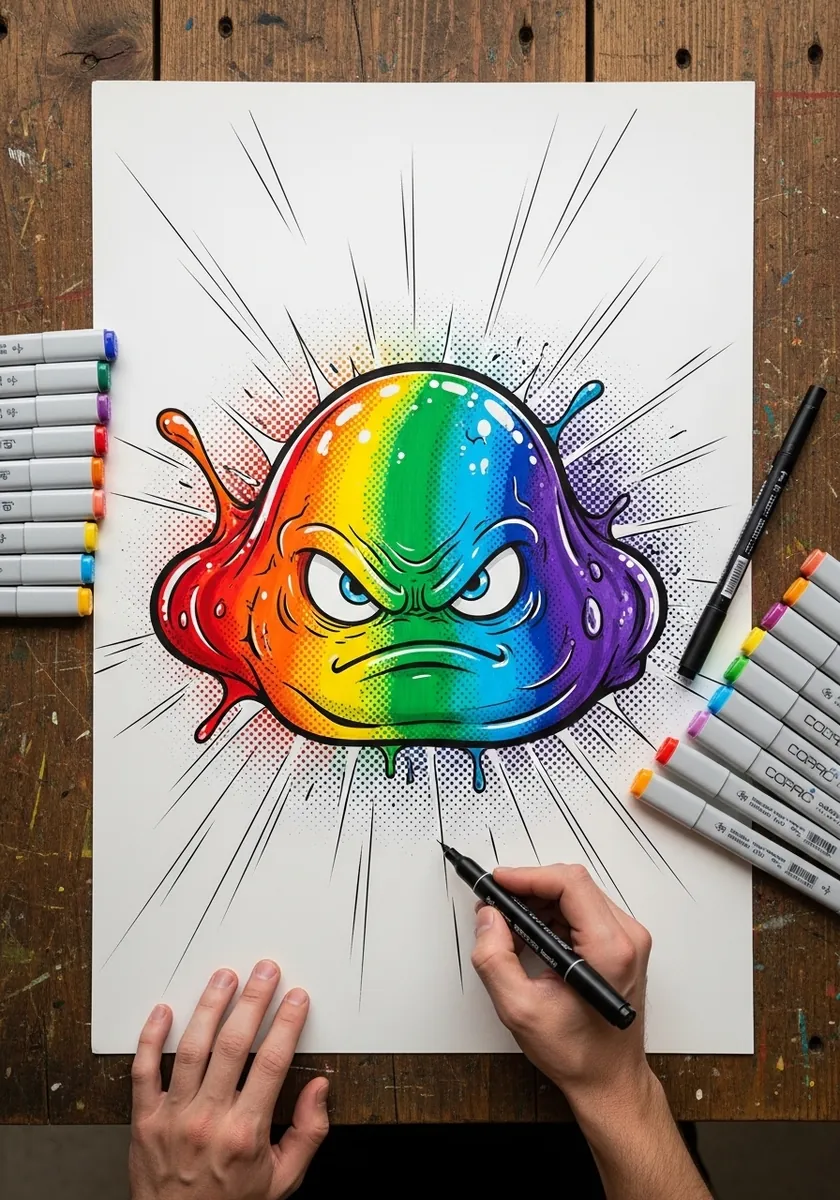
Radiating lines all need one shared origin. Rule them from a point hidden behind the character. Vary their lengths irregularly, and keep every one of them clear of the outline. An angry expression then comes from lowering the inner brow ends, and nothing more.
13. Stippled Pastel Slime
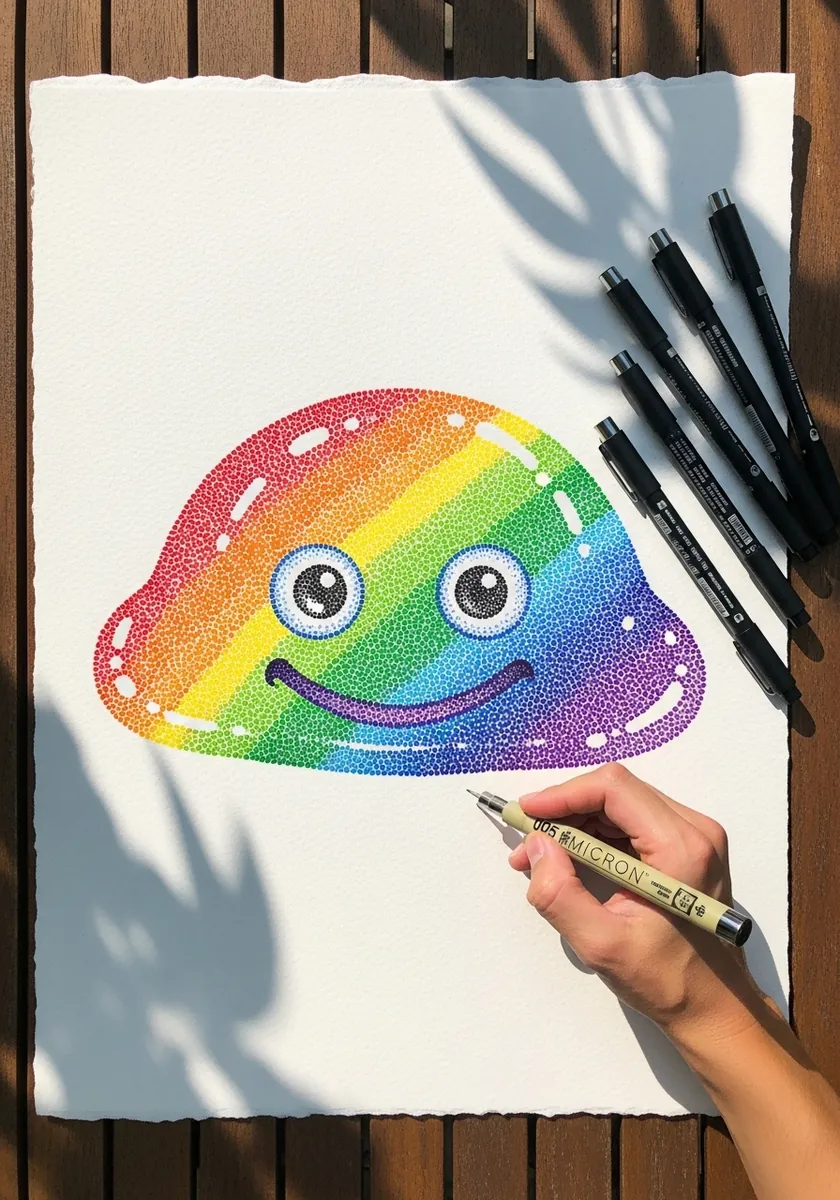
Stippling in color works through density rather than pressure, so keep every dot the same size, cluster them tightly at the shadow edges and let the paper show through across the lit areas. Do the eyes last of all, as solid shapes rather than stippled ones.
14. Muted Vintage Slime
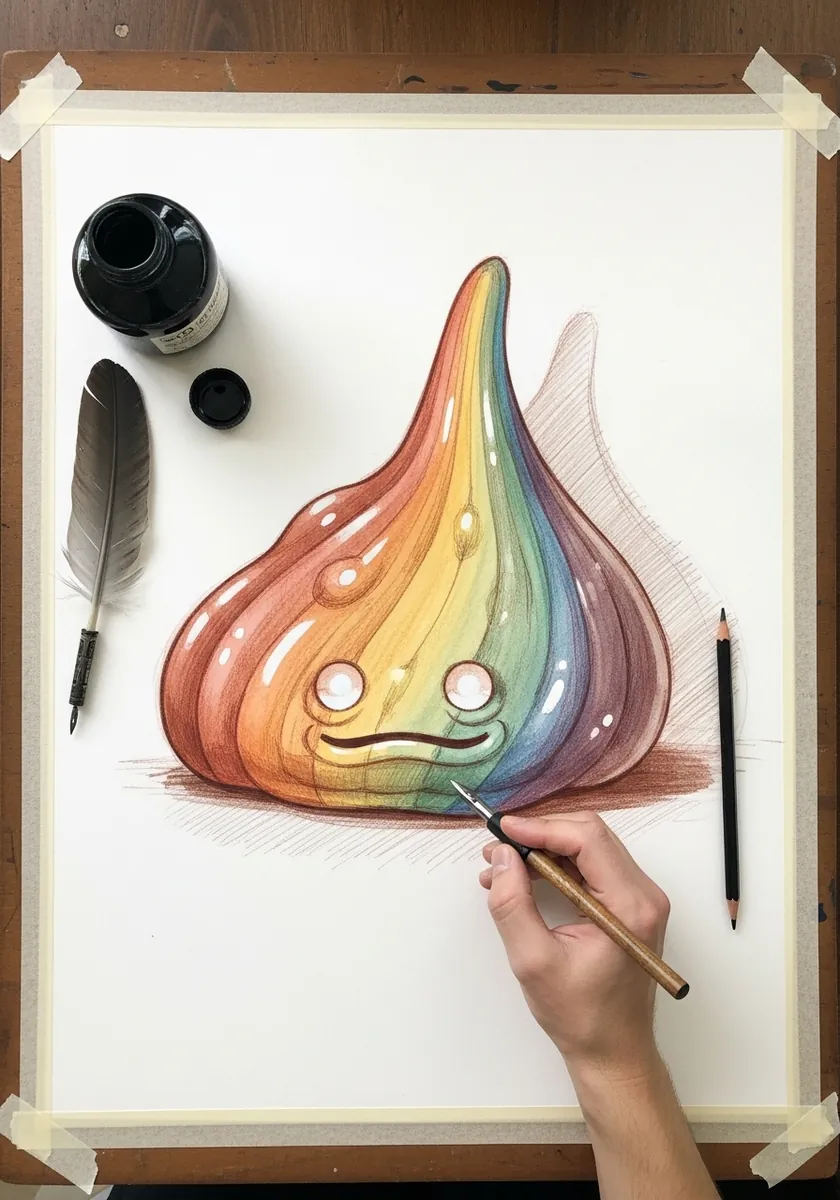
Desaturating a rainbow is harder than it sounds. Mix a little of each hue’s complement into it rather than adding gray, which keeps the colors related but quiet. The expression should match the palette and stay understated. Keep the eyes slightly warmer than the body, which stops them disappearing into a quiet palette.
15. Flat Gouache Rainbow Bands
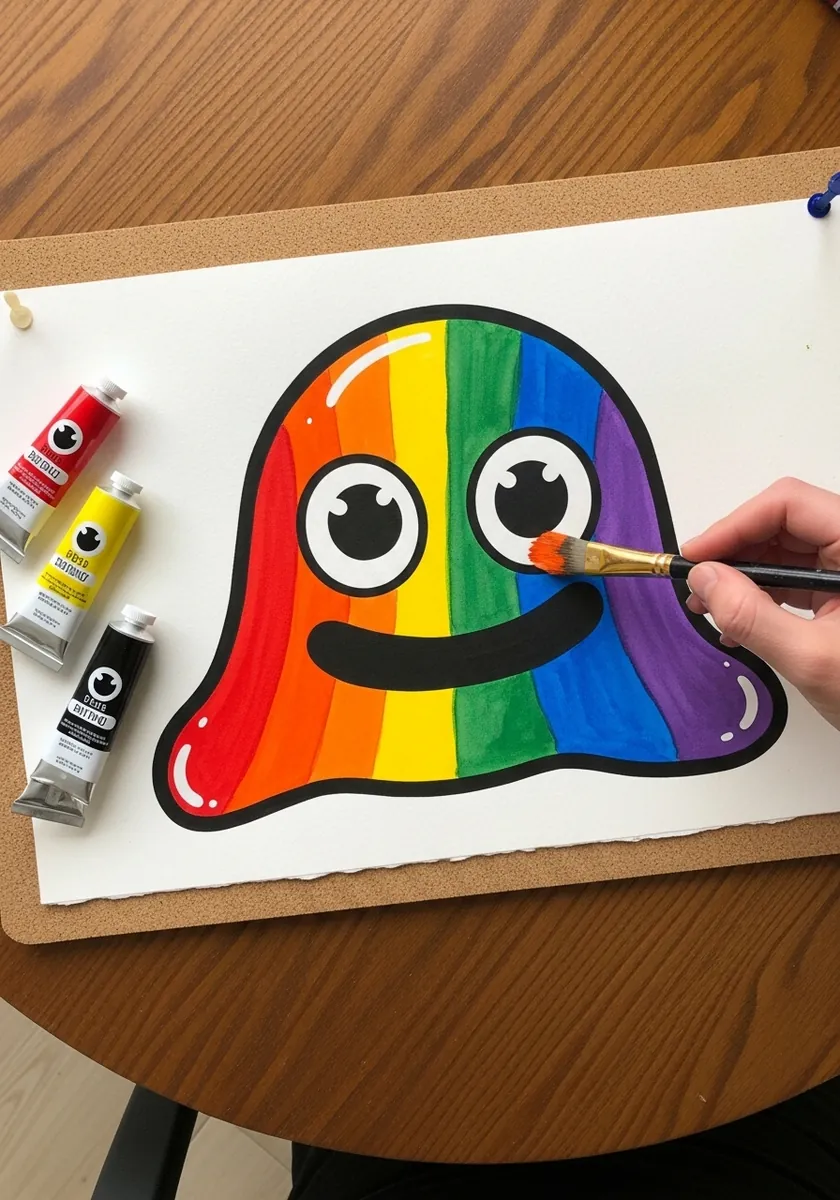
Flat bands still have to curve. Draw each stripe following the contour of the body, widening at the center and narrowing at the edges, and keep them absolutely even in color. Straight bands across a curved shape read as a flag.
16. Marker Slime With One Raised Eye
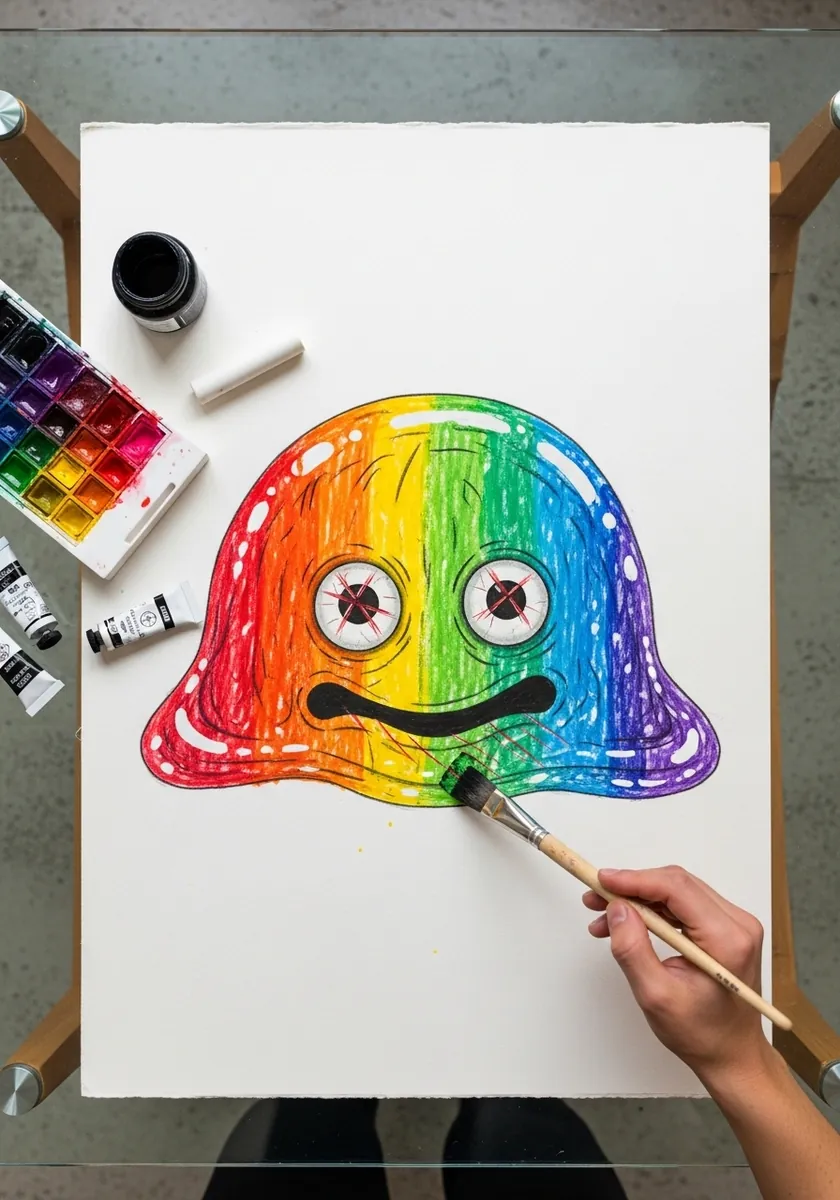
Asymmetry creates personality quickly. Raise one eye slightly higher than the other. Tilt the mouth to match that lean, and keep the body itself symmetrical so the face carries all of the expression. Small differences work better here than large ones.
17. Comic Panel Slime
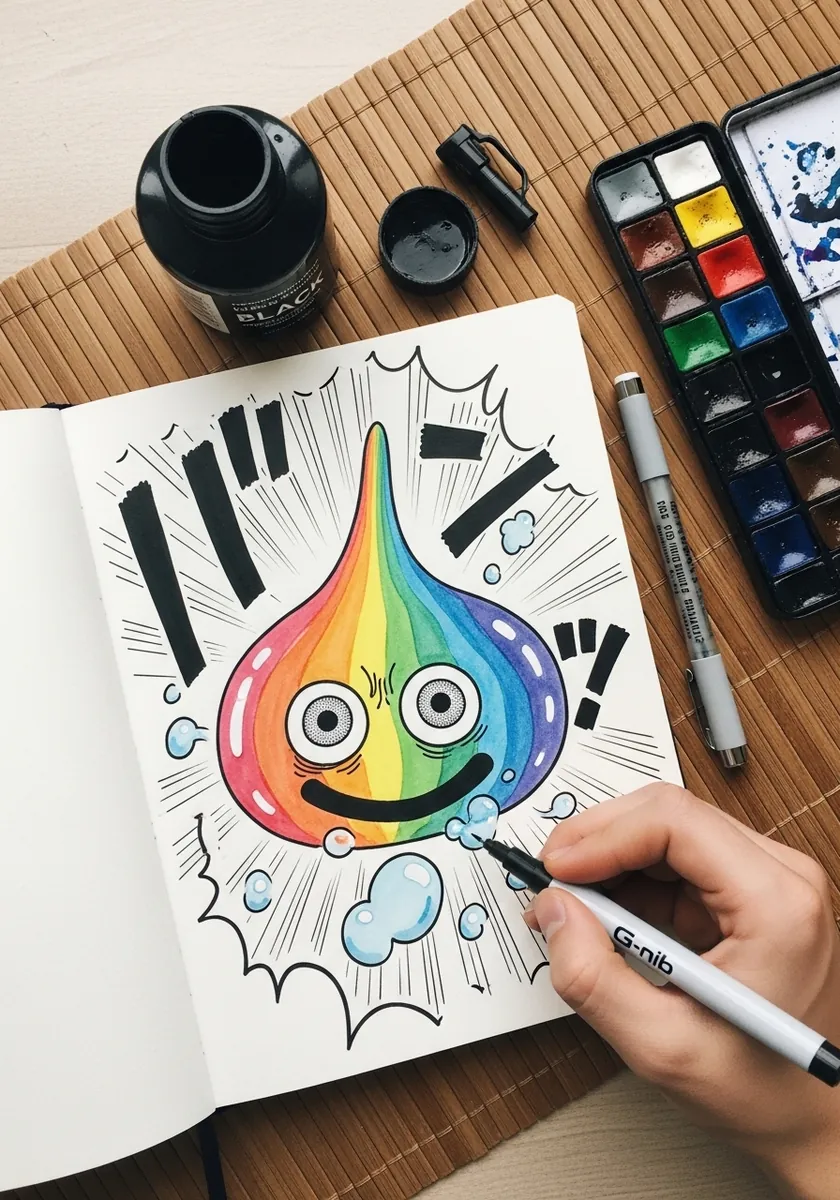
Panel work needs the character to interact with the frame. Let one drip run over the border, keep the impact lines inside the panel, and rule the border heavier than anything within it. That single break makes the panel feel alive.
18. Cut Paper Slime on Kraft
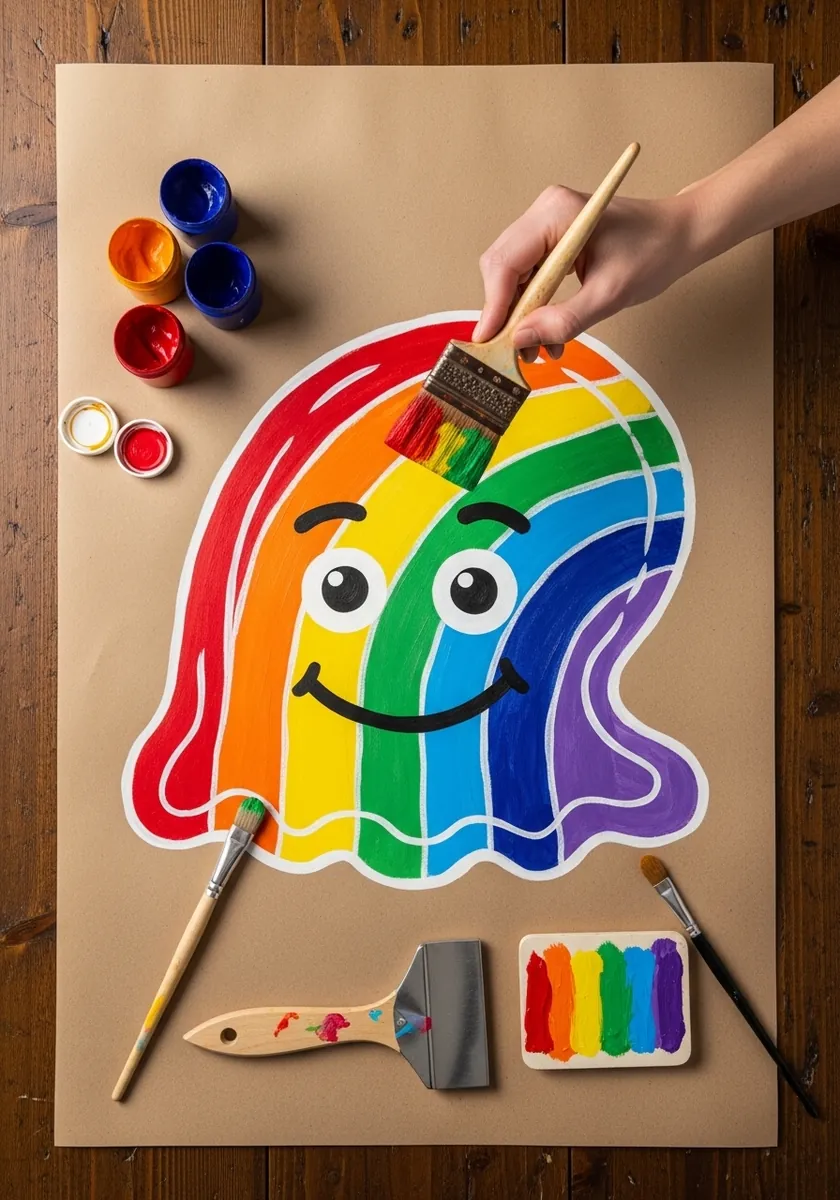
Cut shapes have no line weight at all, so the silhouette carries everything. Keep the curve continuous, cut the base noticeably wider than the top, and let the paper edge itself define the form. A tiny drop shadow beneath lifts the whole thing off the board.
19. Splashy Watercolor Slime
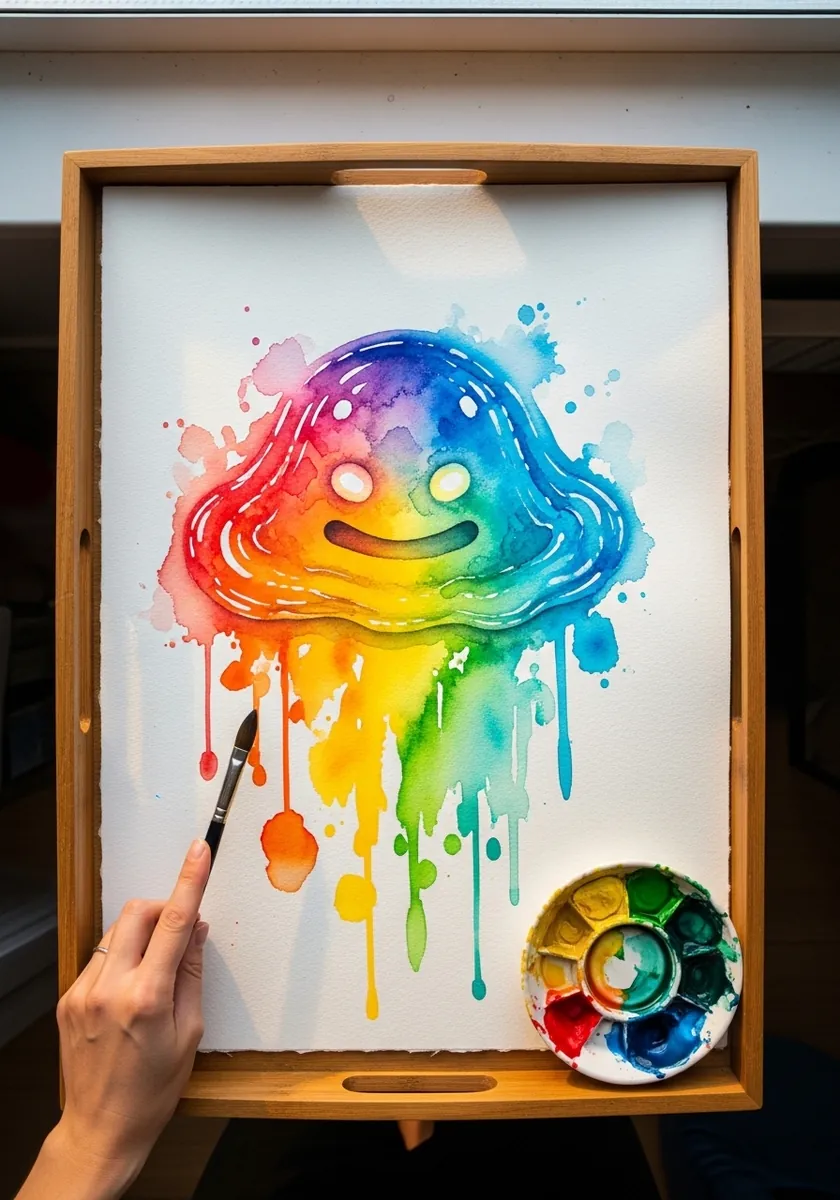
Letting real gravity make the drips is faster than drawing them. Paint the body wet, stand the paper upright for a few seconds, then lay it flat again. Catch any run that goes too far with a dry brush. Lay a sheet of scrap beneath the page, since real runs rarely stop where you expect them to.
20. Zentangle Patterned Slime
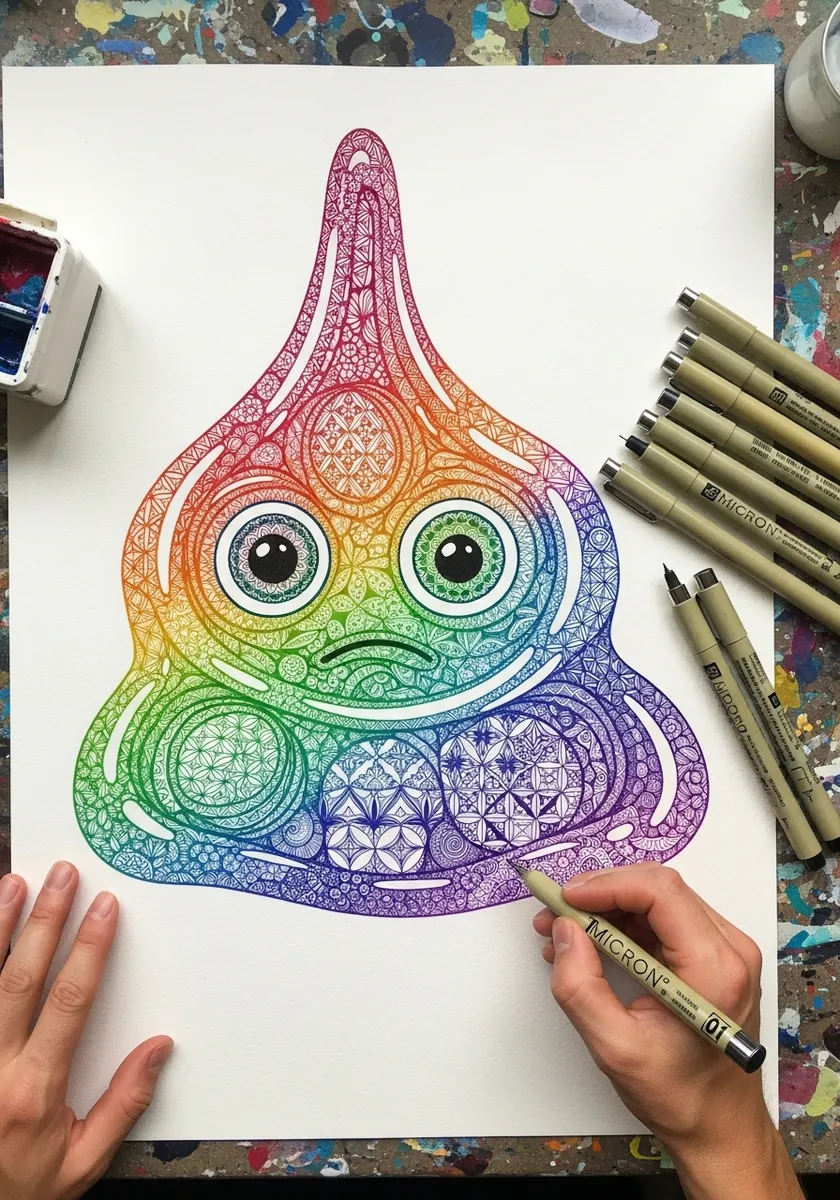
Dense pattern needs a value plan first. Divide the body into four or five zones, assign each a different motif density, and pack the linework tightest along the lower curve. Without that plan the whole shape flattens to gray. Leave the eyes completely unpatterned, so they stay the one place the linework does not go.
21. Monstrous Grinning Slime
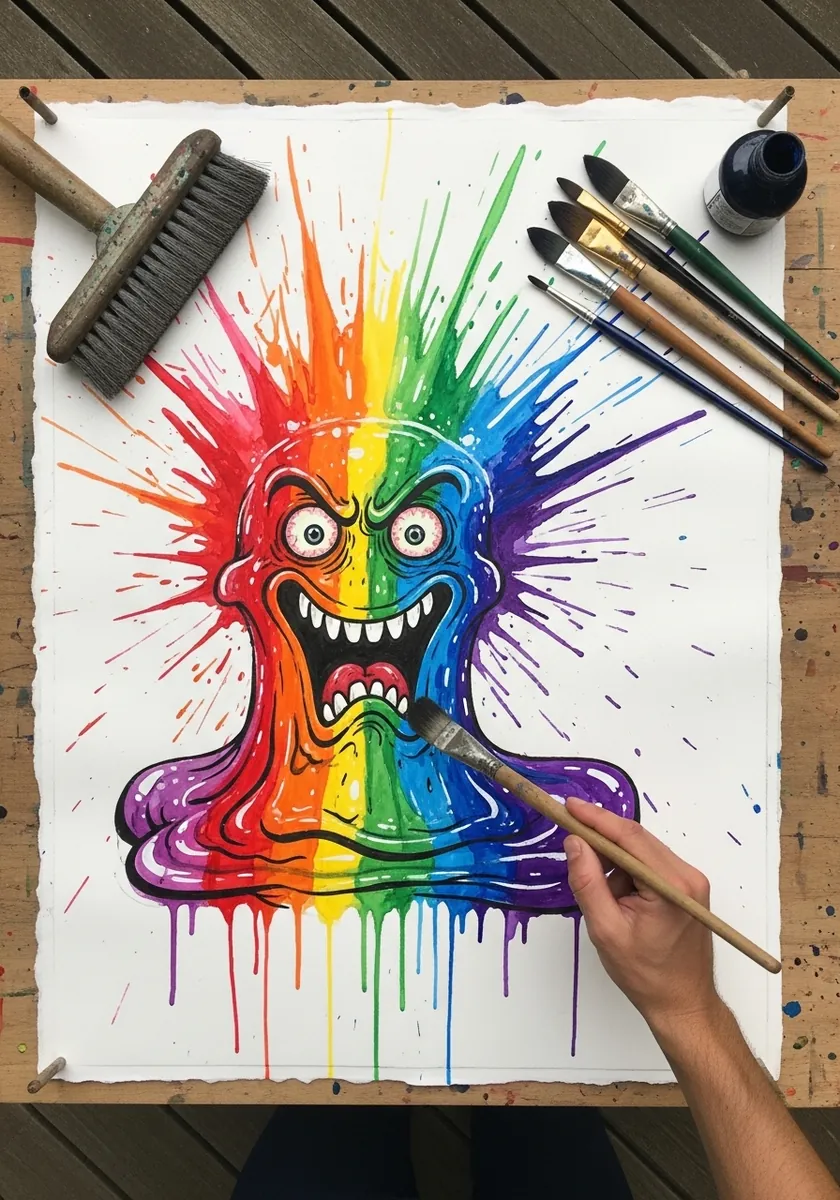
Teeth change a character instantly. Keep them irregular and slightly different in size, let the mouth line curve with the body rather than sitting flat, and push the eyes wider apart. Even spacing makes teeth look like a comb. Push the splatter behind the head rather than across it, so the grin stays fully readable.
22. Ornate Slime With Curling Tentacles
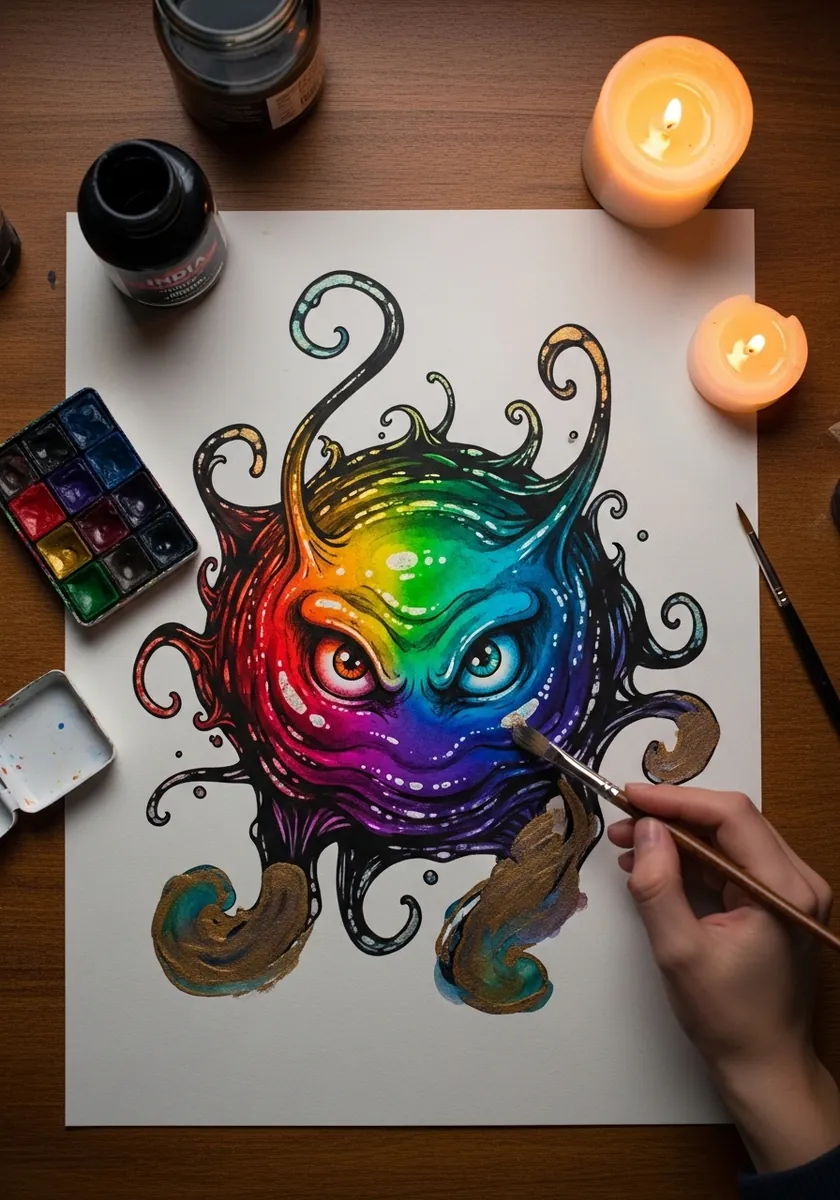
Decorative appendages should still obey gravity at the base, so anchor each tentacle to the body with a believable join before letting it curl freely above, and keep the body itself plain by contrast. Ornament applied everywhere simply reads as noise.
23. Tall Peaked Botanical Slime
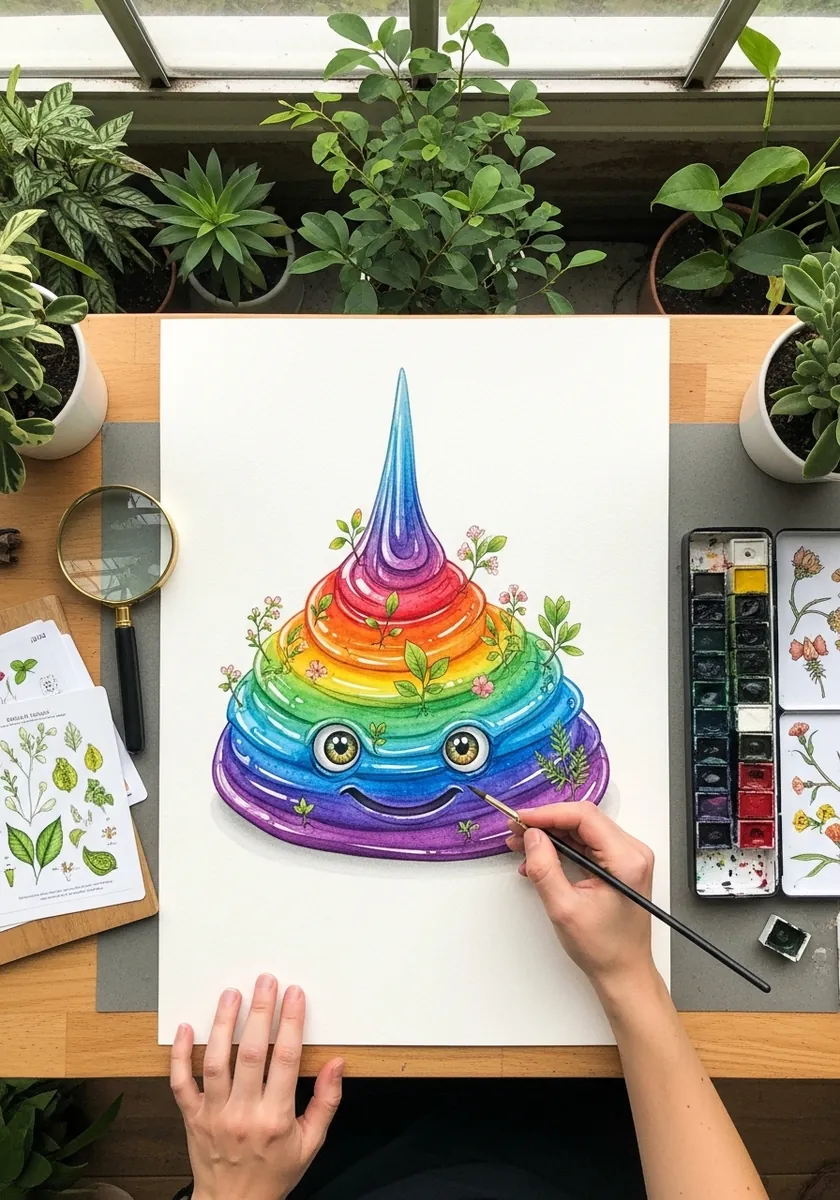
A tall narrow subject needs horizontal interruption. Place the botanical sprigs at two different heights on either side, keep them small, and let one overlap the body slightly. That overlap sets the slime firmly in front. Keep the sprigs in one muted green, so nothing competes with the rainbow at the center.
24. Rendered Slime With a Cast Shadow
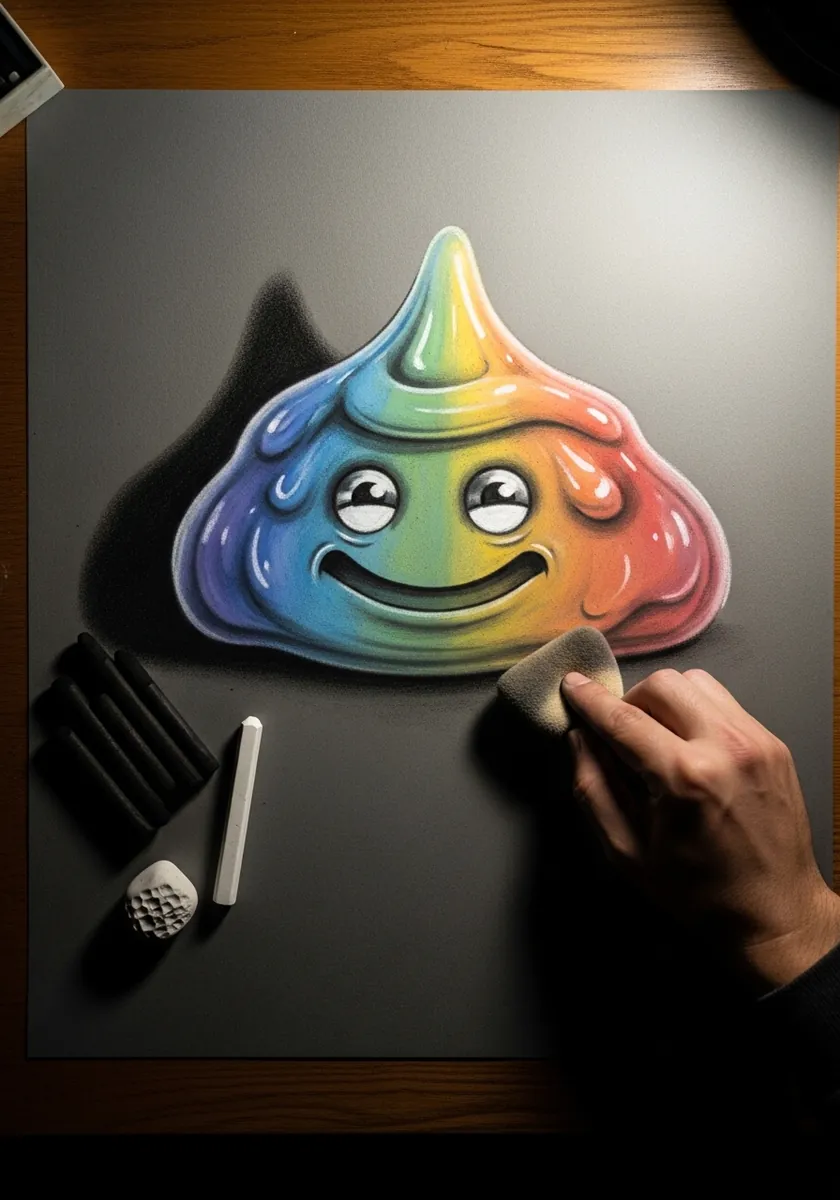
Full rendering means committing to one light. Put a hard highlight high on the dome, a soft reflected band along the lower edge, and a cast shadow that darkens where the body touches the ground. That contact point sells the weight.
25. Pixel Art Slime on Graph Paper
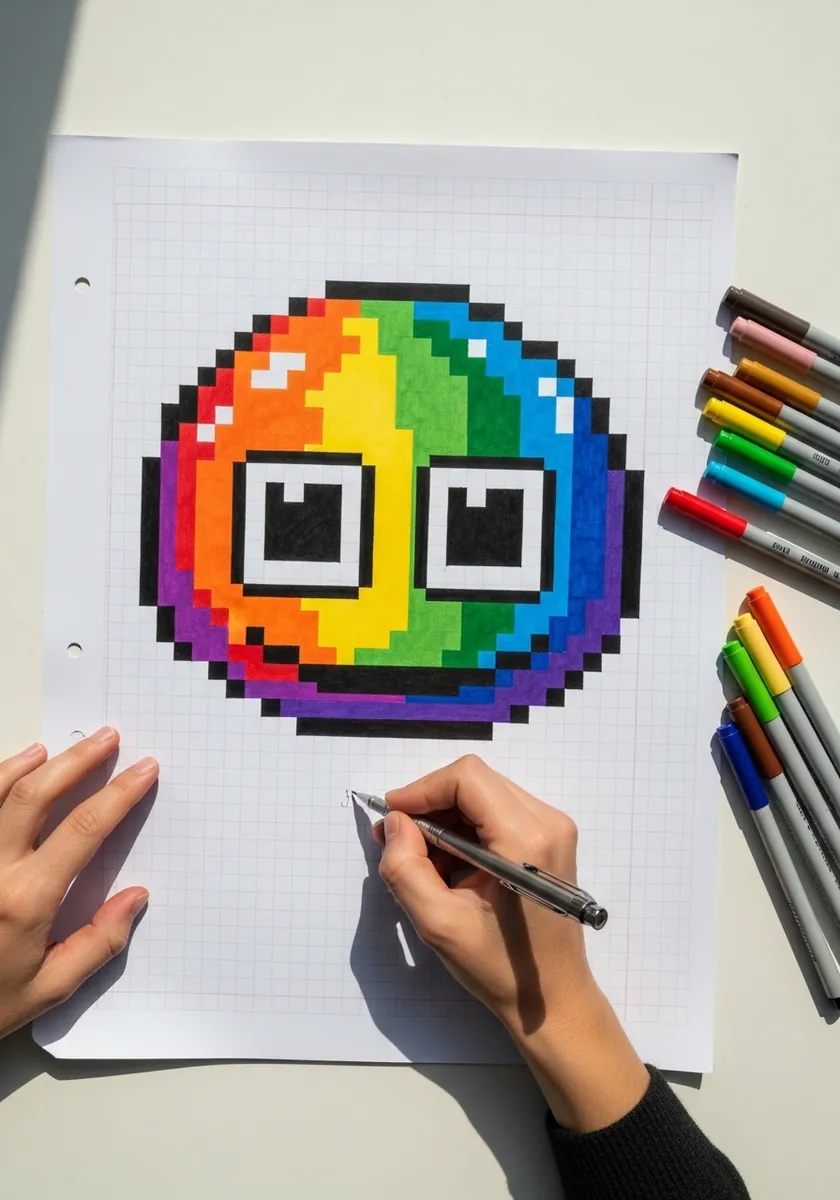
Grid work forces useful simplification. Give yourself around sixteen squares of height, block the silhouette in whole squares only, and make each eye a two by two block. Diagonals step one square at a time, never two. Limit yourself to eight colors, which is what gives pixel work its characteristic crispness.
26. Glossy Dripping Marker Slime
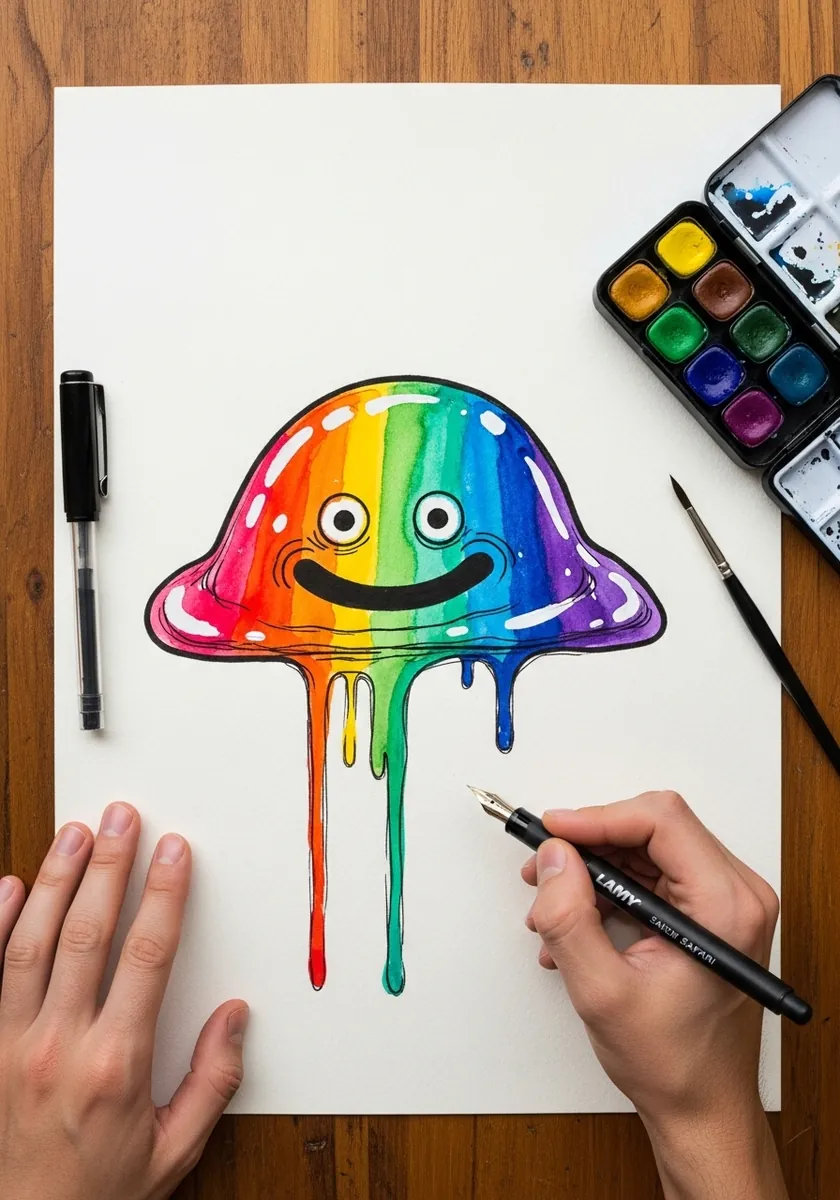
Gloss is about hard edges. Give the highlight a crisp boundary rather than a soft fade, place it high and slightly off center, and add a second thin one along the bottom rim. Soft highlights make anything look matte. Leave a thin sliver of white paper between the drips, so each one stays a separate run.
27. Impasto Slime in Thick Paint
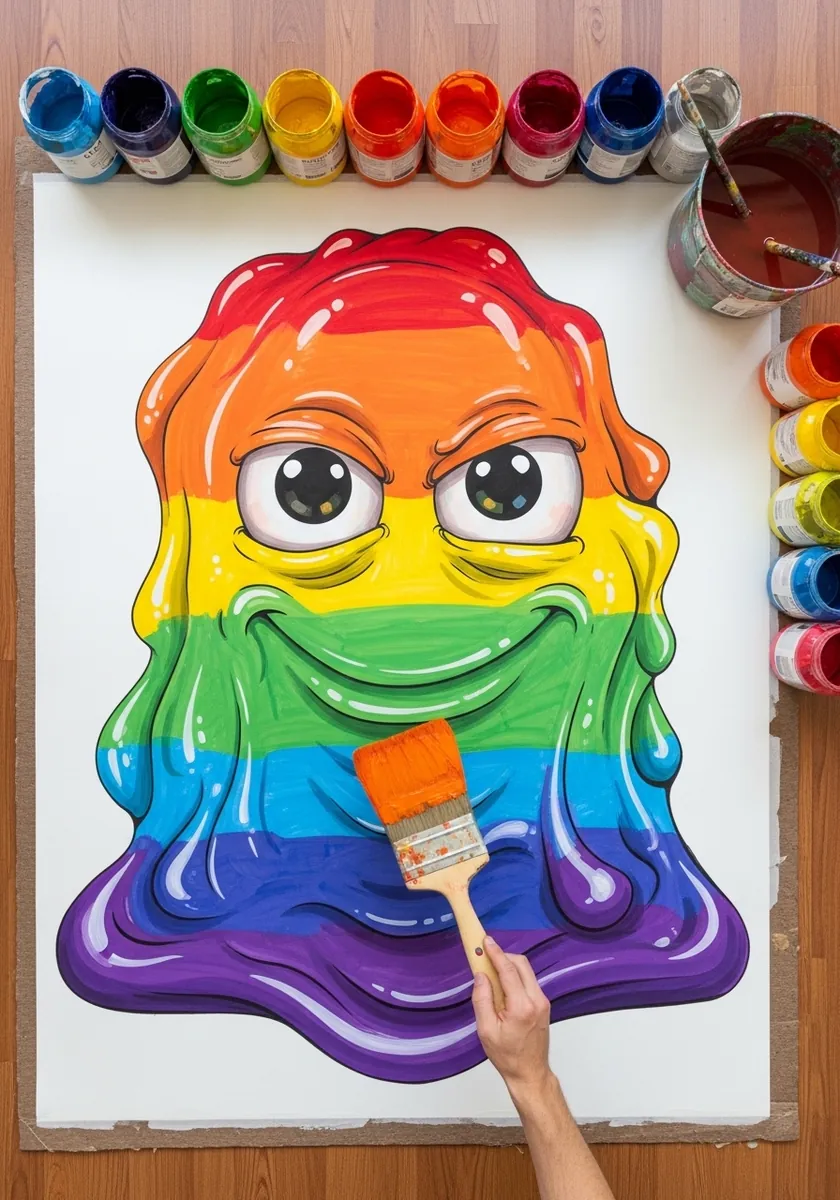
Thick paint models a soft subject unexpectedly well. Load the brush heavily, lay each color band in one directional stroke, and let the ridges catch real light. Never rework a stroke while it is wet or the ridges collapse. Work on board rather than paper, because heavy paint buckles a thin sheet as it dries.
28. Sketchbook Slime With Bold Outline
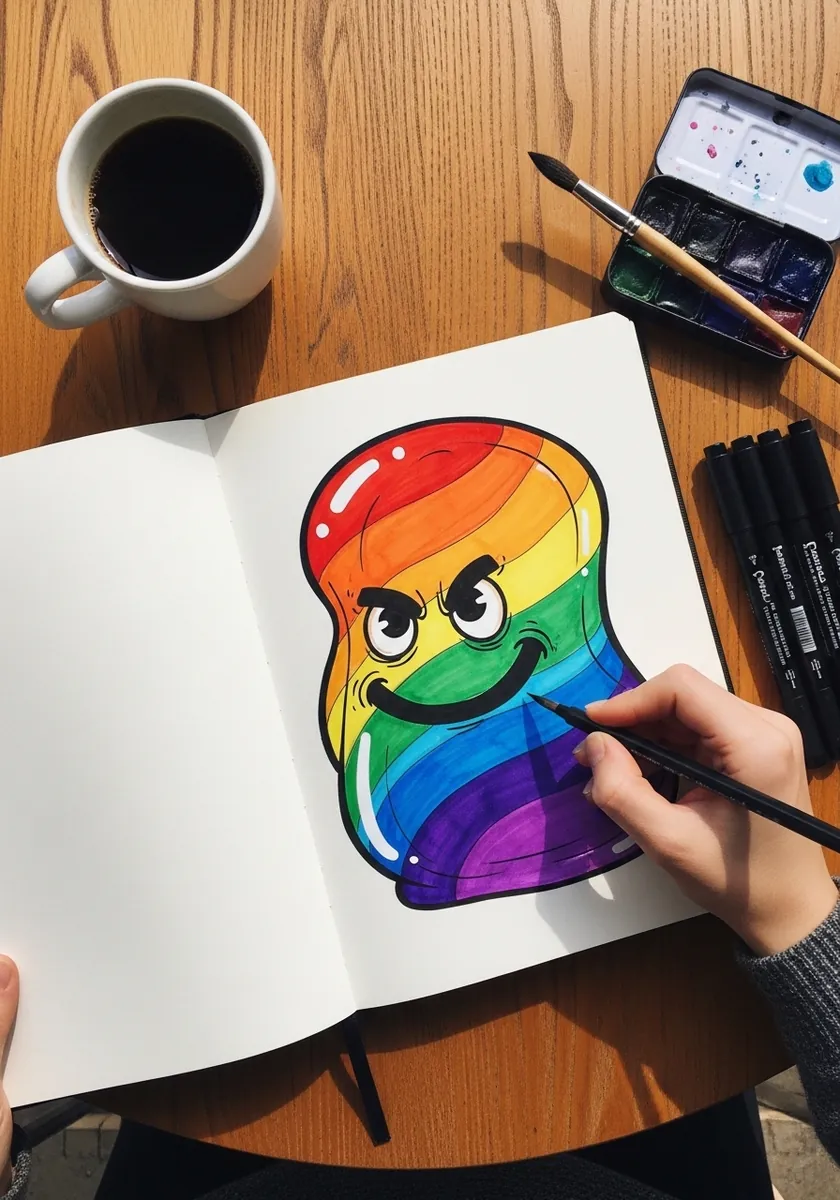
A spread crossing the gutter needs planning. Place the body’s widest point away from the fold, let a drip cross it instead, and keep the outline weight identical on both pages. The fold should feel deliberate rather than avoided. Ink both pages in one sitting, so the line weight does not drift between them.
29. Art Nouveau Framed Slime
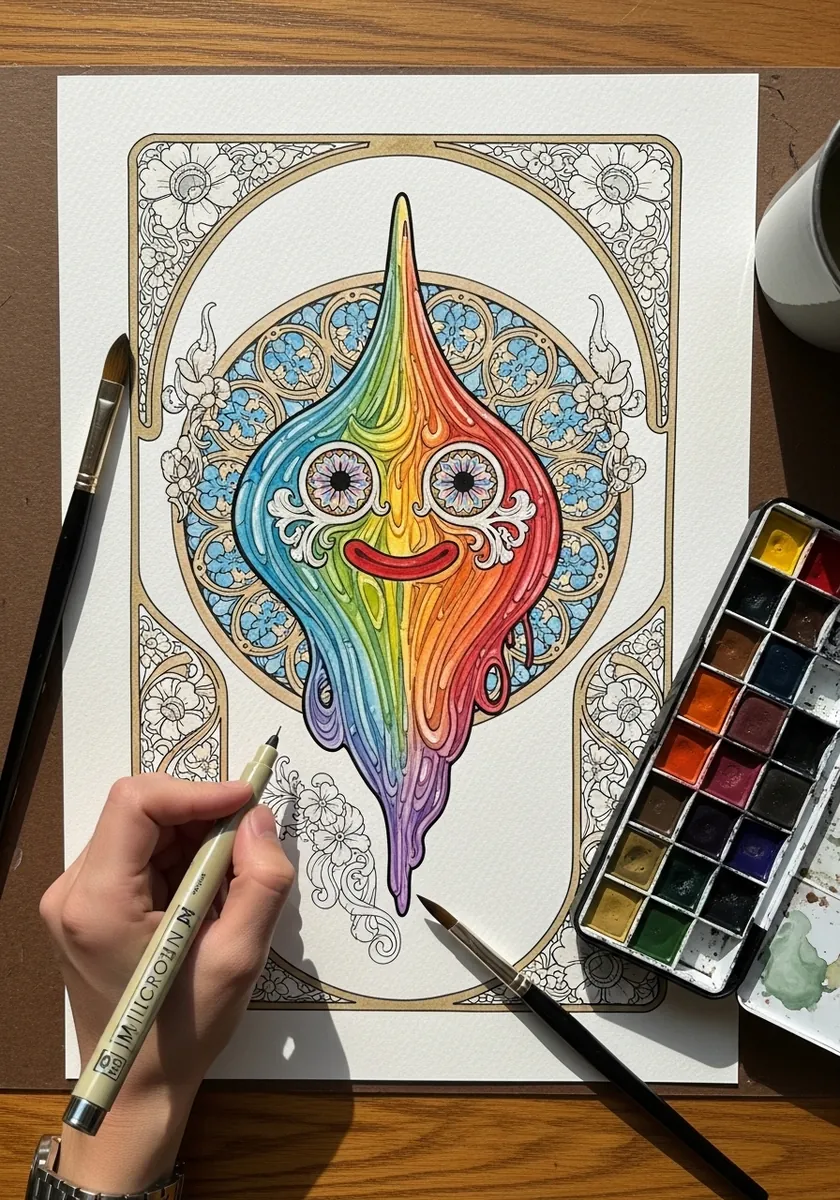
Nouveau framing splits the labor. Keep the slime flat and simple, then load all the detail into the surrounding whiplash curves. A brush pen with varying pressure gives the border its characteristic swelling and tapering line. Let one drip cross the inner border, which stops the frame reading as a separate sticker.
30. Clean Vector Style Slime
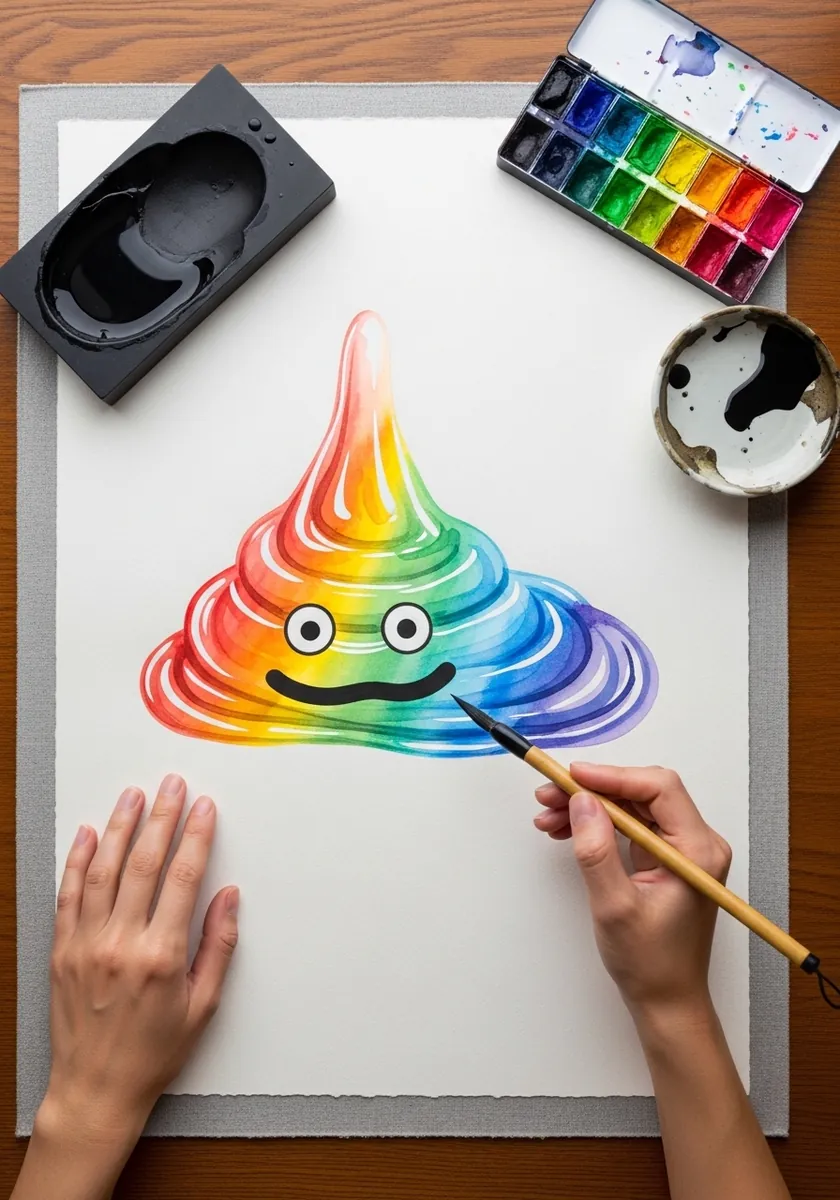
Vector styling has no texture anywhere. Keep every edge perfectly smooth, every fill absolutely flat, and the highlight as a hard-edged shape rather than a gradient. This is the version that scales best to a sticker or a logo. Test it small: if the shape survives at thumbnail size, the silhouette is doing its job.
31. Iridescent Pastel Cloud Slime
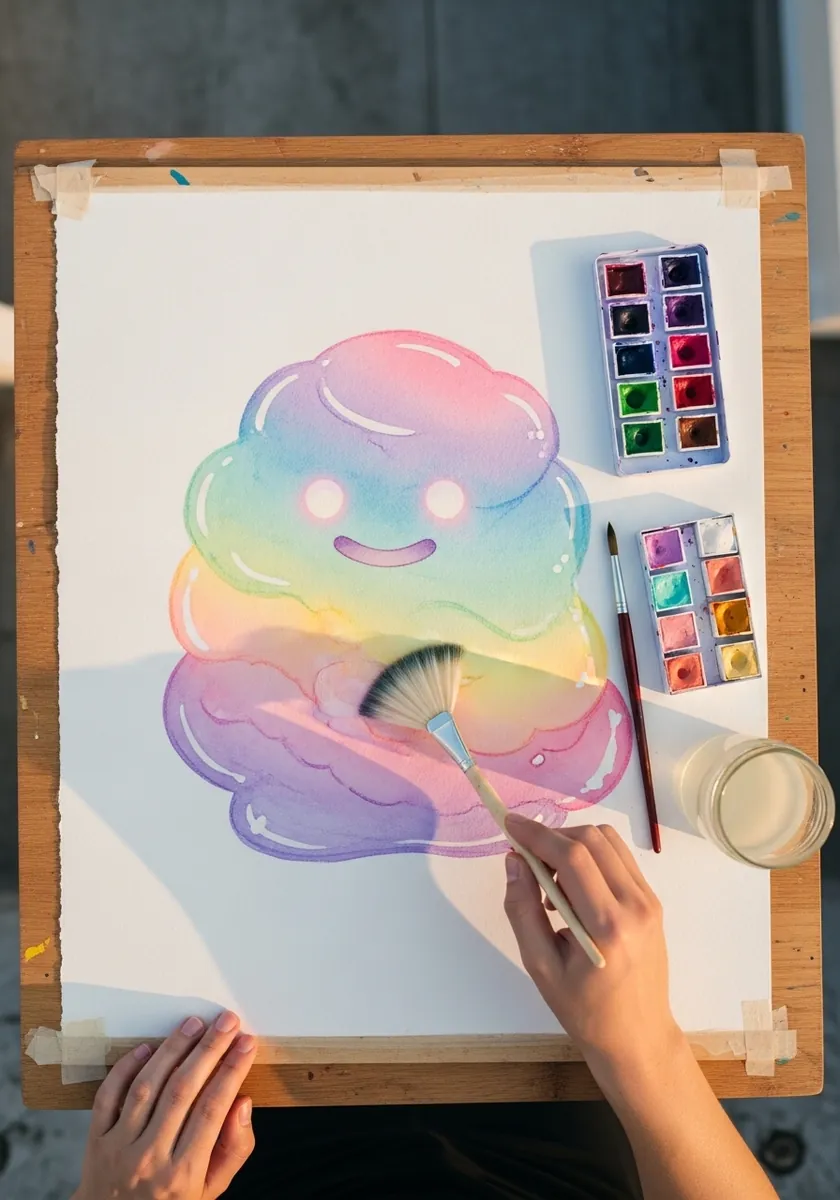
Iridescence shifts hue rather than value. Keep everything at a similar lightness and let the color drift from pink to lilac to mint across the surface, with no dark shadows anywhere. One tiny white highlight is all it needs. Work wet on wet throughout, since any hard edge instantly breaks the cloudy quality.
Frequently Asked Questions
How do you draw slime so it looks gooey?
Work on the bottom edge. Let the base spread wider than the top, bulge the outline slightly where it meets the surface, and keep every part of the silhouette curved. A single straight edge or sharp corner makes the whole shape read as solid.
How do you draw slime drips correctly?
Match them to the viscosity you want. Thick slime gives short, fat drips with rounded ends that cling; thin slime gives long, narrow ones that fall clear. Choose one behavior and apply it to every drip, because mixing the two looks inconsistent.
Where do the eyes go on a slime character?
Inside the mass rather than on the surface. Let a thin veil of the body color pass in front of each eye and place a small catchlight on the wet outer surface. Eyes drawn cleanly on top always look like stickers stuck to a blob.
How do you keep a rainbow from turning muddy?
Move around the color wheel in order and never double back. Let each band bend to follow the curve of the body rather than running straight across, and allow only neighboring hues to blend where they meet.
Why can slime hold a peak and also spread out?
Because it is a non-Newtonian fluid. Its resistance changes with the force applied, so a sudden push meets a firm surface while gravity acting gently over time lets it flow. That is exactly why a slime character can have both a raised tip and a spreading puddle.
References and Further Reading