Draw curly hair in clumps, never strand by strand. Block the whole mass as one silhouette, divide it into six or eight large curl groups, then draw the dark gaps between those groups. The shadows between curls define the curls themselves.
Key takeaways
- Block the entire hair mass as one silhouette before drawing a single curl.
- Work in clumps of six to eight groups rather than individual strands, which always looks like wire.
- Draw the dark negative space between curls; the gaps define the curls more than the outlines do.
- A curl is a ribbon wrapping a cylinder, so alternate its lit outer face with its shadowed inner face.
- Every curl originates at the scalp, so trace each group back to the parting before committing.
Almost every unconvincing curly hair drawing has the same cause: strands drawn one at a time. Real curly hair groups itself into clumps, and what you actually see is those masses rather than individual hairs. Block the whole silhouette first, divide it into six or eight groups, and the drawing is already most of the way there.
The second rule is where the darks go. Draw the gaps between the clumps, not the curls themselves. The deep shadow sitting between two curl groups is what defines both of them, which is why an artist who shades the negative space gets better curls than one who carefully outlines each spiral.
The thirty-nine studies below run from precise charcoal portraits to zentangle pattern work, magazine collage, pixel art and gold leaf. Because hair sits on a head, portrait drawing ideas and face drawing practice are the natural companions here.
Several pieces treat hair as pure pattern rather than anatomy. If that appeals, mandala construction covers the symmetry side and eye drawing ideas will help once you start rendering the face inside all that hair.
Compiled by the GS Art Zone editorial team. Last updated August 2026. Each idea is paired with the specific step that produces the effect, so you can go from the reference straight to paper.
What You Need Before You Start
- A 2B for the mid tones and a 6B or charcoal for the deep gaps between curl clumps
- A kneaded eraser sharpened to a point, which lifts individual highlight curls out of a dark mass
- A blending stump for softening the interior, though the outer edges must stay broken and irregular
- Fine liners in two widths if you are working the stylized ink and pattern pieces later on
- Toned gray or kraft paper with a white pencil, which suits hair better than almost any other subject
1. Concentric Curl Mandala in Graphite
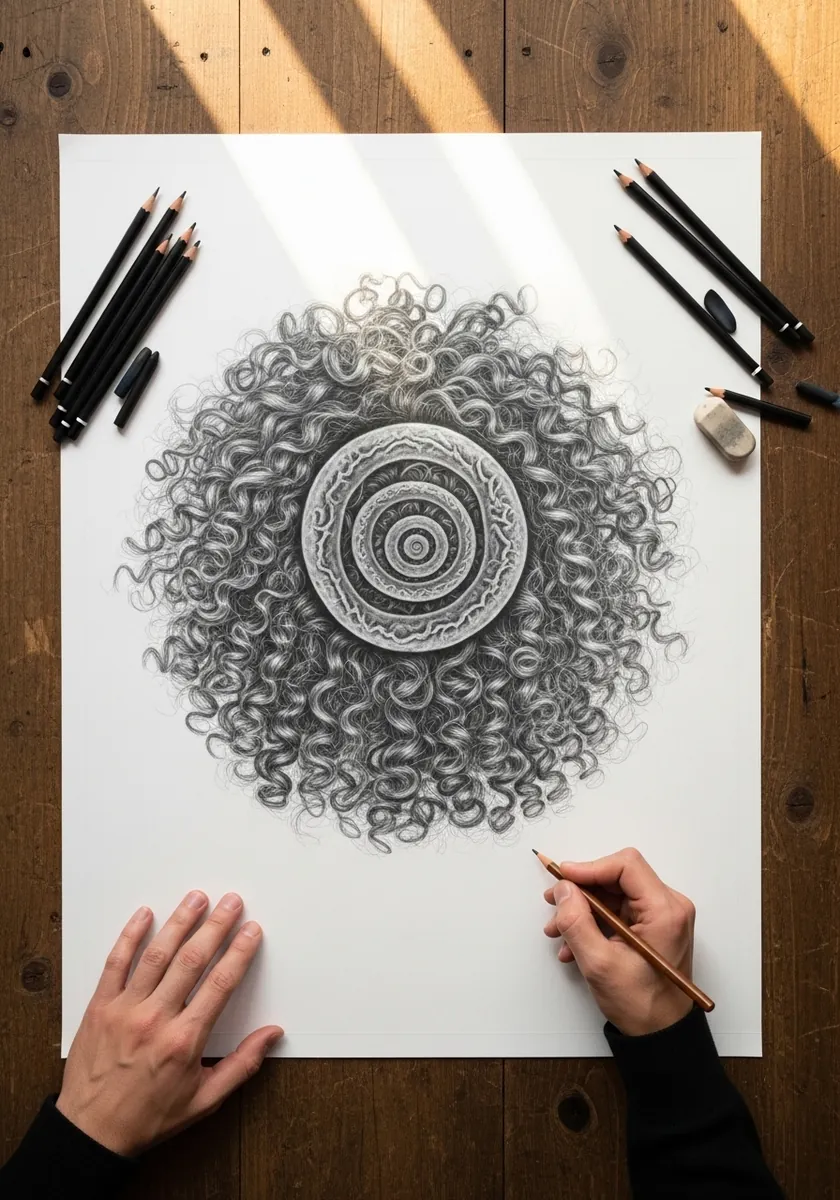
Starting with hair as pure pattern removes the pressure of anatomy entirely. Rule your concentric circles first, then fill each ring with curls of a consistent size, shrinking them slightly toward the center. It builds the muscle memory for spiral shapes before you attach any of them to a head.
2. Rainbow Flowing Curls in Watercolor
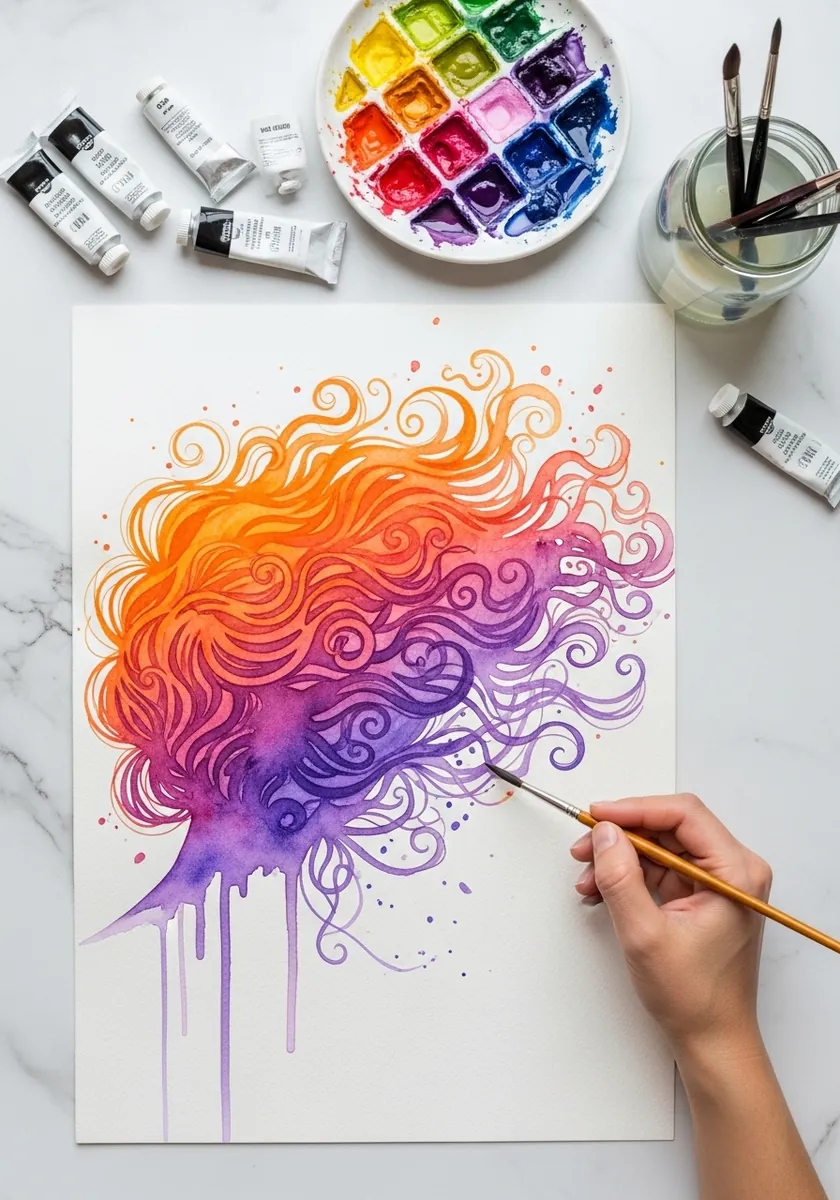
Color can carry the form when value does not. Run warm oranges through the lit upper curls and cool violets through the shadowed lower ones, keeping the temperature shift consistent. The drips falling from the bottom edge suggest weight without you drawing a single extra strand.
3. Halftone Curls in Pink and Blue
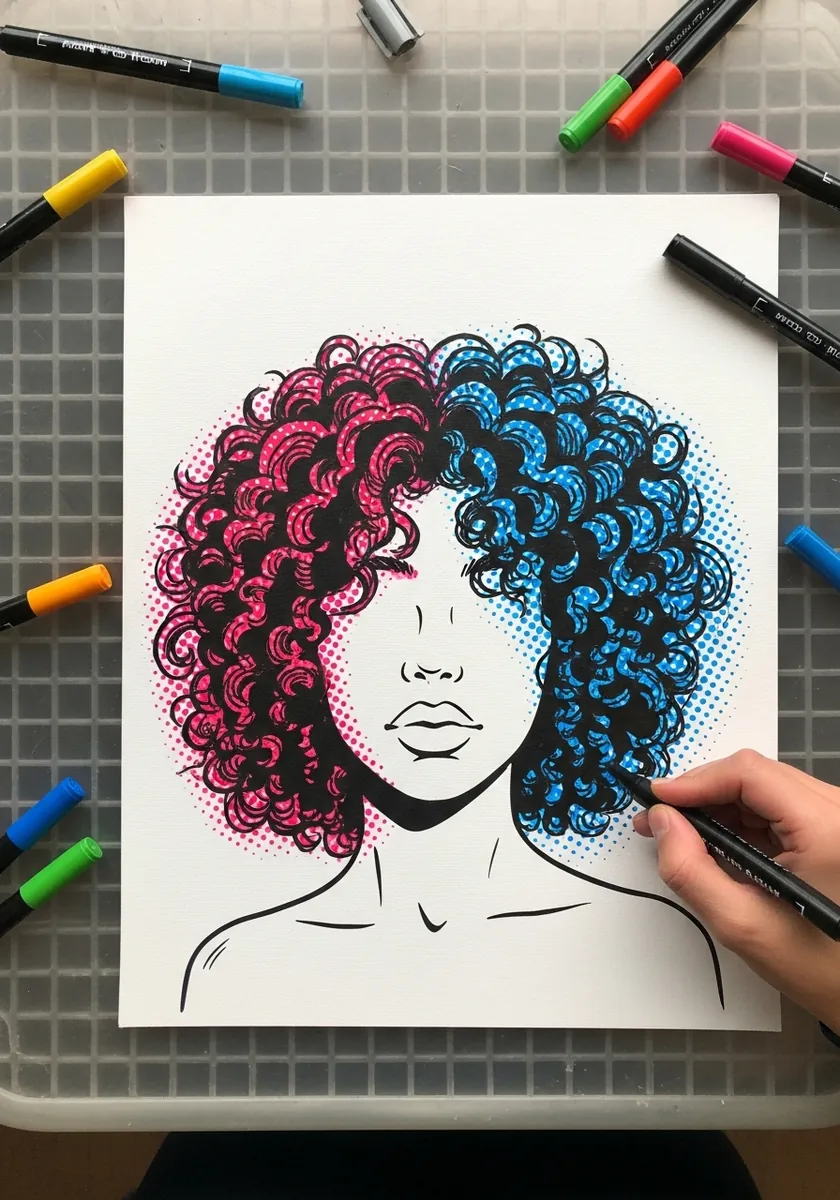
Splitting a symmetrical subject down the middle into two colors is a strong graphic device. Ink both sides identically in line, then let the halftone fields differ completely. The face stays neutral in the center, which stops the two halves competing.
4. Single Line Curly Portrait
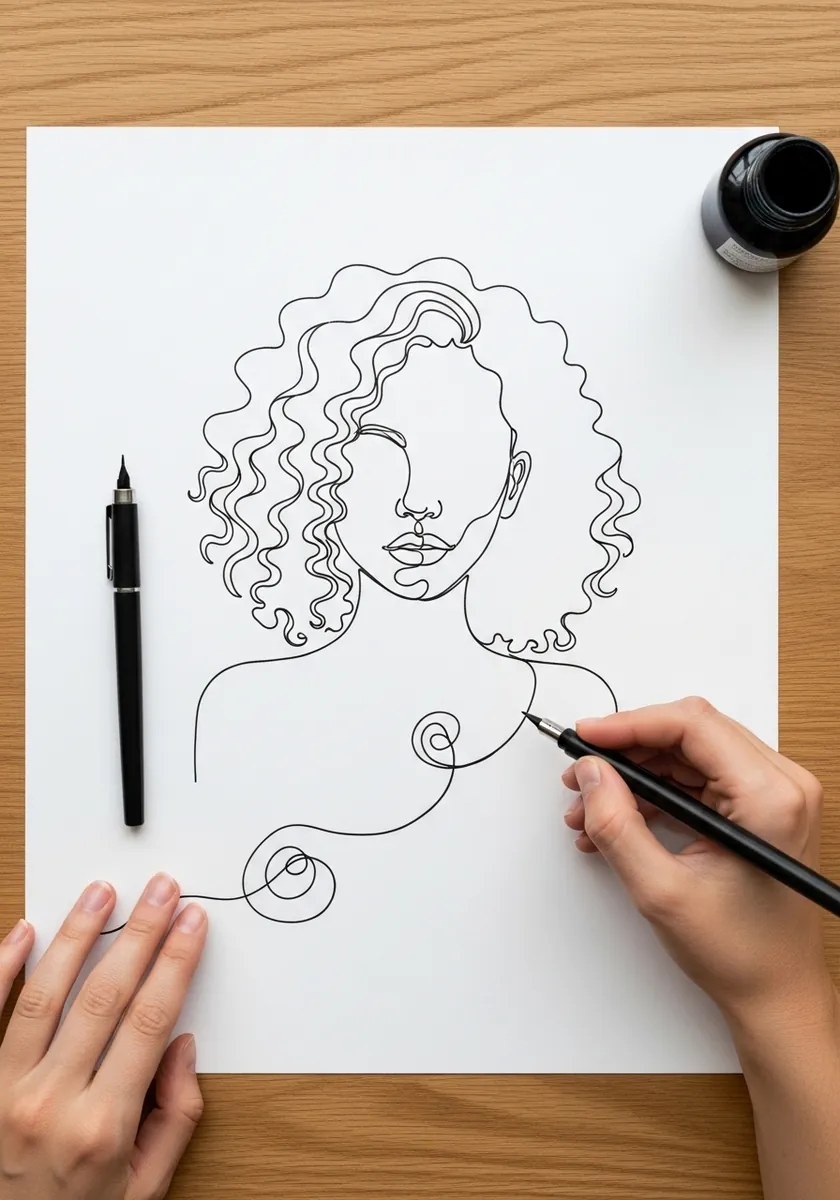
One unbroken line for the entire drawing. Because you cannot lift the pen, you have to plan the route through the curls before starting, which forces you to see the hair as a few connected masses rather than as dozens of separate spirals.
5. Impasto Curls in Lilac and Gold
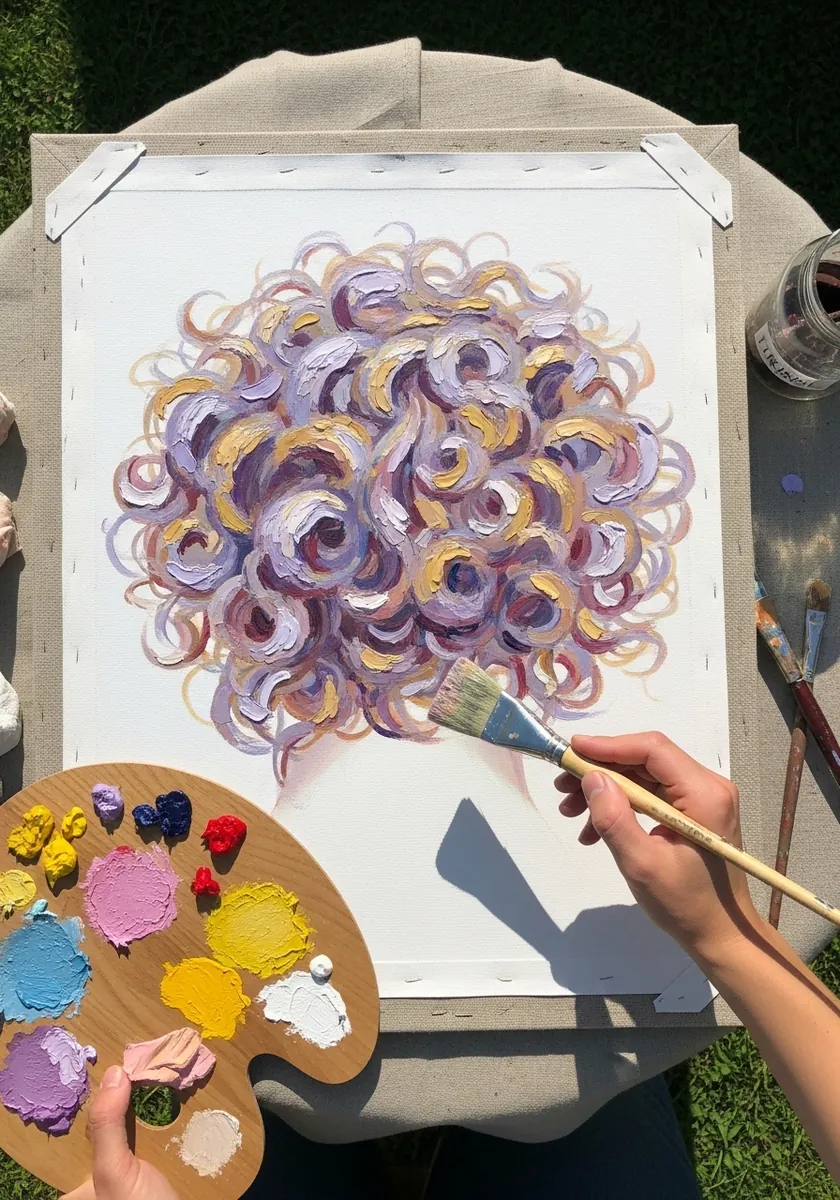
A palette knife naturally leaves a curved ridge, which is very close to what a curl already is. Load the knife heavily and lay each curl as a single twisting press. Do not go back into any of them, because reworking flattens the ridge that does the work.
6. Charcoal Portrait with Tight Coils
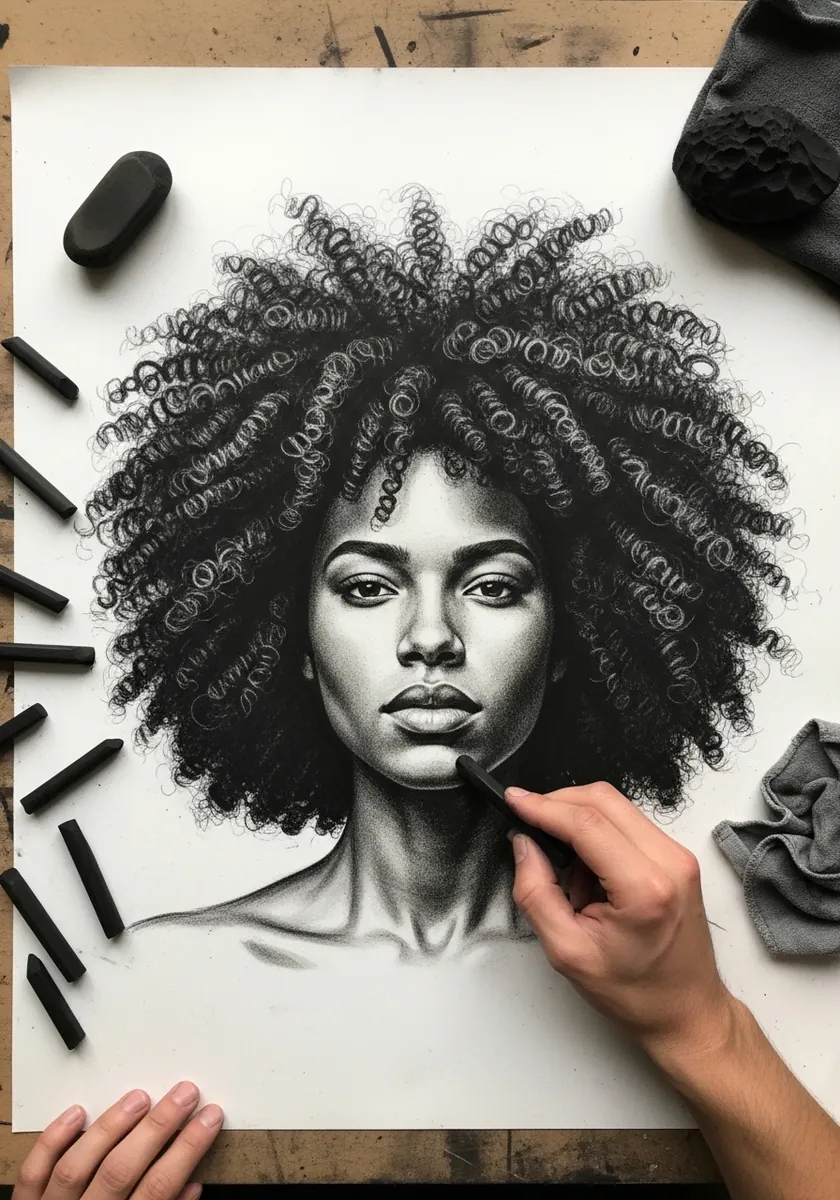
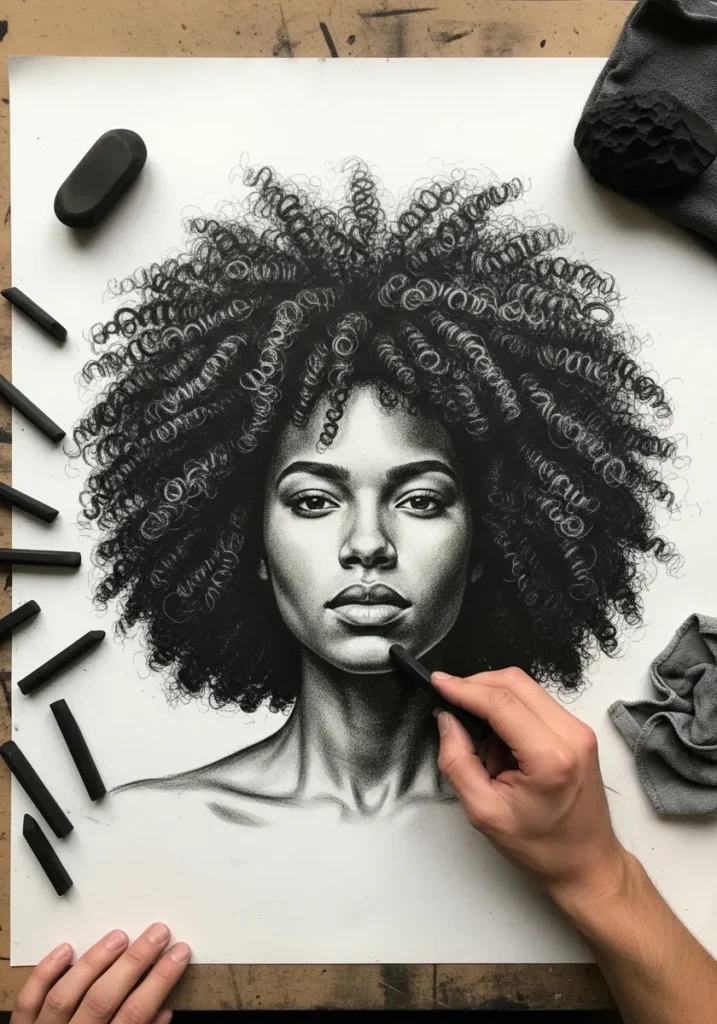
This is the clump method at its most demanding. Block the entire hair mass in mid-tone charcoal, work the deep gaps between clumps almost to black, then lift individual coils out along the lit edge with a sharpened kneaded eraser. Never draw a light curl onto white paper.
7. Neon Spiral Hair on Black Paper
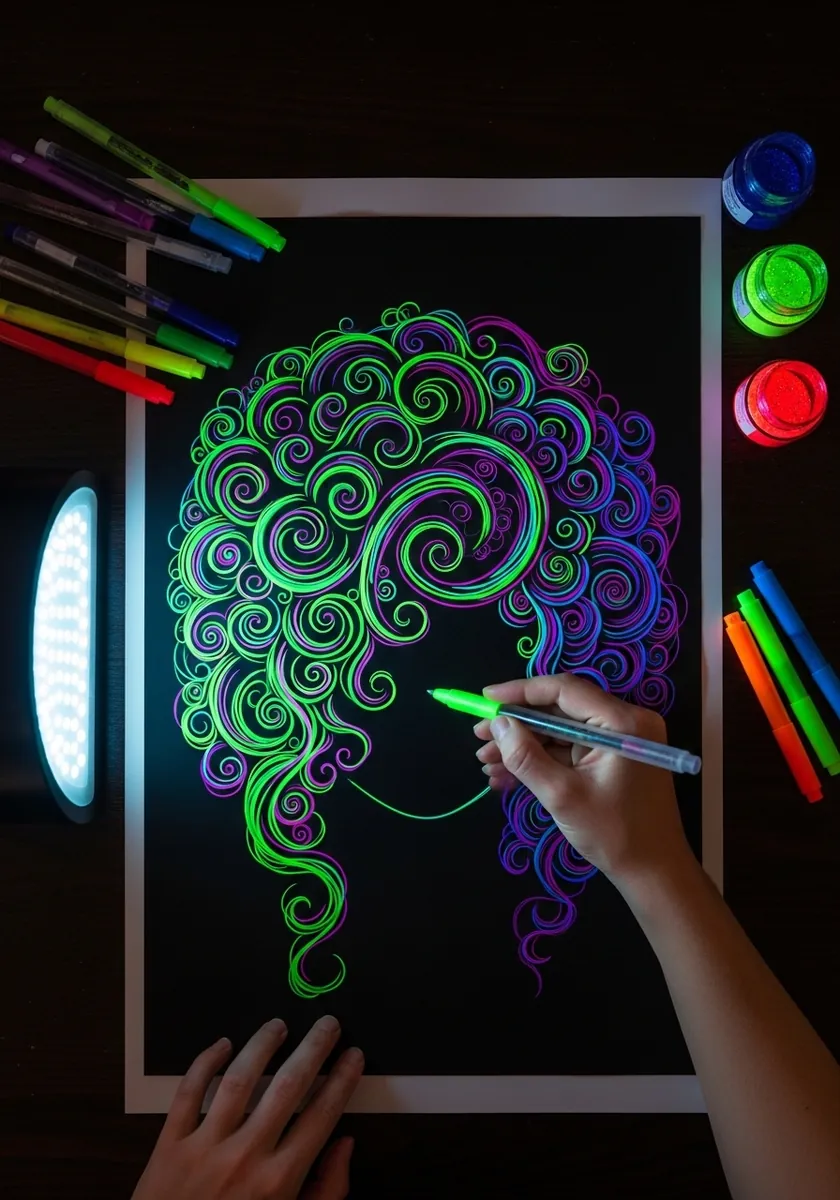
Reversing the process teaches you which curls actually matter. Because you can only add light, you must decide which spirals catch it and leave the rest as darkness. Two colors is plenty, and letting them sit adjacent rather than overlapping keeps them clean.
8. Soft Pastel Curls on Gray Card
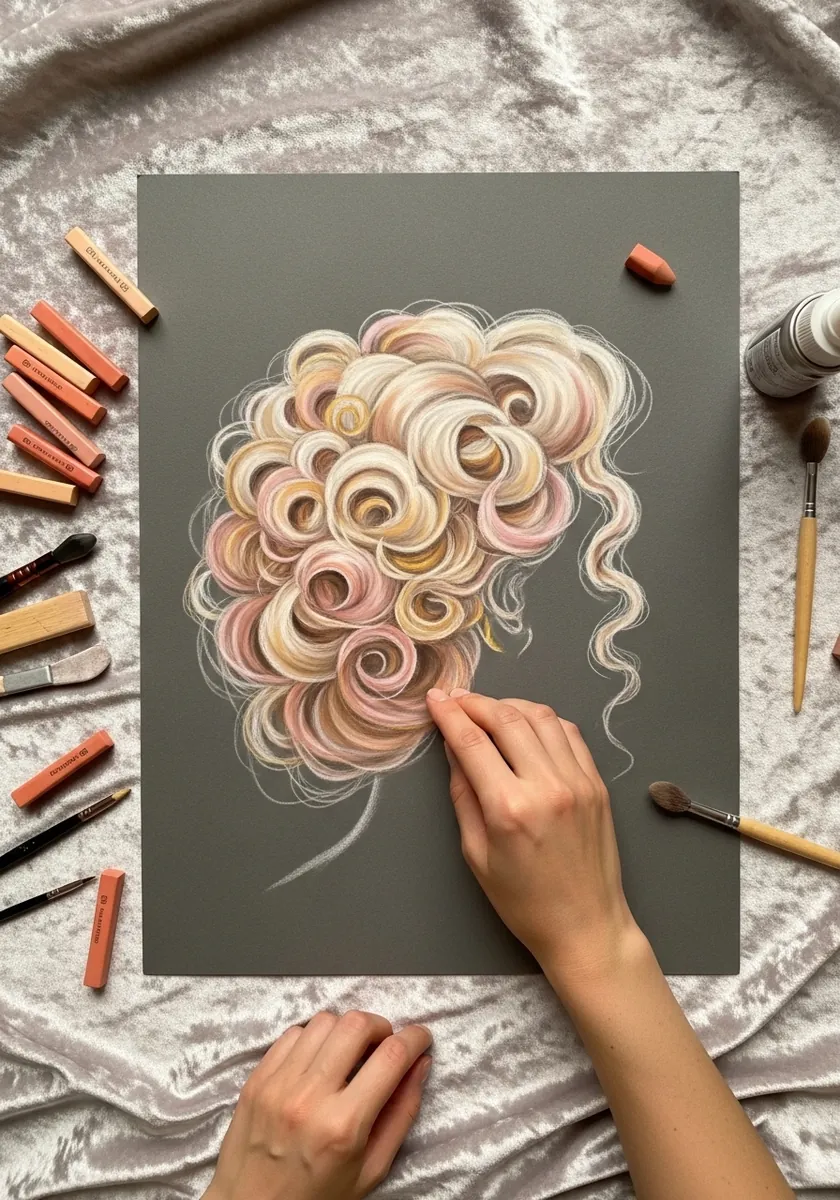
Toned paper hands you the mid value for free, which suits hair better than almost any other subject. Add cream lights only along the outer surface of each clump and deepen the gaps with a darker pastel, leaving large areas of bare gray between them.
9. Cubist Portrait with Curly Hair
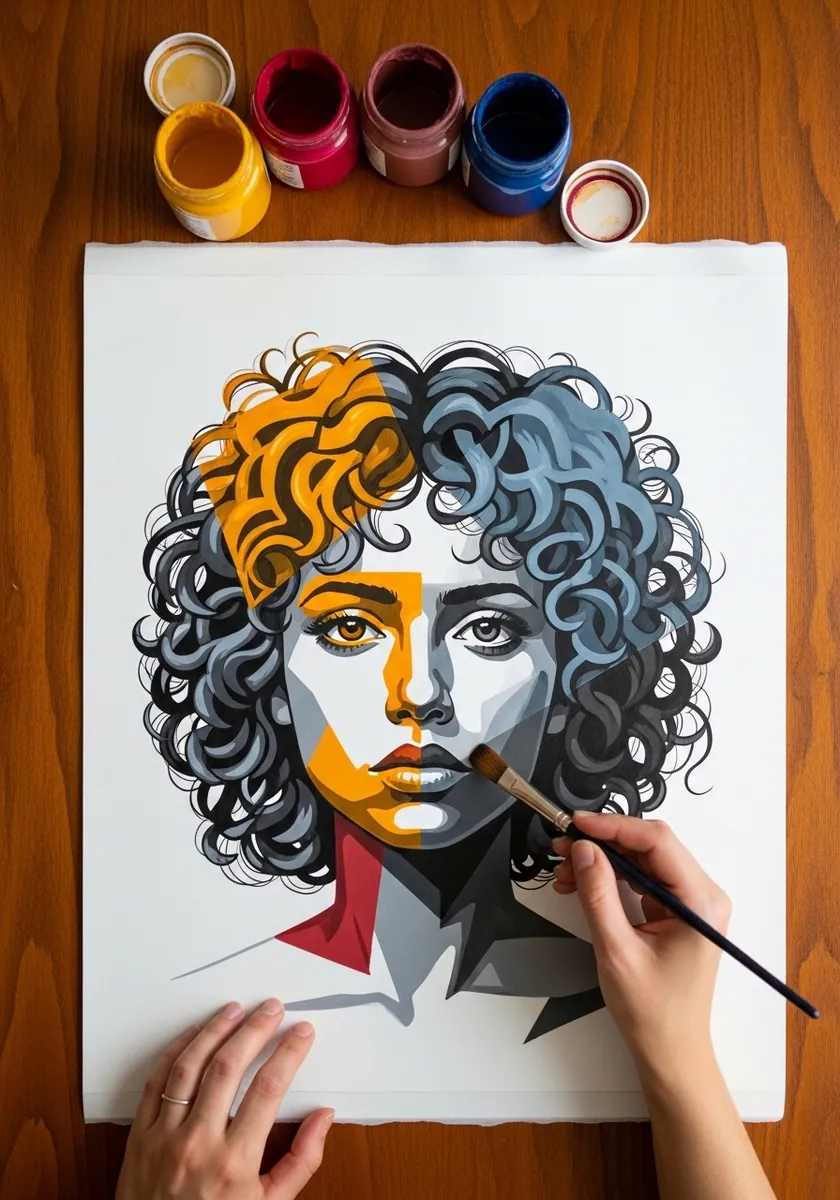
Fracturing a face is far easier when the hair around it stays recognizable. Render the curls fairly conventionally with proper clump structure, then break the face beneath into flat angular planes with hard edges and no blending at all. The contrast between organic hair and geometric face is the entire idea.
10. Botanical Curls with Small Flowers
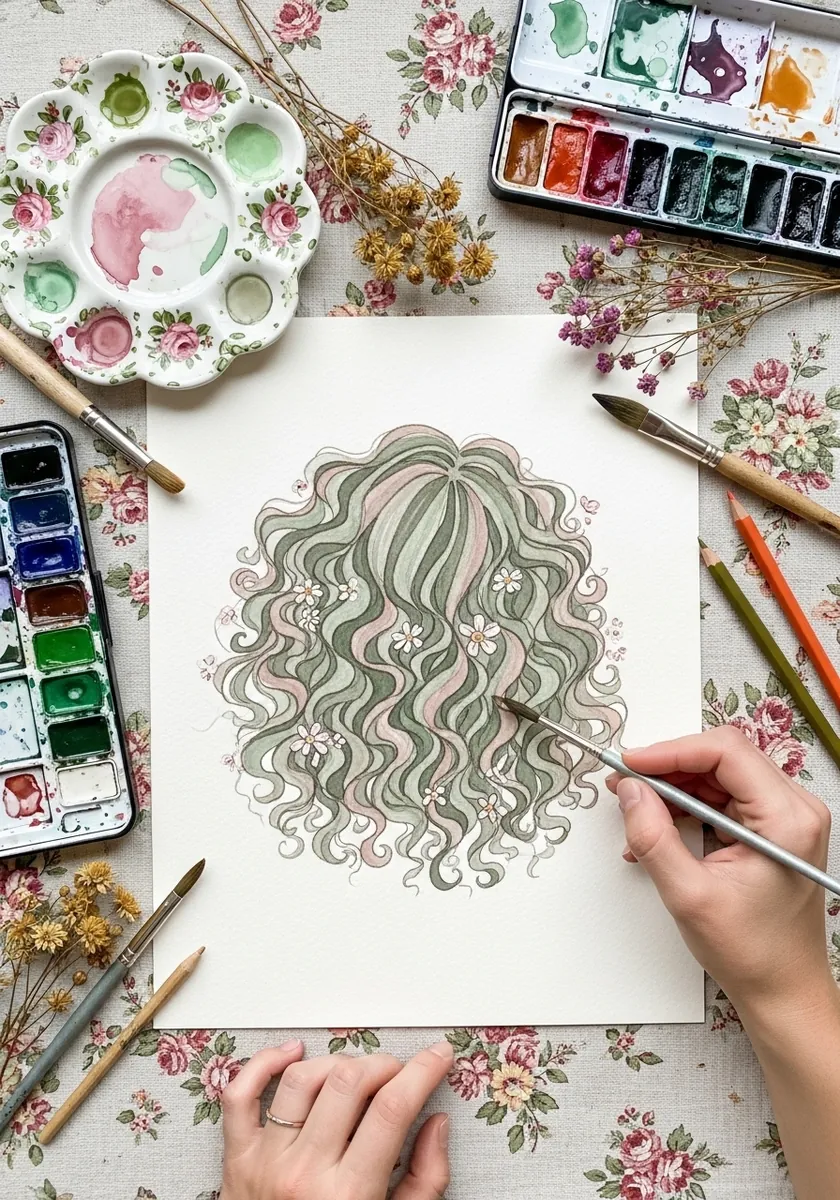
Ornament works when it follows the flow rather than sitting on top of it. Draw the curl masses first with their natural direction, then tuck the flowers into the gaps where two clumps meet, which is exactly where real flowers would catch.
11. Bold Two-Tone Impasto Curls
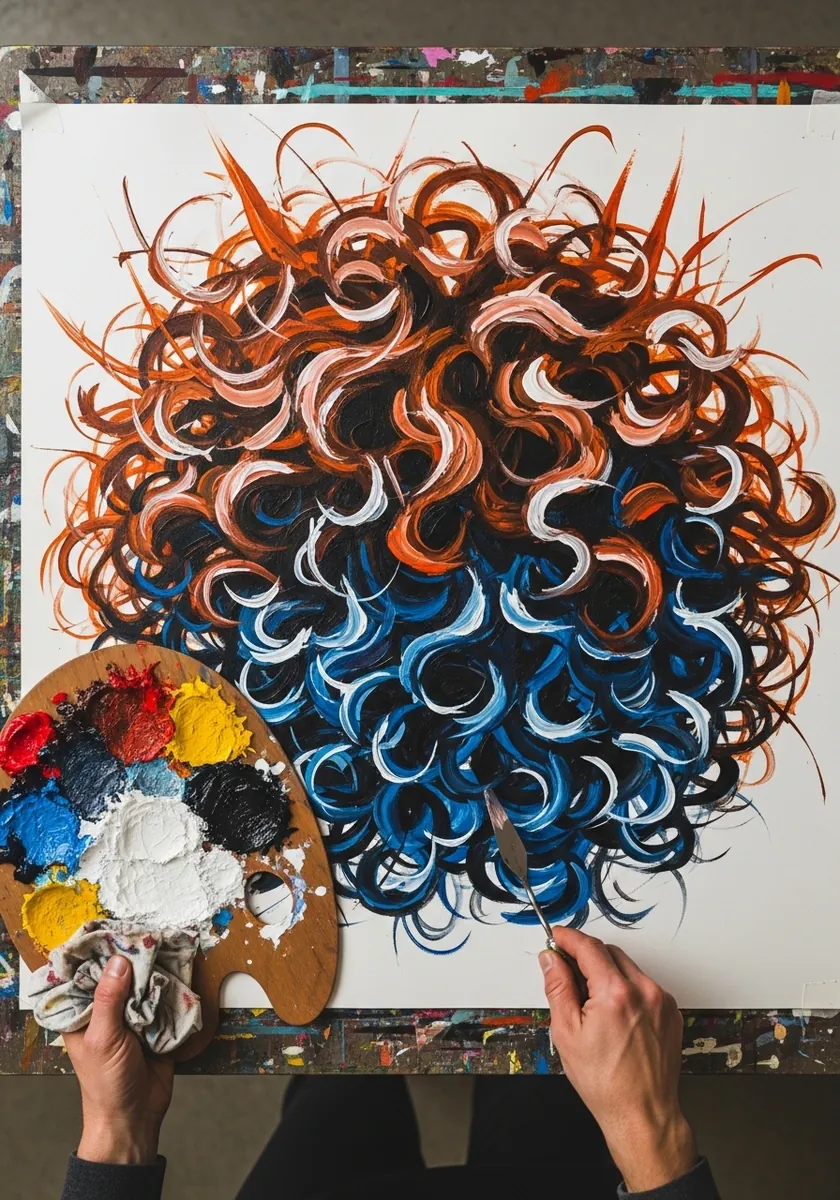
An ombre works best when the color transition follows the hair’s own structure rather than ignoring it. Change color at a clump boundary instead of blending mid-curl, so the eye reads two distinct masses stacked on each other. Every knife stroke should follow the direction its own spiral travels.
12. Stippled Portrait with Curly Bob
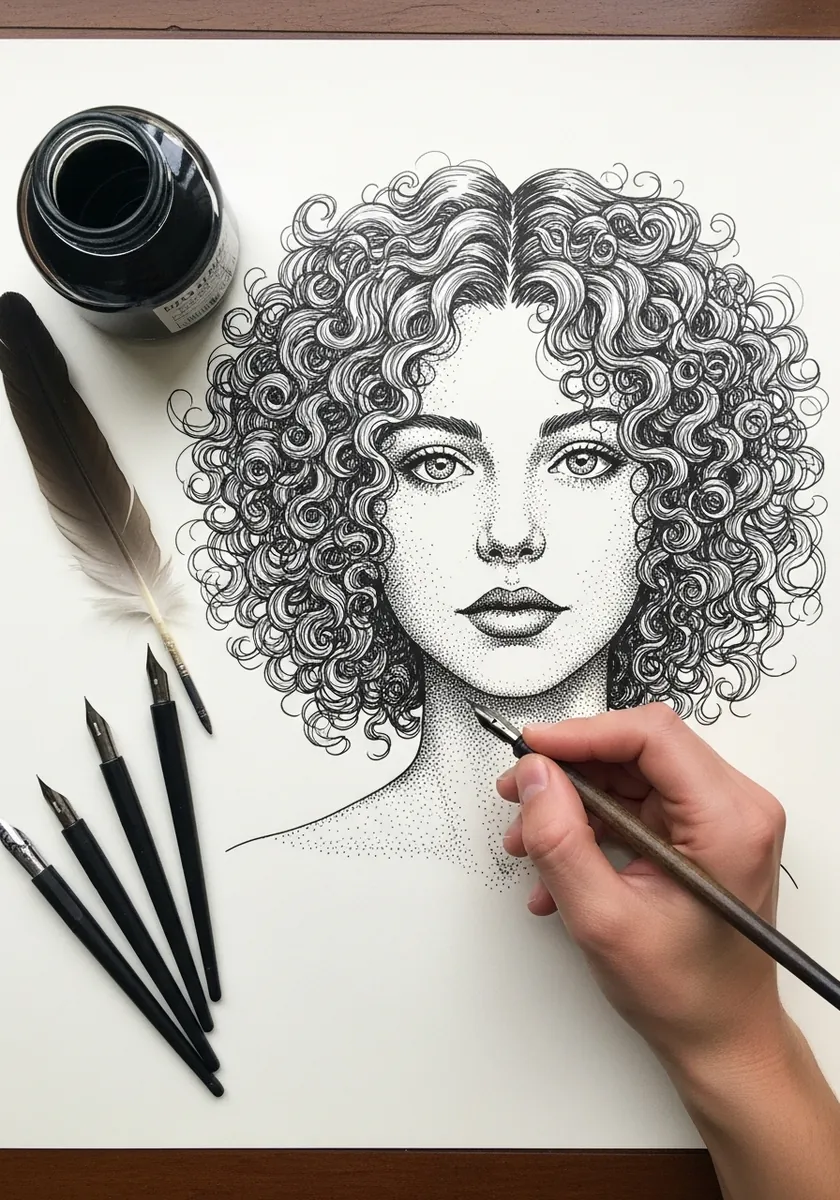
Stippling forces genuine value discipline. Build the deep gaps between clumps with dense dots, keep the outer lit curls almost bare, and let the density fade gradually between the two. Never outline a curl, because the density change alone defines it.
13. Clean Line Wavy Hair Study
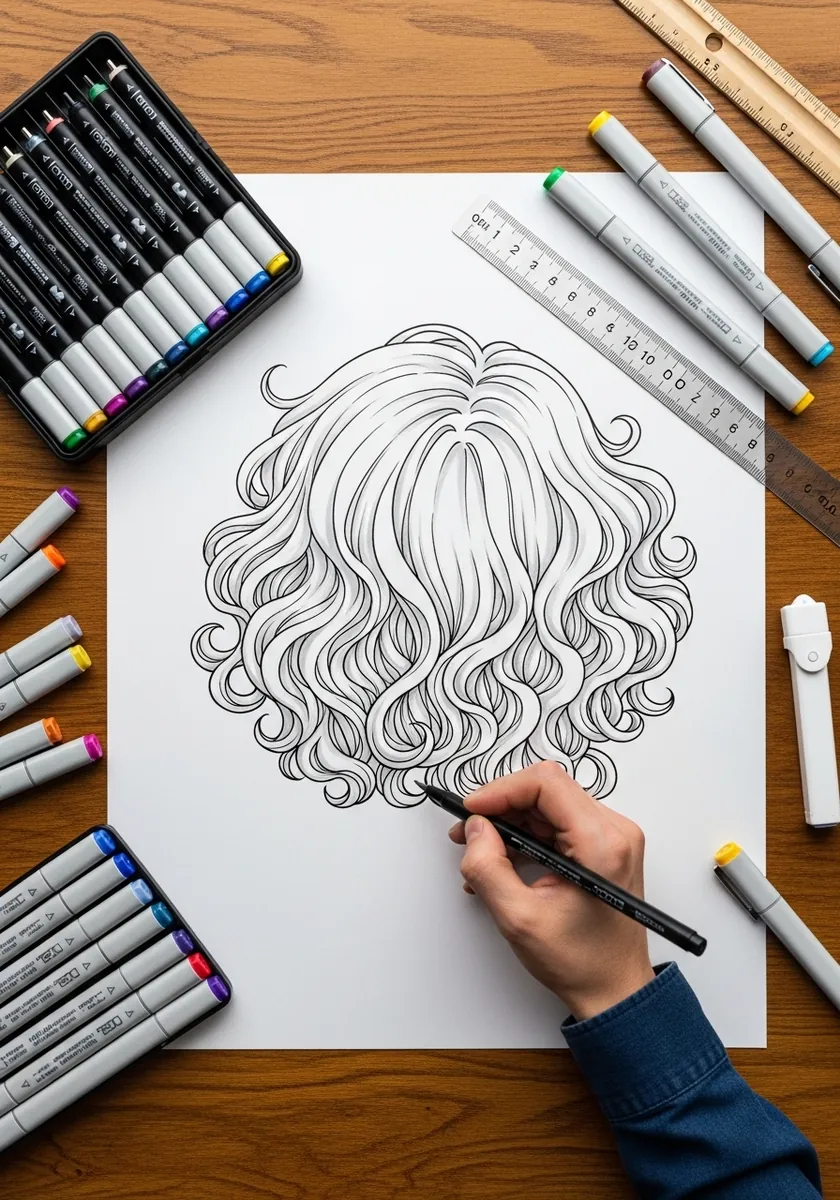
Removing the face removes every distraction. With only line available, the curls have to be described by their direction alone, so trace each group back to the parting and let the lines fan outward from there in a believable growth pattern.
14. Street Art Curls in Pink and Yellow
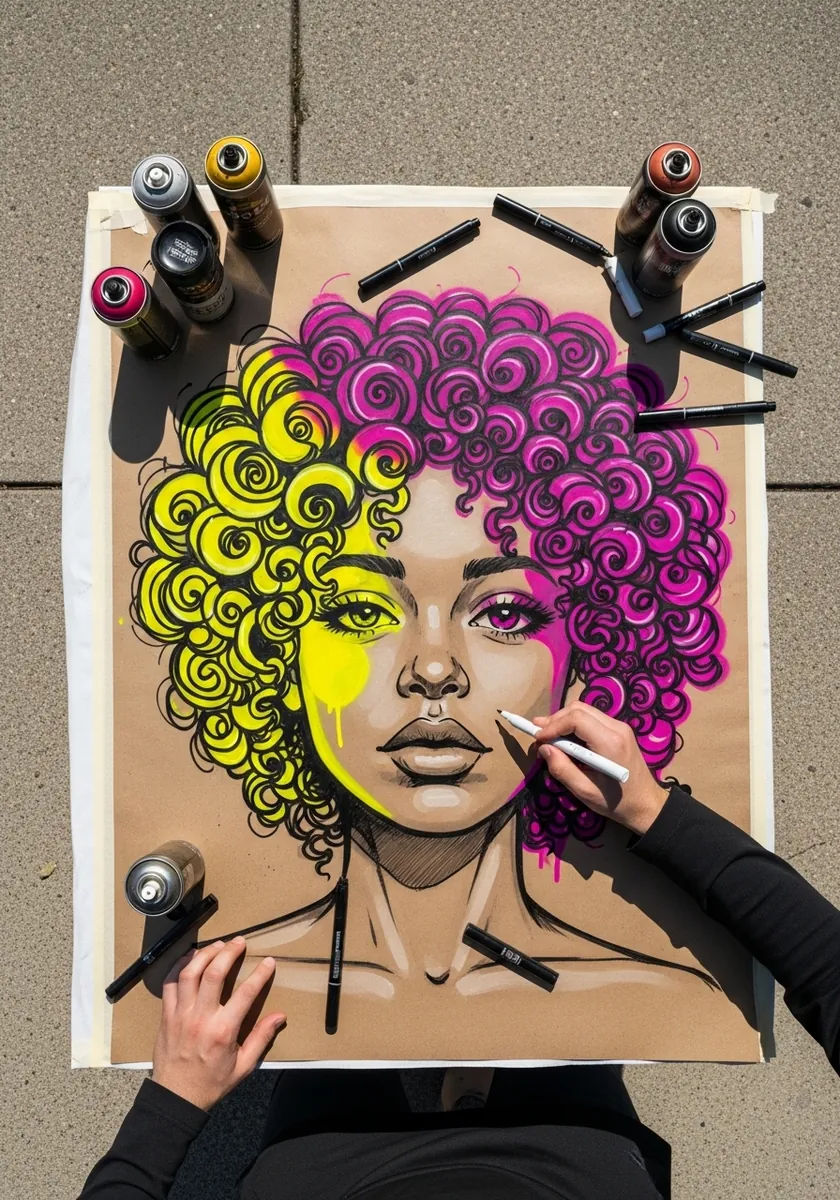
Kraft paper gives you a mid tone to work both ways from. Lay the flat pink and yellow curl masses first, then add the black keyline last so it sits cleanly on top. Splitting the face color down the middle echoes the two hair colors.
15. Low Poly Curly Portrait
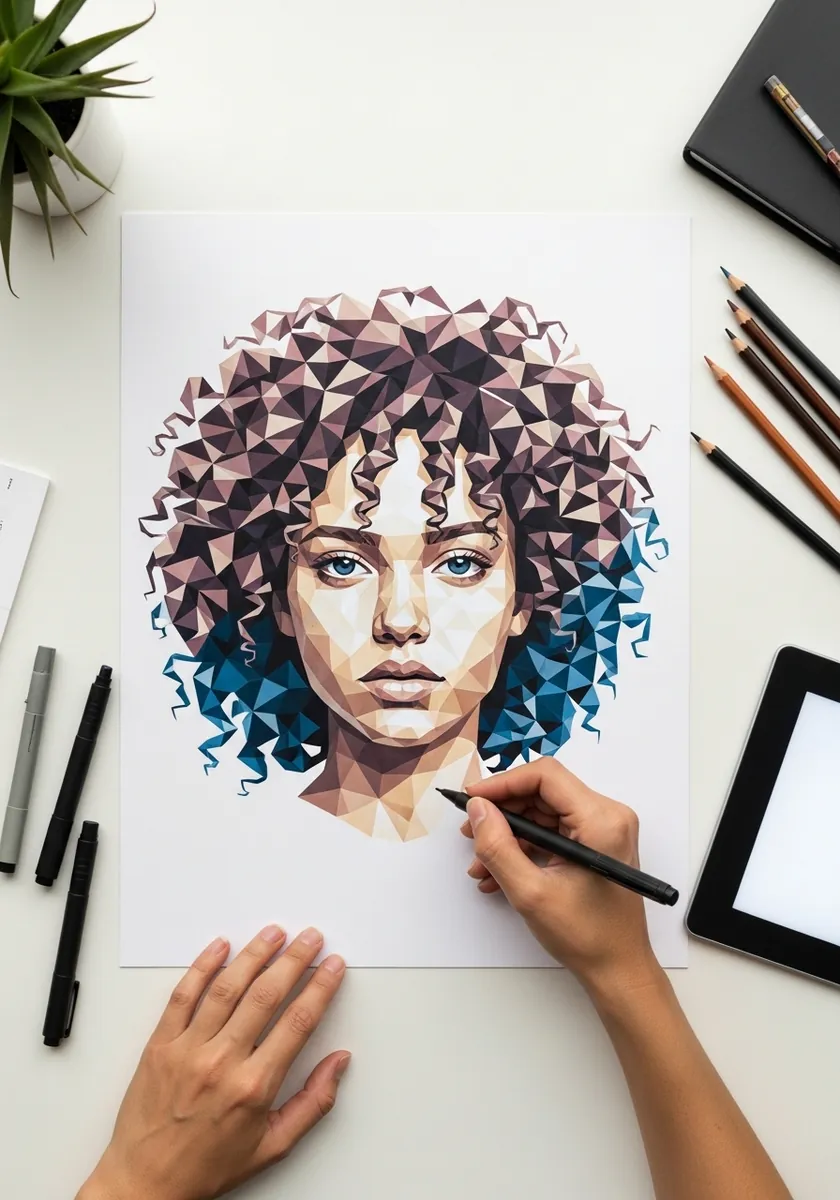
Faceting something as soft as curls is a deliberate contradiction, and that tension is what makes it interesting. Draw the portrait normally in light pencil first, then lay the triangle map over the top, keeping the facets smallest where the curls turn fastest around the outer silhouette of the head.
16. Curls Woven with Ferns and Leaves
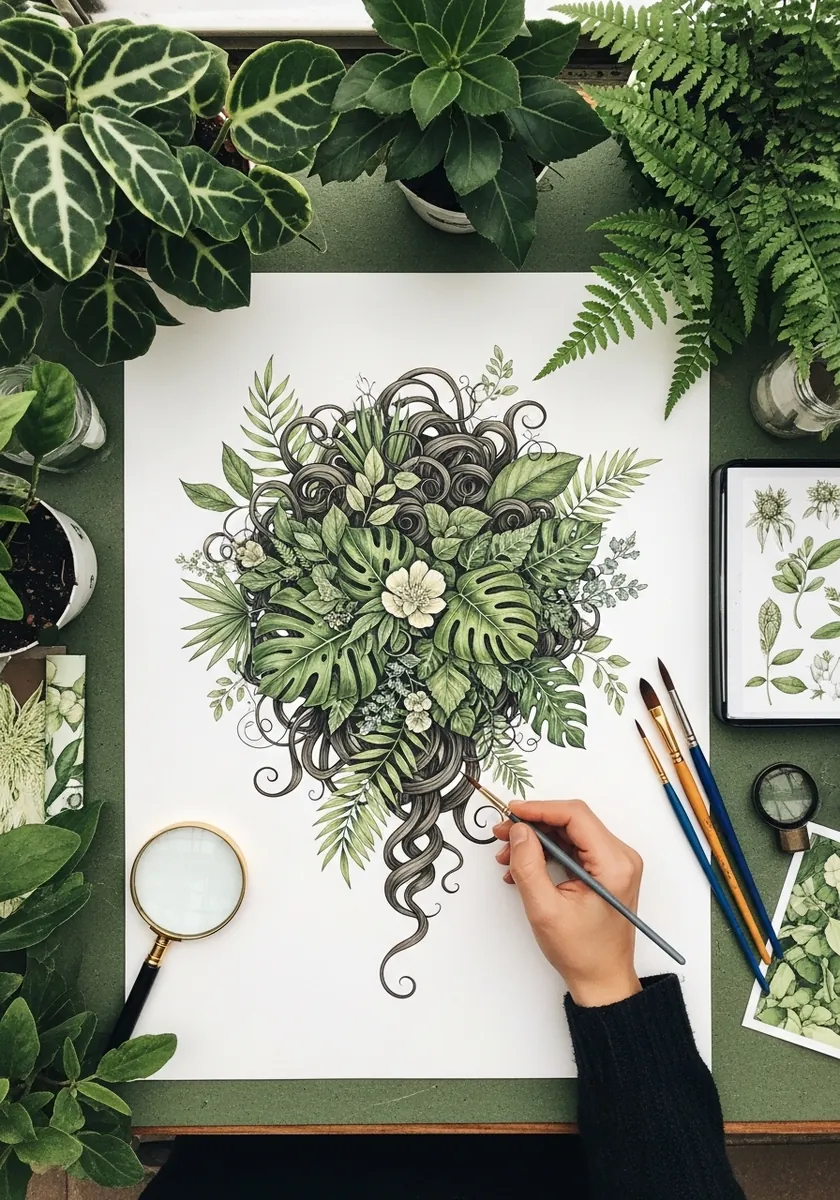
Hair and foliage share the same clumping logic, which is why this combination works so naturally. Alternate a curl group with a leaf group all the way around, and let a few tendrils of each type cross into the other’s territory. The leaf structures are worth practicing separately.
17. Minimal Outline Curls with No Face
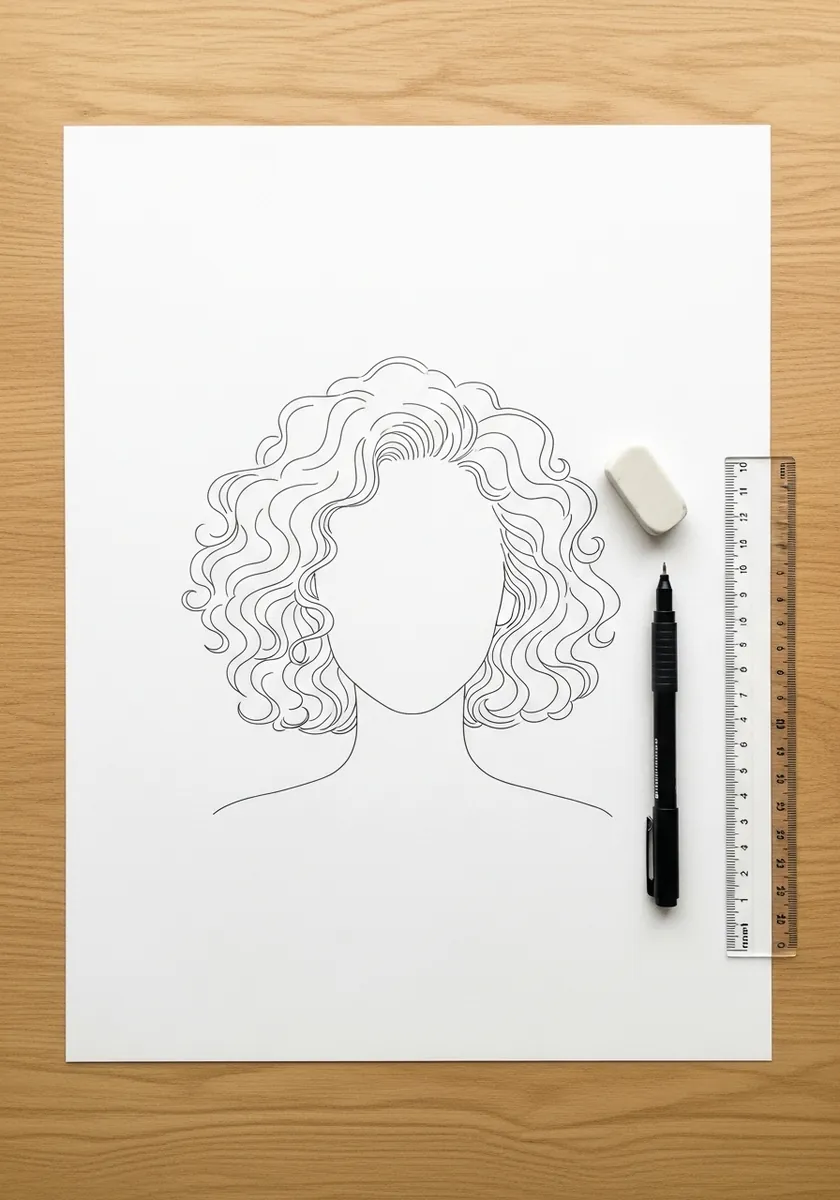
Leaving the face completely empty is a strong compositional choice rather than an unfinished one. It forces every bit of character into the hair, so the curl rhythm and the irregular outer edge have to carry the entire drawing on their own.
18. Vintage Pin Up Curls in Sepia
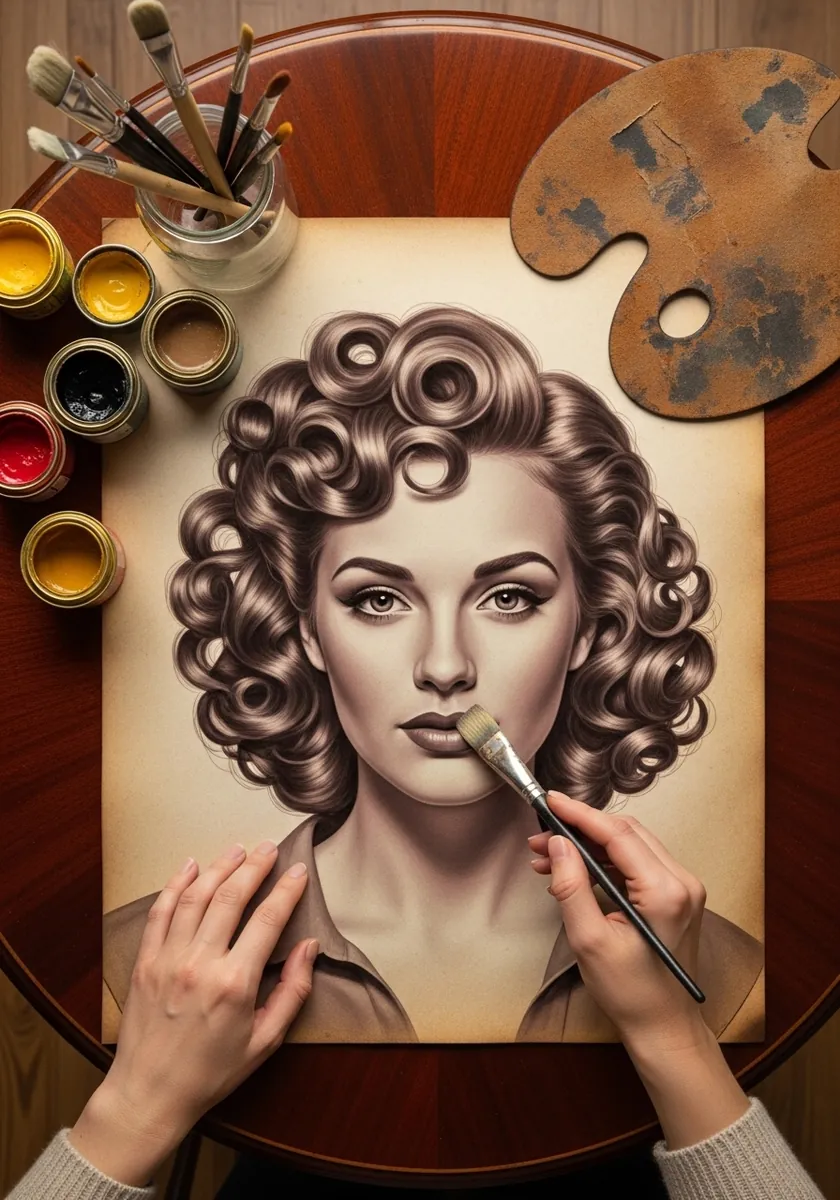
Set curls behave differently from natural ones. They are arranged into deliberate rolls and waves, so each one becomes a smooth cylinder with a clear highlight running along its length. Precision matters far more here than in a loose natural style.
19. Magazine Collage Curl Mass
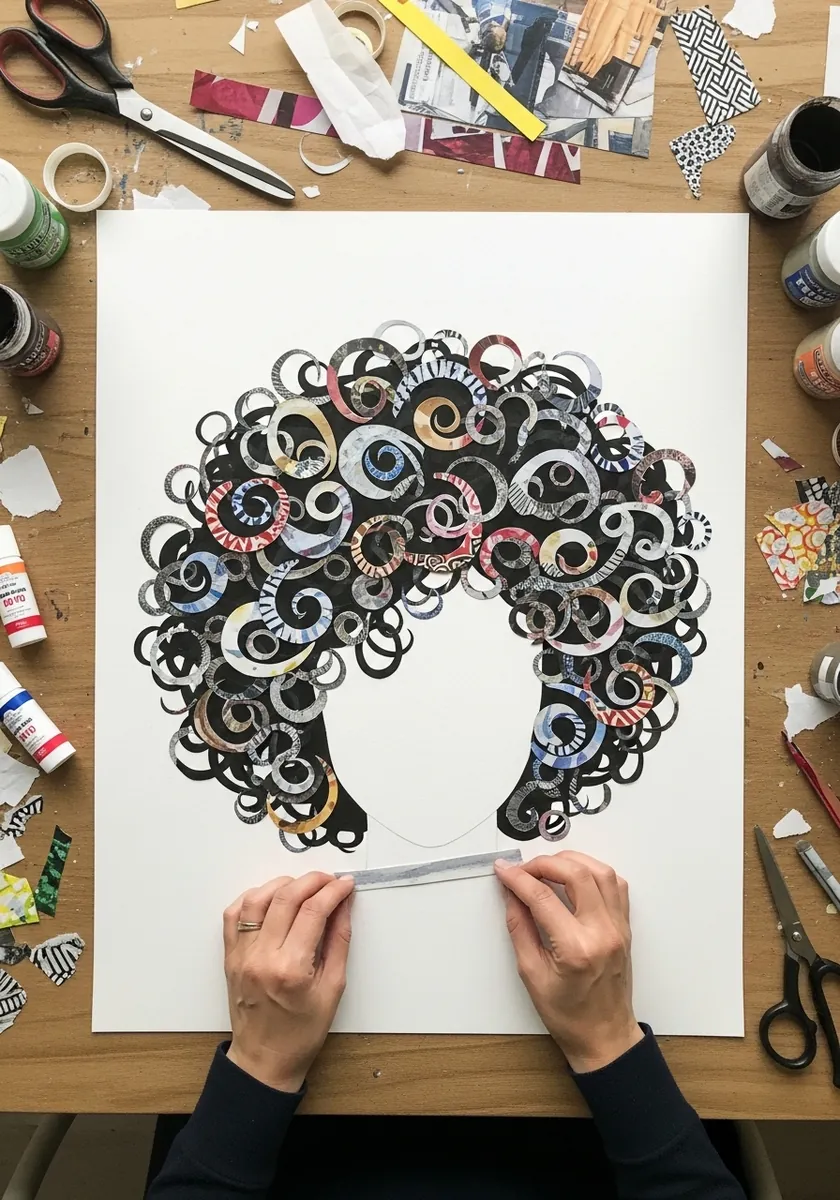
Collage teaches you to see hair as shapes rather than as lines, which is exactly the lesson most beginners need. Cut dozens of small circles and crescents from printed paper, then arrange them in overlapping clumps. Because you cannot draw a single strand, the clump structure becomes completely unavoidable.
20. Orange Marker Curls with Closed Eyes
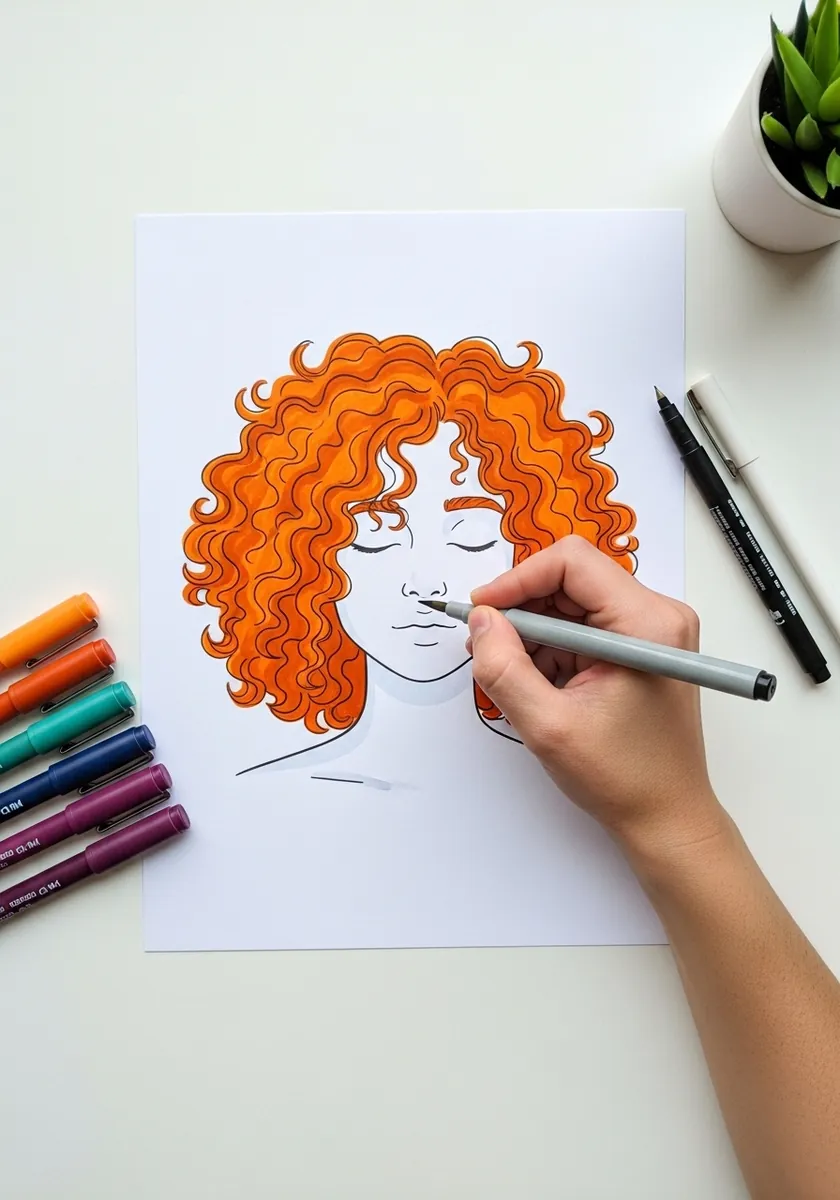
Markers demand one continuous pass per area or they streak. Lay each curl clump in a single stroke while the ink is still wet at the edge, and ink the outline first with a waterproof pen so the marker solvent cannot dissolve it.
21. Textured Oil Curls in Profile
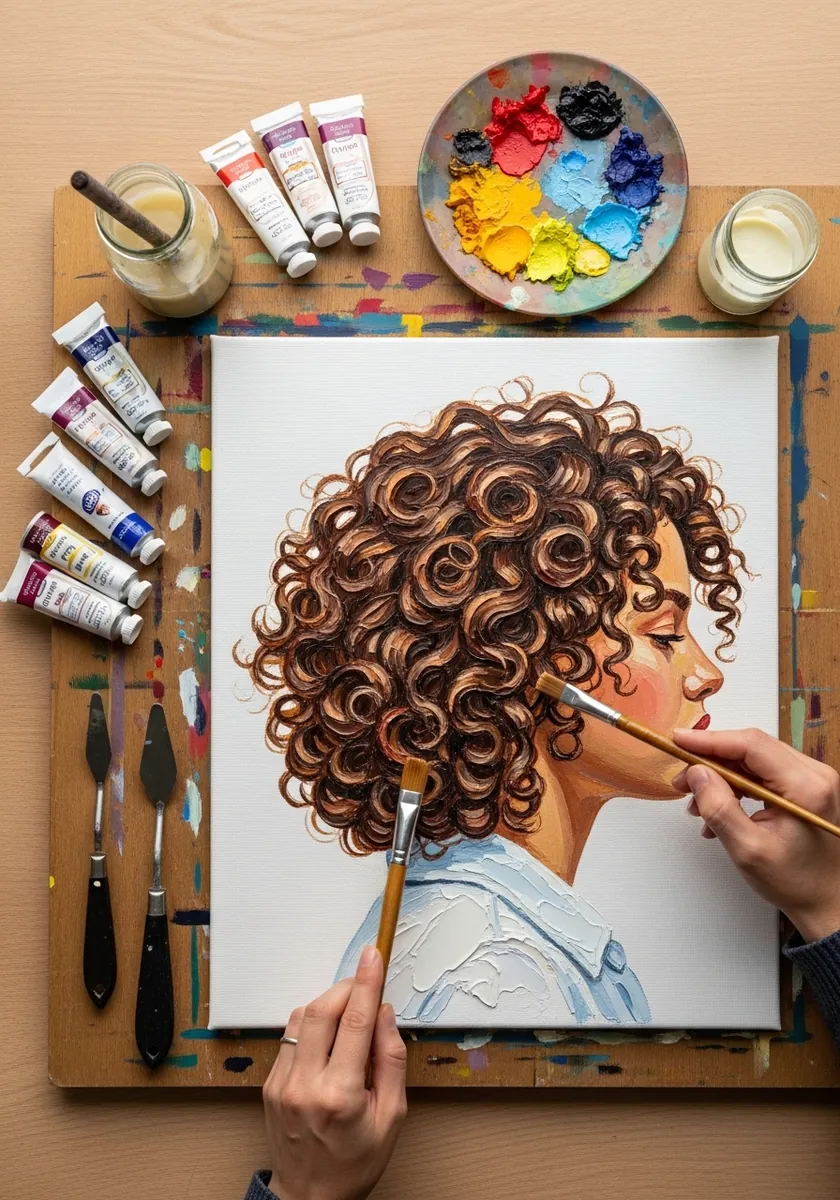
A profile view shows how hair sits on the skull. Follow the curve of the head with the outer edge of the hair mass, keeping the volume thickest at the back where curls pile up, and let the ear anchor the whole arrangement in place.
22. Ornate Doodle Curls with Patterns
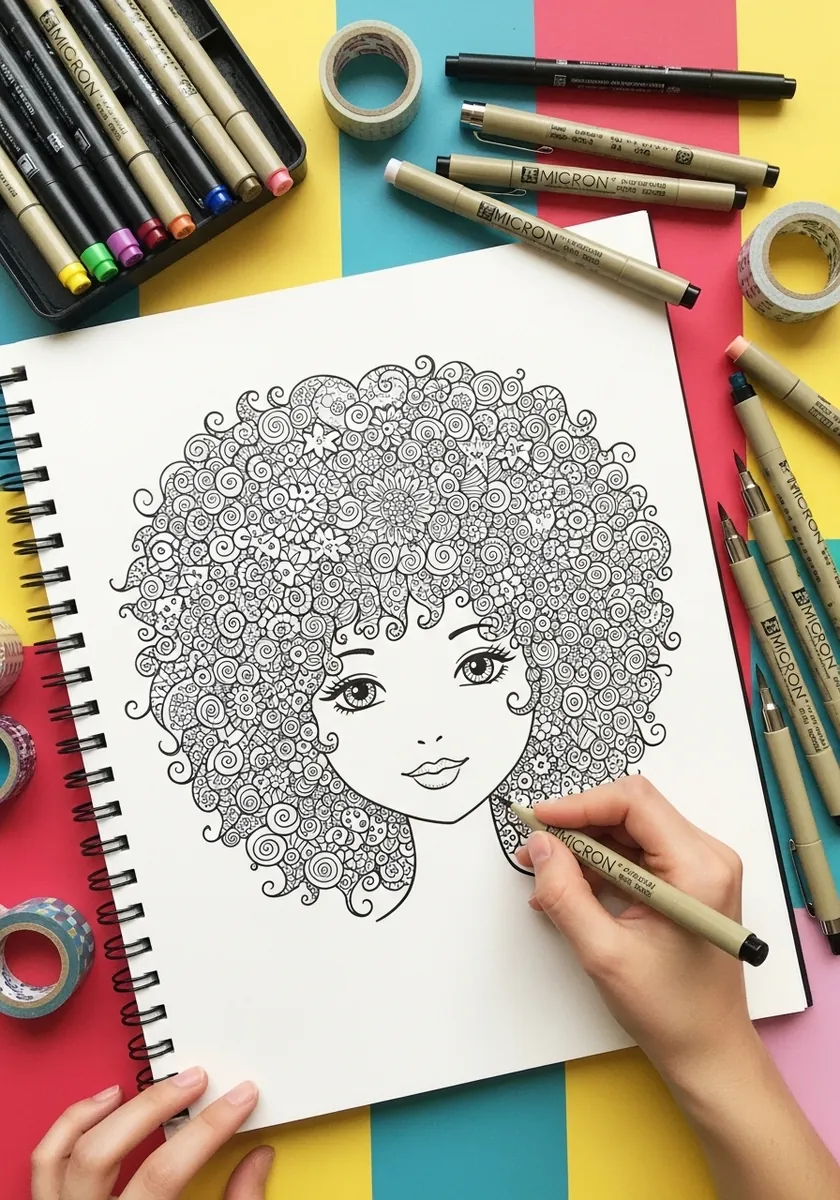
Pattern replaces tone entirely in this approach, so the structure has to come from somewhere else. Outline each curl clump firmly first, then fill every one with a different repeating motif while keeping your line weight identical throughout. Consistency of line is what holds a densely patterned drawing together.
23. Ocean Wave Hair in Teal
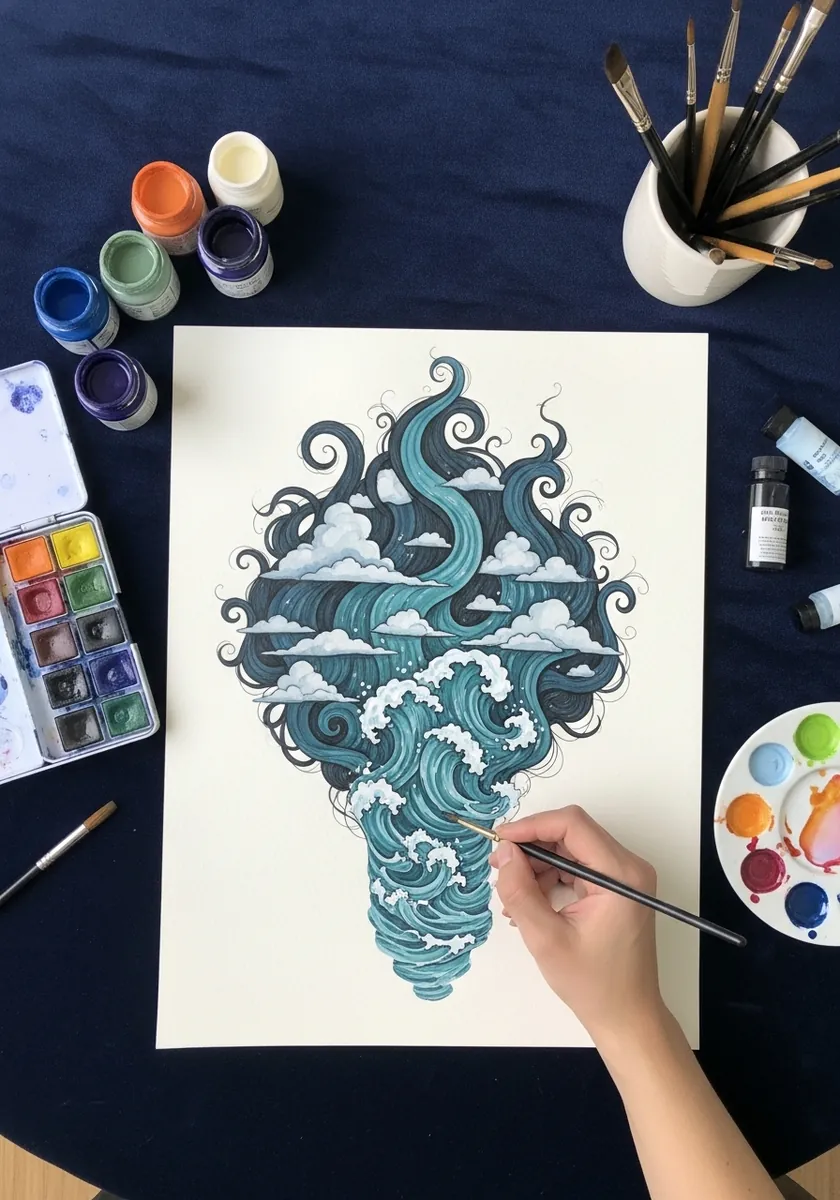
Waves and curls are the same spiral shape at a different scale, which is why this substitution reads so easily. Draw the hair mass as you normally would, then replace each clump with a curling wave crest complete with foam at its tip.
24. Abstract Curl Shapes in Retro Colors
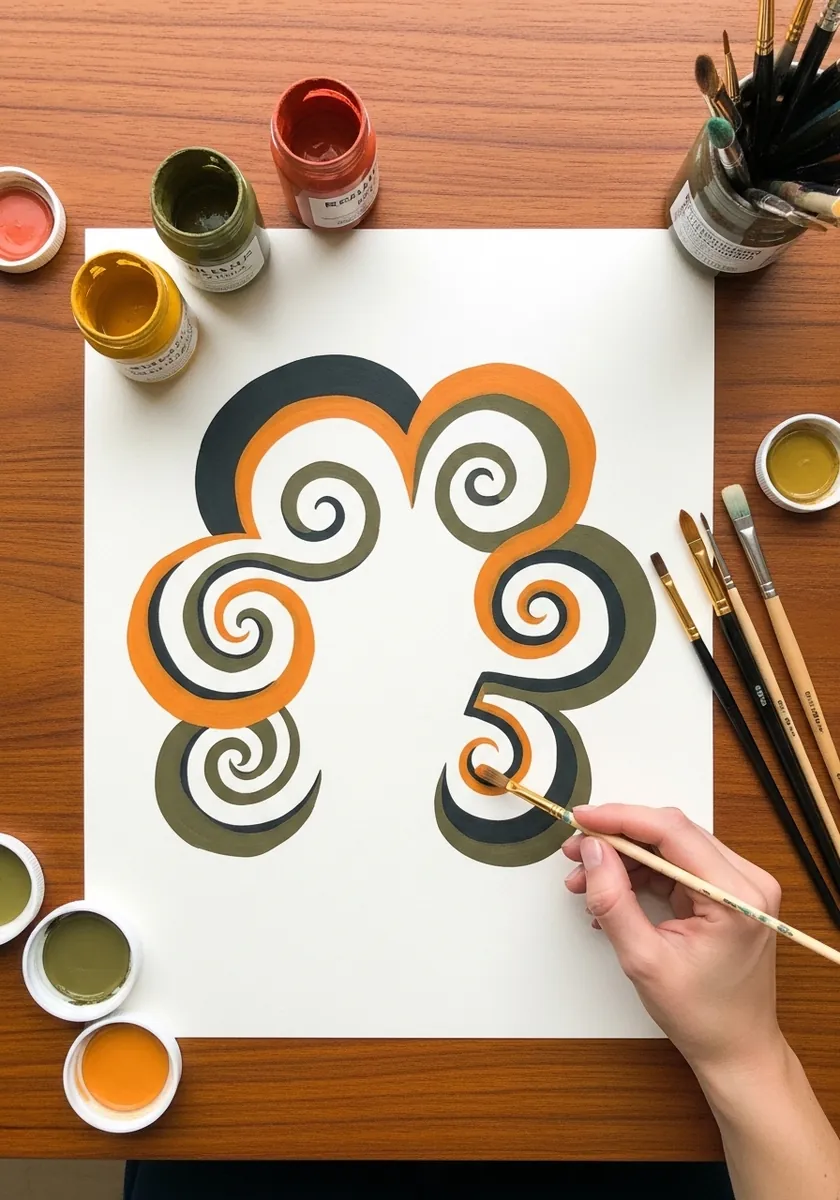
Reducing hair to five or six flat spirals is a genuinely useful test of what is essential. No face, no shading, no line variation, just interlocking curved shapes in two colors. If the silhouette still reads unmistakably as hair, your shape language is working exactly as it should be.
25. Pixel Art Curly Portrait
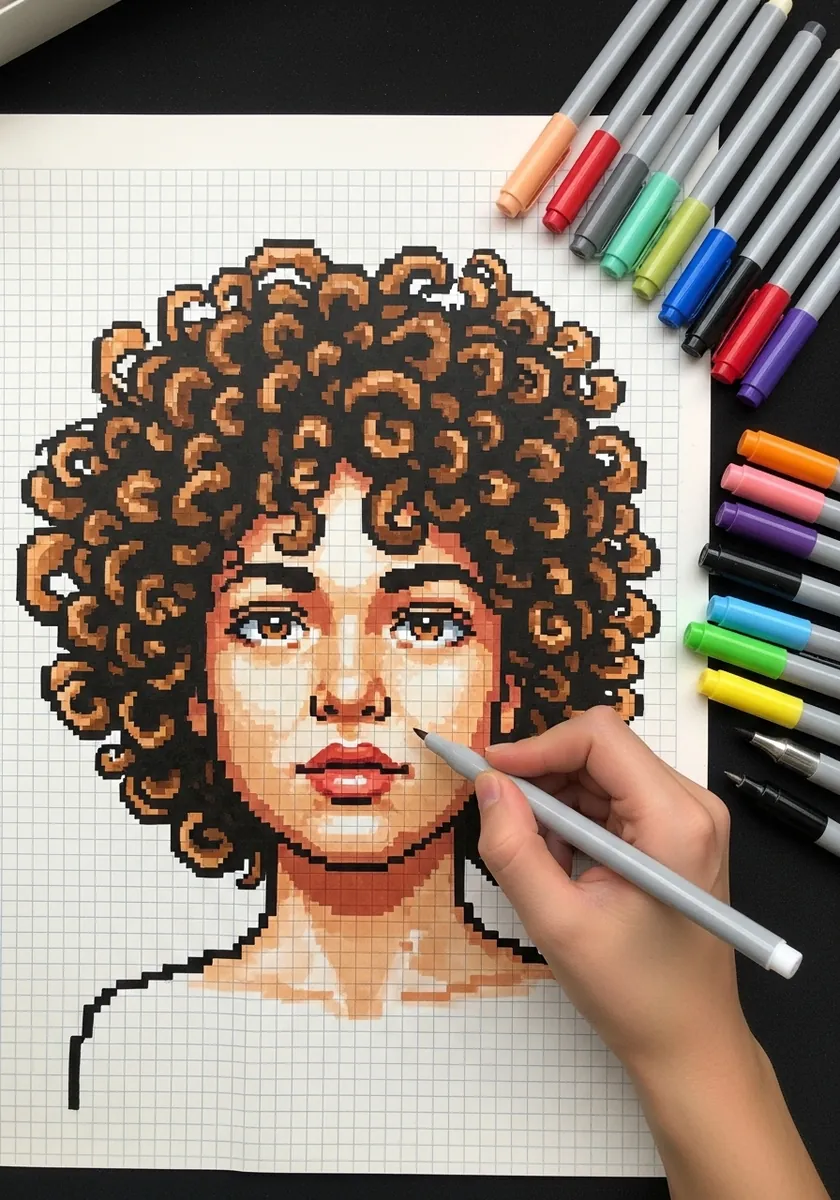
A grid forces radical simplification, which is precisely why it is such a good exercise. Work in whole squares only, restrict the hair to three values at most, and put the darkest value in the gaps between clumps. Even at this coarse resolution the clump structure stays completely readable.
26. Pink and Gold Flowing Curls
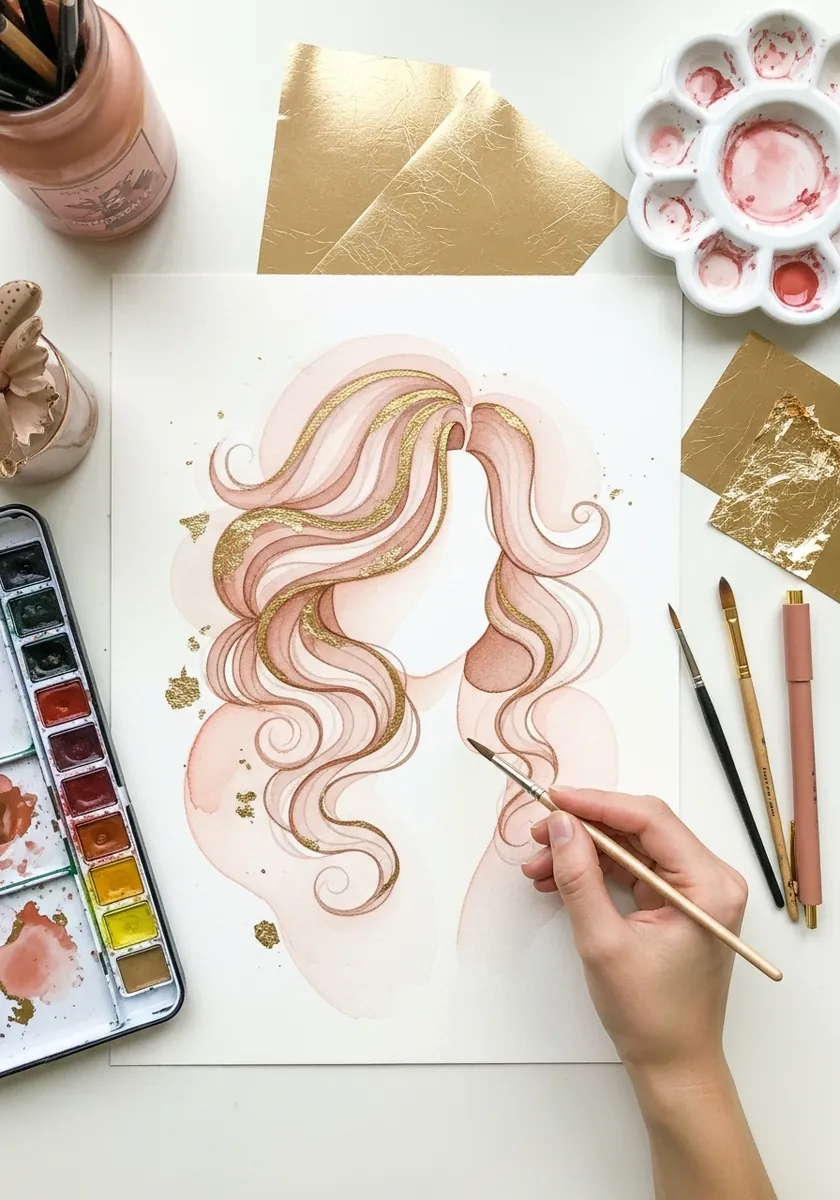
Metallic accents need restraint to stay precious. Paint the curl masses in soft pinks with proper light and shadow, then apply gold to only two or three of the lit outer edges. Gold along every curl would flatten the whole thing instantly.
27. Folk Art Curls in Rainbow Spirals
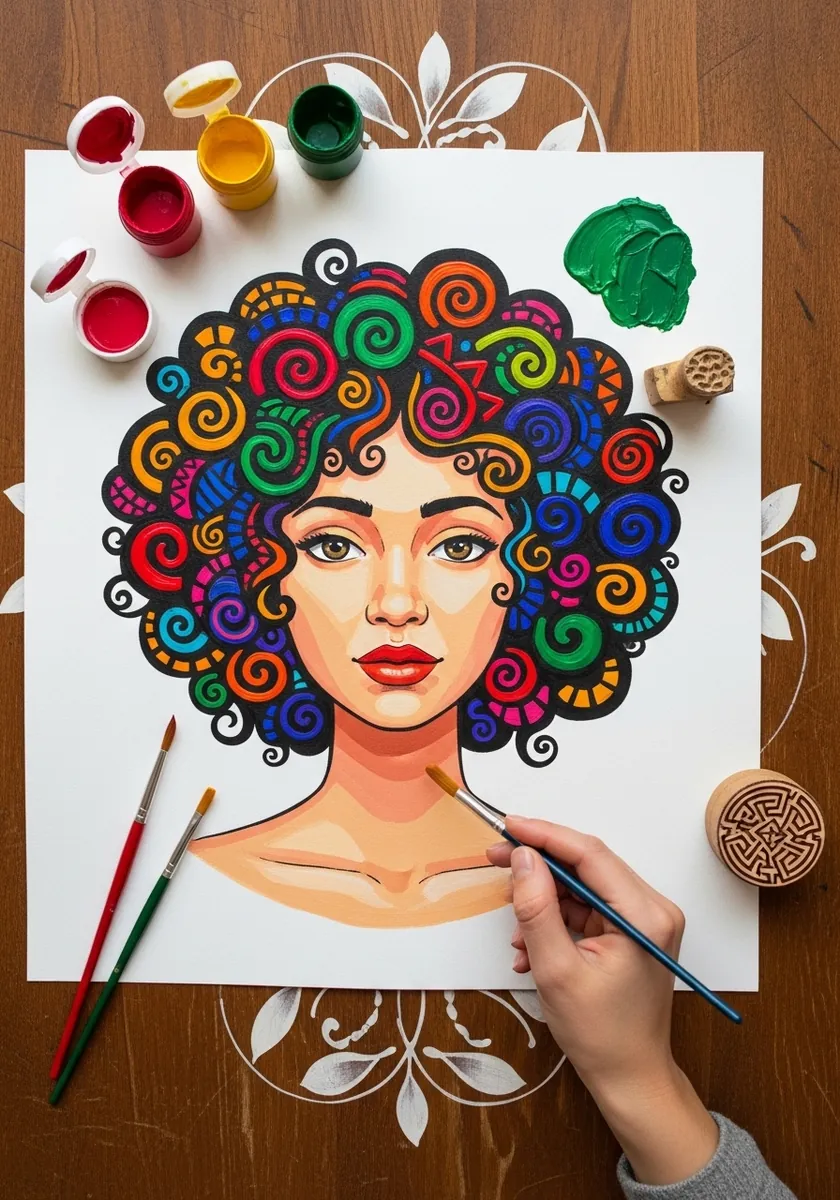
Folk decoration works by repeating a very small vocabulary of shapes. Use one spiral motif at three different sizes, rotate each one so it follows the hair’s natural growth direction, and keep every color completely flat so the piece stays decorative rather than turning atmospheric.
28. Curls with Roses in Fine Line
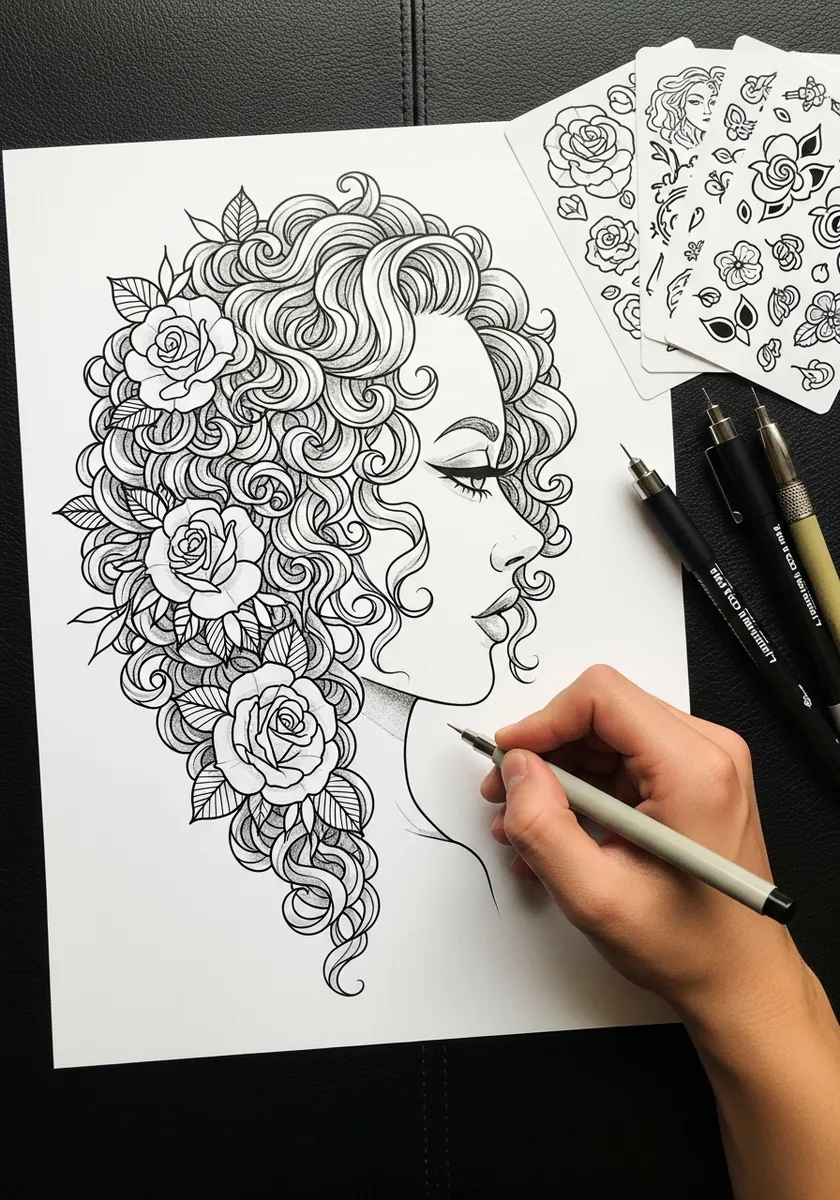
Two subjects need a clear hierarchy. Draw the roses at full detail and keep the hair slightly looser, so the eye lands on the flowers first and then travels through the curls. Reversing that balance makes the composition feel cluttered.
29. Manga Curls with Speed Lines
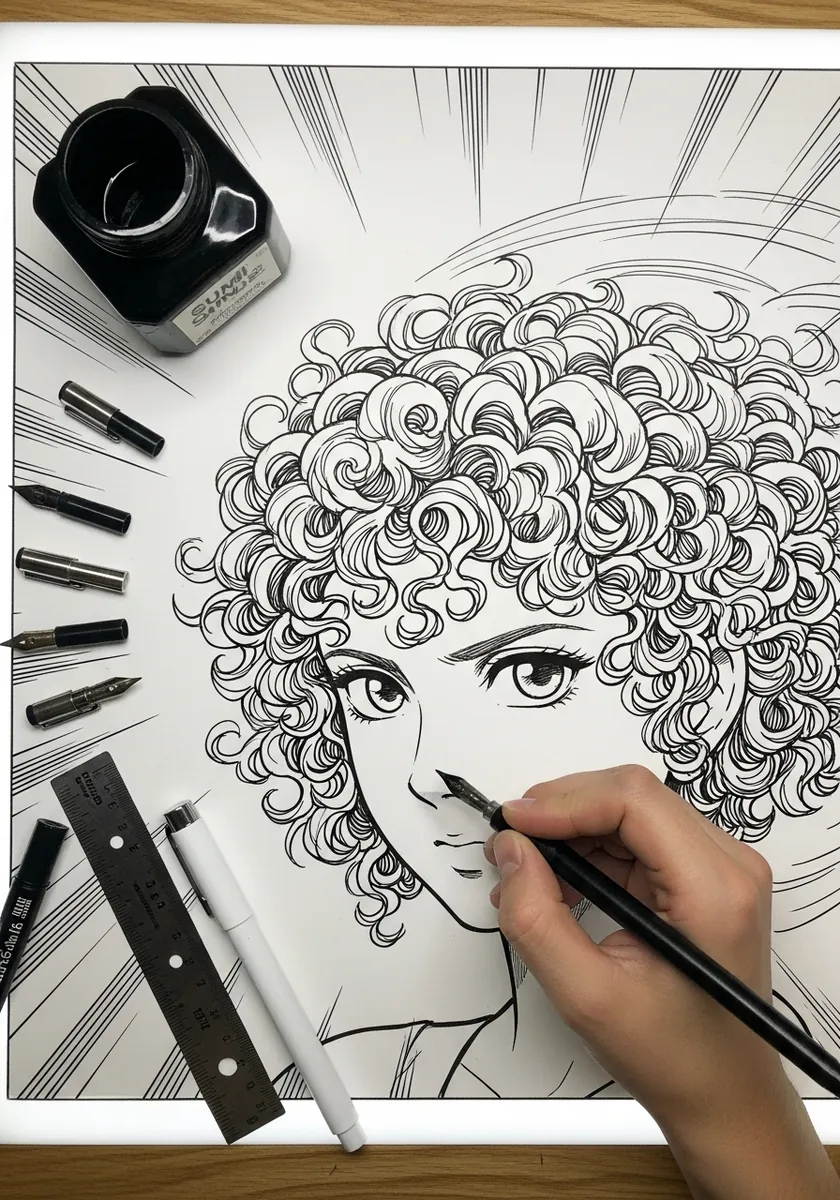
Manga hair exaggerates the clump method rather than abandoning it. Use fewer and larger curl groups with sharper points at their tips, then rule the speed lines from a single point behind the head so the hair clearly sits in front of all that motion instead of dissolving into it.
30. Boho Curls with Feathers and Beads
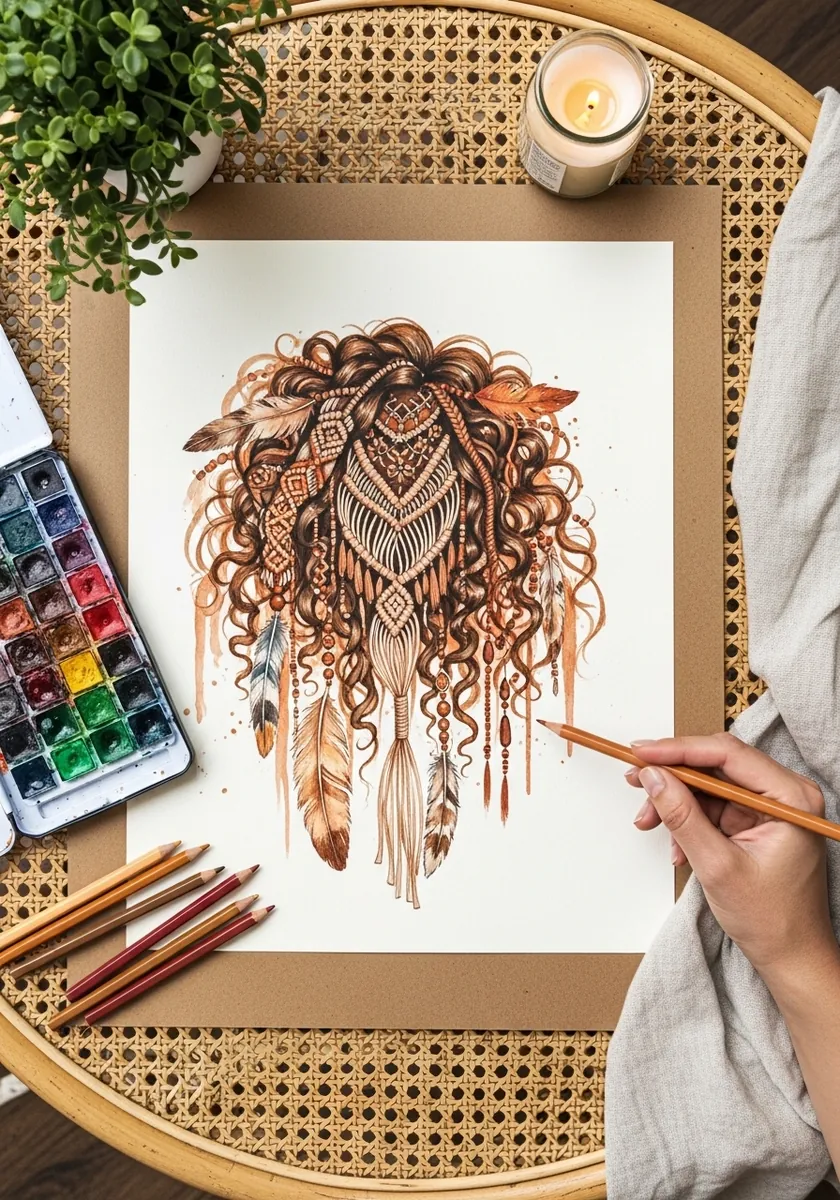
Hanging ornaments need believable anchor points or they look pasted on. Draw the curl masses first, then attach each feather or bead strand at a point where two clumps meet, and let them all hang straight down regardless of the curl direction so gravity stays consistent across the whole drawing.
31. Loose Multicolor Curl Swirls
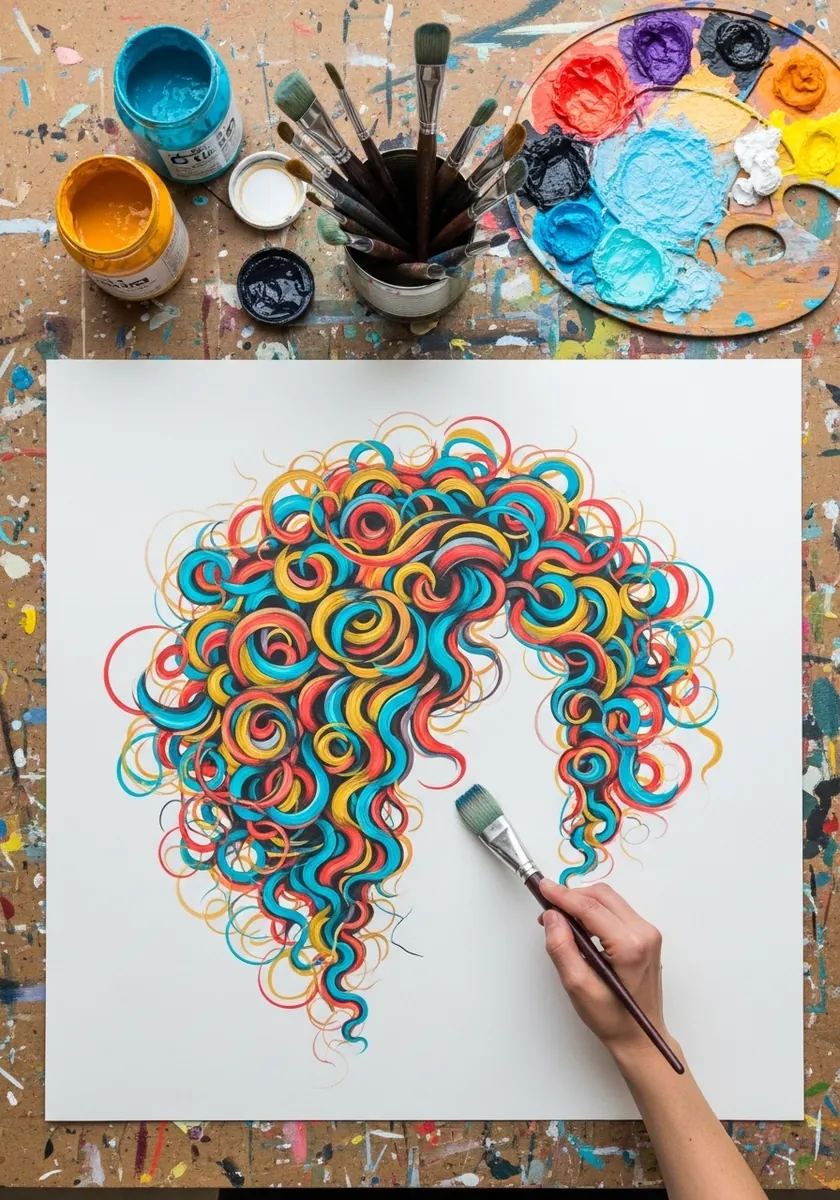
Speed matters more than accuracy in this one. Load the brush and lay each curl in a single fast twisting stroke, letting the colors cross and overlap. The energy of the mark is the subject rather than any anatomical correctness.
32. Realistic Colored Pencil Curls
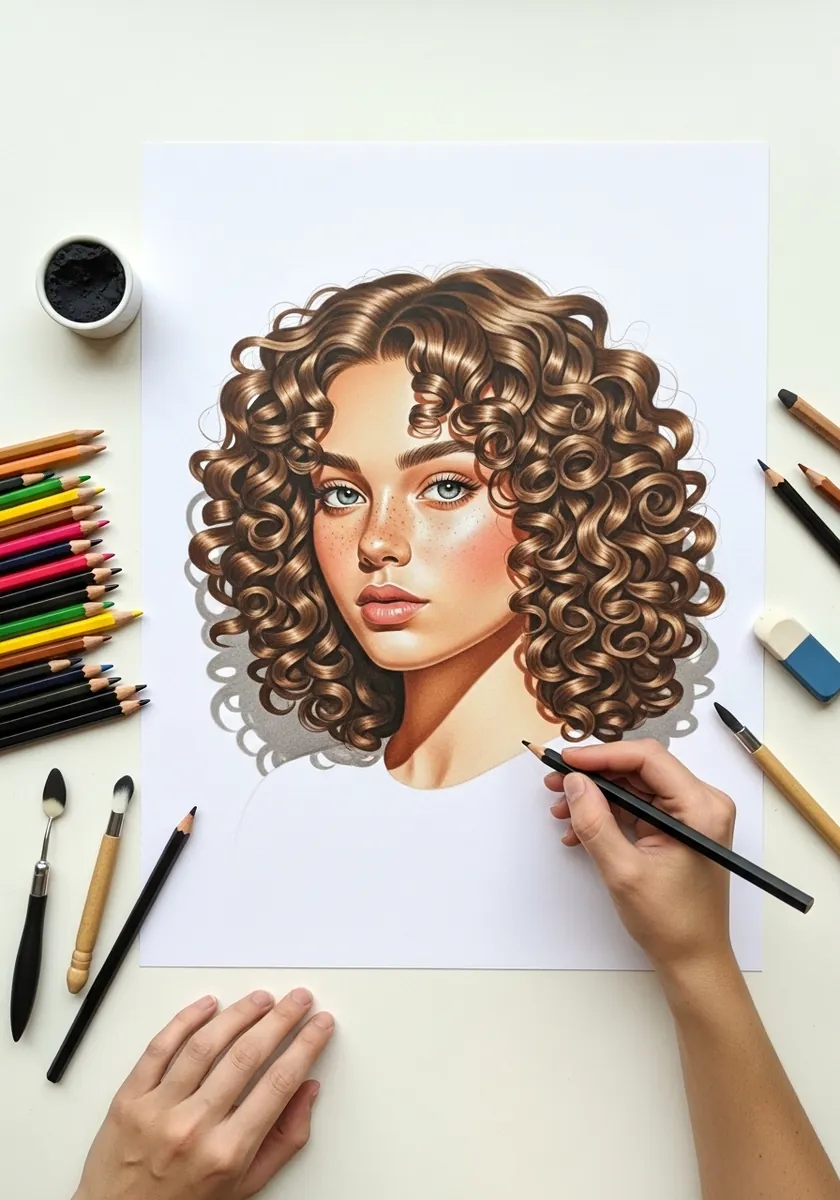
Glossy hair needs a broken highlight band. Run it across the outer surface following the curve of the skull, but break it wherever a curl turns away, because an unbroken highlight makes hair look like plastic rather than like individual spirals.
33. Mixed Media Curls with Collage Scraps
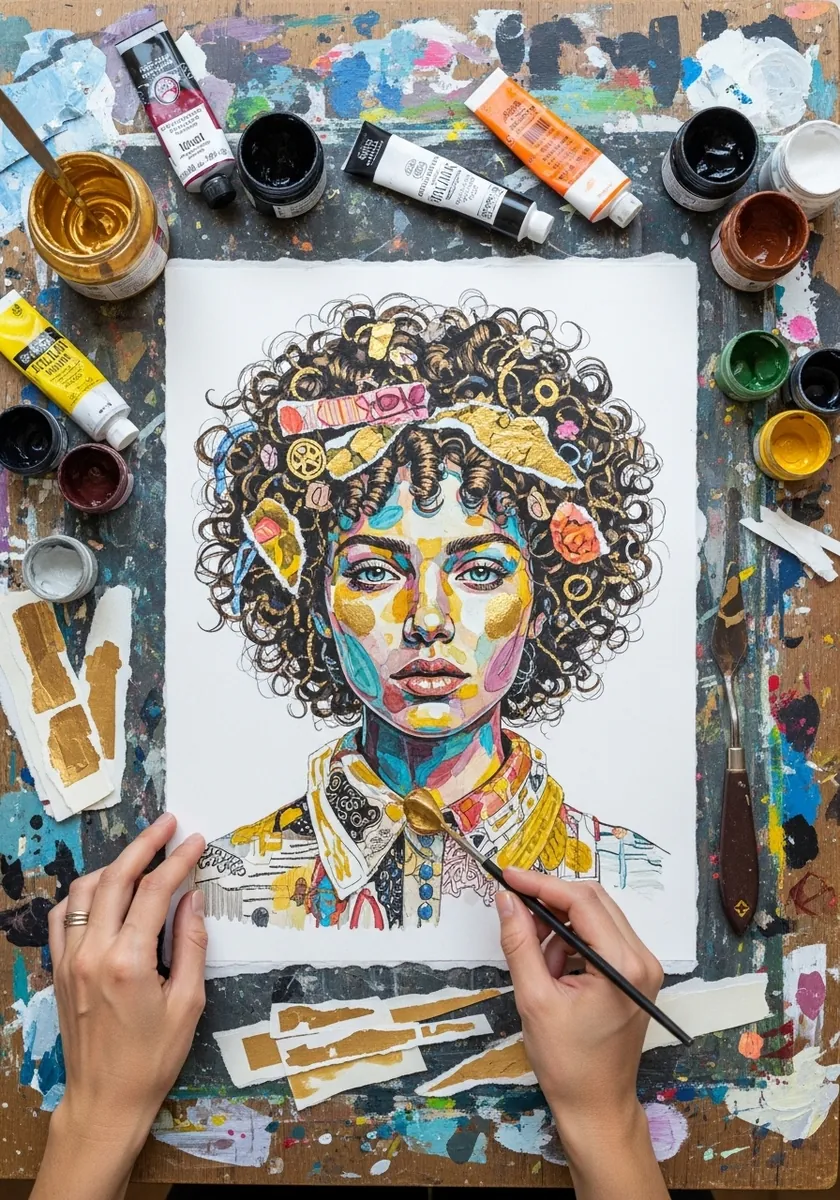
Combining two media works when each one has a clearly defined job to do. Let the collage scraps supply the flat color masses underneath and the ink supply all the curl definition on top. Keeping those two roles strictly separate is what stops the finished piece looking accidental rather than designed.
34. Fine Line Curls with No Shading
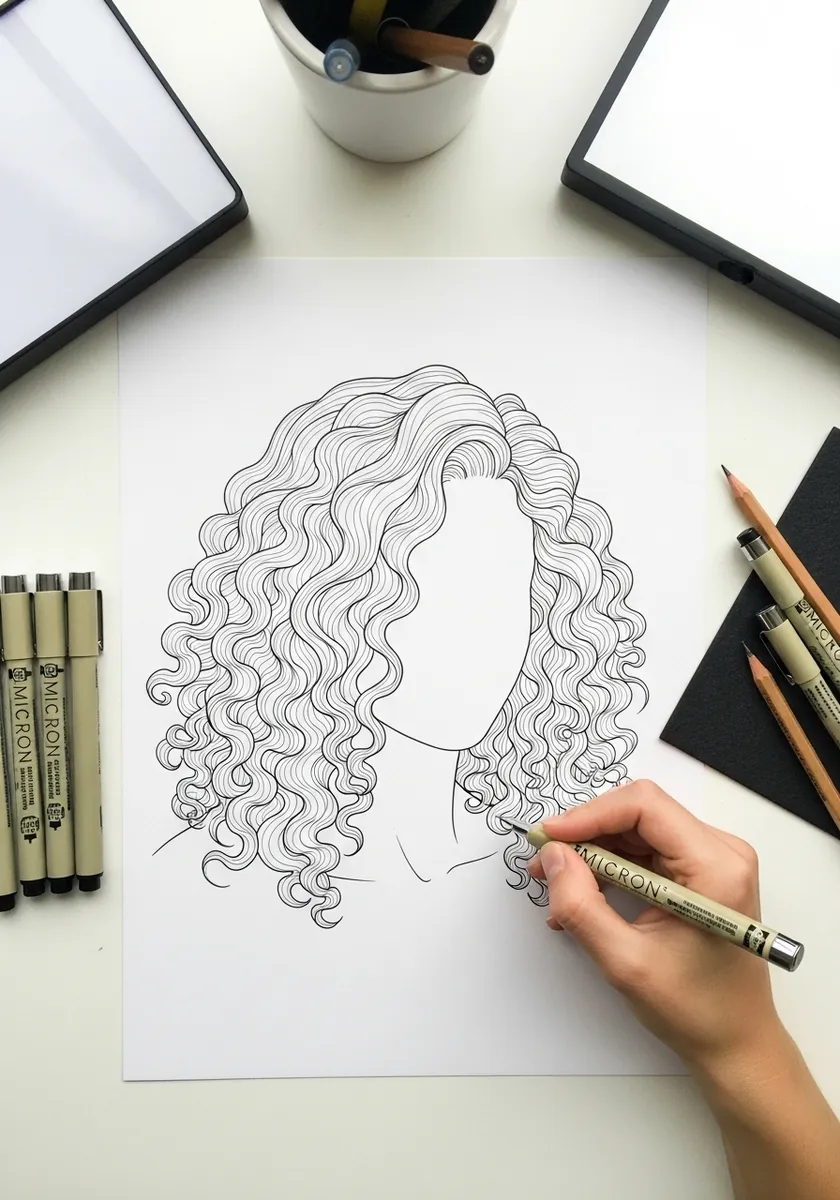
Pure line with no tone at all is the hardest version of this subject in the whole list. Every curl has to be described by its direction and spacing alone, so vary the gaps between your lines to imply where the darks fall rather than adding any actual shading anywhere on the page.
35. Cheerful Cartoon Curls in Marker
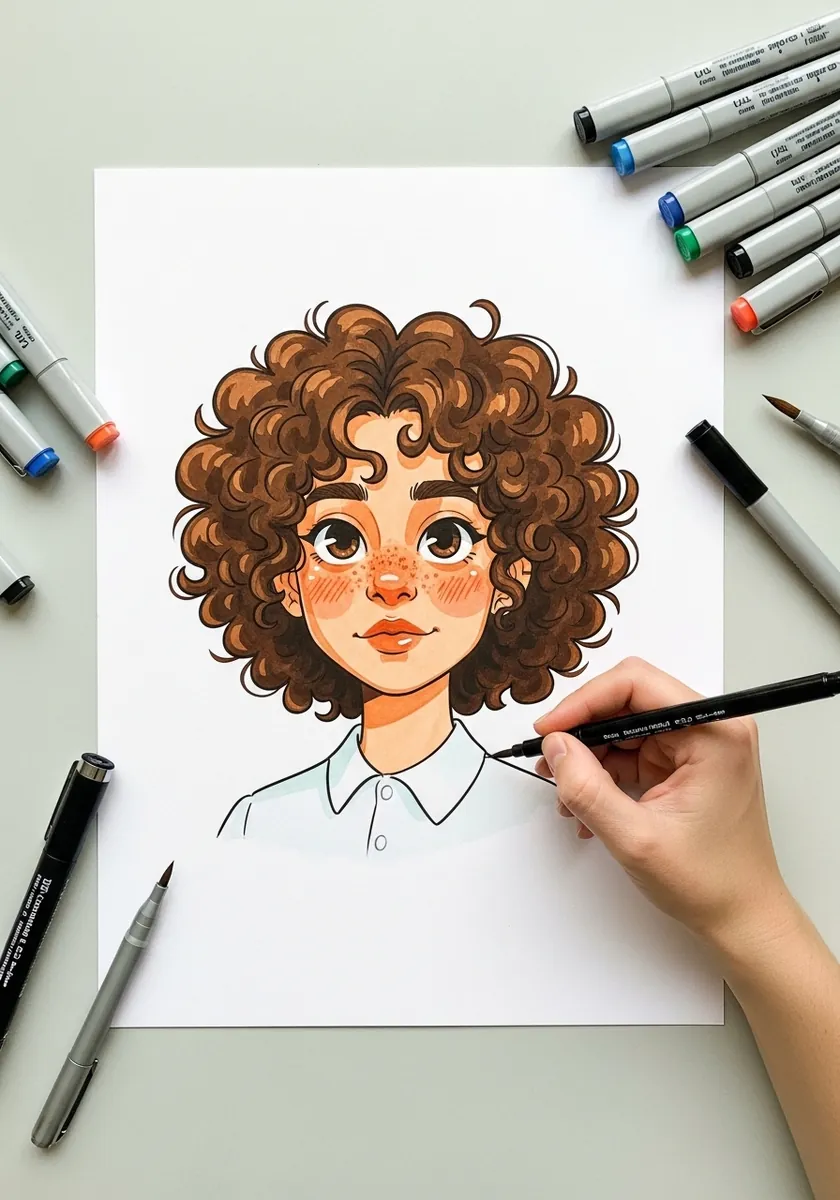
Cartoon hair simplifies to about eight visible clumps. Give each one a rounded outer bump and a small dark notch where it meets its neighbour, and add freckles across the nose to keep the face from disappearing under all that volume.
36. Calligraphy Curls Made of Words
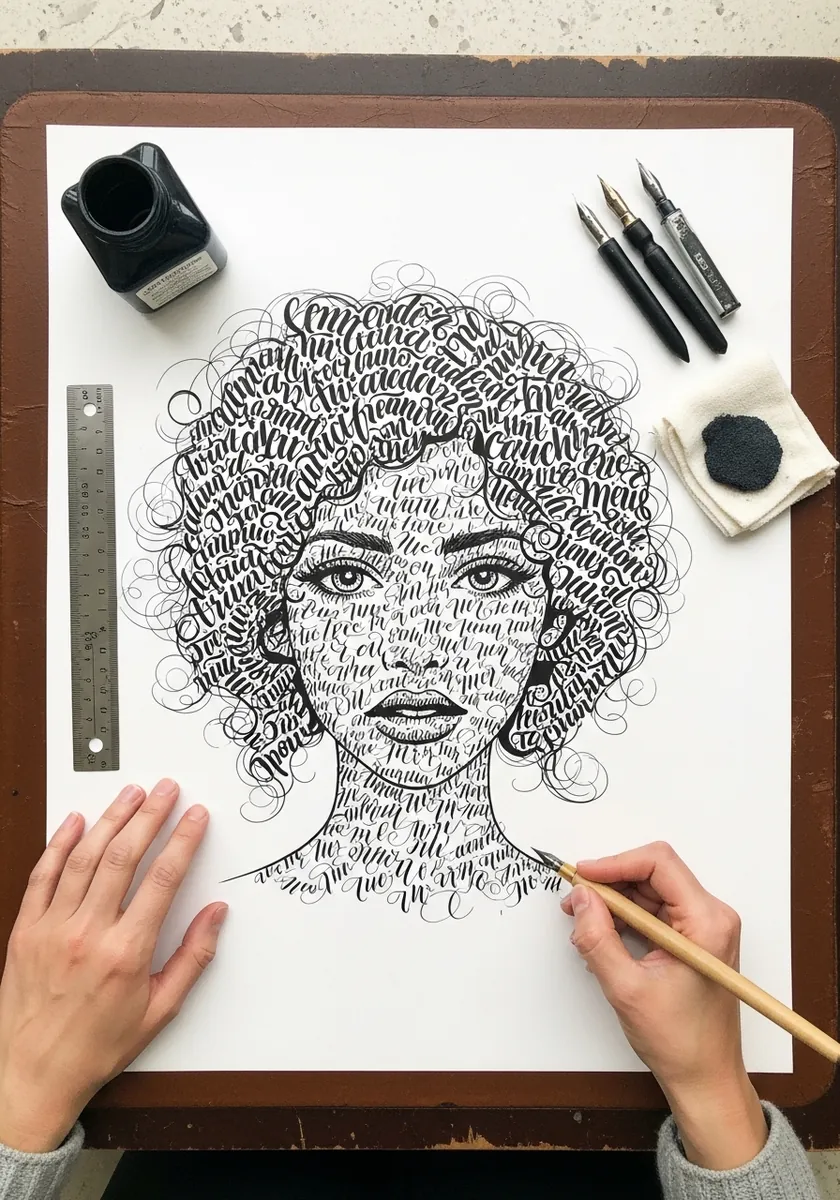
Text can build a shape if it follows the contour. Write in curved lines that spiral the way the curls would, compressing your letters where the hair is tightest. The density of the writing then becomes the shading with no tone added.
37. Warm Watercolor Curls with Green Eyes
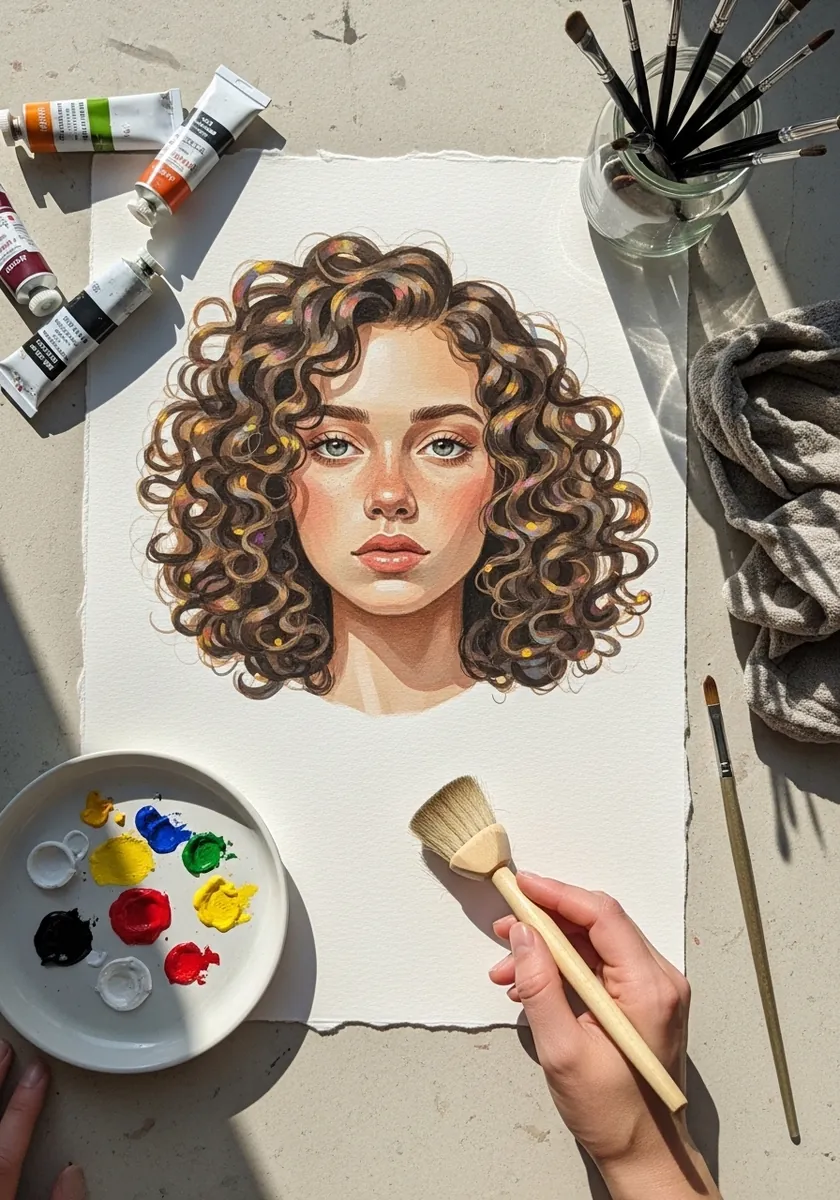
Reserve the highlights rather than adding them. Wet each curl clump and drop pigment into the shadow side, letting it flow while leaving the lit edge as bare paper. Painting white over a dry wash never achieves the same luminosity.
38. Palette Knife Curls in Green and Cream
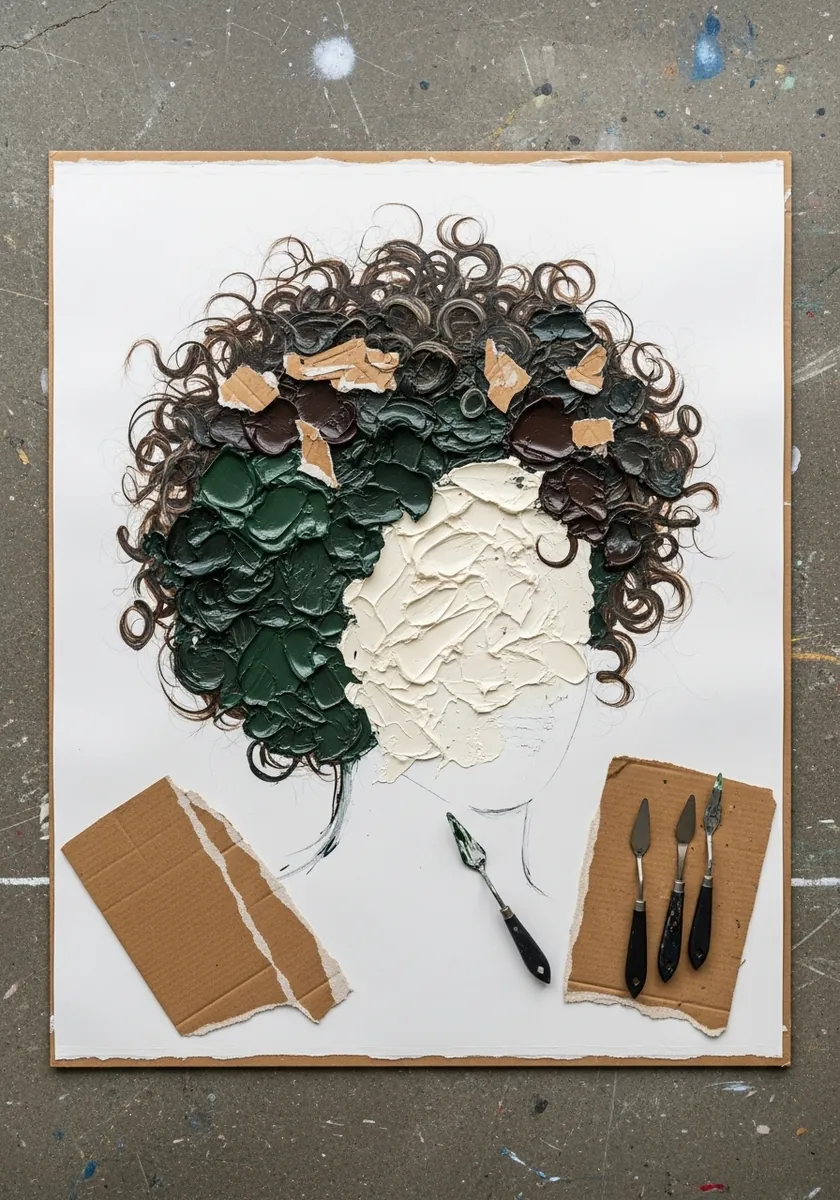
An unexpected color forces you to rely entirely on value placement. Deep green reads correctly as hair here purely because the lights and darks sit where they should, which proves that hue matters far less than most beginners assume when the underlying structure is already sound.
39. Art Nouveau Curls in an Ornate Frame
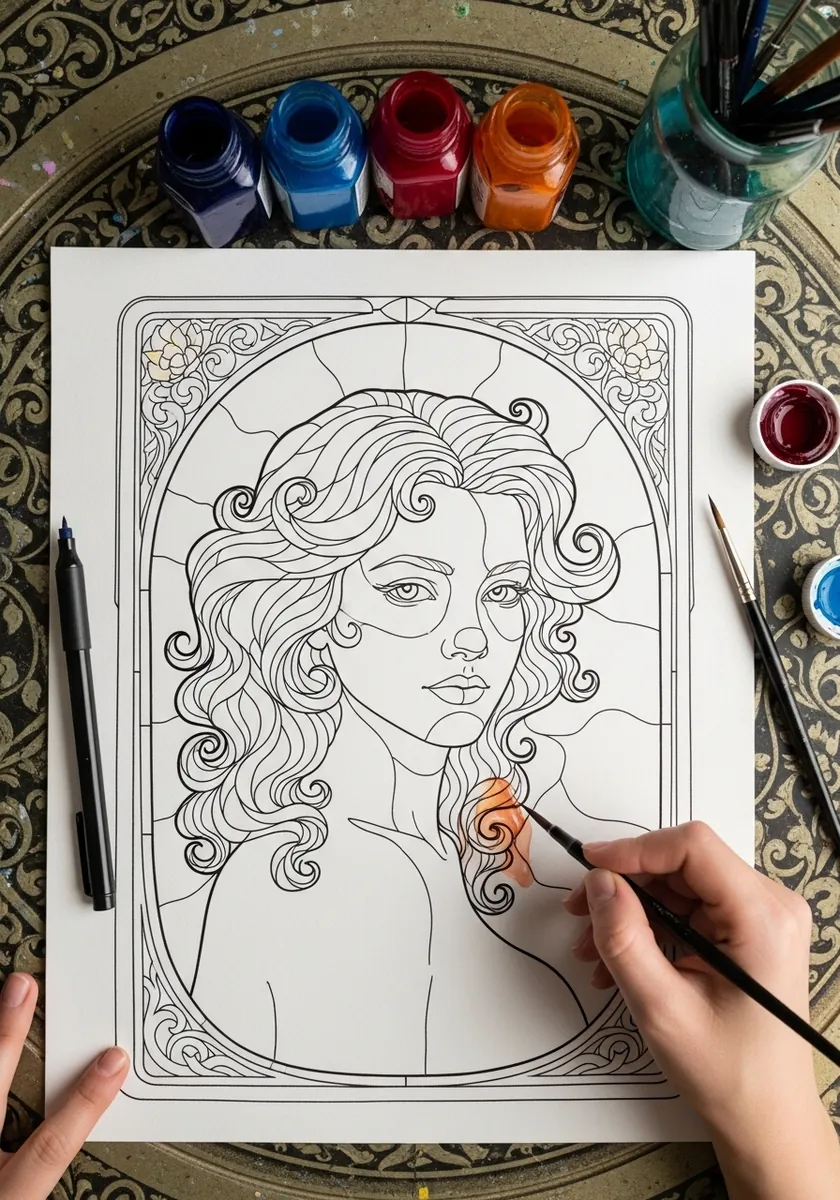
Nouveau treats hair as pure flowing line. Let each curl travel much further than it naturally would, keep every line the same weight, and connect the hair to the border ornament so the figure and its frame read as one continuous design.
Frequently Asked Questions
How do you draw curly hair step by step?
Block the whole hair mass as one silhouette first. Divide that mass into six or eight large clumps, then shade the gaps between them dark. Only after those gaps exist do you draw a few individual curls on the lit outer surface of each clump.
Why does my curly hair drawing look like noodles?
You are almost certainly drawing individual strands instead of clumps. Real curly hair groups itself into masses, and the shape you see is those masses, not single hairs. Block the groups first and add strand detail only along the outer highlights.
How do you shade curly hair?
The darkest values sit deep in the gaps between clumps and close to the scalp, where light cannot reach. The lightest values run as a broken band across the outer surface, following the curve of the skull rather than following individual curls.
How do you draw a single curl correctly?
Treat it as a flat ribbon wrapping around an invisible cylinder. As the ribbon turns you see its outer face, then its edge, then its inner face. Alternate light and dark along that sequence and the curl gains real three-dimensional twist.
Should curly hair have a smooth outline?
No. A smooth outer edge is what makes drawn curls look like a wig. Keep the silhouette broken and irregular, with a few loose curls escaping the main mass, because that ragged edge is one of the strongest signals that the hair is genuinely curly.
References and Further Reading