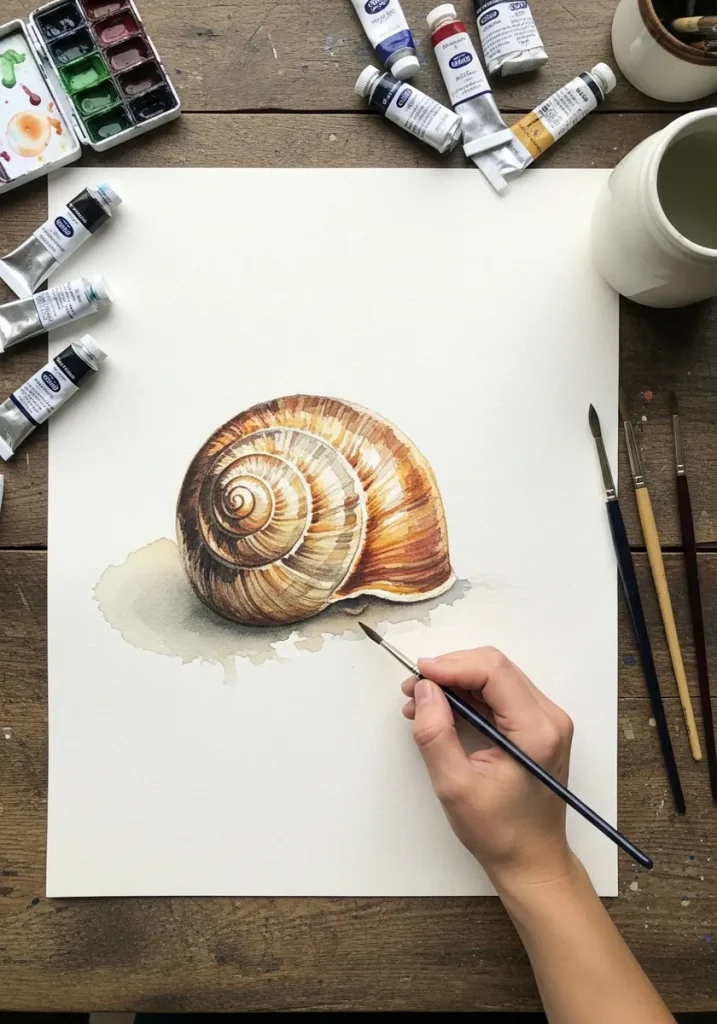
A snail shell follows a logarithmic spiral, where each turn grows by a constant ratio rather than a constant distance. That means the gap between coils widens as you move outward, which is what most drawings get wrong.
Key takeaways
- Snail shells are logarithmic spirals, so each successive whorl is proportionally wider than the last.
- Evenly spaced coils make an Archimedean spiral, which reads as a coiled rope rather than a shell.
- Growth lines run across the whorls while color bands run along them, giving two line families at right angles.
- The groove where one whorl meets the next is called the suture, and it should stay visible throughout.
- Most land snails are dextral, so with the apex up the aperture opens on the right-hand side.
There is real geometry behind this subject, and it explains the single commonest mistake. A snail shell is a logarithmic spiral, where each turn grows by a constant ratio rather than a constant distance, so the gap between coils widens as you move outward. Evenly spaced coils read as rope.
The second rule is that a shell is not a flat disc. It is a cone wrapped around a central axis, seen from an angle, which is why the apex sits off center and each whorl disappears behind the one in front. Draw the hidden sections, then erase what should not show.
Surface detail follows two directions at once. Growth lines run across the whorls while color bands run along them, crossing at right angles, and the groove between adjacent whorls is called the suture. Most land snails are dextral, so with the apex up the opening sits on the right.
The thirty studies below run through graphite realism, sumi-e, folk mosaic, neon on black and art nouveau framing. For related natural subjects, watercolor seashell ideas covers marine shells and mandala construction shares the same radial thinking.
Compiled by the GS Art Zone editorial team. Last updated August 2026. Each idea is paired with the specific step that produces the effect, so you can go from the reference straight to paper.
What You Need Before You Start
- A compass or a set of circle templates, since the whorl construction benefits from real geometry
- A 2H for the underlying spiral and a 4B for the deep suture shadows
- A 0.05 fine liner for growth lines, which are much finer than most people draw them
- One warm brown and one cool gray, enough for almost every natural shell color
- Black or toned paper for the white-ink and neon pieces further down the list
1. Realistic Brown Shell in Watercolor
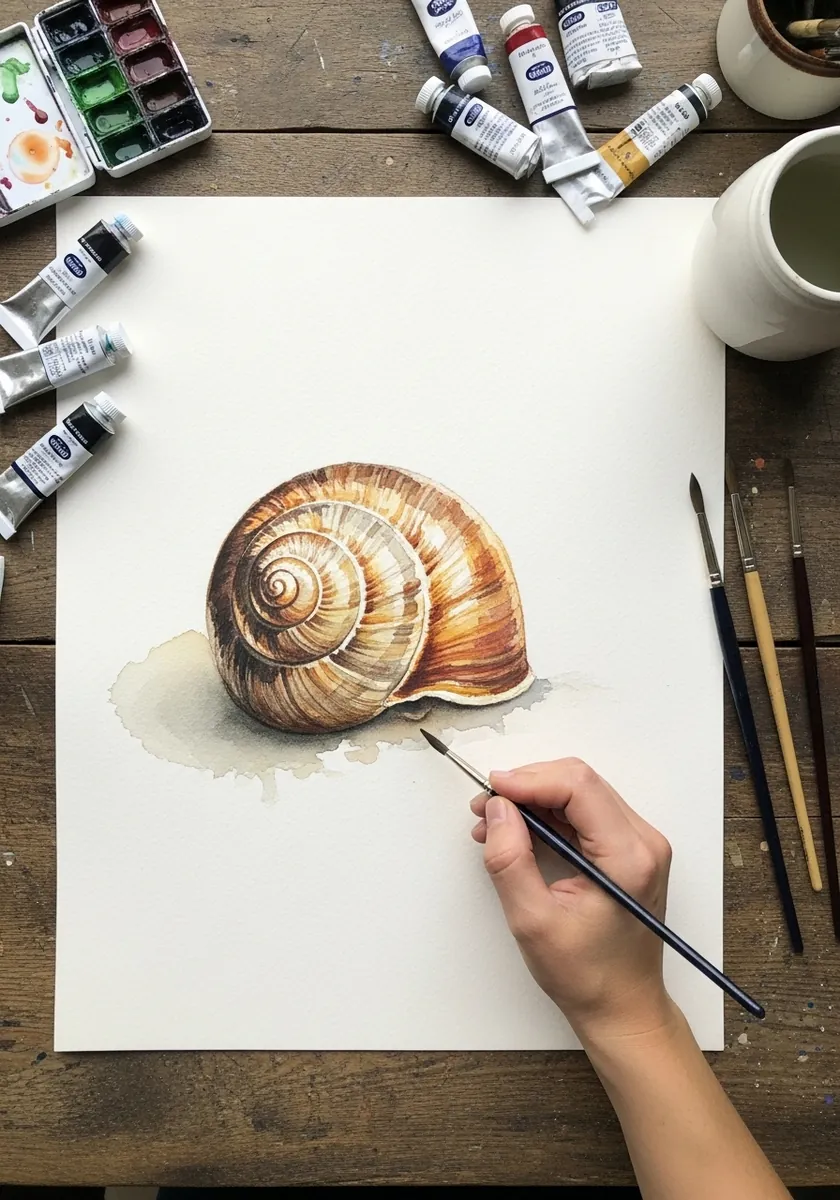
Start with the growth ratio rather than the outline. Sketch four or five circles, each about a third larger than the last, curving outward from the apex, then join their edges. Everything after that is surface detail on a structure that already works.
2. Green Shell With a Snail Body
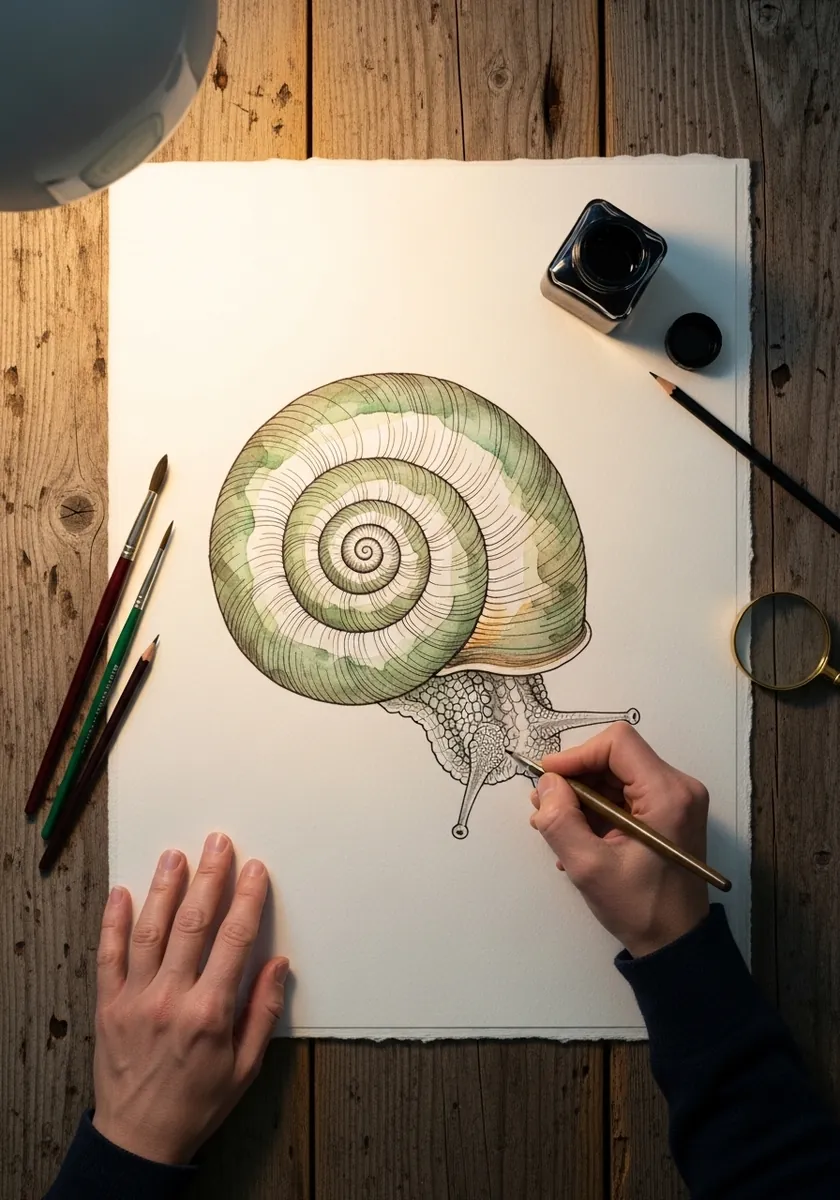
Adding the animal changes the composition. Let the body emerge from the aperture on the correct side, keep it lower than the shell, and draw the two eye stalks at different lengths. A snail’s foot spreads wider than the shell it carries.
3. Art Nouveau Framed Spiral
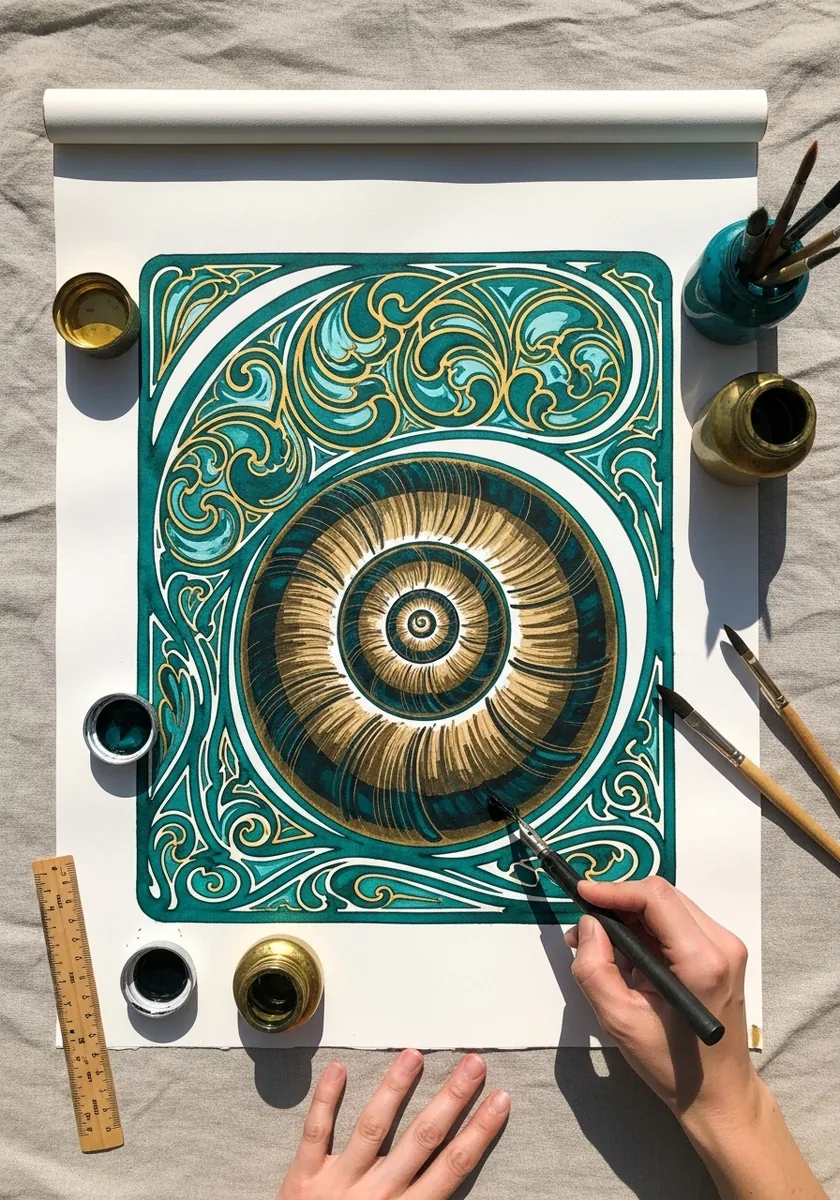
Nouveau panels split the work between subject and frame. Render the shell with real depth, keep the surrounding whiplash foliage entirely flat, and let the gold sit only on the border. That contrast in treatment is what makes the panel read.
4. Detailed Graphite Shell Study
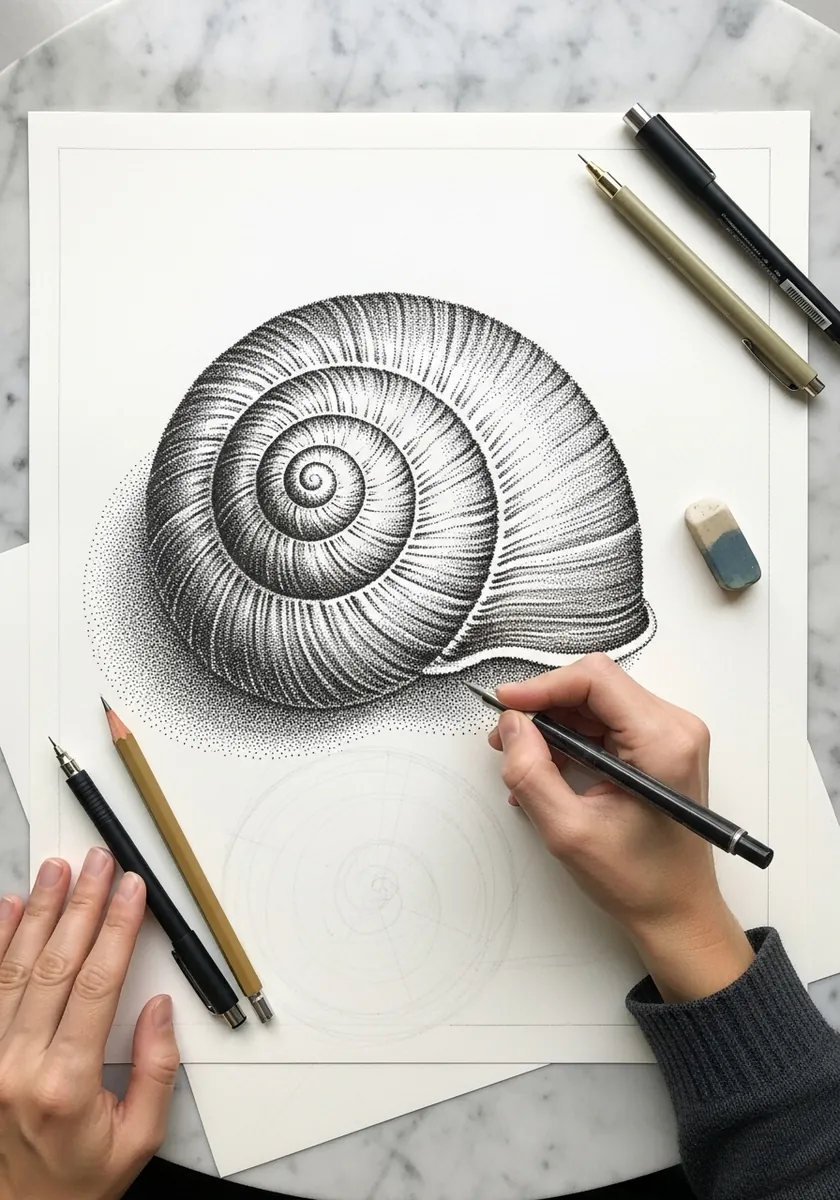
Hatching must follow the surface. Curve every stroke around the whorl it sits on, change direction at each suture, and pack the lines tightest in the groove between coils. Straight hatching across the whole shell flattens it instantly. Keep one whorl slightly less finished, which stops the whole study reading as mechanical.
5. Charcoal Shell on a Dark Ground
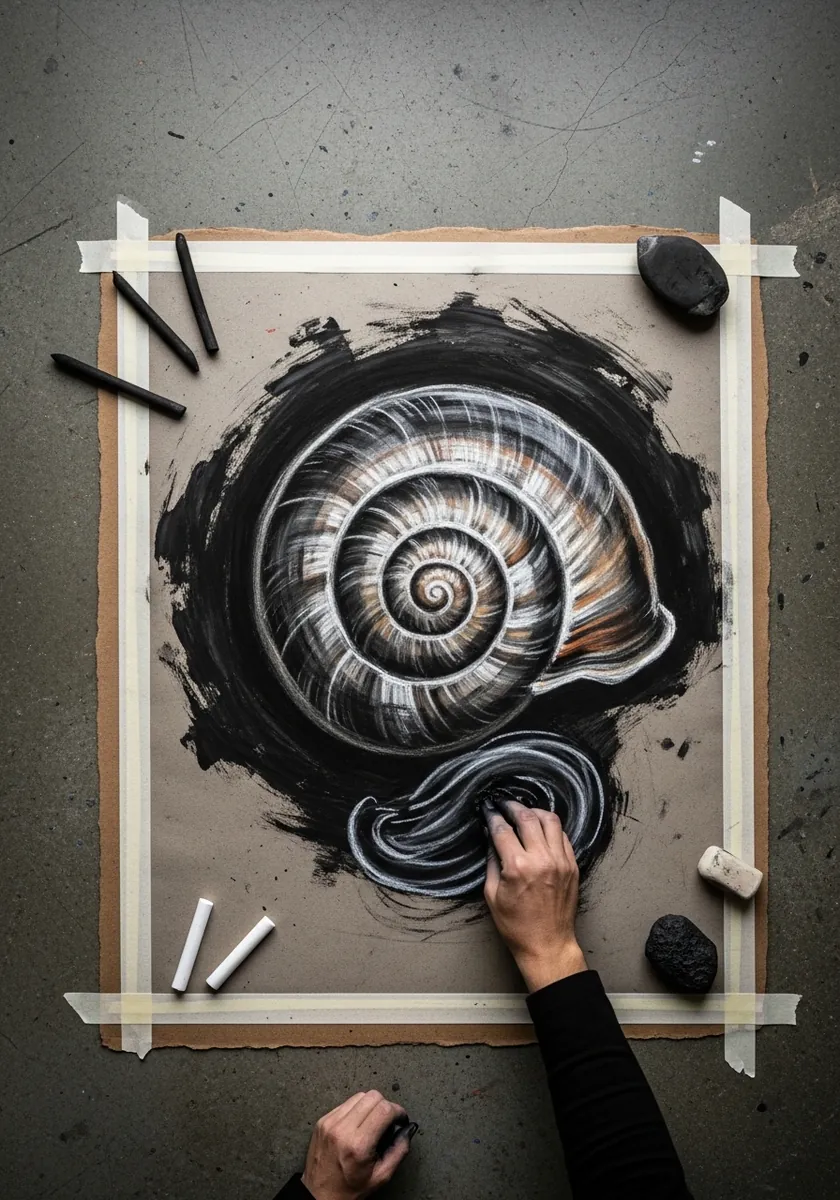
Lay the dark ground first and lift the shell out of it. Scrub charcoal across the whole sheet, blend it, then pull the lit whorls back with a sharp eraser. Lifted light has a softness that applied white cannot reproduce.
6. Sumi-e Brush Spiral
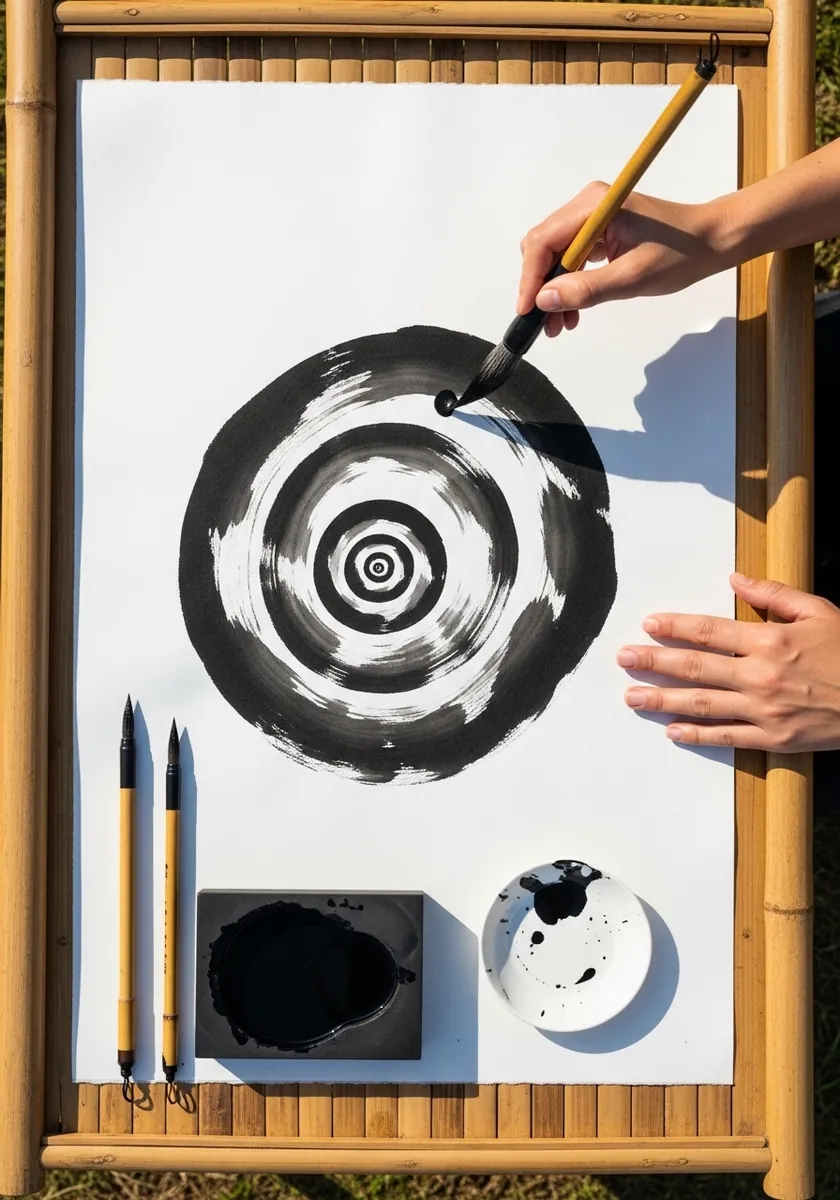
One loaded stroke, no corrections. Start at the outer edge with the brush fully charged and spiral inward, letting the line narrow naturally as the ink runs out. That thinning toward the center is exactly what a real shell does.
7. Blue and Purple Watercolor Shell
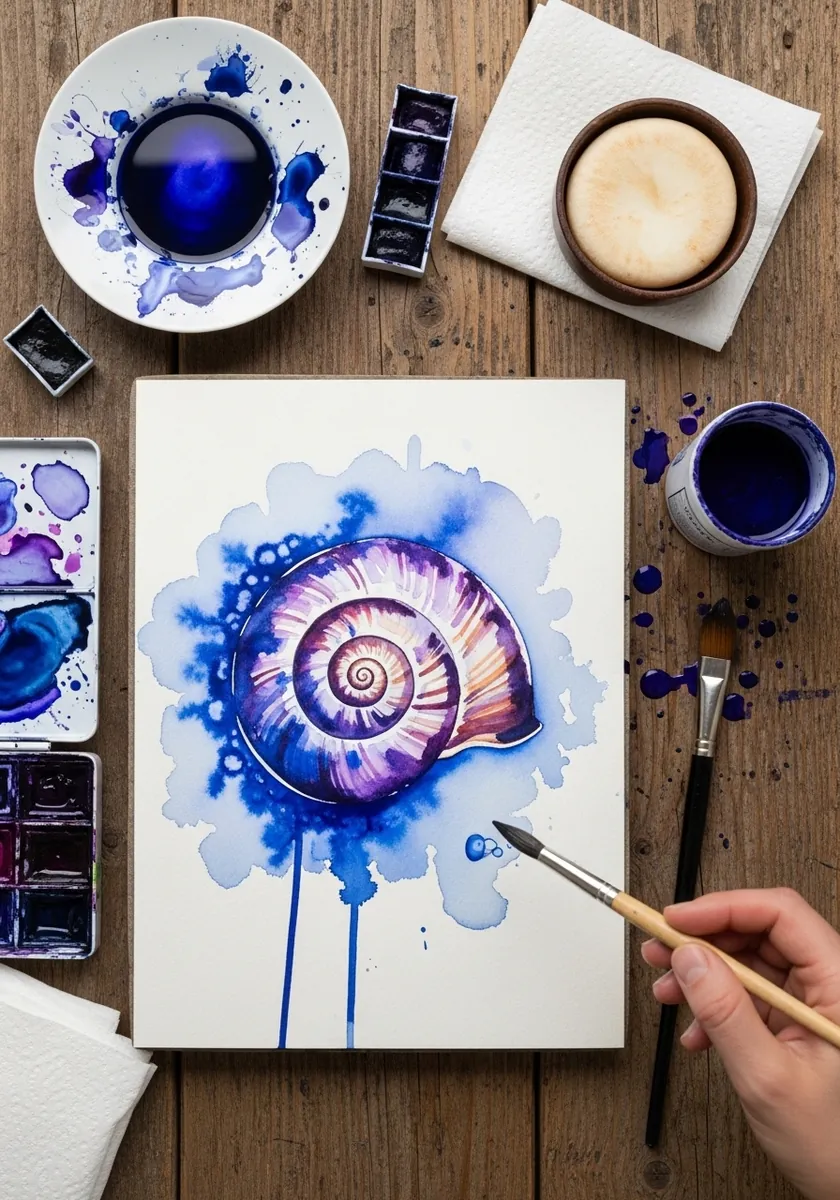
Unnatural color still needs natural structure. Keep the whorl geometry and growth lines completely accurate, then paint them any hue you like. The believability comes from the drawing underneath, not from the palette on top. Let the drips carry the darkest value, so the shell itself stays the lightest thing present.
8. Technical Shell With Instruments
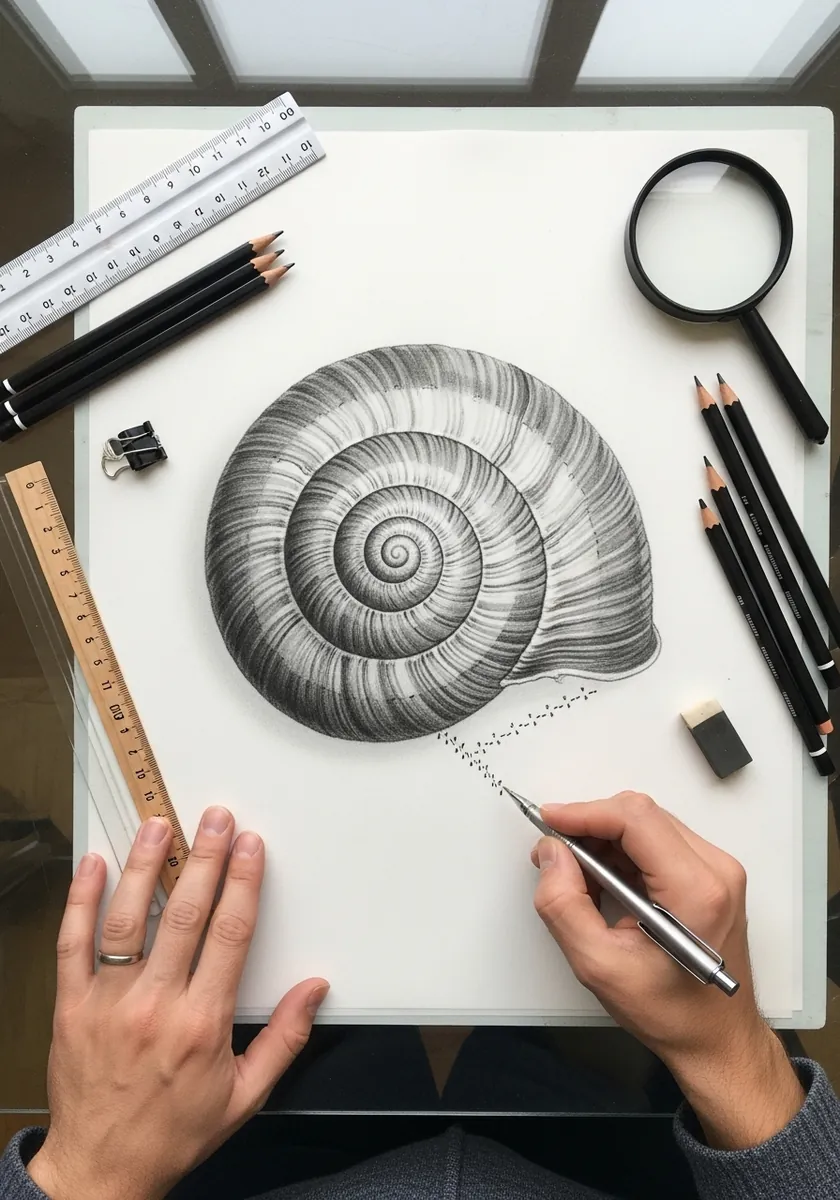
Treating a shell as an engineering drawing is a genuinely useful exercise. Rule the central axis, mark the apex, and measure each whorl width so the growth ratio stays constant. The measuring is the lesson, not the finished image. Write the ratio you used in the margin, since that number is reusable on every future shell.
9. Gold Line Shell on Black
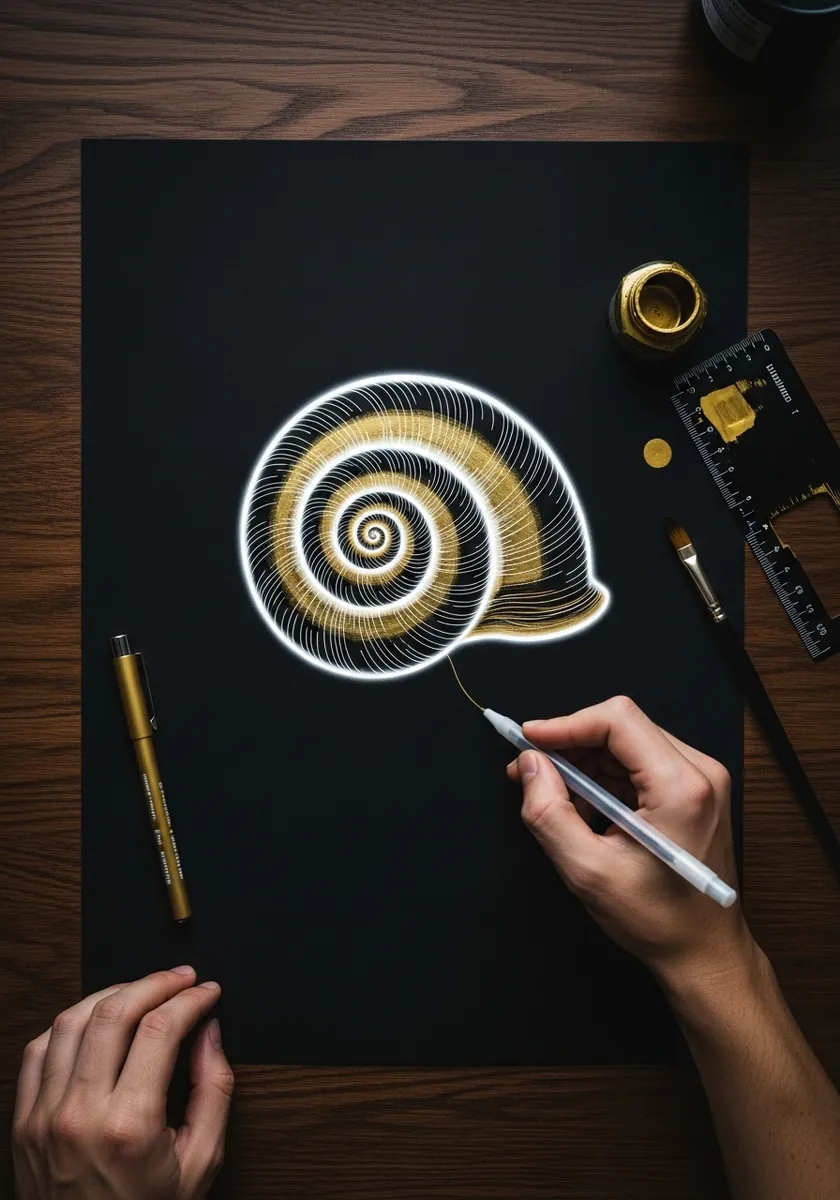
Line-only work on black needs the spiral to carry everything. Vary the weight so the line thickens along the underside of each whorl and thins along the top, which is enough to imply the whole rounded form. Leave the aperture as a clean gap, because gold laid solid there kills the sense of an opening.
10. Folk Mosaic Patterned Shell
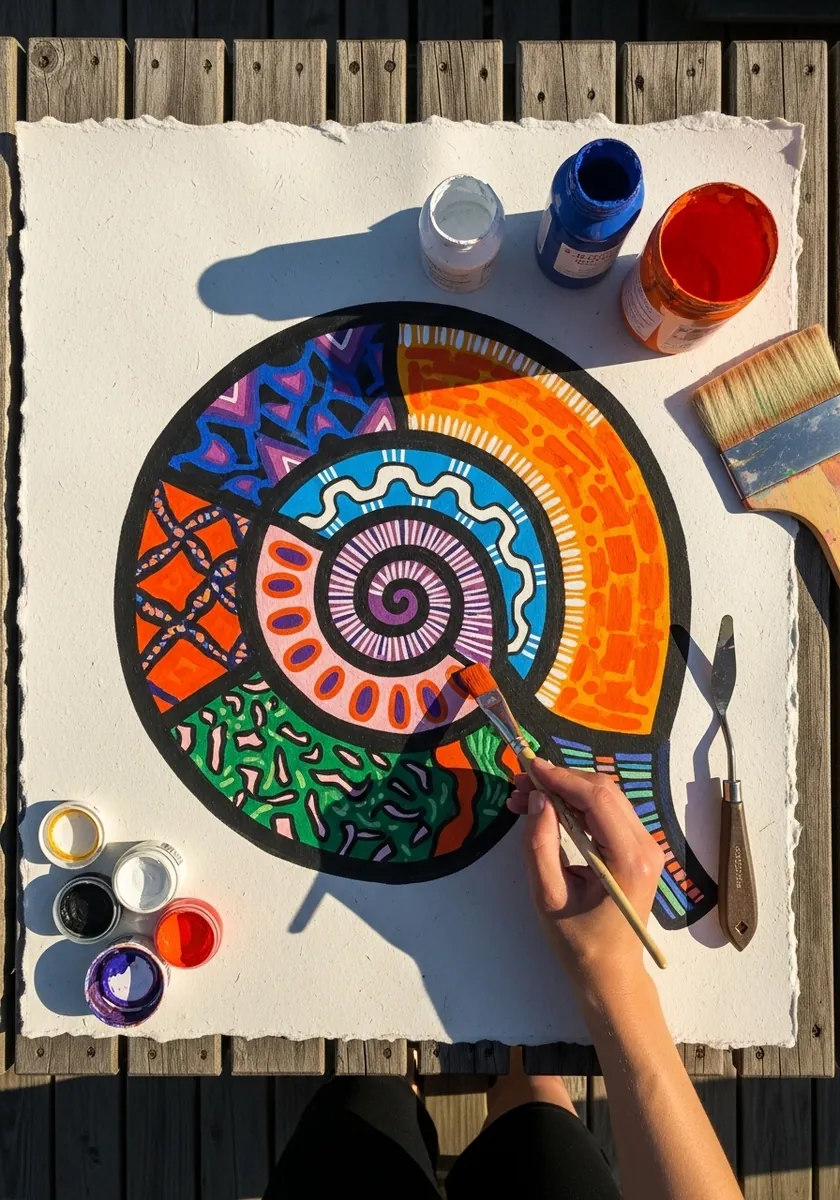
Dividing a spiral into patterned segments works if the divisions follow the growth lines. Run every boundary across the whorls rather than along them, keep each segment one flat color, and let the pattern shrink toward the center. Repeat one motif across at least three segments, which is what ties a busy surface together.
11. Zentangle Line Shell
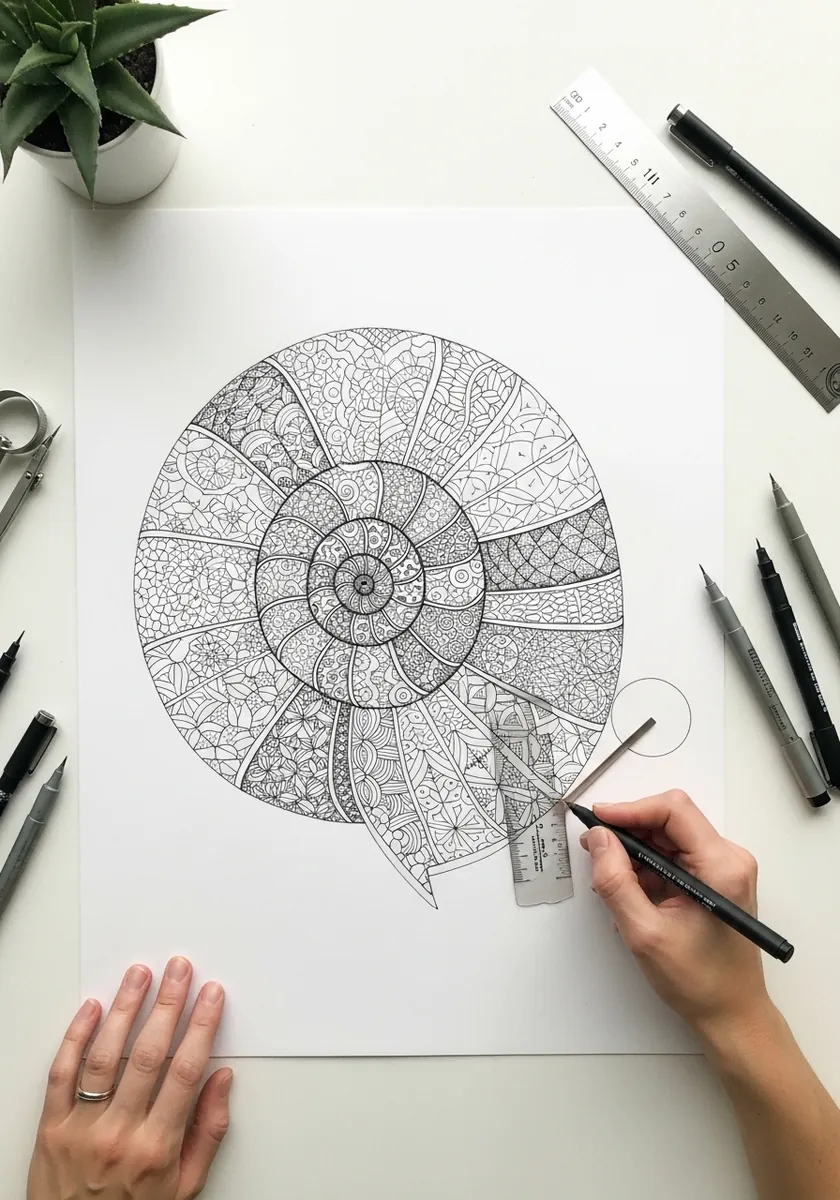
Dense pattern still needs an underlying value plan. Assign each whorl a different motif density, pack the linework tightest along the sutures, and leave the outer lip almost empty. This follows the same discipline as zentangle work. Draw the spiral in pencil first and never deviate from it, since ink cannot be pulled back later.
12. Bold Red and Black Spiral
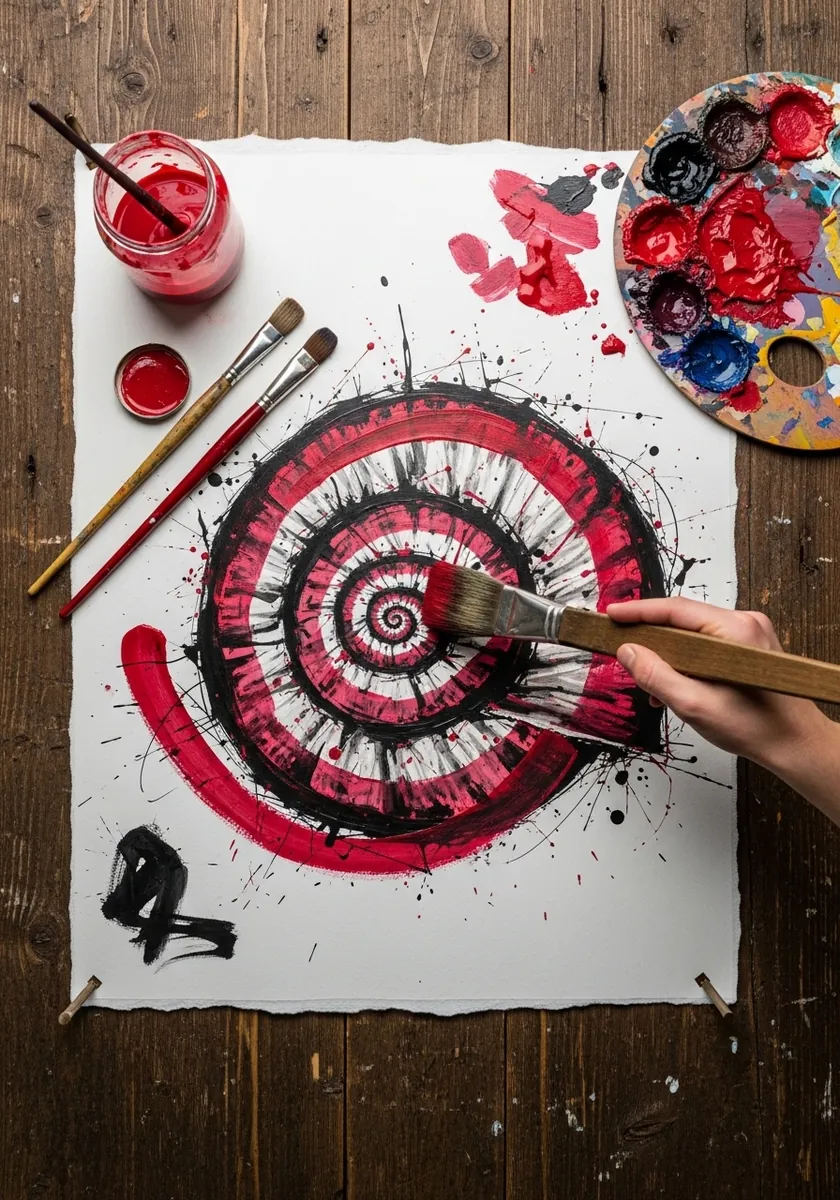
Abstracting a shell means keeping only its essential rhythm. Hold the widening ratio between turns, drop every surface detail, and let the brush weight vary. The spiral remains recognizable long after the shell itself has gone. Keep one edge of the spiral crisp, so the whole thing does not dissolve into pure gesture.
13. Green Shell With Construction Circles
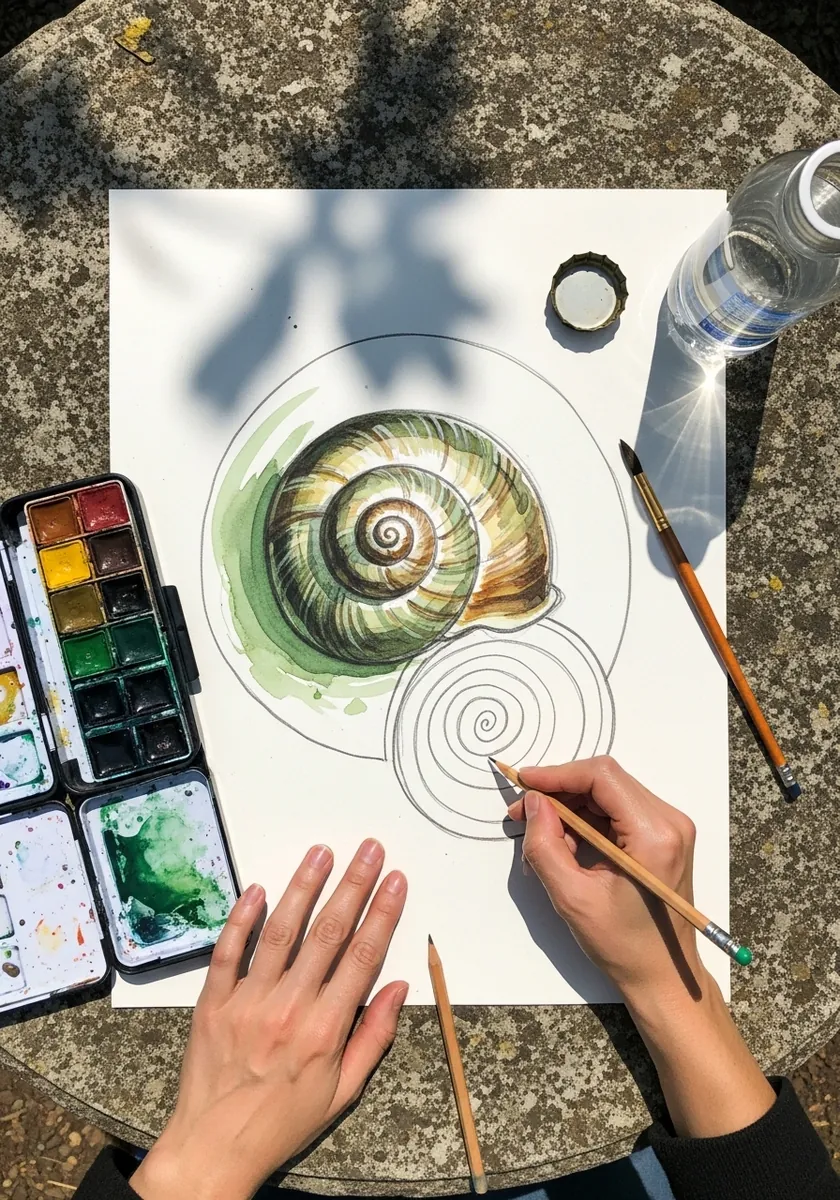
Leaving the geometry showing is honest and often more interesting. Draw the nesting circles in light pencil, paint the shell over them, and let the guides remain faintly visible at the edges. It shows exactly how the form was built.
14. Sepia Shell With Radiating Lines
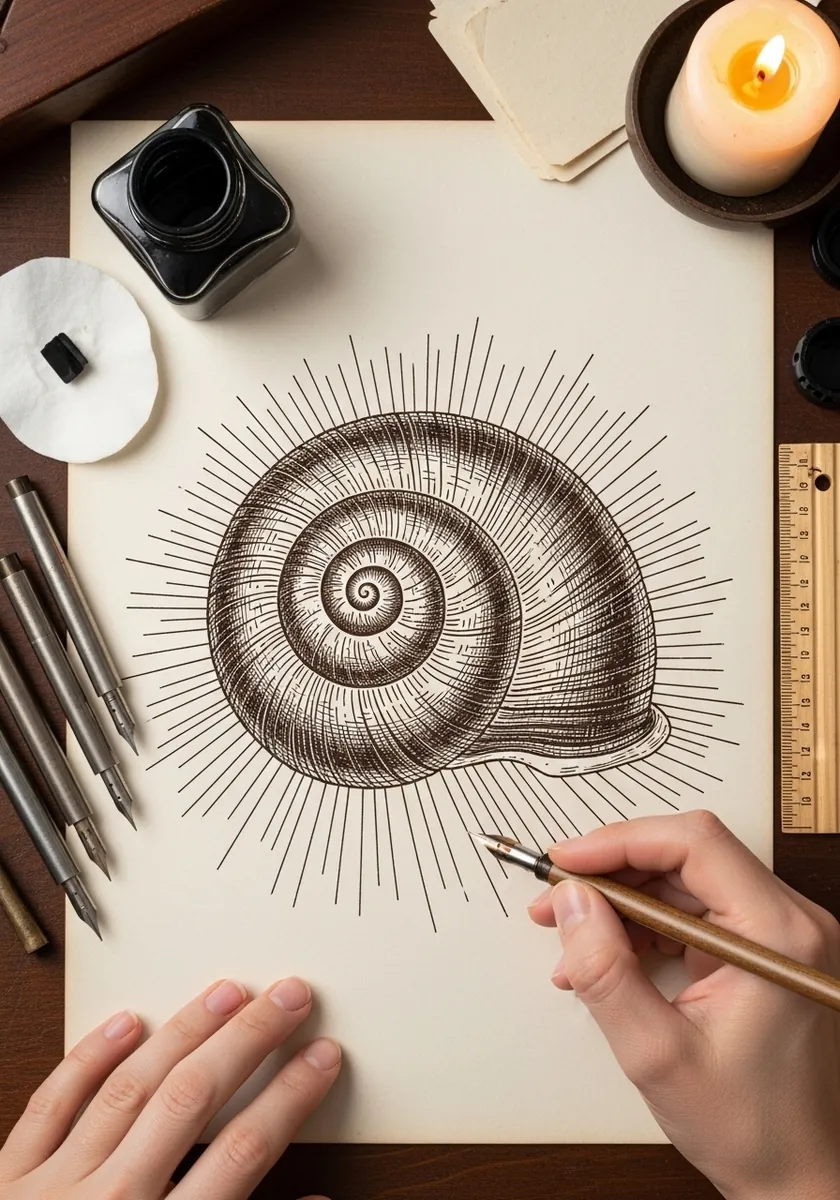
Radiating lines behind a subject need one origin. Rule them all from the shell’s apex rather than its center, vary their lengths, and keep them well clear of the outline. The apex origin ties the burst to the spiral logic.
15. Golden Shell in Oil Pastel
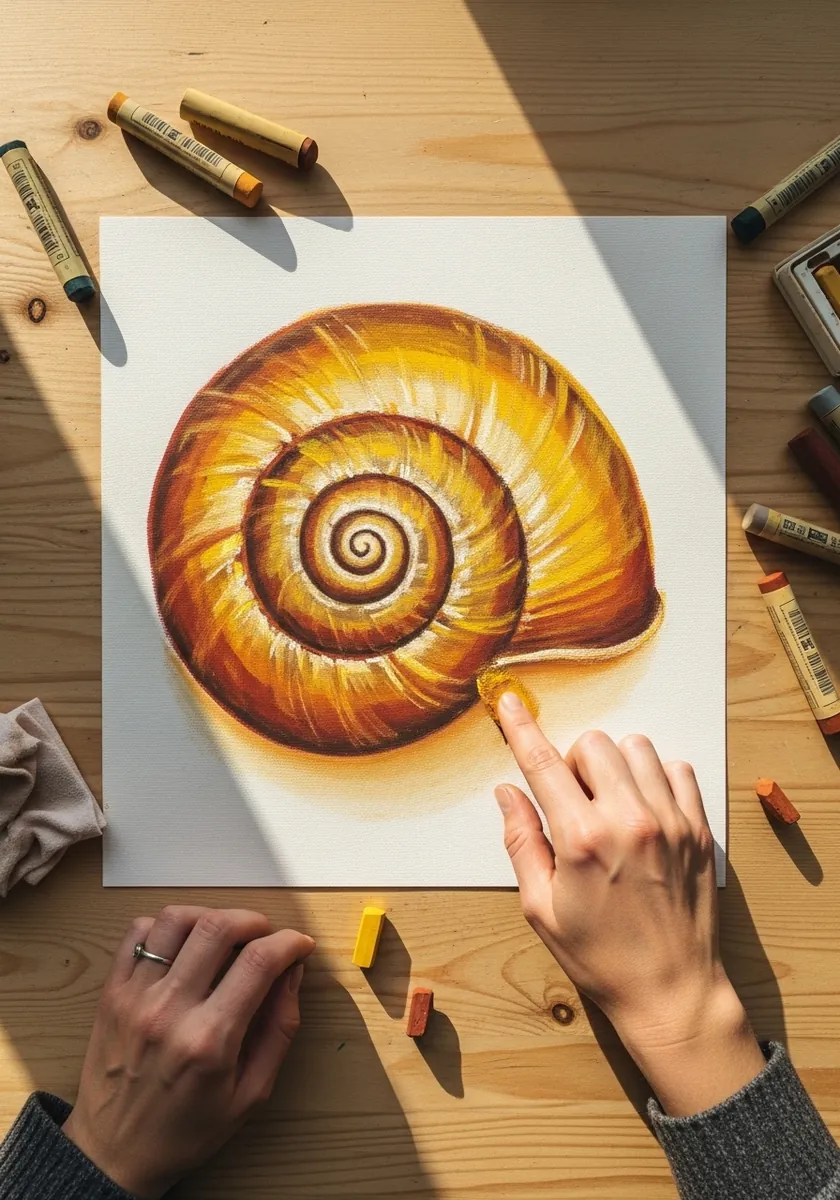
Oil pastel cannot do fine lines, so simplify before you start. Block each whorl as a broad band of color, scrape the suture grooves in with a blade, and let the stick texture stand in for growth lines. Work light to dark here, since oil pastel covers a pale layer far better than the reverse.
16. Ink Snail With a Spiral Study
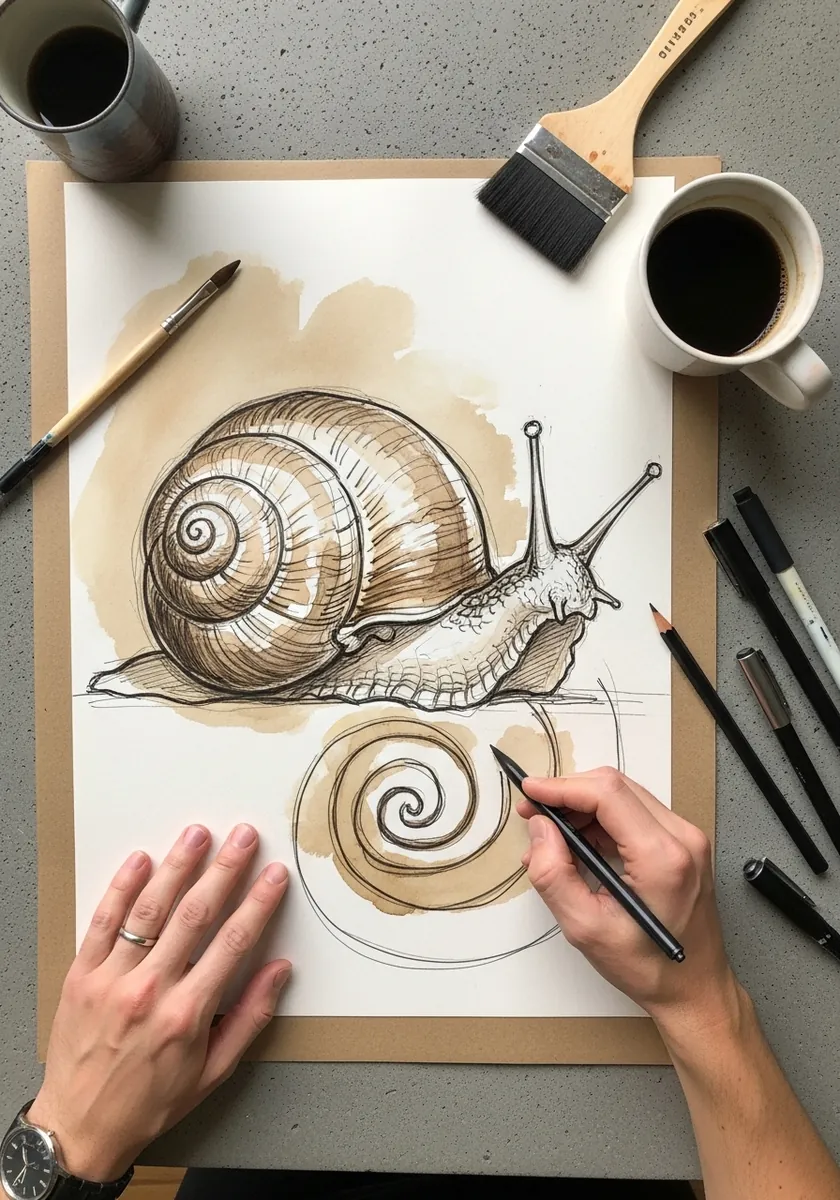
Pairing a whole subject with a detail study is standard naturalist practice. Draw the complete animal at working size, then repeat the shell alone much larger beside it, and keep the line weight identical across both. Number both drawings, since a labeled page is far more useful when you return to it later.
17. Blue and Gold Geometric Shell
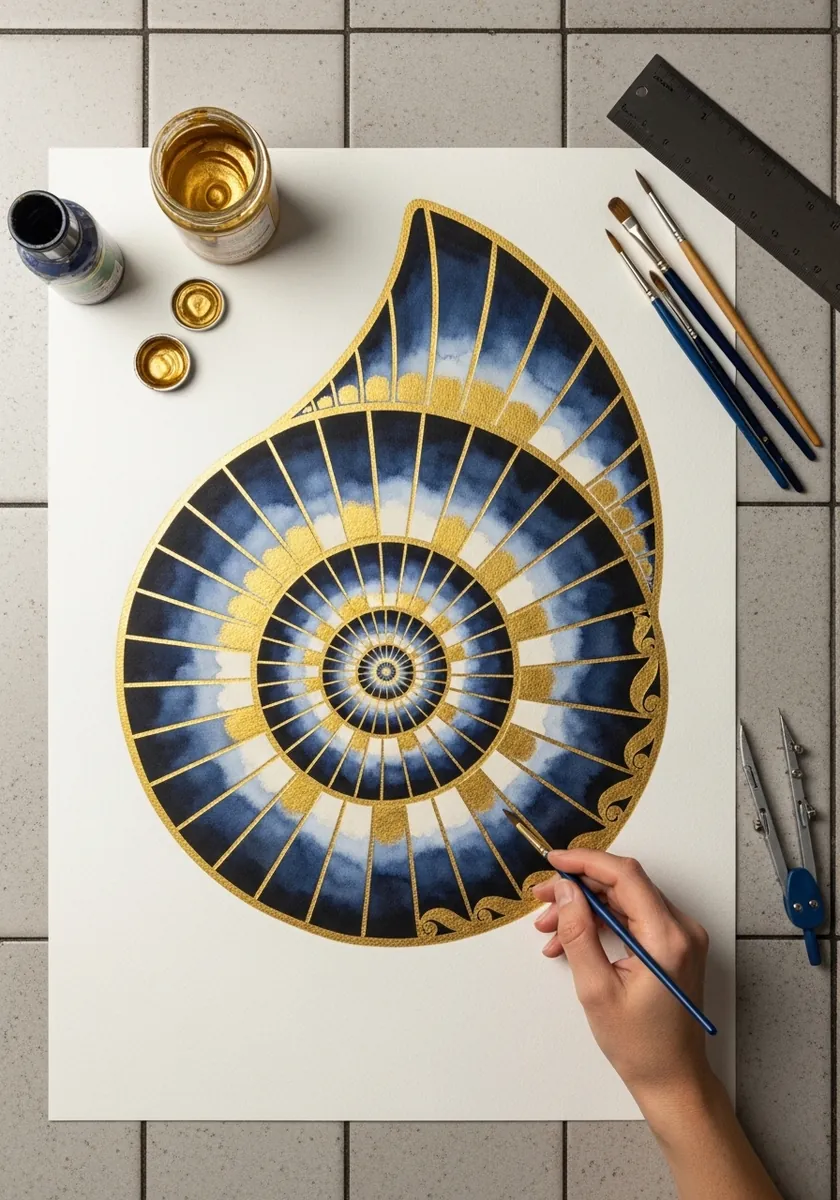
Deco styling reduces curves to arcs and straights. Break each whorl into a run of angular facets, alternate the two colors strictly, and keep every boundary drawn with a compass or ruler. Freehand curves break the style immediately. Keep the facet count rising with each whorl, which preserves the growth ratio inside the geometry.
18. Soft Pastel Shell on Toned Board
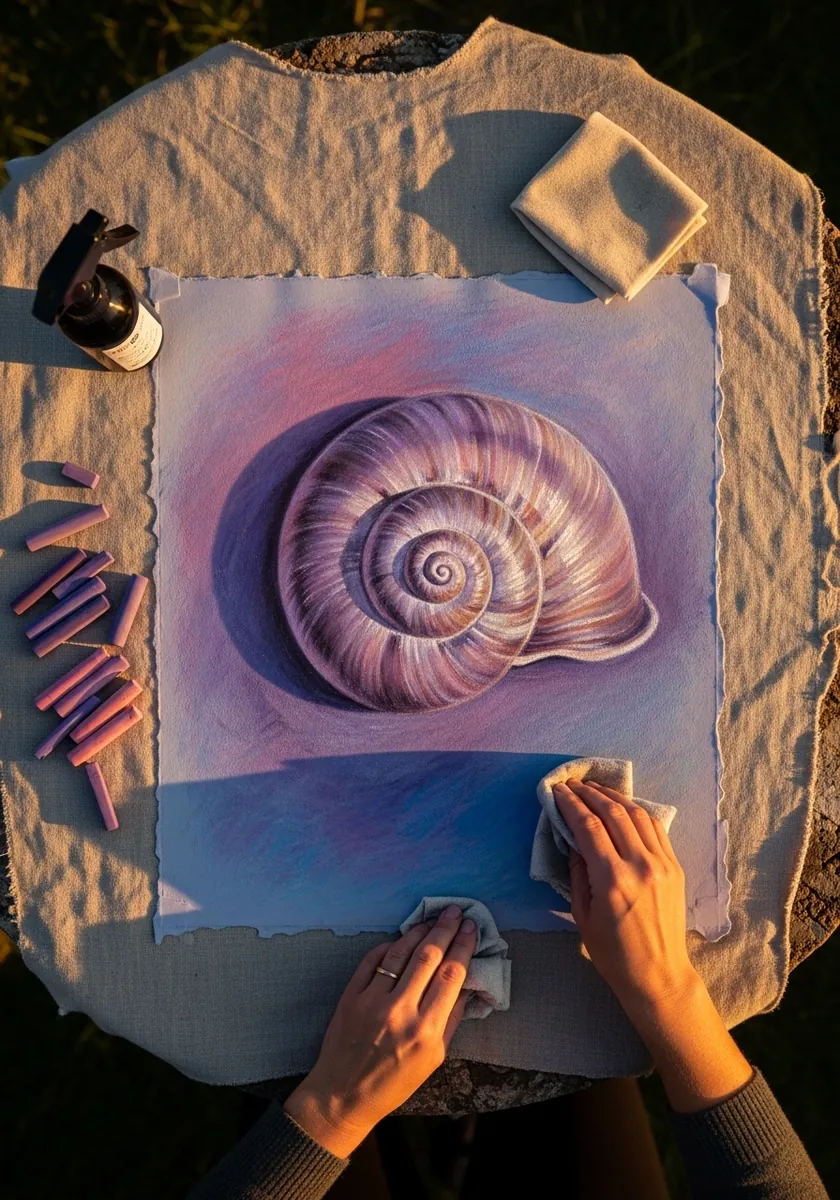
Toned board supplies the mid value so you only add the extremes. Bring pale pink to the lit whorls, push violet into the sutures, and leave broad areas of untouched board between. Blending everything loses the economy. Fix the pastel lightly at the end, or the softest passages lift away at the first handling.
19. Red and Black Graphic Shell
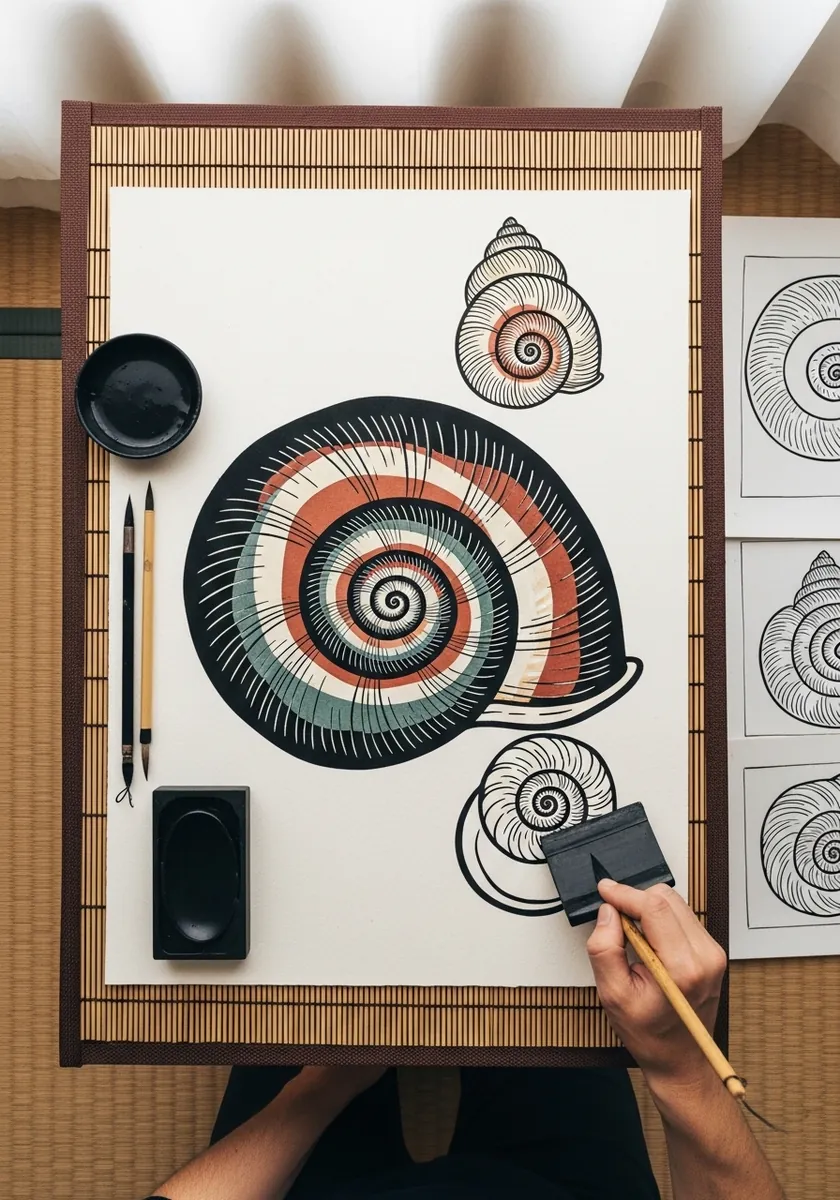
Flat graphic treatment needs the spiral to survive without shading. Cut each whorl as a clean band, alternate the colors, and let the black outline hold everything apart. Small studies beside it show how the design was arrived at. Keep the aperture the largest single shape, since that is what anchors the design at one end.
20. Warm Shell With Teal Drips
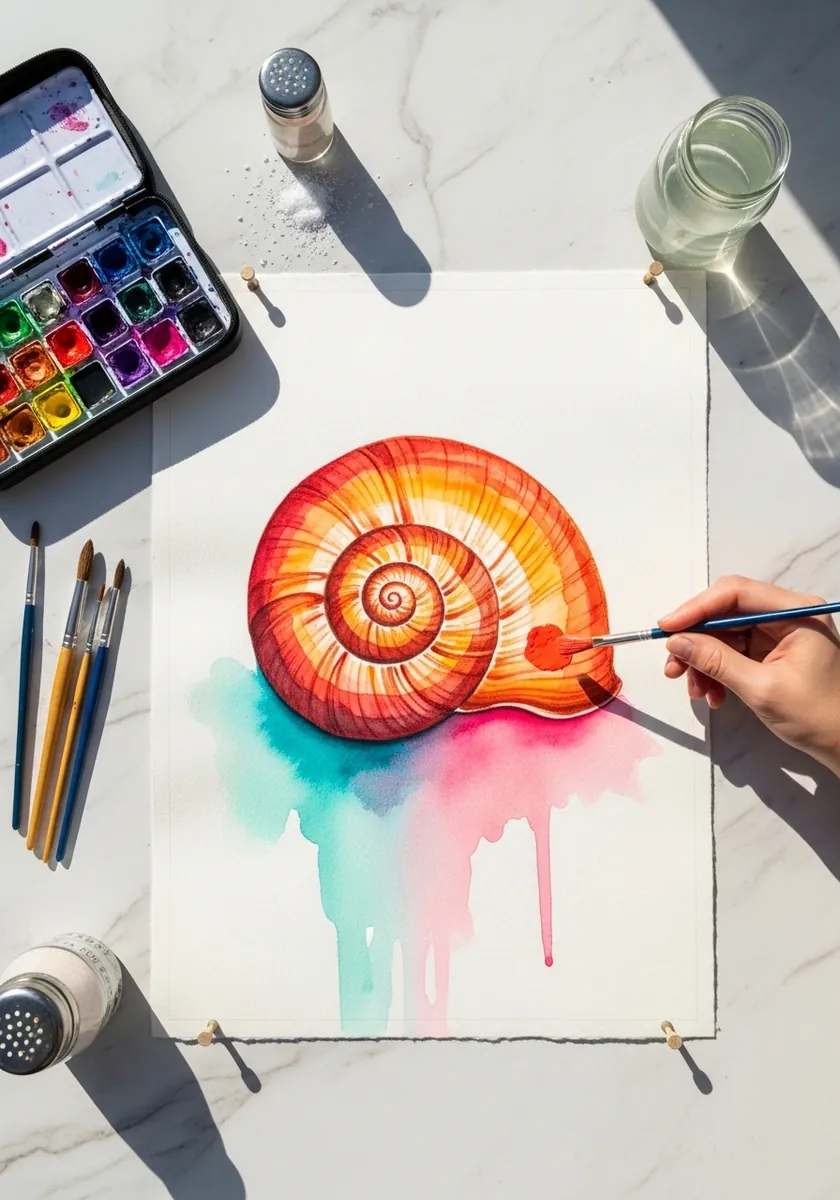
Complementary drips beneath a warm subject give the page a cool anchor. Let every run start at the shell’s lowest point, keep them true vertical, and stop the color well before the paper edge so they read as deliberate. Tilt the paper rather than pulling the drips with a brush, which keeps them genuinely uneven.
21. Graphite Shell on Kraft Paper
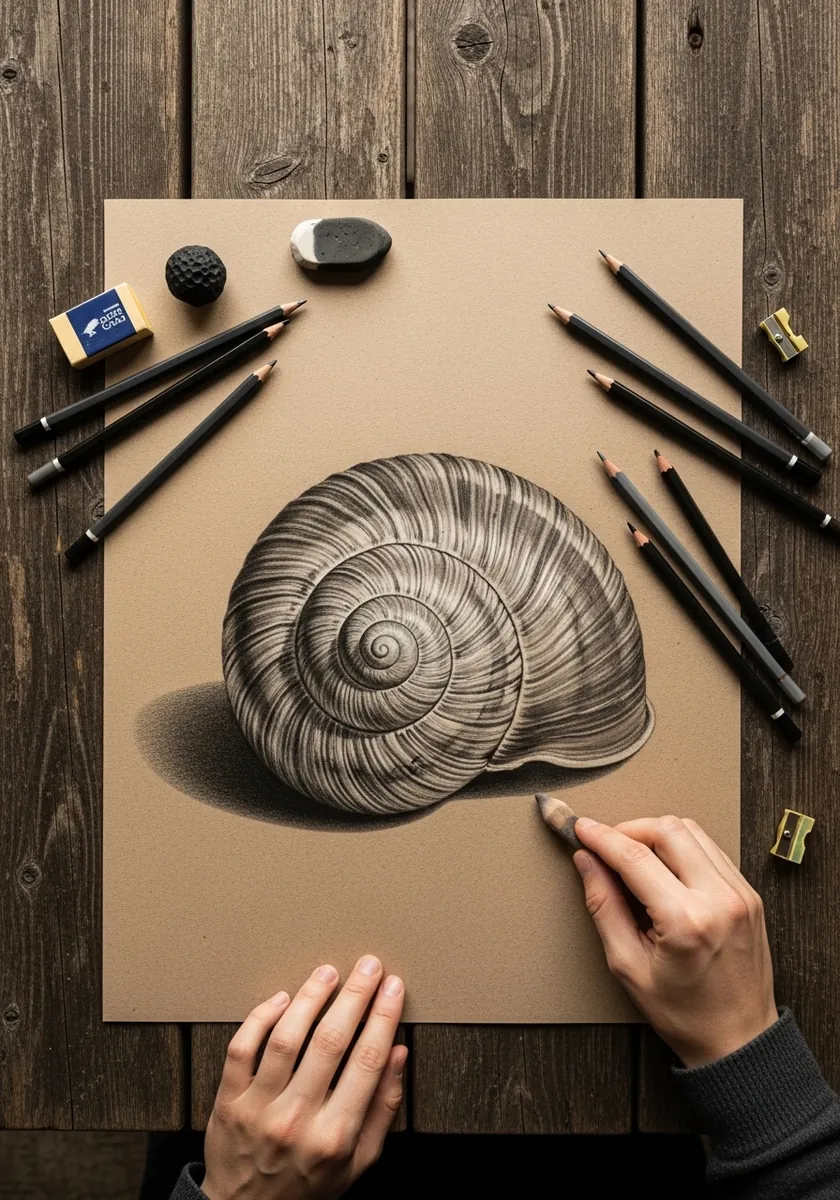
Kraft paper is already your mid tone. Work graphite only into the shadows and sutures, add a white pencil along the top of each whorl, and leave the paper itself as the entire mid range. That restraint is the technique.
22. Neon Marker Shell on Black
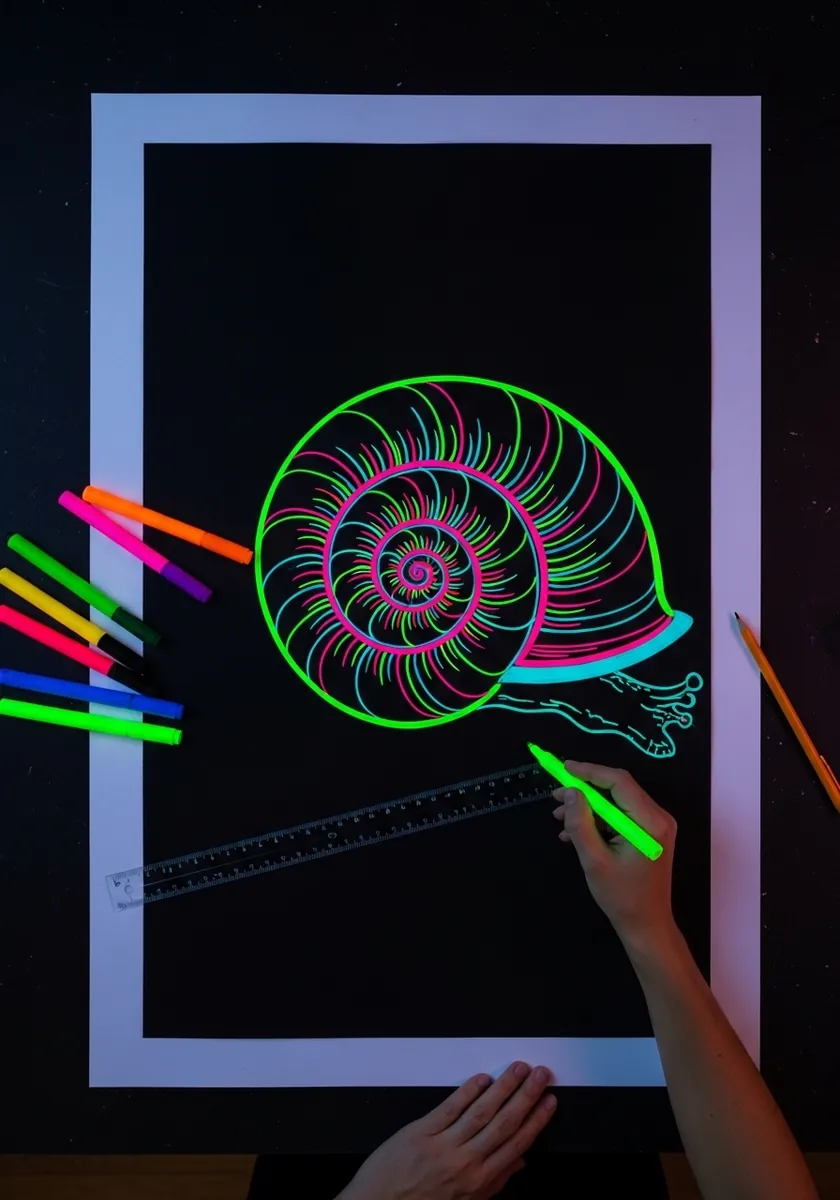
Neon needs a halo rather than more saturation. Draw the spiral at full strength, then repeat it faintly just outside with a diluted version of the same hue. Without that second line it stays flat colored outline on black. Test the marker on scrap first, since neon inks vary hugely in how they behave on coated black paper.
23. Dramatic Graphite Shell in Light
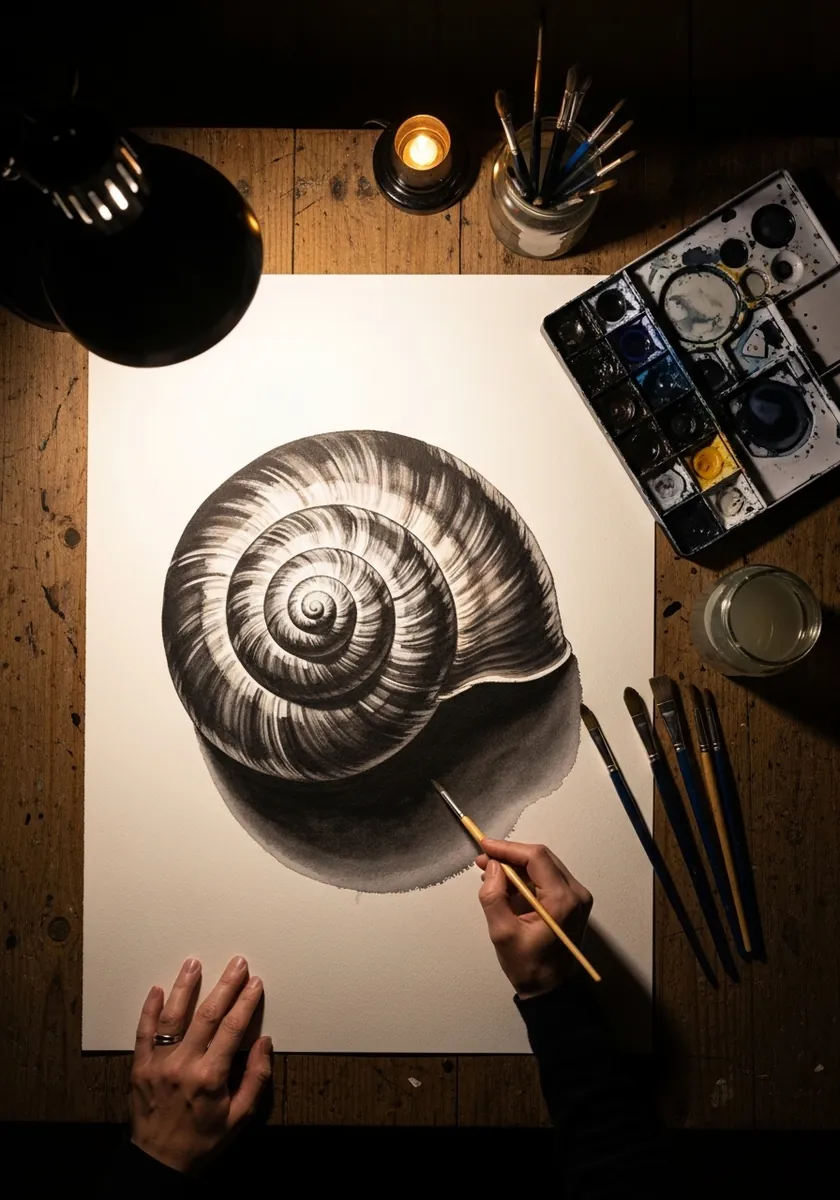
Strong side light gives you the full value range. Push the lit whorls to bare paper, drop the shaded side almost to black, and keep the transition sharp along the outer lip. A cast shadow anchors the shell to the surface.
24. Loose Gray Snail With Splatter
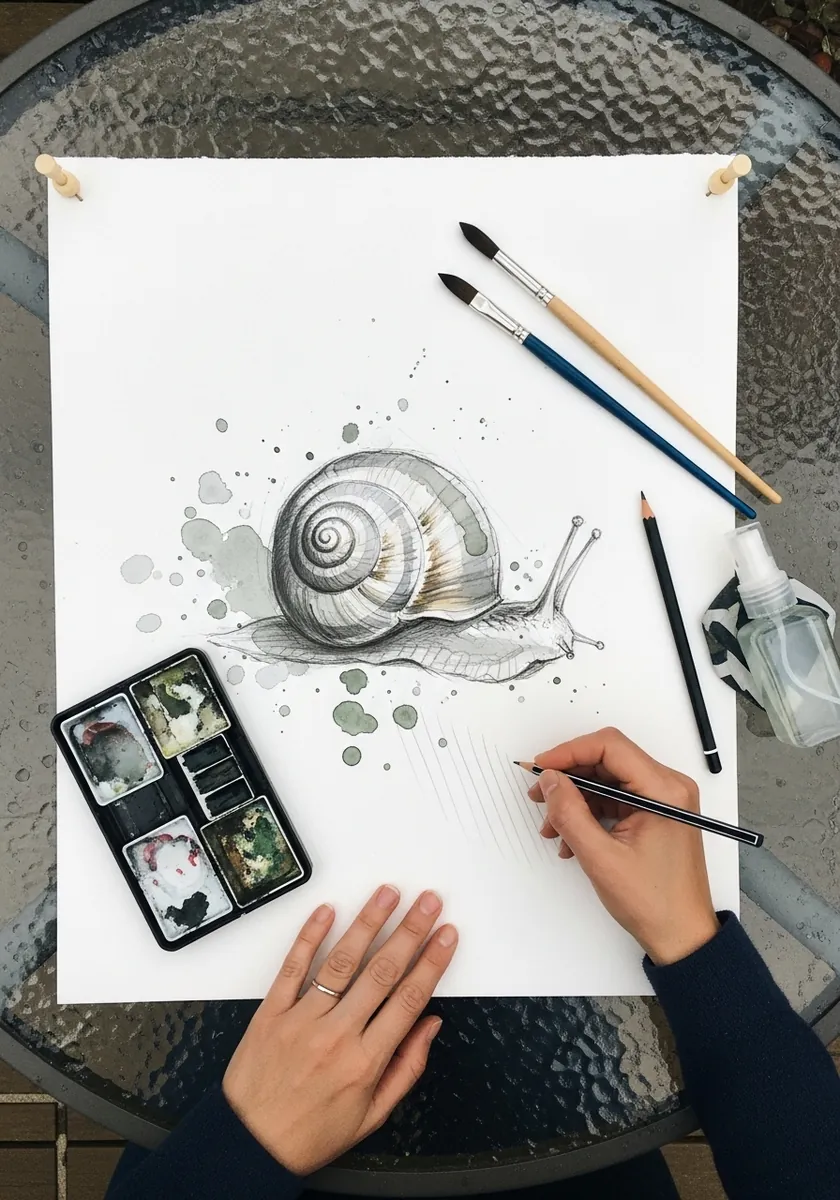
A loose treatment still needs one accurate passage. Render the spiral carefully and let everything else, the body, the ground, the splatter, stay completely uncontrolled. That single point of precision holds the whole page together. Keep the splatter well away from the spiral, so the one precise passage is never compromised.
25. White Ink Shell on Black
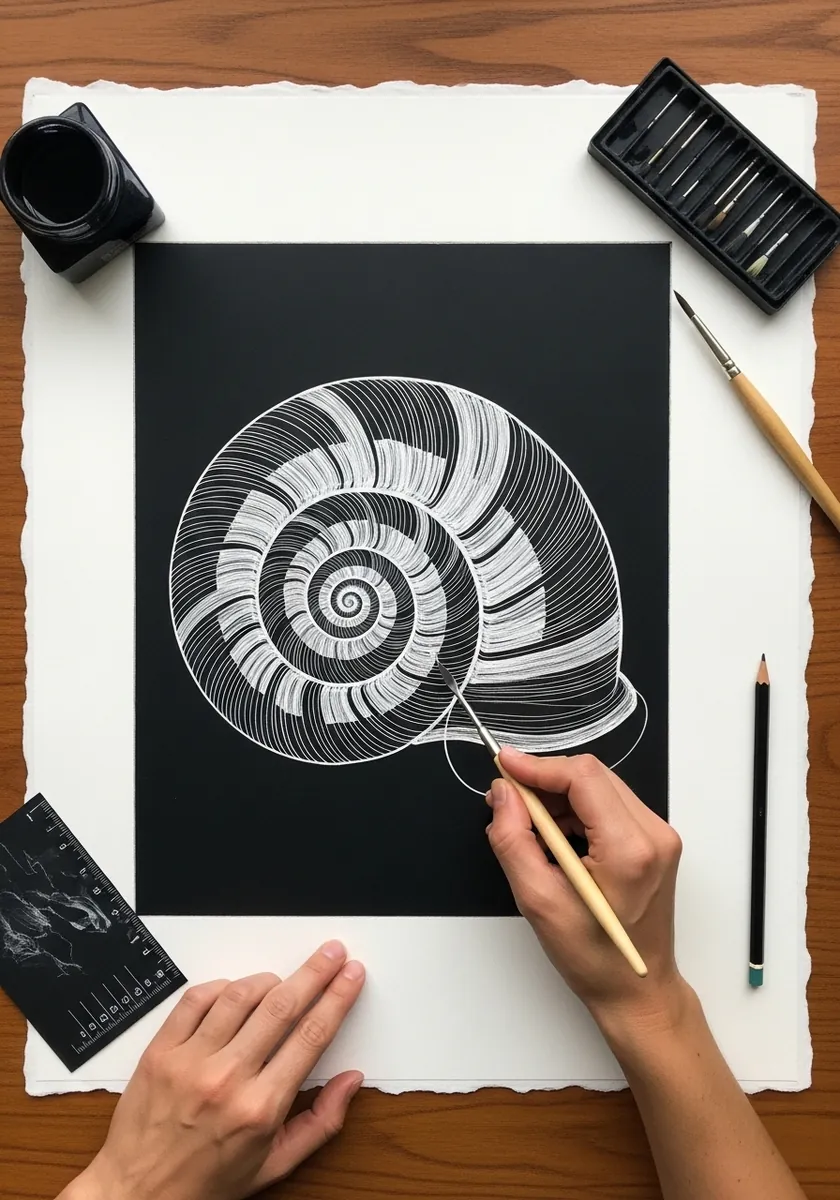
White on black reverses your thinking entirely. Draw only what the light strikes: the top of each whorl, the outer lip, the ridge along each suture. Everything you leave black becomes shadow without any extra work. Build the white in two thin passes rather than one thick one, which stops the ink cracking as it dries.
26. Rainbow Mandala Shell
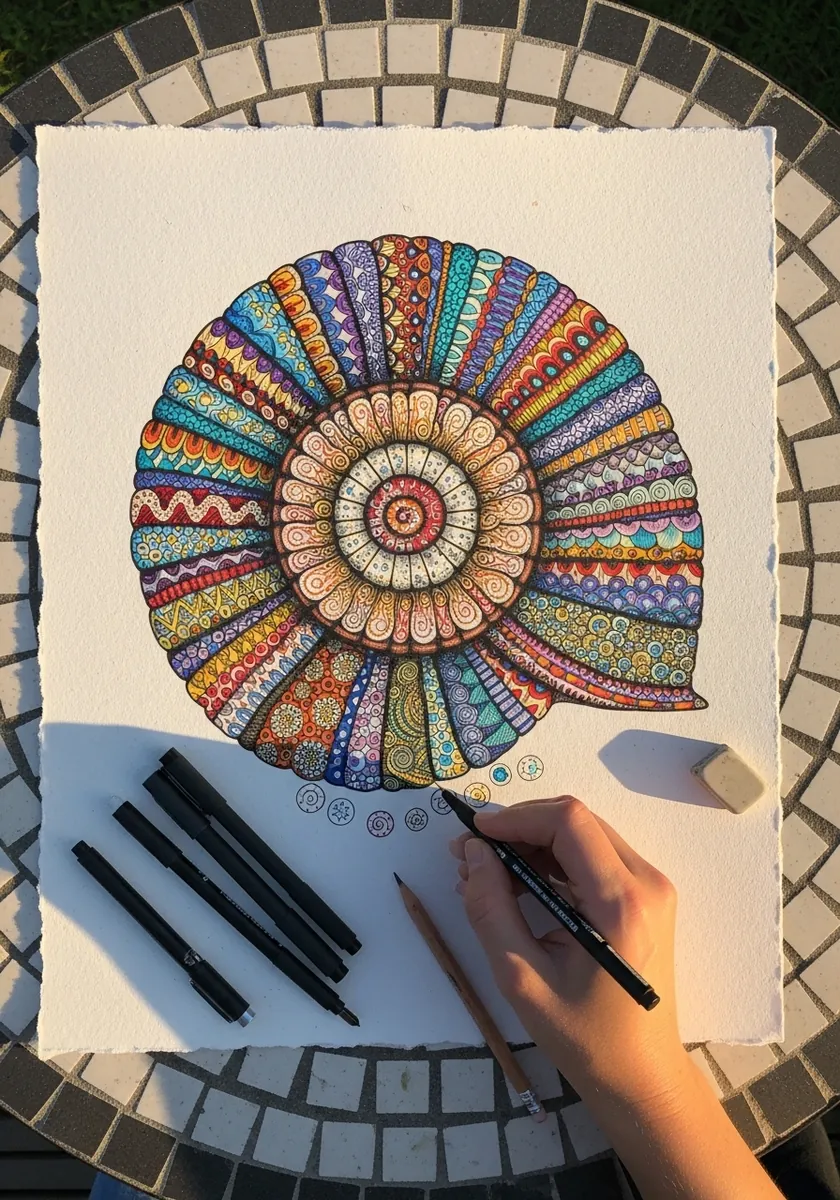
Radial pattern suits a spiral naturally, since both build outward from a center. Work in complete rings rather than filling sectors, let the motifs enlarge with each whorl, and keep the color sequence moving in wheel order. Draw the outermost ring first, which stops the pattern running out of room at the edge.
27. Blue and Gold Rendered Shell
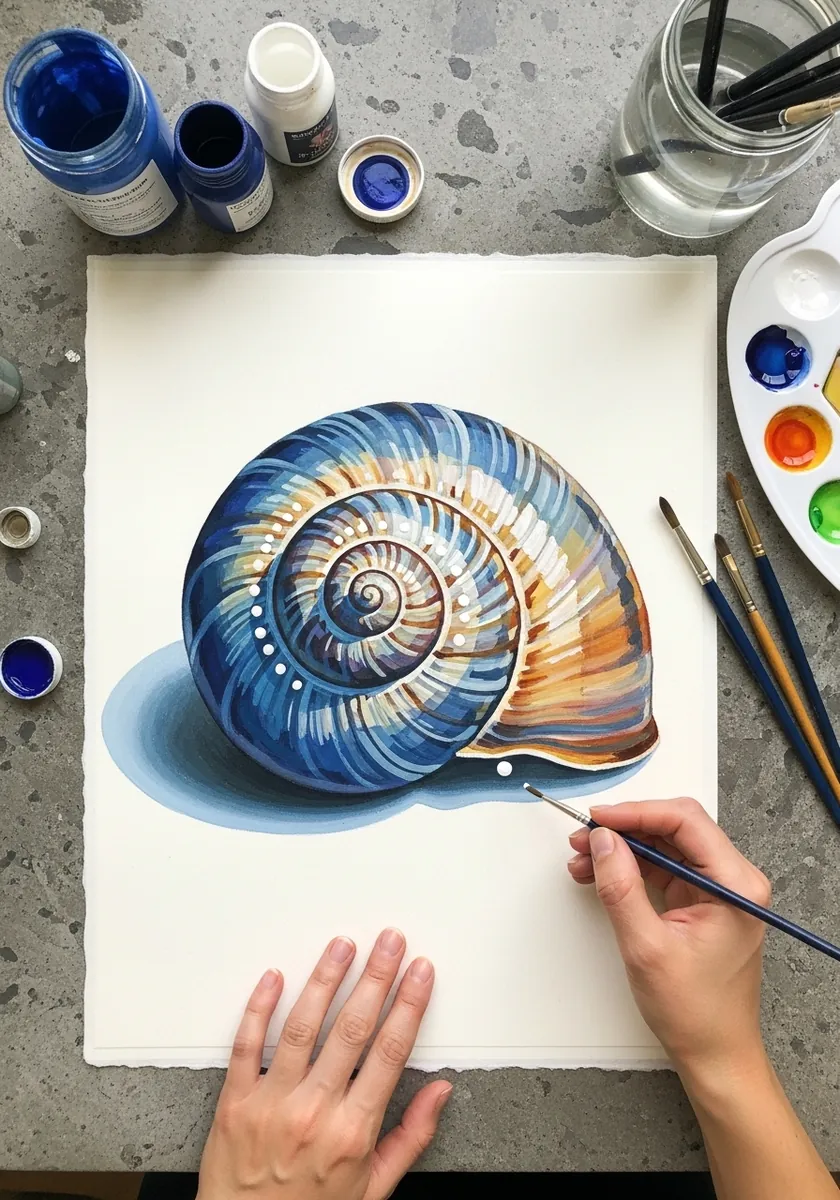
Full rendering means committing to one light source. Put the highlight on the upper whorls, run a band of reflected light along the lower rim, and let the cast shadow darken where the shell touches the surface. Keep the gold slightly warmer in the light and cooler in shadow, since metal shifts temperature.
28. Yellow Green Marker Snail
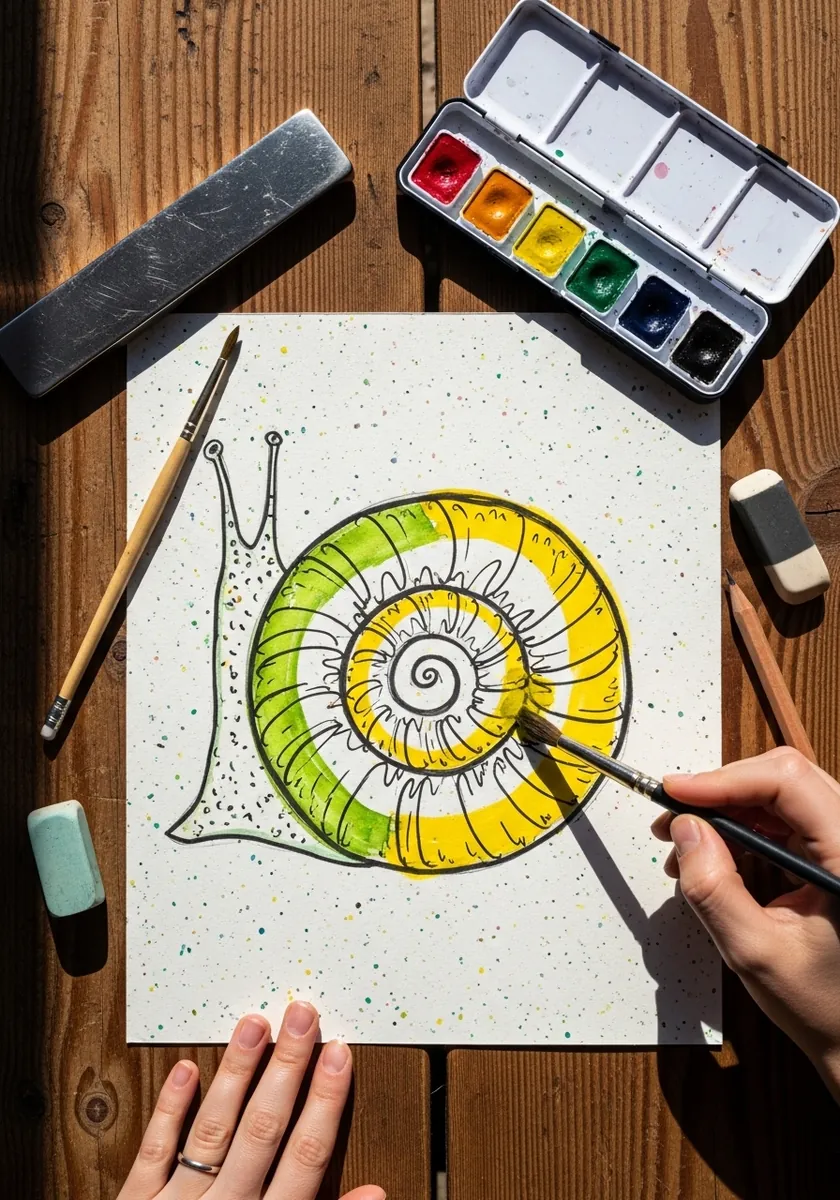
Marker suits flat banded color. Lay each band in one pass without going back over it, let the bands follow the growth lines across the whorls, and outline last in black once everything beneath has dried completely. Overlap two bands slightly at each suture, which creates a natural darker line without extra work.
29. Sepia Shell on a Warm Ground
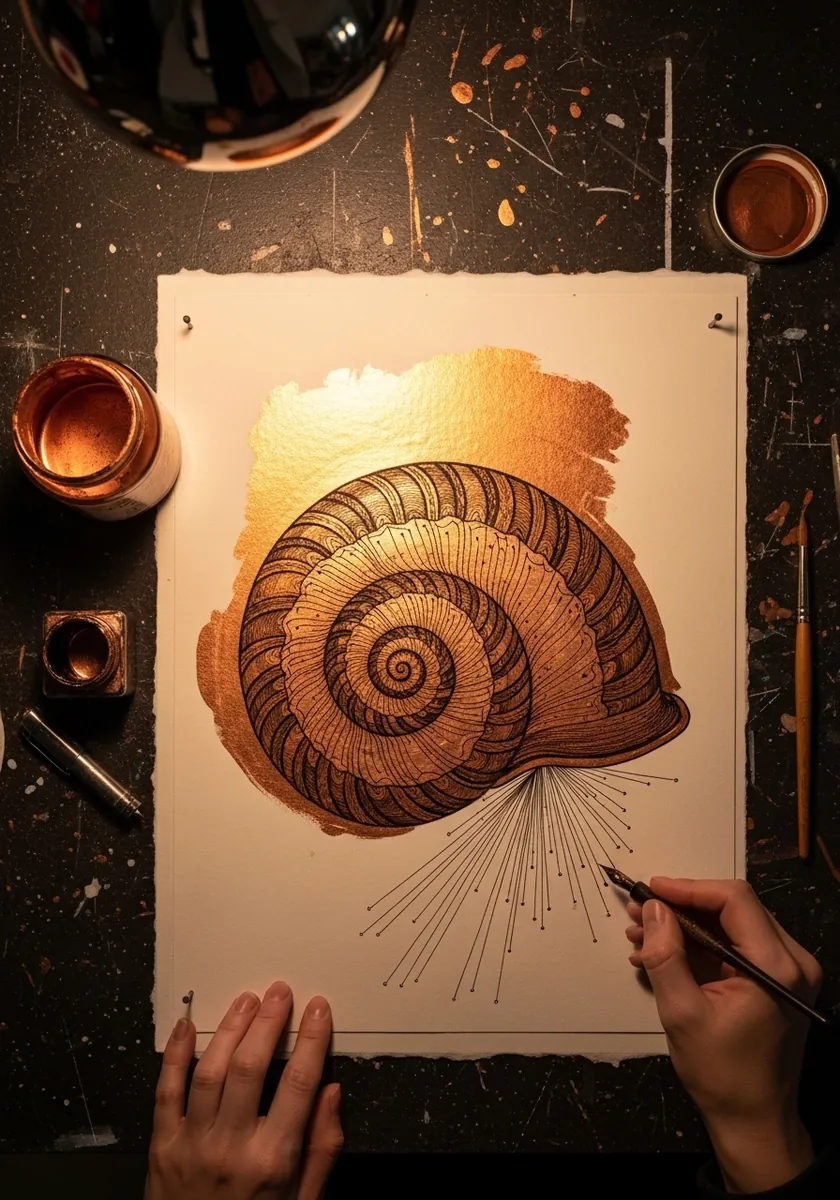
A monochrome subject on a warm ground works through value alone. Mix three strengths of sepia, assign them to lit whorl, mid whorl and suture, and let the gold wash behind supply all the color the page needs. Lay the gold wash first and let it dry fully, so the sepia never lifts what is underneath it.
30. Banded Shell in Colored Pencil
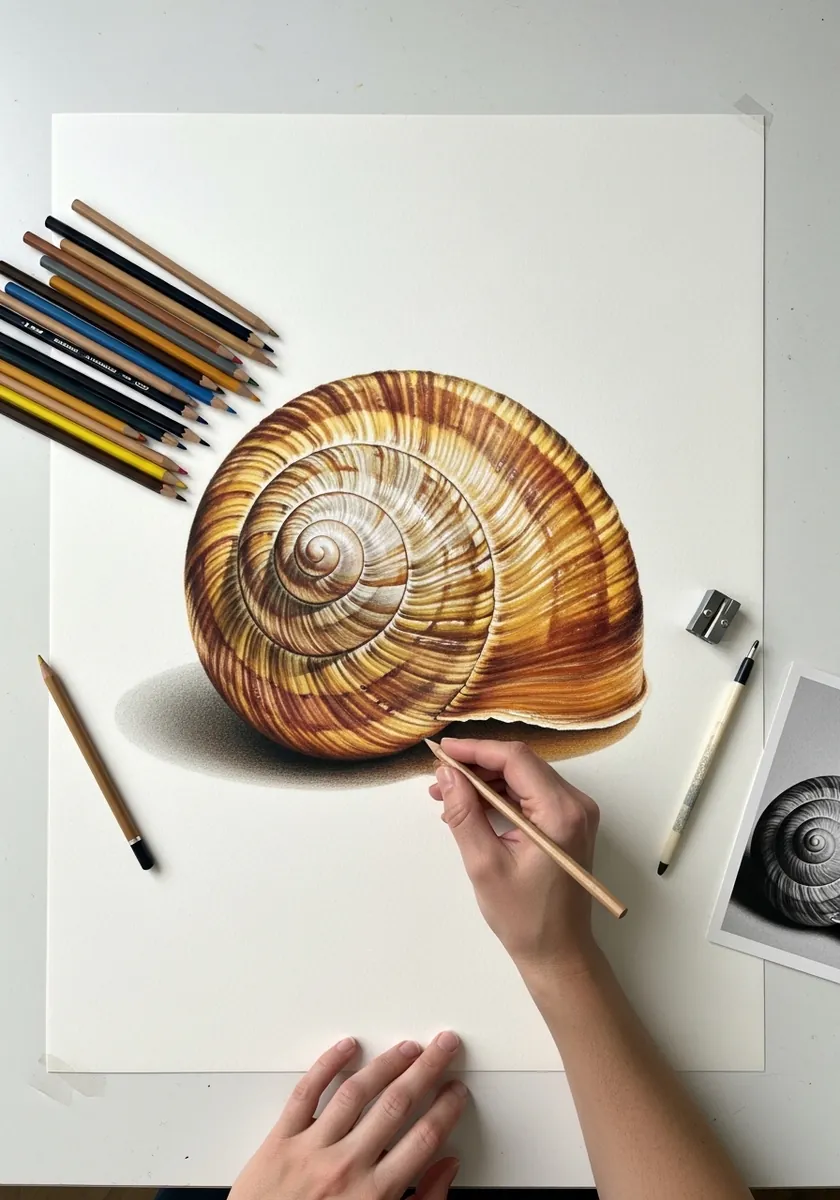
Color bands run along the spiral while growth lines cross them, and that is the whole surface. Lay the bands first as continuous stripes following each whorl, then scratch the finer growth lines across them at right angles. Burnish the whole surface at the end, because a real shell has a distinctly polished sheen.
Frequently Asked Questions
What kind of spiral is a snail shell?
A logarithmic spiral, sometimes called an equiangular spiral. Each turn grows by a constant ratio rather than a constant distance, so the gap between coils gets wider the further out you go. Drawing evenly spaced coils produces an Archimedean spiral instead, which looks like coiled rope.
Why do my snail shell drawings look flat?
Usually because the spiral is drawn as a flat disc. A shell is a cone wrapped around a central axis, seen from an angle, so the apex sits off center and each whorl passes behind the one in front. Draw the hidden parts and then erase them.
What are the fine lines across a snail shell?
Growth lines, which record each increment as the shell was built. They run across the whorls, perpendicular to the spiral, while color bands run along it. Getting those two line families crossing at right angles is what makes the surface convincing.
Which way do snail shells coil?
Most land snails are dextral, meaning right-handed. Hold the shell with the pointed apex upward and the opening facing you, and the aperture sits on the right. Left-coiling shells exist but are rare, so drawing one is a noticeable choice.
How do you construct a shell spiral accurately?
Draw a series of circles, each one a fixed proportion larger than the last, arranged along a curving path outward from the apex. Then join their outer edges into a continuous coil. The consistent growth ratio is what produces a natural-looking shell.
References and Further Reading