Botanical leaf tracing means drawing a leaf's outline and vein structure accurately from the real specimen. Draw the midrib first, branch the secondary veins off it at a consistent angle, then build the outline outward from where those veins end.
Key takeaways
- Always draw the midrib first; every other line on a leaf is positioned relative to it.
- Secondary veins leave the midrib at a consistent angle for a given species, so keep them even.
- Pinnate venation branches like a feather, palmate radiates from one point like a hand.
- Leaf edges follow the veins, so each tooth or lobe sits where a vein reaches the margin.
- Trace from a real pressed leaf rather than a photo whenever you can, since scale stays true.
Every leaf drawing starts in the same place: the midrib. That central line sets the leaf’s angle, its curve and its length, and every other mark you make is positioned against it. Draw the outline first and you will spend the rest of the drawing trying to fit veins into a shape that does not fit them.
The second thing worth knowing is the difference between two venation types. Pinnate leaves have one midrib with secondary veins branching along it, like a feather, which covers oak, beech and most trees. Palmate leaves have several main veins radiating from one point at the base, like maple and ivy.
Once those two rules are in place the styles below become variations rather than separate skills. There are stippled botanical plates, brush-ink ginkgo, gold line palm fronds on black, Madhubani pattern work, oil pastel color studies and a pressed-leaf collage. If you want to build up to full plants, tree drawing ideas and nature watercolor ideas are the natural next step.
Several pieces here pair leaves with flowers or nests, so flower drawing ideas and these bird nest studies make good companions, while the decorative leaf mandalas borrow directly from mandala construction.
Compiled by the GS Art Zone editorial team. Last updated August 2026. Each idea is paired with the specific step that produces the effect, so you can go from the reference straight to paper.
What You Need Before You Start
- Fine liners in 0.05, 0.1 and 0.3, since vein work needs finer nibs than most drawing
- Tracing paper or a lightbox if you are working directly from pressed specimens
- A few real leaves pressed flat in a heavy book for a week, which beats any photo reference
- Two greens plus raw sienna, because most leaves need a warm and a cool green rather than one
- Toned, black or kraft paper with a white and a gold gel pen for the reversed studies
1. Monstera Leaf with Fine Cross Hatching
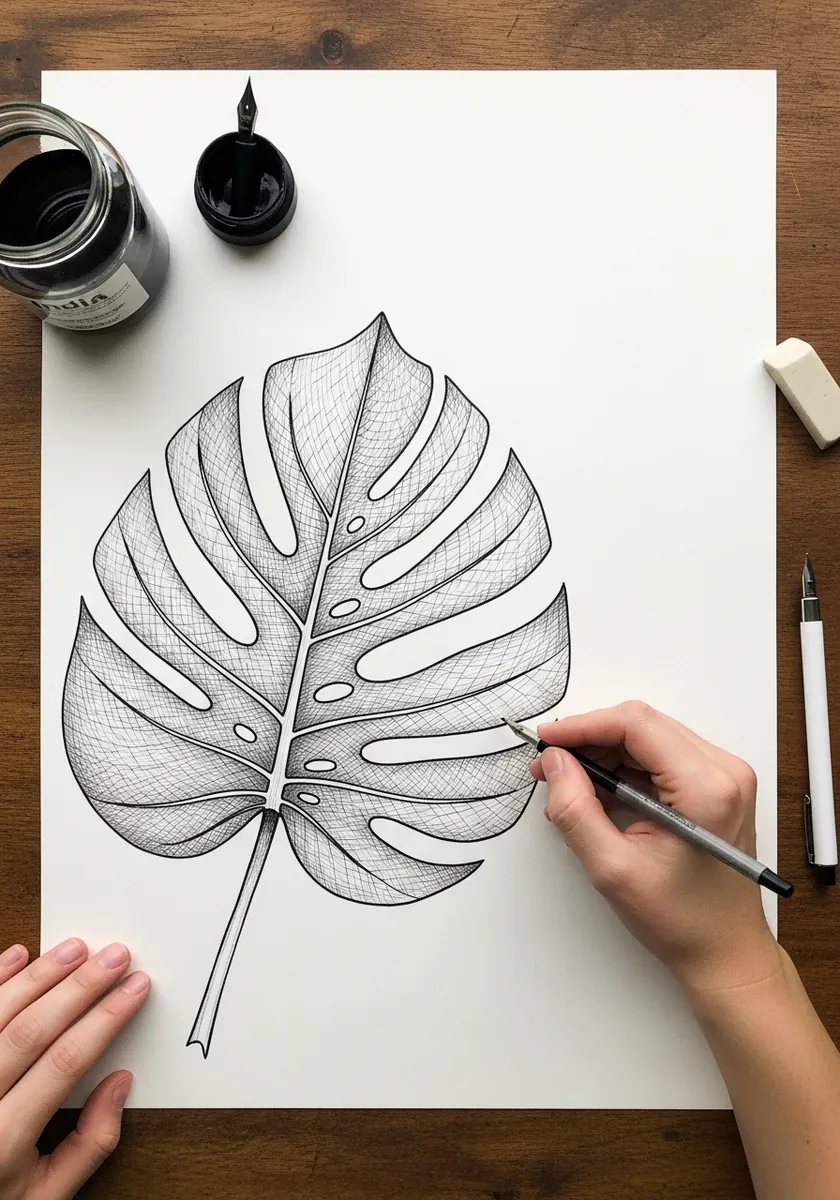
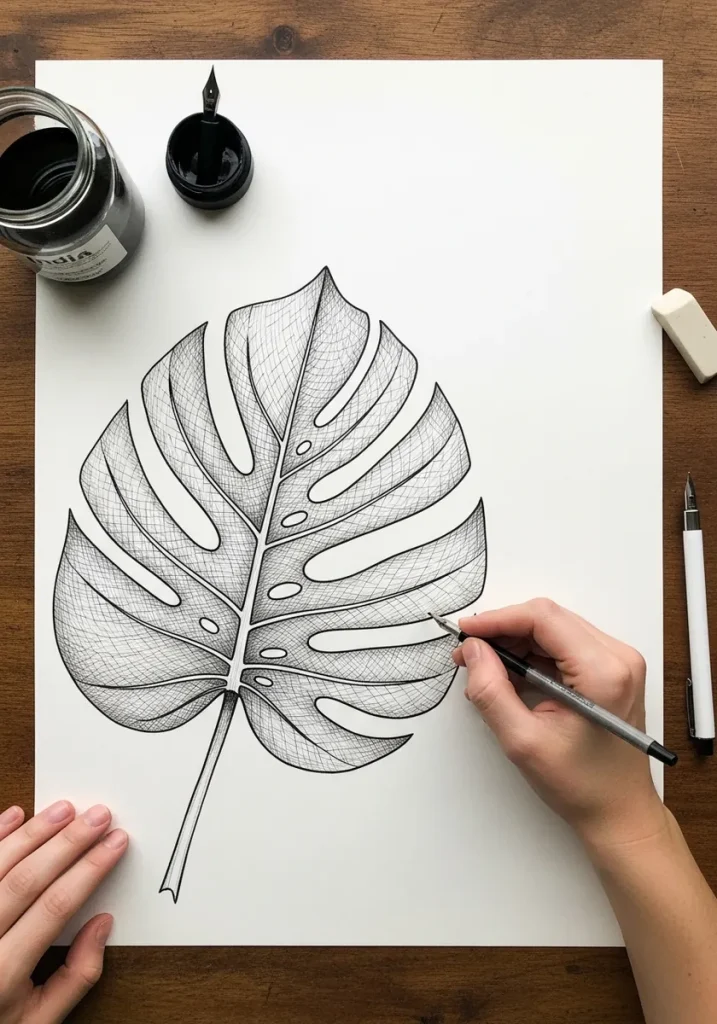
Monstera is the ideal first subject because its splits tell you exactly where the veins run. Draw the midrib, branch a vein into each lobe, then cut the splits between them. Hatch in the direction each vein travels rather than uniformly across the leaf.
2. Eucalyptus Sprig with Dripping Wash
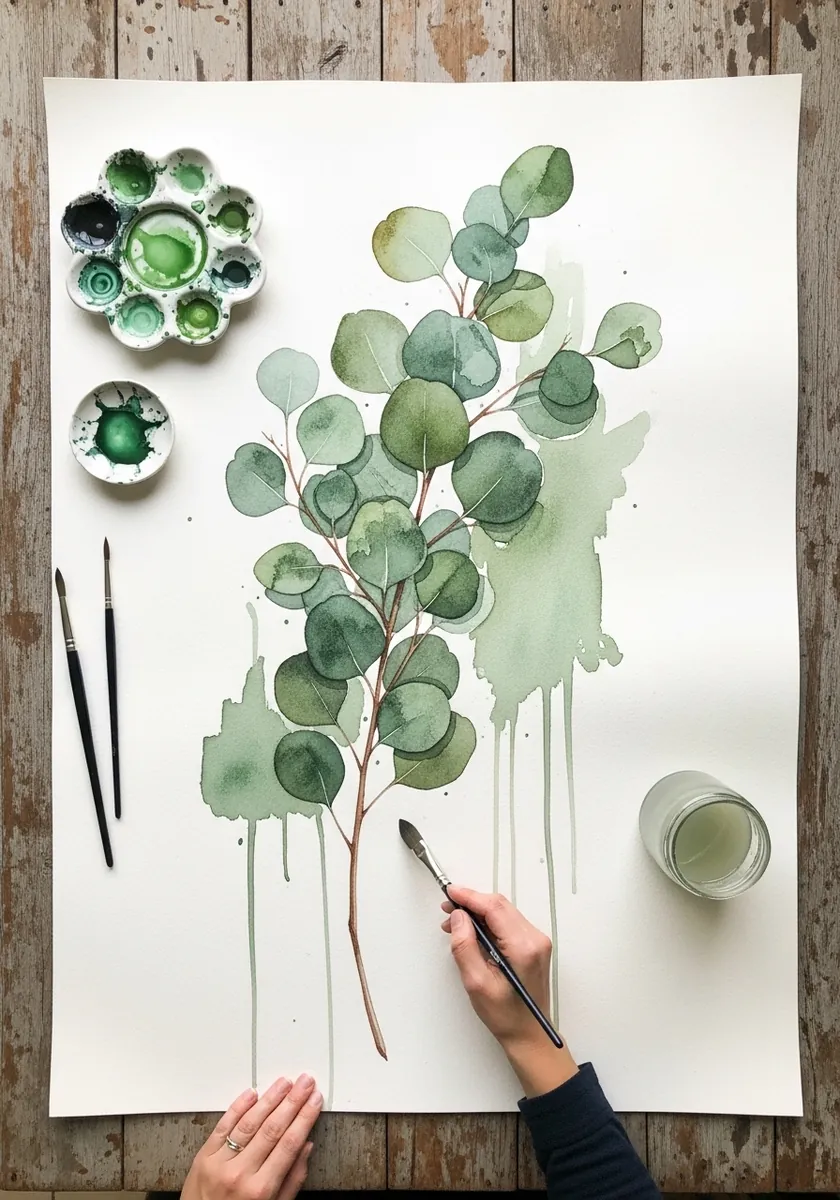
Round leaves need almost no internal drawing at all. Load the brush with a soft gray-green and drop each leaf as a single press of the tip, letting the pigment pool at the lower edge. Paint the stem afterward, curving it so the leaves alternate naturally along its length.
3. Graphite Study of a Curled Leaf
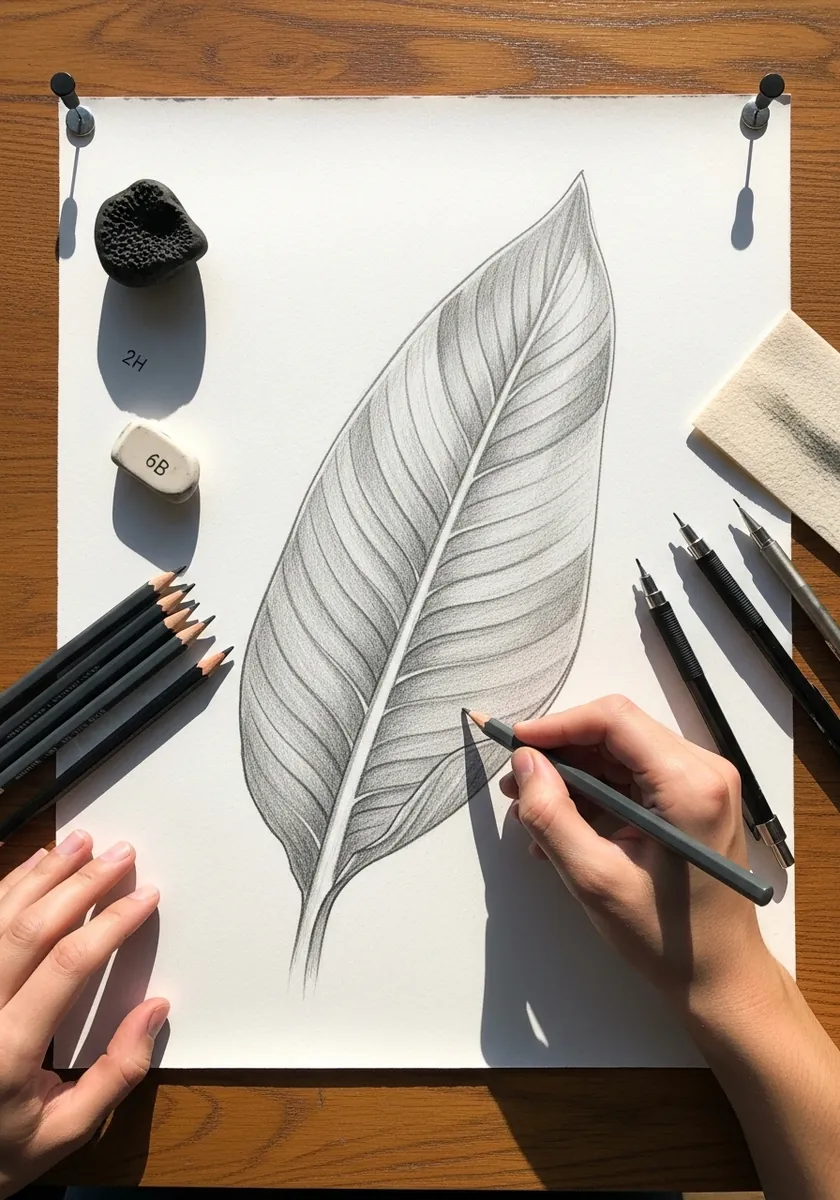
A curled tip turns a flat exercise into a form exercise. The veins compress as the surface turns away, so draw them closer together toward the curl and let them disappear over the edge. That compression is the only thing creating the three-dimensional effect.
4. Bold Brush Ink Ginkgo Leaf
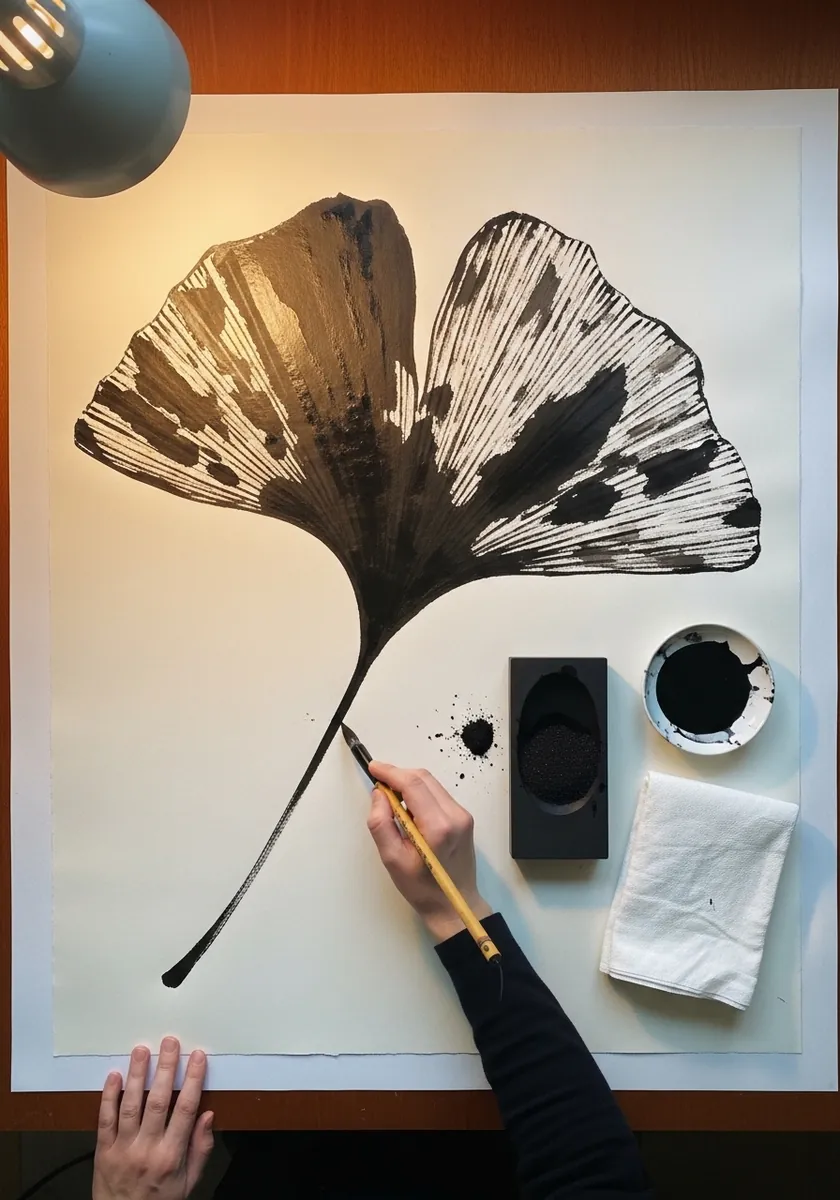
Ginkgo is unusual because its veins radiate in parallel from the stem with no midrib. Paint the fan shape with one loaded stroke, then drag a nearly dry brush outward from the base so the bristles separate and leave the vein lines naturally.
5. Autumn Maple in Colored Pencil
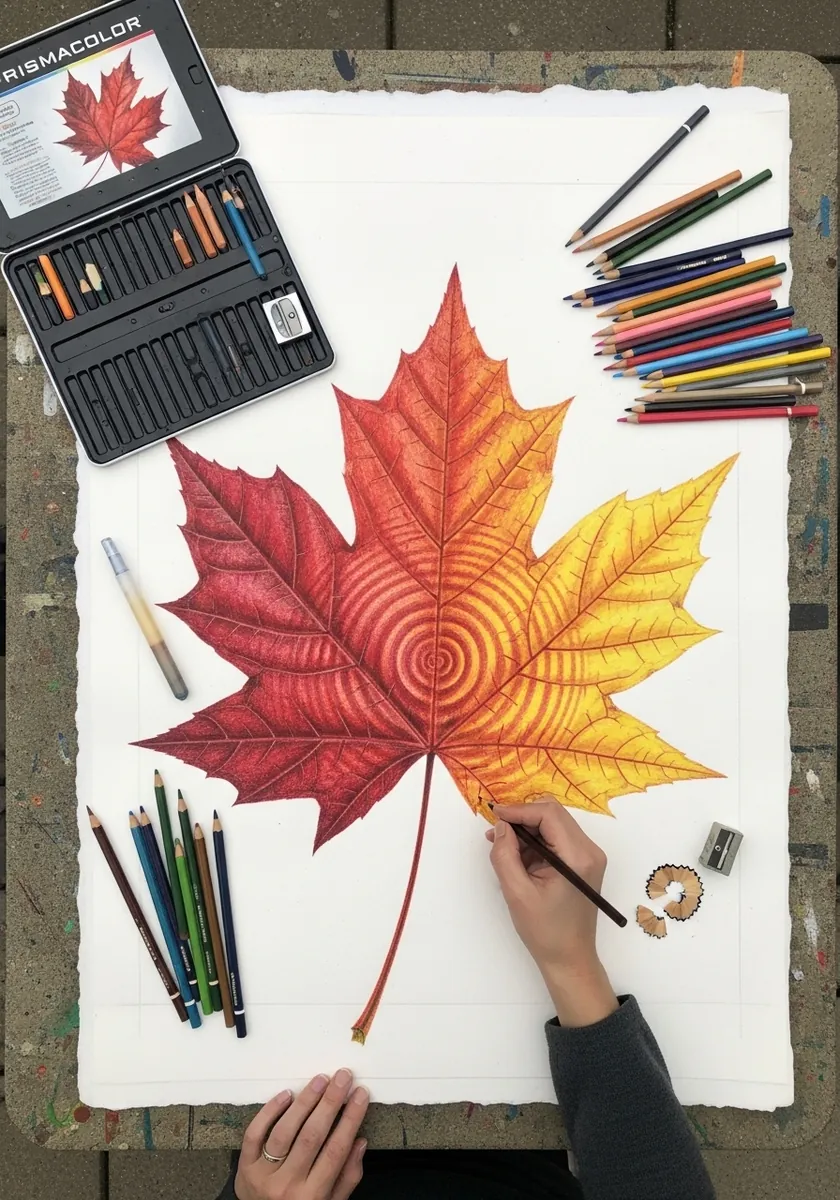
Maple is palmate, so five main veins radiate from a single point where the stem meets the blade. Establish those five first, then let the lobes and points grow from wherever each vein reaches the edge. The color gradient goes on last, warm at the center to cool at the tips.
6. Fiddle Leaf Fig Outline in Clean Line
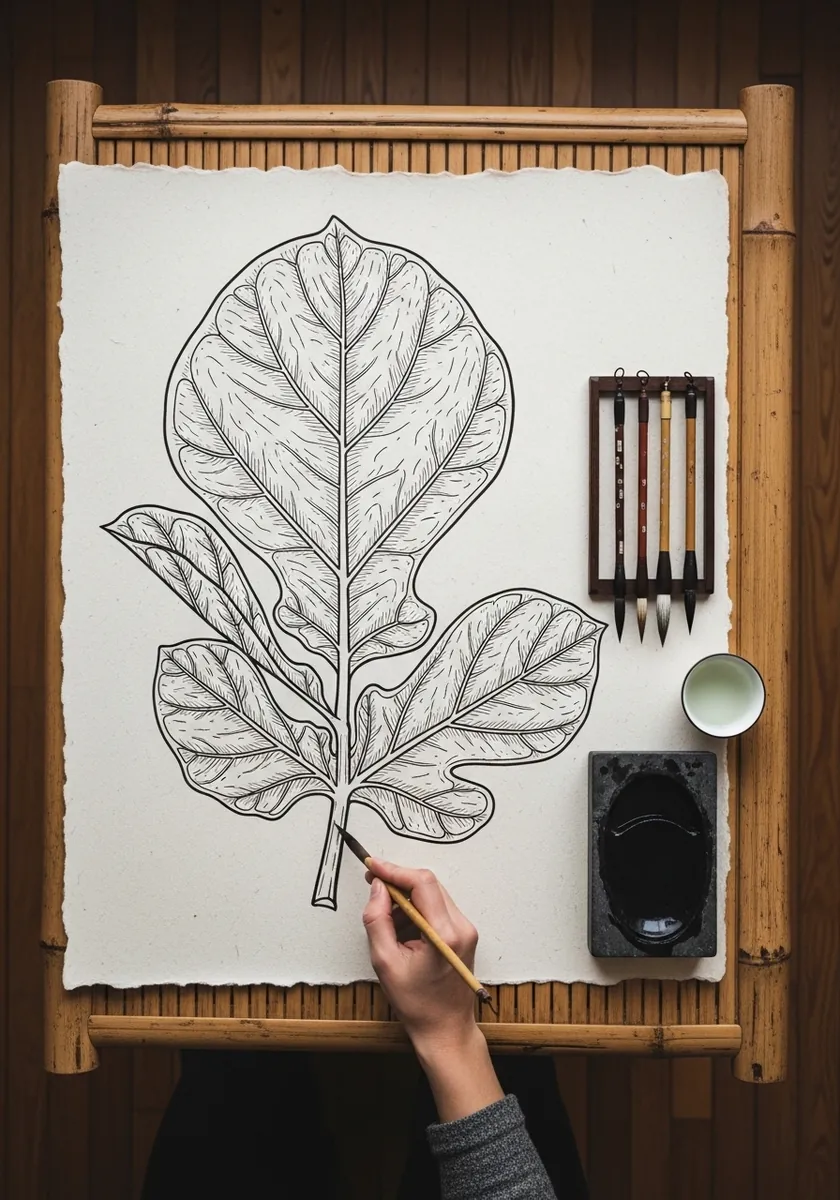
Pure line offers nowhere to hide. Keep the outer contour a single consistent weight, draw the midrib slightly heavier, and step the secondary veins down again in weight. Three line thicknesses are enough to build a complete hierarchy without any shading.
7. Banksia Flower on Gray Paper
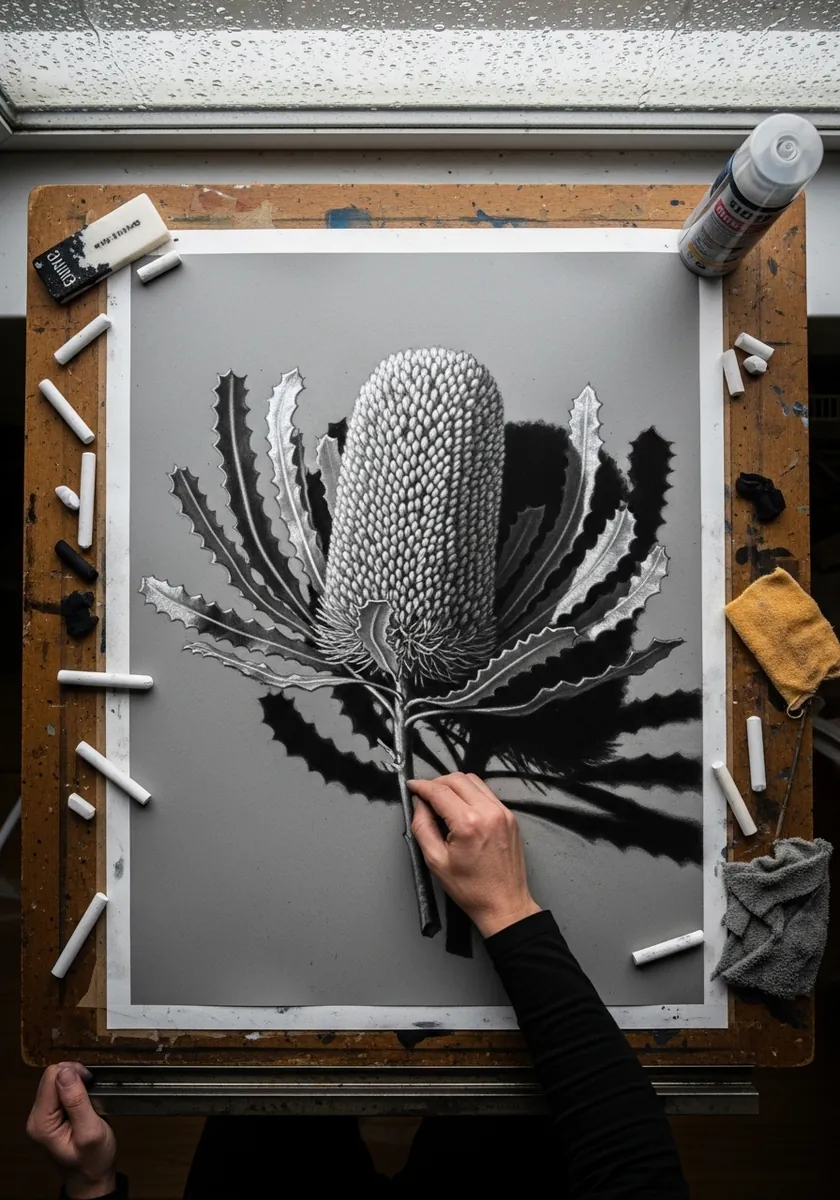
Serrated leaves are easier than they look once you know the rule. Each tooth sits where a vein reaches the margin, so place your veins first and the teeth position themselves. Work charcoal into the shadows and add white chalk only along the top edges.
8. Fern Frond in Fine Marker
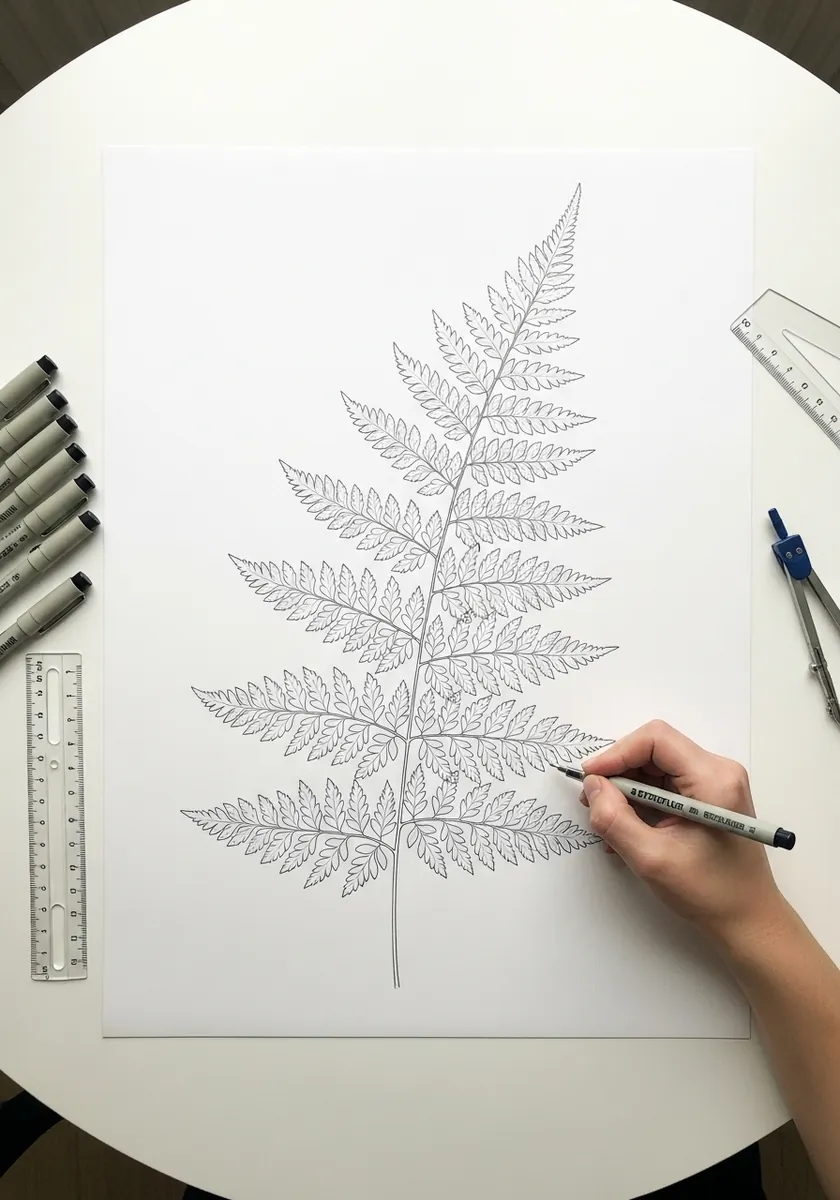
Ferns are the same shape repeated at three scales, which makes them a patience exercise rather than a difficult one. Draw the main stem, then each leaflet stem, then the tiny divisions on each. Work from the base upward and let everything shrink toward the tip.
9. Tropical Leaf in Vivid Watercolor
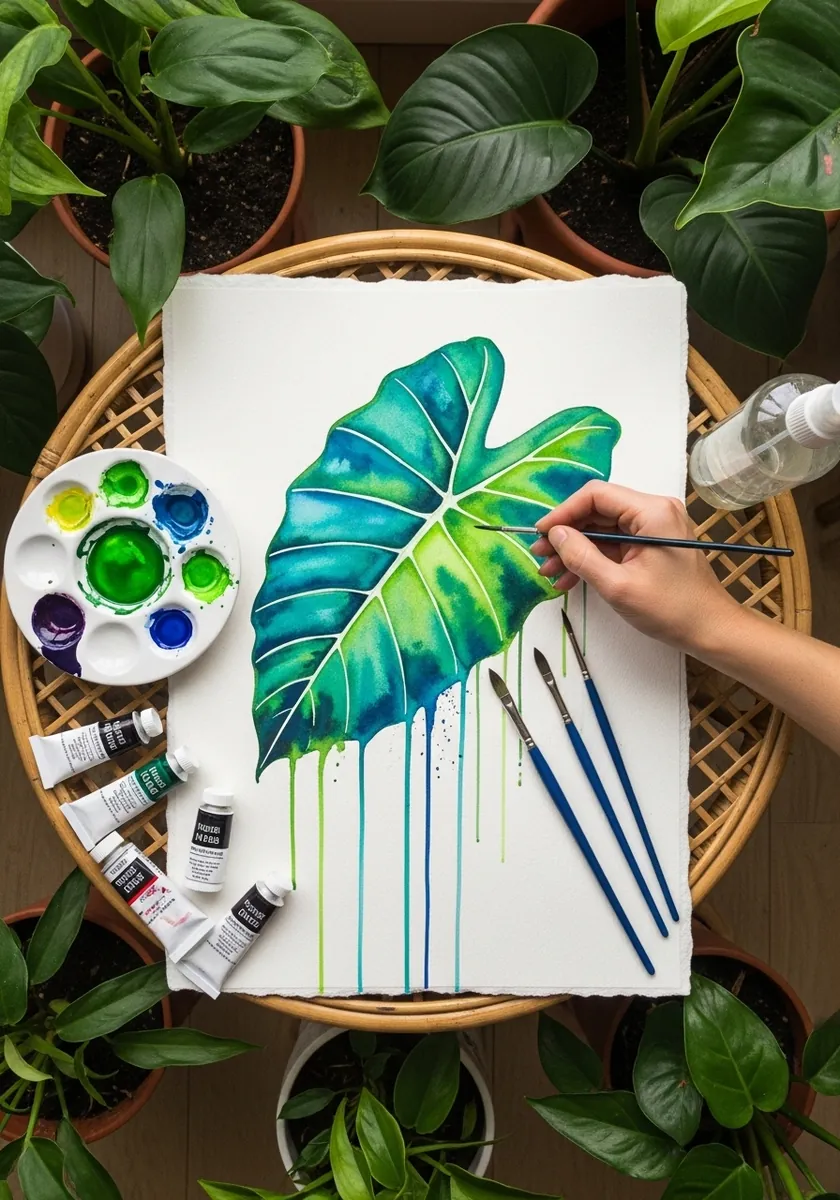
Wet on wet needs planning before it needs skill. Wet the whole leaf shape with clean water, drop your greens and blues in and let them mix on the paper rather than the palette. Tilt the board once so the pigment runs and makes the drips at the bottom.
10. Oak Leaf Cluster on Aged Paper
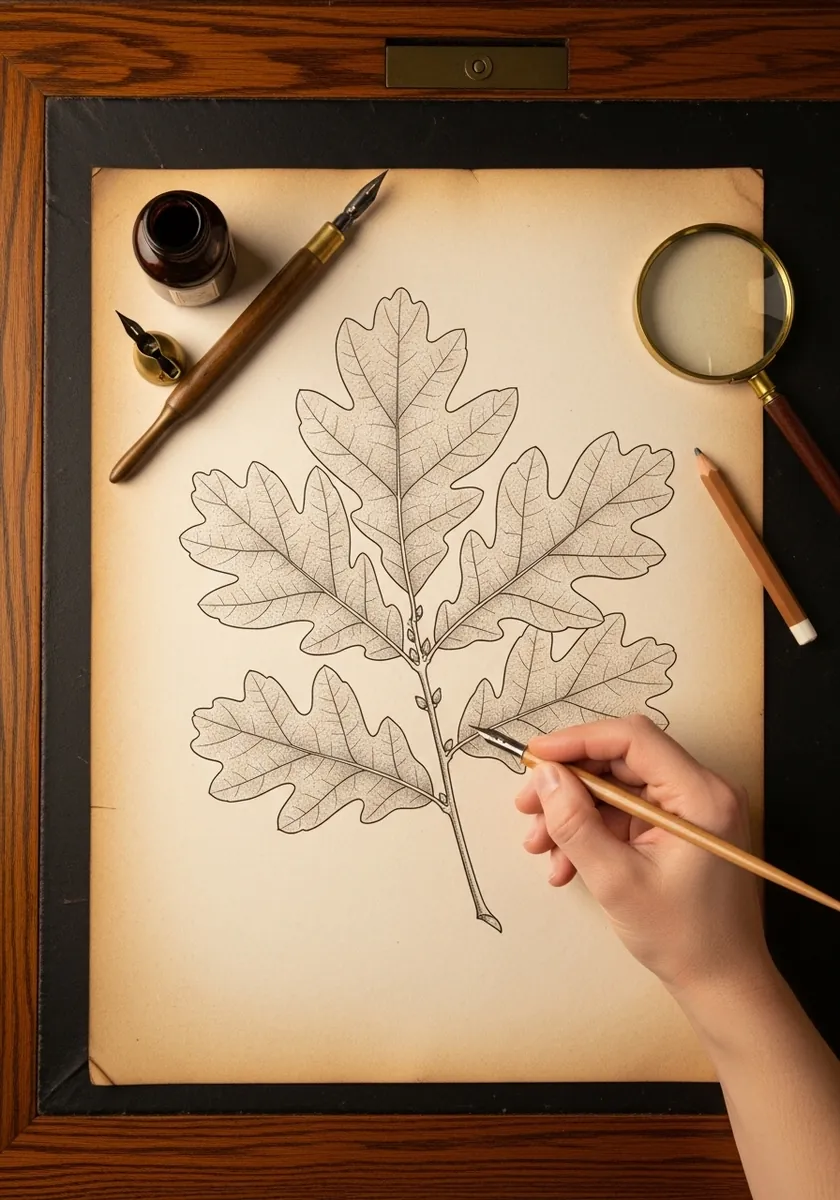
Oak leaves are pinnate with deeply rounded lobes. Draw the midrib and secondary veins first, then round each lobe outward from where a vein ends. Working on toned paper in sepia rather than black immediately gives it the character of an antique plate.
11. Ivy Leaf Study in Watercolor
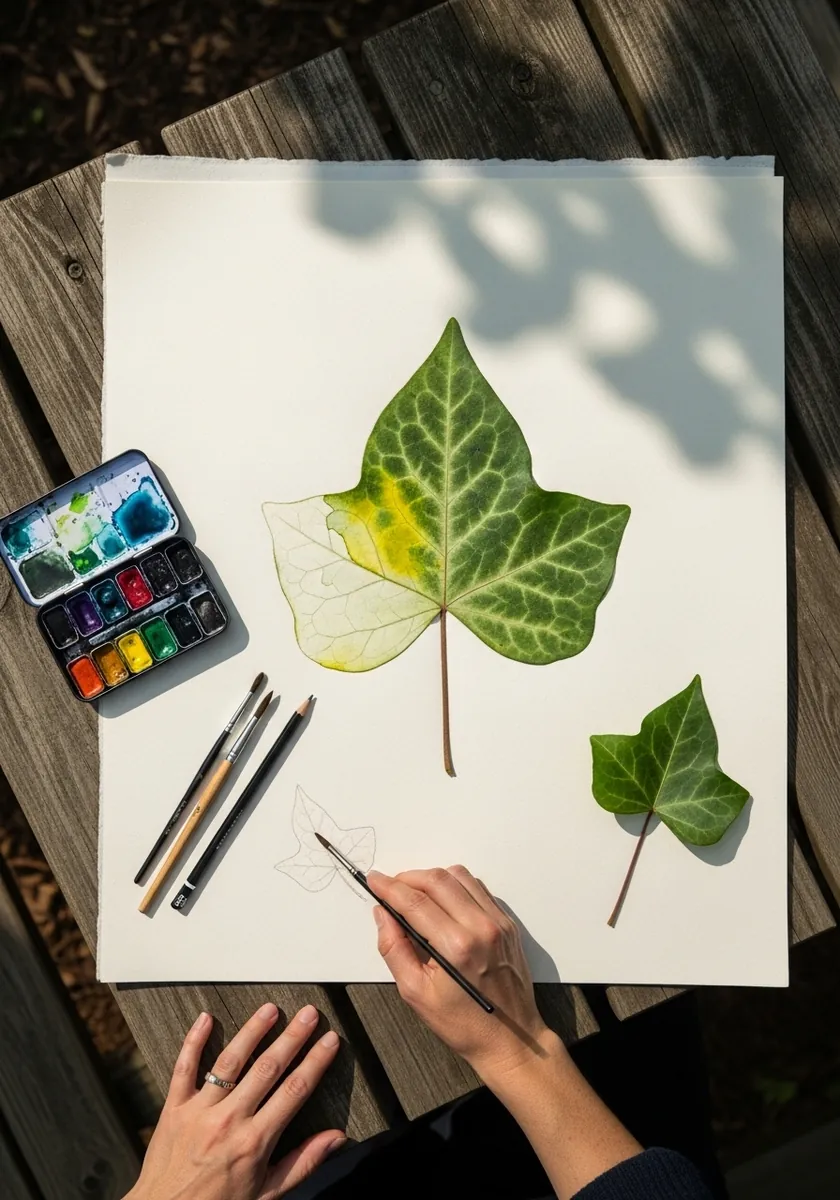
Ivy is palmate with five points and pale veins that sit lighter than the blade. Paint around them rather than over them, leaving the vein lines as unpainted paper. Reserving the light is far more convincing than adding white paint on top afterward.
12. Mid Century Palm Frond in Flat Color
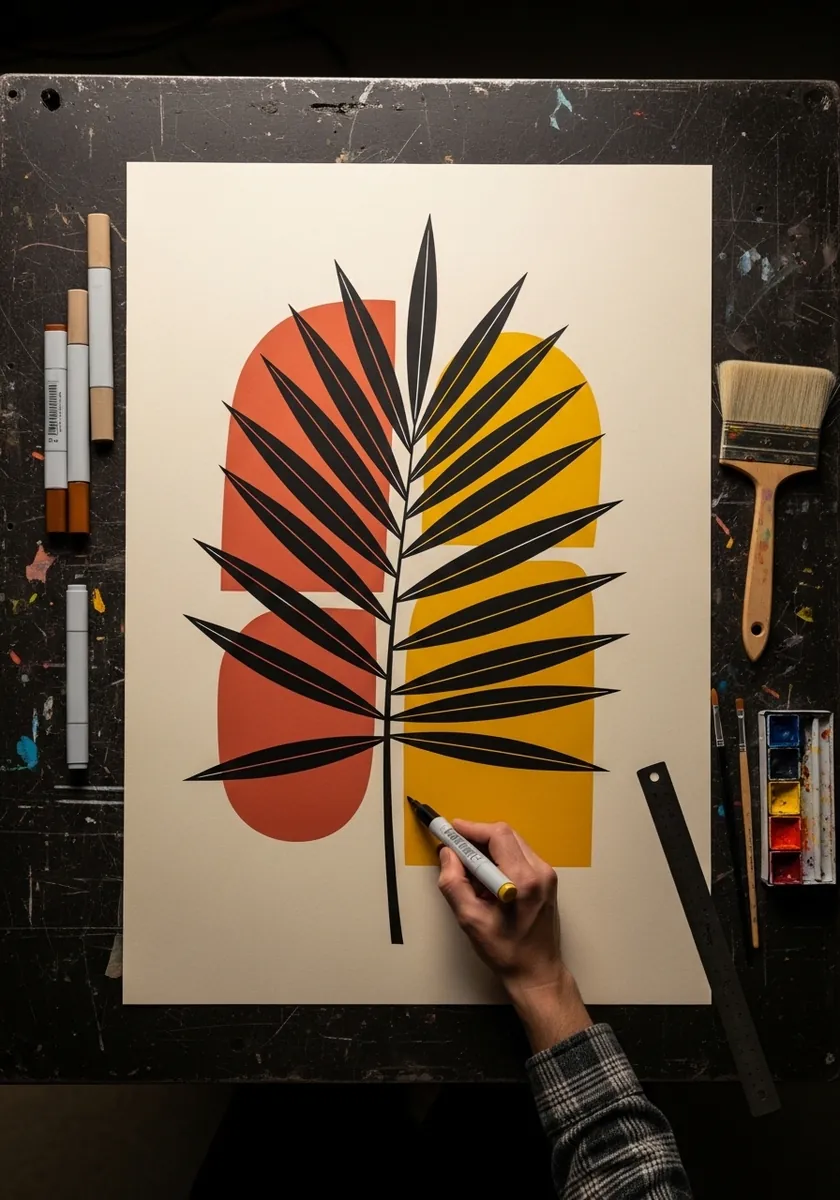
Mid century design works by reduction. Draw each leaflet as a simple pointed shape, all at the same angle to the stem, and use flat black with no shading at all. The two colored background shapes sit behind, slightly offset, which gives the composition its balance.
13. Strawberry Leaf Trio in Soft Green
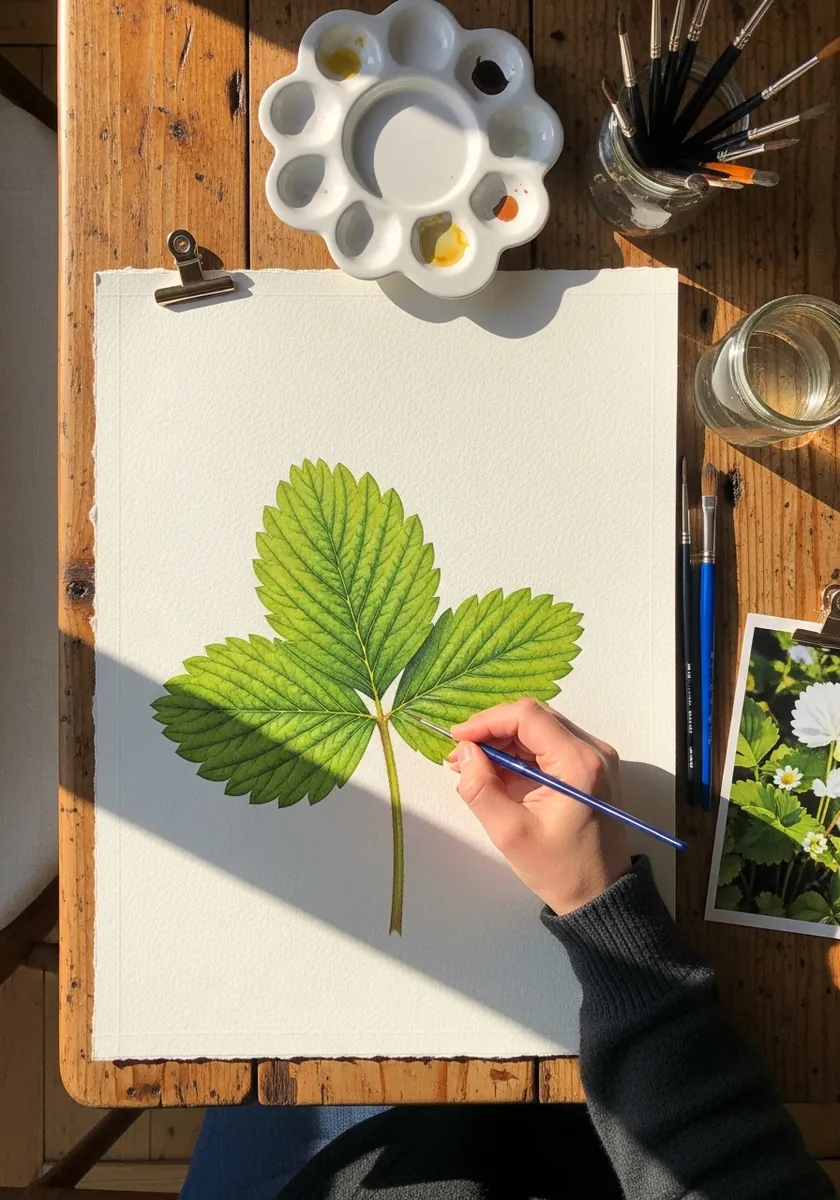
A trifoliate leaf is three leaflets on one stem, and getting their angles equal is the whole challenge. Draw the central leaflet upright first, then set the two side leaflets at matching angles either side. Symmetry here should be close but never mechanical.
14. Layered Leaves on Gray Wash
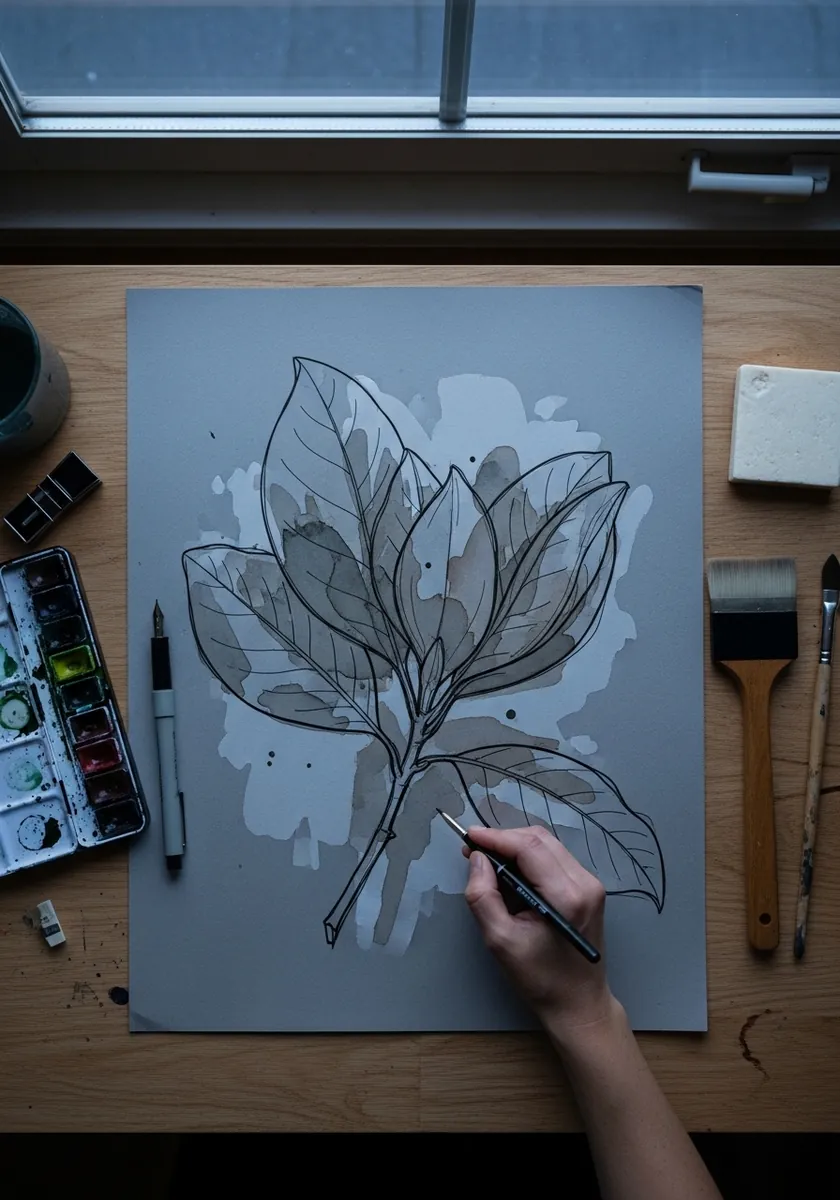
Overlap is the cheapest depth tool available. Decide which leaves sit in front before drawing anything, then let the front ones interrupt the outlines of those behind. The pale gray wash behind pushes the whole cluster forward without any shading on the leaves themselves.
15. Gold Line Banana Leaf
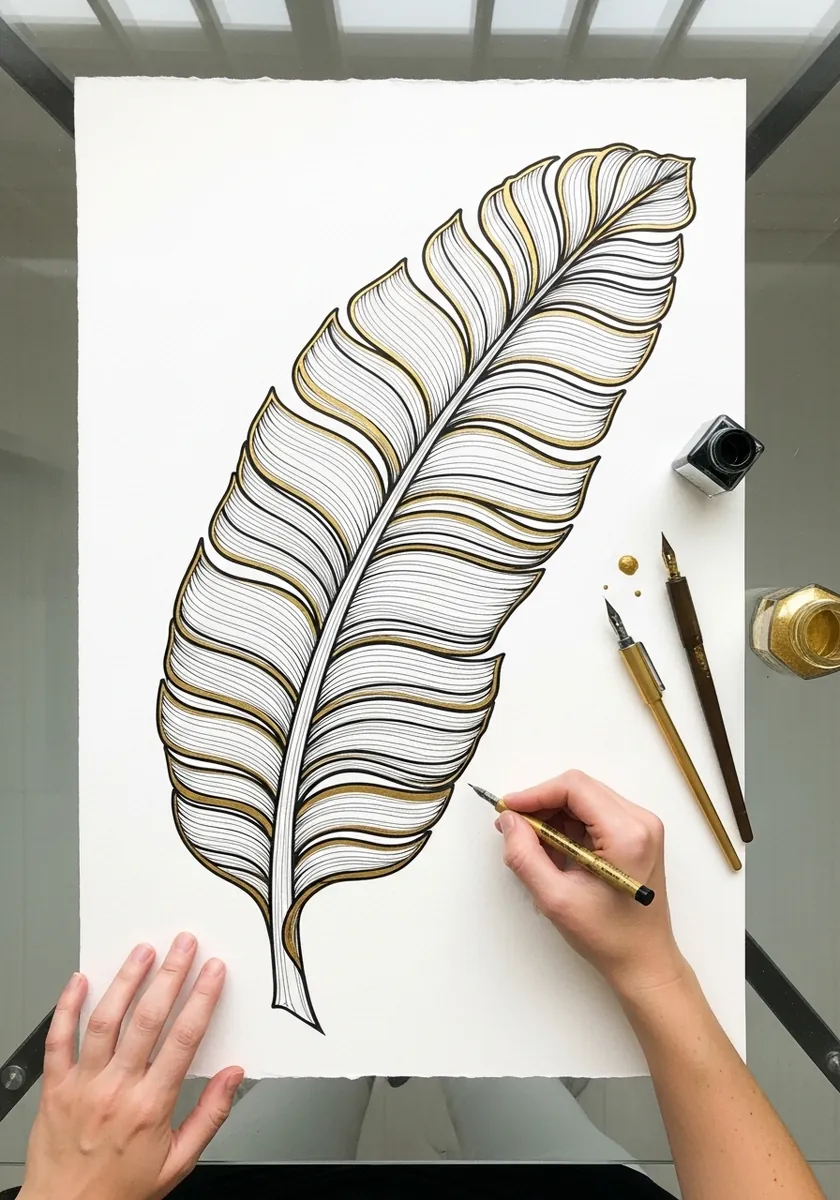
Banana leaves have strong parallel veins running from midrib to edge at a steep angle. Draw the midrib as a long confident curve, then rule the veins outward, keeping every one parallel to its neighbour. The gold accent lines work best used sparingly, on perhaps every fourth vein.
16. Folk Pattern Leaf in Blue and Red
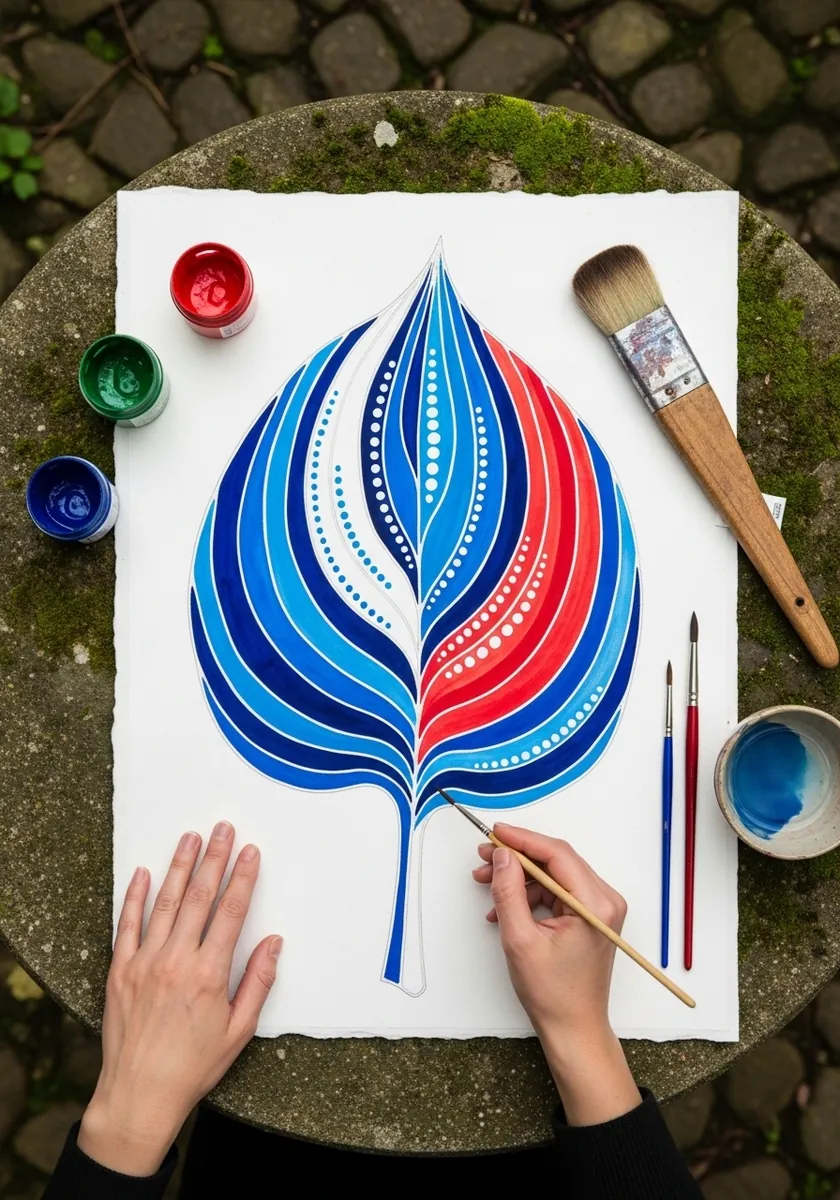
Pattern that follows form is far more effective than pattern laid over it. Draw the leaf and its midrib, then run every band of color parallel to the veins so the decoration curves with the surface. The white dot rows go on last, once everything beneath is dry.
17. White Palm Fronds on Dark Paper
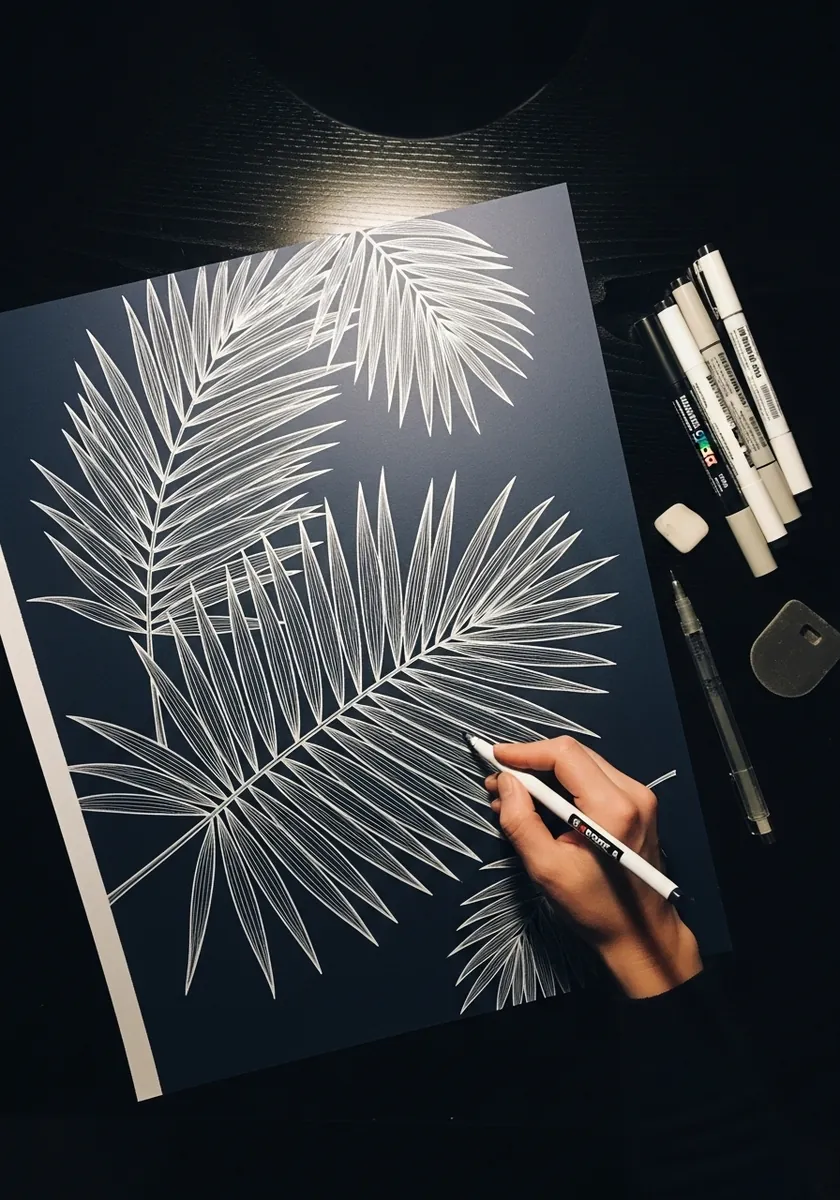
Reversing your process forces better decisions. Because you can only add light, you have to choose which leaflets actually catch it rather than drawing every one. Two overlapping fronds is plenty, and the empty dark space between them does half the work.
18. Rosemary Sprig in Botanical Detail
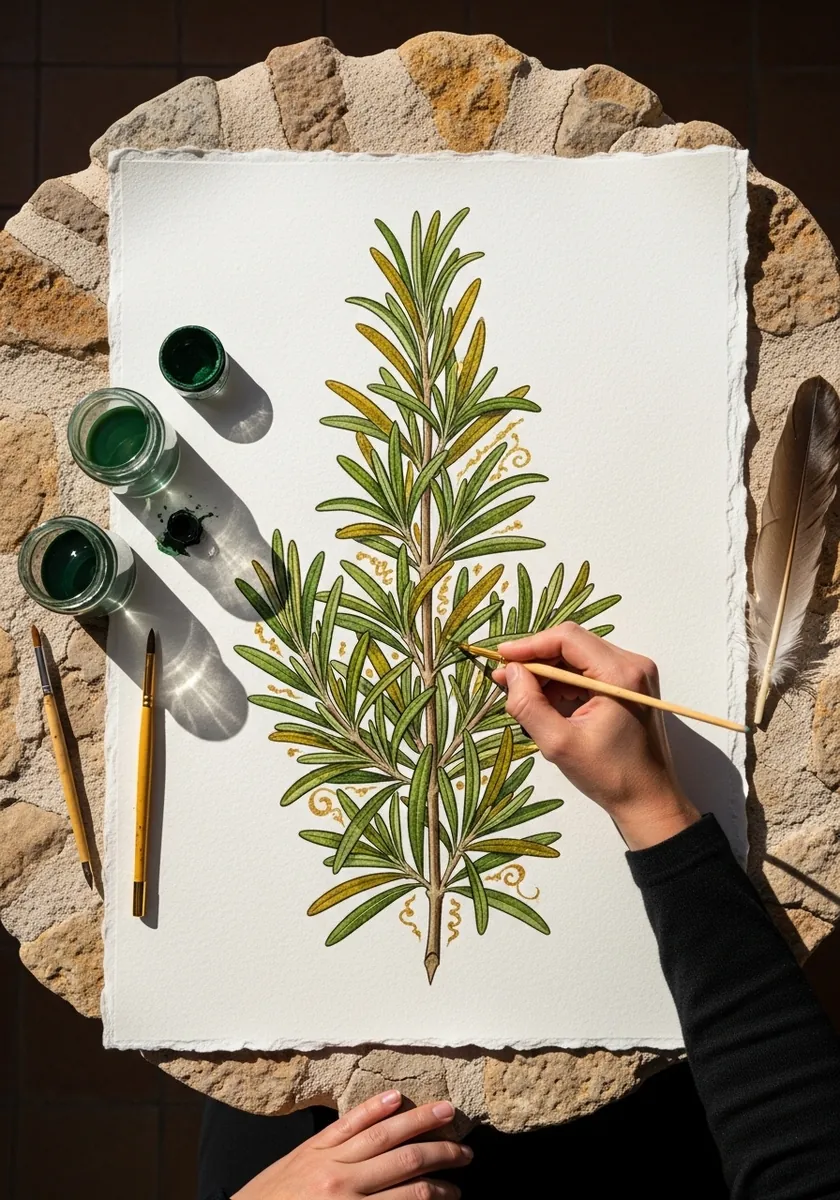
Needle leaves are about rhythm rather than structure. Work up the stem placing pairs of needles at alternating angles, and vary their length slightly so the sprig never looks manufactured. A single fine gold line along the stem lifts an otherwise quiet study.
19. Rainbow Leaf Arrangement in Oil Pastel
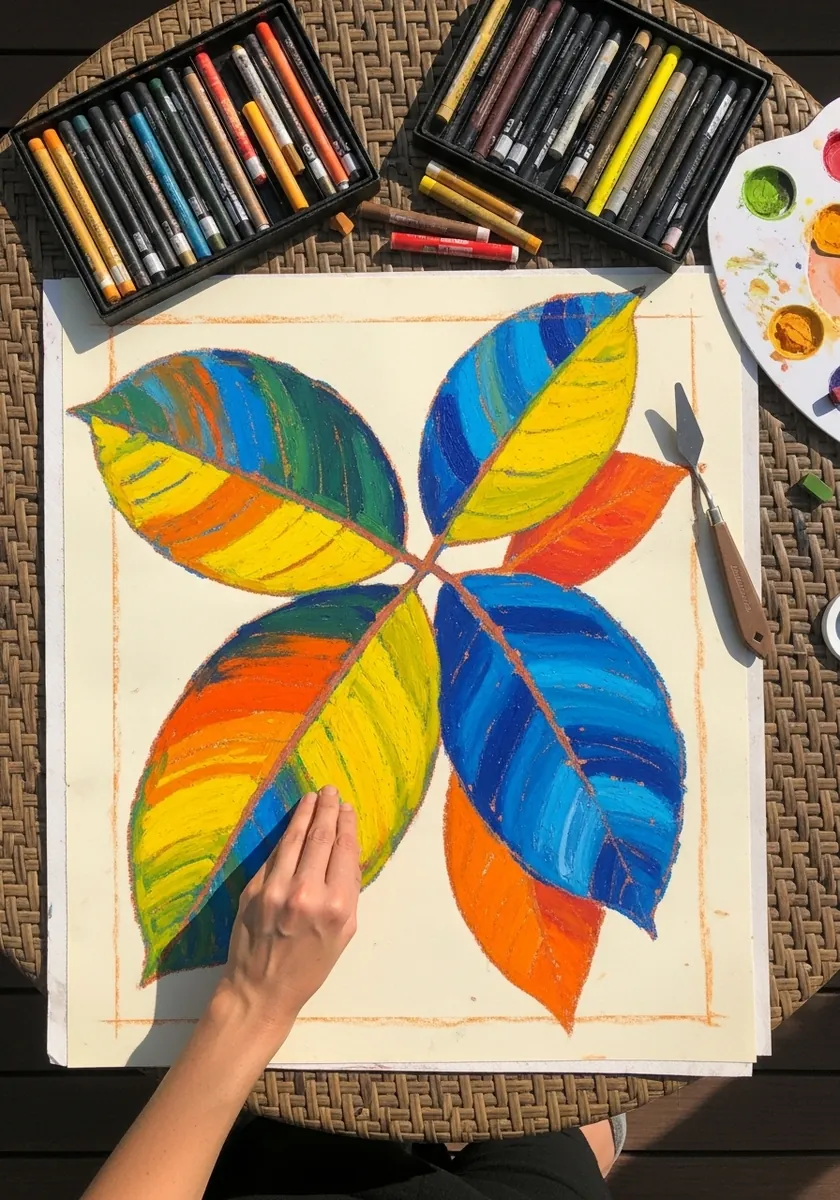
Arranging leaves radially turns a study sheet into a design. Draw a light circle, place the stems meeting at the center, and give each leaf its own color family. Oil pastel blends best when you layer light over dark, so lay your deepest tone first.
20. Bold Fig Leaf Sticker Style
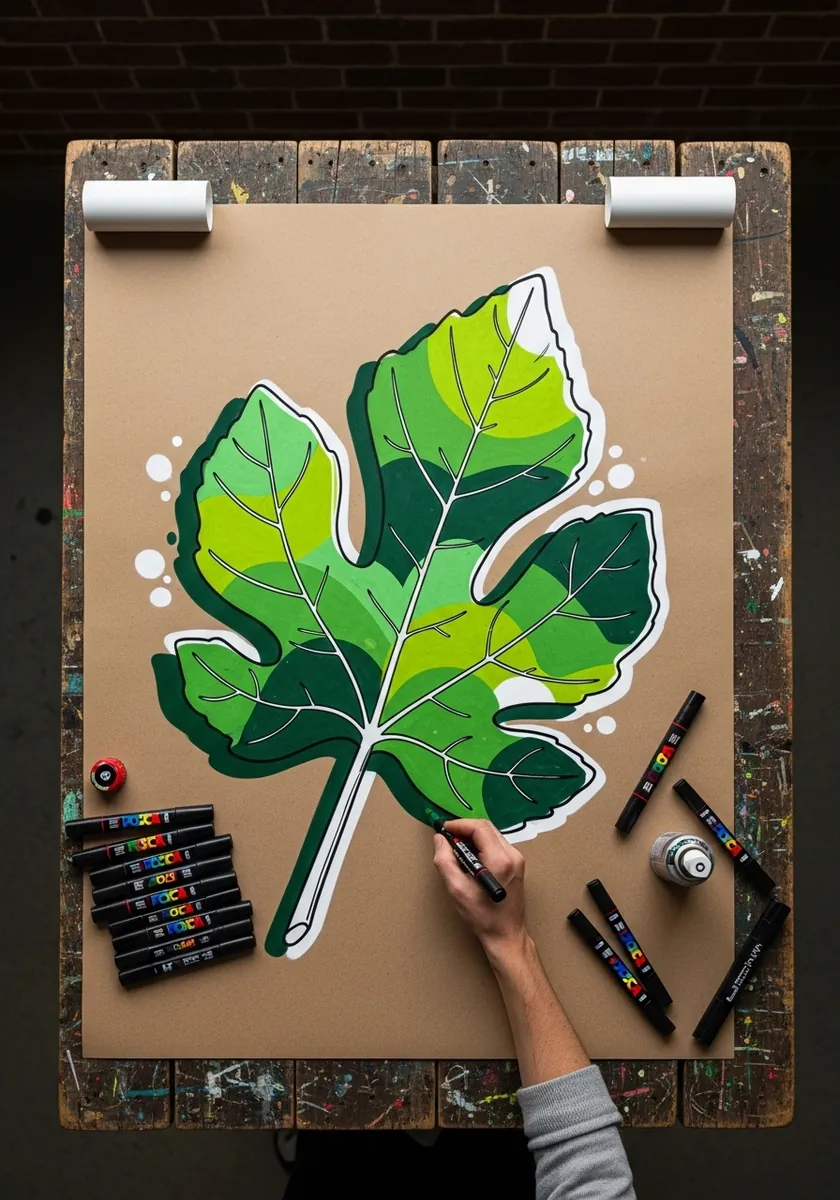
The white border is what turns a drawing into a graphic. Ink the leaf heavily, color it in two flat greens for light and shadow, then trace a generous white band all the way around the outside. Keep that band even in width or the effect collapses.
21. Stippled Leaf with Dense Dot Shading
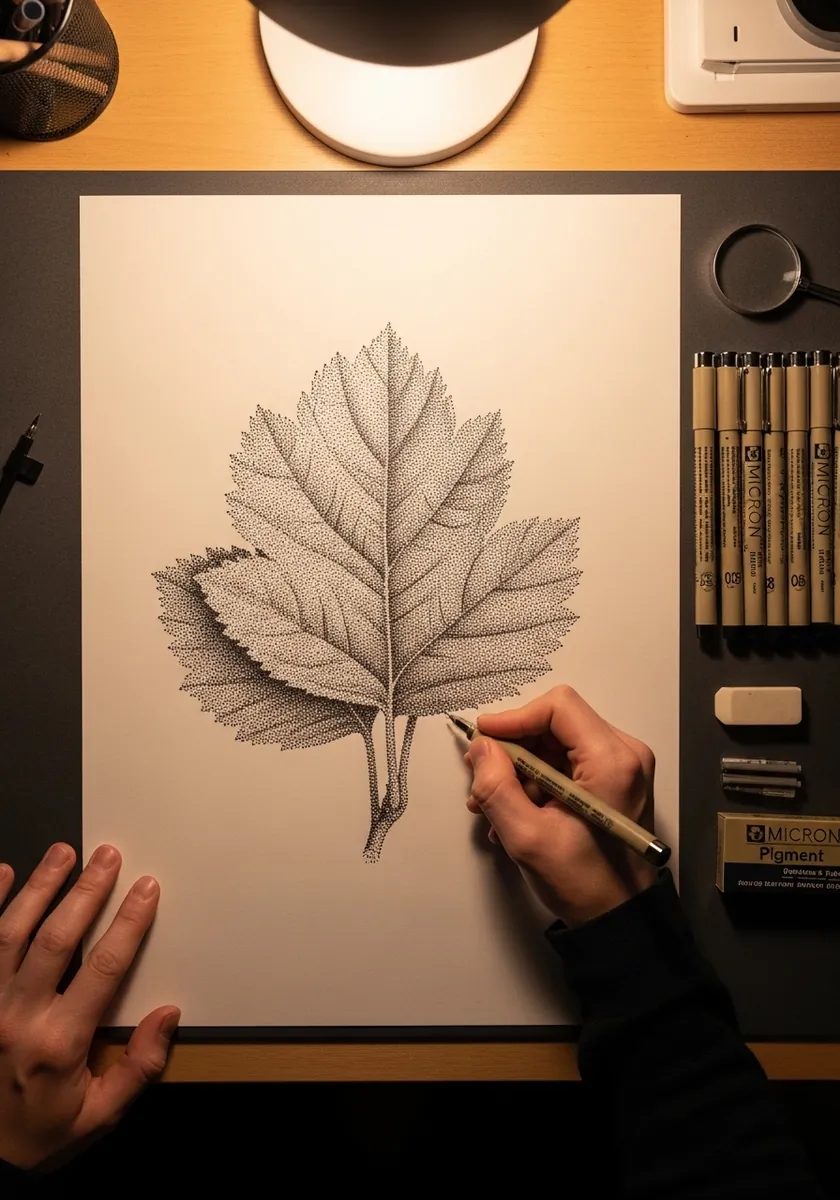
Stippling teaches value control better than any other technique available to you. Build the darkest areas with several separate passes of dots rather than pressing harder, keep the veins as bare unstippled paper, and let the density fade gradually toward the leaf tip so the drawing never goes uniformly gray.
22. Persian Style Ornamented Branch
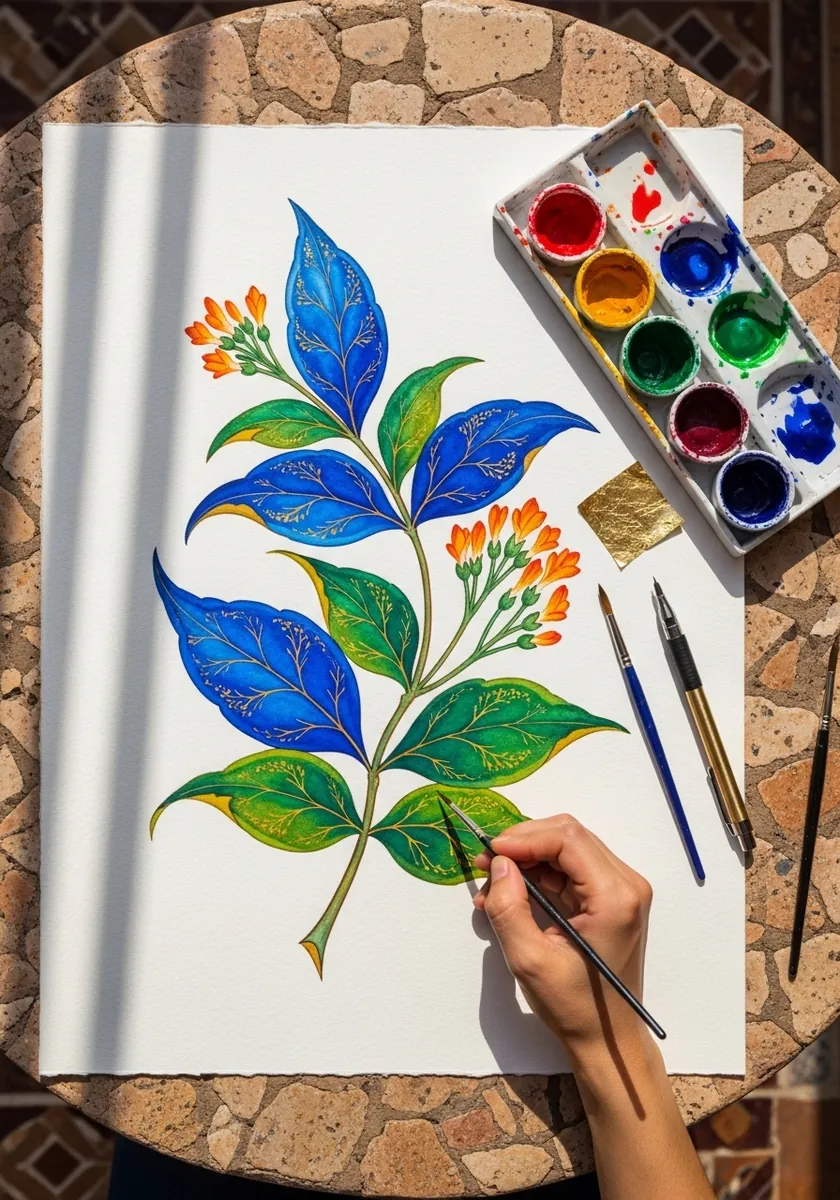
Ornamental botany is stylized rather than accurate, but the underlying structure still has to be right. Draw each leaf correctly first, then fill it with pattern that follows its veins. Gold outlining goes on last and should touch only the leaf edges.
23. Minimal Ginkgo Outline Study
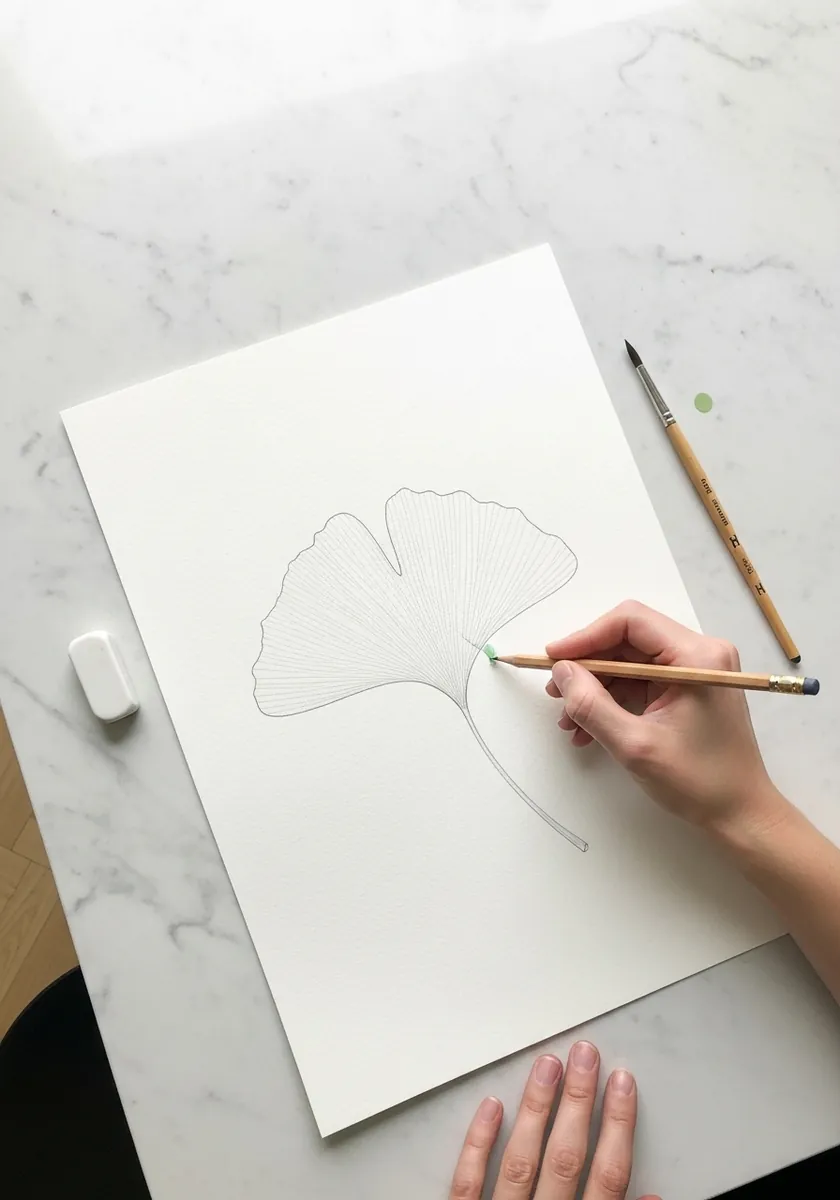
Sometimes the exercise is knowing when to stop. This is one continuous outline and one stem, nothing else. Drawing a shape this simple accurately is harder than it looks, since there is no detail anywhere to distract from an inaccurate curve.
24. Maple Leaf with Map Overlay
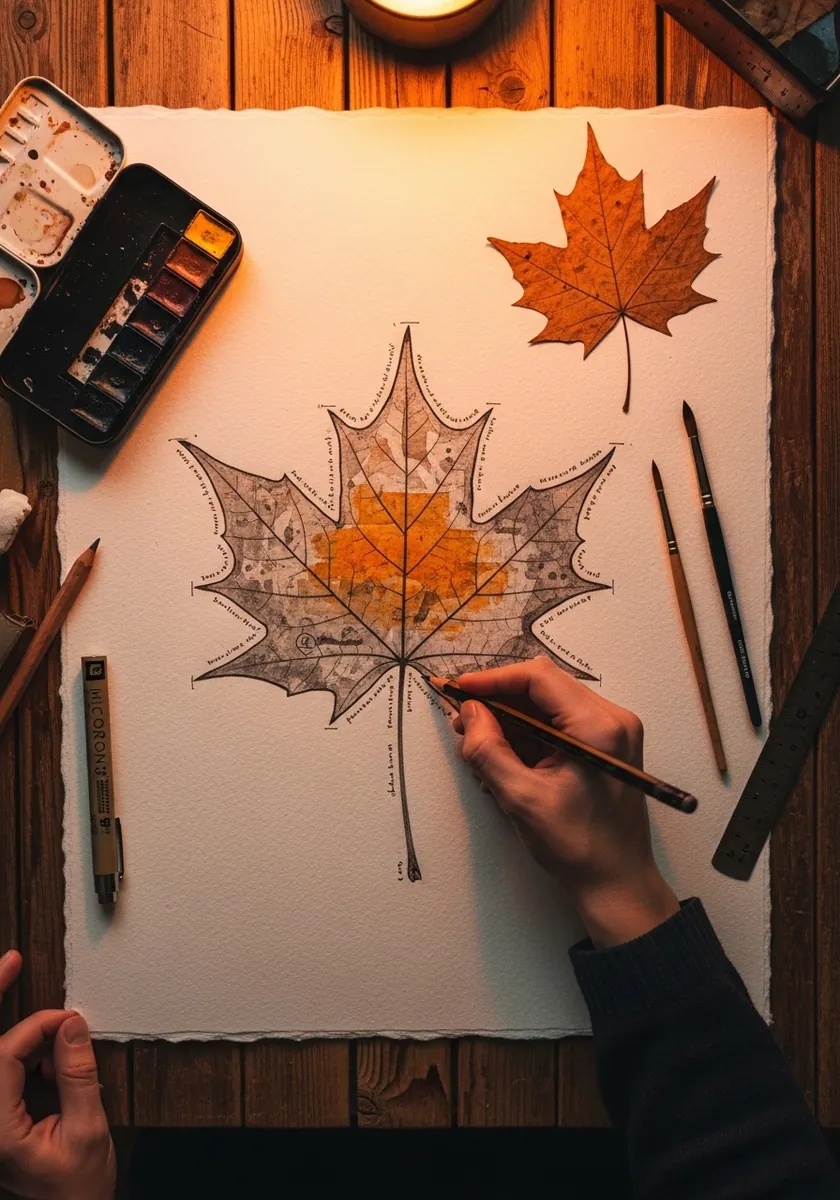
Combining two unrelated images works when one supplies shape and the other supplies texture. Draw the maple outline and veins accurately, then let the map detail fill the blade while stopping cleanly at every edge. The contained texture is the whole idea.
25. Madhubani Patterned Leaf
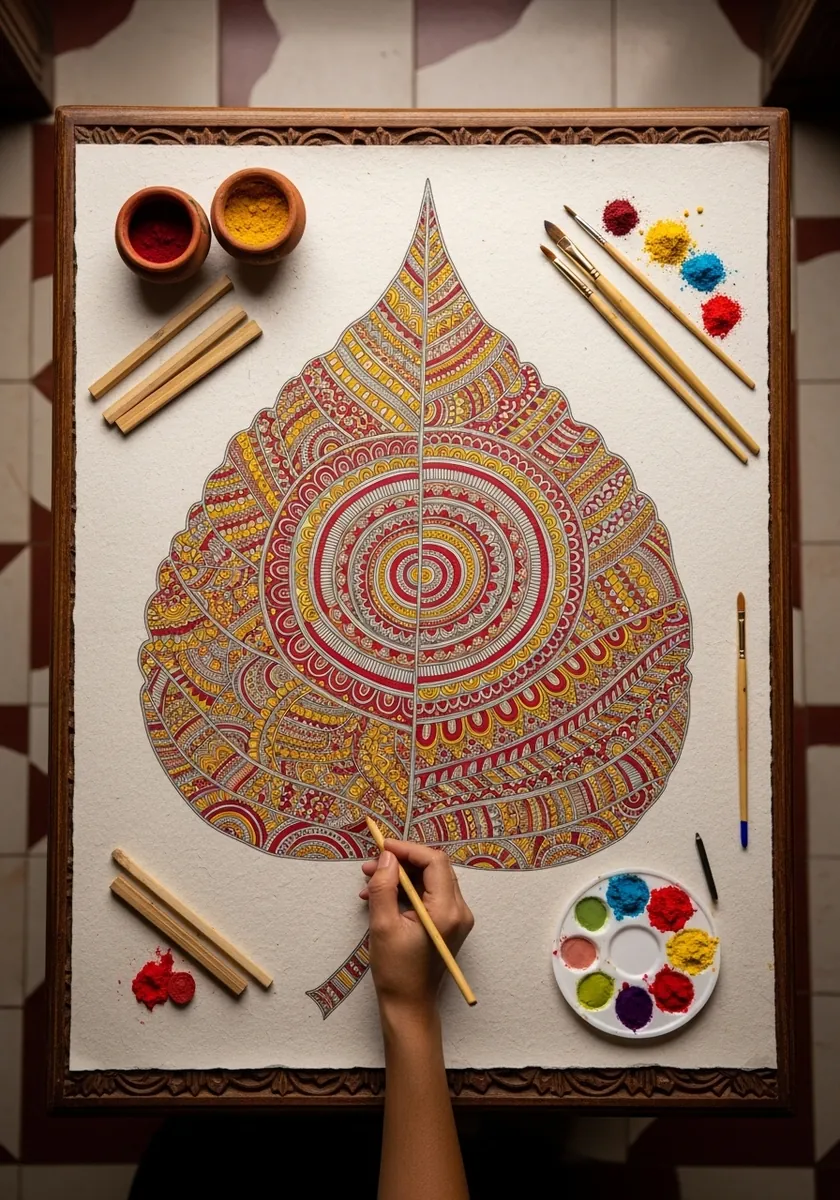
Traditional Indian folk painting fills every available space with fine repeating line. Divide the leaf into sections along its veins, then give each section a different motif. Keep your line weight identical throughout, which is what holds a densely patterned piece together.
26. Pressed Fern in Muted Olive
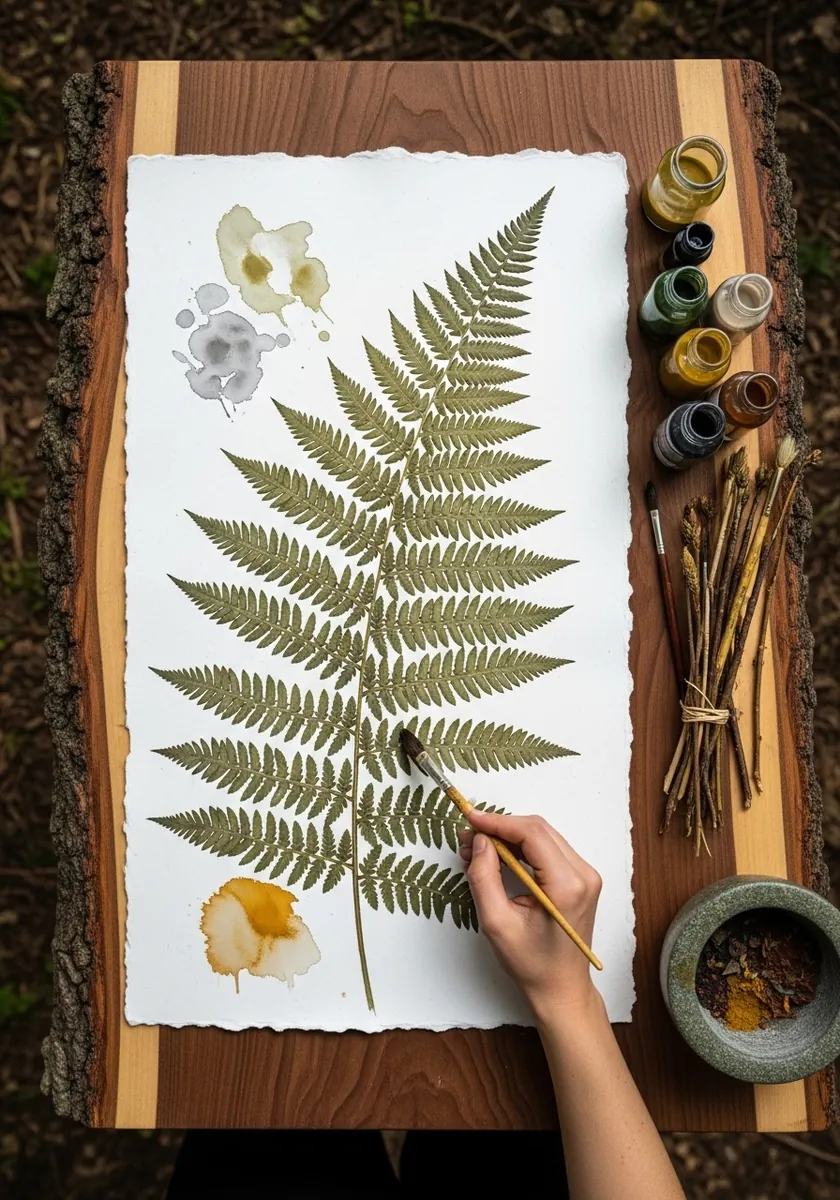
This is what a real pressed specimen actually looks like: muted, slightly gray, never bright. Mix your green with a touch of its complementary red to knock the saturation back. The small stains and marks around it are part of the honesty of the study.
27. Agave Leaves in Muted Green
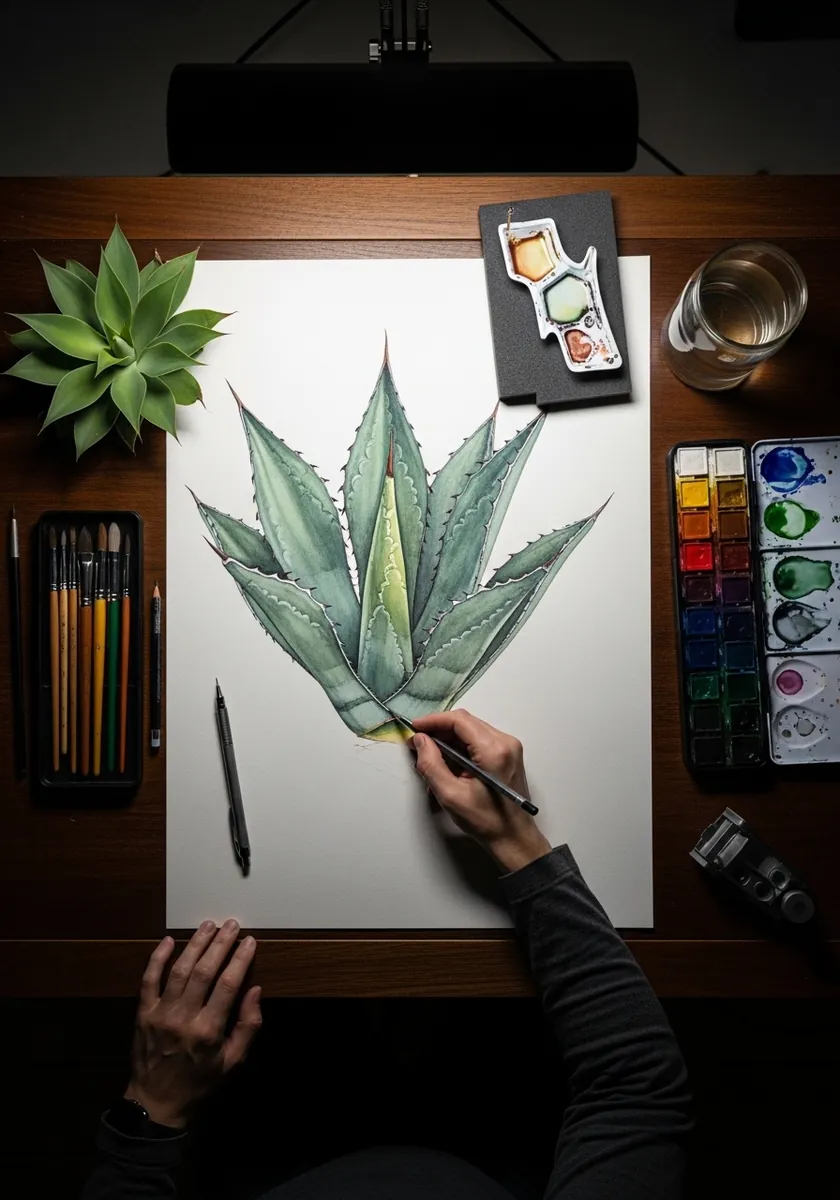
Succulent leaves are thick, so they have visible edges rather than just outlines. Give each leaf a narrow band along its rim in a slightly different value to show that thickness, and keep the surface almost flat in tone since these leaves are matte rather than glossy.
28. Wavy Pattern Leaf in Green and Blue
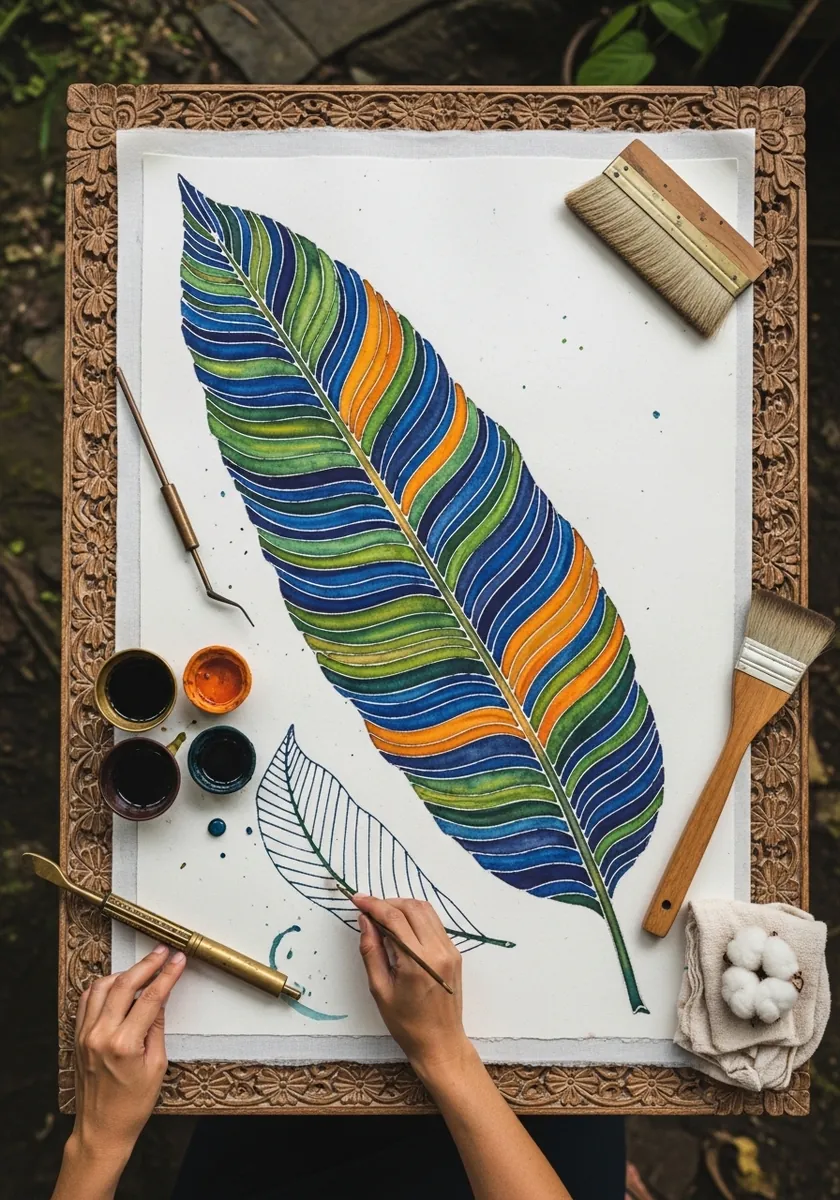
Wavy line fills are surprisingly technical. Every band has to follow the curve of the vein beneath it, compressing where the leaf narrows and spreading where it widens. Draw the veins in light pencil first and treat them as tracks for the pattern to run along.
29. Vintage Ivy Plate in Fine Line
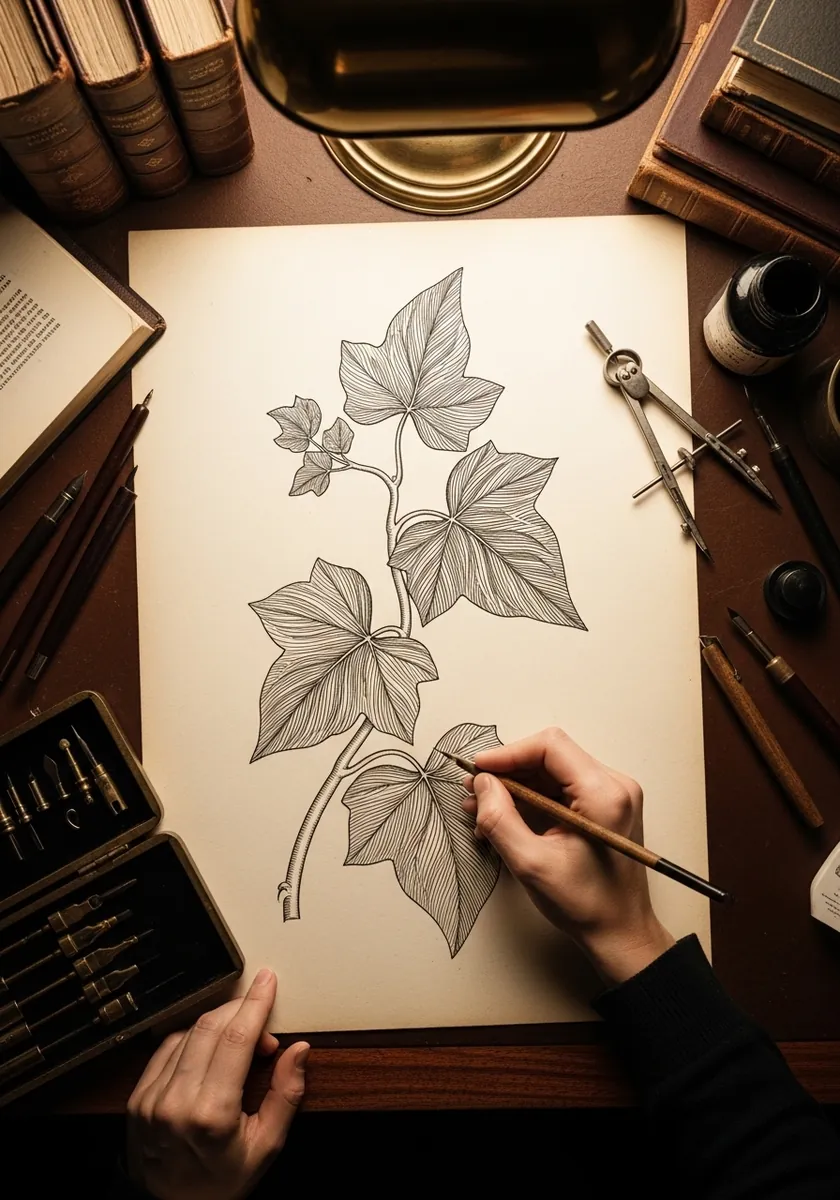
Old plates keep everything even: one line weight, one ink color, hatching in one direction only. Draw the branch first as the structure, hang the leaves off it at alternating angles, and leave plenty of empty paper around the whole arrangement.
30. Aloe Vera with Bright Splash Background
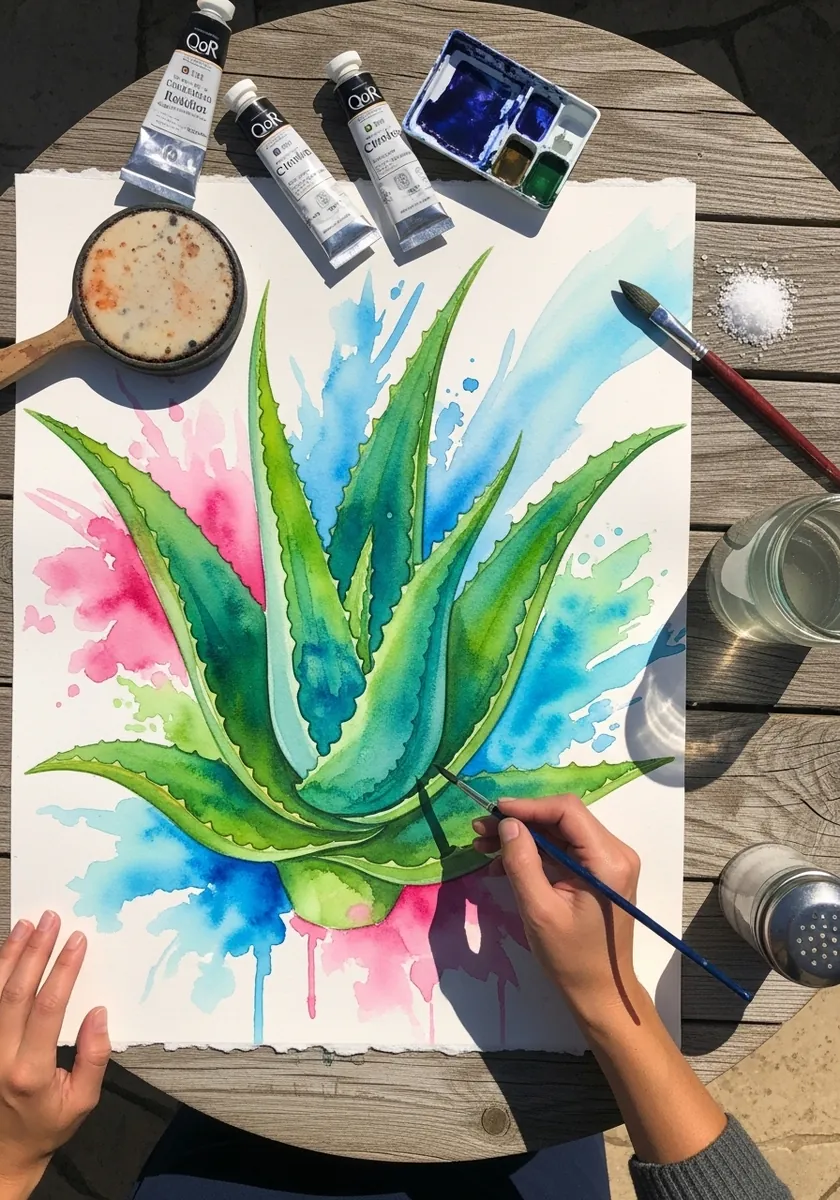
A loose background gives a tight subject somewhere to sit. Paint the aloe carefully with its serrated edges and pale spots, then wet the paper around it and drop in pink and blue. Keeping the plant dry stops the color bleeding into the leaves.
31. Pressed Leaf Collage on Handmade Paper
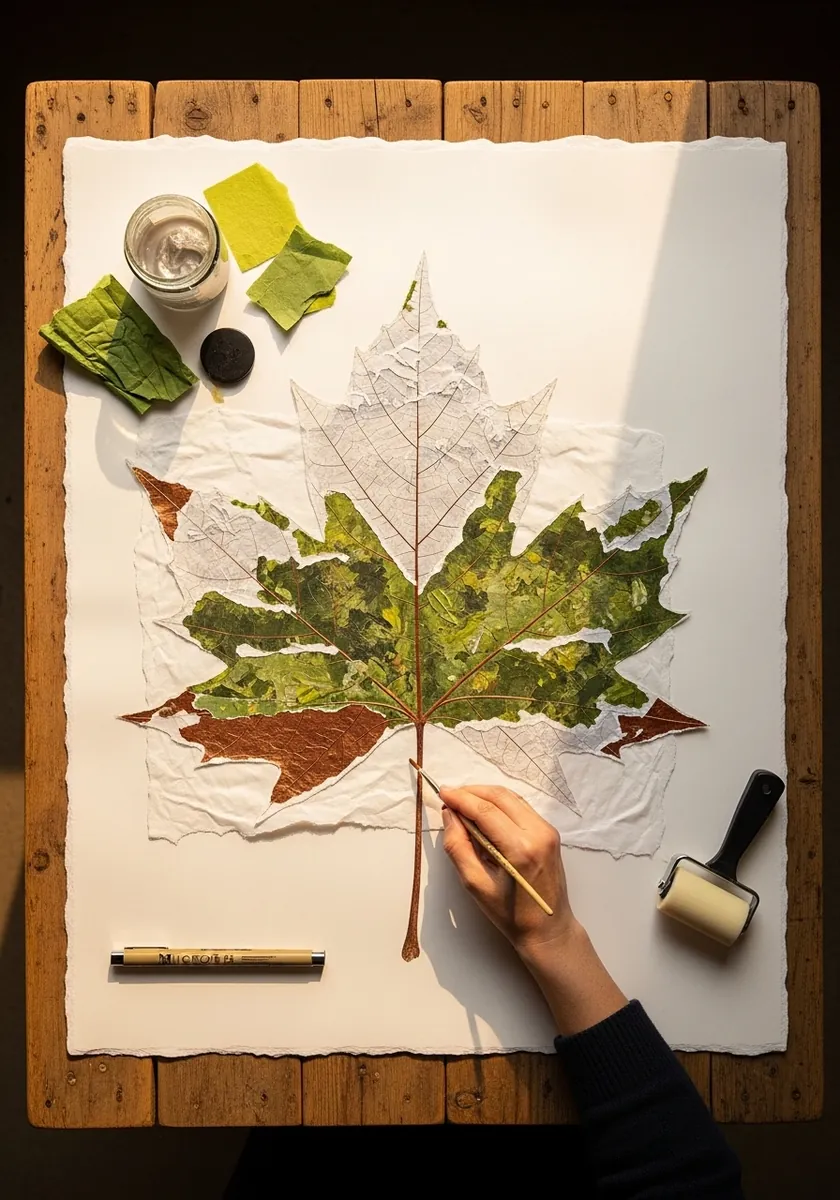
Collage is drawing with edges. Tear your papers rather than cutting so the fibres stay soft, build the leaf from overlapping fragments that follow the direction of the veins, and add the midrib last as one long torn strip laid over the top.
Frequently Asked Questions
What is botanical leaf tracing?
Botanical leaf tracing is drawing a leaf’s true outline and vein structure from an actual specimen rather than from imagination. It sits between art and botanical illustration, and the discipline of following real venation is what makes the finished drawing look convincing.
How do you draw leaf veins correctly?
Draw the midrib down the center first. Branch the secondary veins off it at a consistent angle, spacing them evenly and letting them curve toward the tip. Only then add the fine tertiary net between them, and keep that net much lighter than the main veins.
What is the difference between pinnate and palmate leaves?
Pinnate venation has one central midrib with secondary veins branching off along its length, like a feather. Palmate venation has several main veins radiating out from a single point at the leaf base, like fingers from a palm. Maple is palmate, oak is pinnate.
Do you need a lightbox for leaf tracing?
Not necessarily. A lightbox helps when you are tracing a real pressed leaf, but you can tape the specimen and paper to a bright window instead. Many of the studies here are drawn freehand from observation, which builds skill faster than tracing does.
How do you press leaves for tracing?
Place freshly picked leaves flat between sheets of plain paper, put them inside a heavy book and weight it down. Leave them about a week until completely dry. Pressed leaves stay flat under tracing paper and hold their vein detail far better than fresh ones.
References and Further Reading