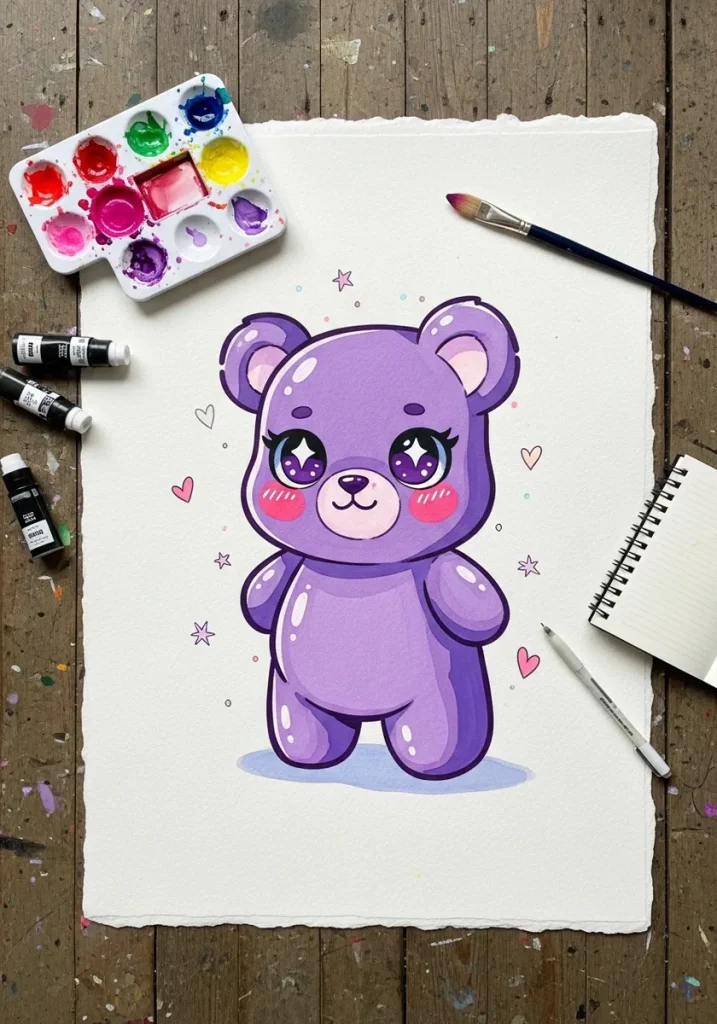
A gummy bear reads as candy only when light passes through it. Keep the darkest value at the outer edge, place one hard white highlight high on the body, and drop a pool of colored light on the surface below.
Key takeaways
- Translucent candy is darkest at its edges and brightest in its middle, the opposite of an opaque toy.
- One small hard-edged white highlight sells glossy surface faster than any amount of blended shading.
- The colored light a gummy bear throws onto the table is the detail most drawings leave out.
- Silhouette is four circles and two stubs: head, belly, two arms out, two legs, no neck at all.
- Gummy bears have been made from gelatin, glucose syrup and sugar since Hans Riegel introduced them in 1922.
Short answer: A drawn gummy bear looks translucent when you shade it backwards from a solid toy: keep the middle of the body light, put the darkest value along the outer edge where light has travelled furthest through the candy, add one hard white highlight that curves with the form, and tint the shadow underneath with the bear’s own colour. The 30 ideas below all use that rule, in marker, gouache, watercolor, charcoal and colored pencil.
How to use this guide: Start with the quick chooser below to pick a first bear for your skill level and medium, then follow the four-step method once. Every idea keeps its original picture and step notes, so you can jump straight to any bear in the list.
Most drawn gummy bears fail for one reason: they are shaded like solid plastic toys. Candy is translucent, so light travels through it and comes out darkest where the material is thickest, along the outer edge. Flip your shading that way round and the sweet appears instantly.
The silhouette does the rest of the work. Four circles and two stubs, with no neck at all, is the whole construction. Hans Riegel of Haribo settled that shape in 1922 with the original dancing bear, and it has barely changed since, which is why viewers recognize it from across a room.
Below are thirty designs in alcohol marker, gouache, watercolor, charcoal and colored pencil, running from a kawaii blush-cheeked cub to a galaxy bear, a folk-art frame and a technical cross-section. If you want the same glossy surface on a rounder subject, watercolor bear drawing ideas covers the fur version of the same animal.
For characters built the same way, from simple stacked volumes, look at clay style character art and these 3D cartoon character ideas, while the patterned bears here borrow directly from mandala construction.
Compiled by the GS Art Zone editorial team. Last updated August 2026. Each idea is paired with the specific step that produces the effect, so you can go from the reference straight to paper.
If you enjoy soft, squashable characters, the same thinking carries over to squishy animal blob drawings, where a flattened body must spread wider to keep its volume and read as soft rather than deflated.
What You Need Before You Start
- A white gel pen or opaque white paint, because every piece here needs at least one reserved highlight
- Alcohol markers in three tones of one hue, which is the fastest way to build translucent depth
- Colored pencils with a hard lead for the glossy segment edges that give candy its molded look
- Watercolor plus a scrap of tissue for lifting light back out of a wash
- Toned kraft or black paper, since several designs rely on the paper reading as the darkest value
Pick Your First Bear: A Quick Chooser
If thirty bears feel like a lot, start with one row of this table. Each row points at ideas already in the list below, so nothing here asks you to draw anything new.
| Start here if you are… | Try these ideas first | Why they are forgiving |
|---|---|---|
| A complete beginner with markers | 1, 4 and 22 | Simple shapes, three values of one colour, and no tricky background |
| Trying watercolor for the first time | 8, 21 and 27 | Loose washes do the blending for you, and lifted highlights rescue mistakes |
| Drawn to dark paper drama | 11, 20 and 26 | Black or dark paper supplies the darkest value, so you only add light |
| A pattern lover | 17, 24 and 29 | The pattern carries the interest, so the shading can stay simple |
| Ready for a challenge | 14, 25 and 30 | Realistic pencil, a labelled diagram and sepia ink all demand careful edges |
The 4-Step Translucency Method Behind Every Idea
Whatever bear you pick, the working order is the same. Do the steps in this order and the candy effect survives even a wobbly outline.
1
Block the silhouette first. Four circles and two stubs, no neck. If the silhouette does not read as a gummy bear at arm’s length, no amount of shading will save it.
2
Lay the lightest value over the whole body. This is the lit interior of the candy. Leave it alone afterwards; going back over it with a darker colour is what turns candy into plastic.
3
Darken the outer edge, not the middle. Build the darkest value in a band just inside the outline, where the candy is thickest to the light. Thin areas such as ears and arm tips stay lighter.
4
Add the shine and the glow last. One hard white highlight that curves with the belly, plus a shadow on the ground tinted with the bear’s own colour. A grey shadow or a flat oval highlight undoes the previous three steps.
Beginner tip: Work lightest first in every medium. In marker that means the pale tone before the mid tone; in watercolor it means the wash before the edge glaze; in pencil it means light pressure before you commit to a dark edge.
1. Yellow Gummy Bear With Motion Lines
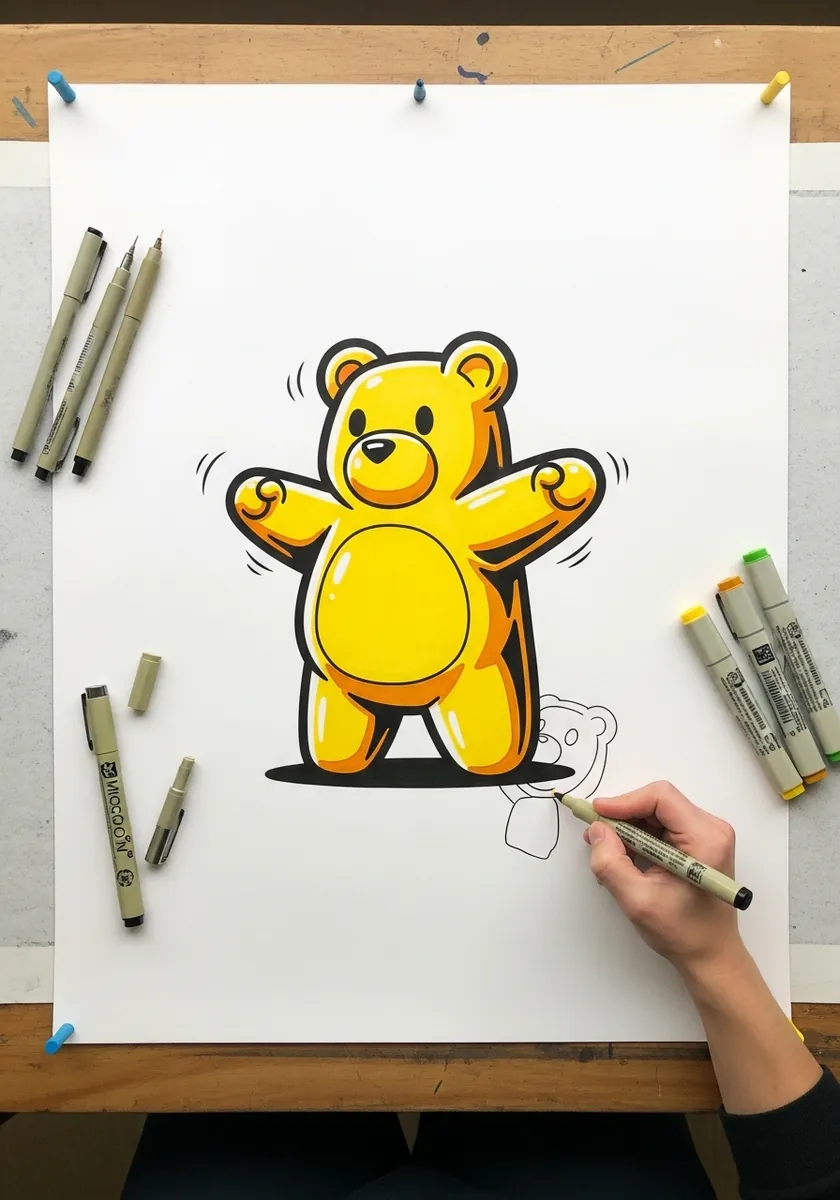
Motion marks are cheap energy, and they work here because the bear itself stays perfectly symmetrical. Draw short curved strokes off both raised arms, keep them clear of the body outline, and leave a clean white gap between the mark and the candy so nothing muddies the yellow.
2. Green Bear on Toned Kraft Paper
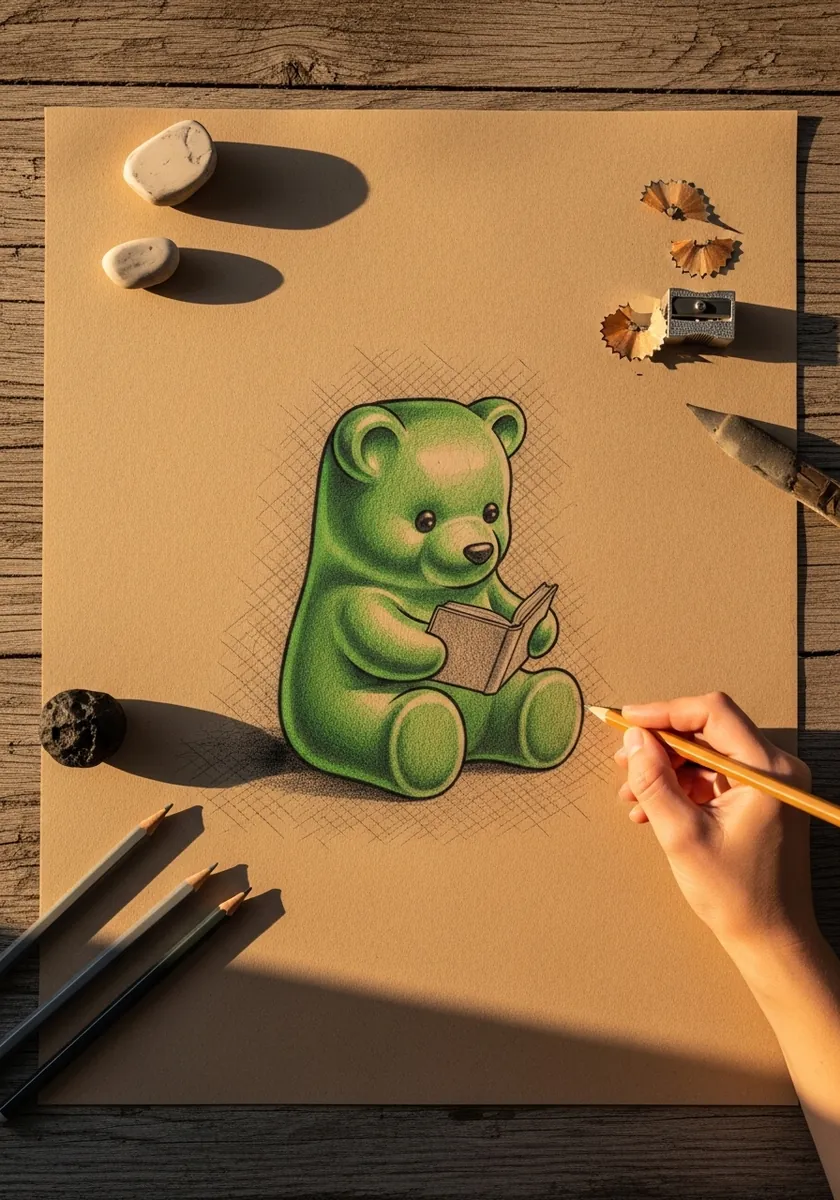
Kraft paper already supplies your mid tone, which halves the work. Lay the green in only where the candy is lit, then bring a white pencil across the top of the head and shoulders. Untouched paper becomes the shadow, so resist the urge to fill every part of the shape.
3. Orange Bear With a Long Cast Shadow
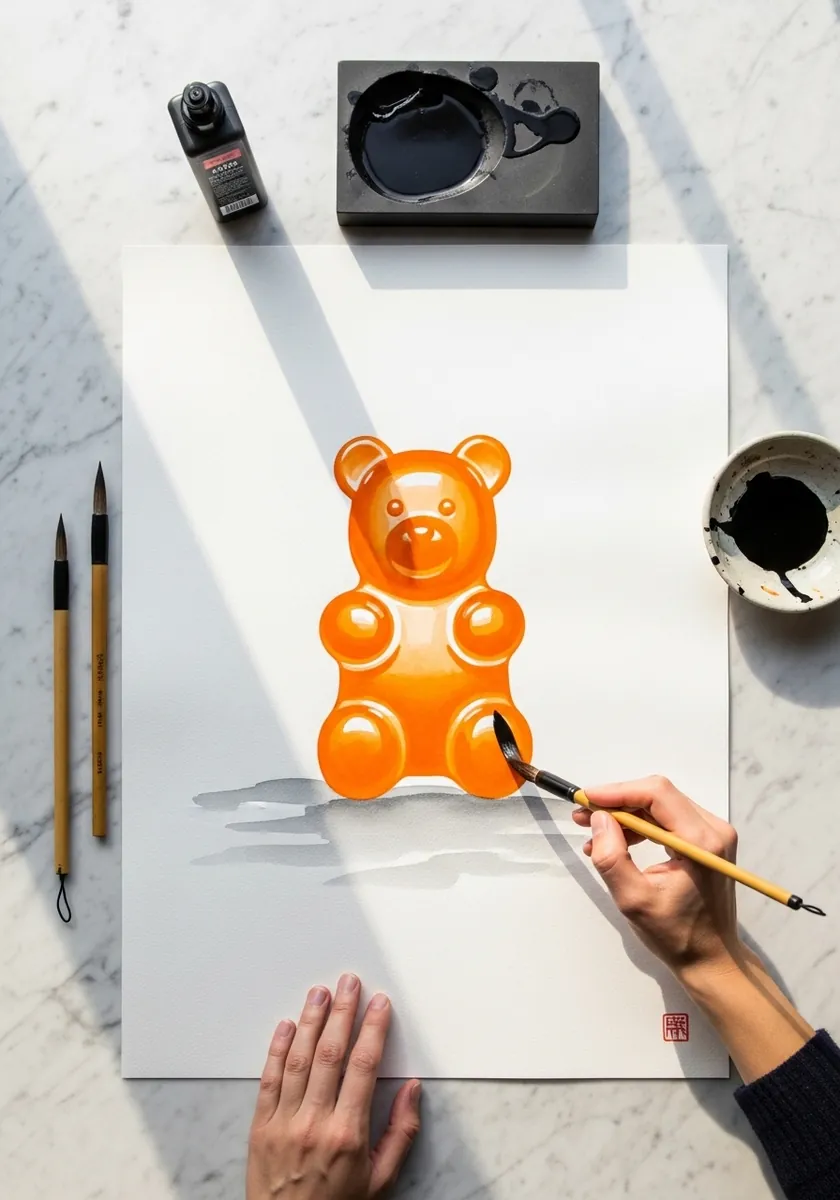
Never render that shadow in gray. Orange candy tints whatever sits beneath it, so mix a warm ochre for the shadow core and let it cool only at the far tip, where less light reaches. Neutral gray under a translucent object flattens it into plastic immediately.
4. Kawaii Purple Bear With Blush Cheeks
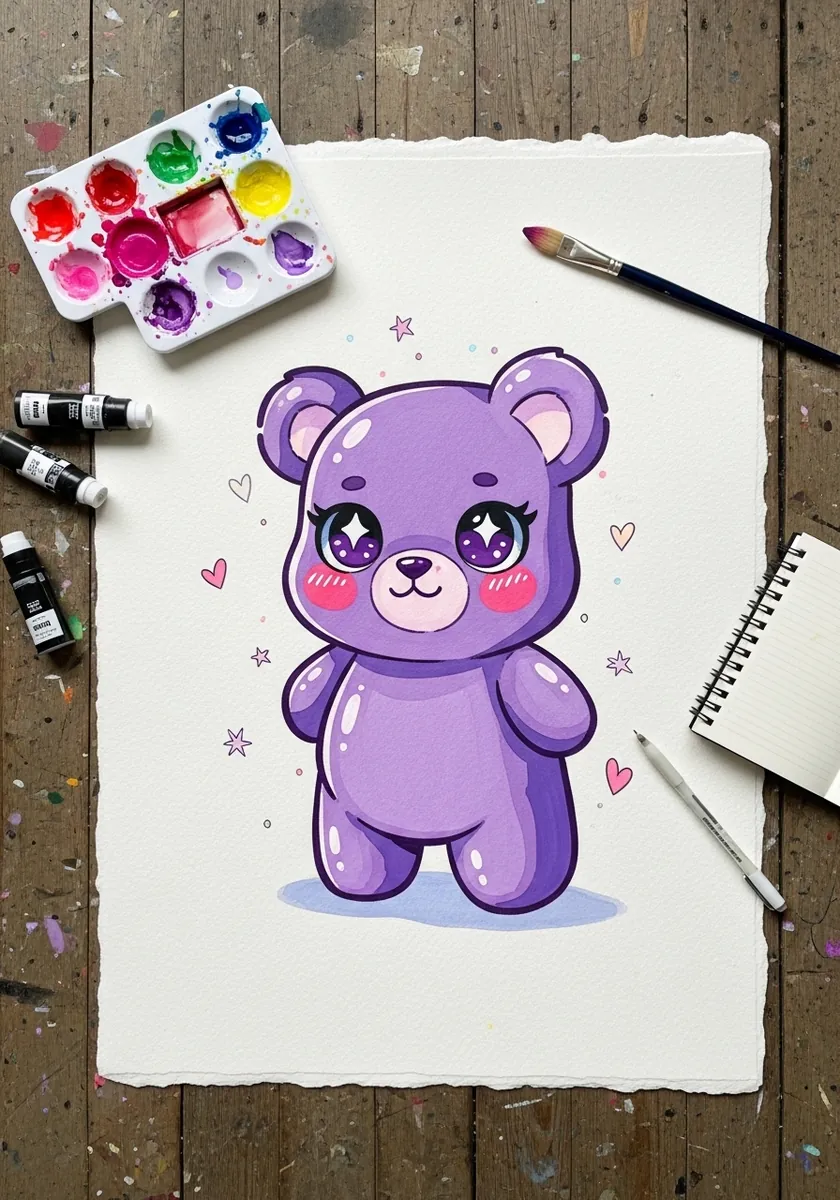
Cheek blush sits lower than most people expect, roughly level with the bottom of the eyes rather than beside them. Keep the eyes large, glossy and widely spaced, and add two tiny white catchlights per eye. Sparkles scattered around the figure should vary in size or they read as noise.
5. Pale Blue Line Study on Board
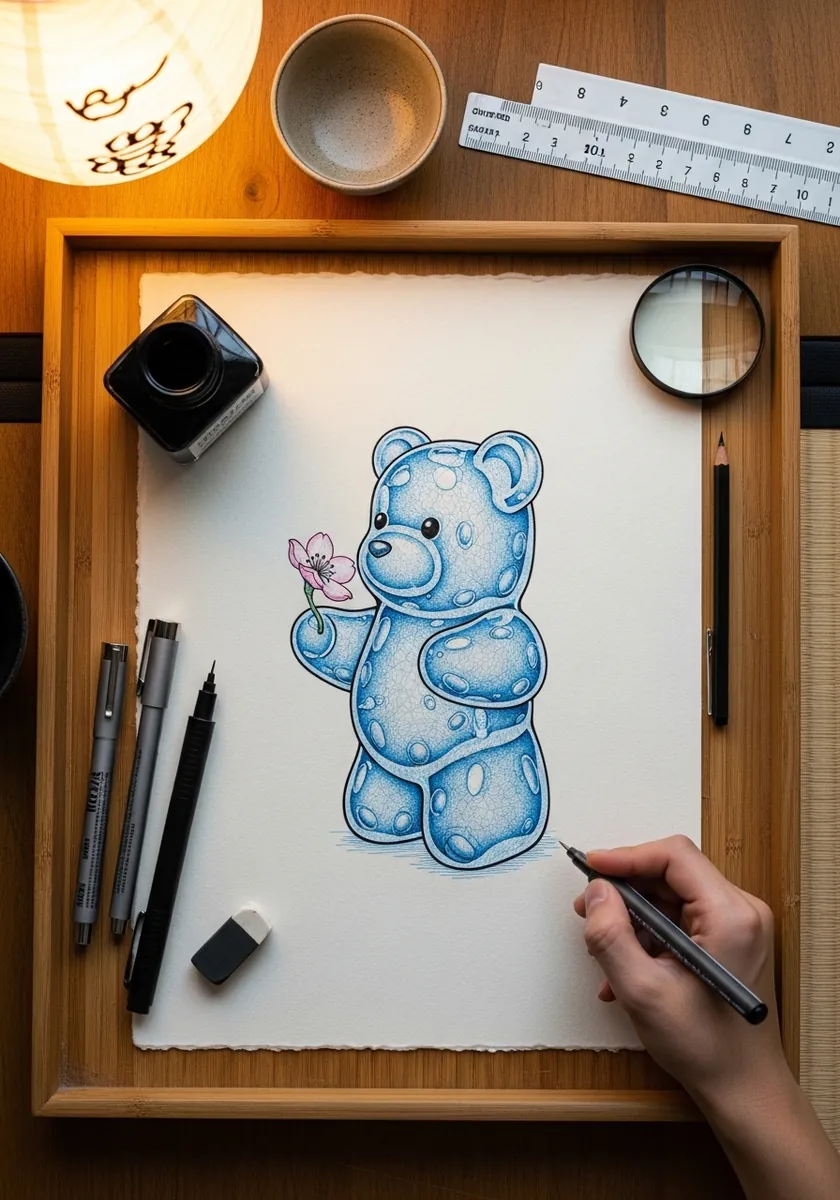
Outline alone can carry a translucent object if the line varies. Press harder along the underside and the outer edges, then almost lift off entirely across the top of the belly. That weight shift is doing the same job that shading would, and it keeps the drawing feeling like glass.
6. Red Bear in a Dynamic Pose
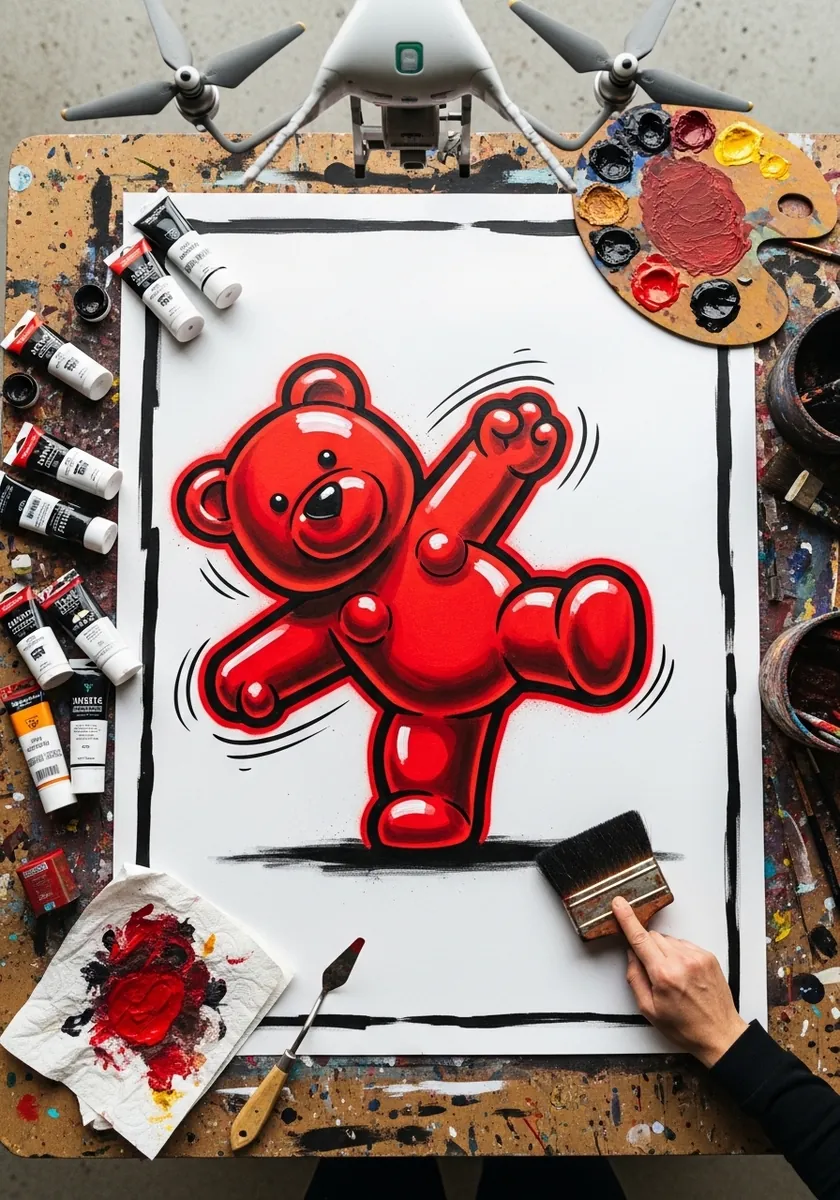
Break the symmetry for once: throw one arm up and one leg back, tilt the head off the body axis, and let the splatter follow that same diagonal, because the shape is so simple that even a fifteen degree tilt reads as full-body movement.
7. Golden Bear in an Art Nouveau Frame
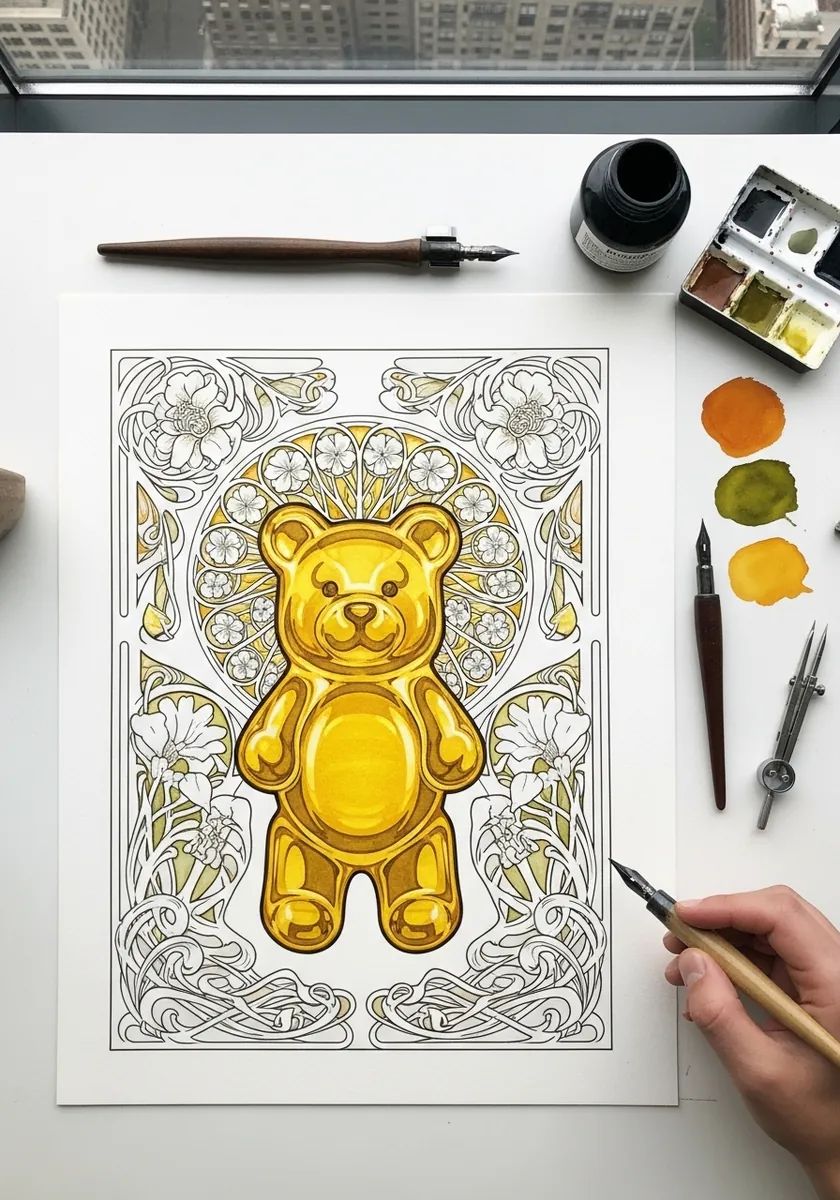
Frame and figure need different line weights or they compete. Ink the bear with a thick nib and the surrounding whiplash foliage with a fine one, keeping the ornament entirely in outline. Compare this with the border logic in zentangle watercolor work.
8. Pink Bear With Watercolor Flowers
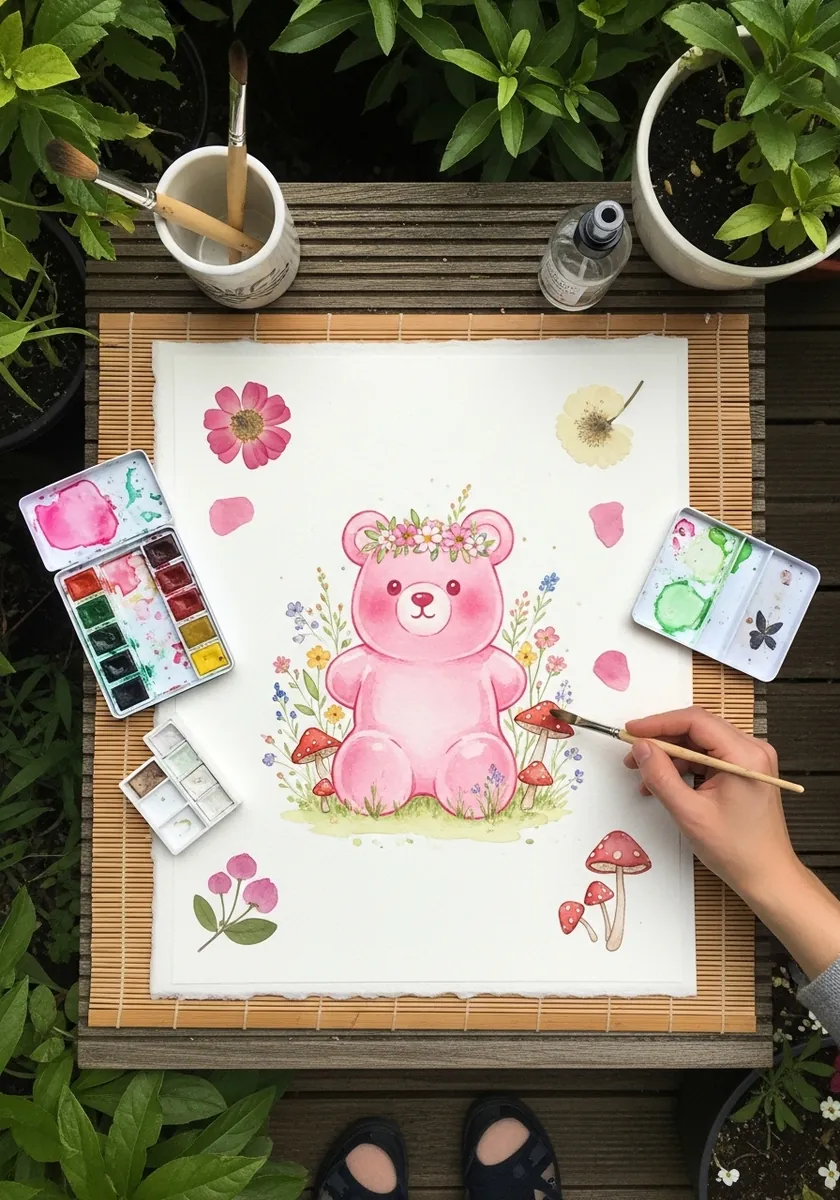
Wet-in-wet flowers around a hard-edged subject give you contrast for free. Paint the botanicals first and let them bloom uncontrolled, then wait for full drying before the bear goes down crisp on top. Reversing that order lets the candy edge bleed and you lose the glossy quality entirely.
9. Teal Bear in a Top Hat
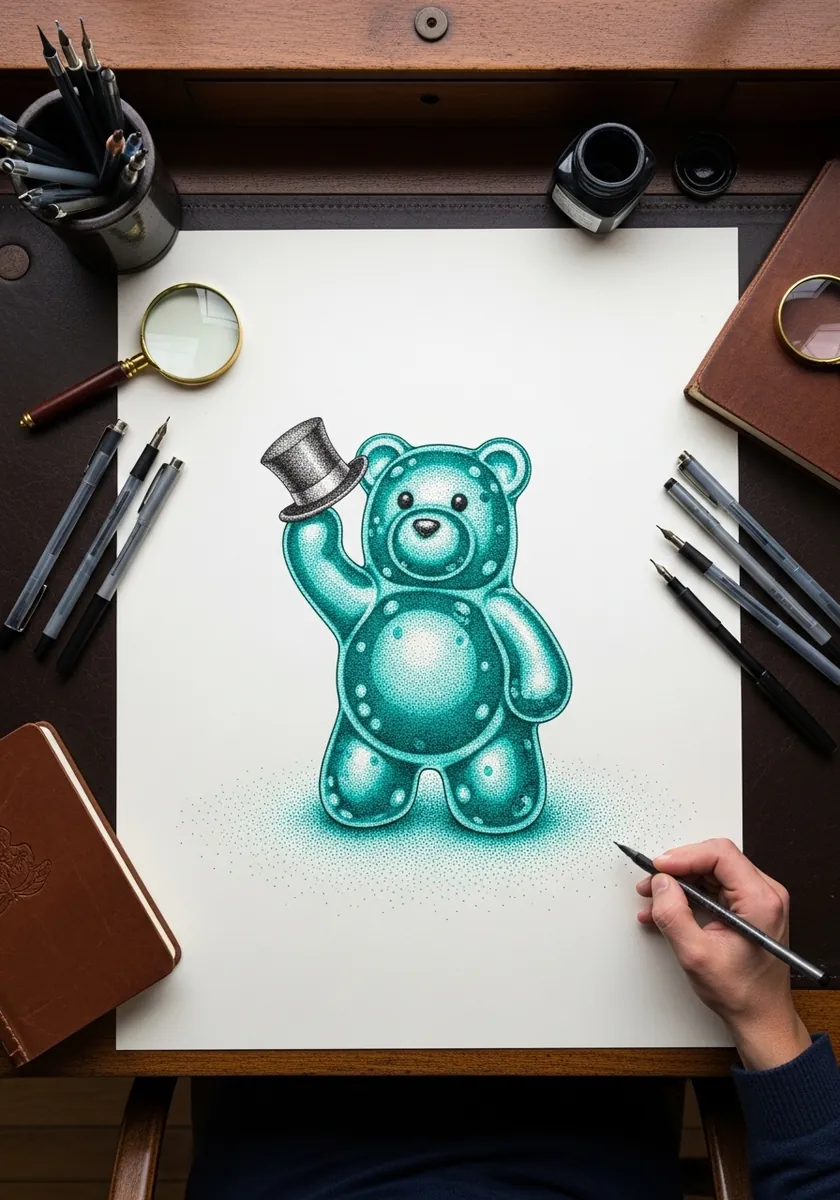
One prop is enough to make a character. Size the hat small, sit it at a slight angle, and let it overlap the top of the head rather than balancing on a flat line. Keep the felt matte and fully opaque. Contrast against the candy underneath is what sells both materials at once.
10. Glossy Green Bear at the Beach
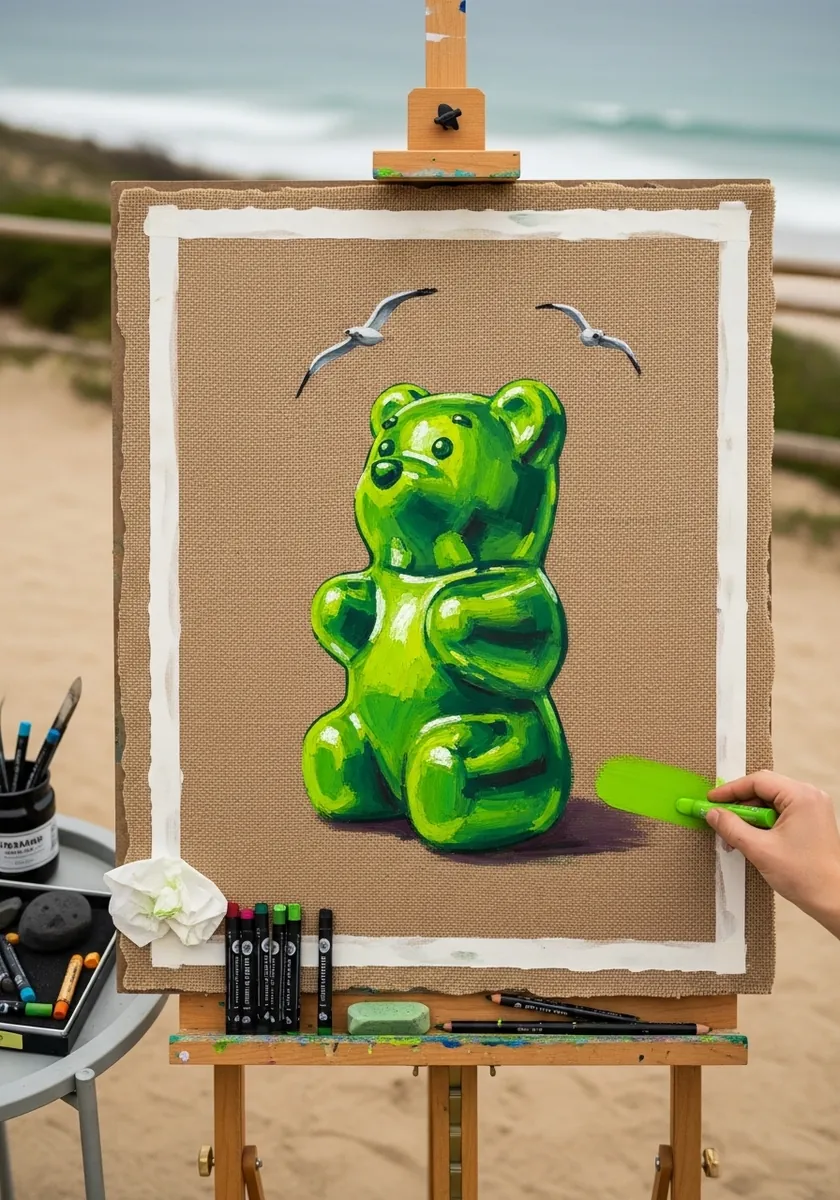
Working outdoors changes your value judgments, because bright ambient light makes everything on the page look darker than it is. Push your green two steps lighter than feels right. Highlights on glossy candy in full sun go to pure paper white, with no softening at the edge.
11. Amber Bear Glowing on Black Paper
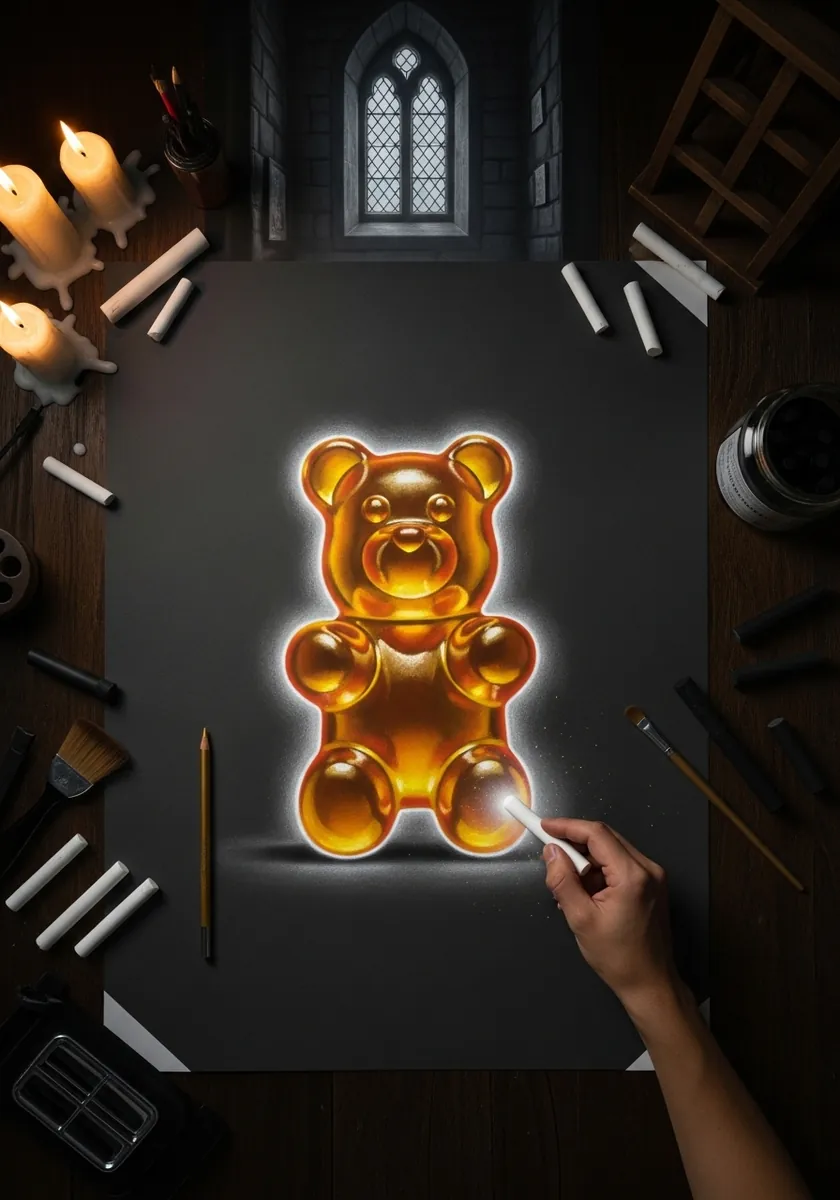
Black ground turns the exercise inside out: now you are drawing light rather than shadow. Build the amber up in translucent layers from the middle outward, stopping well before the edge so a rim of black survives all the way around. That surviving rim is what makes it glow.
12. Red Bear Holding a Coffee Cup
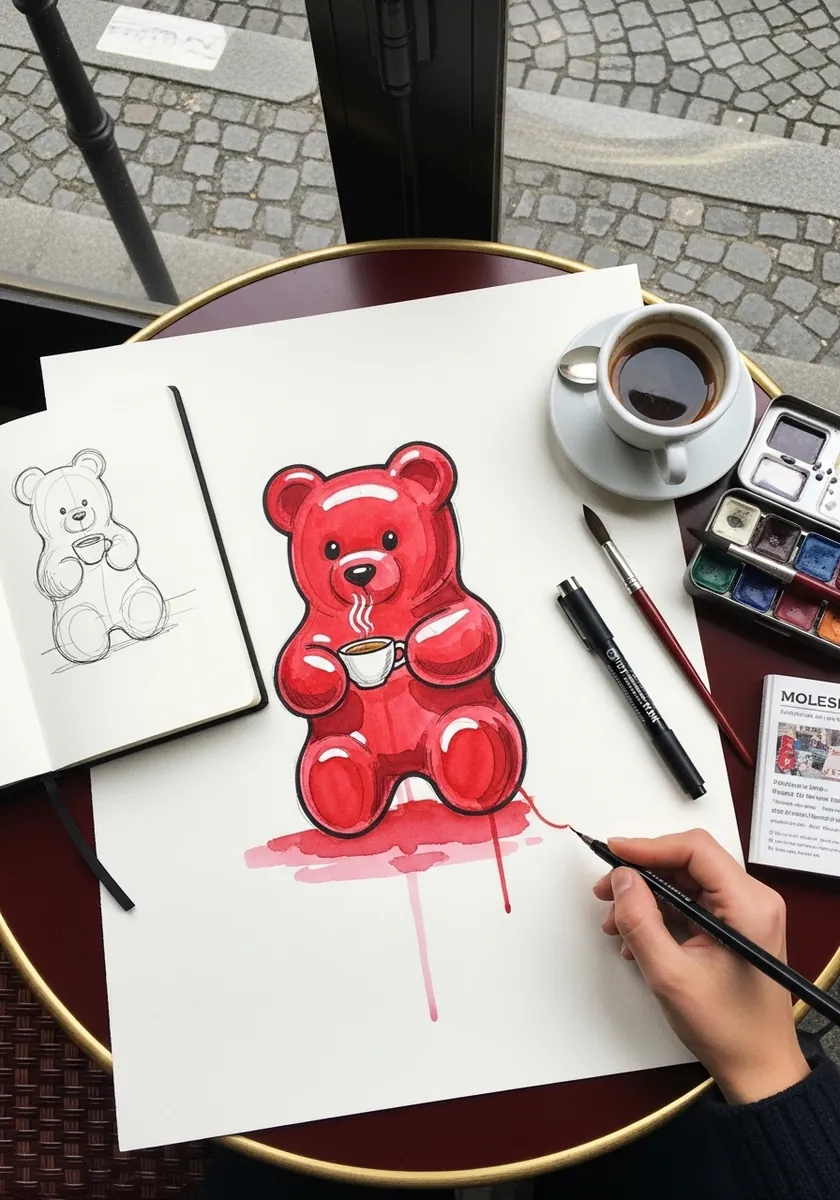
Deliberate drips need to look chosen. Let one run fall from the lowest point of the body while the rest of the silhouette stays razor sharp, and match its color exactly to the bear. Stubby gummy arms cannot grip, so tuck the cup between both paws instead.
13. Blue Bear With Maracas and a Border
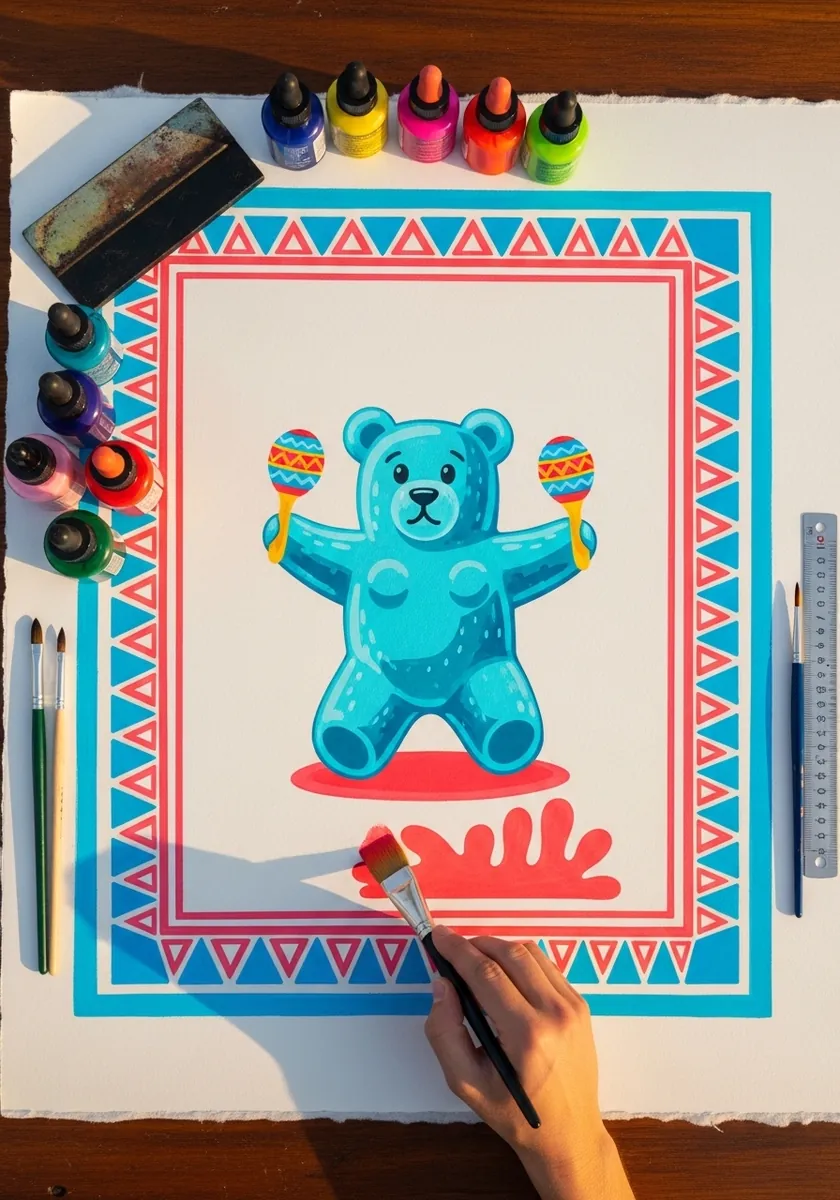
Flat print styles want limited color and no gradients at all, so restrict yourself to four inks, let the border pattern repeat strictly, and keep every shape hard edged. Small props read best when their silhouette never touches the body outline.
14. Emerald Bear in Realistic Colored Pencil
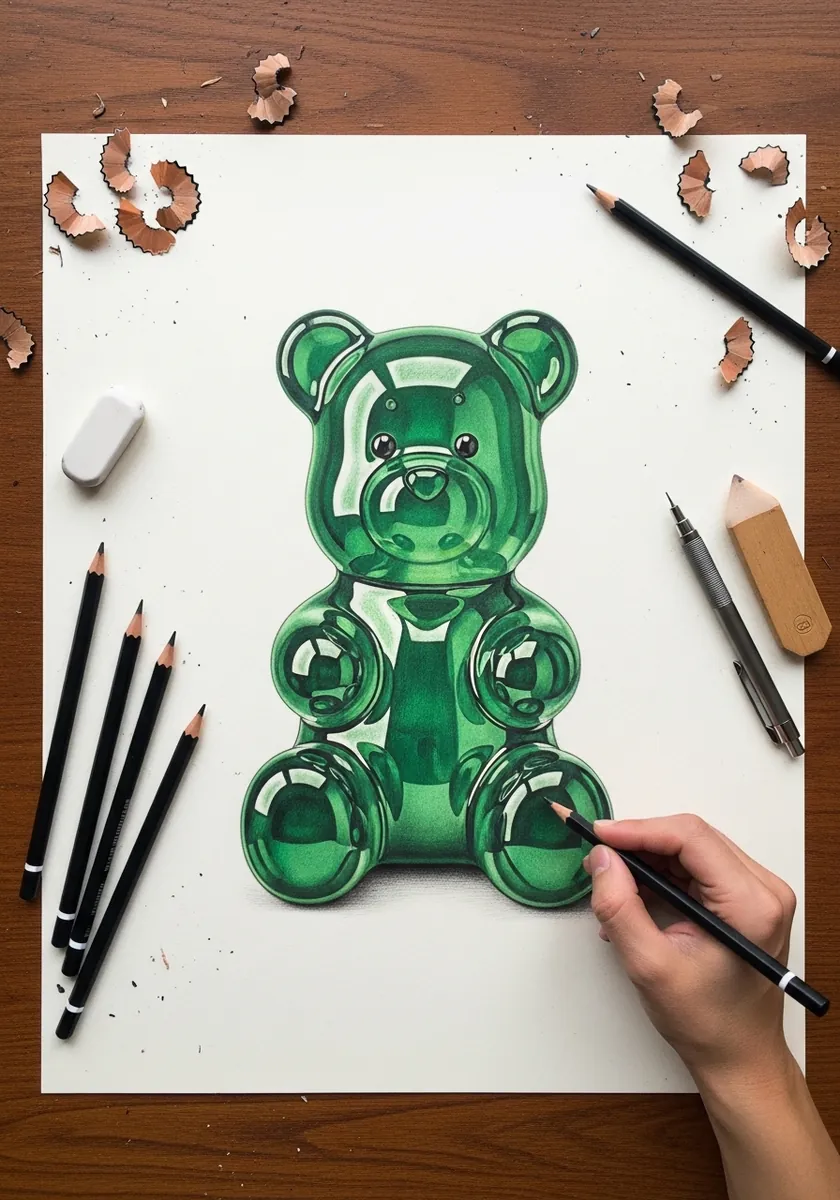
Realism here is entirely about the molded seams. Real gummies carry a faint ridge where the two halves of the mold met, running down the sides of the arms and legs. Draw that line and burnish a thin highlight along it, and the candy stops looking like a cartoon.
15. Peach Bear in a Woodland Frame
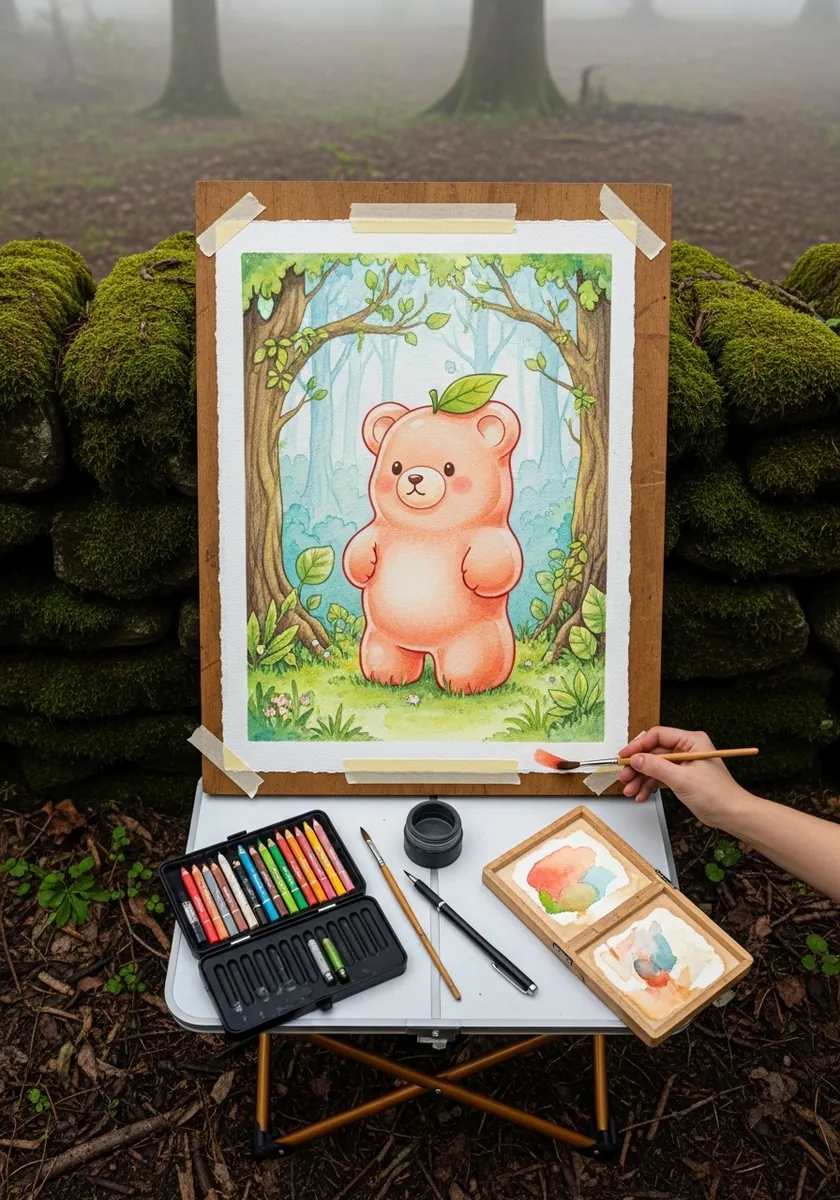
Placing a candy character in a real environment needs a color bridge. Pick up the peach from the bear and echo it faintly in the background foliage, then echo the forest green back into the bear’s shadow side. Without that exchange the figure sits on the scene like a sticker.
16. Galaxy Bear With Speed Lines
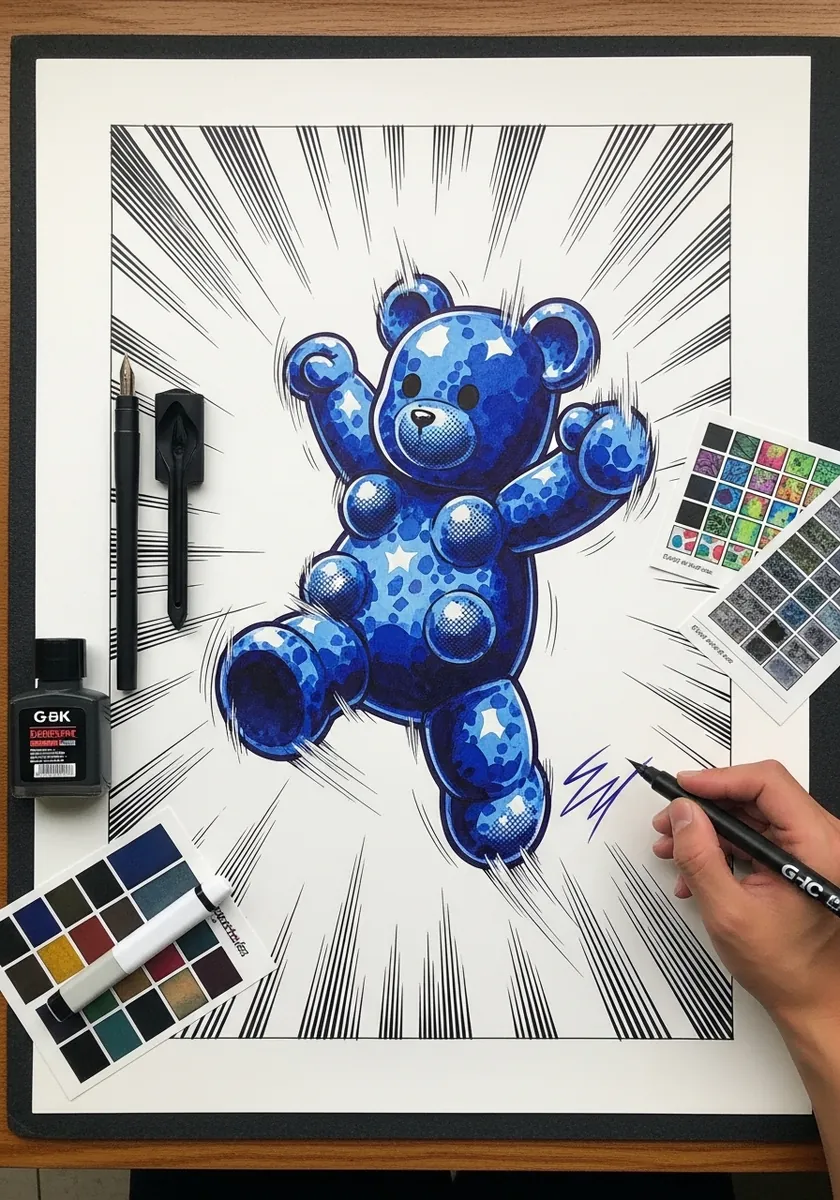
Star fields work by density rather than even scattering. Cluster your speckles into a diagonal band across the body and leave large areas nearly empty. Radiating speed lines should all converge on one point. Hide that point behind the bear’s chest and the effect tightens.
17. Mandala Patterned Bear in Gouache
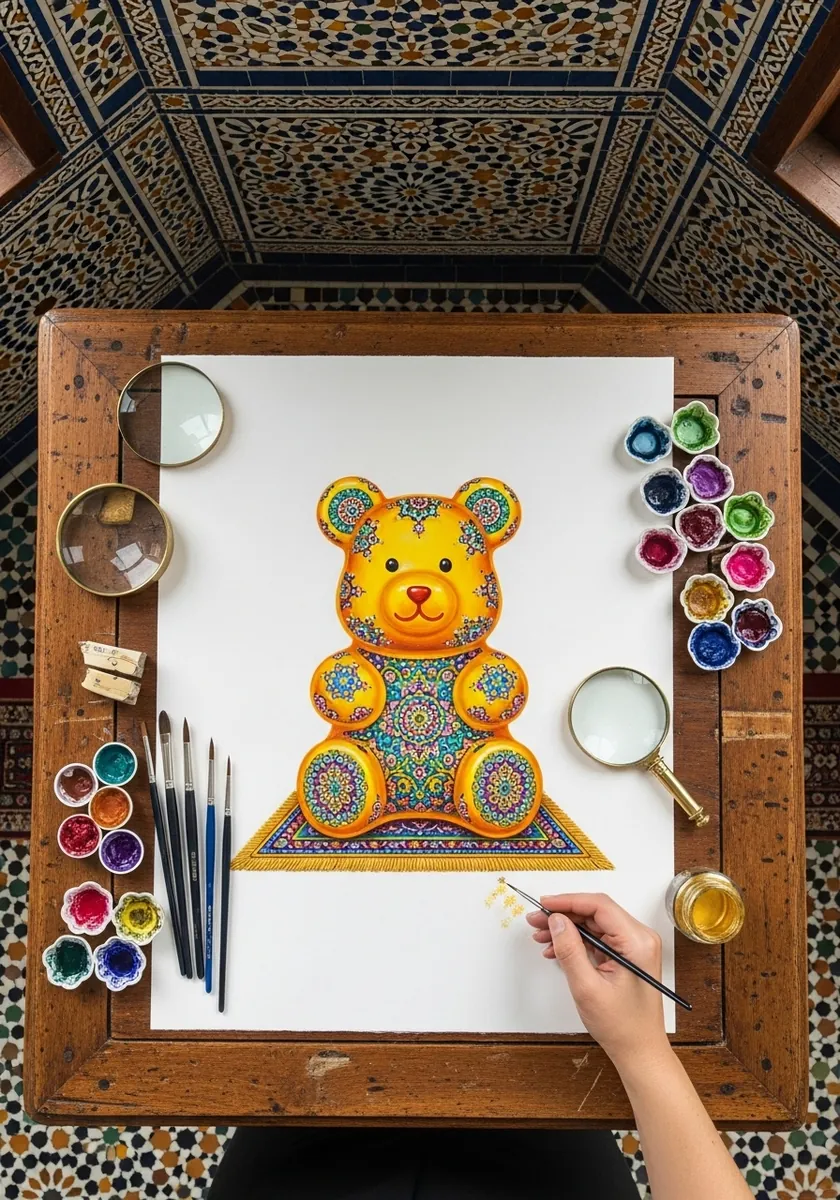
Pattern inside a silhouette must respect the form. Curve every band of ornament around the belly rather than running it flat across, and let the pattern shrink as it approaches the edges. Radial motifs sit naturally on the round belly, which is why this construction works so well.
18. Olive Bear With Acorn and Leaf
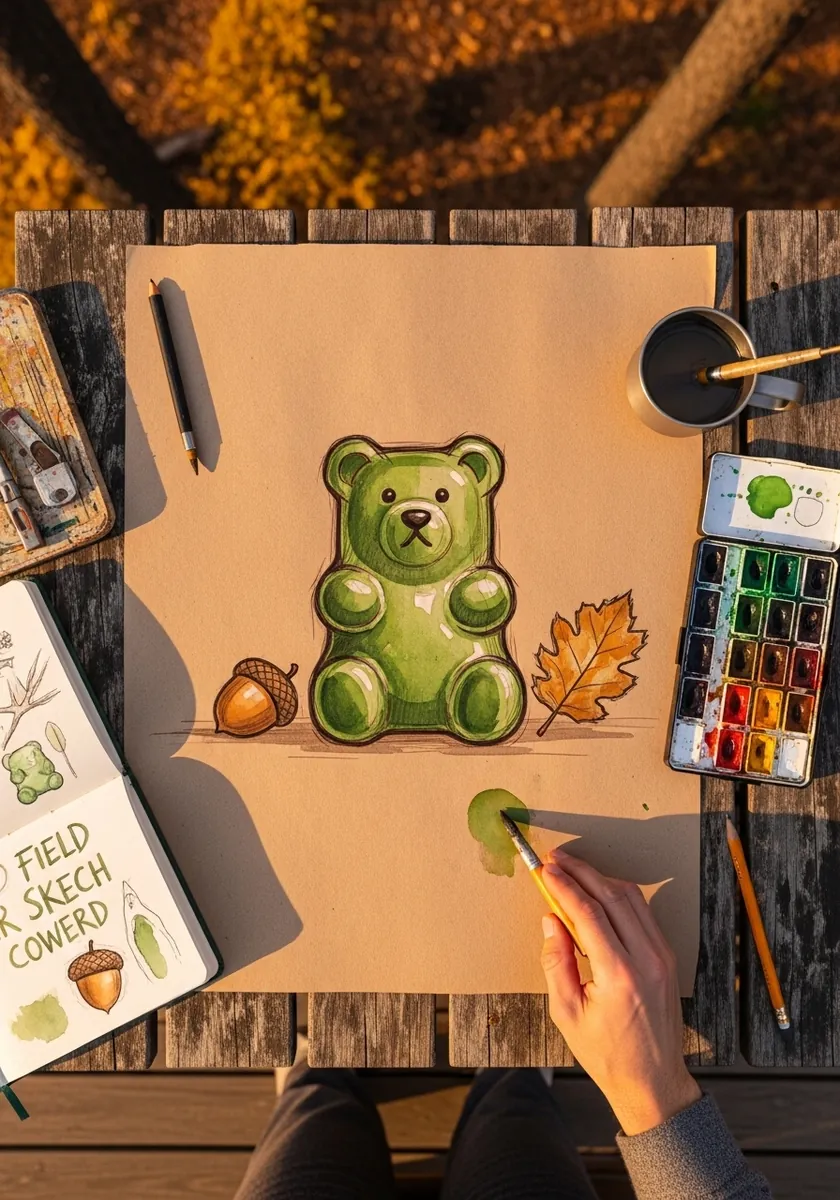
Field-guide styling means every object gets equal, careful attention. Give the acorn and leaf the same level of finish as the bear, arrange all three on a loose triangle, and leave generous empty paper between them. Crowded still lifes lose the calm that makes this style appealing.
19. Pop Art Bear With a Speech Bubble
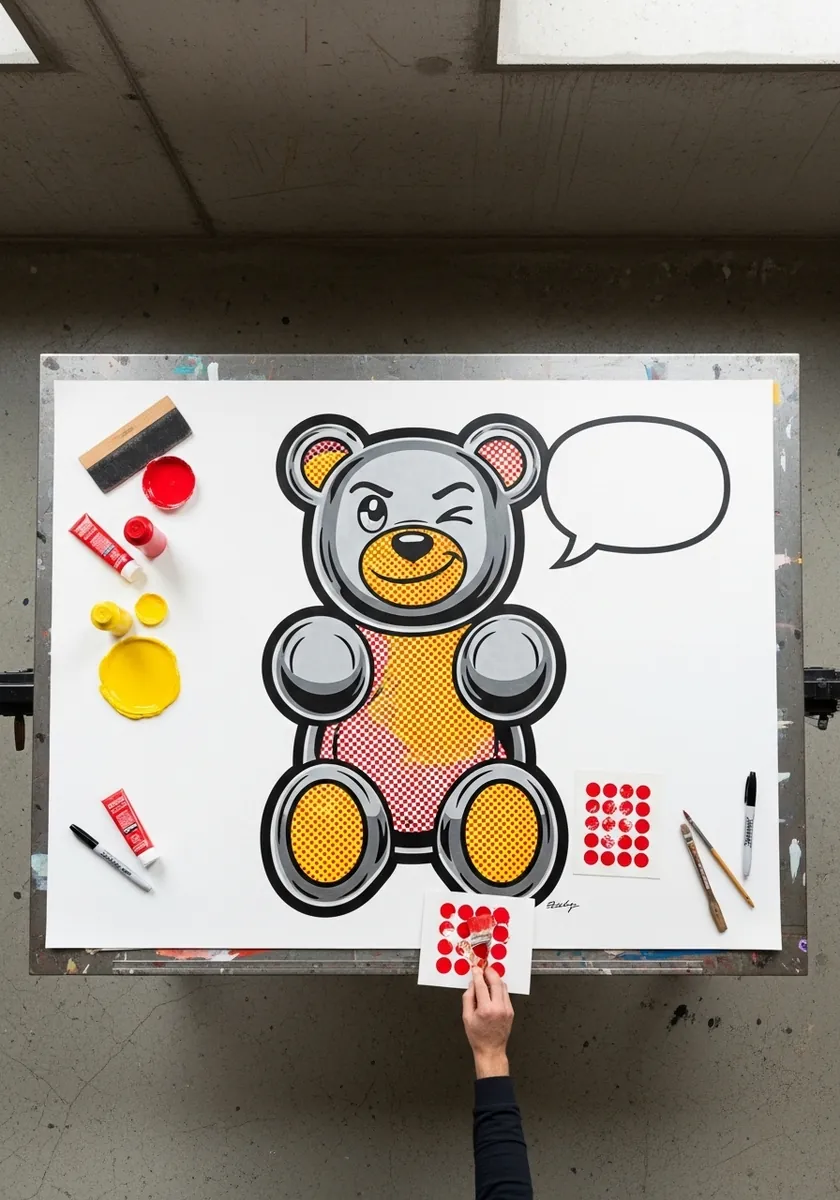
Halftone dots must sit on a strict grid or the conceit falls apart, so rule faint guidelines first, keep the dots larger in shadow and smaller in light, and outline everything in heavy black. Point the bubble tail at the mouth without crossing the face.
20. Neon Outlined Bear on Dark Wash
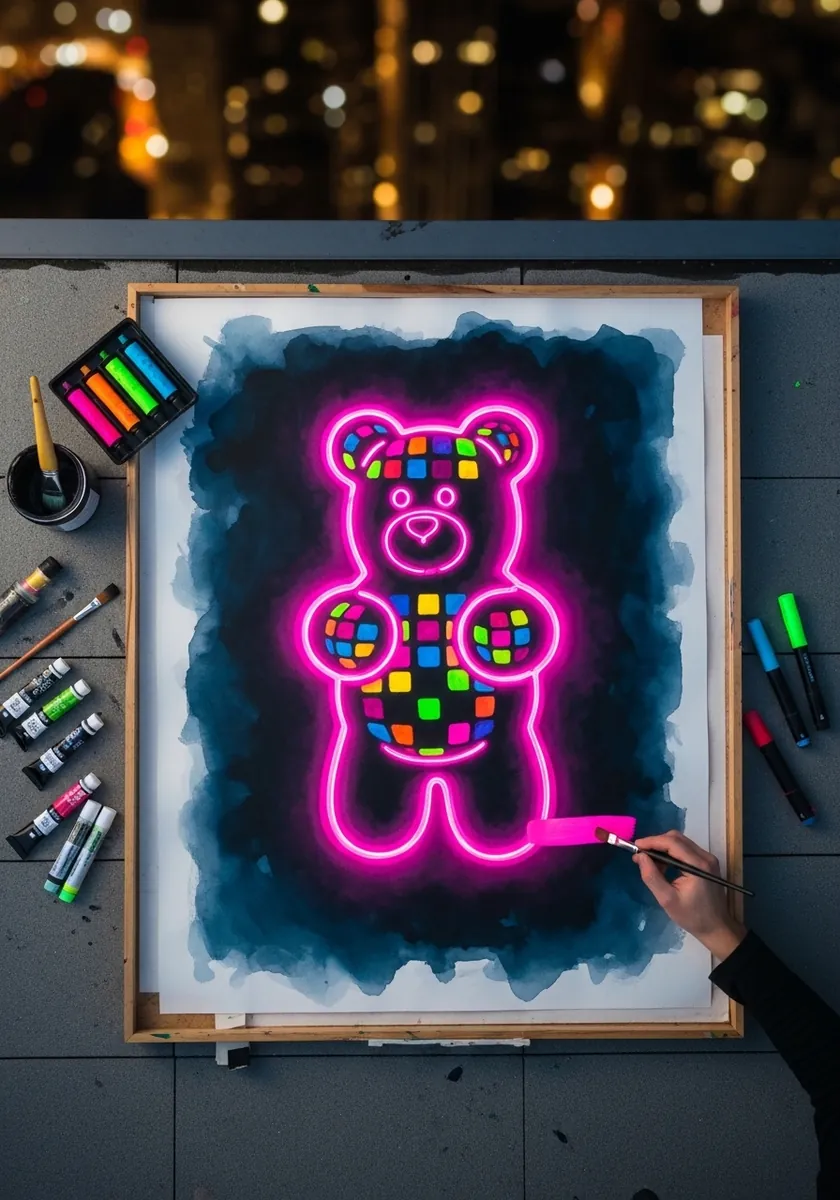
Neon depends on a halo, not on brightness alone. Lay the dark wash first, let it dry completely, then draw the pink line and add a softer, more diluted pink just outside it. That second faint line is the entire trick, and skipping it leaves you with flat pink outline.
21. Orange Bear in a Deck Chair
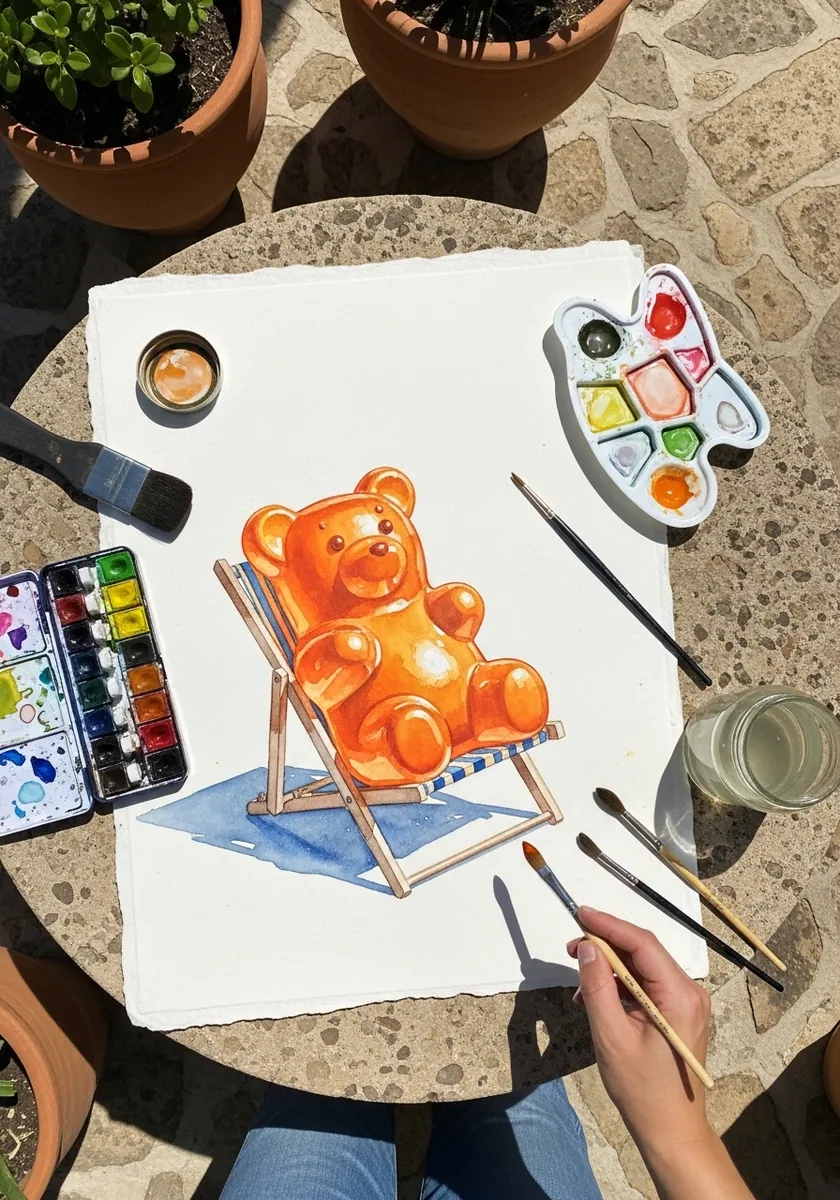
Furniture forces you to solve weight. A gummy bear has no joints, so let it slump into the chair as a soft mass, flattening slightly where the body meets the fabric. That single flattened contact edge is what stops the character from appearing to hover above the seat.
22. Oversized Dusty Pink Bear
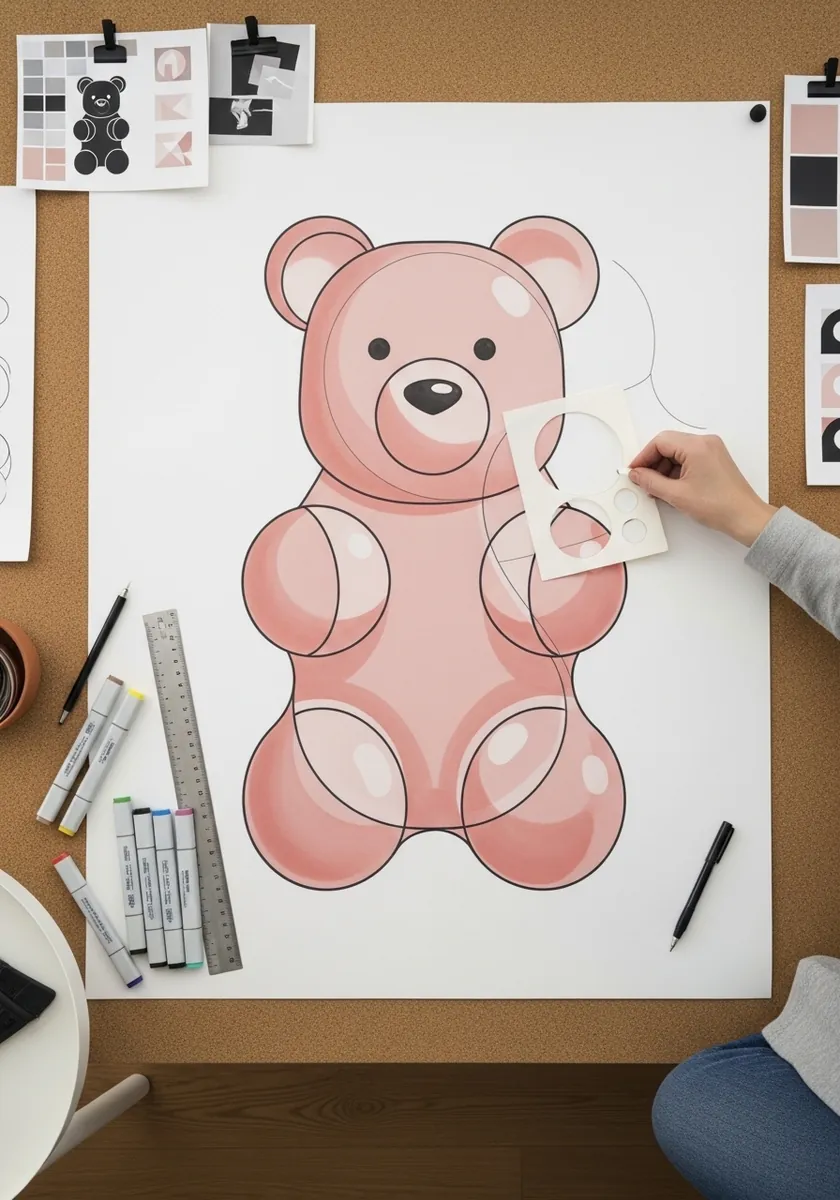
Scale changes what a drawing needs. At this size the shape carries everything, so keep the palette to one muted pink plus a barely darker tone for limb separations. Draw each contour cleanly in a single pass. A wobbly line becomes glaringly obvious once the figure is this big.
23. Red Bear in a Winter Sweater
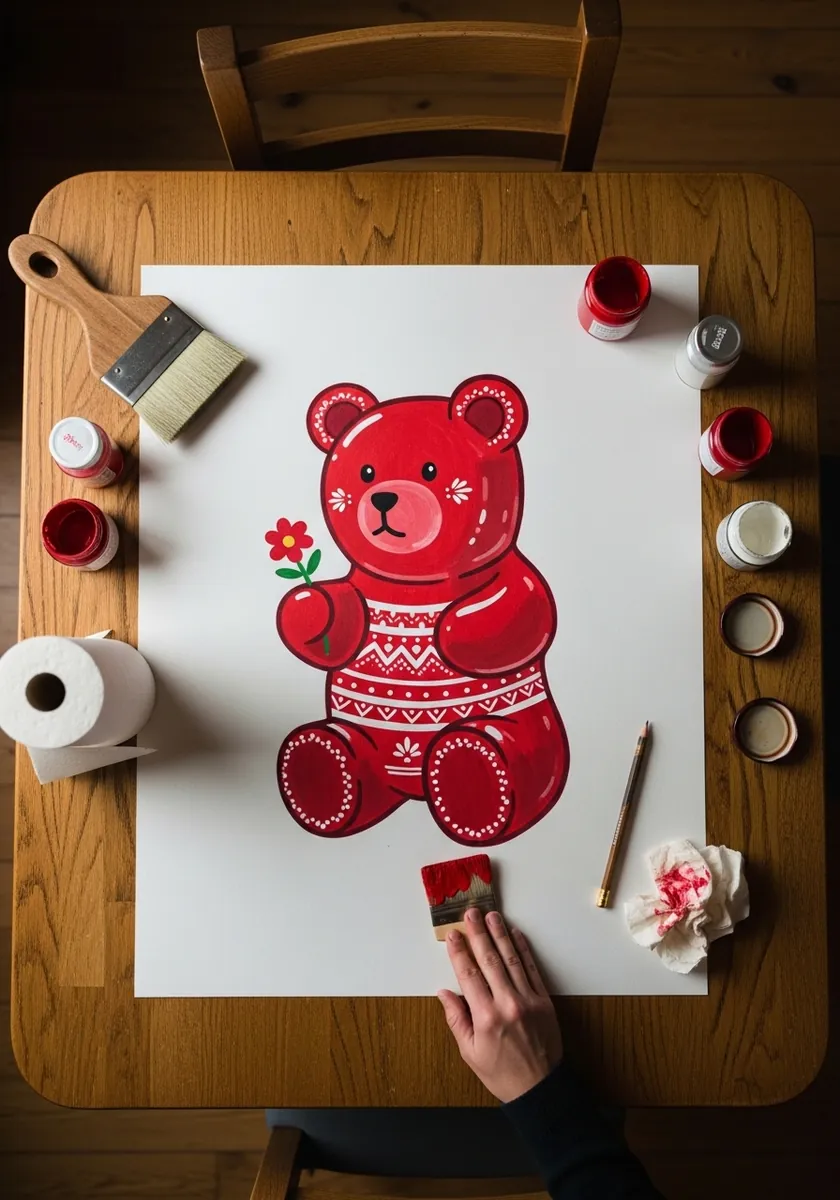
Clothing on a translucent body needs a rule: the fabric is opaque, the candy is not. Render the sweater flat and matte with visible knit texture, then let the head and paws stay glassy above and below it. That contrast is the whole appeal of the design.
24. Teal Bear Covered in Fine Line Pattern
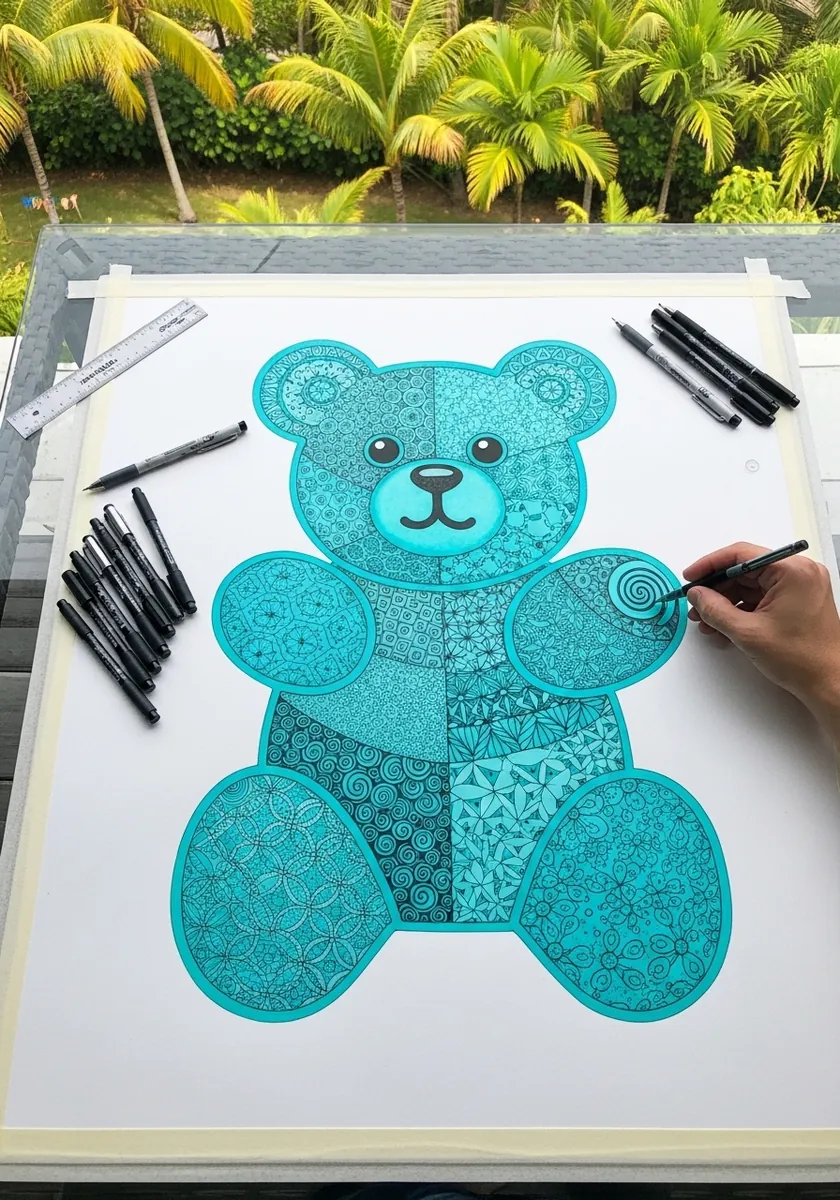
Dense linework needs a plan for value. Divide the body into four or five zones before you start and assign each a different pattern density, packing the lines tightest where the shadow falls. Working without that plan produces an even gray mass with no form in it.
25. Purple Bear as a Technical Diagram
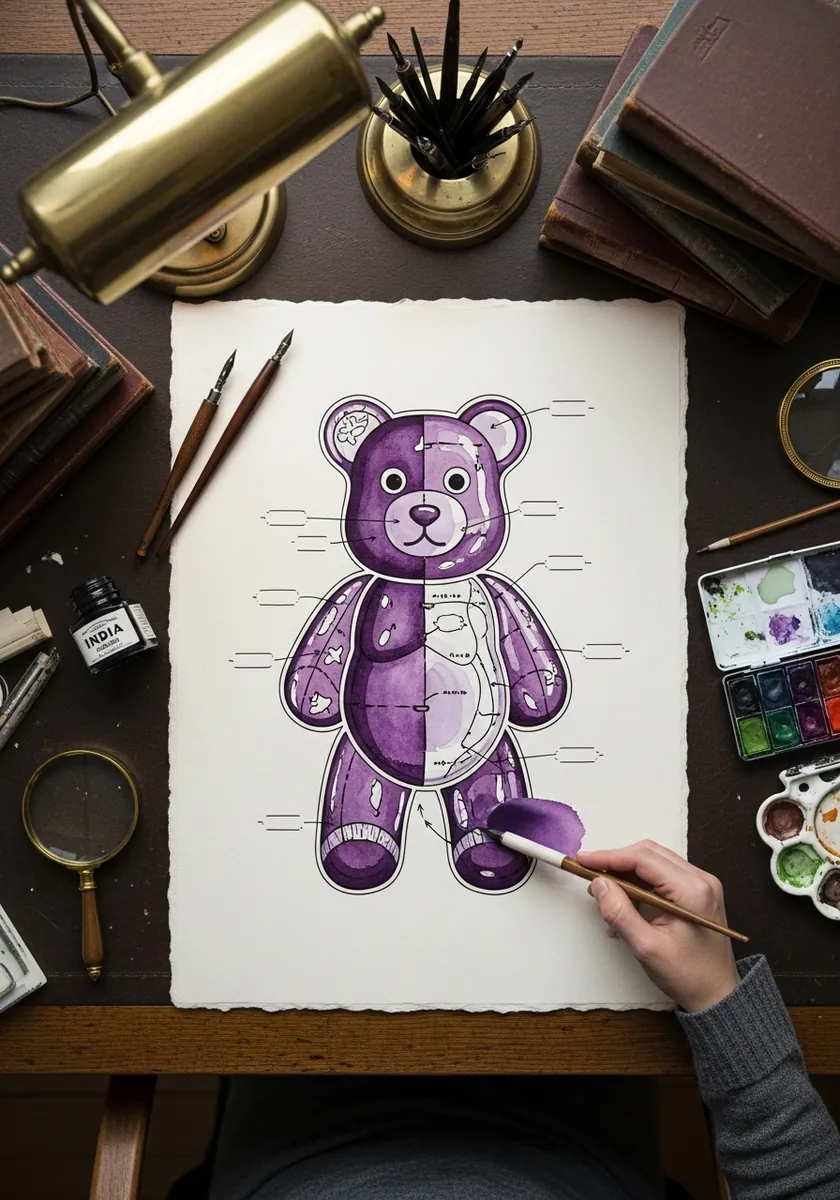
Diagram styling asks for restraint in the drawing itself, so render the bear lightly, then rule straight callout lines out to the margin at consistent angles, with every leader either parallel or radiating. Set the label text small and well clear of the figure.
26. Sleeping Gray Bear in White Charcoal
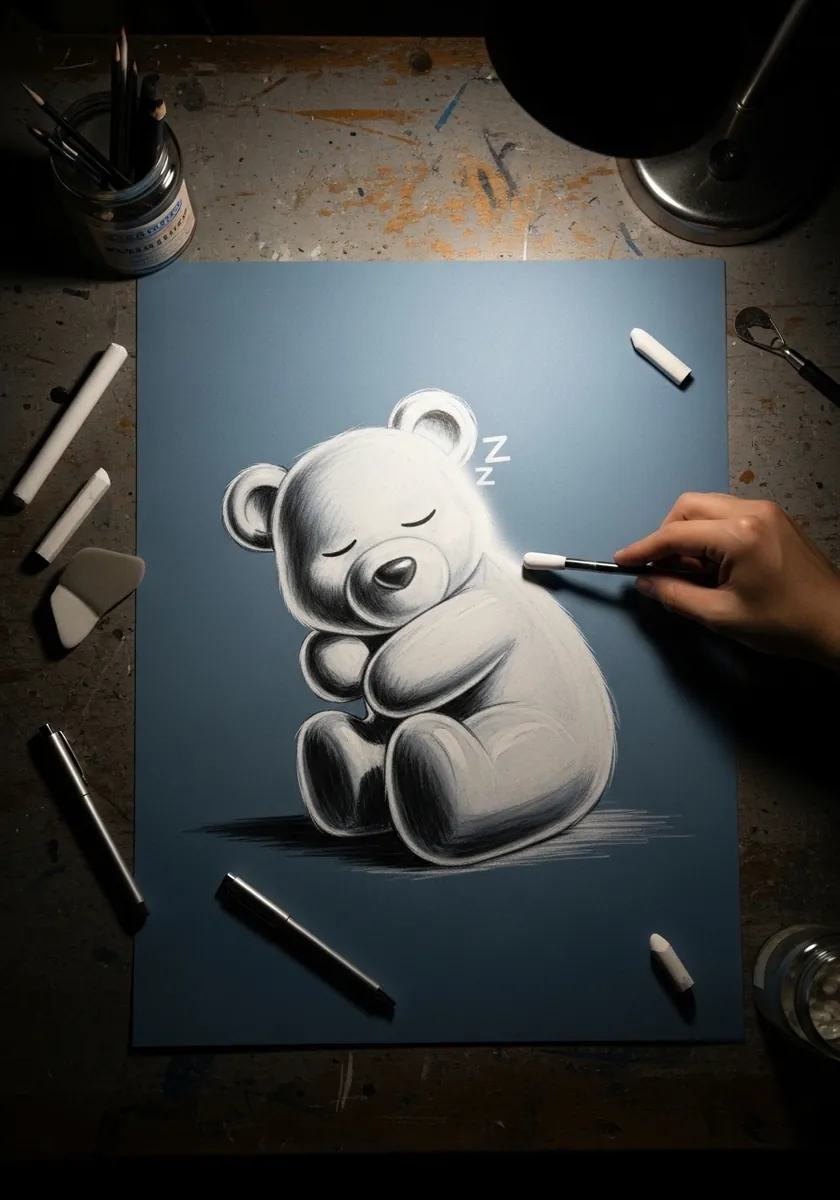
Sleep is communicated with two closed curves and a tilt. Draw each eye as a shallow arc bending downward, tip the head toward one shoulder, and let the arms fall slack rather than lifting. White charcoal on dark paper suits it, because the softness matches the subject.
27. Lilac Bear Among Watercolor Blooms
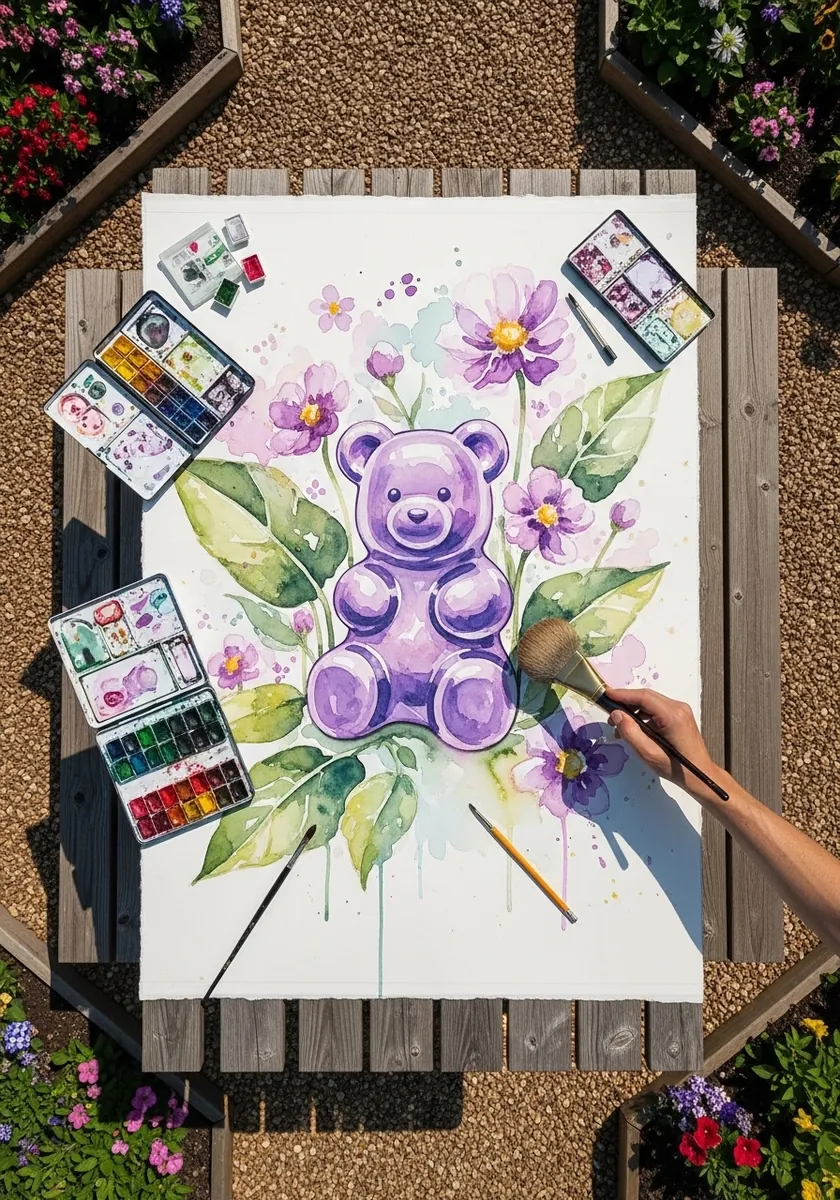
Working in a narrow color family risks flatness, so vary temperature instead of hue. Push the flowers toward blue-violet and the bear toward red-violet, keeping both in the purple range. Then a few yellow-green leaves supply just enough complementary contrast to hold the arrangement together.
28. Teal Bear in a Puffer Jacket
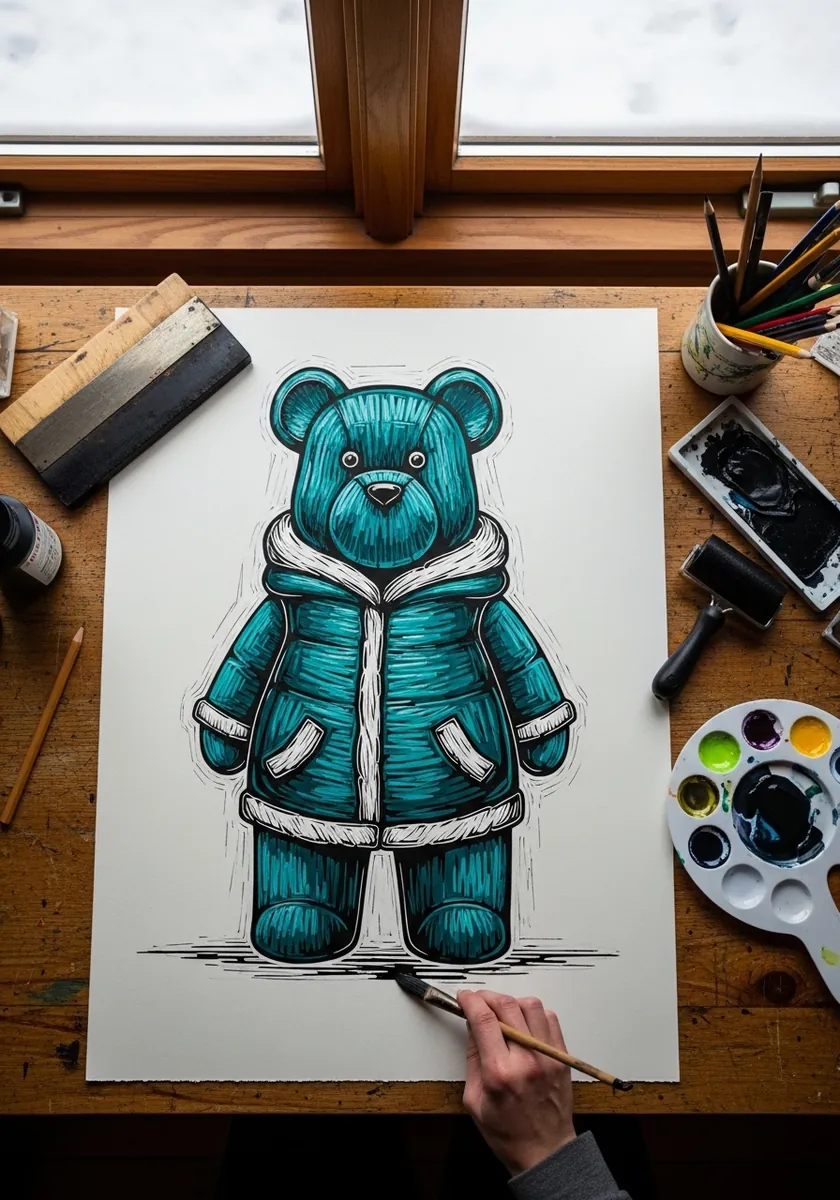
Quilted padding is a stack of soft horizontal bulges, each one wider than the seam above it. Curve every seam around the body, never straight across, and drop the jacket hem well below the belly. Oversized outerwear on a small character reads as charming every time.
29. Magenta Bear in a Folk Art Frame
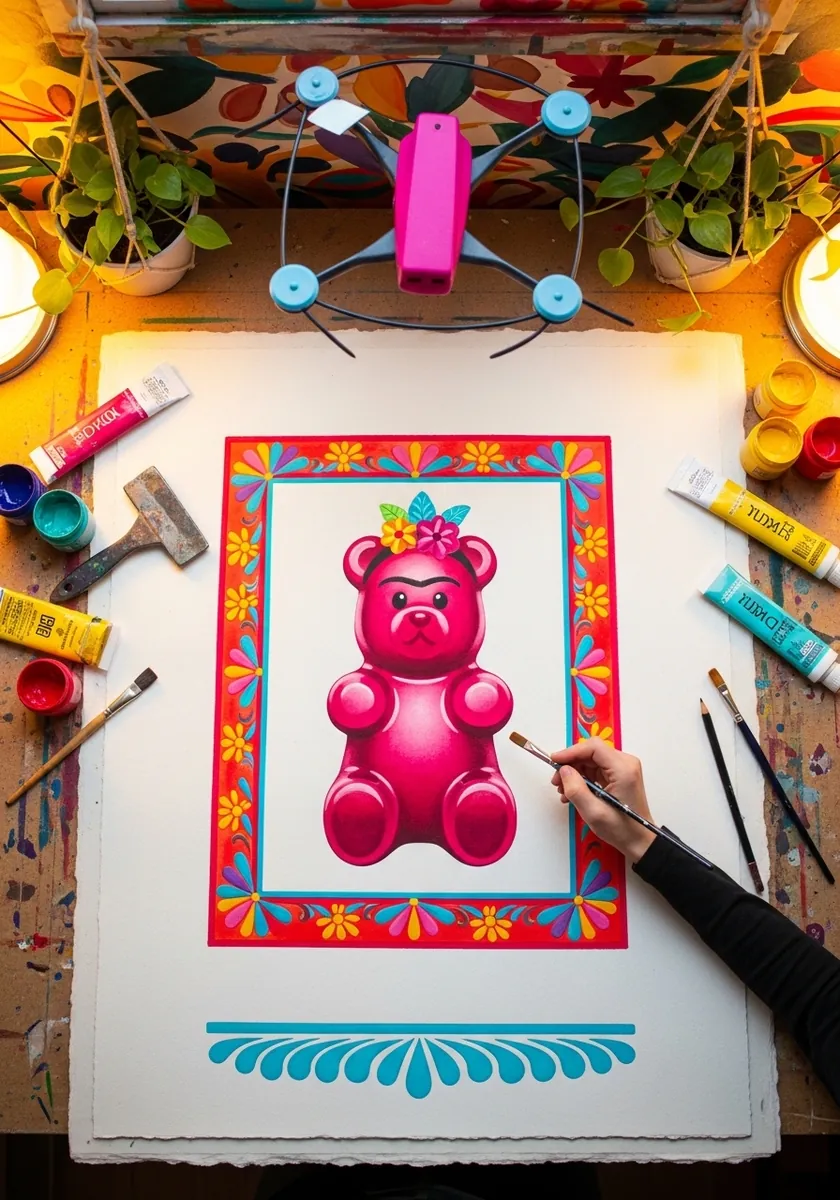
Folk borders are built from repeated units, so draw one motif well and repeat it exactly rather than improvising along the edge. A cross expression comes from lowering the inner ends of both brows and shortening the mouth. Small changes at that scale carry enormous weight.
30. Golden Aviator Bear in Sepia Ink
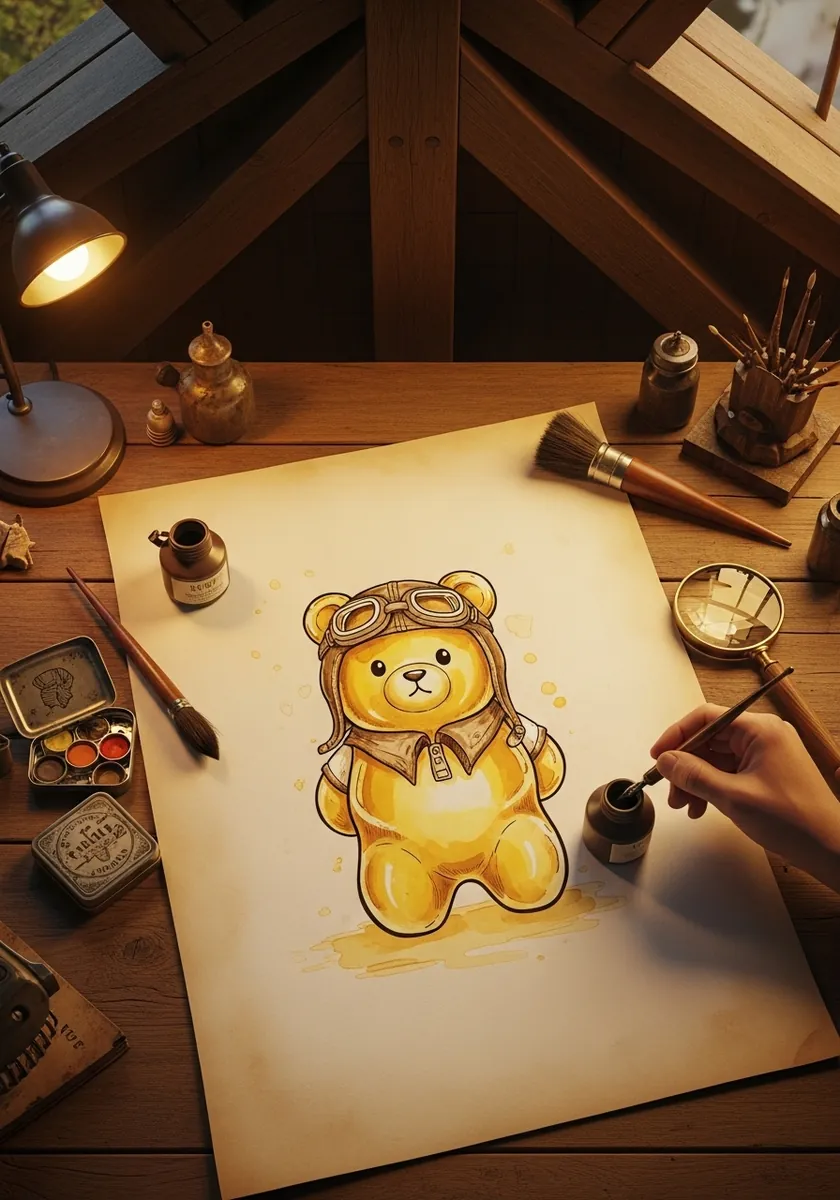
Sepia over a warm ground unifies everything, which suits a vintage subject. Keep the goggle lenses as the only cool note on the page, a hint of gray-blue against all that amber. Push the cap straps slightly asymmetrical, since perfectly even gear looks manufactured rather than worn.
If you enjoyed making a translucent character here, try the same trick on a softer subject next: our rainbow slime character ideas show how a wide, bulging base and one hard highlight sell gooey translucency, with drips matched to thick or thin slime.
Mistakes That Kill the Candy Look
Most failed gummy bears fail in the same five ways. Check your drawing against this list before you call it finished.
Shading it like a solid toy. Darkest in the middle and light at the edges reads as a round plastic ball. Candy is the reverse: light centre, dark edge.
- Grey or black shadow under a coloured bear — tint the shadow with the bear’s colour instead
- A perfect oval highlight pasted flat on the belly — curve the shine so it follows the form and tapers at both ends
- Filling every part of the shape on toned paper — untouched paper is your shadow, so leave it alone
- An even outline all the way round — let the line thicken underneath and where the body is compressed
- Sparkles or dots all the same size — vary them, or they read as noise rather than shine
For a ready-to-start set, see our guide to the best manga drawing kit for beginners, which covers the pens, pencils, and paper a new manga artist needs.
If you are getting started with blending and layering colour, our guide to the best alcohol markers for beginners compares nib types, colour range, and value for new artists.
Frequently Asked Questions
How do you draw a gummy bear so it looks translucent?
Reverse normal shading. Put your darkest value along the outer edge where light travels furthest through the candy, keep the center of the body light, add one hard white highlight near the top, and cast a colored glow on the surface underneath.
What shapes make up a gummy bear?
A rounded head with two flat button ears, an oval belly, two short arms angled outward and two stub legs. There is no neck and no separation between the head and body, which is what keeps the silhouette instantly readable.
What are gummy bears actually made of?
Gelatin, glucose syrup, sugar, citric acid and coloring. Hans Riegel of Haribo introduced the original Tanzbar, or dancing bear, in Germany in 1922. The gelatin is what gives real gummies their slightly cloudy, light-scattering interior.
Which medium is easiest for a beginner gummy bear?
Alcohol markers. Three values of a single color, applied lightest first, build convincing candy in about ten minutes, and the ink pools naturally at the edges where a translucent object should be darkest anyway.
How do you draw the shine on candy without it looking like a sticker?
Give the highlight a shape that follows the form. A shine sitting on a round belly should curve with that belly and taper at both ends, not sit as a perfect oval pasted flat on top of the color.
Why does my gummy bear look like plastic instead of candy?
Almost always, the shading direction is wrong. Plastic shading puts the darkest value in the middle of a form and lightens toward the edge; candy needs the opposite, with the darkest value hugging the outer edge. The second most common cause is a grey shadow underneath. Mix the shadow from the bear’s own colour with a touch of warm brown and the bear will sit on the surface instead of floating above it.
What colours work best for a translucent gummy bear?
Single-hue trios work best: a pale, a mid and a deep version of one colour, such as lemon, golden and amber for a yellow bear, or blush pink, rose and deep magenta for a pink one. Mixing in a complementary colour for the shadow muddies the candy fast, so keep shadows in the same colour family and let the paper or the lightest wash do the glowing.
Translucent characters and CG-style characters share one core skill: controlling light through a form. For the round, soft-shaded side of that skill, see Pixar Style 3D Art Ideas and the Eye-Socket Rule.
For a character built the opposite way — flat fills and a strict profile rule rather than translucency — see these Peppa Pig drawing ideas, where one head shape carries all thirty ideas.
Keep Going With Characters Like These
If the candy look clicked for you, try the same light-through-a-form thinking on cute animal drawing ideas for kids, where one eye-line rule carries forty characters, or on watercolor food drawing ideas, where juicy fruit needs the same glowing centre and dark edge. For the watercolor basics behind several bears here, the complete watercolor painting guide for beginners covers washes and lifting in full.
References and Further Reading