Every seam on a basketball is a great circle wrapped around a sphere, so no seam is ever a straight line. Bow each one outward according to where it sits relative to your eye, and the flat circle becomes a ball.
Key takeaways
- All four seams curve, because each one is a circle wrapped around a sphere|The pebbled texture compresses and shrinks toward the silhouette edge|Keep the highlight broad and soft, since a pebbled surface never gives a sharp one|Add a band of reflected light along the shadow edge so the ball is not pasted on|In watercolor the highlight has to be reserved first, never painted back in later
A basketball looks like the easiest thing on earth to draw, and almost everyone gets it wrong in the same way. They draw the seams as straight lines. Every seam on a real ball is a circle running right around a sphere, which means it has to bow outward on the page.
How much it bows depends on where it sits relative to your eye. Only a seam passing exactly through the center of your view looks straight; every other one curves, and the further from center it sits, the more it curves. Fix that and a flat circle becomes a ball before you add a single tone.
The second thing is the pebbling. Those little bumps compress toward the edges, appearing largest and furthest apart where you look straight at the surface and shrinking to almost nothing at the silhouette. It is the same reason texture on any sphere tightens at the rim.
Watercolor adds one more rule: the paper is your white, so the highlight has to be reserved before you paint rather than added afterwards. The forty-one ideas below run from splash and botanical through manga, graffiti, pixel and folk pattern. For the non-painted approach, see basketball drawing ideas, and for looser work, watercolor abstract ideas.
Compiled by the GS Art Zone editorial team. Last updated August 2026. Each idea is paired with the specific step that produces the effect, so you can go from the reference straight to paper.
What You Need Before You Start
- Masking fluid or a white gel pen, since the highlight must be planned before you paint
- A warm orange and a cooler red-brown, because a single orange gives a flat ball
- A round lid or compass, as a hand-drawn circle betrays itself immediately at this size
- A rigger or liner brush for the seams, which need one confident unbroken stroke
- Rough paper if you want the tooth itself to suggest the pebbled surface
1. Realistic Ball With Cast Shadow
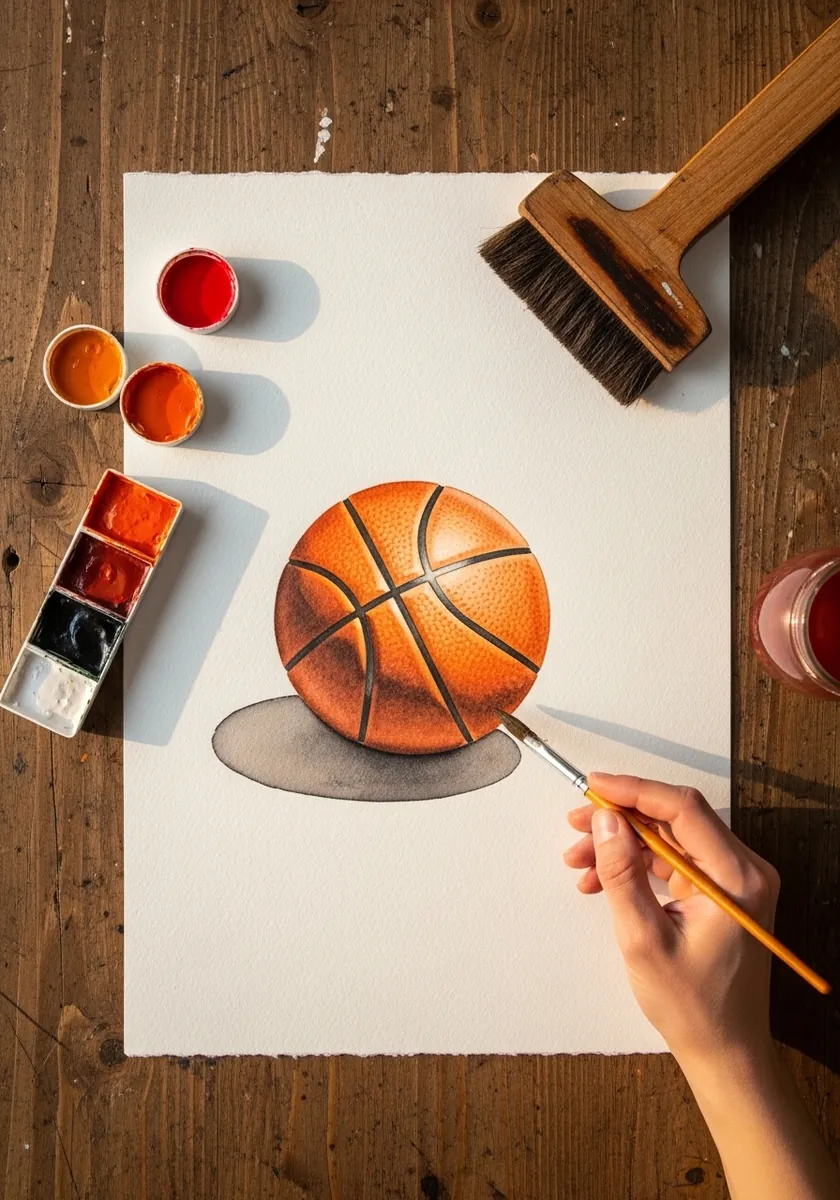
Start here, because everything else on the page builds on it. Curve all four seams, compress the pebbling toward the edges, and let the cast shadow sit tight and dark directly under the ball before spreading softer as it moves away.
2. Rainbow Splash Ball
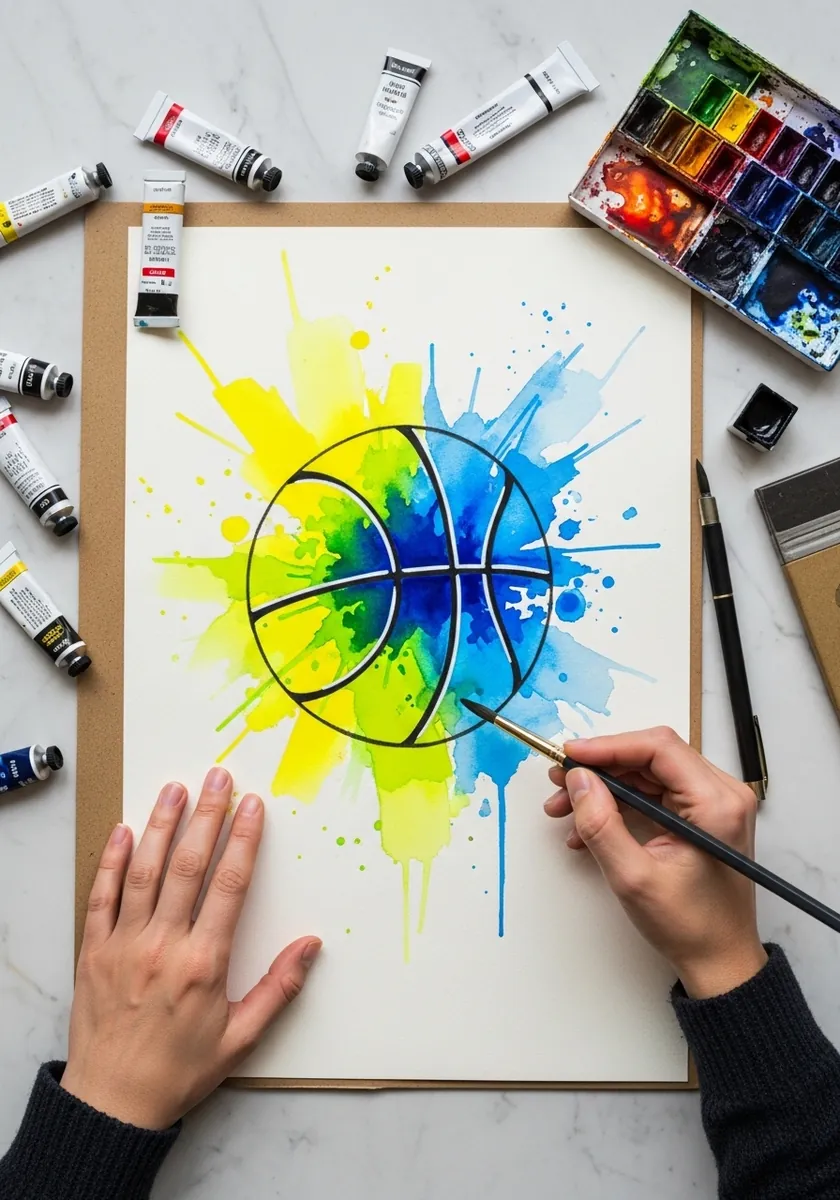
Splash behind a hard-edged subject only works if the two layers stay separate. Lay the color bursts first and dry them completely, then paint the ball crisply on top so it reads as sitting in front rather than dissolving into the background.
3. Continuous Line Dunk
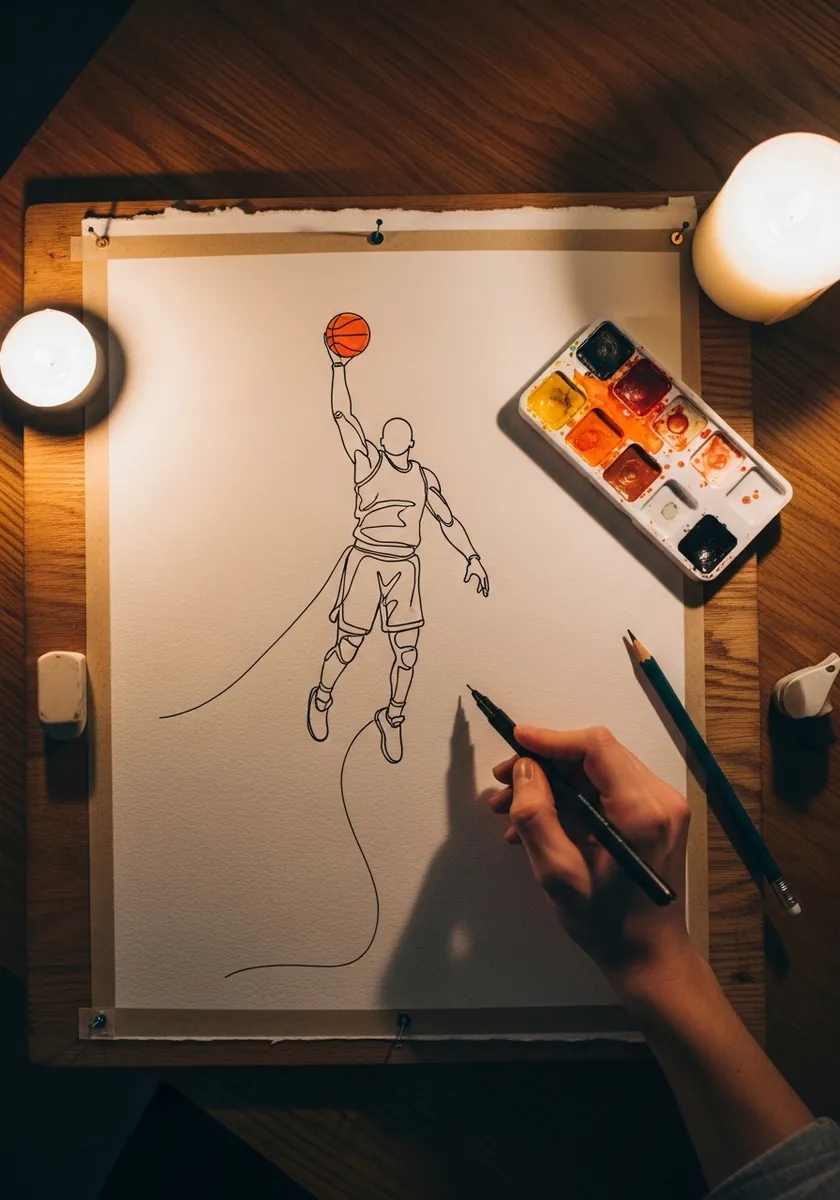
One unbroken line forces you to plan the route before you touch the paper. Start at the ball, travel down the arm and through the body, and finish at the trailing foot so the pen never lifts once. Keep the line weight identical throughout so no part reads as more finished.
4. Simple Flat Orange Ball
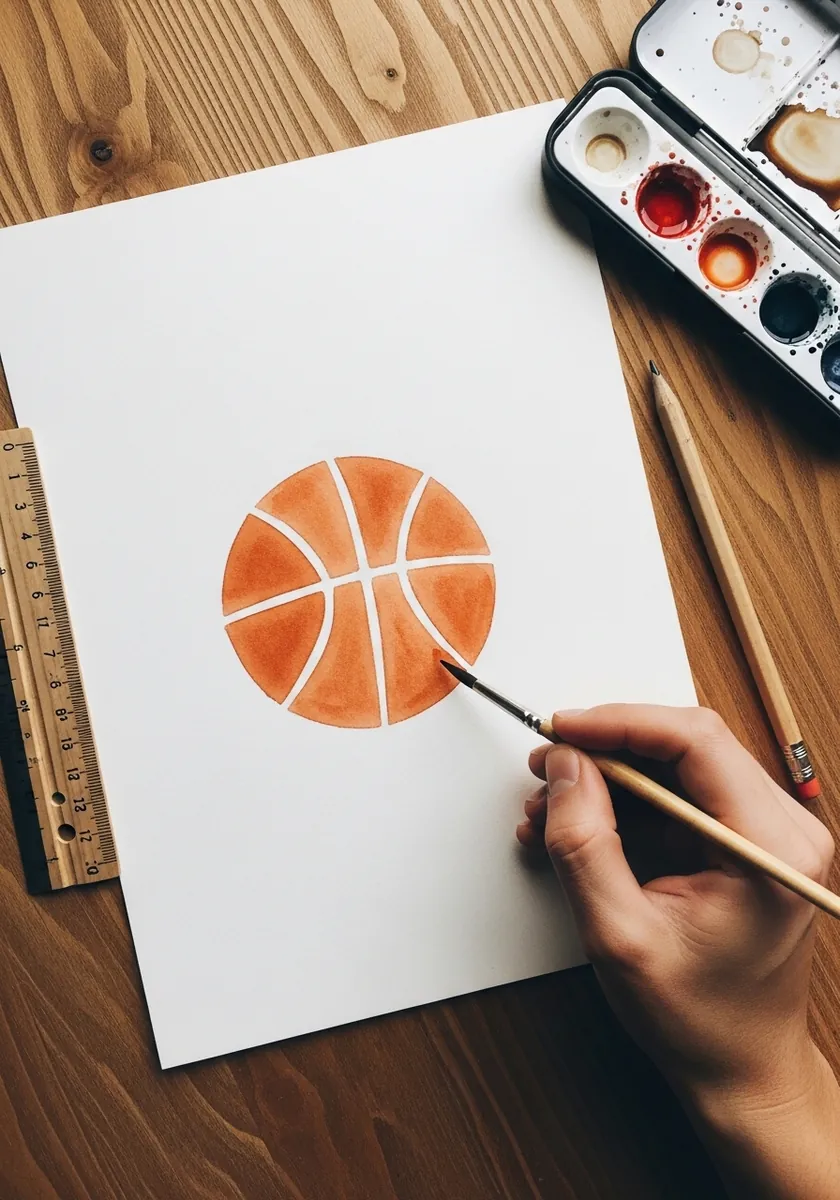
Flat color still needs correct geometry. Lay one even orange wash, let it dry hard, and then draw the seams in a single confident pass each. With no shading to hide behind, the seam curves carry the entire illusion. Any wobble in a seam is instantly visible against a flat unshaded ground.
5. Pop Art Dunk on Yellow
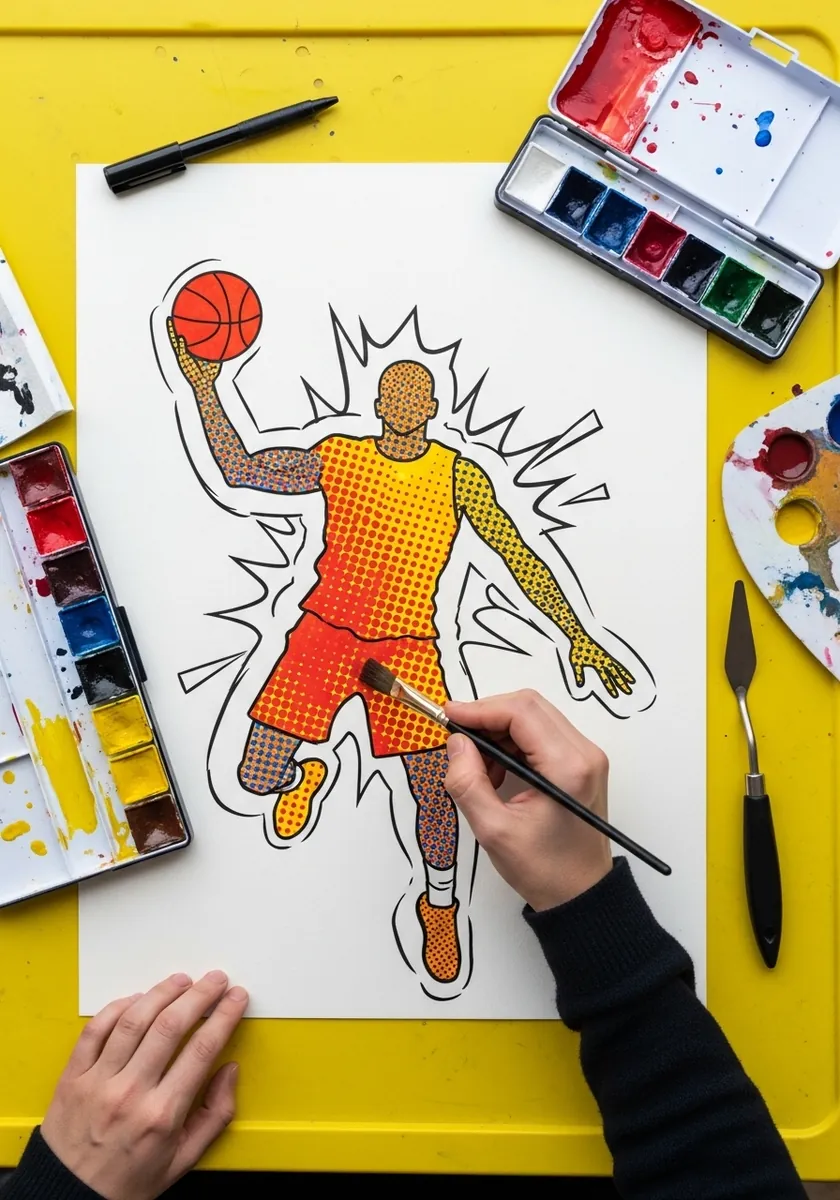
Pop art wants maximum contrast and zero modeling. Keep the figure in three flat colors, add halftone dots only in the shadow zones, and let the yellow ground stay completely unmodulated behind everything, and outline everything in the same heavy black so the whole panel reads as printed.
6. Ball With Blue Drips
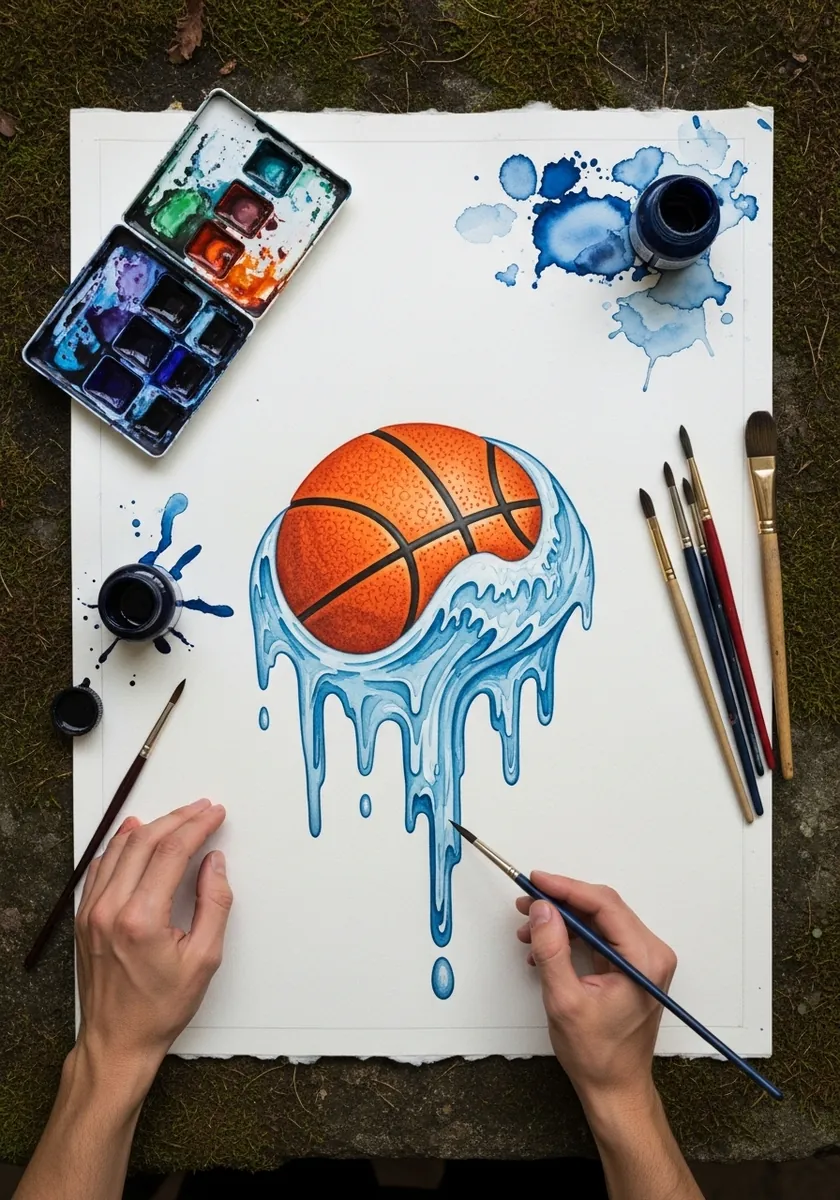
Controlled drips need the board tilted at the right moment. Paint the ball, wait for the shine to leave the surface, then load clean blue at the lower edge and stand the board upright so gravity does the rest. Blot the very bottom of each drip so it ends softly rather than in a blob.
7. Loose Abstract Wash
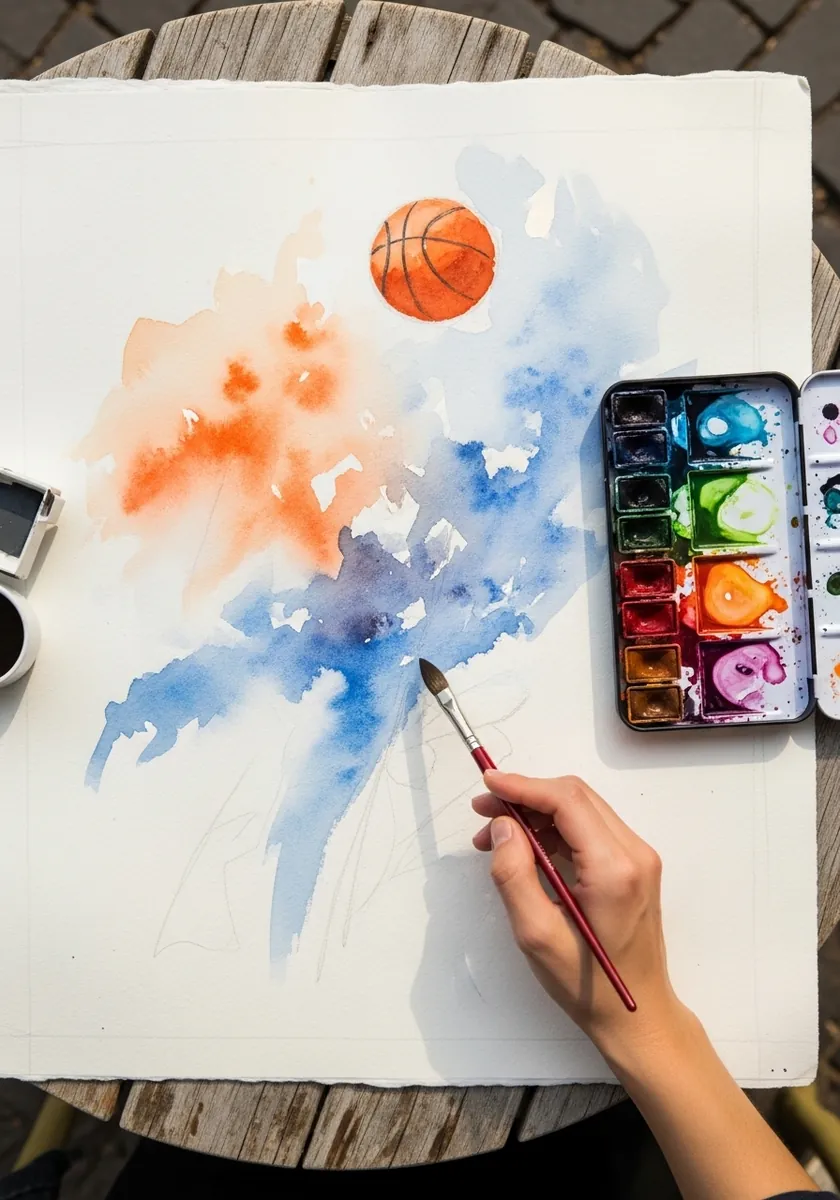
Scale reversal makes a small subject powerful. Keep the ball tiny and fully resolved, let the wash below stay completely abstract and unresolved, and the contrast in finish does all the compositional work. Sign it small and low, because a loose page needs one point of precision.
8. Fiery Ball in Flames
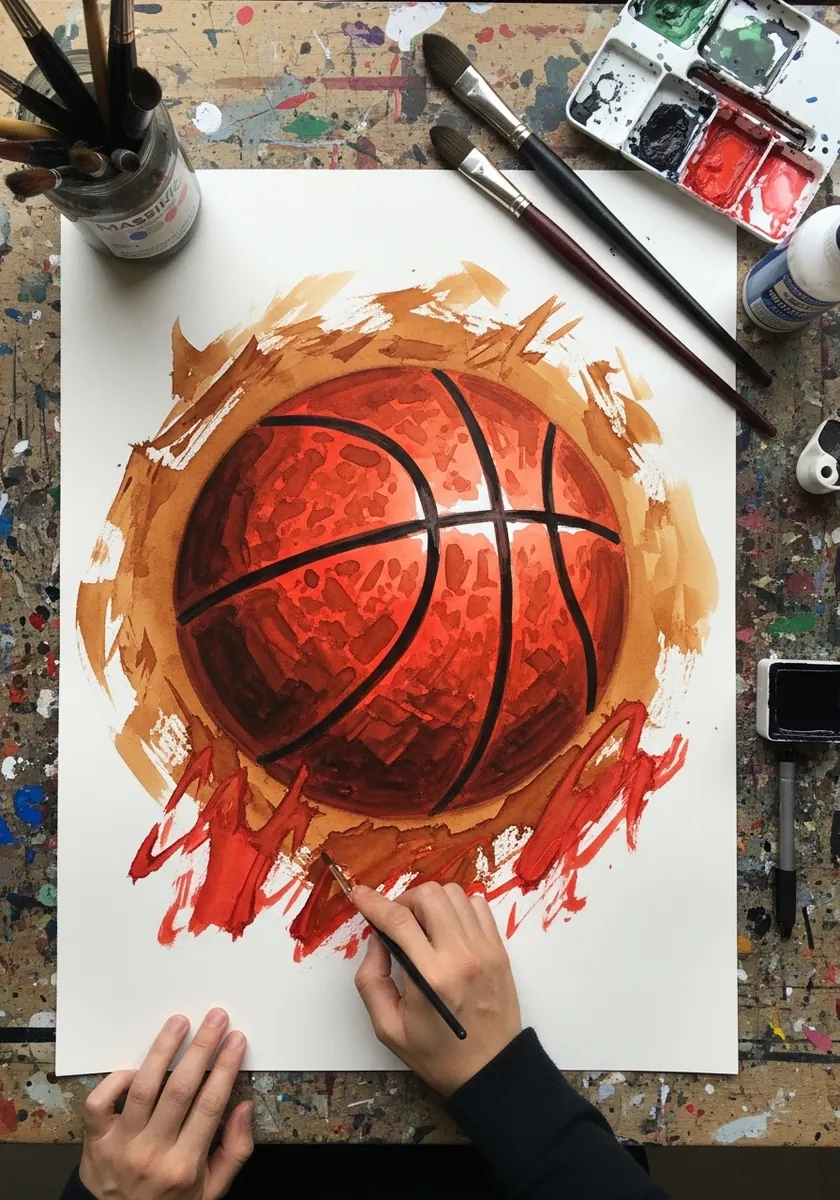
Flames read through shape rather than color. Draw each tongue with a sharp point and a wide base, keep them all leaning the same direction, and let the innermost flames stay palest where the heat is greatest, and keep the outer flames much paler so the ball still holds the darkest value.
9. Exploded Geometric Ball
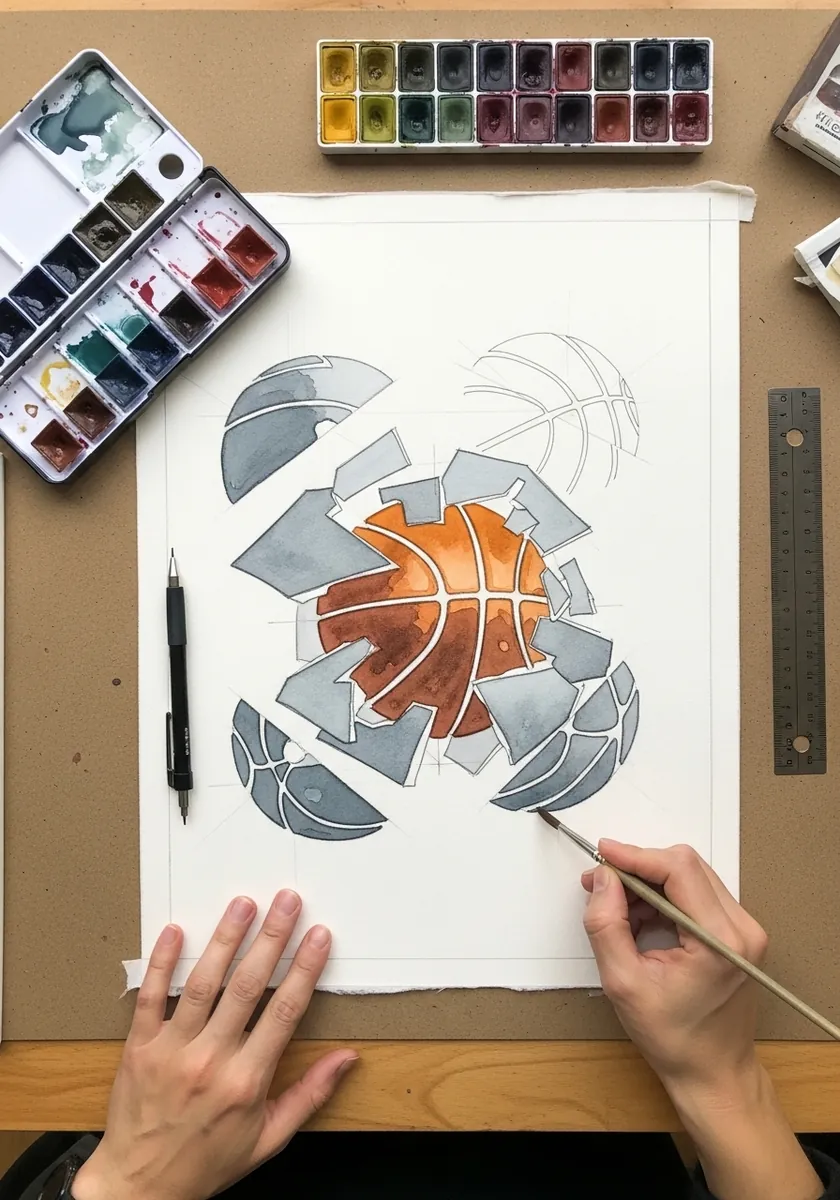
An exploded object needs a clear direction of travel. Push every fragment outward from one point, make the pieces further from that point larger and more widely spaced, and leave the origin almost empty. Leave a faint ghost of the intact ball behind the fragments as a reference.
10. Ball From Photo Reference
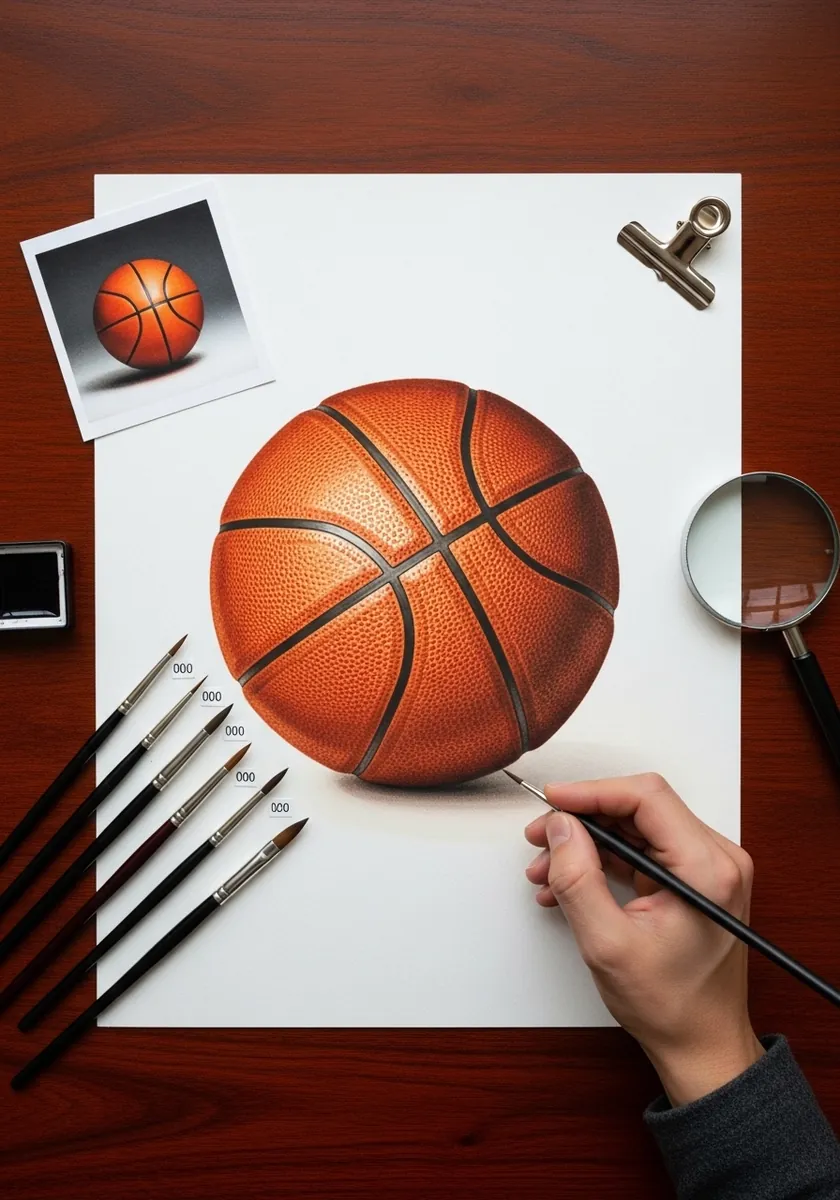
Working from a real photo fixes the pebbling, which almost nobody invents correctly. Look at how the bumps actually crowd near the rim and how the seam grooves cast their own tiny shadows, then copy those rather than approximating. Note the grooves are darker than any shadow on the surface itself.
11. Small Ball on Deckle Paper
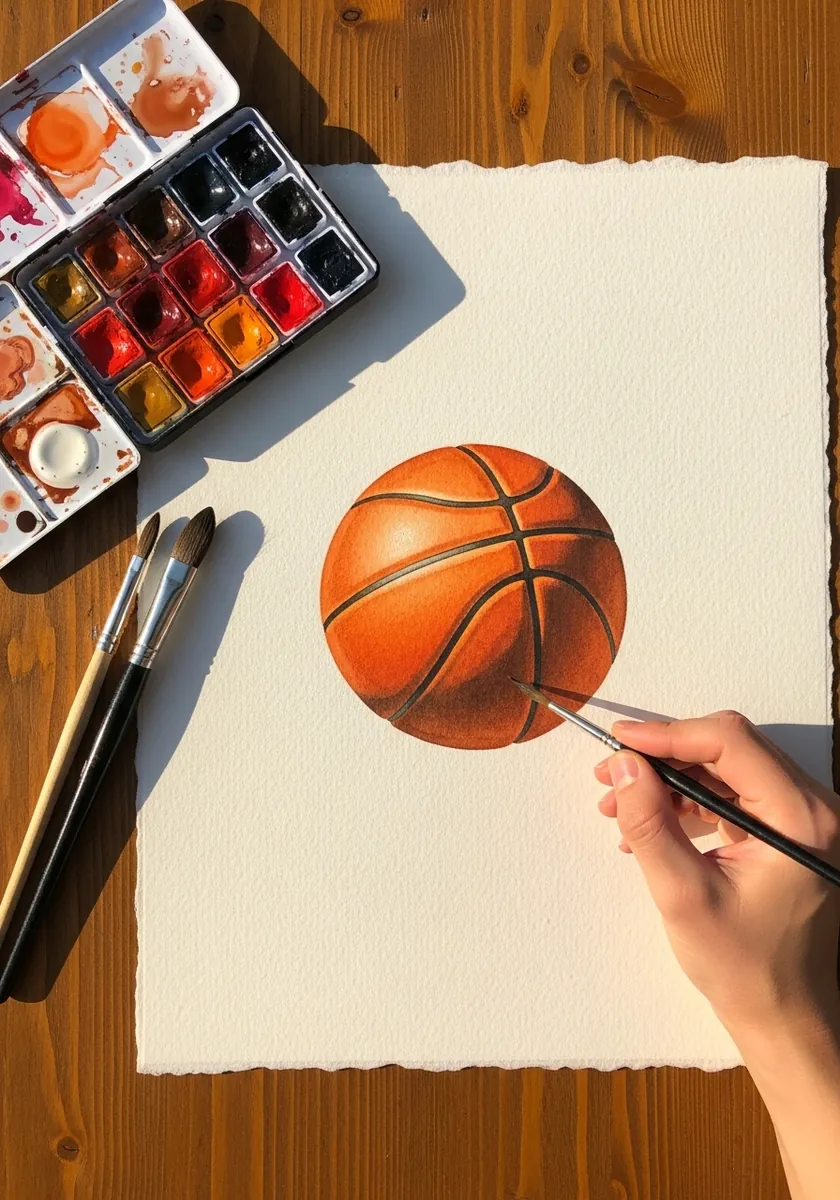
Working small forces you to decide what matters. Get the seam curves and the highlight right, then suggest the pebbling with a single dry-brush pass rather than trying to render individual bumps at that size, and suggest the seam grooves with one darker line rather than modeling them.
12. Stained Glass Mosaic Ball
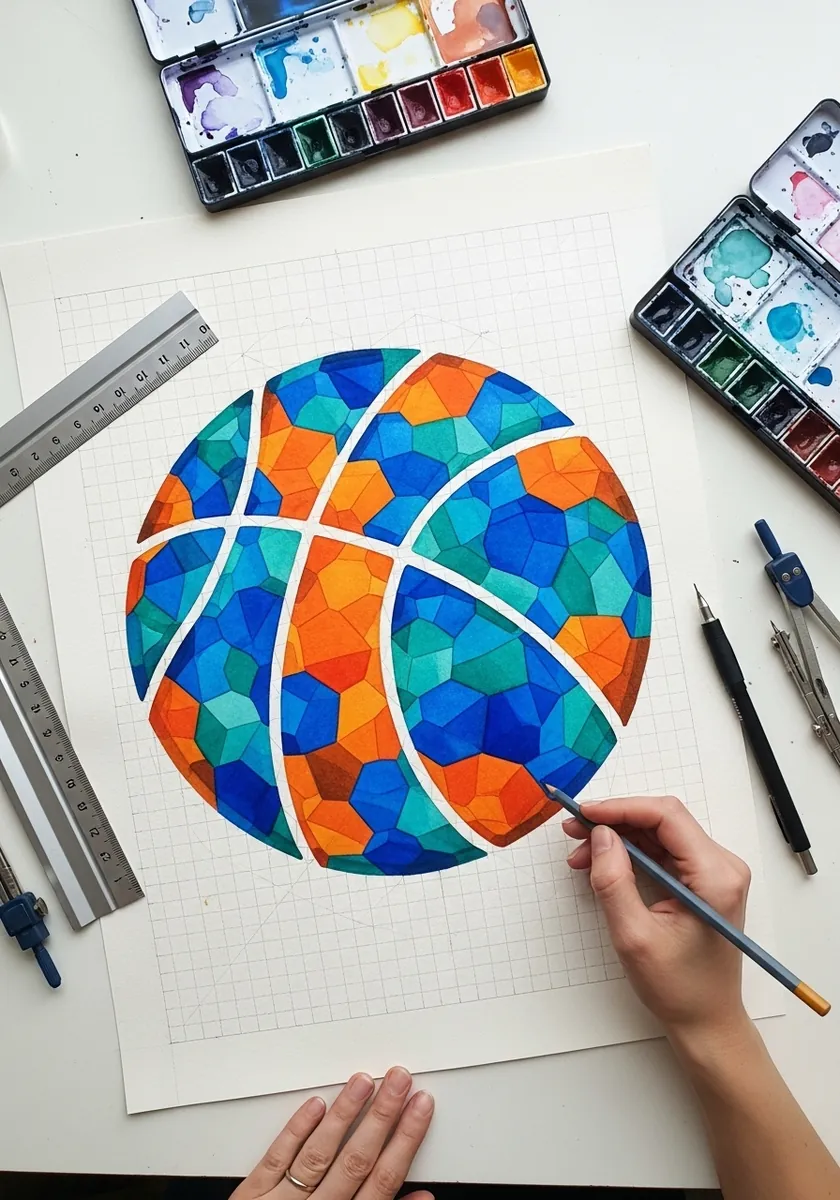
Mosaic on a sphere still has to follow the sphere. Make the facets smaller and narrower as they approach the silhouette, keep the dark lines between them a consistent width, and let the color shift gradually rather than randomly. Vary the facet colors gradually around the sphere rather than at random.
13. Clipboard Dunk Study
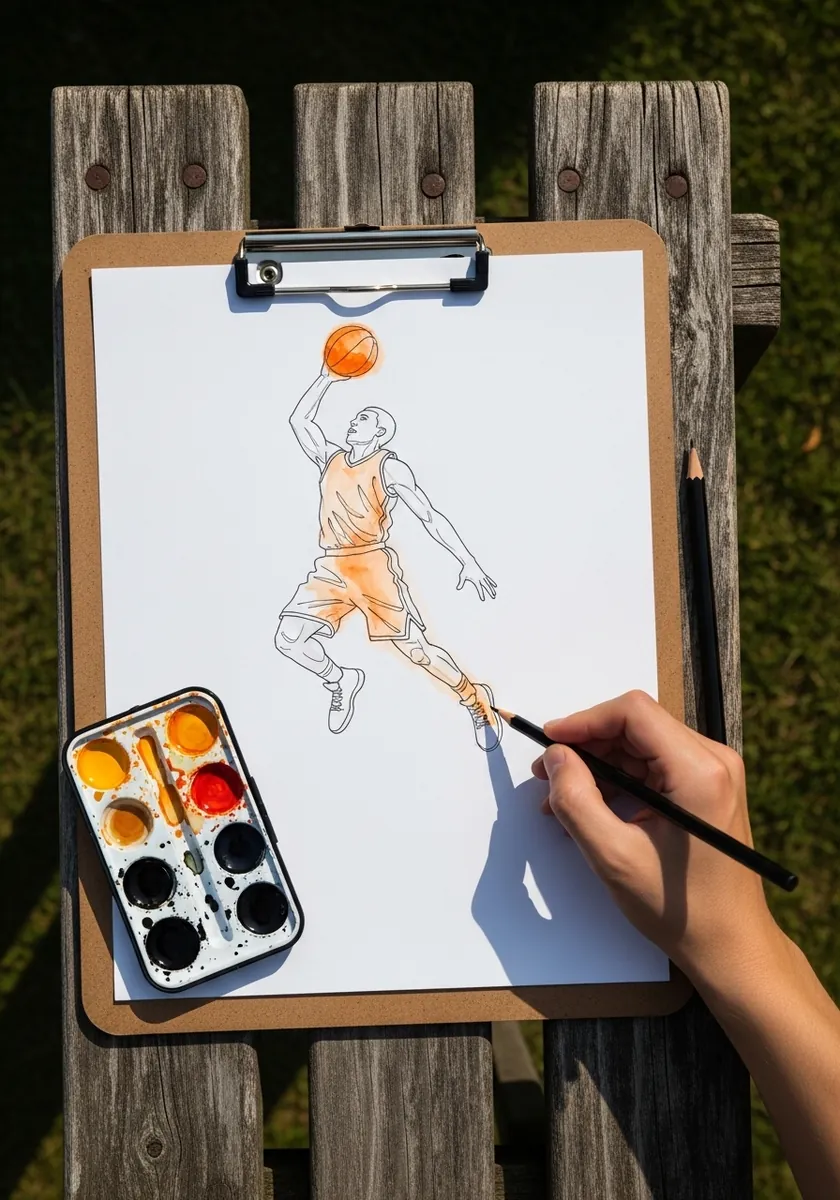
A dunk is a diagonal, so build the whole composition on one. Run the line of the body from lower left to upper right, place the ball at the top of that diagonal, and leave the opposite corner almost empty. Crop the figure at the ankles so the composition stays about the reach.
14. Dense Doodle Ball
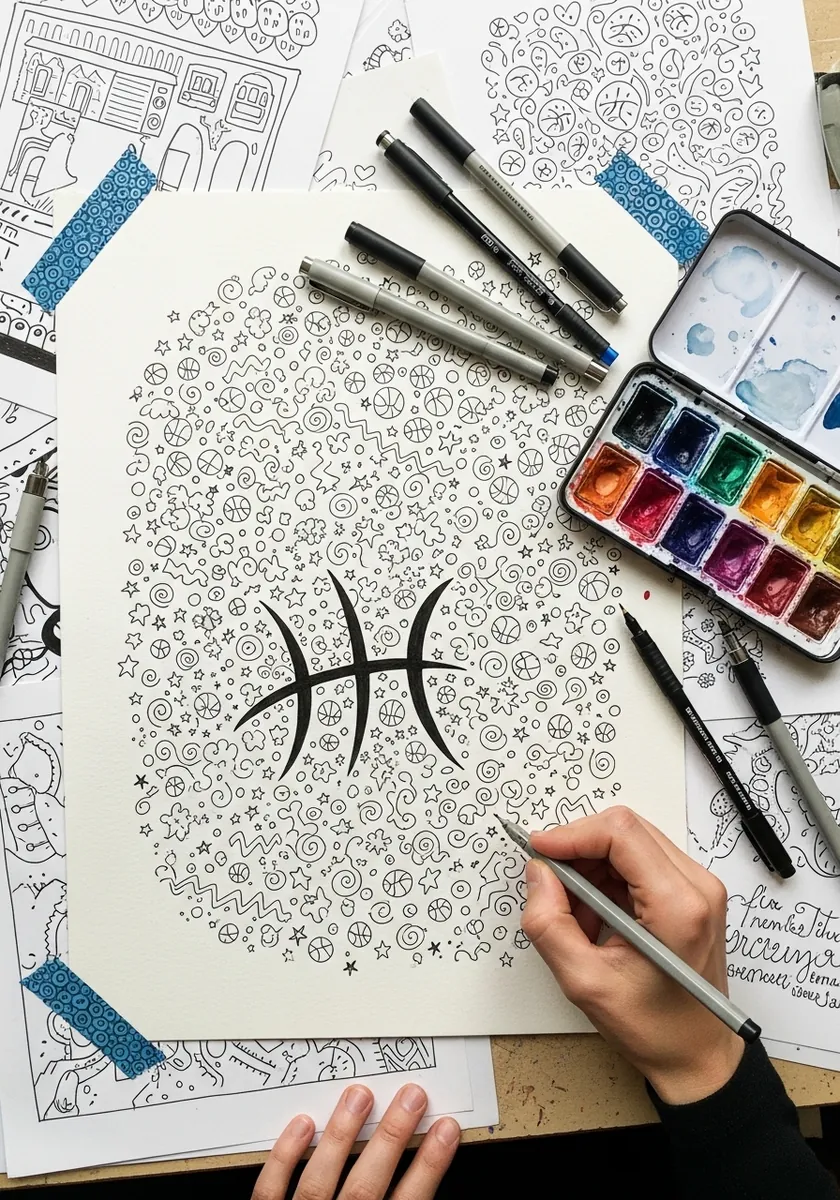
Filling a shape with tiny marks needs the seams to stay readable. Leave a clear channel of white paper along each seam line, and let the doodle density increase toward the edges so the sphere still reads through the pattern.
15. Graffiti Block Panel
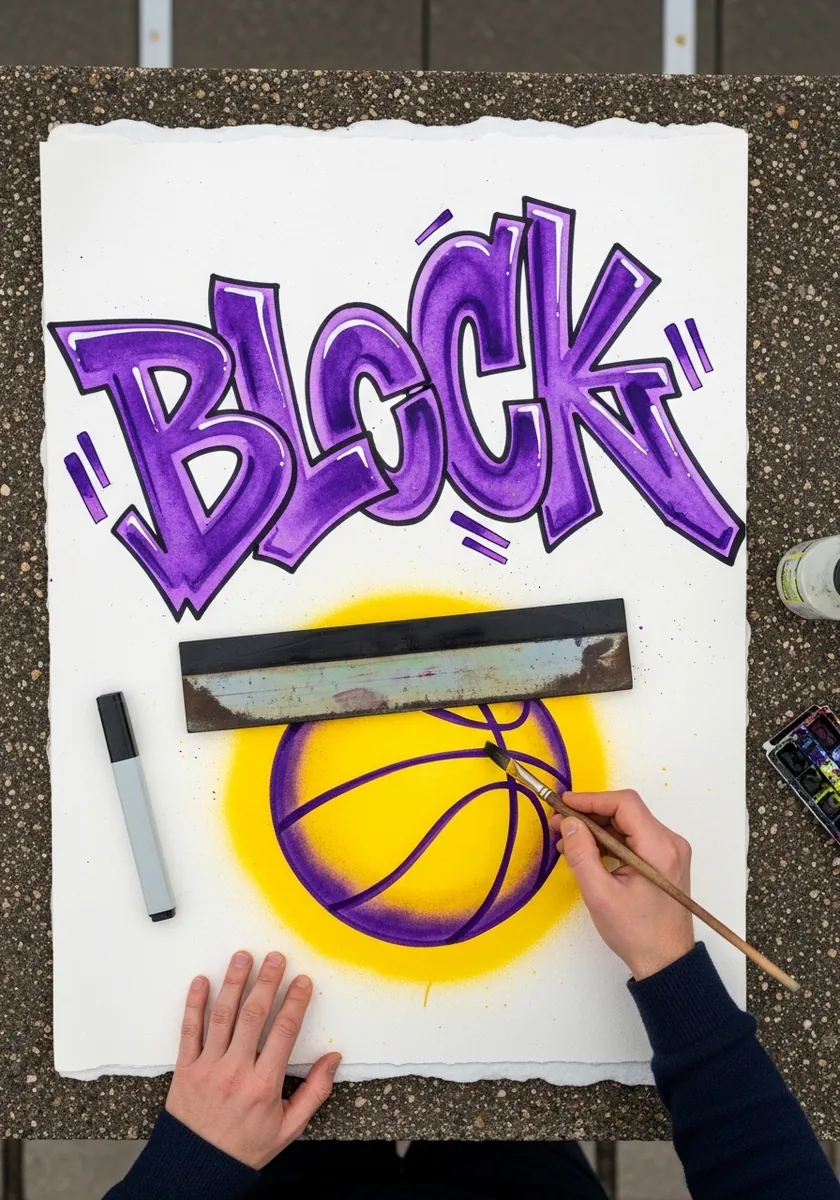
Graffiti letters and a ball are two competing focal points, so rank them. Give the lettering the strongest contrast and hardest edges, keep the ball simpler with a soft glow, and let them overlap at only one point. Let the ball overlap one letter so the two elements are locked together.
16. Gradient Pastel Ball
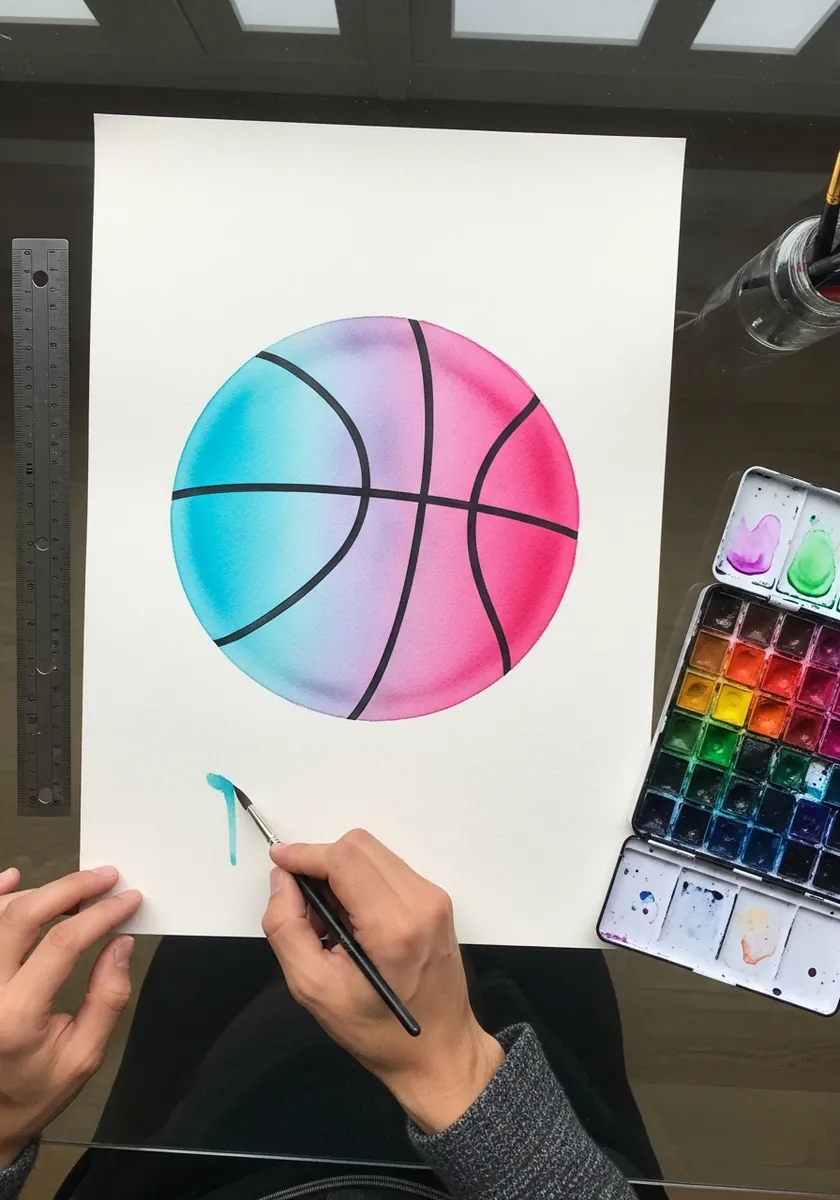
A wet-into-wet gradient across a circle needs speed. Wet the whole shape first, drop each color in while the surface is still glossy, and tilt the paper to blend rather than brushing, which lifts pigment and leaves streaks. Tilt in one direction only, since rocking the board back and forth muddies everything.
17. Pixel Art Ball
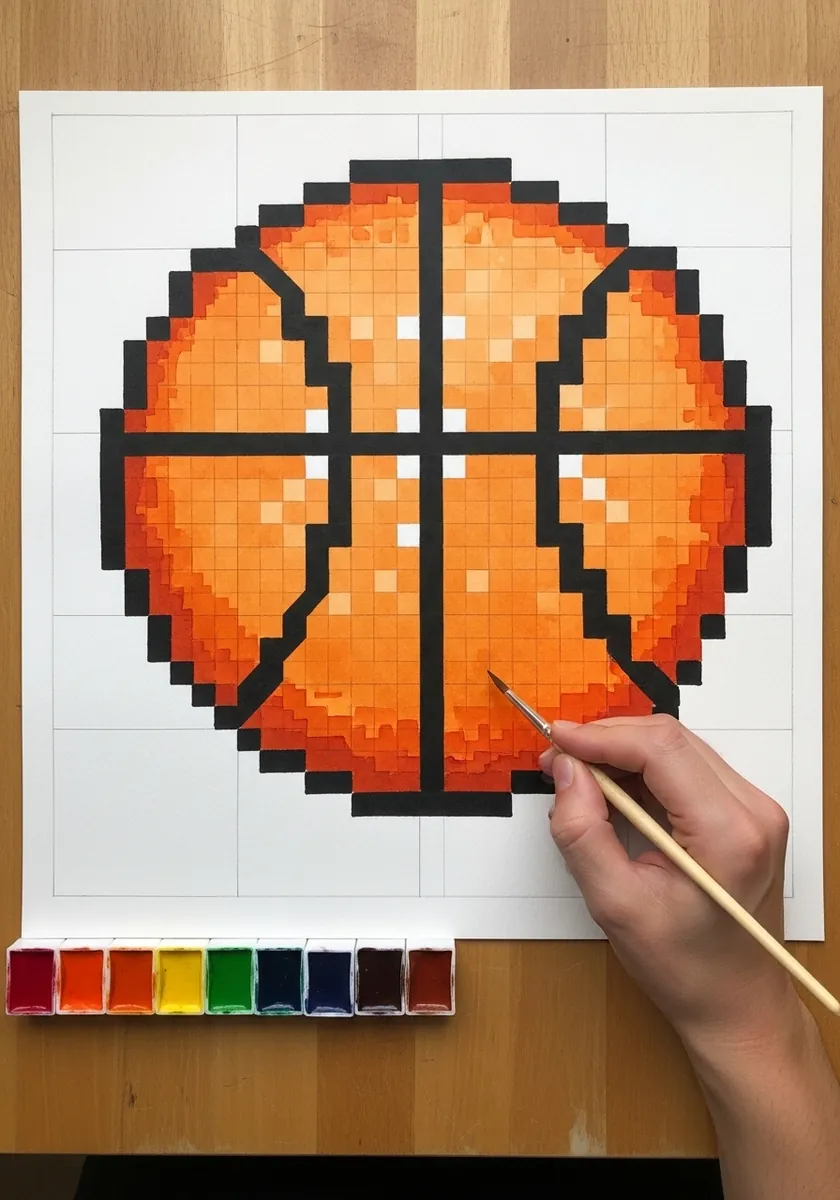
Curves in pixel art come from stepping, not smoothing. Plan the circle on the grid first, keep the steps symmetrical in all four quadrants, and render each seam as a deliberate staircase rather than trying to soften it, and choose an odd-numbered grid width so the ball has a true center column.
18. Low Poly Triangle Ball
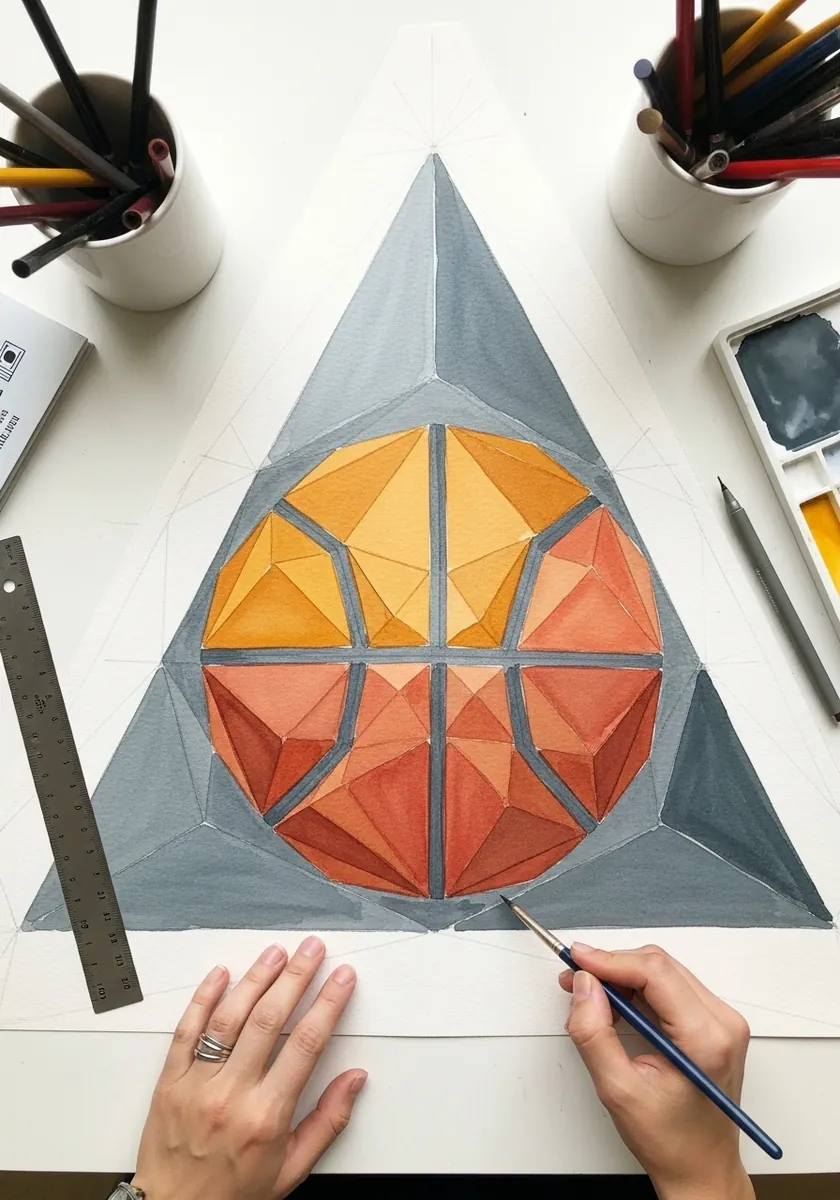
Low poly is about consistent facet size. Keep every triangle roughly the same area, vary only the value between neighbors, and let the value change track a single light direction so the sphere still reads. Keep the frame triangle a completely different value from every facet.
19. Bold Outline Flat Ball
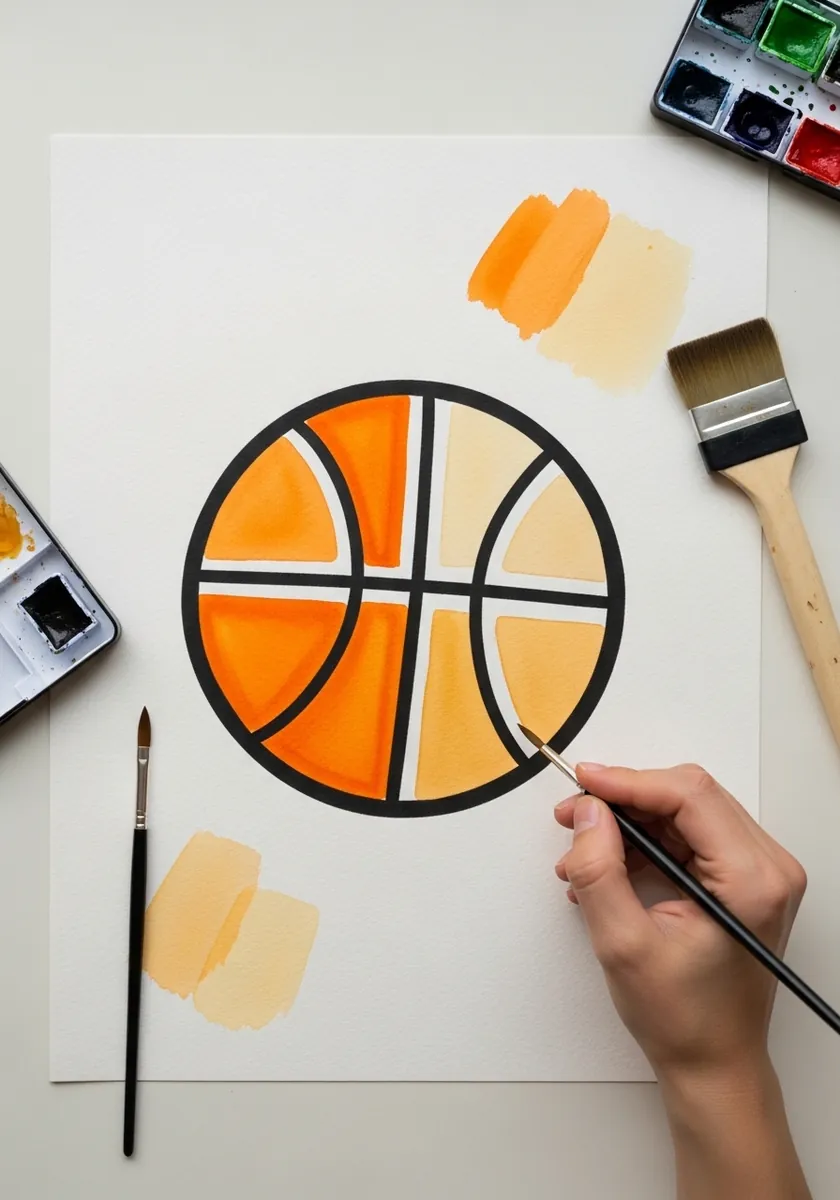
Heavy outline is a design choice that removes the need for shading entirely. Keep the line weight identical all the way around including the seams, fill flat, and add absolutely no tonal modeling anywhere. A tiny warm highlight where the outline breaks keeps it from looking like a sticker.
20. Mixed Media Collage Ball
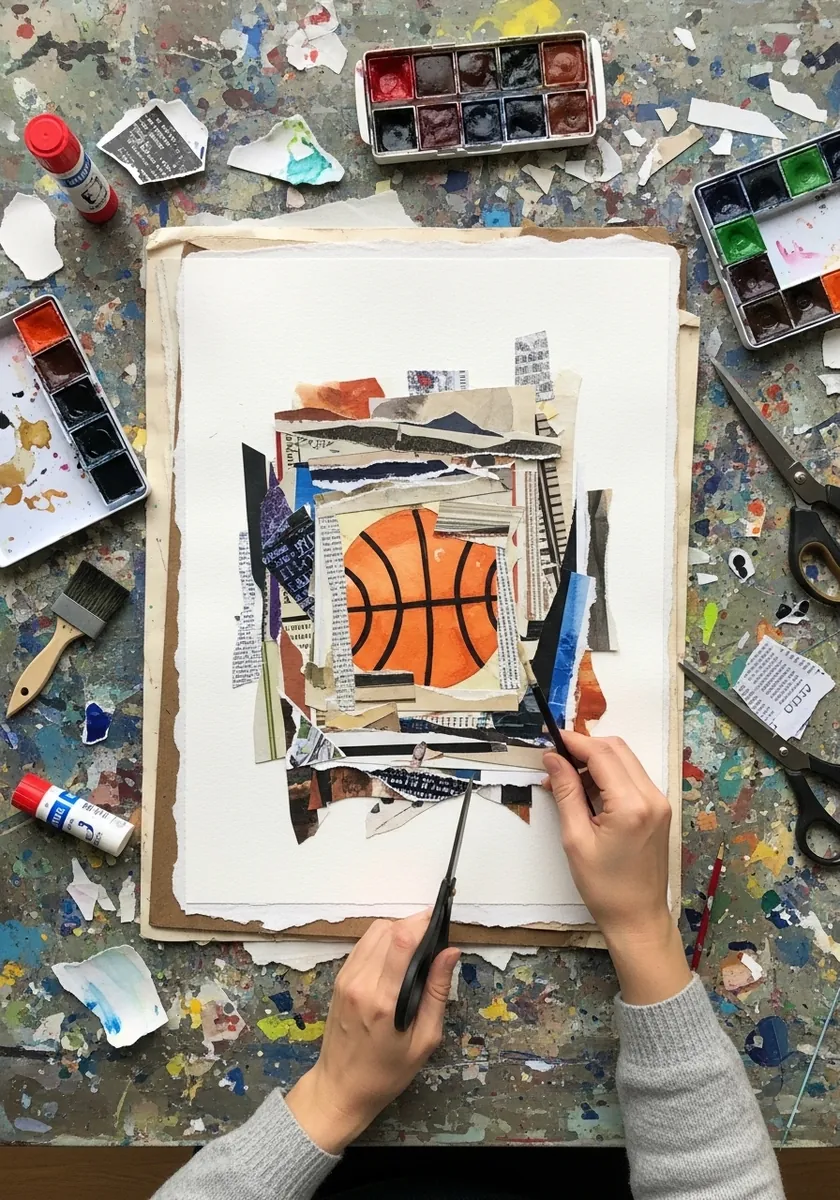
Collage works when one element stays whole. Build the background from many torn scraps with rough edges, then keep the ball itself as a single clean shape so the eye has somewhere to settle, and let one torn edge cross the ball’s silhouette to tie the layers together.
21. Neon Balls on Purple
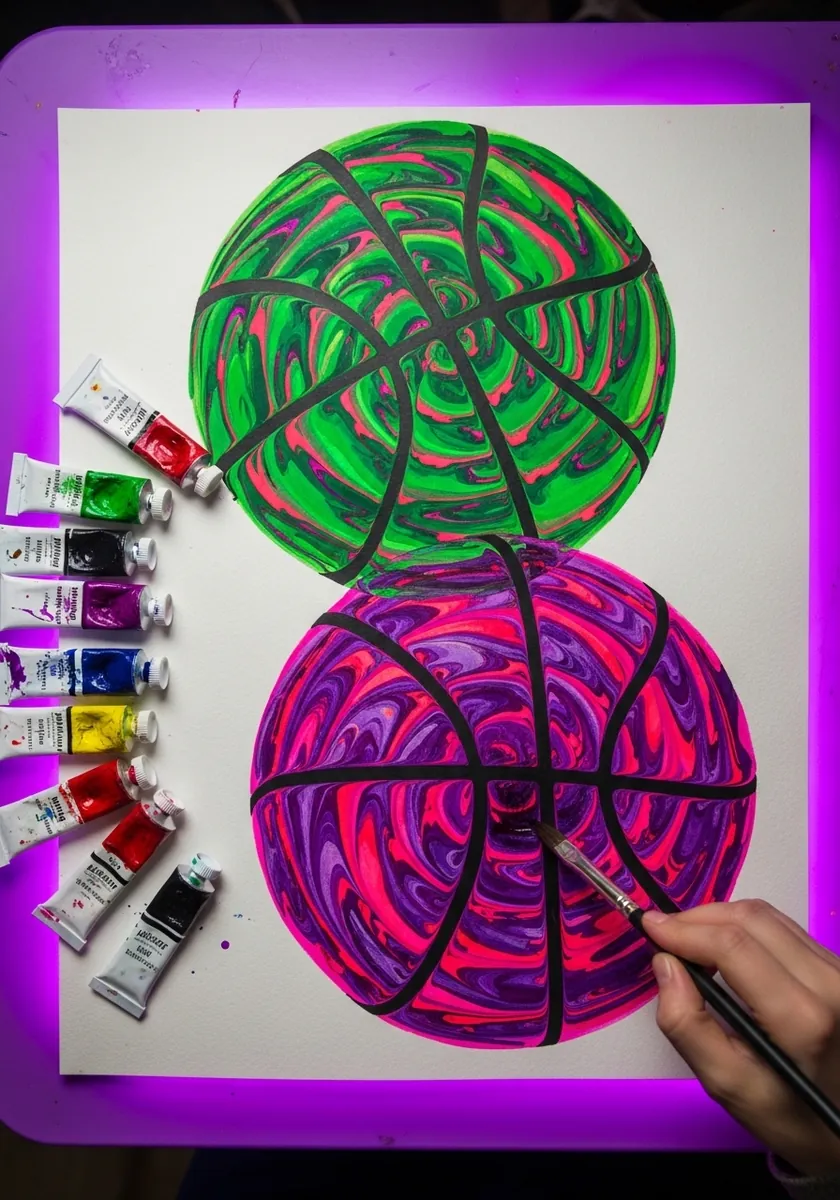
Fluorescent color needs a dark or saturated ground to glow against. Paint the purple first and let it dry completely, then lay the neon on top opaquely, and add a thin darker outline so the edges do not vibrate. Two balls means one must be clearly dominant, so vary their sizes.
22. Mandala Framed Ball
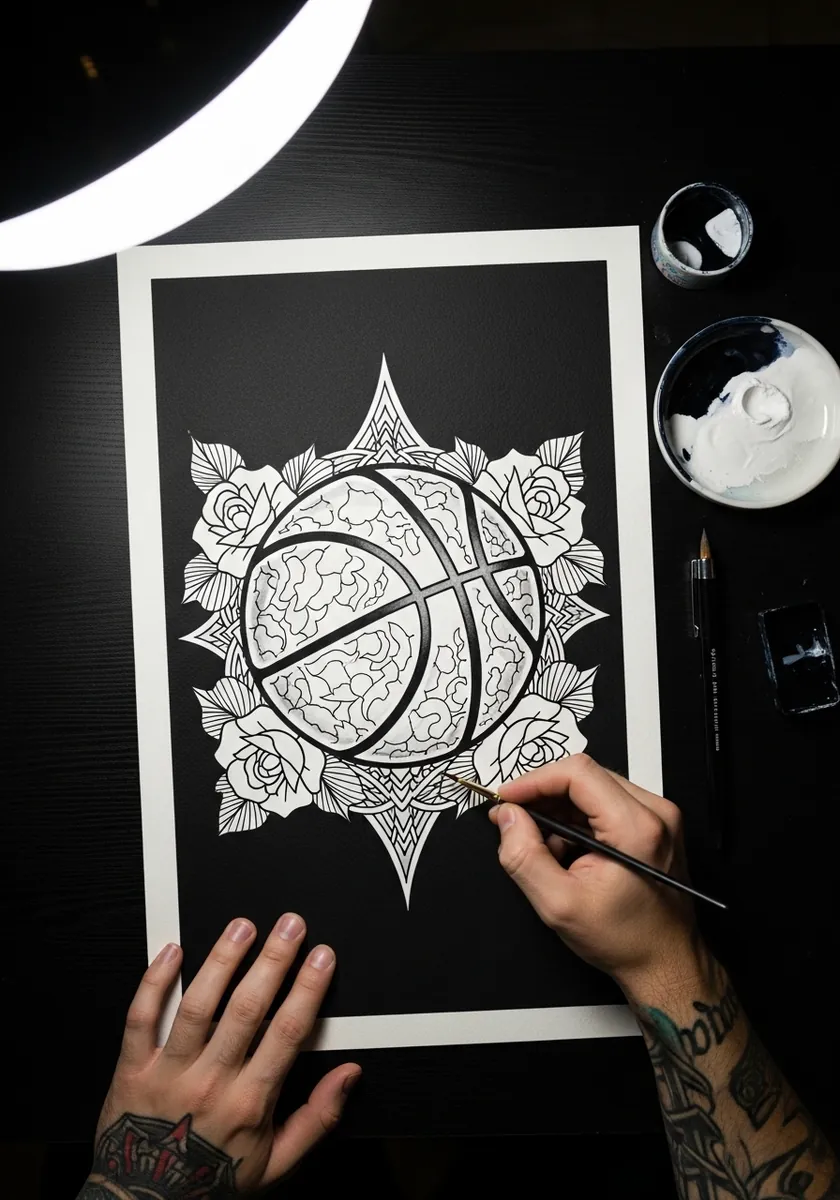
A radial frame around a round subject risks becoming one shape. Leave a clear gap of white between the ball and the innermost ring of the mandala, and keep the ball simpler than the frame surrounding it. Count the mandala segments and keep them even, or the whole frame drifts.
23. Cartoon Ball Character
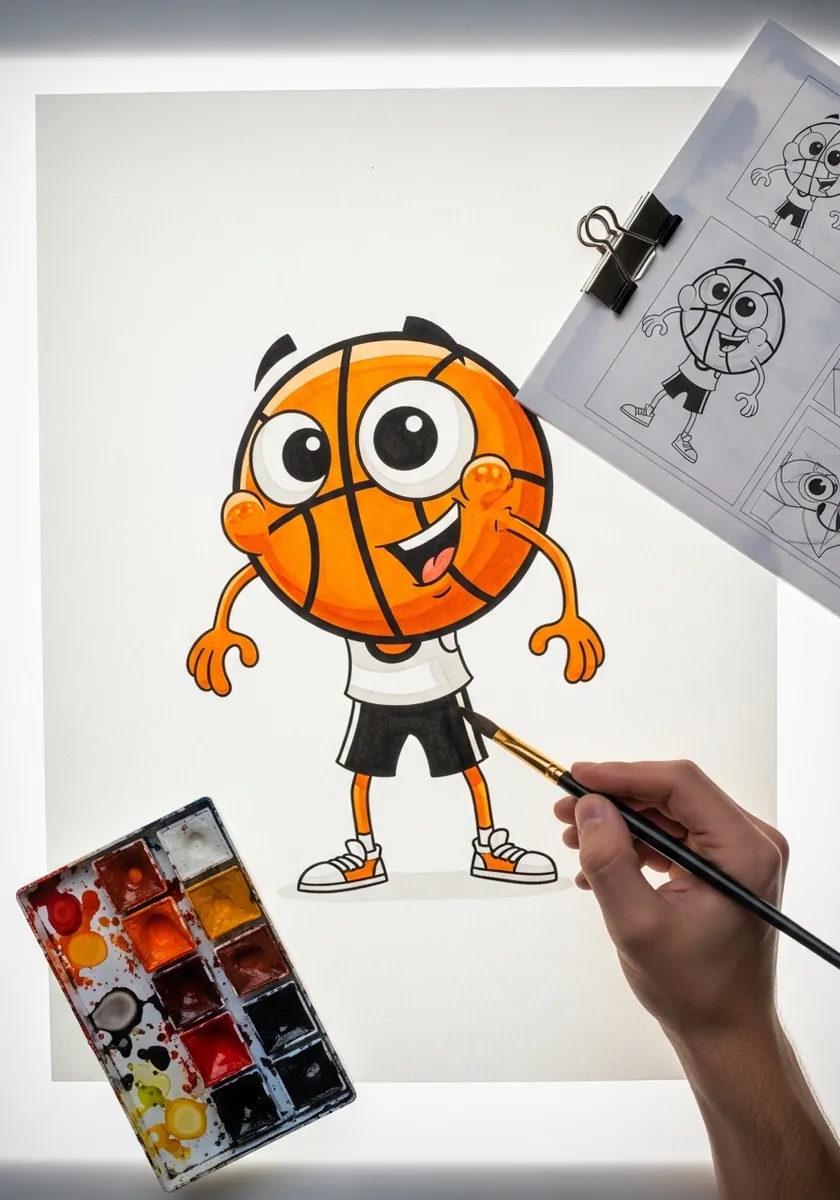
Turning an object into a character means deciding where the face sits. Put the eyes above the horizontal seam so it reads as a brow line, keep the limbs thin so the body stays dominant, and give it oversized shoes.
24. Anime Player Portrait
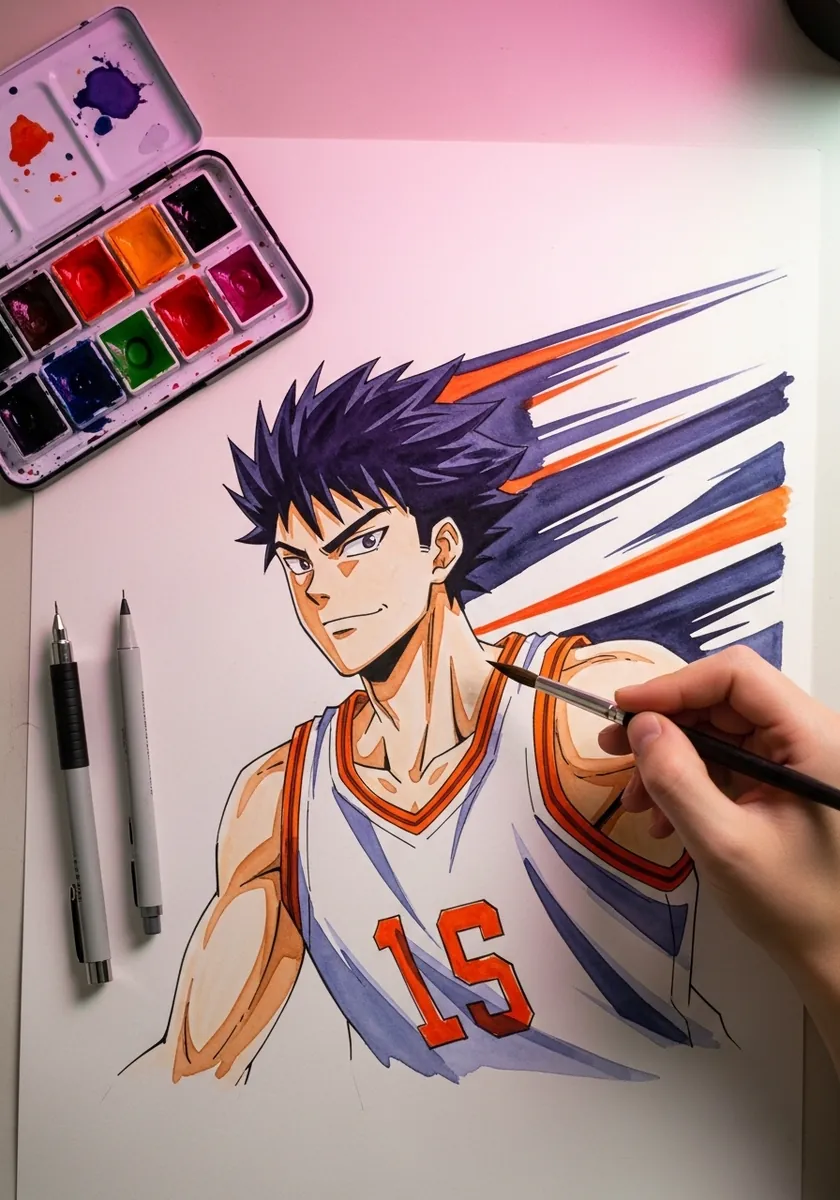
Motion streaks should radiate from behind the figure rather than crossing it. Keep them longest at the edges of the page and shortest near the body, and match their angle to the direction the player is actually moving. Keep the hair the single most saturated shape in the whole picture.
25. Manga Comic Panel
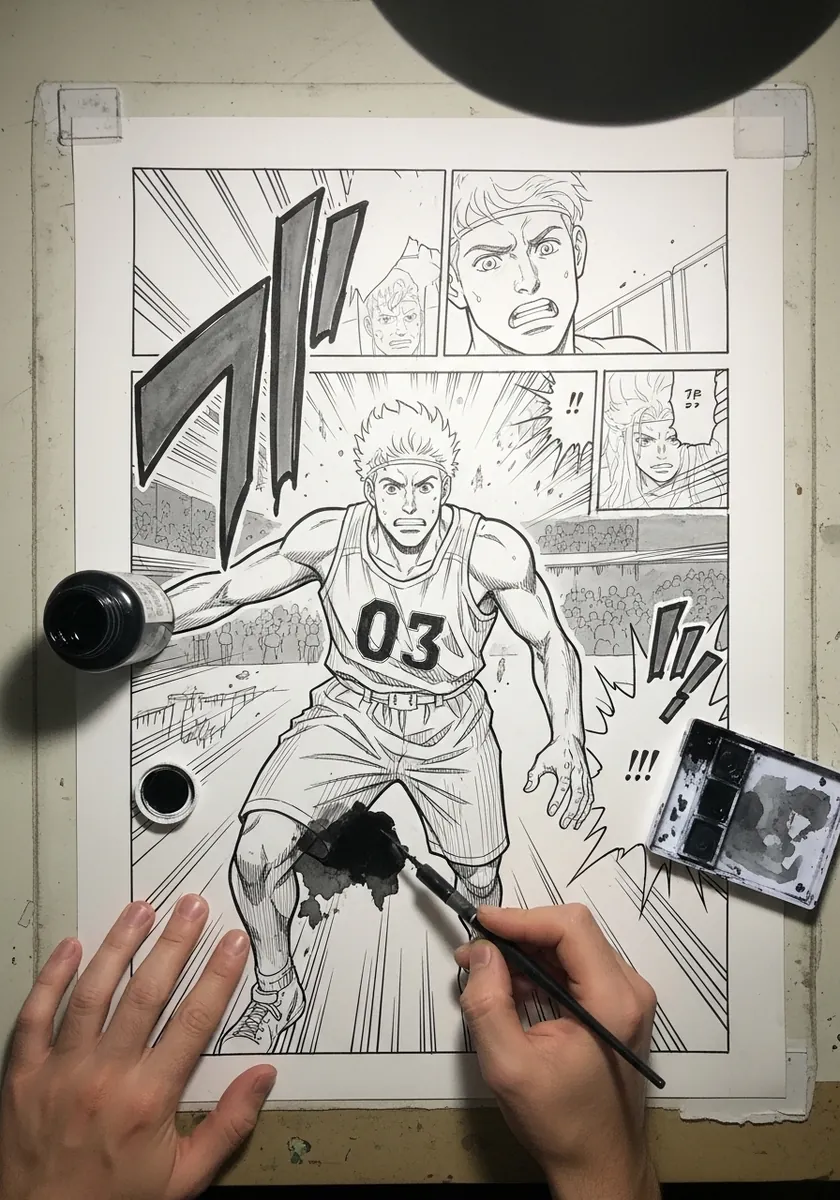
Manga panels use speed lines as a background rather than an effect. Fill the entire panel behind the figure with converging lines toward one vanishing point, and leave the figure itself completely clean. Keep the darkest black at the figure’s edge so it separates from the lines.
26. Bold Ink Splash Ball
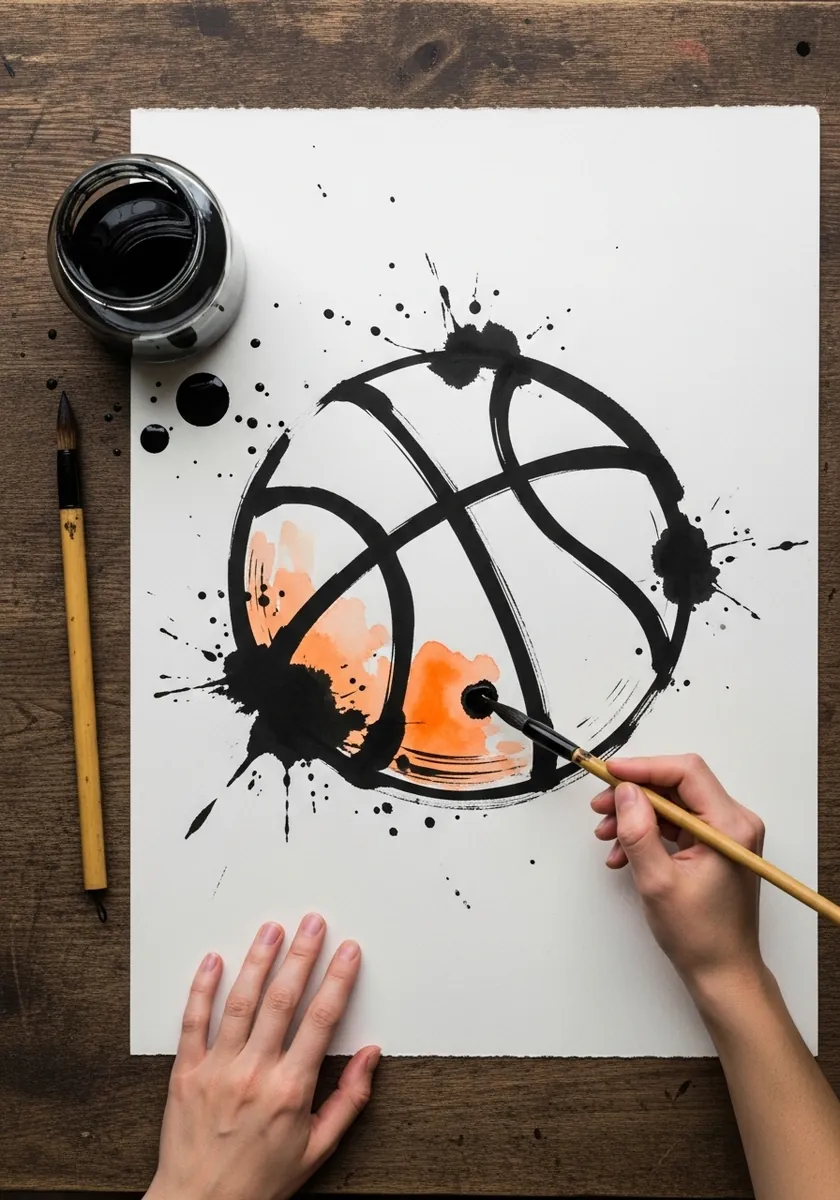
Working with a loaded brush means accepting what it does. Make the seams in single decisive strokes, let the ink pool and splatter where it wants, and resist tidying anything afterwards because corrections always show. Work standing up, because a loaded brush needs the whole arm rather than the wrist.
27. Splash Ball With Flowers
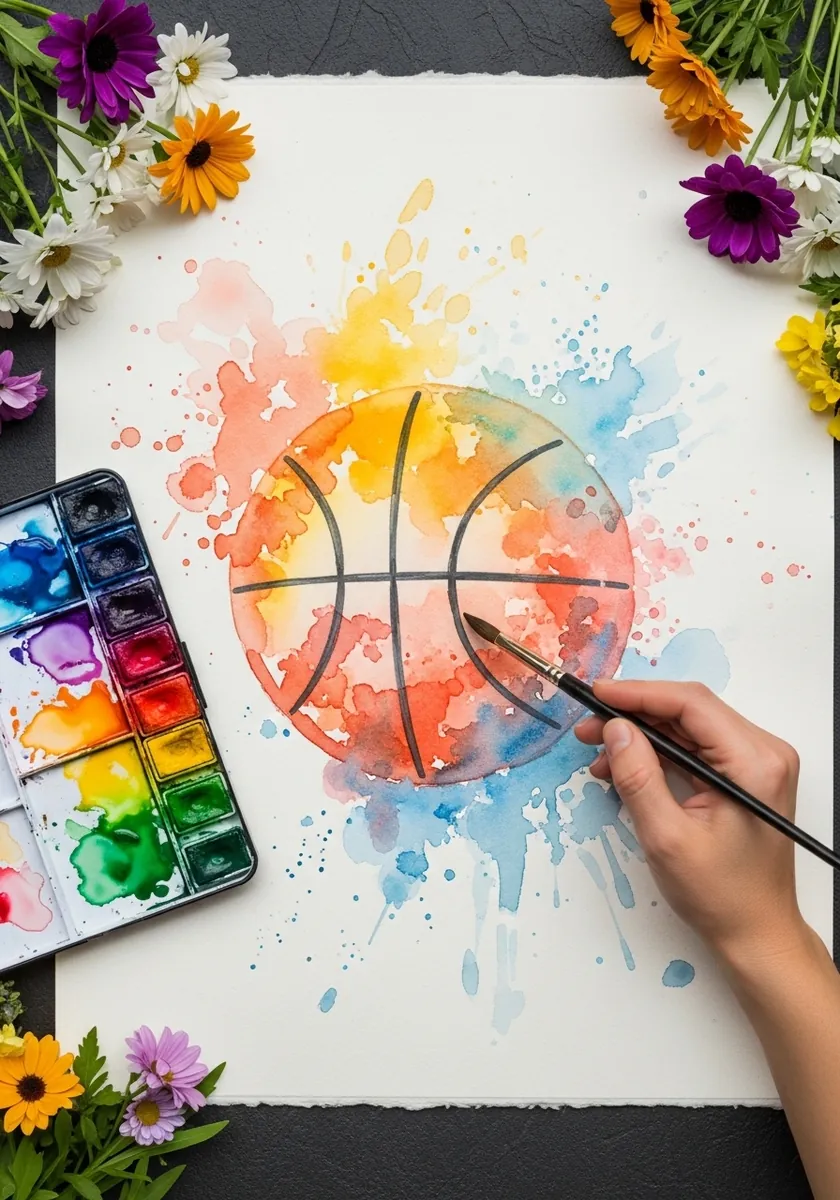
Bright splash and bright flowers compete unless you separate them by value. Keep the splash pale and airy, let the flowers carry the saturated color, and keep the ball itself the darkest thing on the page. Press the flowers flat beforehand so they sit level against the paper.
28. Charcoal Smoke Ball
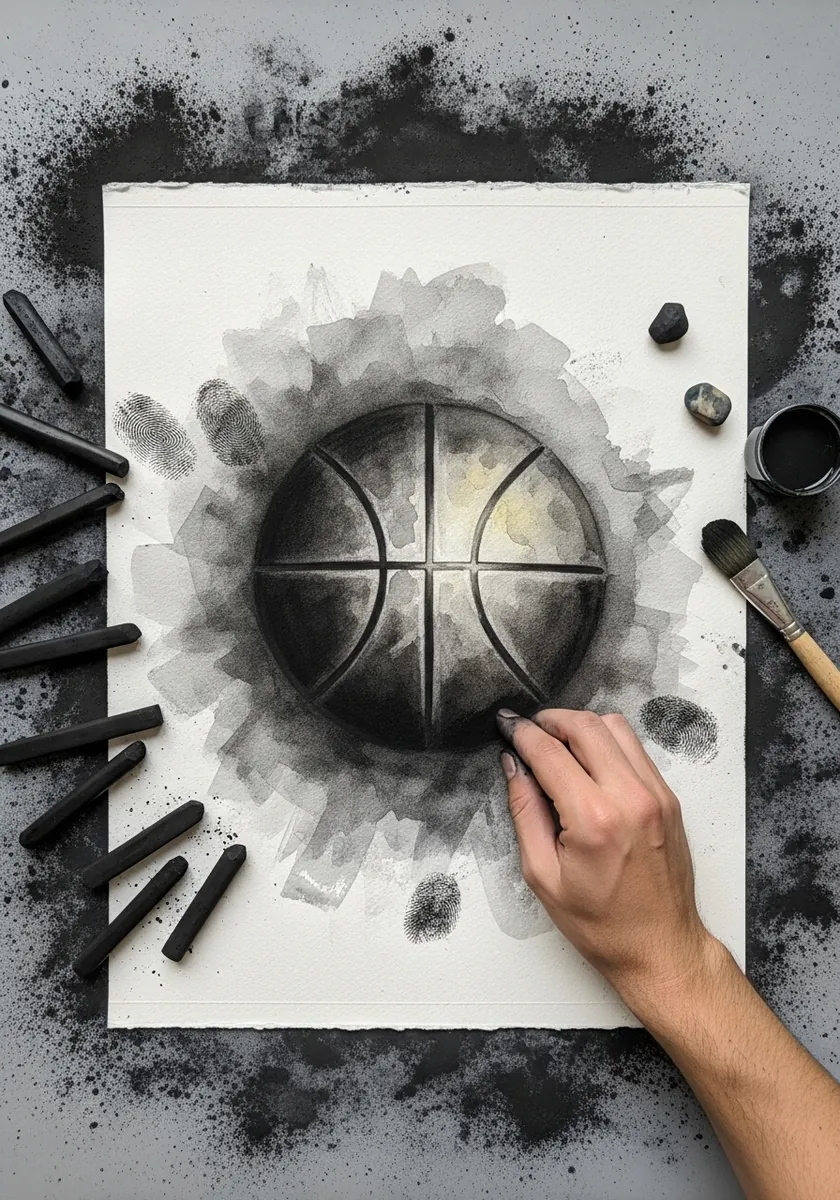
Smoke is drawn by removal rather than addition. Cover the area in charcoal, lift the lighter drifts back out with a kneaded eraser, and keep the ball itself as the one hard-edged element in an otherwise soft page. Keep the seams as the only crisp lines anywhere on the sheet.
29. Vivid Glowing Ball
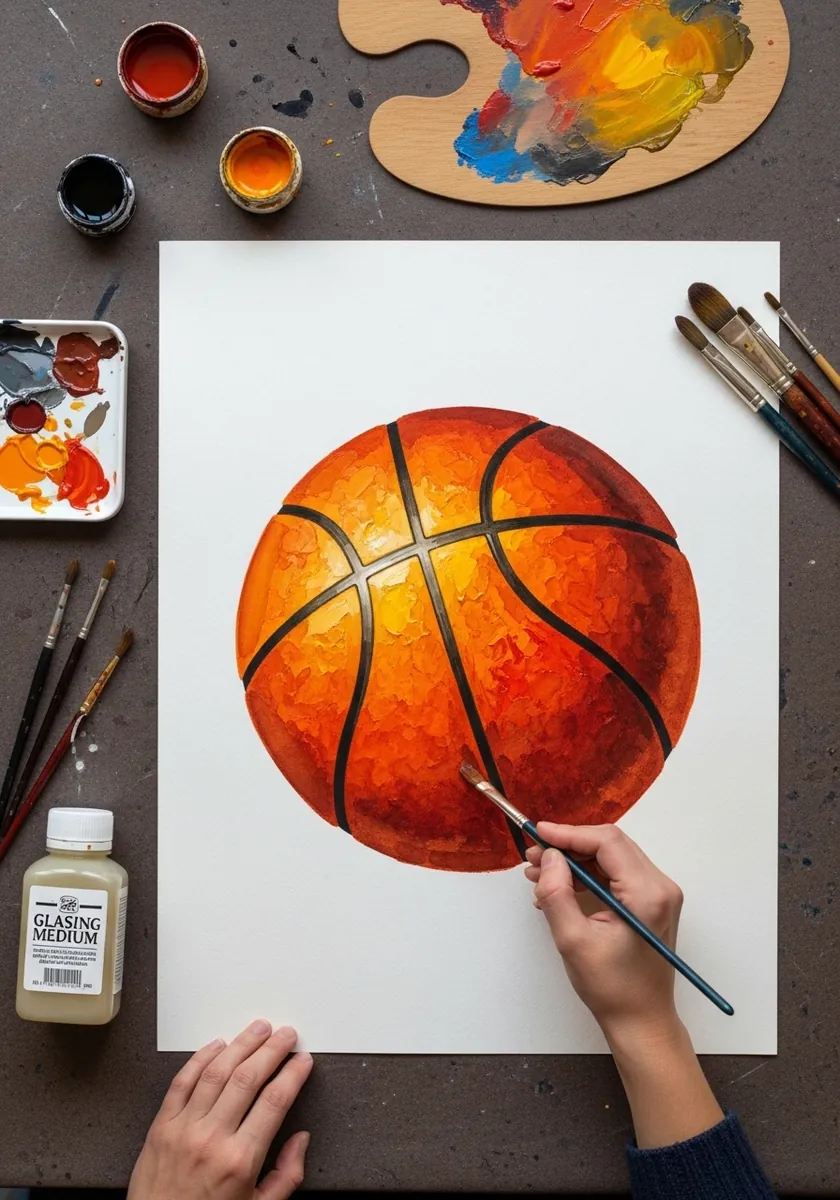
Glow comes from the surround, not the subject. Darken everything immediately around the ball, keep the ball itself at full saturation, and add a faint warm halo just outside the silhouette rather than inside it, and a pale rim of paper left bare at the very edge sharpens the glow further.
30. Pale Ghost Ball
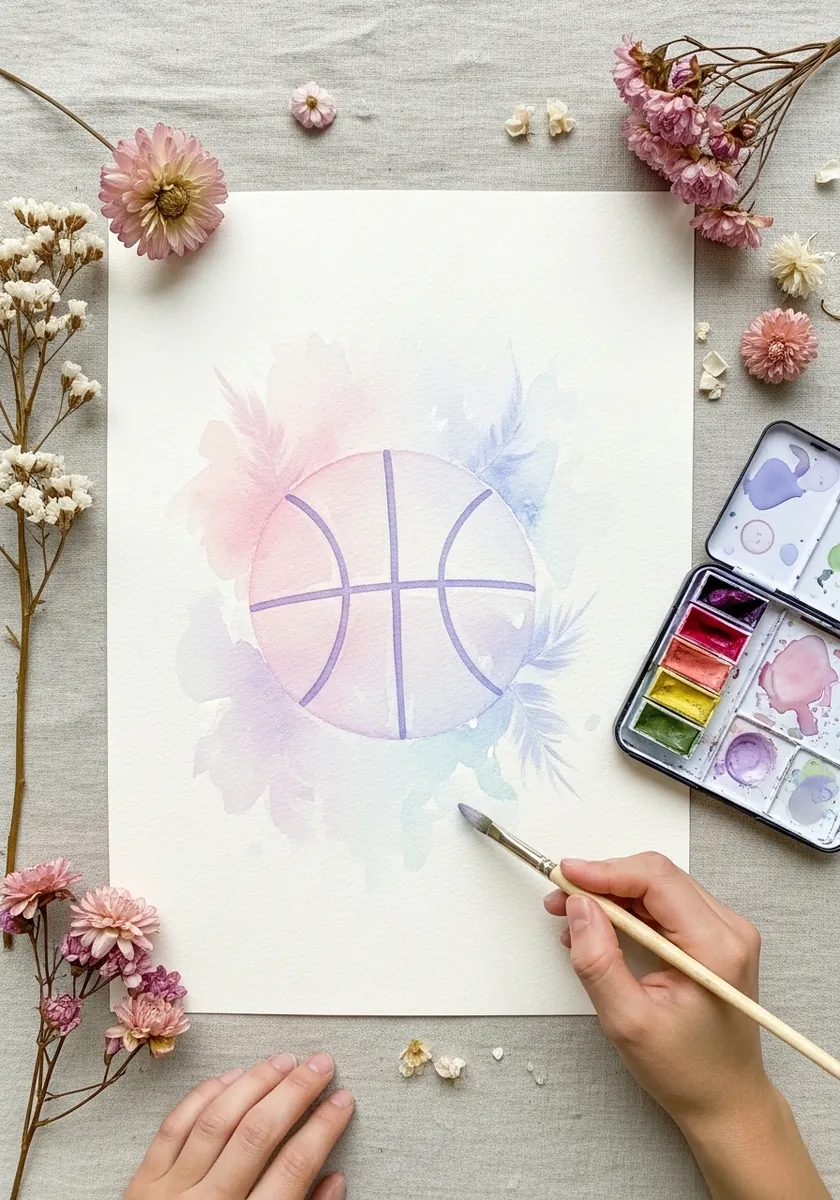
Painting something famous almost invisibly is a real test. With so little contrast the seam curves and the circle itself have to be perfect, because there is no color or texture to distract from an error. Work on a cool white paper, since cream flattens an already faint image.
31. Vintage Sepia Ball
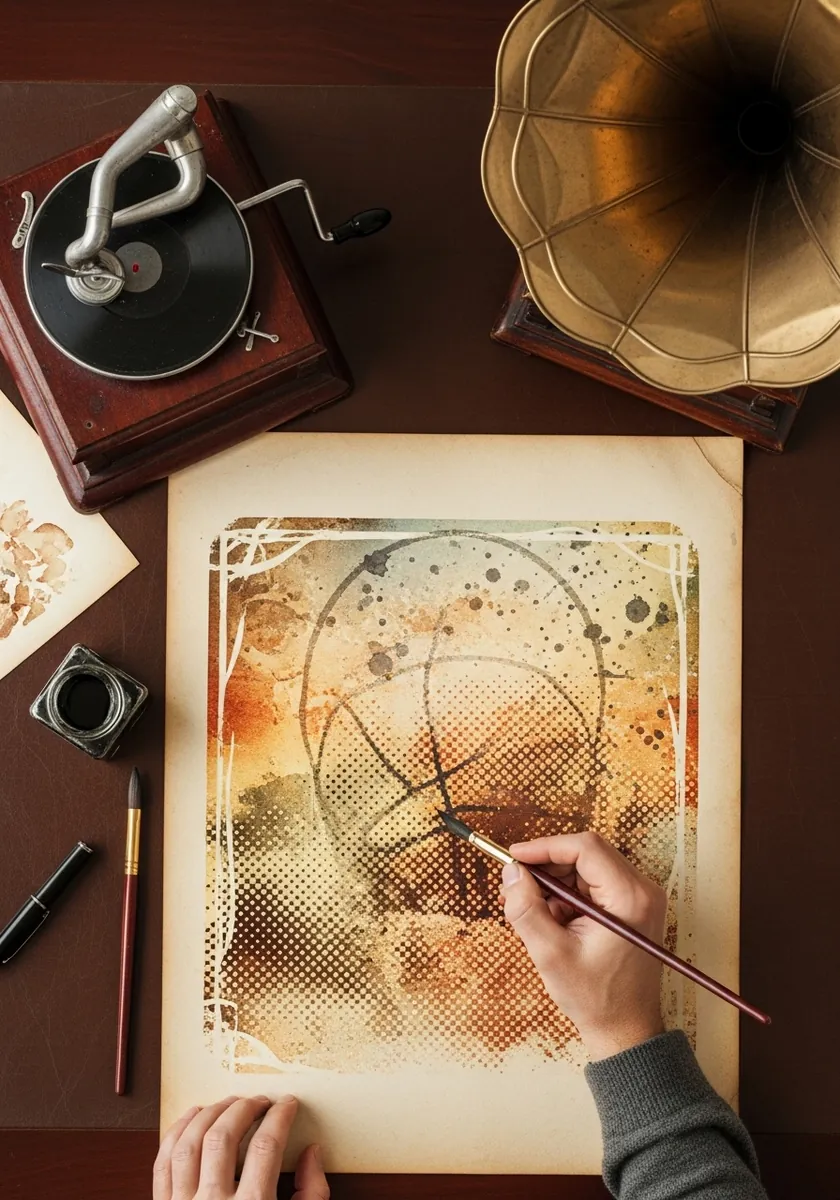
Age is made from three things together: a warm tint, reduced contrast, and visible print texture. Apply all three, and add a slightly uneven edge so the image looks printed onto old stock rather than filtered. Torn or deckle edges reinforce the age far more than any digital filter.
32. Mid-Century Geometric Panel
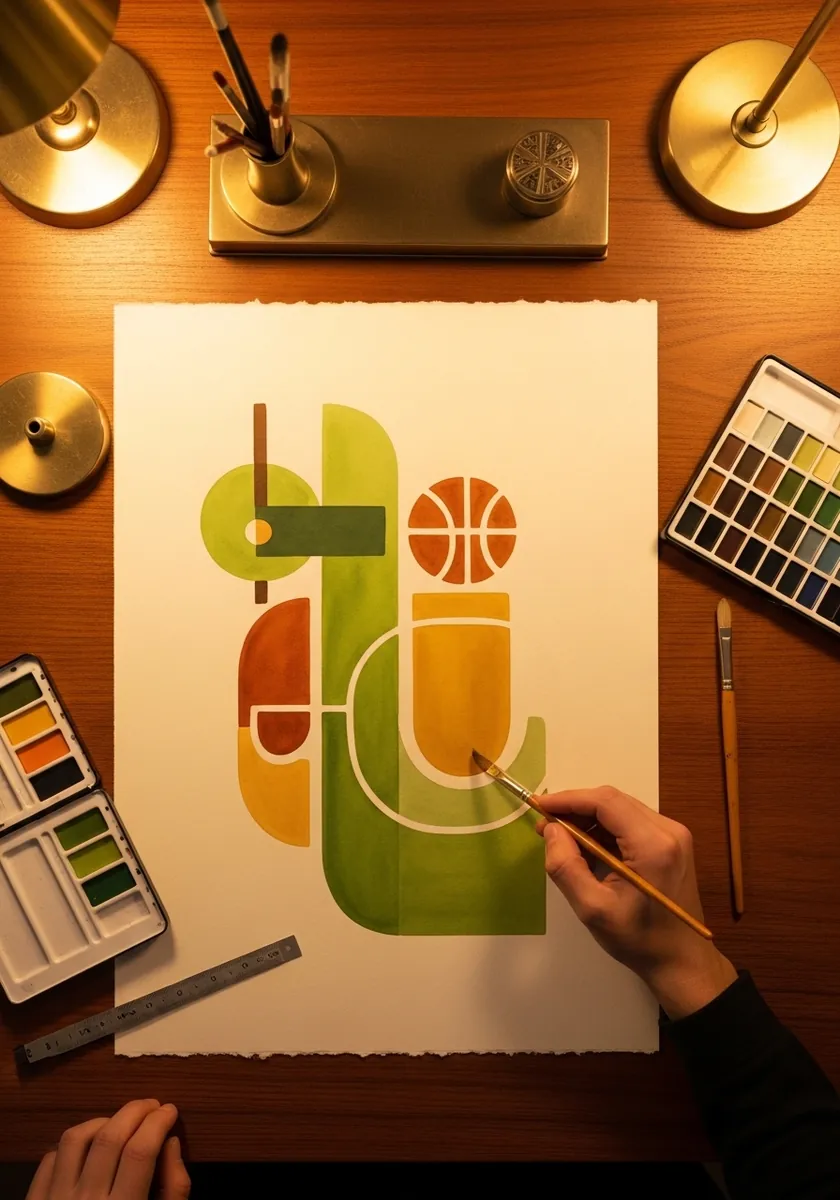
Mid-century design balances a few flat shapes against a lot of empty space. Use no more than three colors, keep every shape hard-edged, and let the ball be the only curved element among straight ones, and rule every straight edge, because a wobbly line ruins the whole period feel.
33. Boho Dreamcatcher Ball
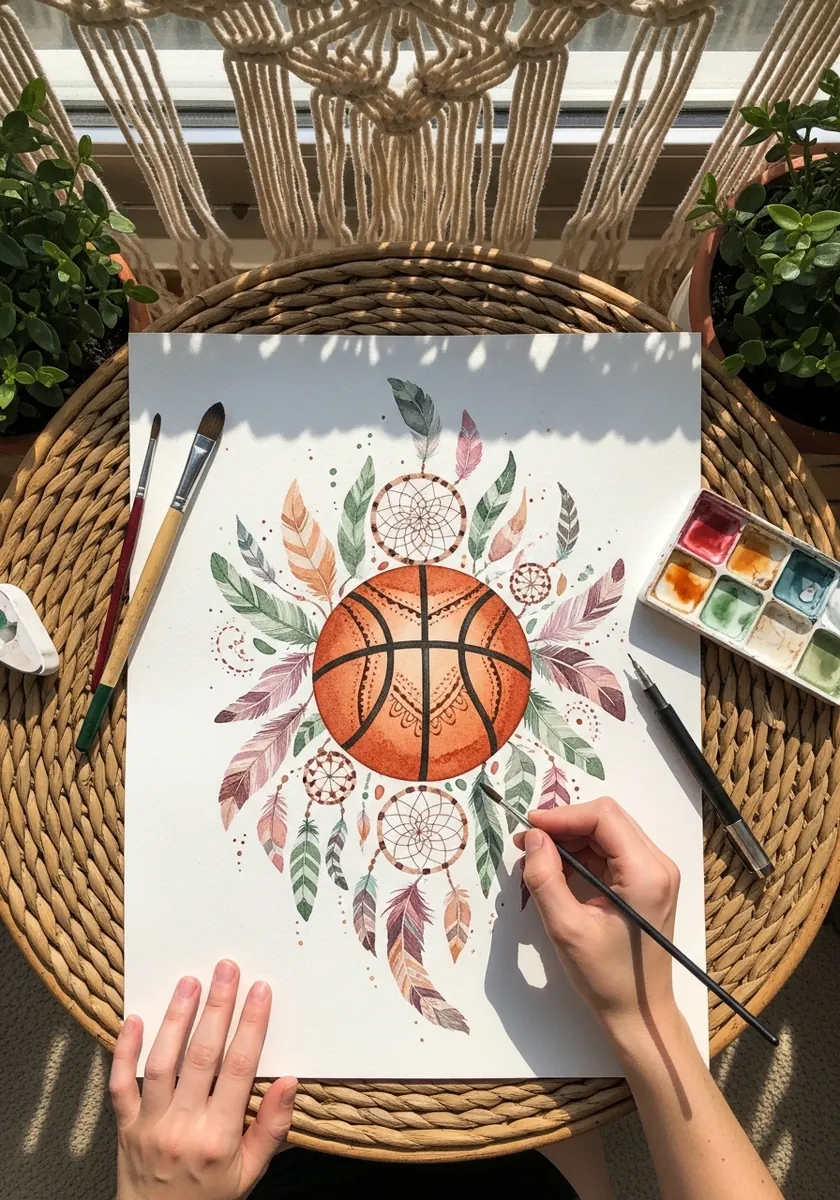
A hanging design needs real gravity. Let every feather and strand fall vertically from its attachment point, vary their lengths considerably, and keep the ring around the ball perfectly circular by contrast. Hang a single long strand well below the rest to break the symmetry.
34. Botanical Leaf Wreath
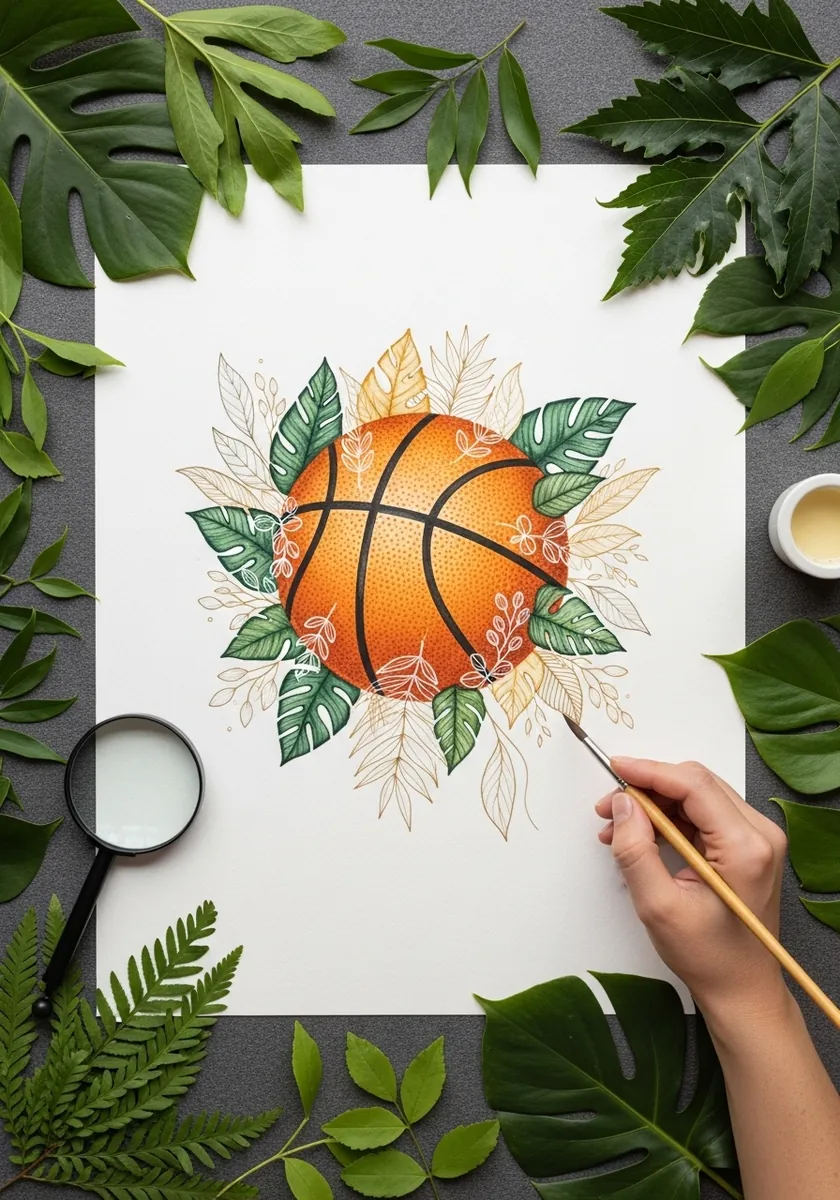
Leaves around a circle should overlap the subject slightly. Let two or three leaf tips cross in front of the ball and the rest sit behind, because that single overlap is what stops the wreath looking pasted on. Vary the leaf sizes considerably, since an even wreath looks machine cut.
35. Floral Wreath With Mushrooms
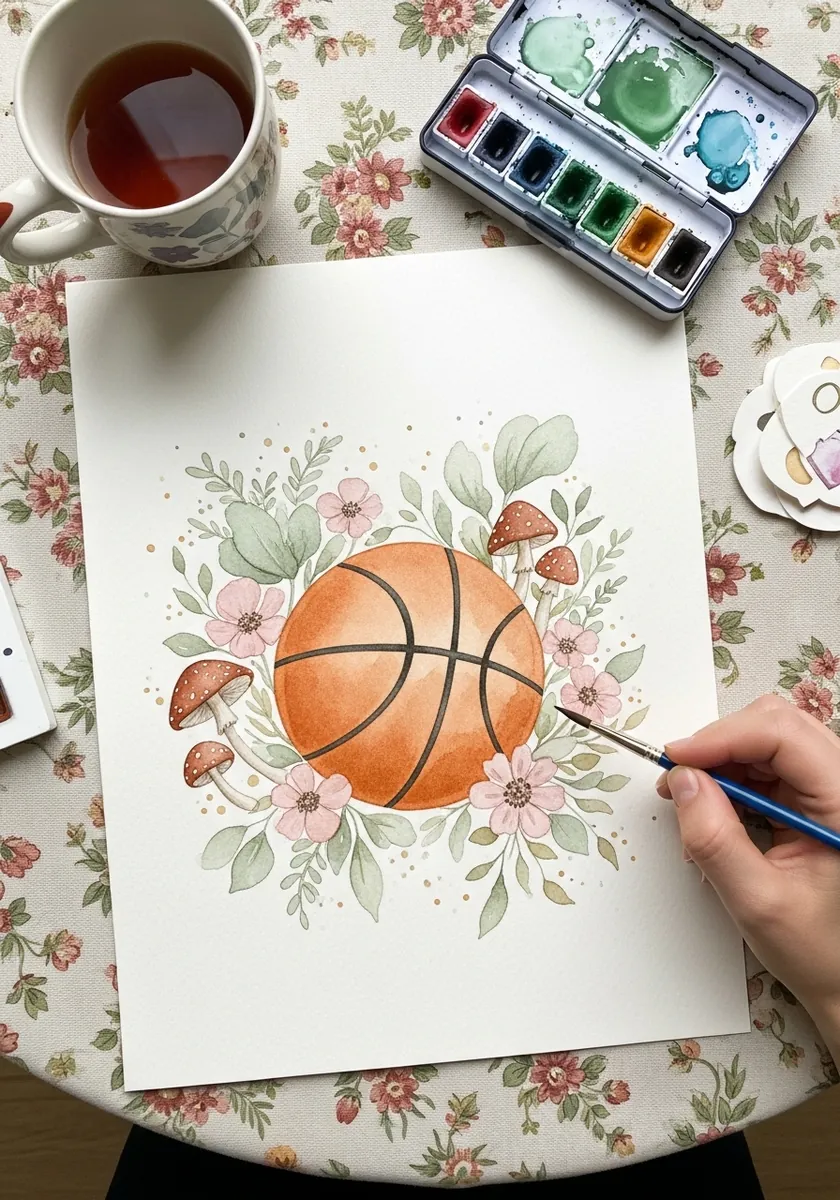
Soft botanicals against a hard sports object is a deliberate contrast. Keep every flower edge wet and blurred, keep the ball edge crisp and its seams sharp, and let the difference in edge quality do the work, and let one mushroom sit partly behind the ball to establish the depth.
36. Hand Lettered Ball
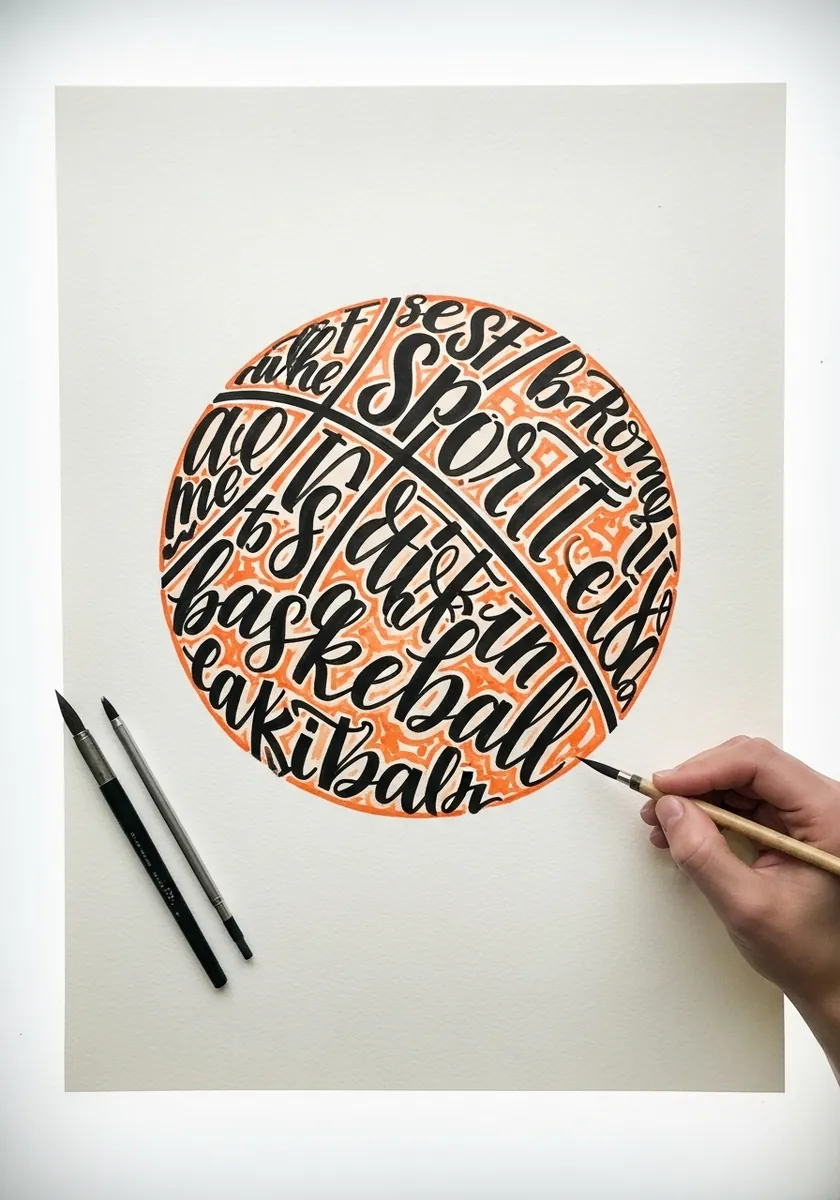
Type inside a circle has to follow the curve. Rule curved baselines that echo the ball’s edge, write along them rather than horizontally, and let the longest words sit across the widest part of the circle. Keep the smallest words in the tightest curves near the top and bottom.
37. Minimal Half Ball
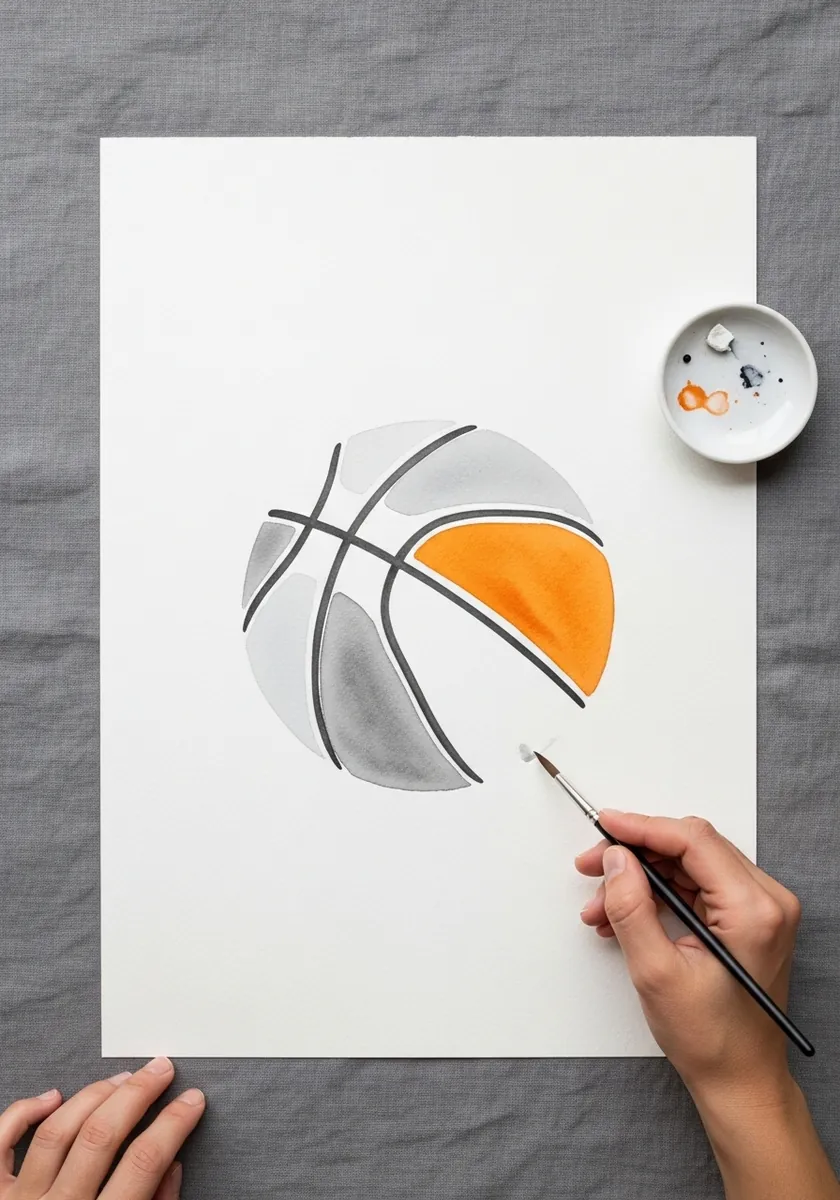
Removing half of a familiar object tests how little is needed. Keep the seam curves intact across the whole shape, let one half be fully rendered and the other flat, and place the division on the vertical seam. Leave the missing half as untouched paper rather than pale gray.
38. Folk Embroidery Border
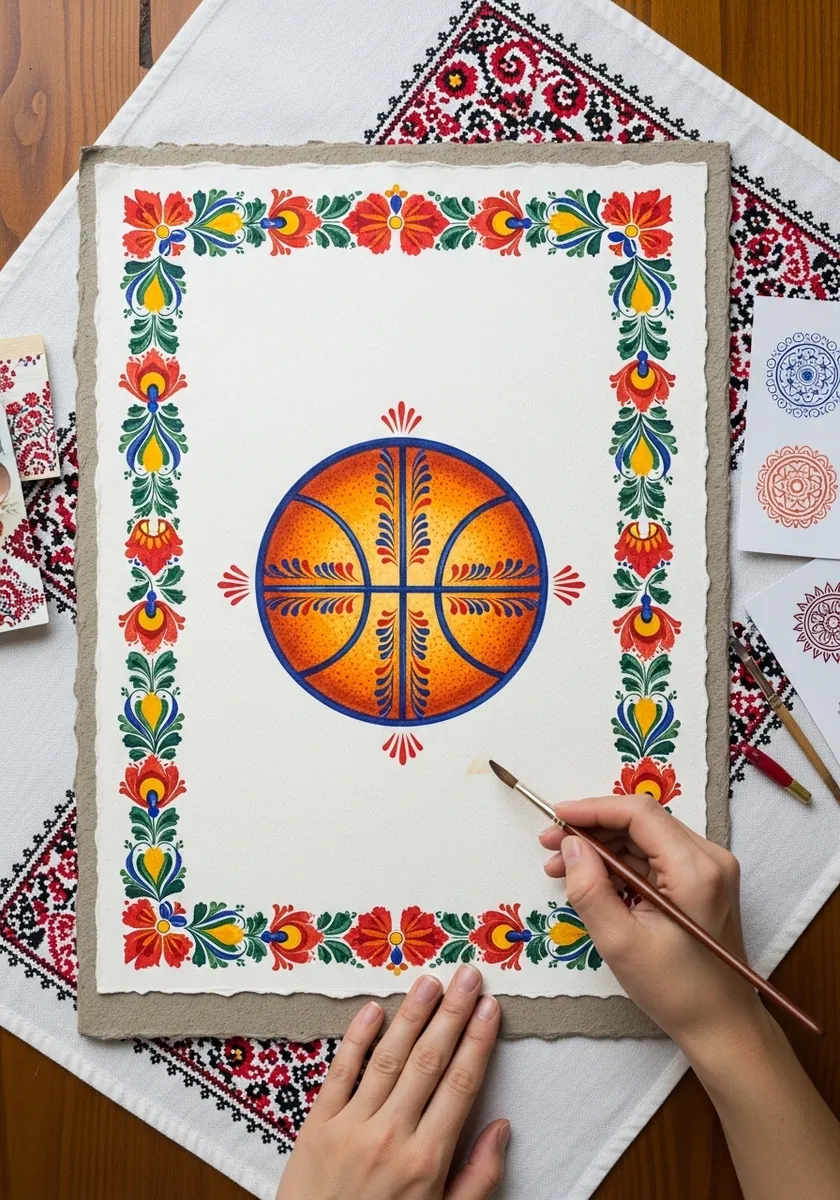
Embroidery patterns work by strict repetition. Draw the border motifs on a ruled grid, repeat them identically around all four sides, and keep the corners symmetrical, because a folk border reads as handmade only when it is disciplined. Leave the paper bare between motifs, since real embroidery shows its cloth.
39. Double Exposure Player
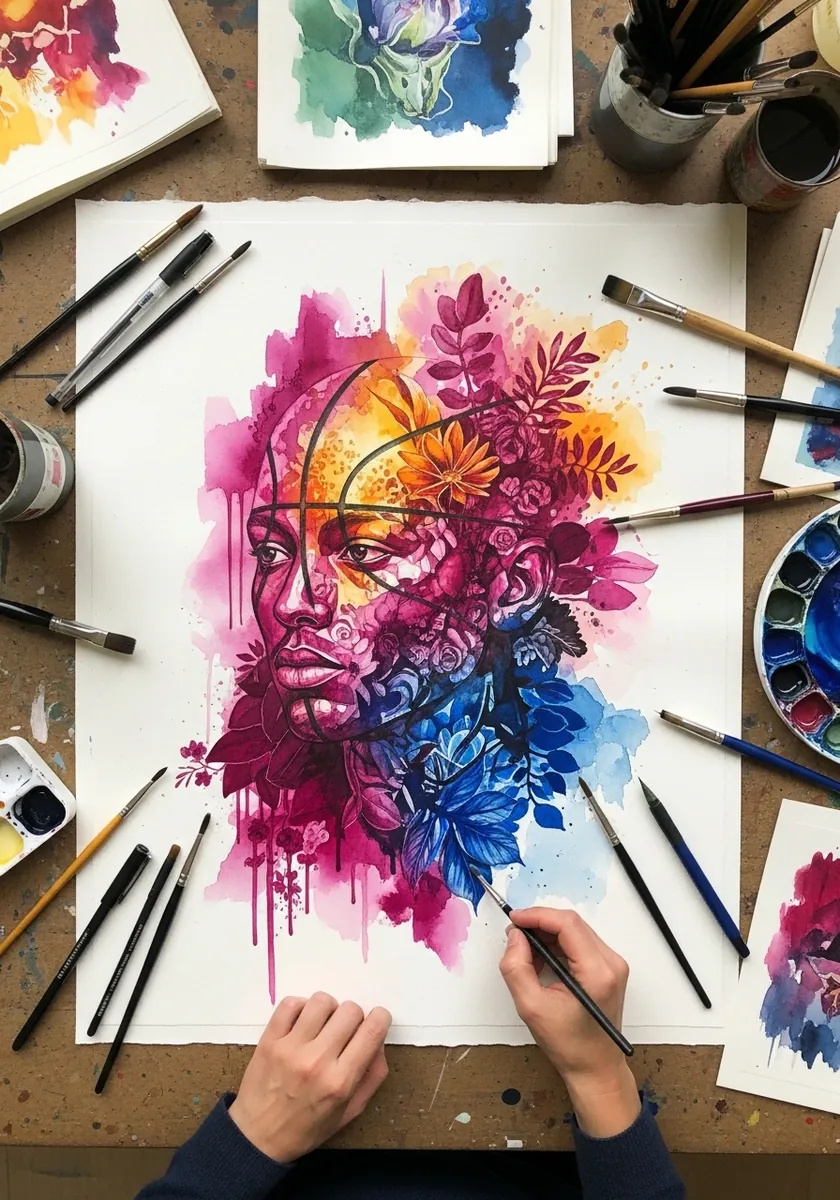
Double exposure needs one shape to dominate. Keep the head silhouette crisp and readable, let the flowers fill it entirely without crossing the outline, and leave the background almost empty so the profile stays legible. Practice the fill on scrap paper first, so the flowers land inside the outline.
40. Dramatic Dark Ball
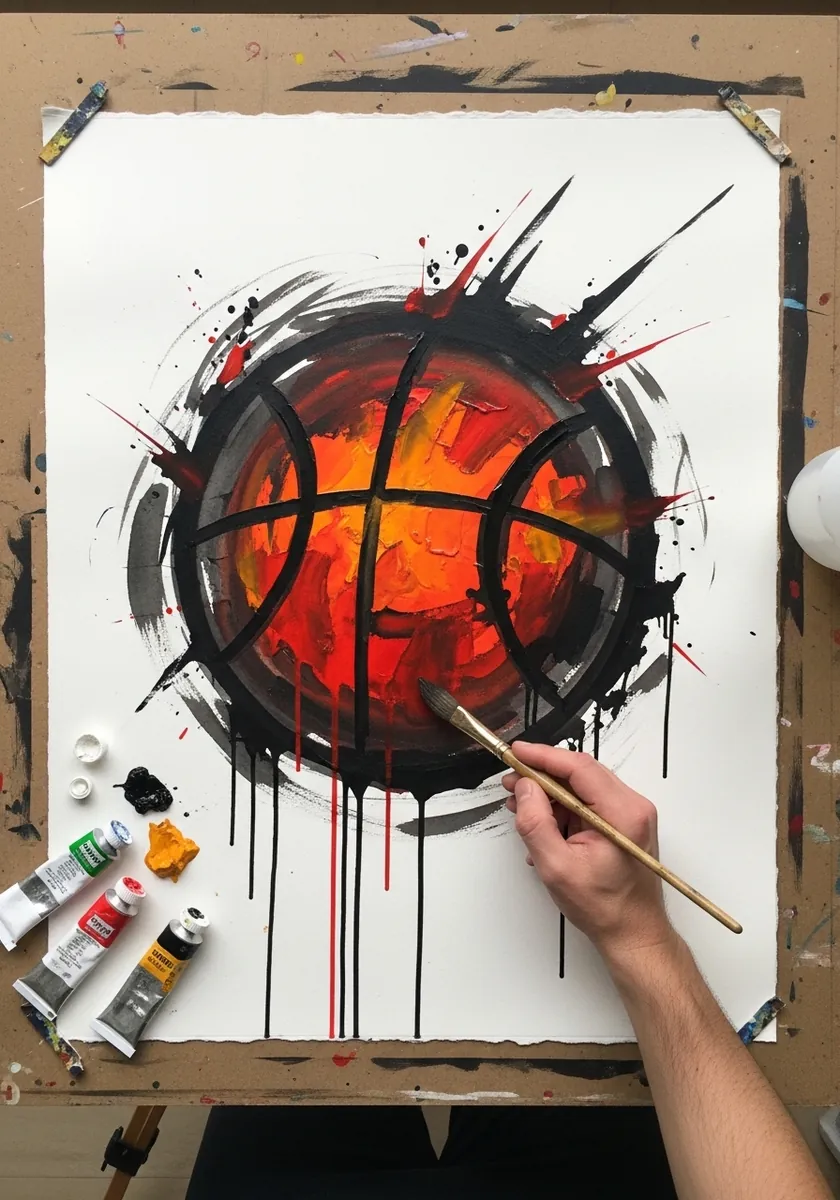
One violent gesture against a controlled subject creates tension. Paint the ball carefully and completely first, let it dry, then make the swirl in a single fast movement without lifting the brush. Let a few red flecks land outside the ball so the gesture feels unplanned.
41. Split Background Ball
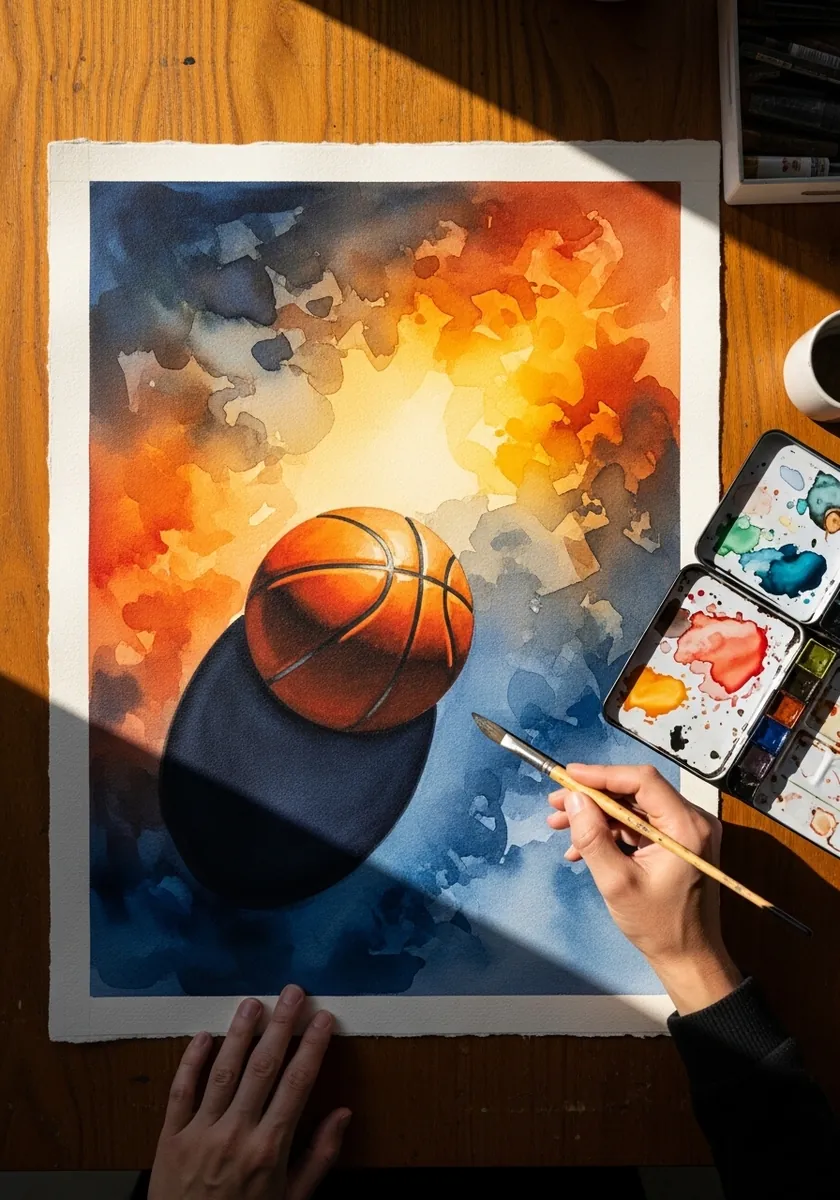
A split ground lets you show both sides of the same object. Keep the ball’s lit side against the cool half and its shadow side against the warm half, so each edge of the ball contrasts with what sits behind it.
Frequently Asked Questions
Why do my basketballs look flat?
Almost always because the seams are drawn as straight lines. Each seam is a circle running around a sphere, so it has to bow outward on the page, and the amount it bows depends on where it sits relative to your eye. Curving them alone turns a circle into a ball.
How do I draw the pebbled texture?
Let it compress toward the edges. The little bumps appear largest and furthest apart in the middle where you look straight at the surface, and get smaller and tighter as they approach the silhouette. That change in spacing is what creates the roundness.
Where should the highlight go?
Toward the light source, never in the center, and it should stay broad and soft because a pebbled surface scatters light. Then add a subtler band of reflected light along the opposite edge so the ball separates from whatever it is sitting on.
How do you keep white in watercolor?
By planning it. Watercolor has no opaque white of its own, so the paper itself is your lightest value. Mask the highlight before you start or simply paint around it, because trying to lift a hard clean highlight out of dry orange rarely works.
Why is a basketball orange?
For visibility. Early balls were brown leather and hard to follow, and the orange ball is generally credited to Tony Hinkle, who worked with Spalding in the 1950s to develop a color that showed up clearly for players and spectators alike.
References and Further Reading