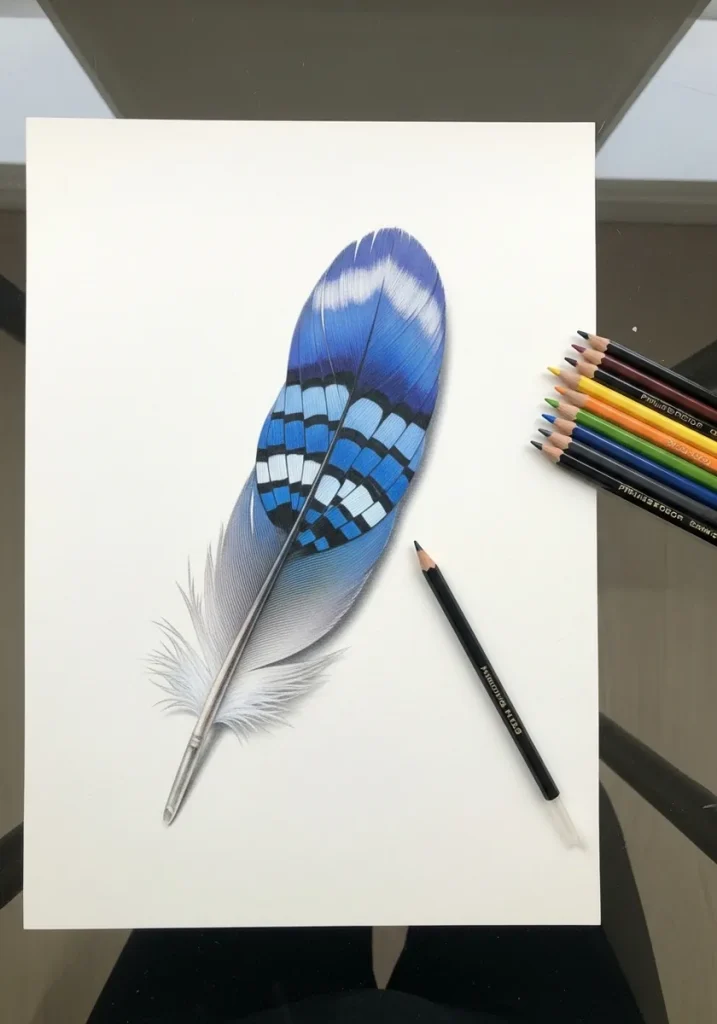
Draw the rachis first. That central shaft sets the feather's entire curve, and every barb branches off it at a consistent angle, always sweeping toward the tip. Get the shaft and the barb angle right and the rest is detail.
Key takeaways
- The rachis is the central shaft, and its curve determines the shape of the whole feather.
- Barbs branch off the rachis at a consistent angle and always sweep toward the tip, never straight out.
- A feather is asymmetrical: the leading edge is narrower than the trailing edge on flight feathers.
- Draw a few gaps where the barbs separate, because a perfectly sealed vane looks artificial.
- Peacock eye iridescence is structural color from barbule geometry, so it shifts with viewing angle.
Short answer: draw the rachis first. A convincing feather study starts with one curved central shaft line, then barbs swept toward the tip at one steady, shallow angle, with two or three small splits in the vane. Get those three things right and the feather reads as real in almost any medium: watercolor, graphite, ink, marker or pastel.
The 30 studies below each isolate one part of that skill, from peacock-eye rings to gold leaf, so you can practise one idea at a time instead of fixing everything at once.
A feather is a light, flat structure that grows from a bird’s skin. It is built around a central shaft called the rachis, with fine branches called barbs coming off either side to form the flat vane.
At a glance
- Rachis first, outline last. The shaft curve sets the whole shape.
- Barbs angle toward the tip at one steady, shallow angle, never straight out at ninety degrees.
- Break the vane in two or three places. A perfectly sealed feather looks manufactured.
- Pick by medium, not by number. Use the picker below to find your first study.
Updated October 2026 with a starter picker, mistake fixes and six new FAQs. All 30 original studies are unchanged.
Every feather drawing begins with one line. The rachis, the central shaft, sets the entire curve, and every barb branches from it. Draw the outline first and you will spend the rest of the study forcing barbs into a shape that does not match them.
The second rule fixes most stiff attempts. Barbs sweep toward the tip at a consistent shallow angle, never straight out at ninety degrees. Keep that angle steady along the whole shaft, then break the vane in two or three places, because a perfectly sealed feather looks manufactured.
The thirty studies below run from peacock eyes and jay barring to charcoal ostrich plumes, gold leaf and palette knife impasto. For the birds these came from, watercolor bird drawing and the bird nest studies are the natural companions.
Several pieces treat the feather as pure pattern rather than anatomy, so mandala construction covers the symmetry side, and botanical leaf tracing is worth reading since a leaf midrib behaves much like a rachis.
Compiled by the GS Art Zone editorial team. Last updated August 2026. Each idea is paired with the specific step that produces the effect, so you can go from the reference straight to paper.
Feather Anatomy in 60 Seconds: The 5 Parts That Decide Everything
You only need five words to talk about a feather like an artist: rachis, calamus, vane, barbs and barbules. Learn what each one does, and every study below gets easier, because you will know exactly which part you are practising.
| Part | What it is | What to get right when drawing |
|---|---|---|
| Rachis | The central shaft of the feather | One confident curve. It sets the whole shape, so draw it before anything else. |
| Calamus | The hollow quill at the base, below the vane | Leave it pale and almost unshaded, with just two curved lines for its cylinder. |
| Vane | The flat surface on either side of the shaft | On flight feathers the leading edge is narrower than the trailing edge. Equal sides look decorative, not real. |
| Barbs | The branches coming off the rachis | One steady, shallow angle toward the tip, kept consistent along the whole shaft. |
| Barbules | Tiny hooks that lock neighbouring barbs together | Where they are missing, as in ostrich plumes, barbs separate into soft, visible strands. |
Try this 30-second check. Hold a pencil along the shaft of your drawing, then along one barb. The two lines should form a narrow V, not a T. If they form a T, your barbs are sticking straight out, and that is the single most common reason a feather looks stiff.
One more idea explains the shimmer in several studies below. The blue of a jay feather and the eye of a peacock feather get their color mainly from microscopic structure scattering light, not from pigment alone. That is why the color seems to shift as you move: paint the shift, with slightly different hues across the feather and one small hard highlight, instead of one flat color.
What You Need Before You Start
- A sharp 2B and a 6B, since a feather needs both crisp barb lines and deep shadow at the base
- Fine liners in 0.05 and 0.1, because barb work demands finer nibs than most subjects
- A kneaded eraser sharpened to a wedge for lifting the pale shaft out of a dark vane
- One or two real feathers if you can find them, which beat any photo for barb structure
- Black or toned paper with a white pencil, as feathers suit reversed studies particularly well
Which Study Should You Start With? A 60-Second Picker
Thirty studies is a lot to choose from, so start from what you want to practise, not from study 1. Find your row below, do that study small first, and only then repeat it at full size.
| If you want… | Start with | Why it works |
|---|---|---|
| Your very first feather | Study 8: Minimal Outline | Almost no tone, so the rachis curve and the uneven sides have to be right. Nothing hides a mistake. |
| Graphite control | Study 2: Three Barred Feathers | Barring runs across the vane, so it forces you to follow the barb direction instead of painting stripes on top. |
| Soft, forgiving watercolor | Study 6: Fresh Green Wash | Wet-on-wet paint mixes on the paper for you. The only discipline is waiting until the sheen goes before adding detail. |
| Bold color on dark paper | Study 19: Neon on Black Pastel | Bright color goes on the barb tips only, so you learn restraint while the result still looks dramatic. |
| Texture you can feel | Study 10: Pink Impasto | Palette-knife ridges already behave like barbs, so the tool teaches the direction for you. |
| Pattern and patience | Study 17: Mandala or Study 29: Zentangle | Measured symmetry and repeating motifs. Rule the divisions first, then fill them. |
A first-week path (one study a day)
Day 1: Study 8, the minimal outline. Day 2: Study 18, the anatomy diagram, labelling every part from the table above. Day 3: Study 2, barred feathers in graphite. Day 4: Study 6, the green watercolor wash. Day 5: your favourite of the four, drawn again at twice the size. By day 5 you will see your own weak spot clearly, and that is the study to repeat next.
If your pencil basics feel shaky, easy pencil drawing for beginners covers pressure control first. For watercolor, easy watercolor painting ideas is the gentlest next step, and watercolor hummingbird drawing and watercolor flamingo drawing show the same wash skills on full birds. Studying with children? bird drawing ideas for kids keeps the same birds at a simpler level. And before Study 7, the best colored pencils for artists guide compares wax-core and oil-core pencils, which layer differently over blue.
1. Peacock Eye in Loose Watercolor
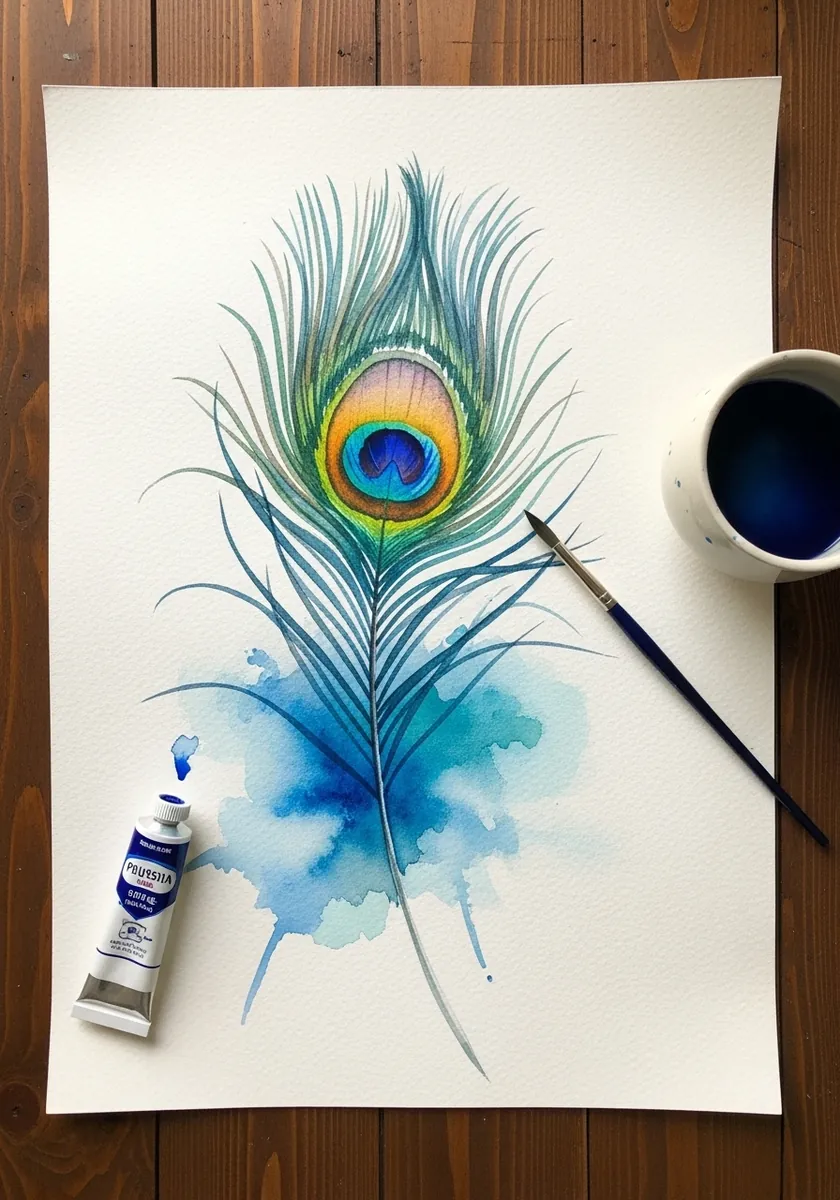
Build the eye in concentric rings from the outside inward, blue-green then bronze then the dark center. The barbs radiating out from the shaft should get progressively wispier toward the base, which is where a peacock feather naturally separates into loose strands.
2. Three Barred Feathers in Graphite
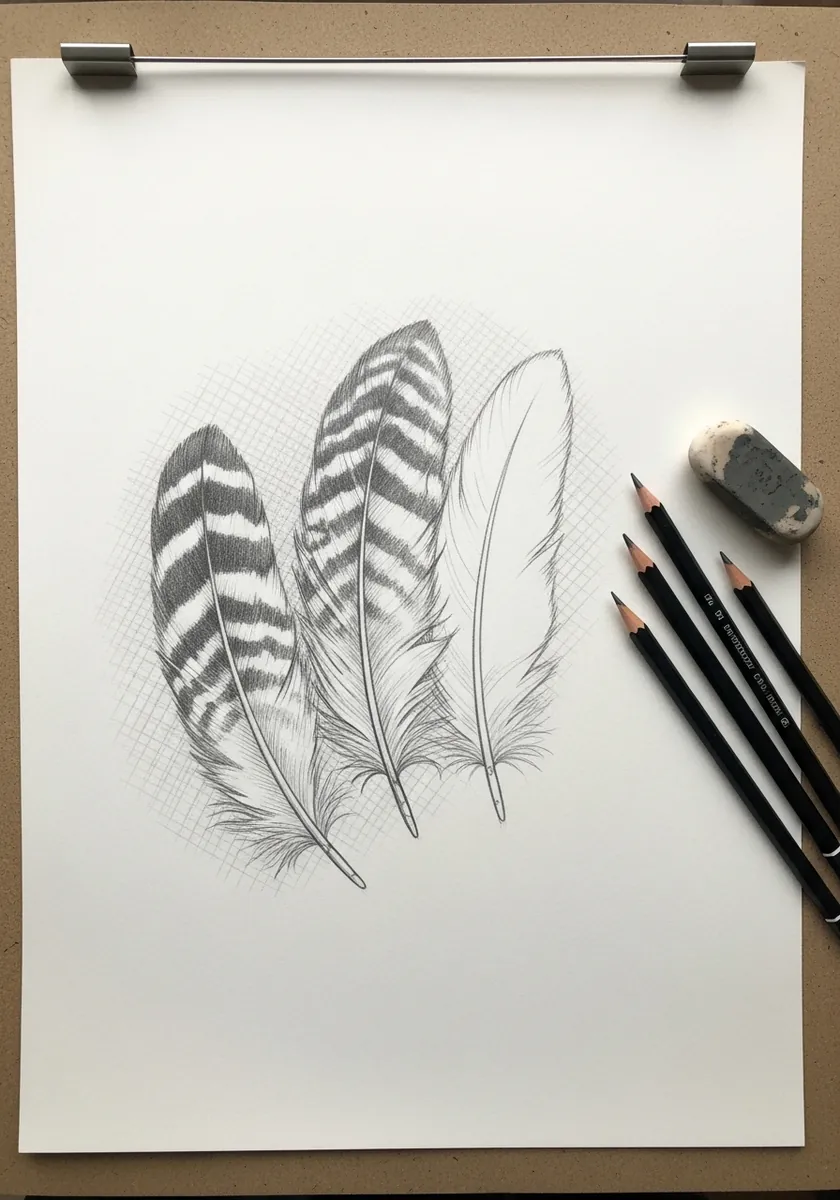
Barring runs across the vane at right angles to the shaft, never along it. Draw the rachis and barbs first in light pencil, then lay the dark bands over the top so they visibly follow the barb direction rather than sitting flat on the surface.
3. Warm Toned Feather on Kraft
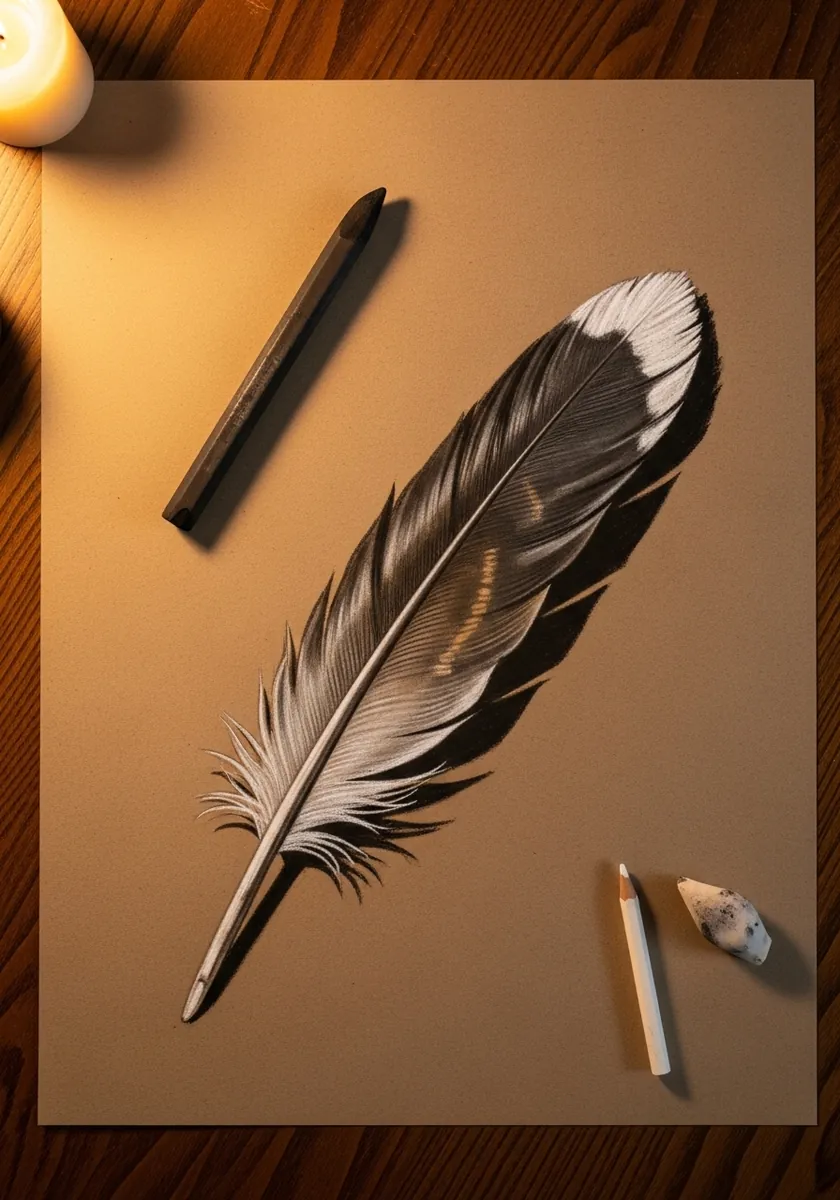
Toned paper hands you the mid value free. Add white only along the lit upper edge of the vane and darken beneath the shaft, letting the kraft itself carry every mid tone. The pale tip against the dark body is the strongest contrast here.
4. Soft Gradient Feather in Ink Wash
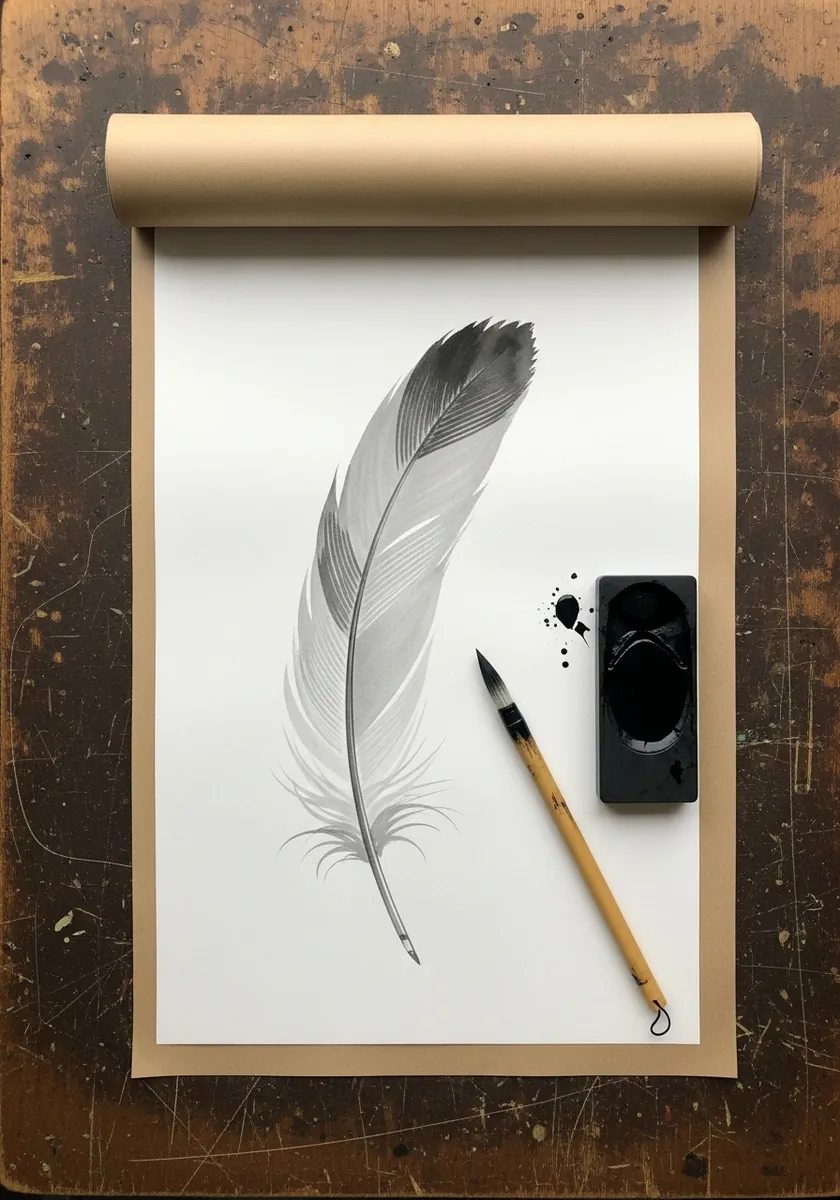
A gradient along the length is a good discipline exercise. Start dark at the tip with a loaded brush and let the ink run out naturally toward the base, adding no more water. The fade should happen because the brush empties, not because you diluted it.
5. Rainbow Stippled Feather
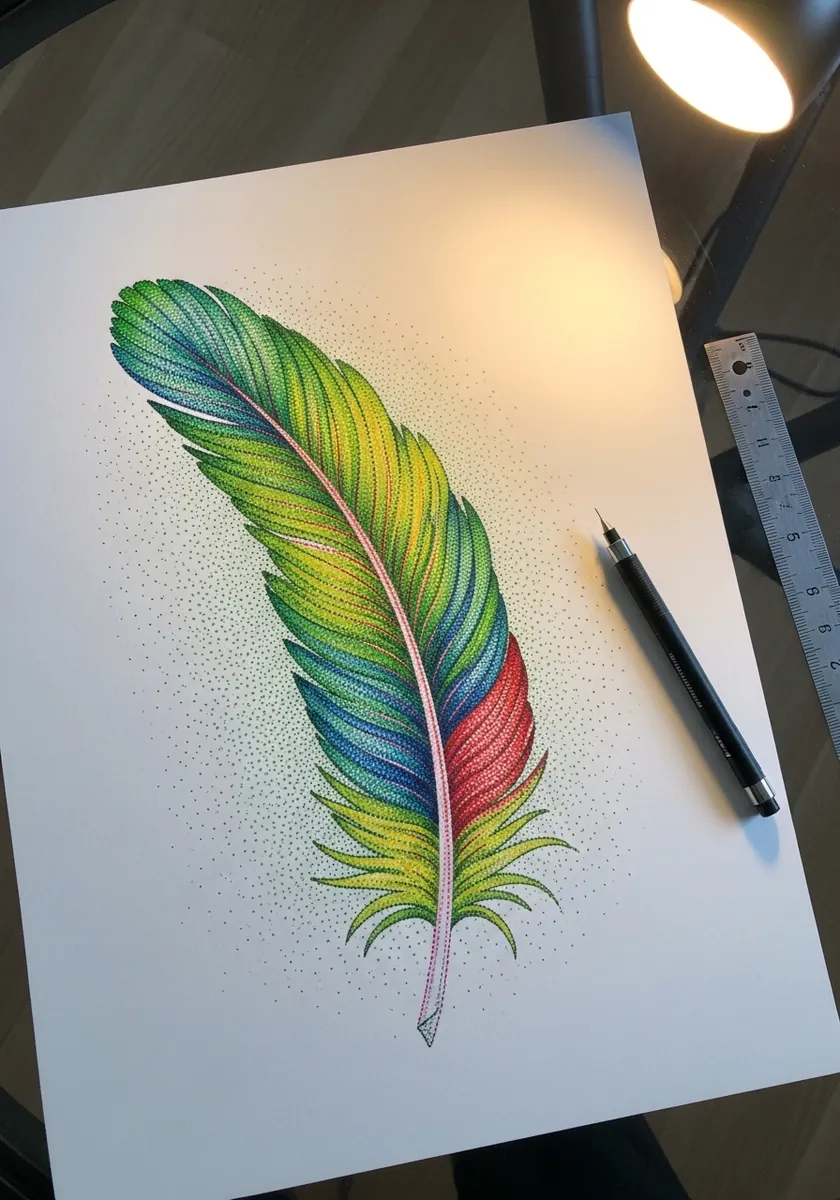
Stippling in color is slow but teaches enormous control. Work one hue across the whole feather before starting the next, which keeps the balance even, and let the dot density thin out toward the wispy barbs at the base. Work under a strong lamp, because stipple density is almost impossible to judge in dim light.
6. Peacock Feather in Fresh Green Wash
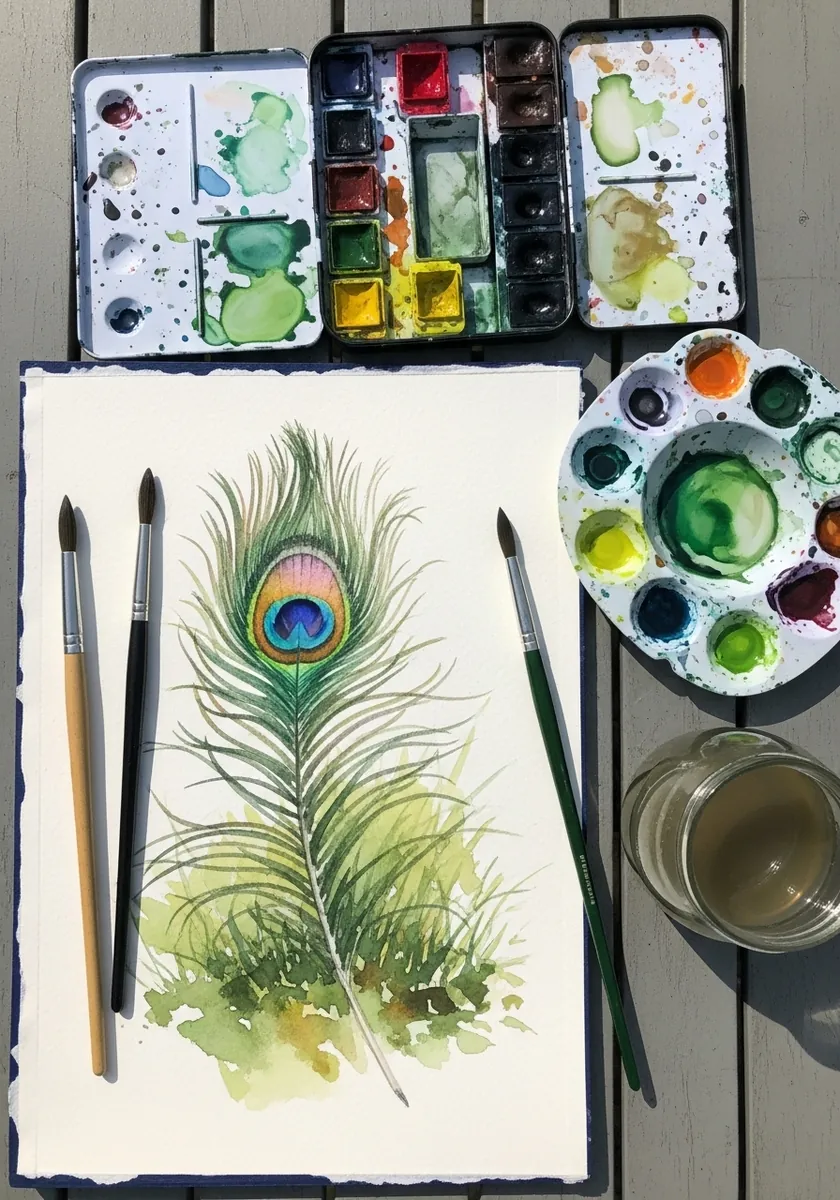
Wet on wet gives you the softness a peacock feather actually has. Wet the vane area, drop the greens in and let them mix on the paper, then wait until the sheen has gone before painting the eye so it stays crisp.
7. Blue Jay Feather in Colored Pencil
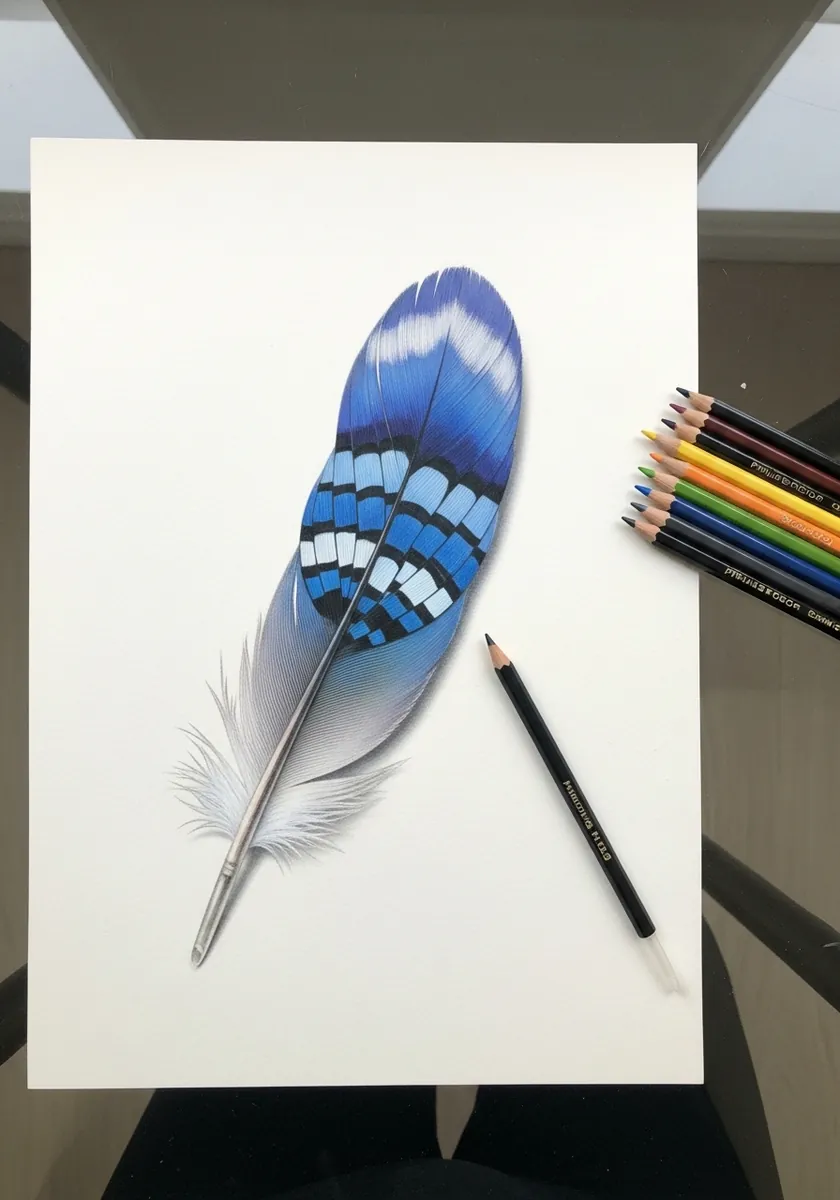
Jay blue is structural, produced by the barb microstructure scattering light rather than by pigment. Layer several blues rather than using one, and keep the white bars as bare paper because painting white over blue always goes chalky. The shaft catches a bright specular line along its length, and leaving that unpainted sells the gloss.
8. Minimal Outline Feather Study
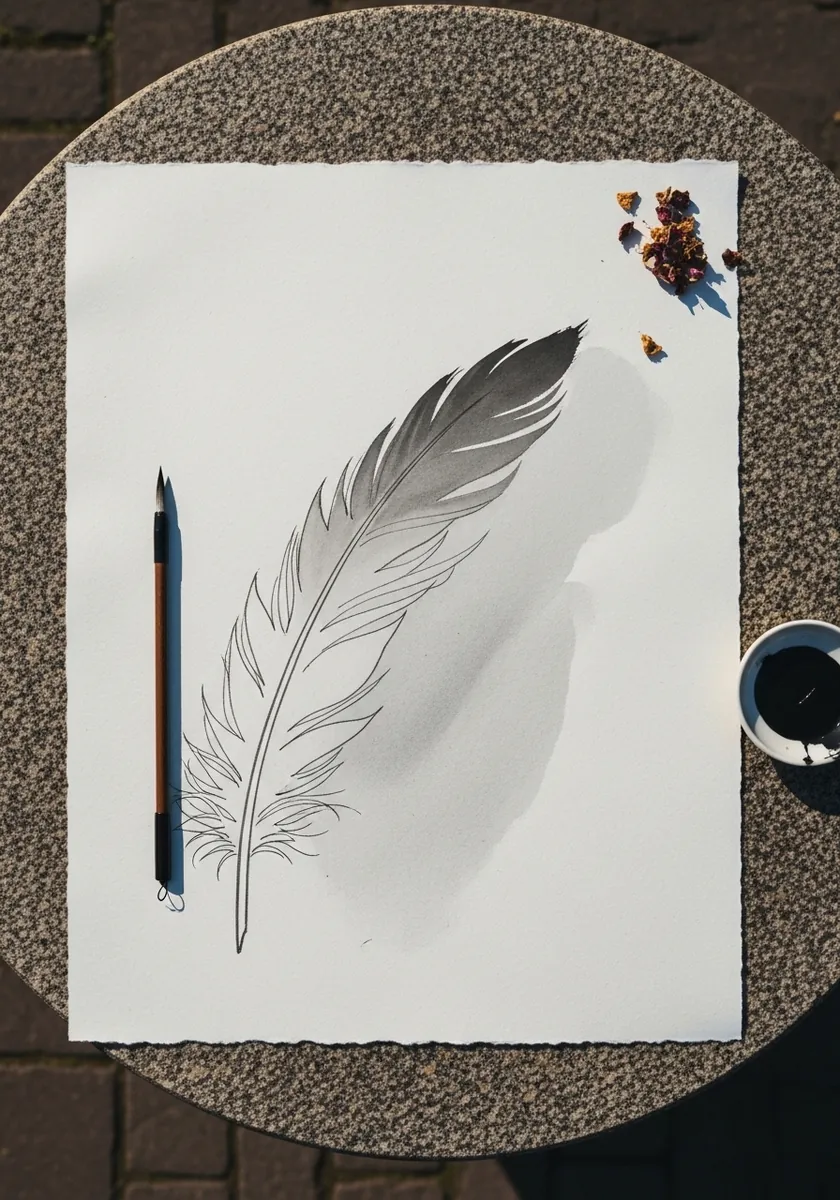
Stripping everything back exposes the drawing underneath. With almost no tone, the rachis curve and the asymmetry between leading and trailing edge have to be correct, which makes this a better test than a fully rendered study. Give the cast shadow a soft edge, since a hard one would make the feather look cut from card.
9. Folk Rooster Made of Feathers
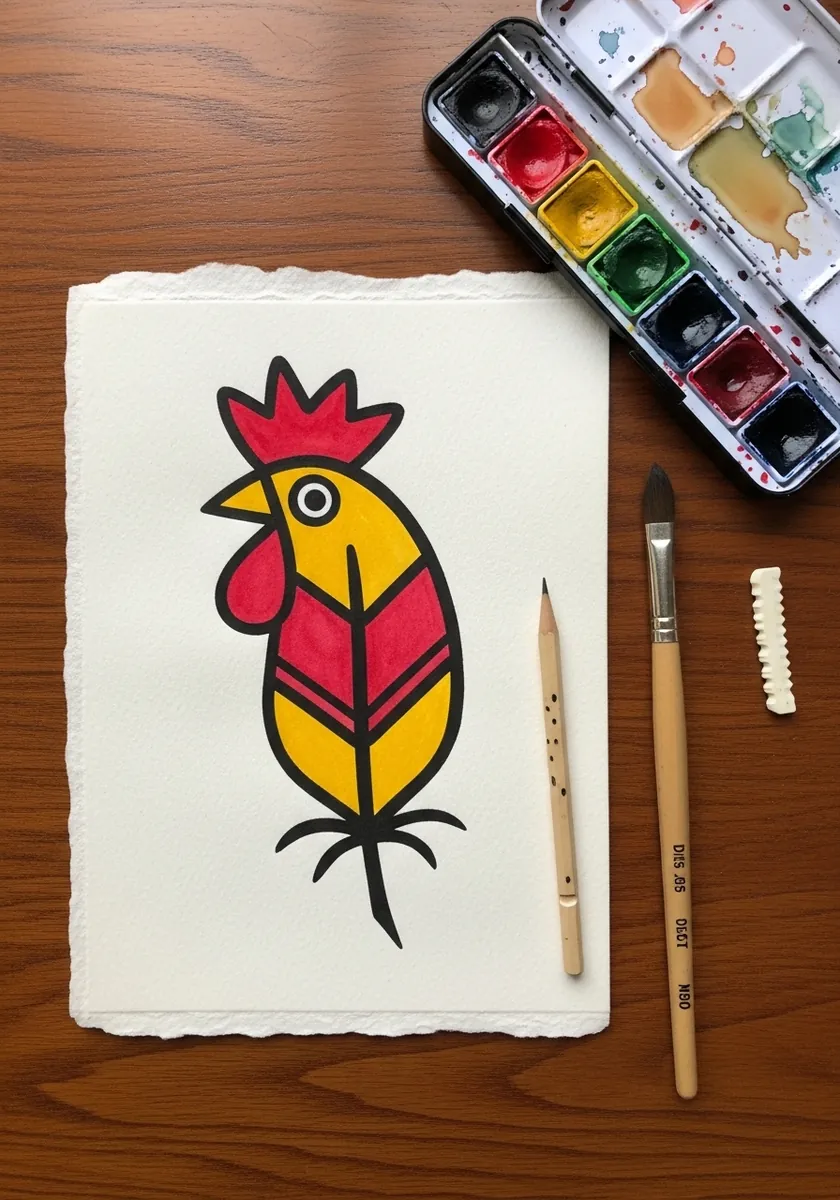
Reducing a bird to stacked feather shapes is a useful design exercise. Use three flat colors, keep every shape a simple pointed oval, and let the black outline hold them apart. No shading is needed anywhere. Draw the comb and wattle as the only curved shapes, which keeps them separate from all those points.
10. Pink Impasto Feather
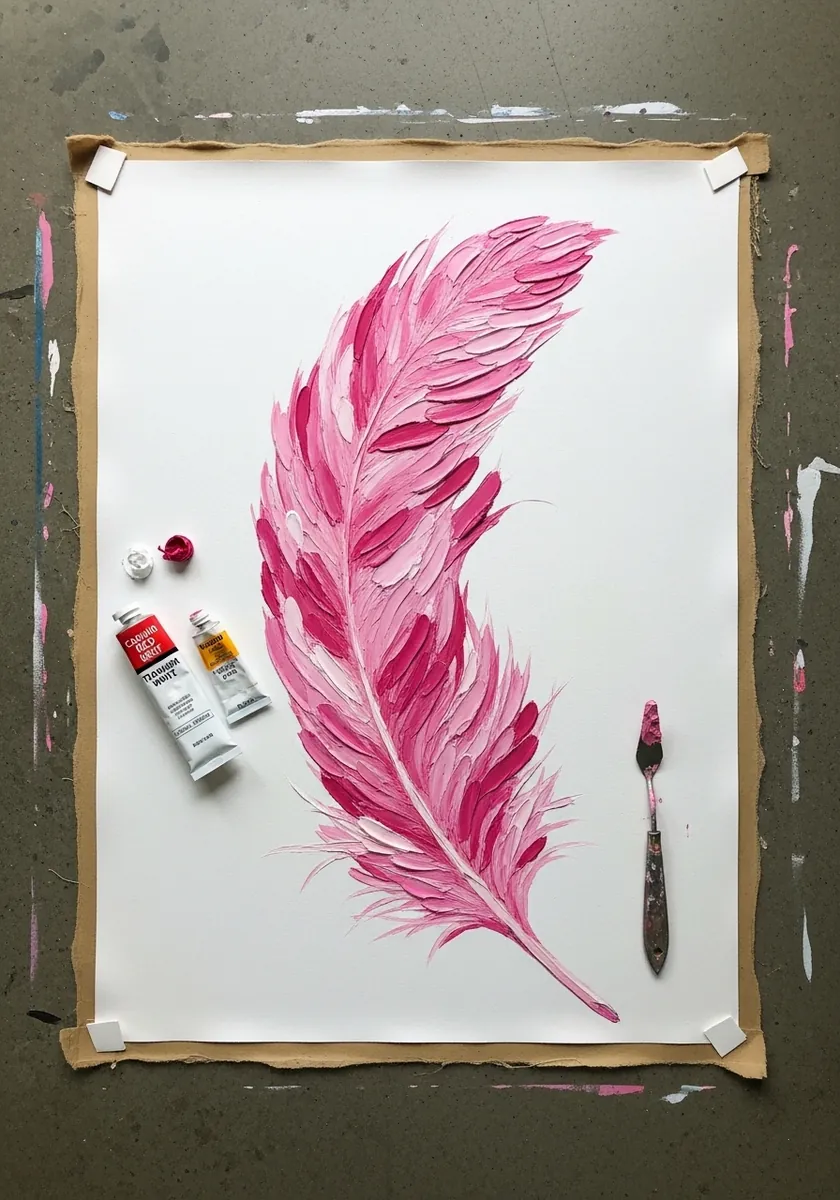
A palette knife naturally leaves a directional ridge, which is close to what a barb already is. Load the knife and pull each stroke outward from the shaft in one motion, and resist smoothing them together afterward. Scrape a few barb lines back through the wet paint with the knife tip for extra texture.
11. Charcoal Ostrich Plume
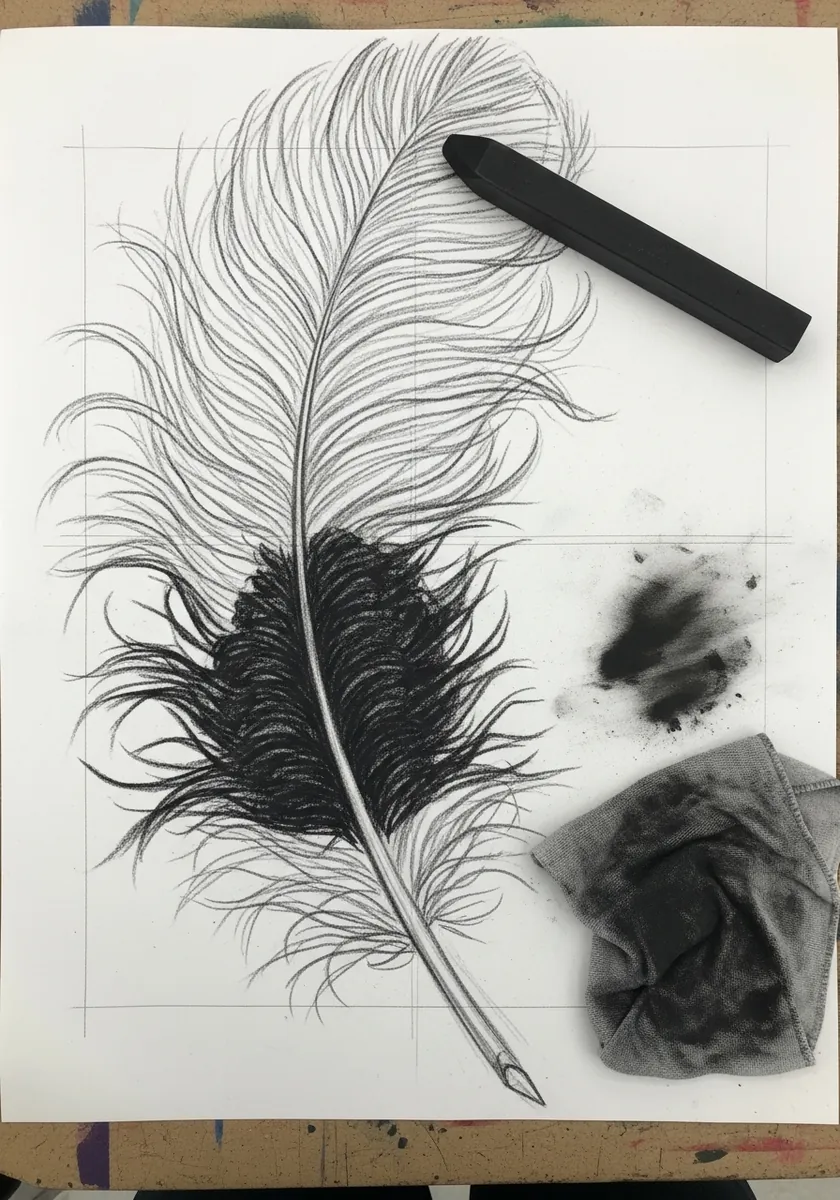
Ostrich feathers have no barbules locking the barbs together, which is why they look so soft and separated. Draw each barb as an individual curved line with visible gaps between them, and smudge only the densest area near the shaft.
12. Vintage Quill on Aged Paper
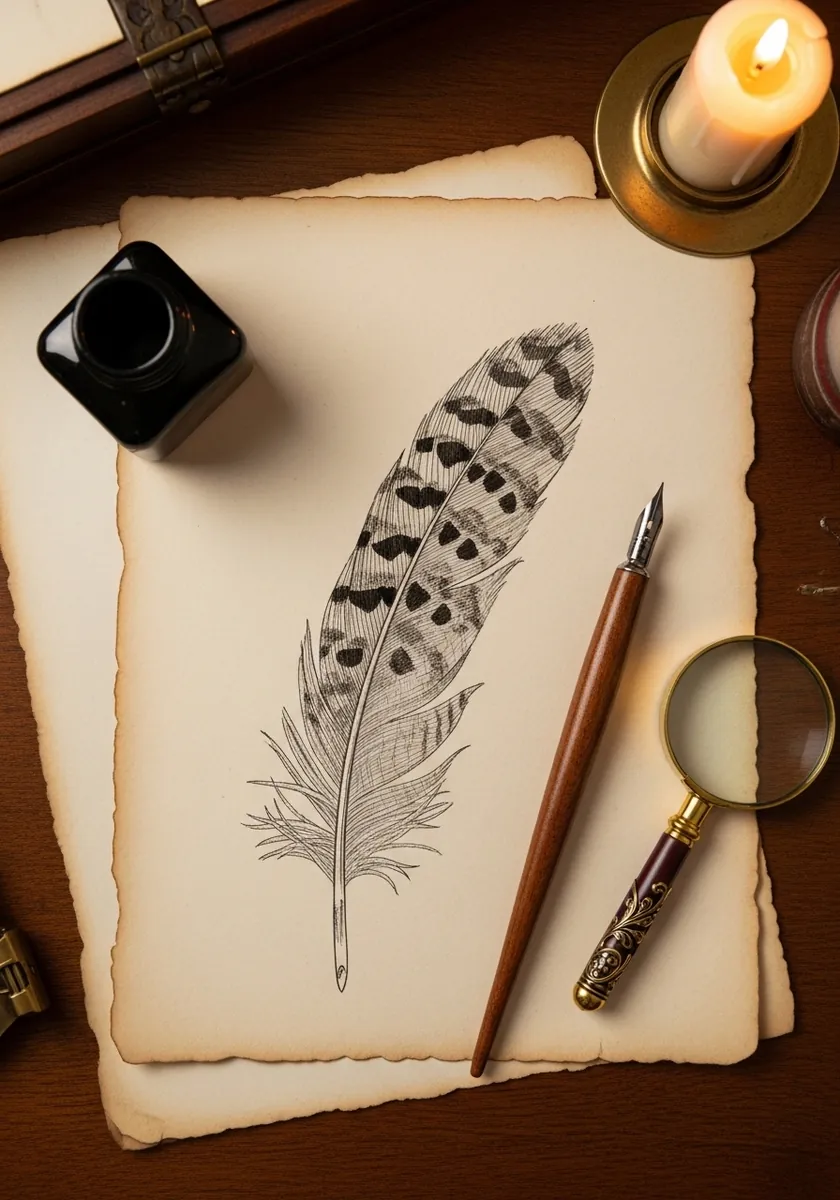
The calamus at the base is a hollow transparent tube, which is why real quills were cut for writing. Leave it almost entirely unshaded, add just two curved lines to suggest its cylinder, and let it contrast with the dense vane above.
13. Feather Against a Sunset Sea
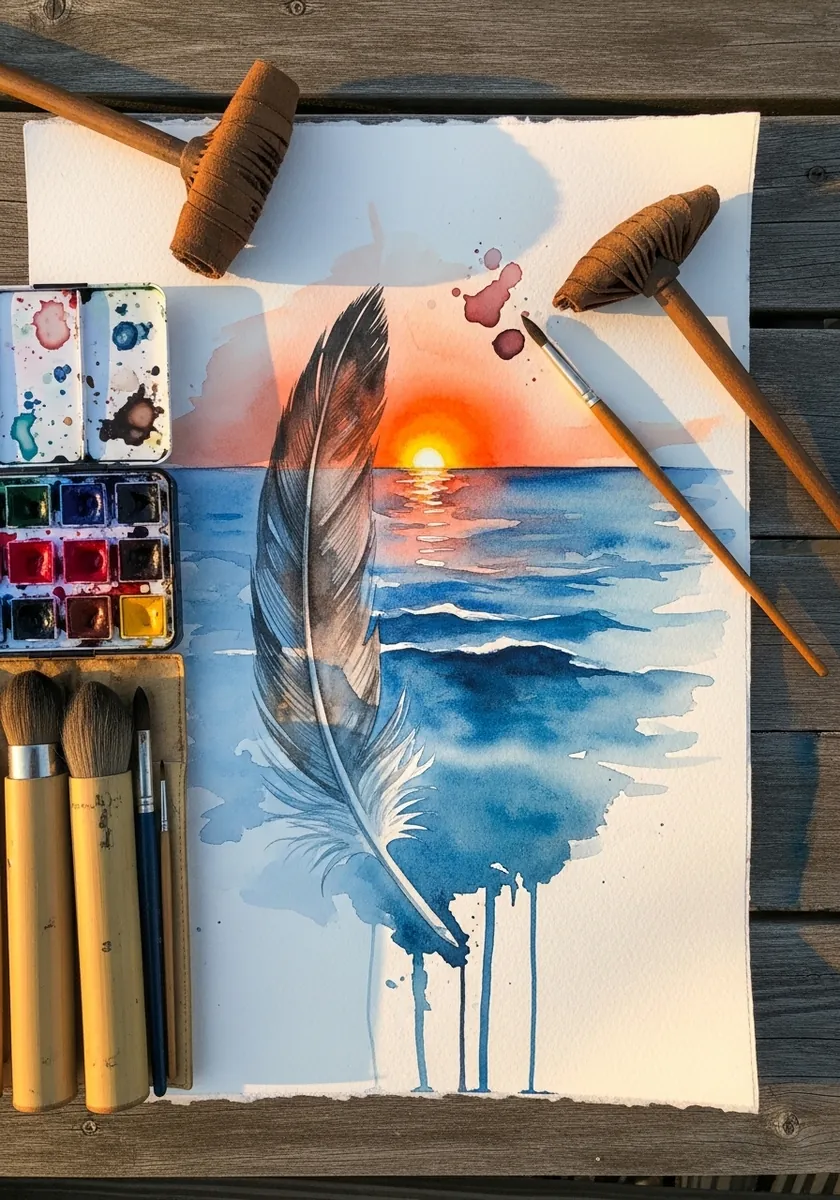
Two subjects need a clear hierarchy. Paint the sunset loosely and let it dry completely, then render the feather crisply over the top. Sharp against soft always reads as near against far, with no other depth cue required. Keep the horizon line well below the feather tip, or the two subjects will fight for the same space.
14. Glowing White Feather on Black
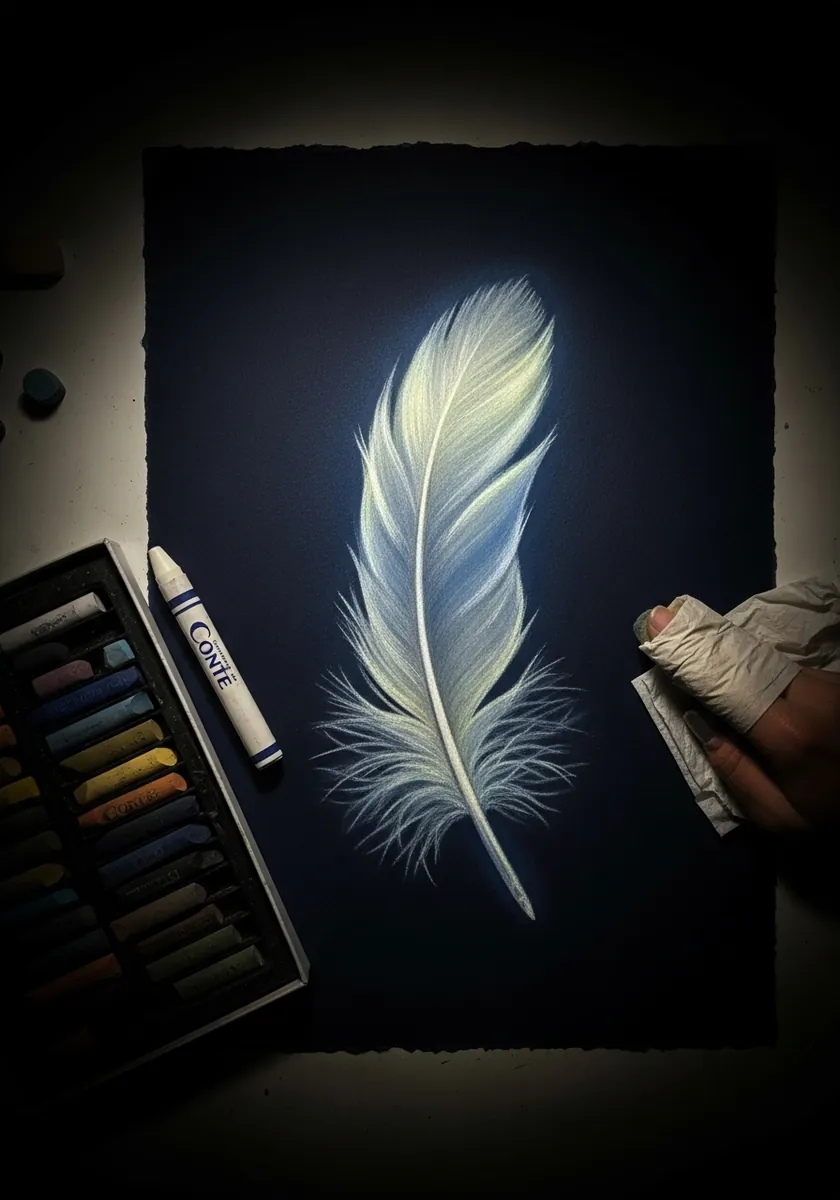
Working on black reverses your process entirely. Because you can only add light, decide which barbs actually catch it before touching the paper, and leave everything else as darkness. Two passes of white, one soft and one sharp, build the glow.
15. Pale Gray Feather in Soft Wash
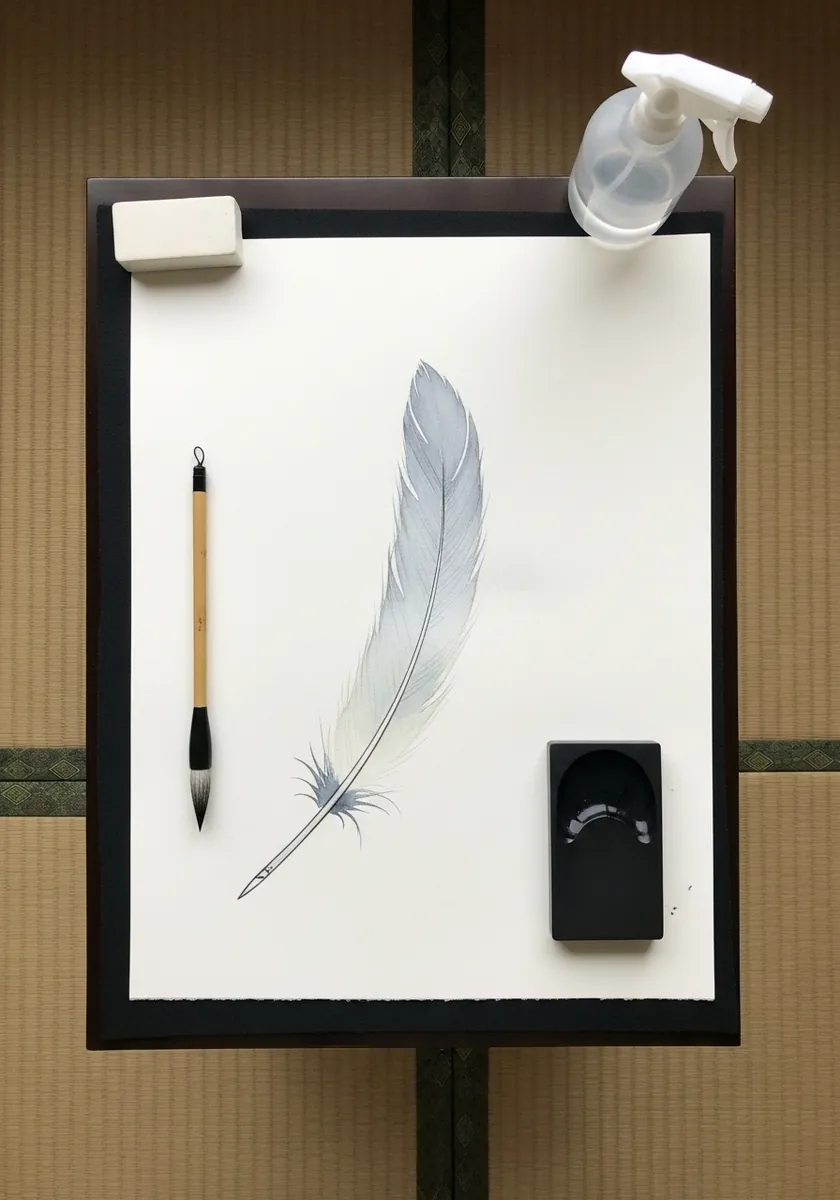
Restraint is the whole exercise. Keep the entire study within three close values and let the paper carry most of it. The temptation to add a dark accent for contrast is exactly what you resist here. Mix a touch of the complementary into your gray, as a neutral straight from the tube looks dead.
16. Purple and Gold Marker Feather
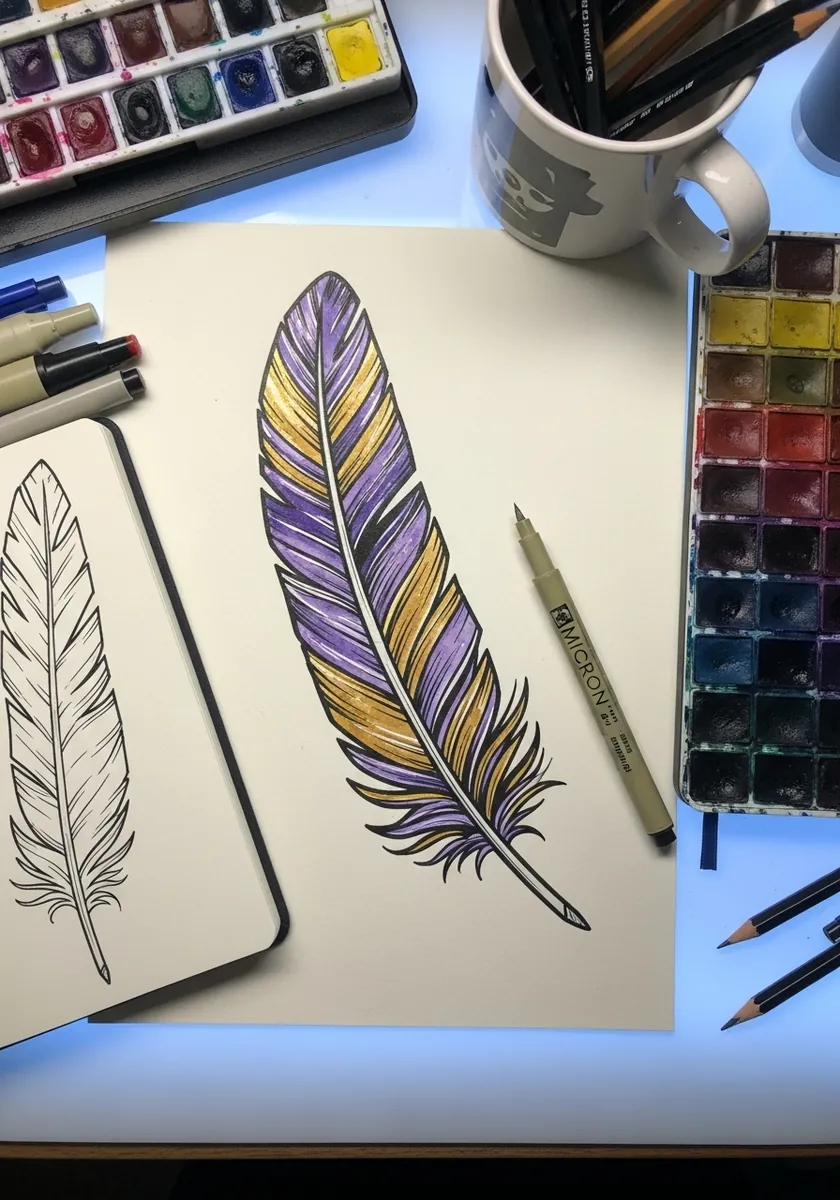
Markers demand one continuous pass or they streak visibly. Lay each section of vane while the previous stroke is still wet at the edge, and ink your outline with a waterproof pen first so the solvent cannot lift it. Test each marker on a scrap first, because alcohol inks dry noticeably darker than they appear wet.
17. Feather Mandala in Watercolor
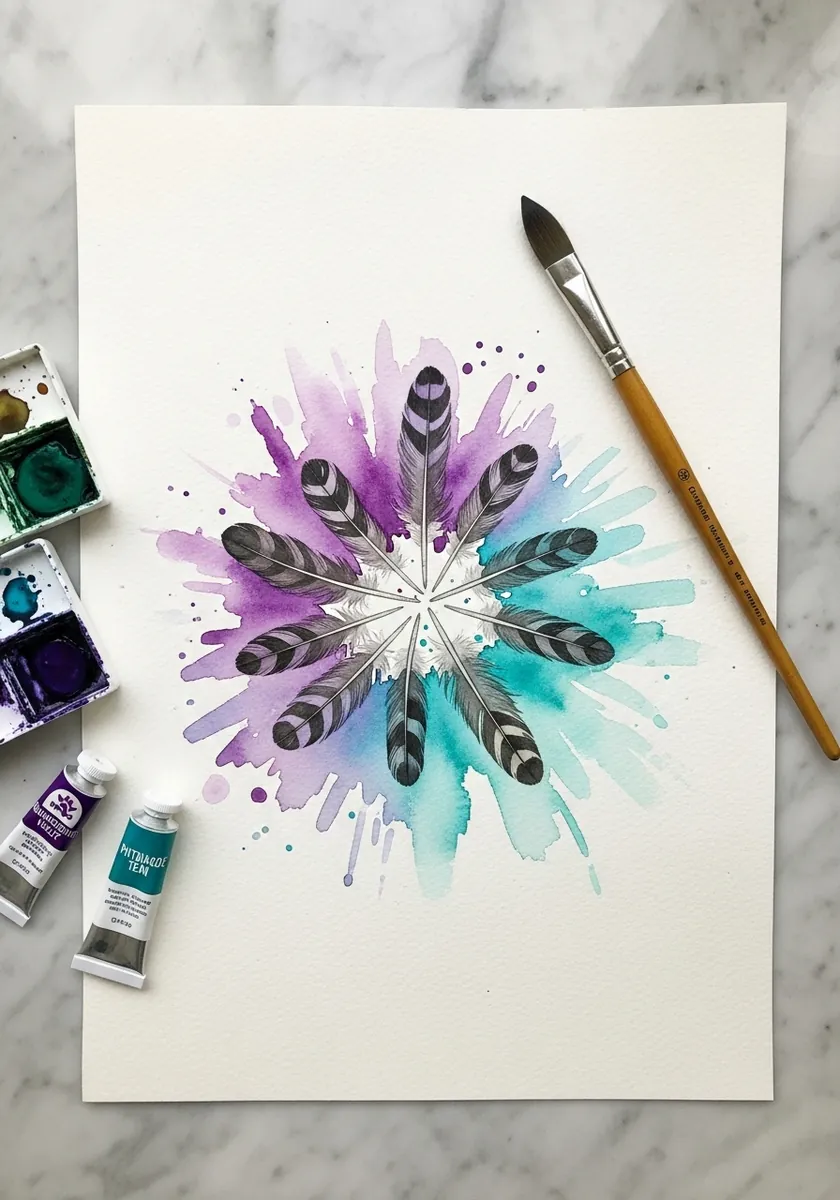
Radial symmetry needs measurement rather than instinct. Mark the center, divide the circle into eight equal segments with a protractor, and place one feather along each division line before adding any color. Rule your division lines in light pencil and erase them only once every feather is fully painted.
18. Annotated Anatomy Diagram
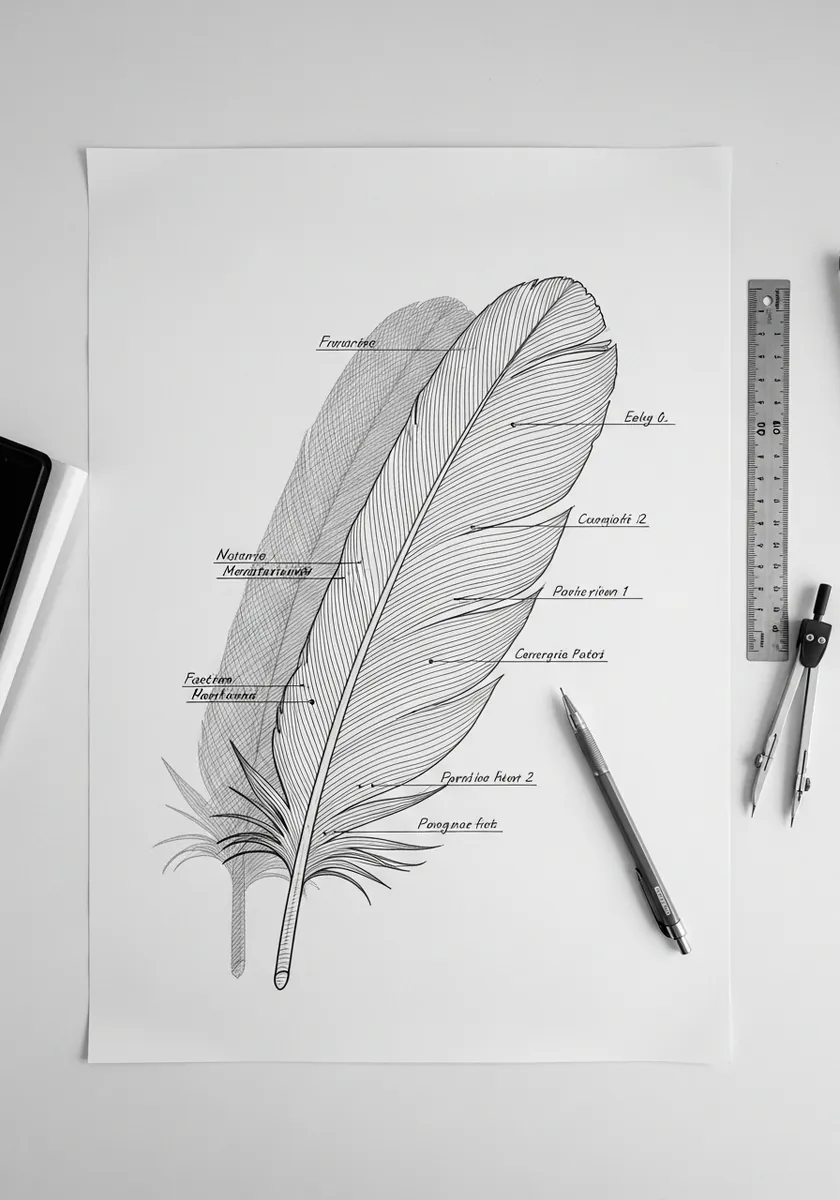
Naming the parts fixes them in memory. Label the rachis, the vane either side of it, the calamus at the base and the barbs themselves, and the structure becomes far harder to draw incorrectly afterward. Number each label and repeat the numbers on the drawing, which keeps the leader lines from crossing.
19. Neon Feather on Black Pastel Paper
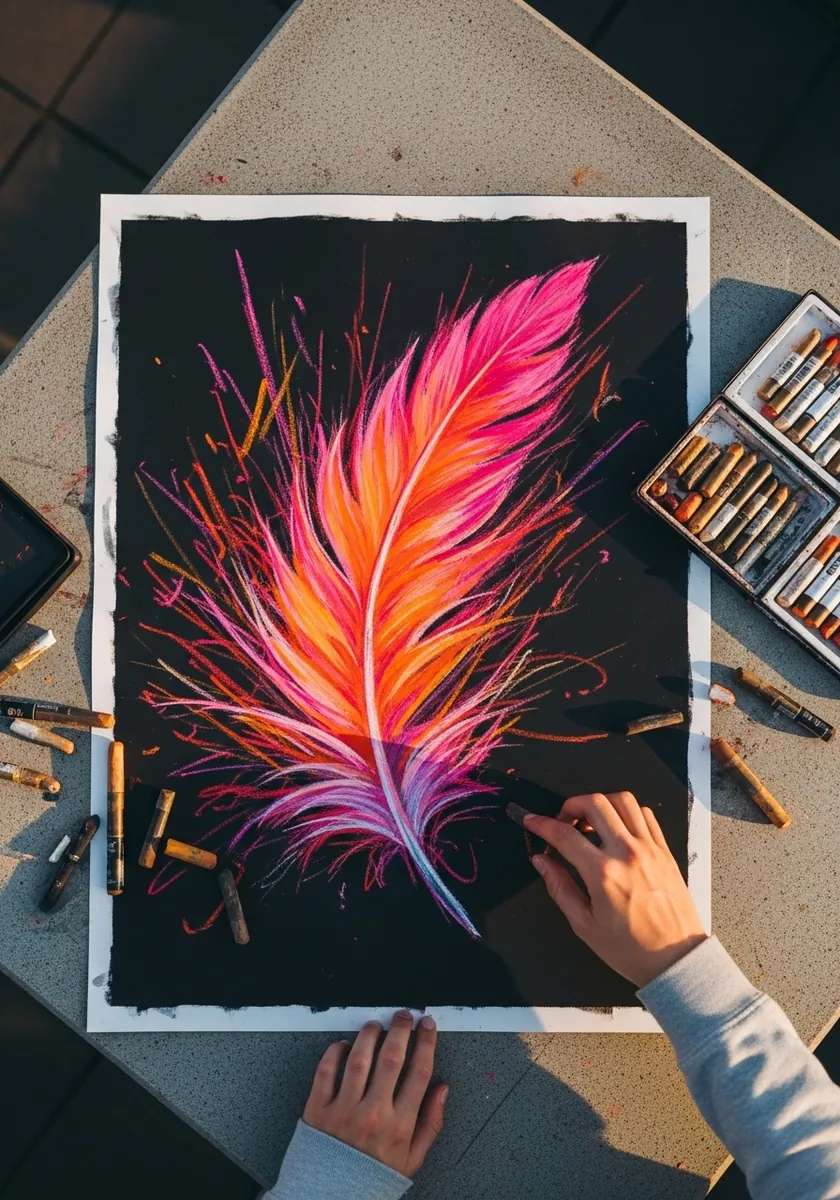
Saturated color on black needs a light hand. Lay the brightest pinks along the barb tips only and let them fade to bare paper toward the shaft, since covering the whole vane kills the glow you are trying to create.
20. Three Small Feather Specimens
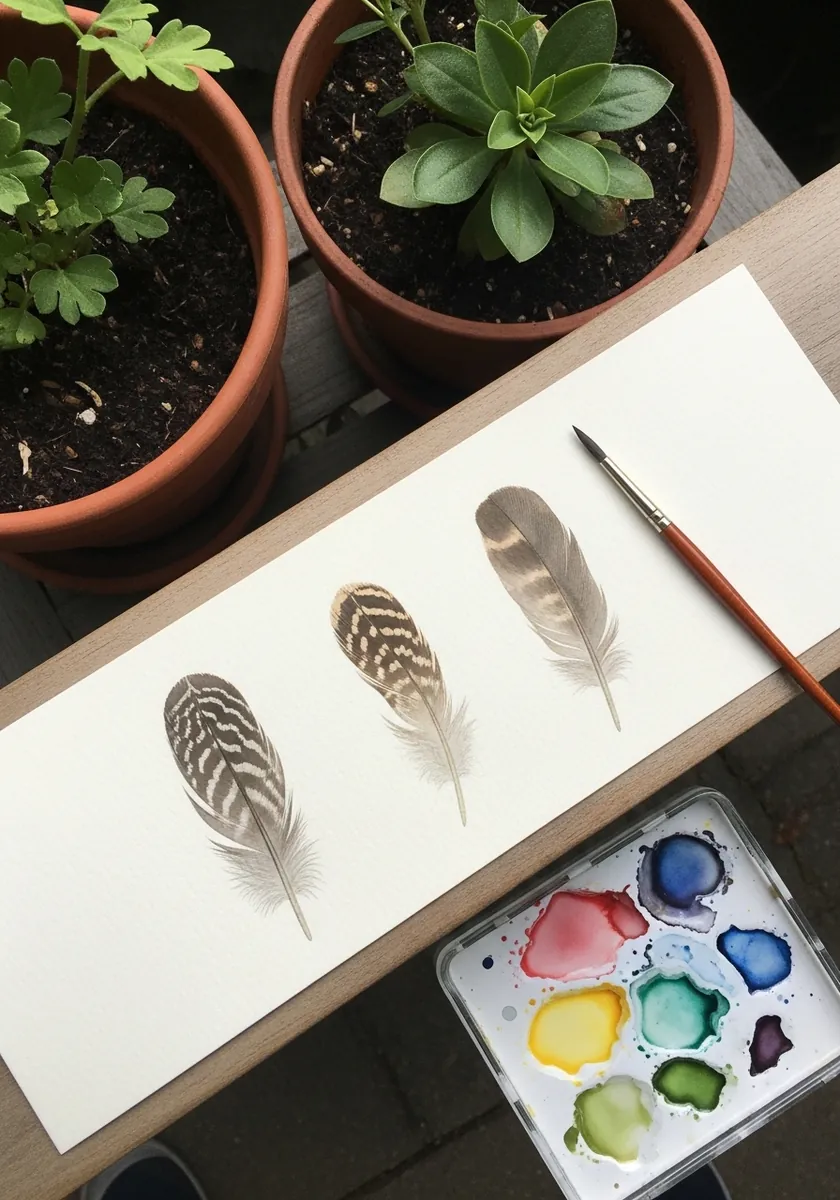
A row of specimens teaches you comparison. Paint all three at the same scale with the same light source, and the differences in barring, shape and edge become far more visible than they would in three separate studies. Group them by size rather than by color, since a size sequence reads as a deliberate study.
21. Indigo Feather in Layered Blue
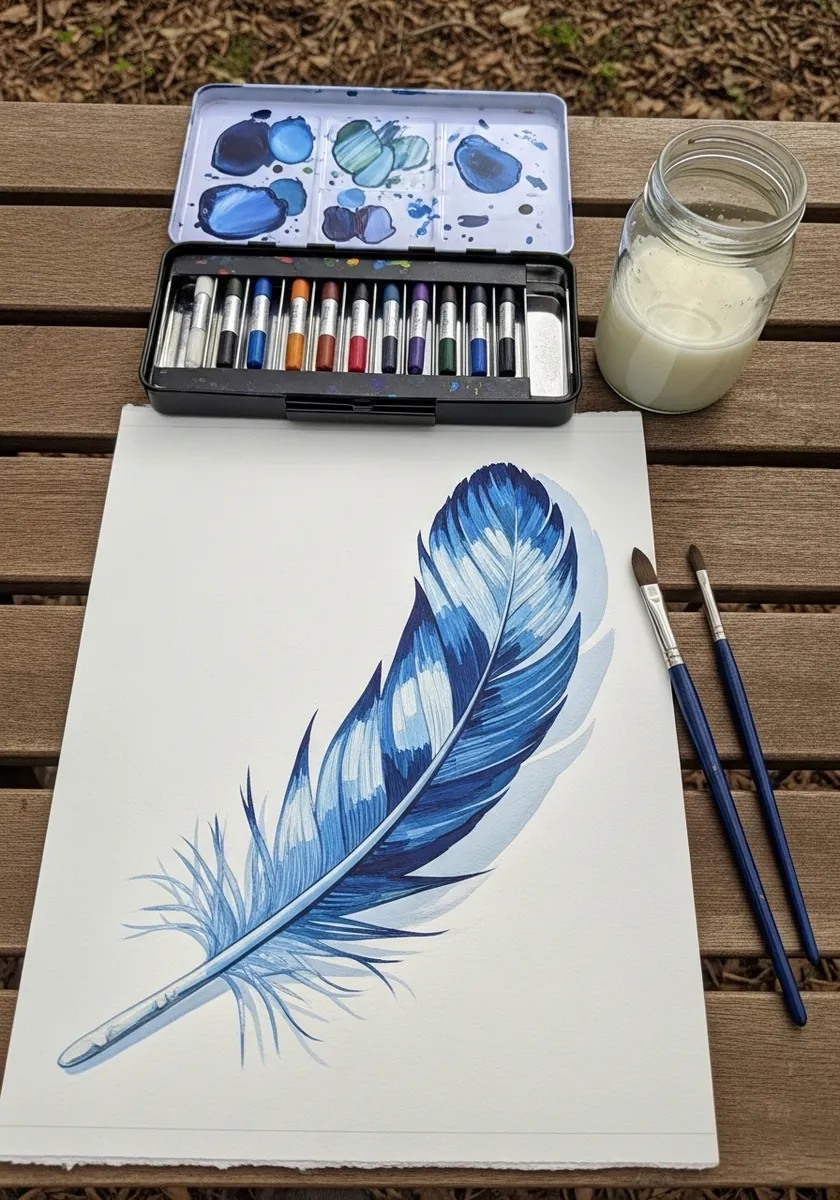
Layering builds depth that one wash cannot. Lay a pale blue over the whole vane, let it dry hard, then add progressively darker blues in narrower bands, leaving the earlier layers visible along the edges. Let each layer dry completely before the next, or the earlier washes will lift and go muddy.
22. Marker Feather with Bold Highlights
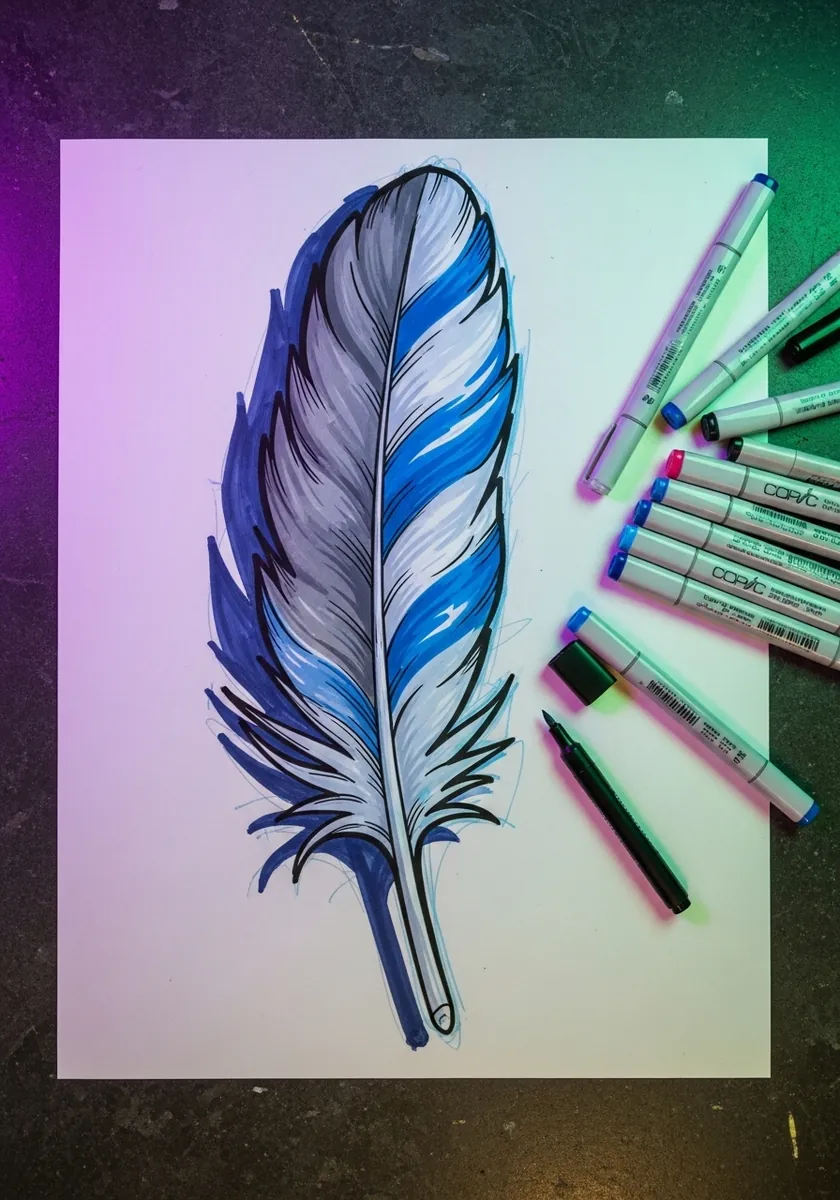
Strong highlights need to follow the barb direction. Run each white stroke outward from the shaft at the same angle as the barbs beneath, because a highlight drawn across them flattens the feather immediately. Keep the outline weight heavier than every interior line, which stops the highlights floating free.
23. Fine Hatched Feather on Cream
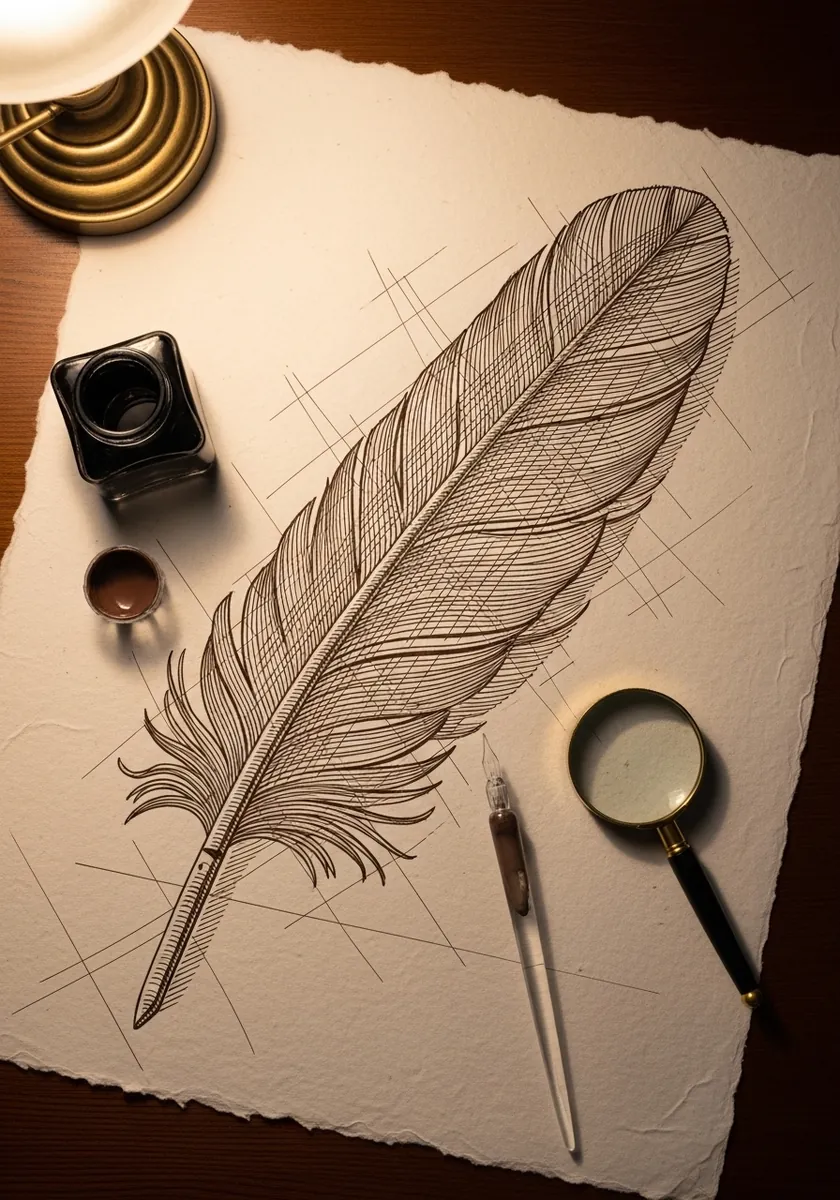
Old engravings built every value from line alone. Hatch along the barb direction rather than across it, cross-hatch only in the deepest shadow beside the shaft, and leave the paper bare at the lightest edge. Use one nib width throughout, because changing pens mid-drawing breaks the illusion of an engraving.
24. Delicate Pink Feather with Bubbles
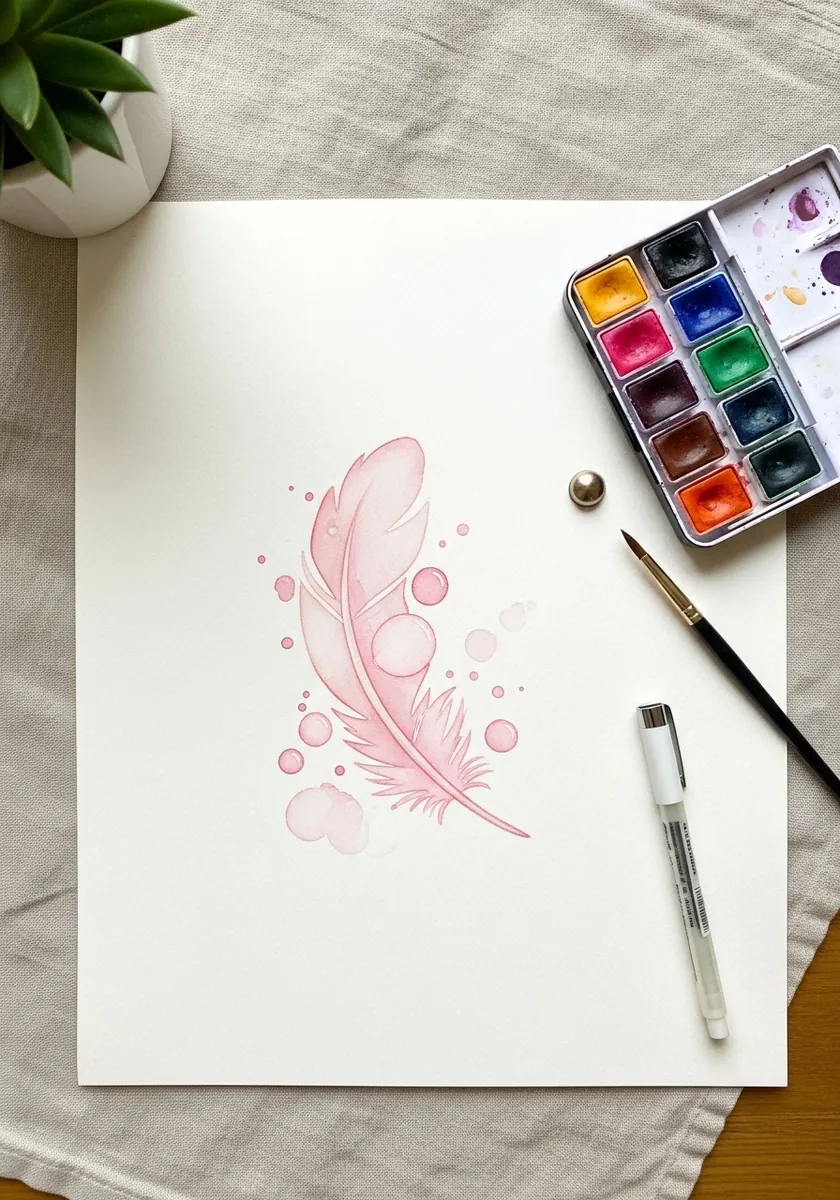
Negative space is doing real work here. Lift the pale circles out with a damp brush while the wash is still slightly wet, rather than painting around them, which gives them a much softer edge. Work on hot pressed paper, as a rough surface would fight the delicacy this piece depends on.
25. Dark Feather on Orange Brushstrokes
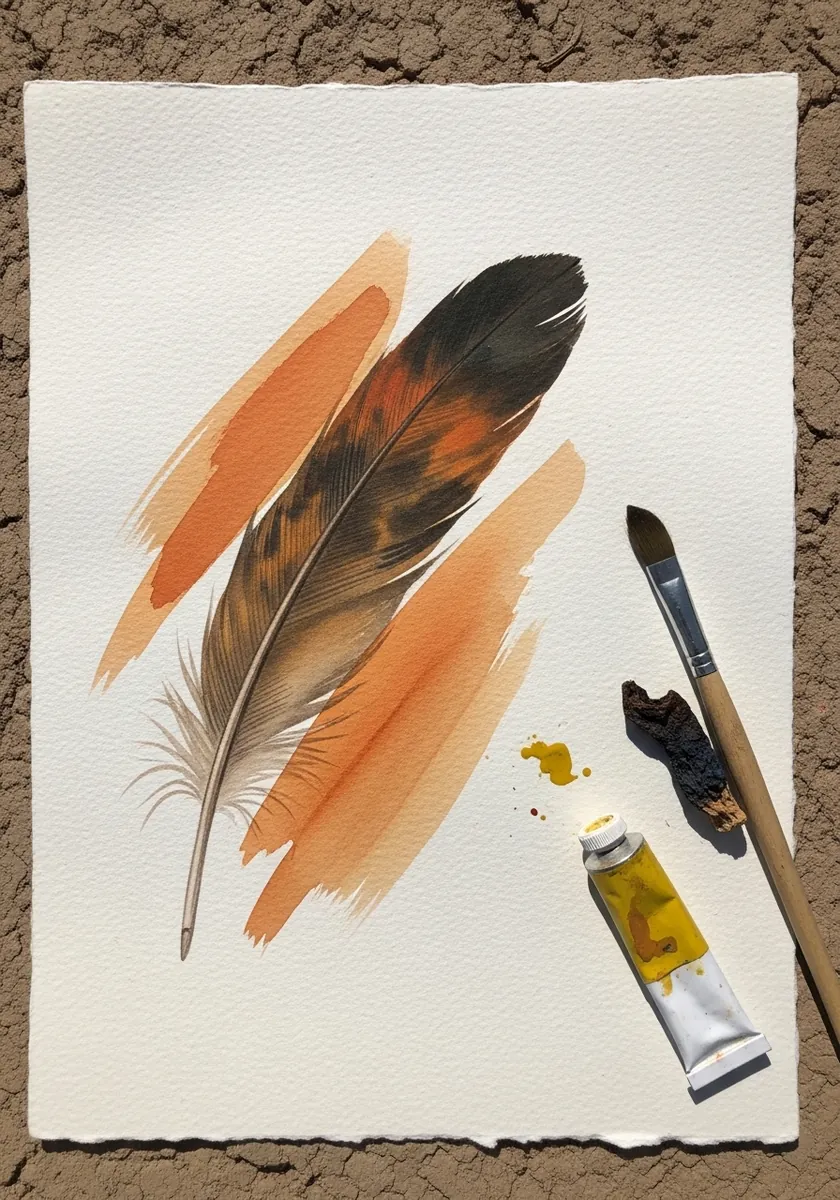
A complementary background makes a neutral subject sing. Lay the orange strokes first with a dry brush, let them dry, then paint the dark feather across them so a little orange shows through at the edges. Keep the orange strokes running diagonally, which stops them lining up with the shaft and flattening the composition.
26. Gold Leaf Feather in Warm Tones
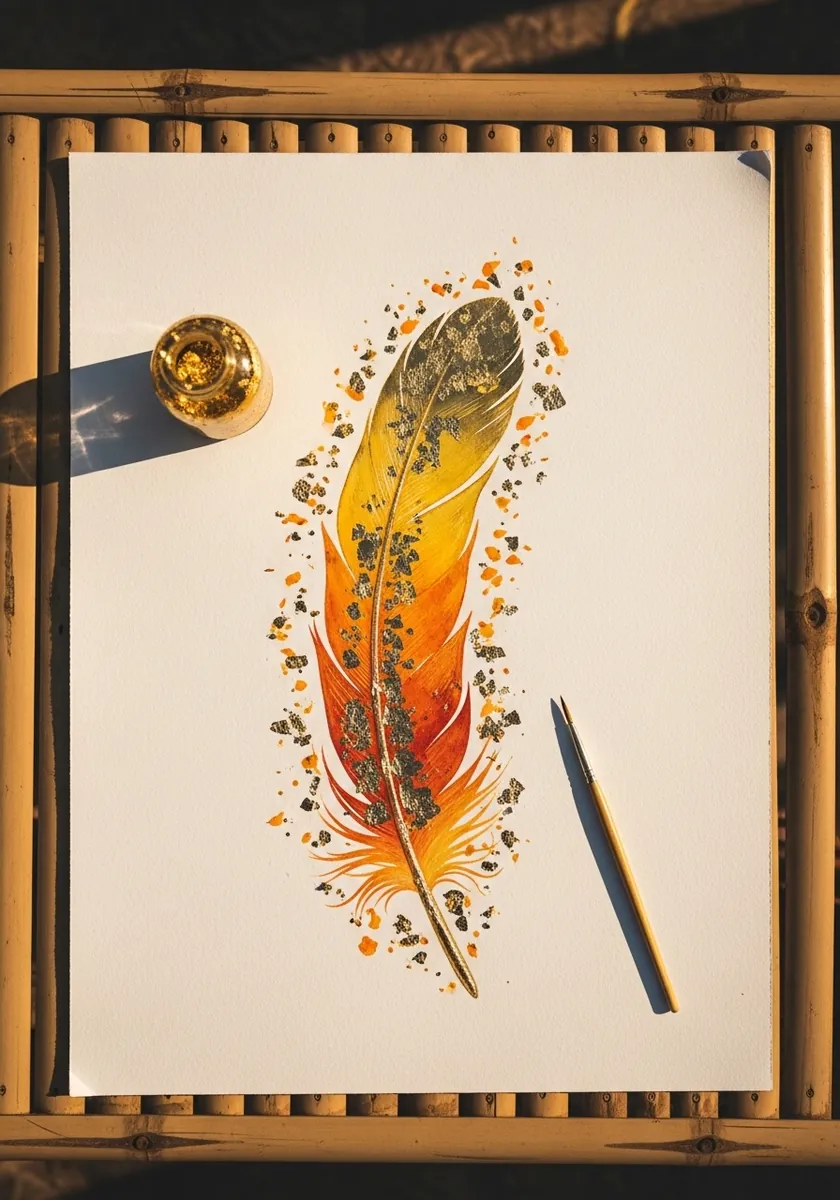
Metal leaf works best applied sparingly and last. Paint the feather completely, let it cure, then apply small flakes only along the upper barbs where light would catch, leaving the base entirely plain. Apply the leaf with a soft dry brush rather than fingers, since skin oils stop it adhering cleanly.
27. Geometric Angular Feather
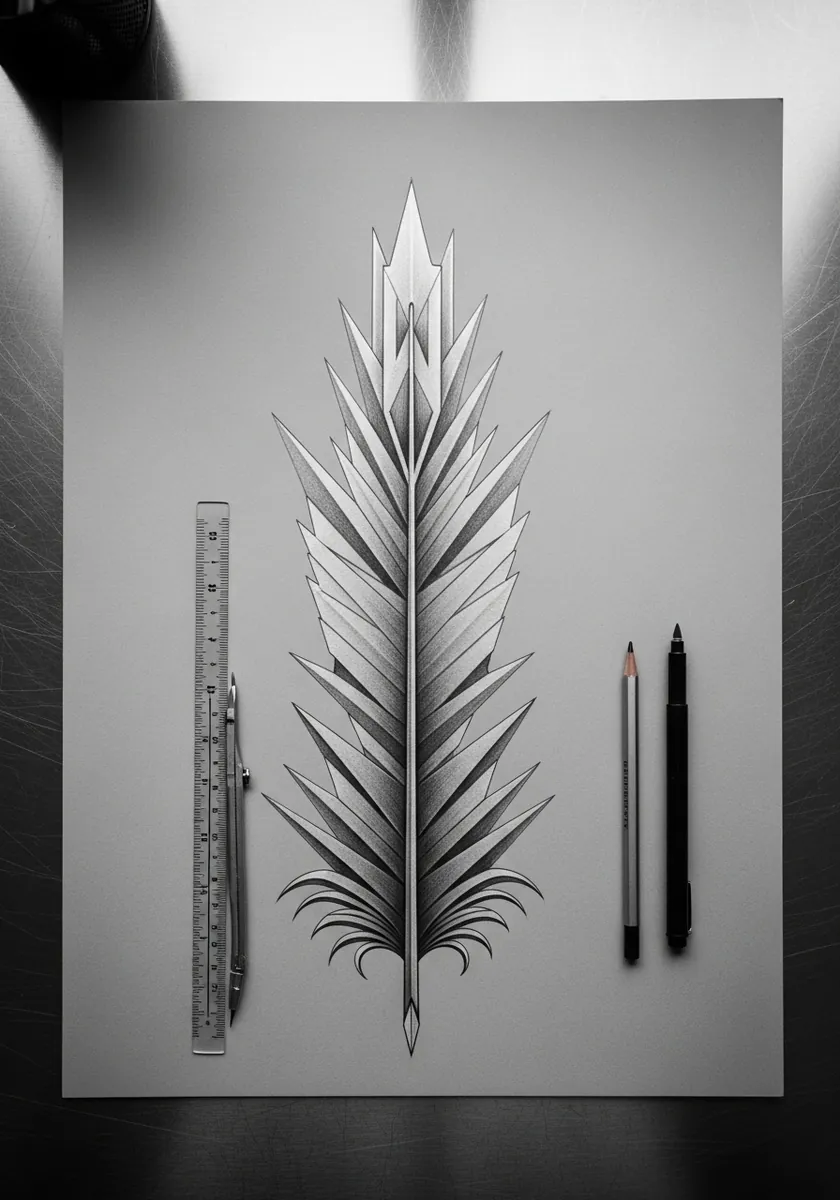
Reducing an organic form to straight lines is a genuine test of observation. Replace each curved barb with a single straight stroke at the correct angle, and the feather still reads because the angle was the important part. Rule every line rather than drawing freehand, because one wobble undoes the whole geometric idea.
28. Bold Ink Feather with Splatter
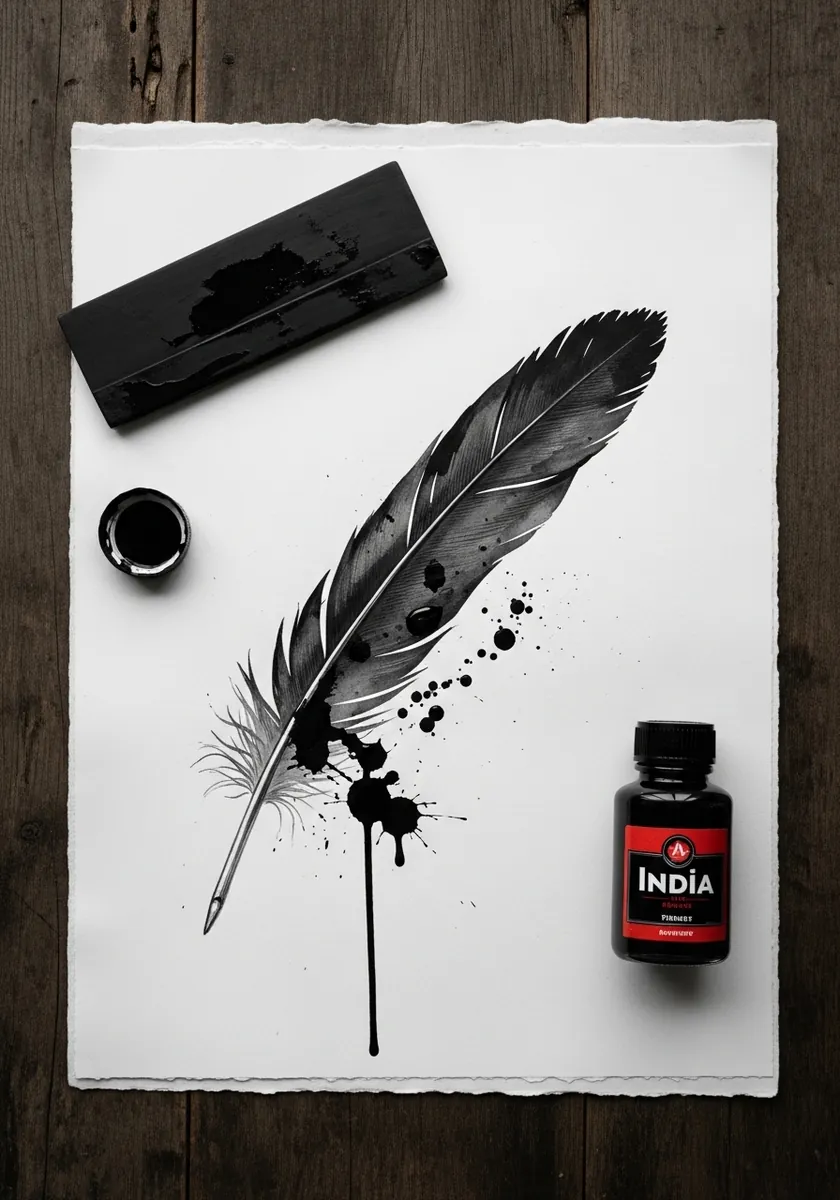
Precision and mess need clear separation. Paint the feather itself with a controlled loaded brush, let it dry completely, then flick ink across the page. The contrast reads as energy rather than as an accident. Stand back and flick from the wrist, as splatter from close range produces blobs instead of streaks.
29. Zentangle Peacock Feather
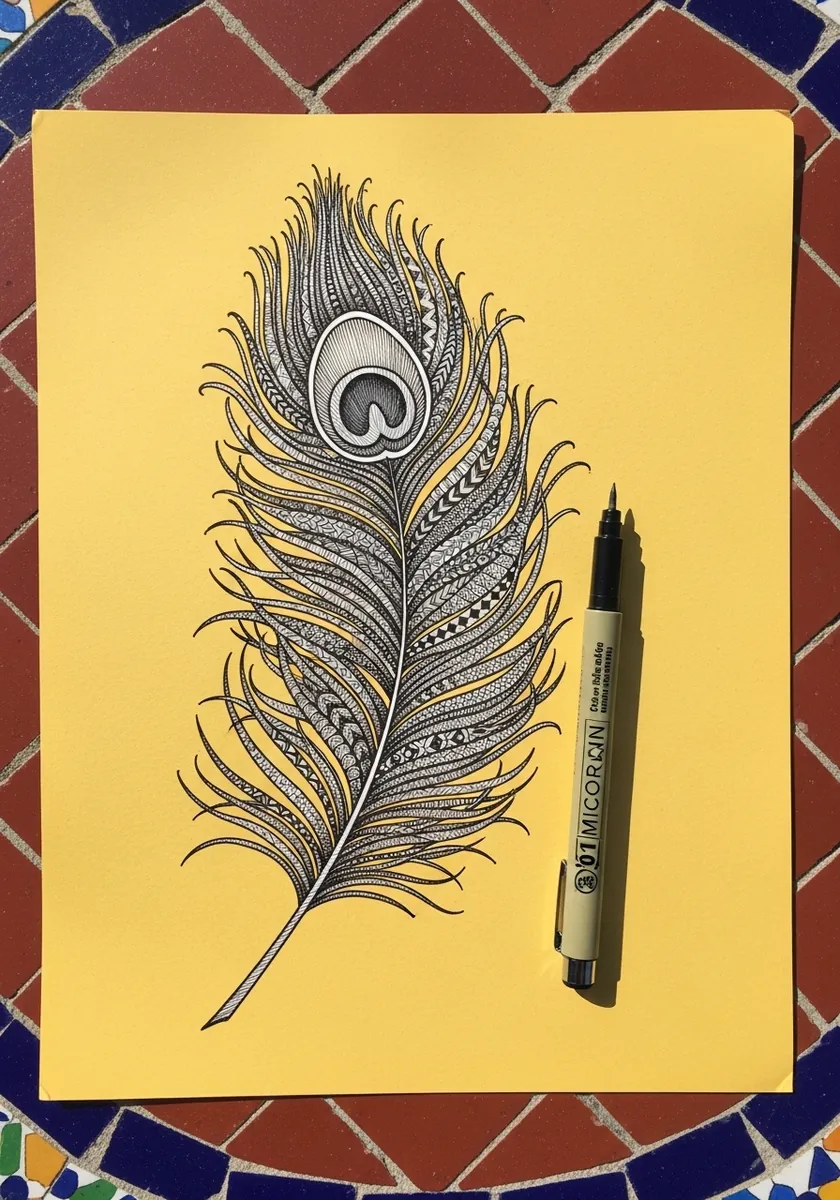
Pattern inside a fixed boundary is meditative practice. Outline the feather and its eye firmly, then fill each region with a different repeating motif while keeping your line weight identical throughout the whole piece. Yellow paper warms every black line slightly, which is why this reads softer than the same work on white.
30. White Impasto Feather on White
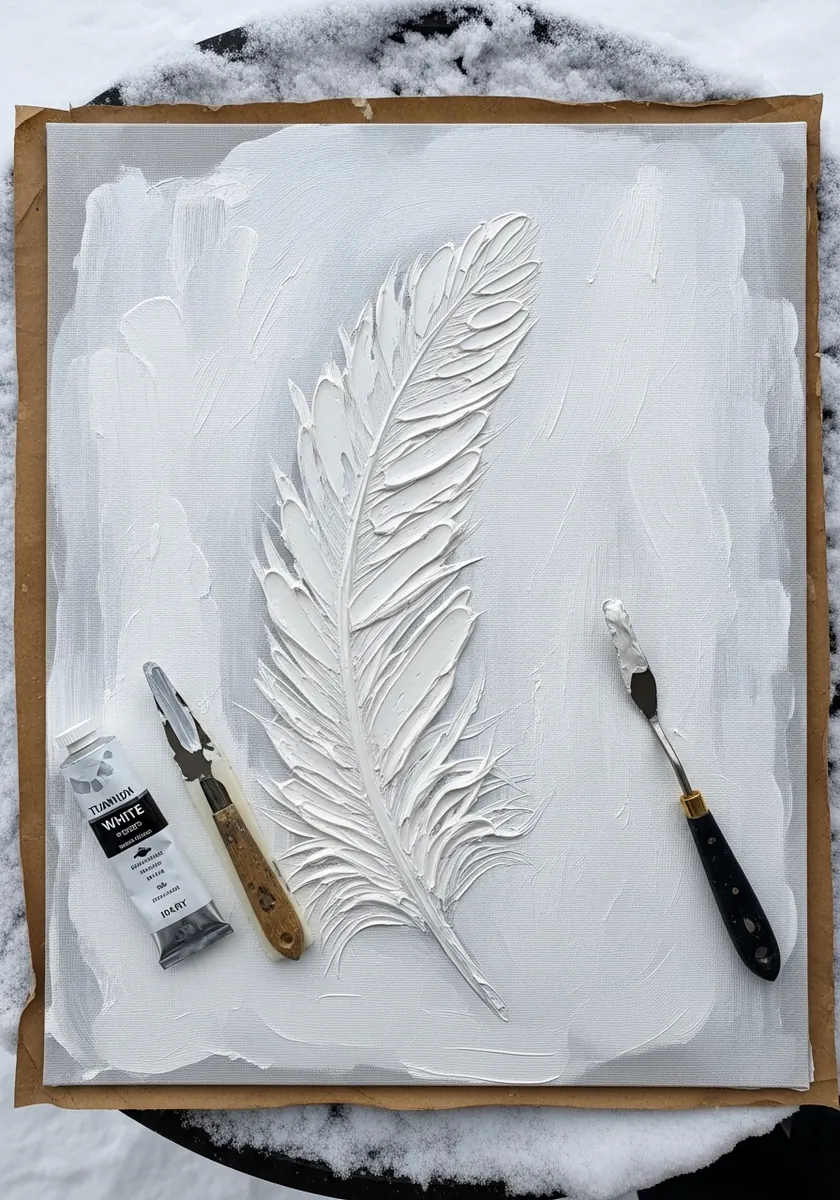
Removing color entirely leaves only texture. Build the feather in heavy white paint and let the raised ridges catch real light, so the drawing exists physically rather than tonally. Photograph it under raking light to see it properly. Build the paint in two layers, letting the first set before adding the raised barb ridges on top.
5 Feather Mistakes and the One-Line Fix for Each
Nearly every stiff or flat feather fails in one of five ways. Find yours below, apply the fix, and re-draw the same study once. The second attempt is usually the one that clicks.
1
Barbs sticking straight out. Fix: re-angle every barb toward the tip and keep that angle steady from base to tip. Practise it in Study 8, where there is no shading to hide behind.
2
Both sides of the vane exactly equal. Fix: narrow the leading edge. On a flight feather the two sides are deliberately uneven, and equal sides read as a logo, not a feather.
3
A perfectly sealed, unbroken vane. Fix: add two or three splits, especially near the base where real feathers naturally separate into loose strands.
4
White painted over dark blue going chalky. Fix: plan the white first and leave it as bare paper. Painting white over blue is the one shortcut that never works. See Study 7.
5
The outline drawn before the shaft. Fix: draw the rachis curve first, then grow the barbs from it. An outline drawn first forces the barbs into a shape they do not fit.
A 20-Minute Feather Practice Routine
Use this routine on any day you do not want to start a full study. It is short on purpose: twenty focused minutes beats an hour of drifting, because every minute has one job.
1
Minutes 0 to 5: ten rachis curves. Fill a page with single curved shaft lines, each with a different bend. No barbs yet. You are training your hand to commit to one curve.
2
Minutes 5 to 10: barb-angle rows. Draw a shaft, then add barbs at one steady angle toward the tip. Turn the page and repeat. Check each row with the narrow-V test.
3
Minutes 10 to 17: one small study. Pick one study from the list and draw it at postcard size. Small keeps you honest about the big shapes instead of fiddling with detail.
4
Minutes 17 to 20: compare and note one fix. Hold your study next to a real feather or a photo and write down exactly one thing to fix tomorrow. One fix, not five.
Comparing studies? Paint or draw them at the same scale and under the same light source, exactly as Study 20 does with its three specimens. Differences in barring, shape and edge only show up when size and light stay constant.
Keep exploring. When feathers feel comfortable, the next step is the whole bird: watercolor bird drawing and the bird nest studies use the same shaft-and-barb thinking on complete subjects.
Copic markers bleed through thin paper, so check our guide to the best sketchbook for Copic markers before you start a marker piece.
Frequently Asked Questions
How do you draw a feather step by step?
Draw the rachis first as one confident curved line, since it sets the whole shape. Mark the tip and base, then stroke the barbs outward from the shaft at a consistent angle, always angling toward the tip. Add a few separations last.
What is the central line of a feather called?
The rachis. It runs the full length of the feather and carries all the barbs. Below the vane it continues as the calamus, the hollow transparent quill that sits in the skin, which is why the base of a feather looks pale and empty.
Why does my feather drawing look stiff?
The barbs are probably drawn straight out at ninety degrees. Real barbs sweep toward the tip at a shallower angle, and that angle stays consistent along the whole shaft. Correcting it alone transforms most stiff feather drawings.
Should a feather be symmetrical?
Not usually. On flight feathers the leading edge is noticeably narrower than the trailing edge, which is what lets the feather cut through air. Drawing both sides equal instantly makes it look like a decorative shape rather than a real one.
How do you paint a peacock eye feather?
Build it in concentric rings from the outside in, blue-green, then bronze, then the dark center. The color is structural rather than pigment, so let the hues shift slightly across the eye and keep one small hard highlight off center.
What angle should feather barbs be drawn at?
There is no single magic number, and chasing one will stiffen your drawing. What matters is that the angle is shallow, points toward the tip, and stays the same along the whole shaft. Draw a few test rows first, check them with the narrow-V test above, and use the angle that looks consistent rather than the angle you measured.
Why does a peacock feather shimmer and change color?
Because much of its color is structural, not pigment. Microscopic structure in the barbs scatters light, so the hue shifts as the viewing angle changes. Paint that shift: let blue-green, bronze and darker tones sit side by side across the eye, and keep one small hard highlight off center instead of filling the eye with one flat color.
How do you draw the fluffy, split parts of a feather?
Let the barbs separate instead of filling the vane. Near the base, draw individual curved strands with visible gaps between them, and smudge only the densest area near the shaft. Study 11, the charcoal ostrich plume, is the best model, because ostrich barbs have nothing locking them together.
What paper is best for feather studies?
Match the paper to the study. Smooth, hot-pressed paper suits fine barb detail, because a rough surface fights delicate lines. Toned or kraft paper with a white pencil suits reversed studies, since the paper carries the mid tones for free. Black paper suits glow studies, where you only add light. If you only buy one pad, start with smooth white paper and add toned paper second.
Can a beginner start with watercolor feathers?
Yes, and watercolor is a forgiving first medium for feathers if you pick the right study. Start with Study 6, the fresh green wash, where wet-on-wet paint does the softening for you, or Study 15, the pale gray wash kept to three close values. Keep to one feather, let each layer dry hard before the next, and resist adding a dark accent just for contrast.
How do you keep white highlights clean?
Plan them before you start, because white is almost impossible to win back. On light paper, leave the highlight areas as bare paper from the beginning. On black paper, decide which barbs actually catch the light before touching the paper, then build the glow in two passes, one soft and one sharp. Never paint white over a dark color and expect it to stay clean.
If you want to place a feather study inside a full scene, these forest magic scenes show how depth layers and a single light source carry the whole picture.
Feathers make a penguin drawing believable: soft, fluffy strokes for a chick and smooth, sleek strokes for an adult. See them in action in our 15 adorable penguin drawing ideas.
References and Further Reading
Feather skills transfer well to other subjects: these cross drawing ideas include angel-wing crosses where the same layered feather shapes give the wings their lift and softness.