Choose drawing subjects by the skill they train, not at random. Start with a single round object for value, move to trees and fur for texture, then animals for proportion, and finish with skulls, hands and perspective, which expose every remaining weakness.
Key takeaways
- Every subject trains one specific skill; drawing at random repeats what you can already do.
- Value, not detail, is what makes a drawing read as solid.
- Skulls and hands fail because people draw the symbol in their head, not the object.
- Buildings and cars are the same perspective skill in different clothes.
- Flat drawings usually mean too narrow a value range, not poor technique.
Most people practice drawing by drawing whatever they feel like, then wonder why they stop improving. The problem is that every subject trains one particular skill, and picking randomly means repeating the skills you already have while avoiding the ones you do not.
This page organizes every drawing collection on the site by what it actually teaches, in the order the skills build on each other.
The Four Skills Everything Else Sits On
- Seeing shape, not the object. Drawing what is actually in front of you rather than the symbol stored in your head. This is why a face drawn from memory looks wrong, and the reason you cannot draw what you see in your head.
- Proportion and construction. Getting the big relationships right before any detail. Almost every failed drawing failed here, in the first two minutes.
- Value. Light and dark doing the work of describing form. A drawing with correct values and no detail reads better than the reverse, which is why learning to shade properly changes more than any other single skill here.
- Texture and mark-making. Making a surface feel like bark, fur, brick or metal through stroke direction and density.
Start Here: Simple Forms, Instant Feedback
These subjects have shapes you already understand, so all your attention goes to the drawing itself rather than to working out what you are looking at.
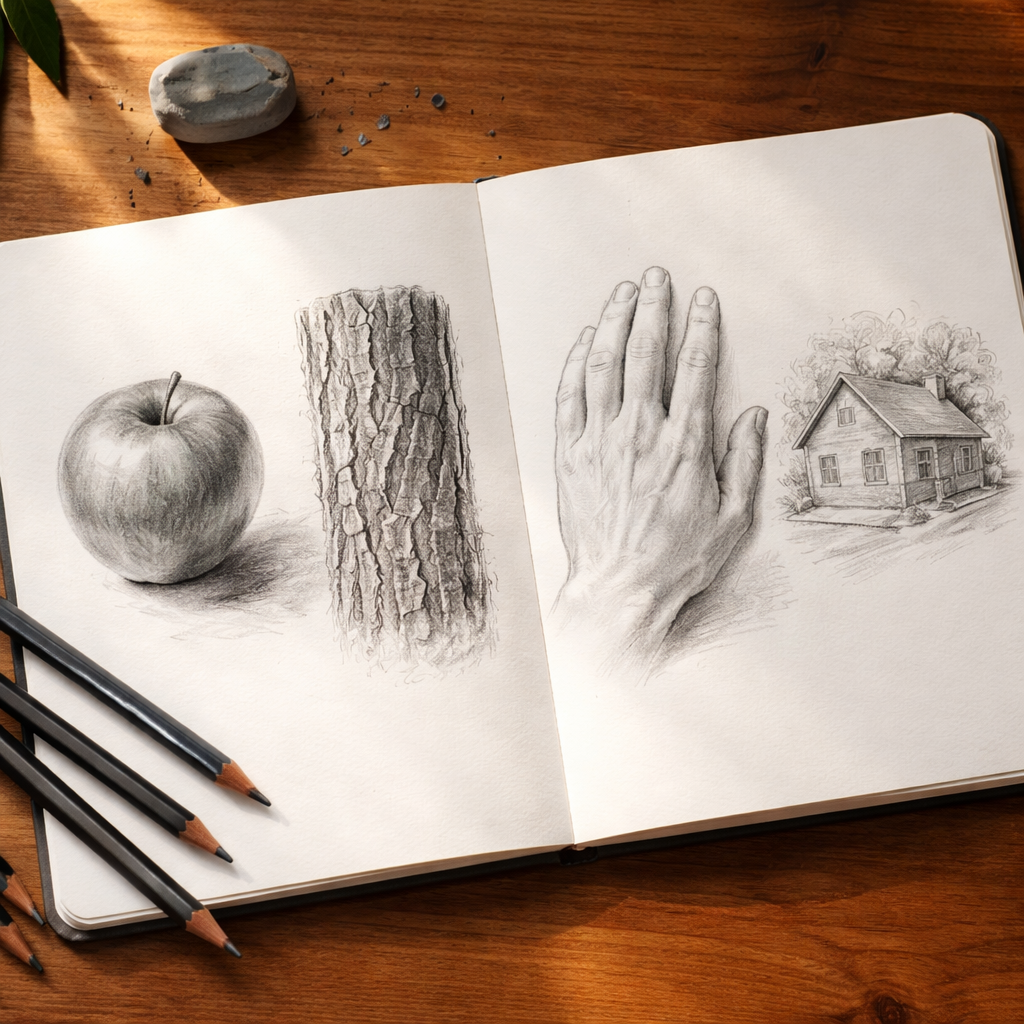
- Apples — one round form, one light source. The classic first value exercise.
- The moon — teaches you to make a flat circle curve using crater placement alone.
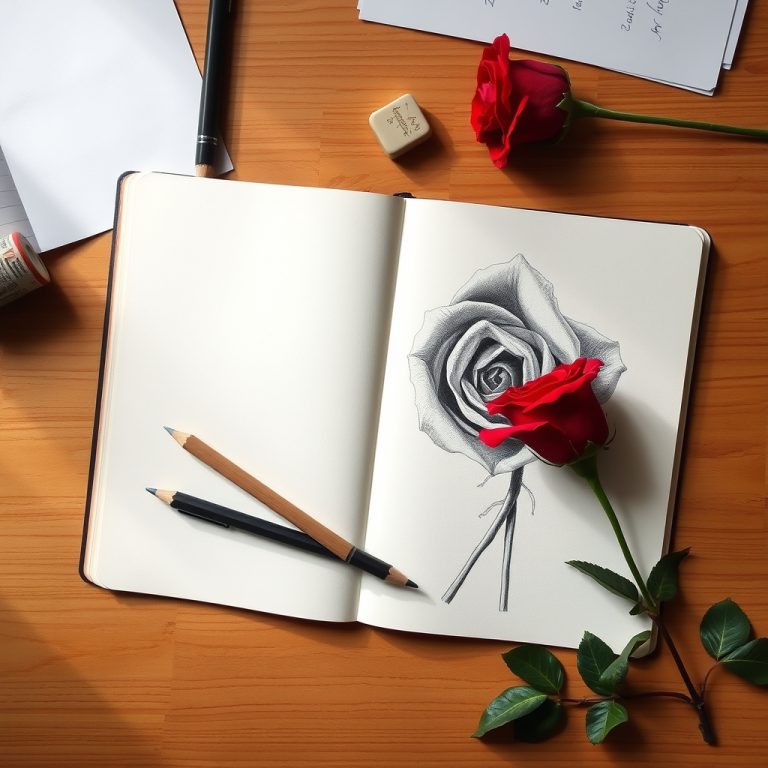
- Flowers — repeating shapes where small errors read as natural variation. For a full walkthrough, see how to draw a rose step by step.
- Butterflies — symmetry, and the fold-and-trace trick that guarantees it.
Texture: Making Surfaces Feel Real
Once shapes are reliable, the next jump is surface. These subjects are all about stroke direction and how densely you pack your marks.
- Trees — bark is the definitive texture exercise, and it needs side lighting to read at all.
- Pumpkins — ribbed form where stroke direction has to follow the curve.
- Tigers — fur that wraps around a body, with stripes that must follow the same wrap.
- Snakes — scales along a coiling form, which is texture and perspective at once.
Animals: Proportion Under Pressure
Animals punish proportion errors because viewers know instantly when something is off, even without knowing why. Start with compact shapes and work toward long-limbed ones.
- Penguins and ducks — compact bodies, very forgiving
- Bees and spiders — small subjects that force you to work at scale
- Cows — large animal proportion where an error reads as breed, not mistake
- Monkeys — limbs and posture, much harder than they look
- Octopuses — long tapering curves that expose an unsteady hand
- Dolphins — one continuous silhouette with almost nothing to hide behind
Anatomy: The Two That Expose Everything
- Skulls — the eye sockets sit higher and the cheekbone flares wider than beginners expect. Get the skull right and faces become far easier.
- Hands — the subject most artists avoid for years, for exactly the reason it is worth doing.
Both fail for the same reason: everybody believes they already know the shape, so they draw the symbol instead of the object. Eyes fail the same way, and our step-by-step eye tutorial rebuilds one from the sphere outward. Two more subjects fail identically and are rebuilt the same way: how to draw hands starts from a palm box, and how to draw a nose starts from a ball and finishes in shadow, with almost no line at all. Feet are the fourth of these, built from a wedge sitting on three contact points.
Perspective: Boxes Wearing Costumes
Buildings and vehicles are the same skill in different clothes. One vanishing point set slightly wrong throws off everything after it, which is why these are worth drawing on a tilted surface where you can see the page straight on.
- Houses — one-point and two-point perspective with a roofline to keep honest
- Cars — the same vanishing points, now with curves over them
- Crosses — a deceptively good exercise in symmetry and depth on a simple form
Characters and Lettering
- Spider-Man and Goku — stylized anatomy, where the exaggeration still has to be structurally sound
- Alphabet art — letterforms as shapes, and the easiest thing on this site to sell as a custom print
- 3D lettering — the same letters given thickness and a light source
The Hardest Thing Here: Illusionistic 3D
Anamorphic and 3D pencil work is the sternest test of value, because the illusion collapses the moment a shadow is even slightly wrong. It is worth attempting only once the four core skills above are reliable.
- 3D pencil art for beginners — the entry point
- Easy 3D pencil ideas — pieces you can actually finish
- 3D pencil tutorials — depth and shading step by step
- 3D pencil drawing studies — the deeper collection
- 3D cats and 3D cartoon characters — subjects that leap off the page
- 3D typography — letters as solid objects
Frequently Asked Questions
What should a complete beginner draw first?
A single round object under one light source, such as an apple. It isolates value, which is the skill that improves a drawing fastest, without asking you to solve proportion at the same time.
Why do my drawings look flat?
Almost always because the value range is too narrow. Beginners work in a band of mid-greys and never commit to a real black or leave a true white. Push both ends and the form appears. That is one of seven faults covered in why do my drawings look bad.
Why does my drawing look wrong when I photograph it?
Because you drew it flat on a table. Looking at a horizontal page from an angle compresses the far end, and you unconsciously stretch the drawing to compensate. A tilted surface removes the distortion, as explained in our easel guide.
How long should one drawing take?
Vary it deliberately. Two-minute gesture drawings train seeing; two-hour studies train rendering. Doing only long drawings is the most common way to plateau. On the bigger question of how long learning to draw takes, hours at the page matter far more than months on the calendar.
Related Guides
If you want to add color, our watercolor painting guide covers the technique side. For pencils, paper and everything else, see the art supplies guide and specifically colored pencils, wax versus oil.